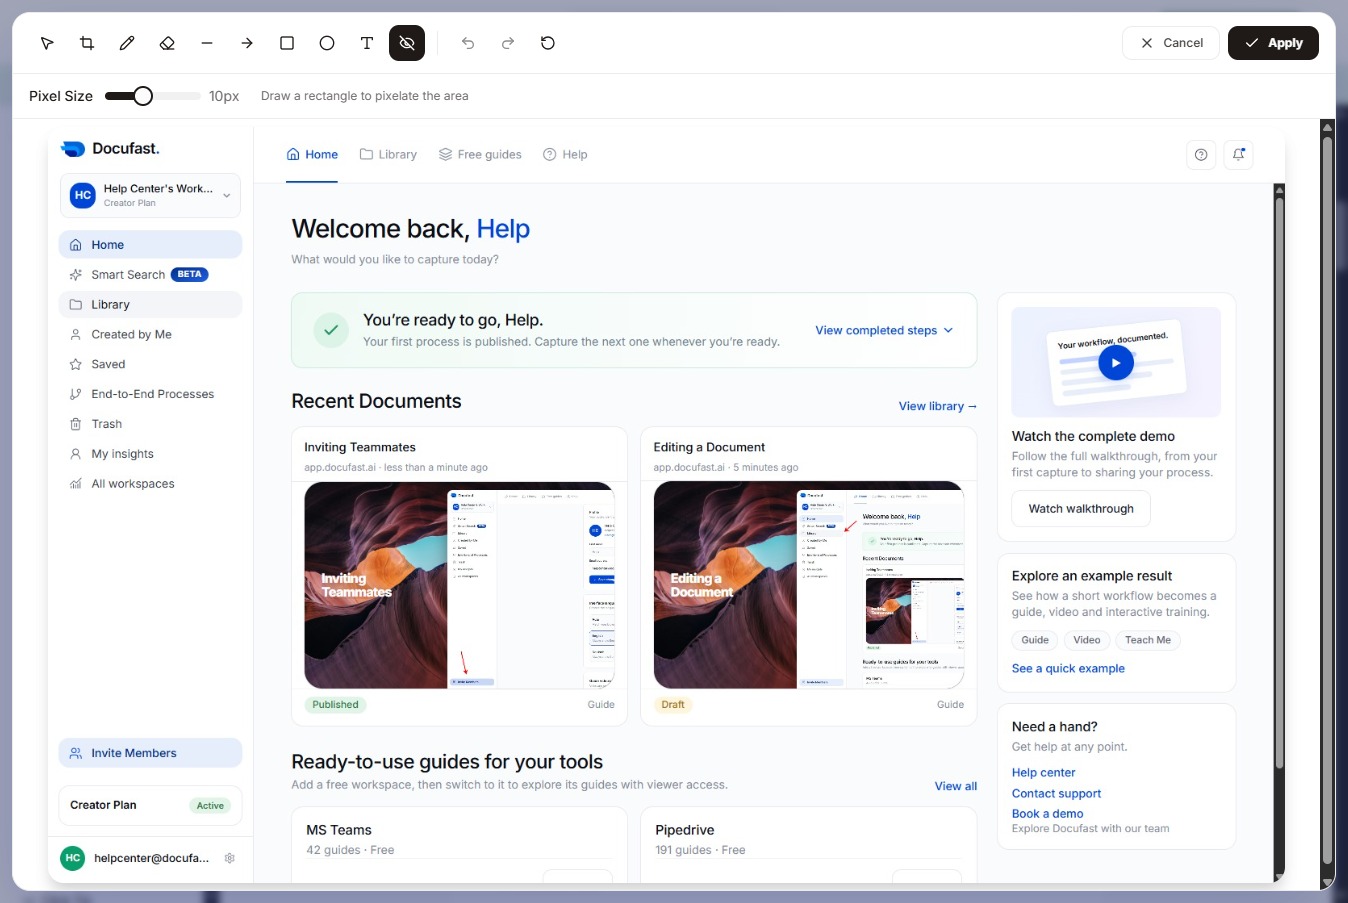
Open the Library
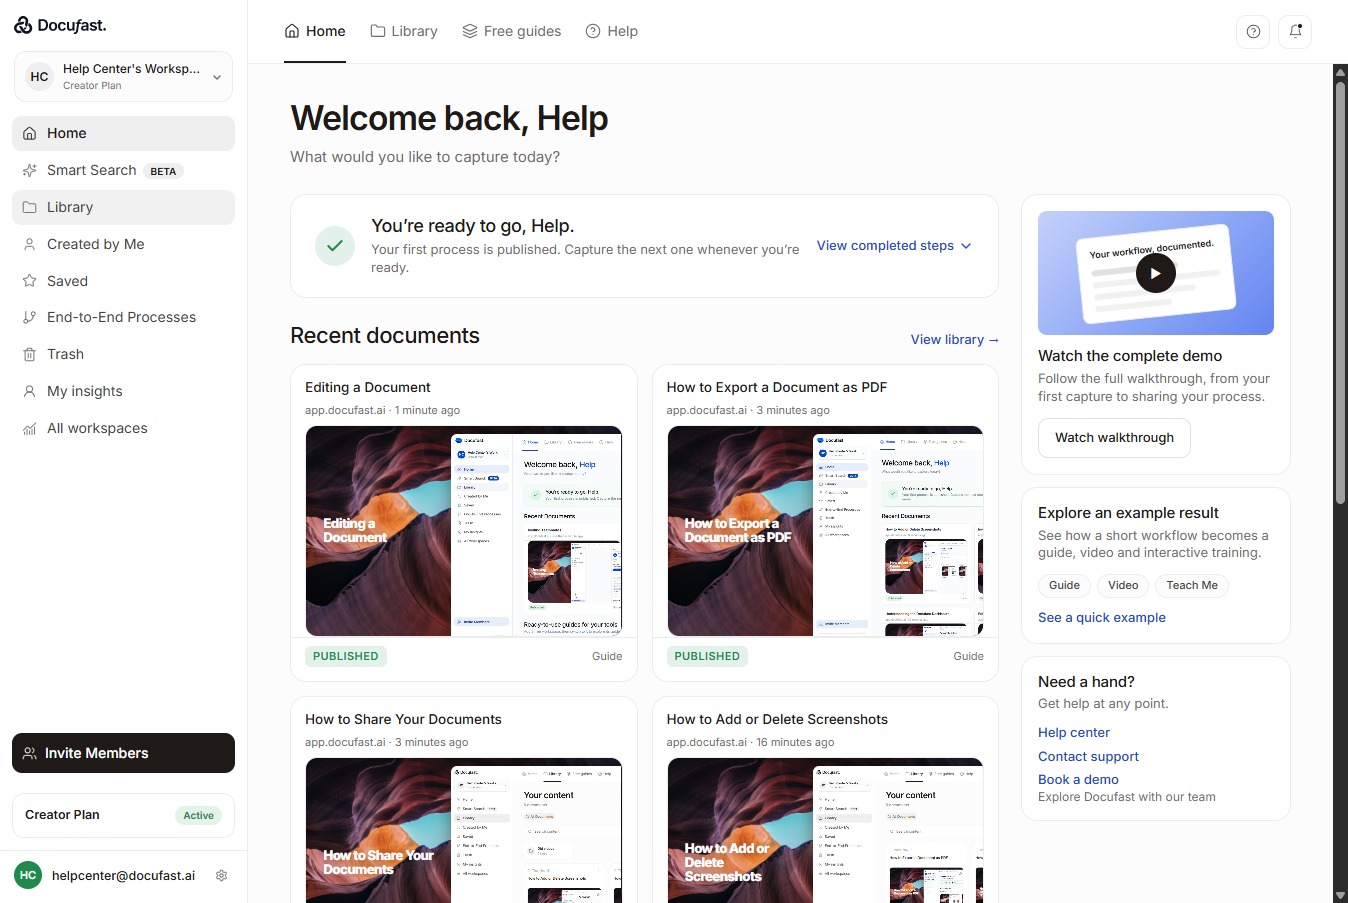
Go to Library on the left-hand side of your dashboard
Loading screenshot…
100%
Docufast’s Screenshot Editor helps you customize screenshots directly within a document.
Docufast’s Screenshot Editor helps you customize screenshots directly within a document. You can zoom, crop, draw, add text, blur sensitive information, and highlight important areas to make each step more understandable.
Go to Library on the left-hand side of your dashboard
Select the recorded workflow you want to edit.
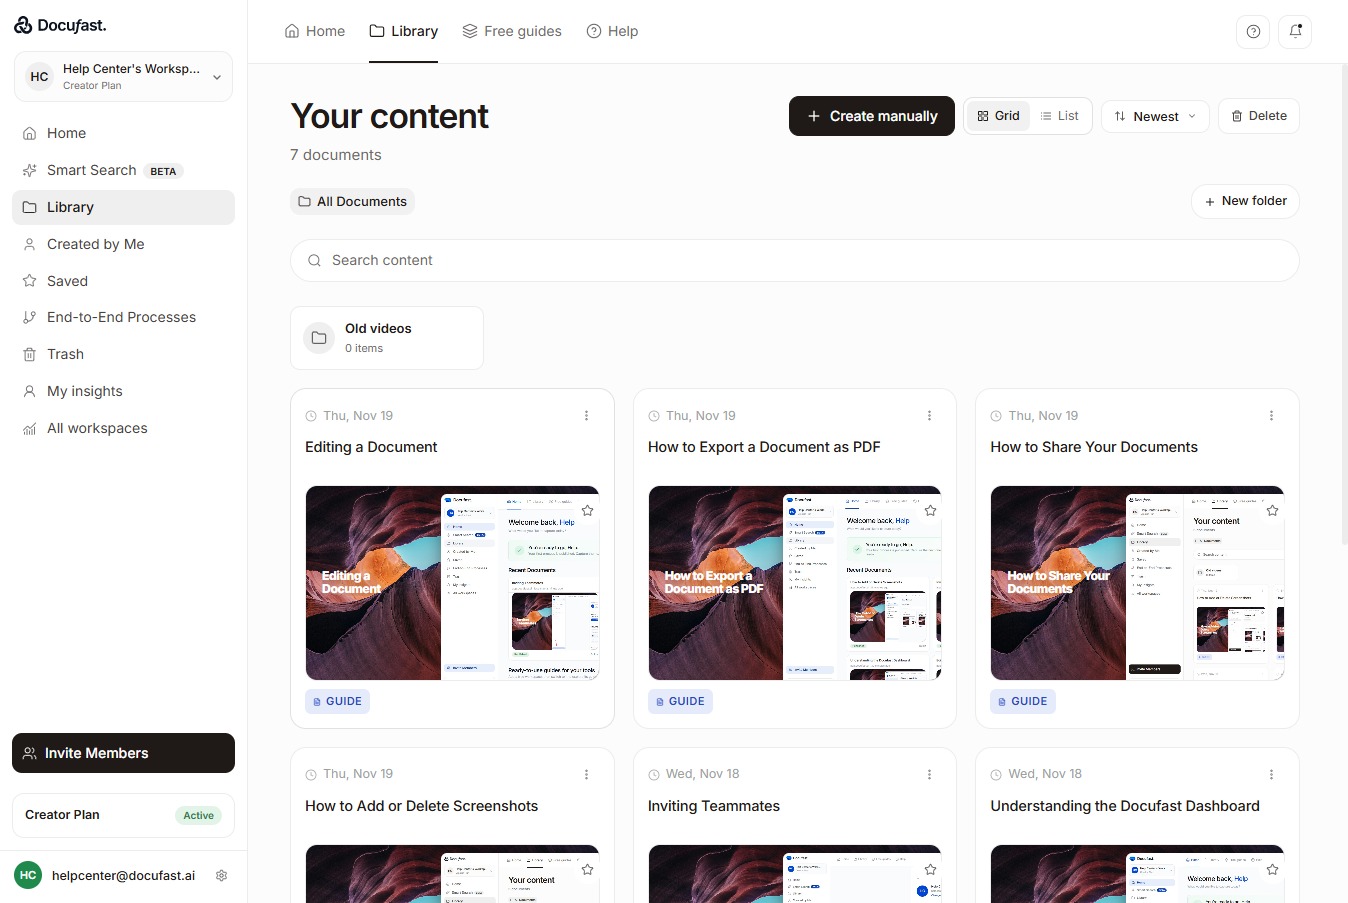
At the top of the document, select Edit to enter editing mode.
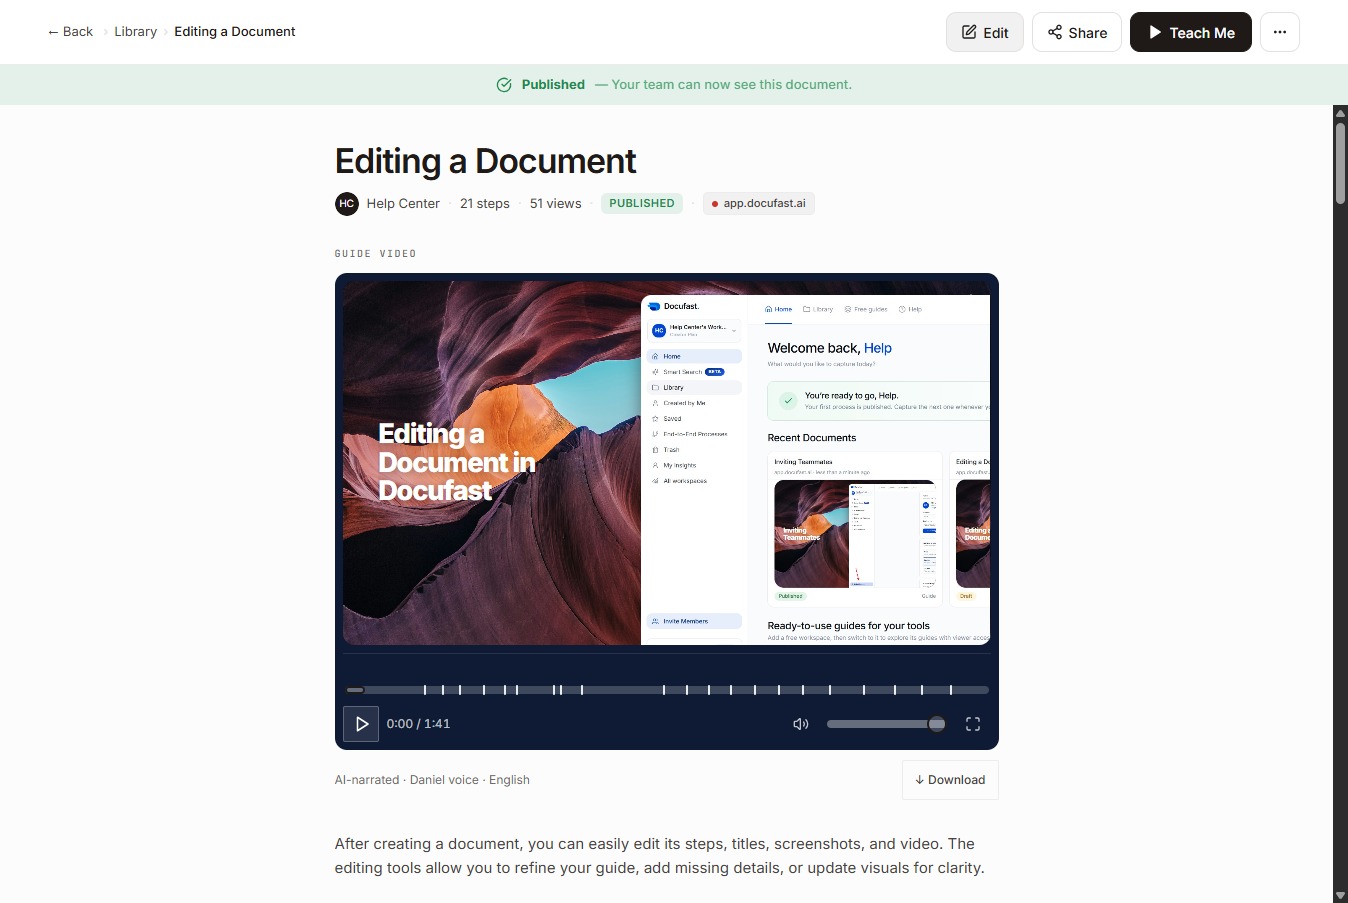
Click the screenshot to edit it. Make sure you’re in Edit mode.
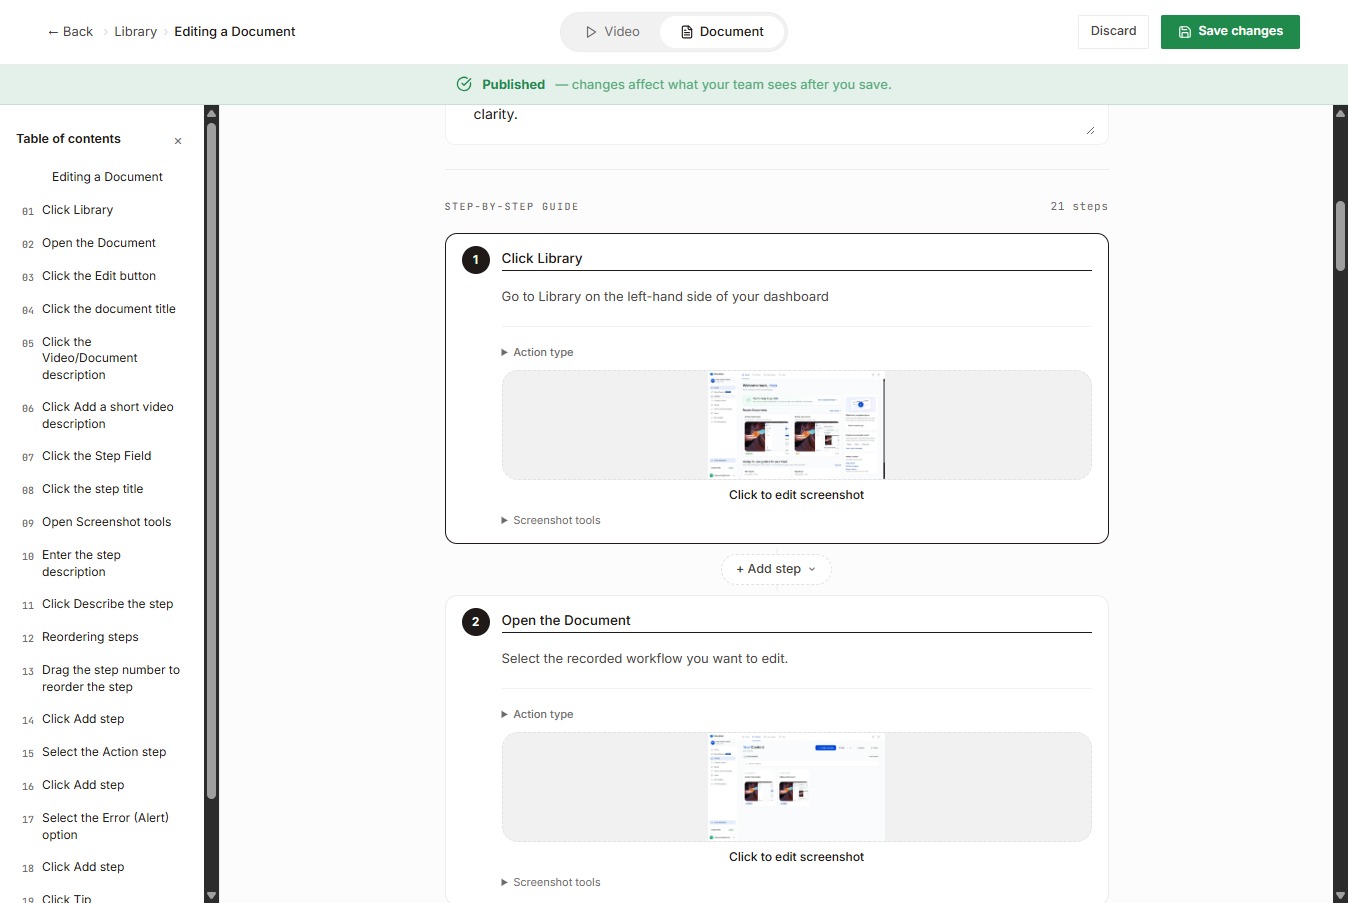
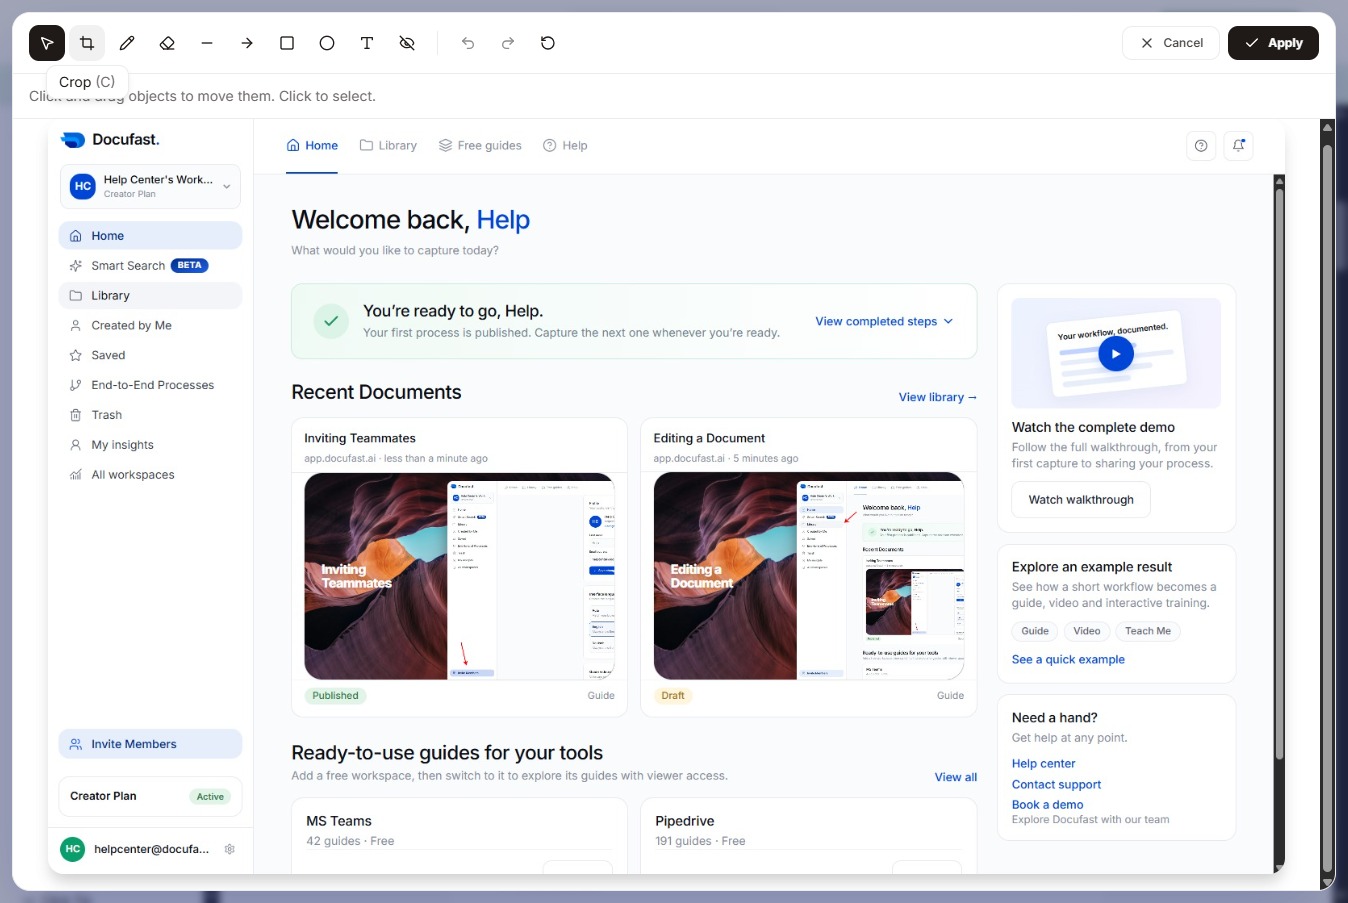
Once you’re in Edit mode, you’ll see different tools you can use. Click Crop to adjust the edges of your screenshot or image.
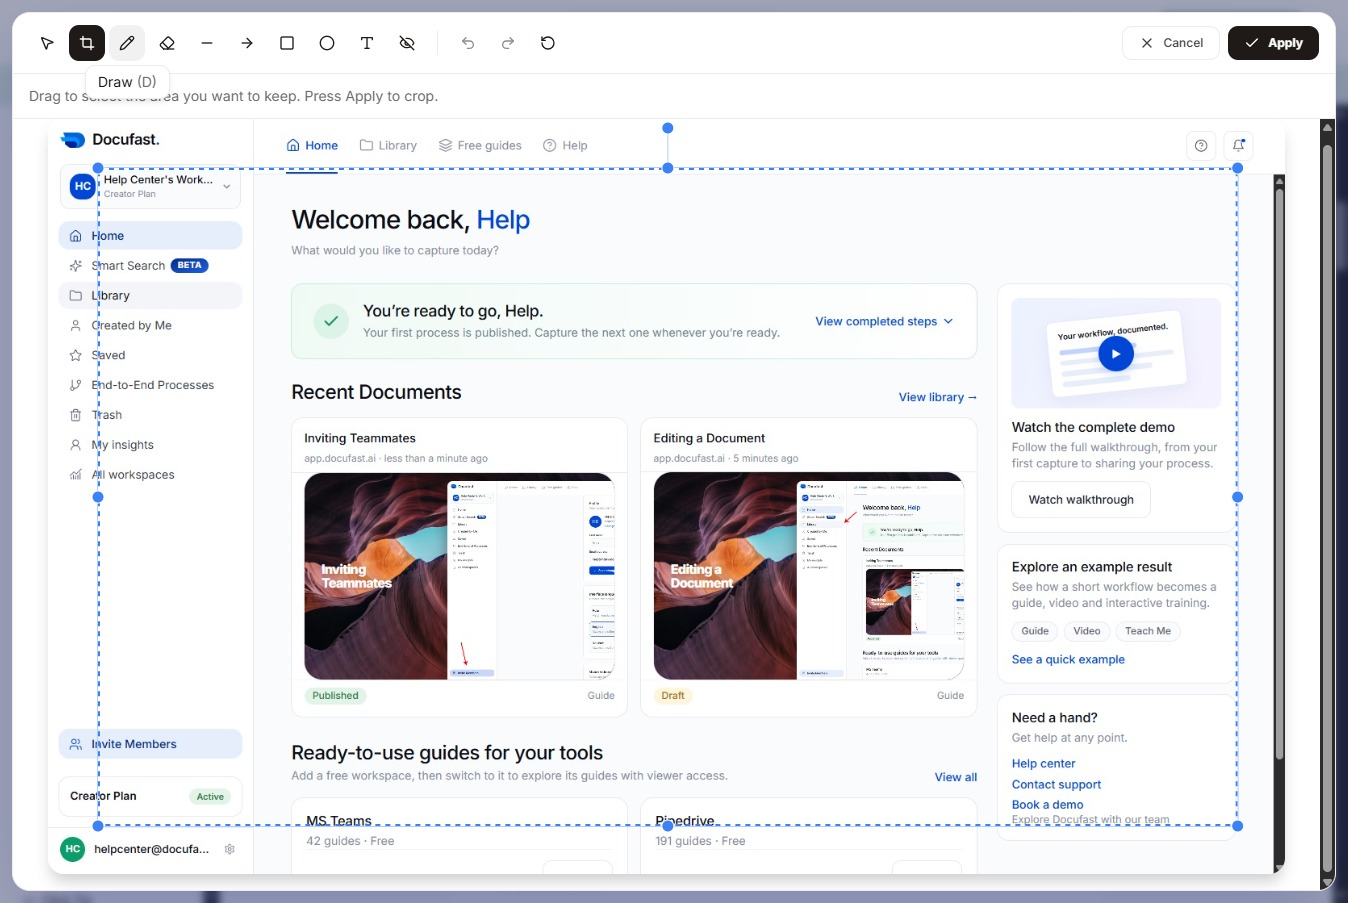
Use the Draw tool to annotate your screenshot with freehand markings or shapes.
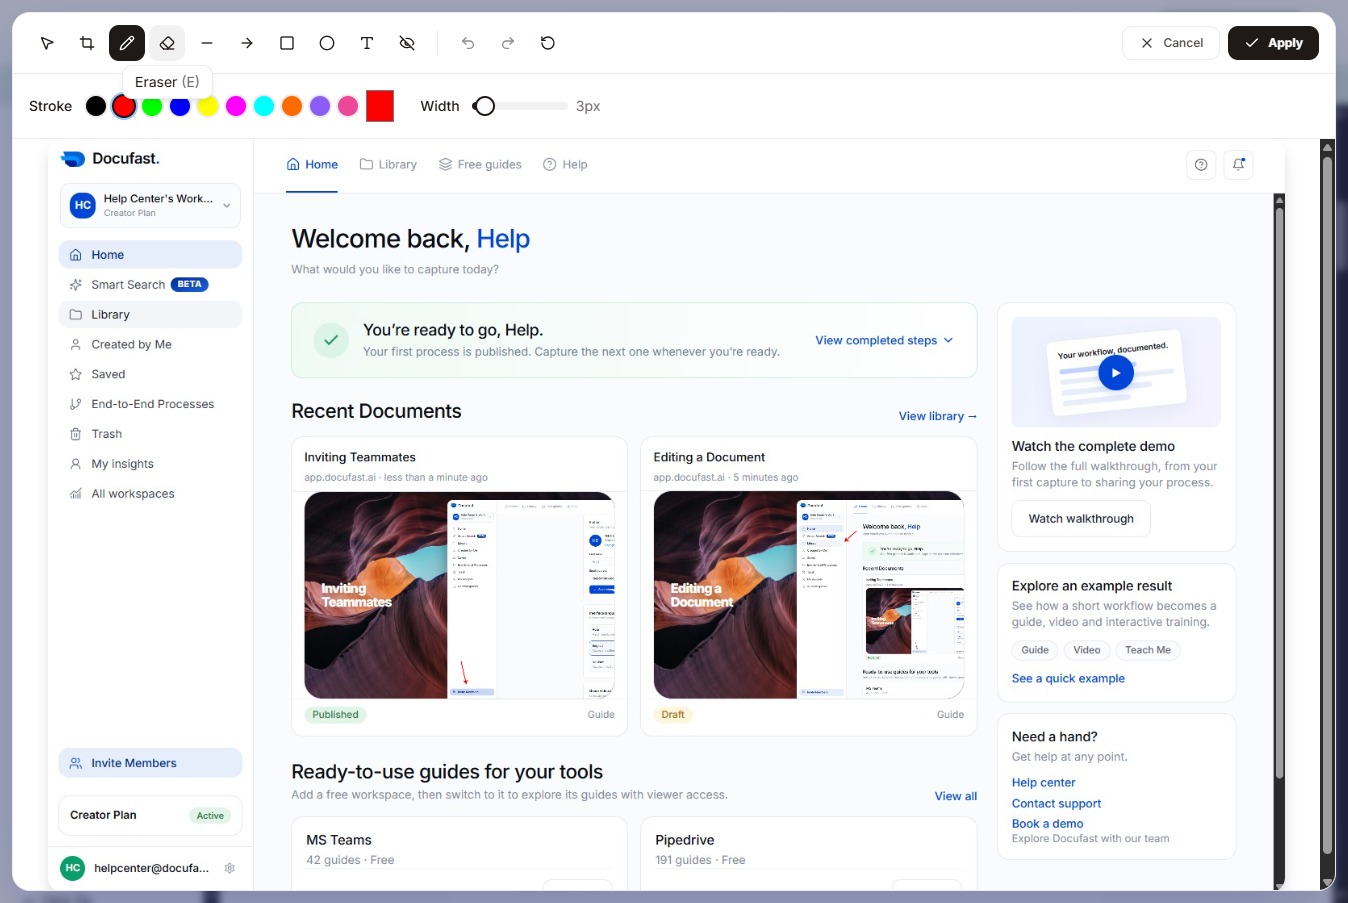
Pick the Eraser tool to remove strokes or elements from your document.
Select the Line tool to draw a straight line on your document. This is useful for adding annotations or connecting elements.
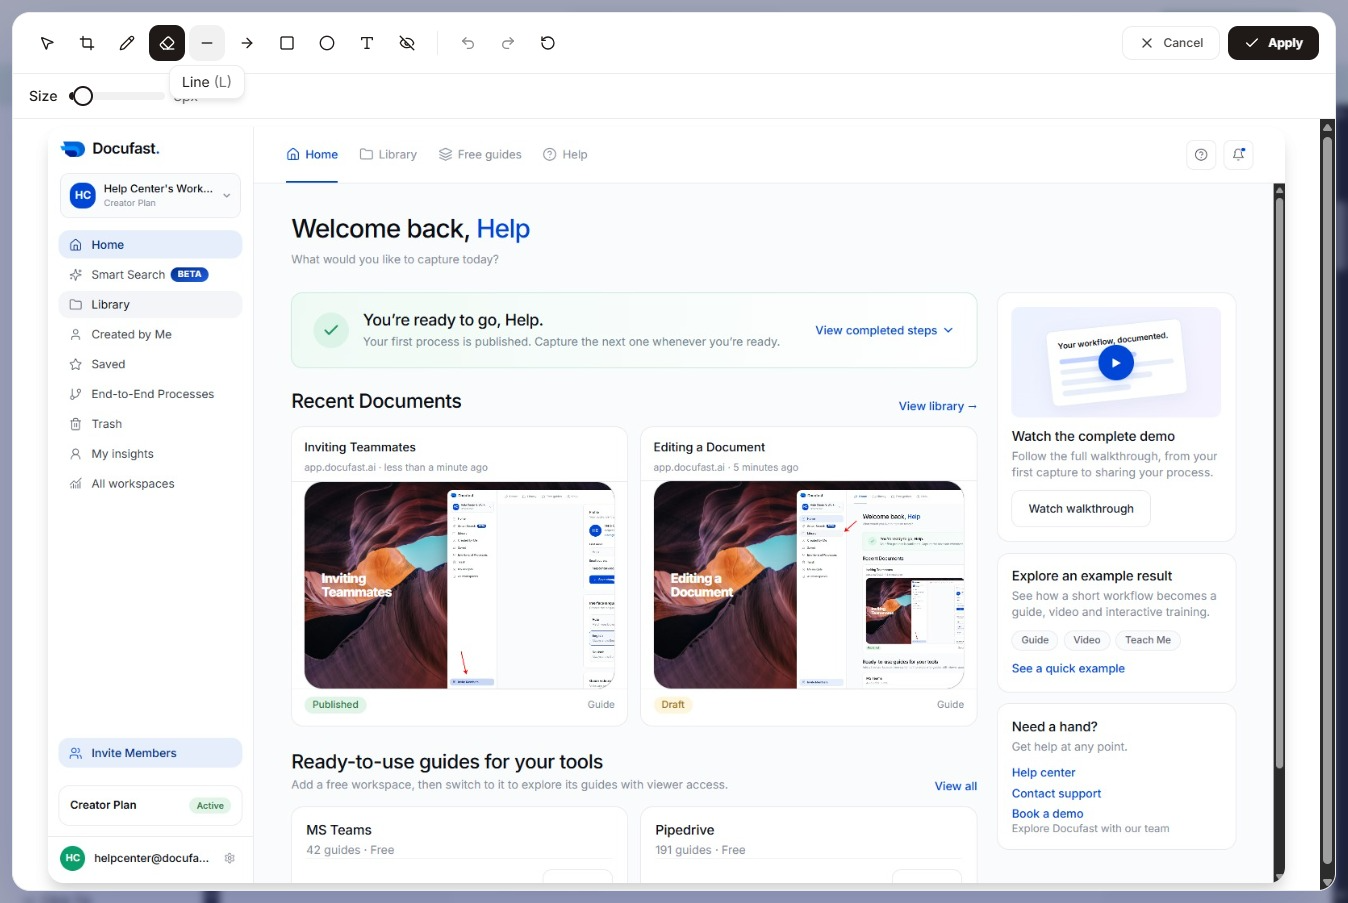
Arrow helps you point to specific elements.
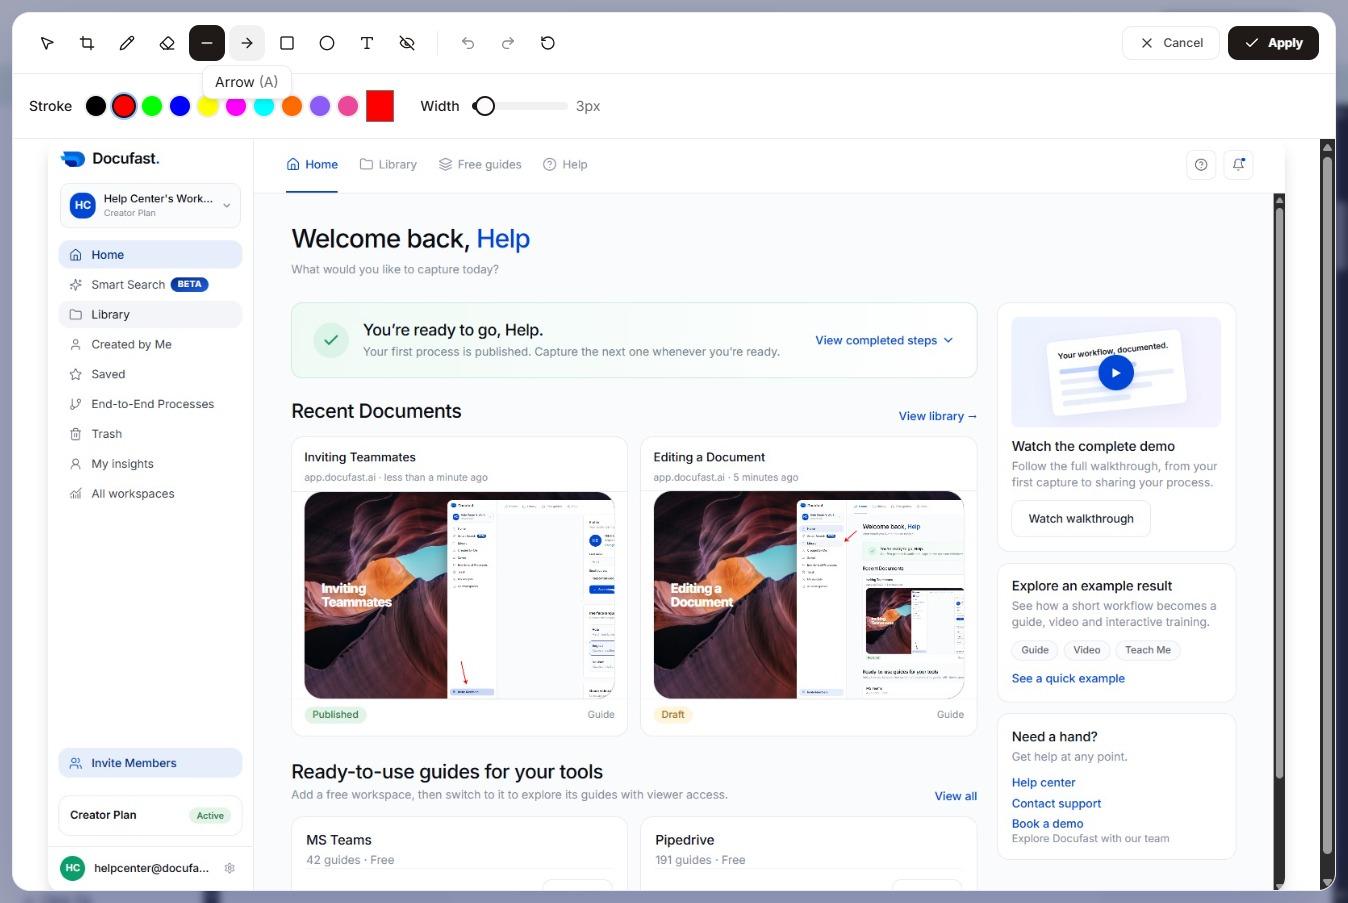
With Square tool, you can highlight areas or create shapes with adjustable fill, stroke, and width.
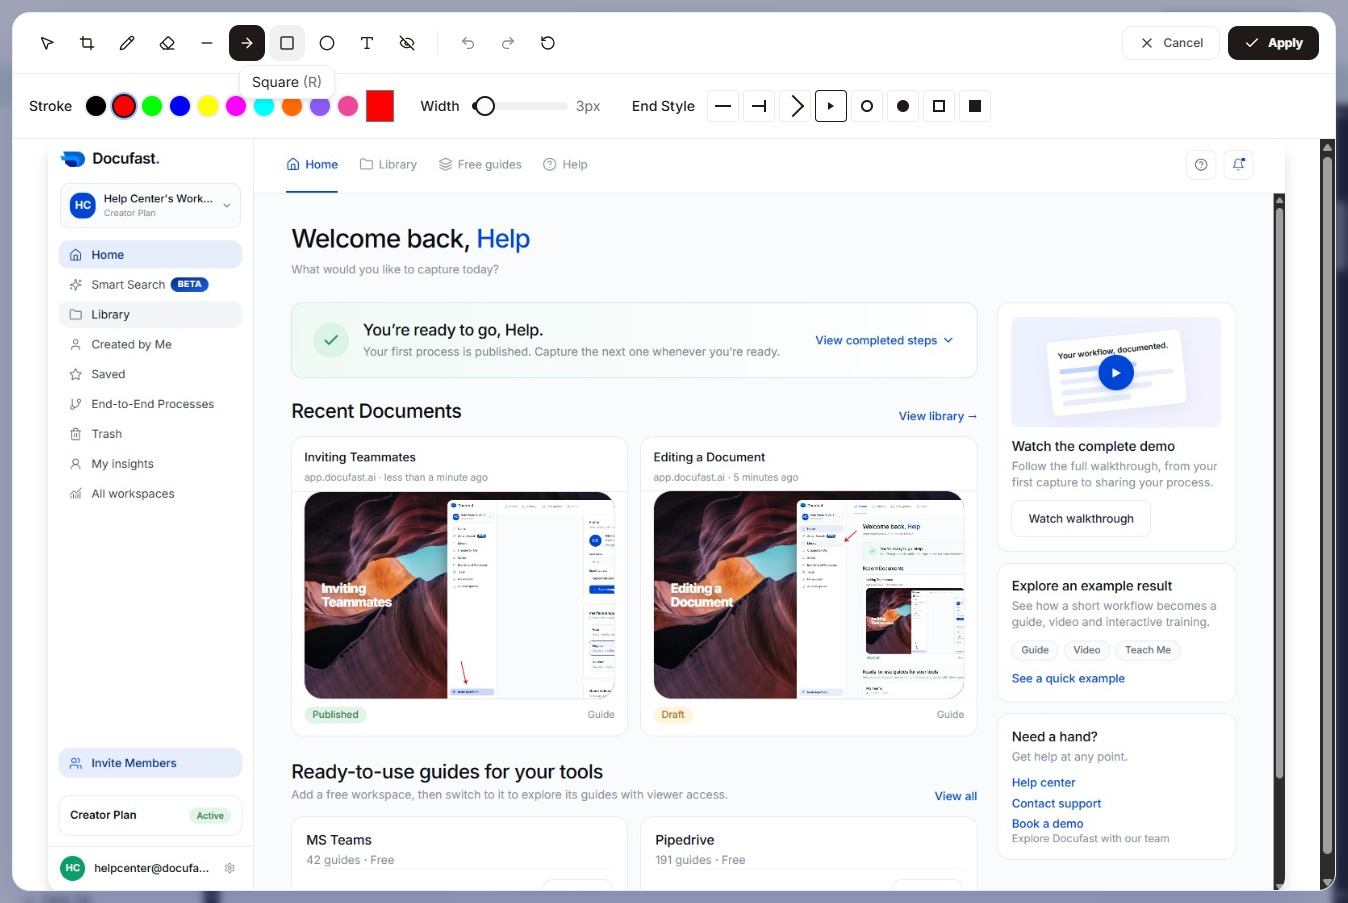
Circle works the same way as Square tool.
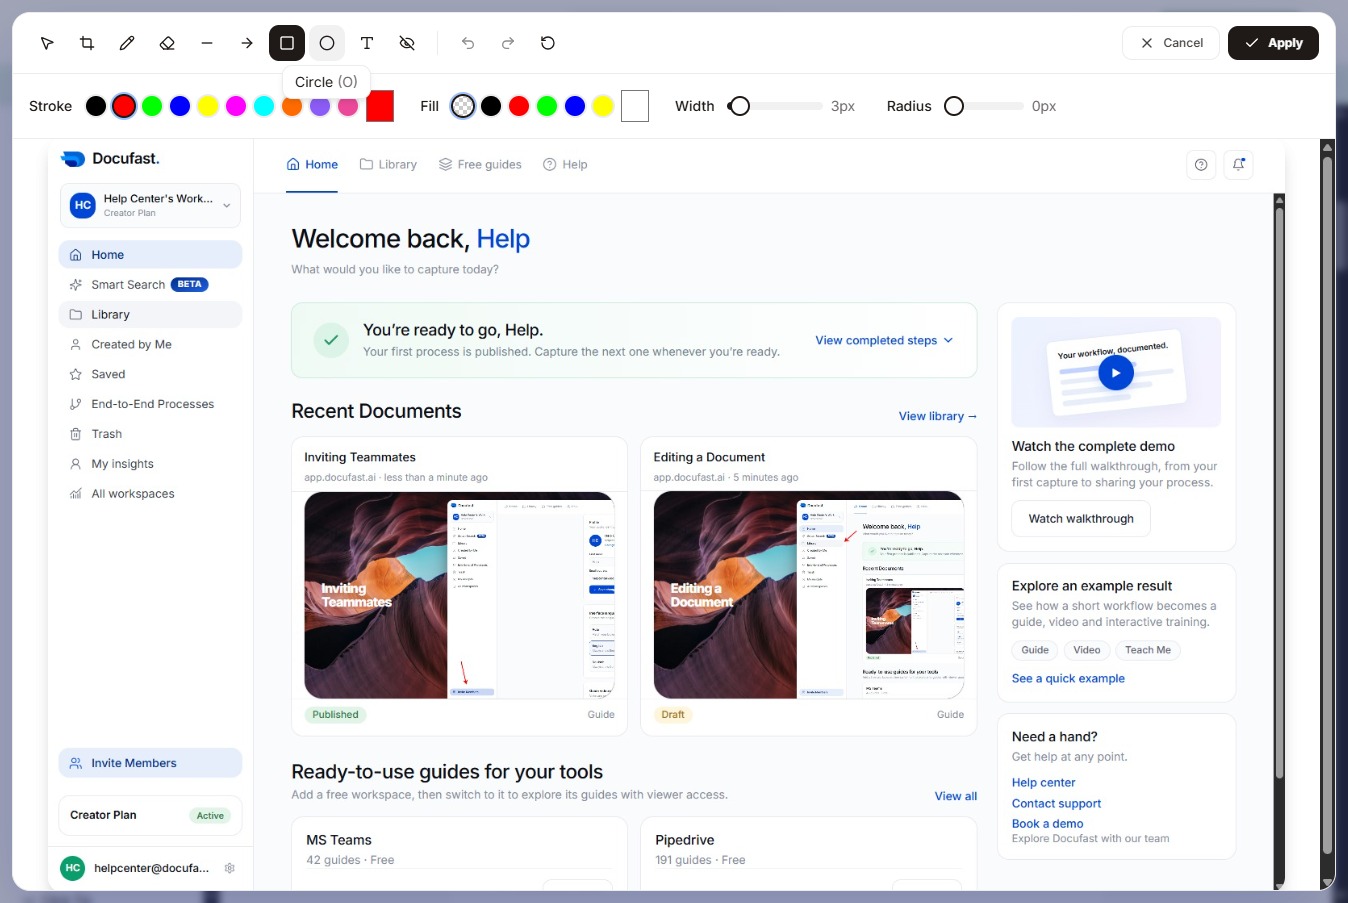
Text lets you add written notes to the screenshot.
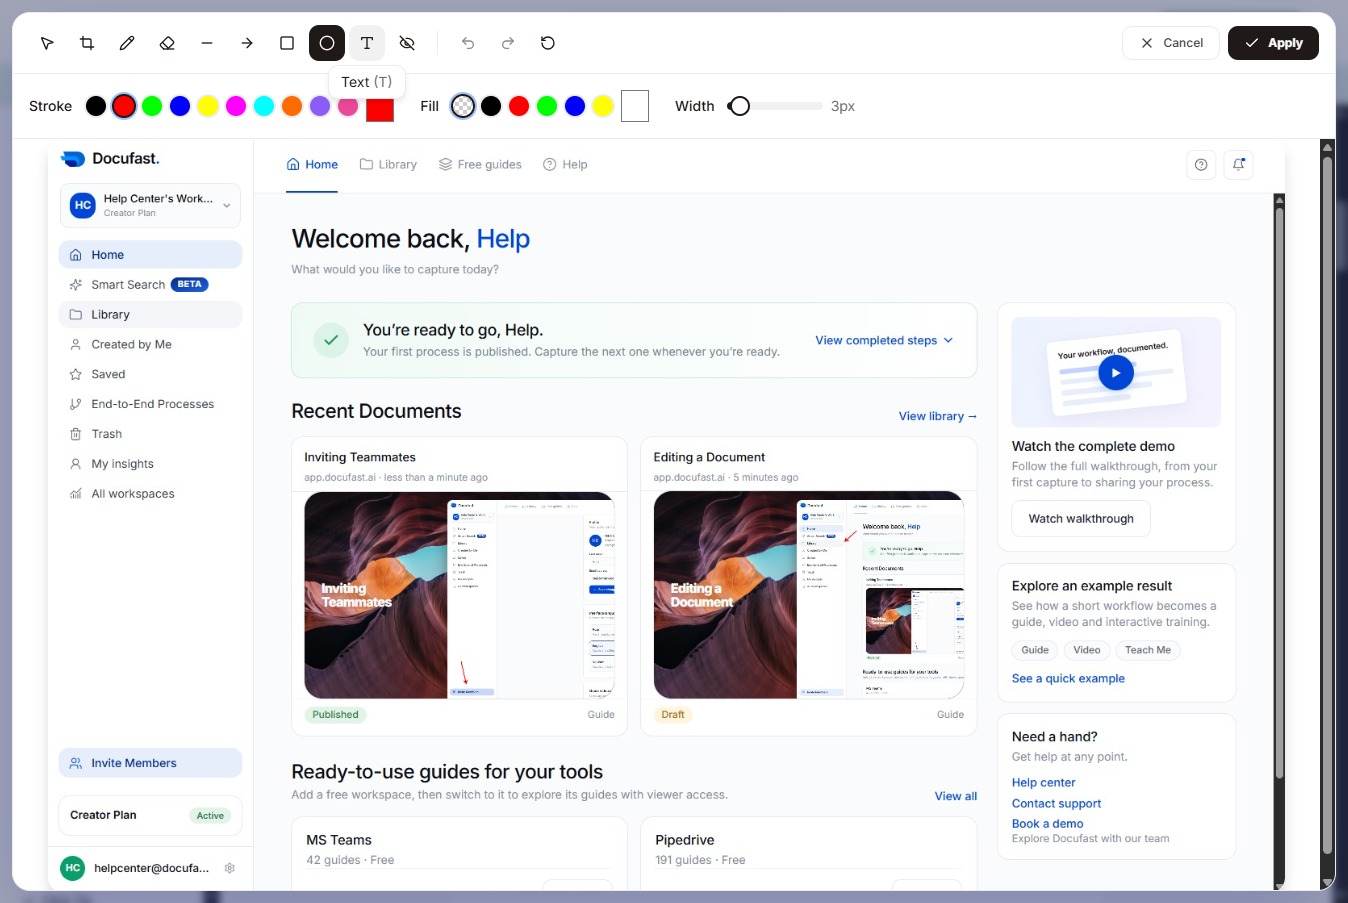
And finally, Redact blurs sensitive information, and you can adjust the pixel size to control the level of blur.
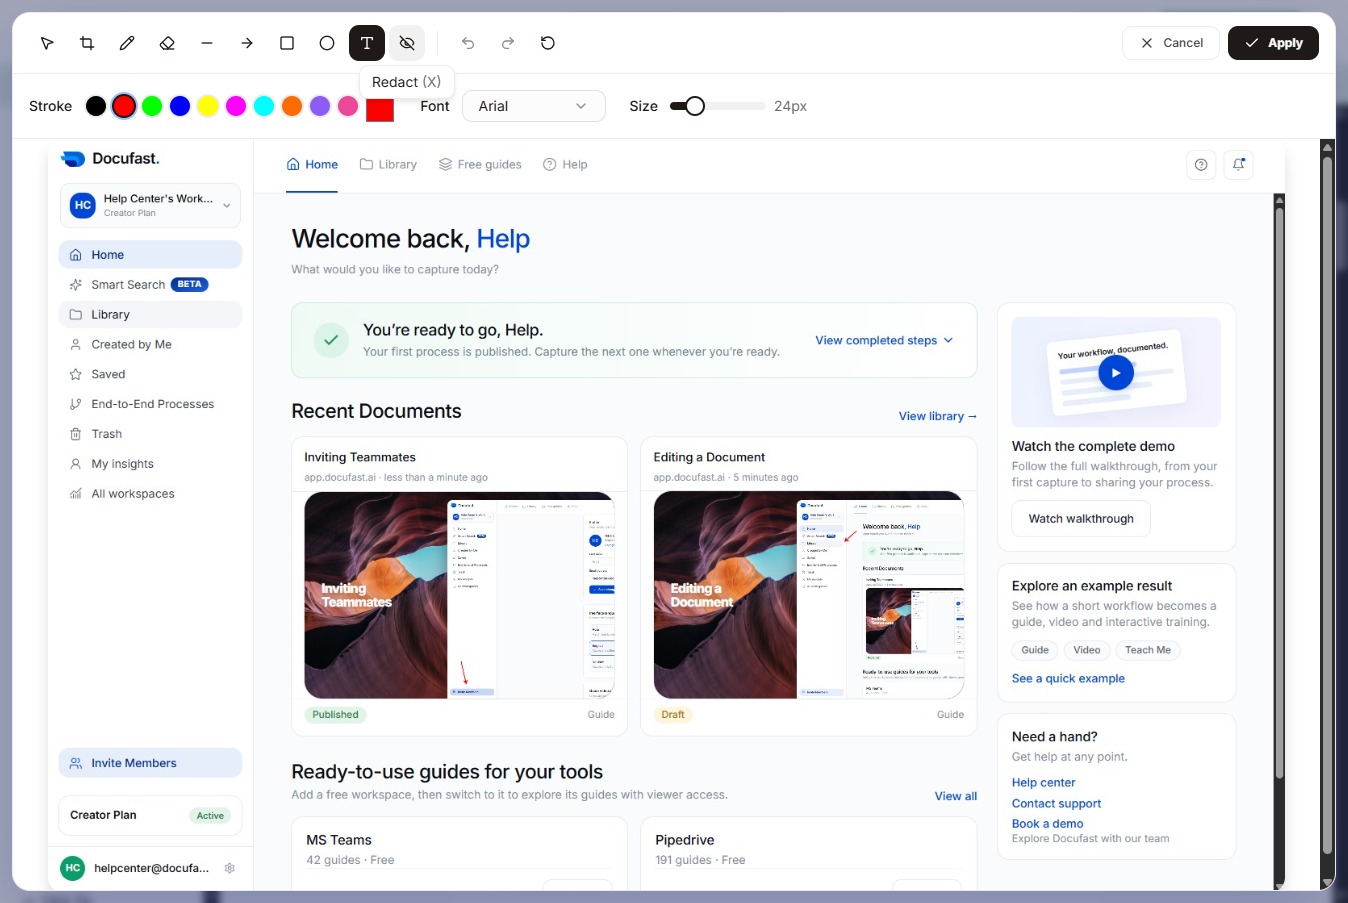
Confirm your edits by clicking Apply. This saves the current document state and updates the workspace.