Click Home page
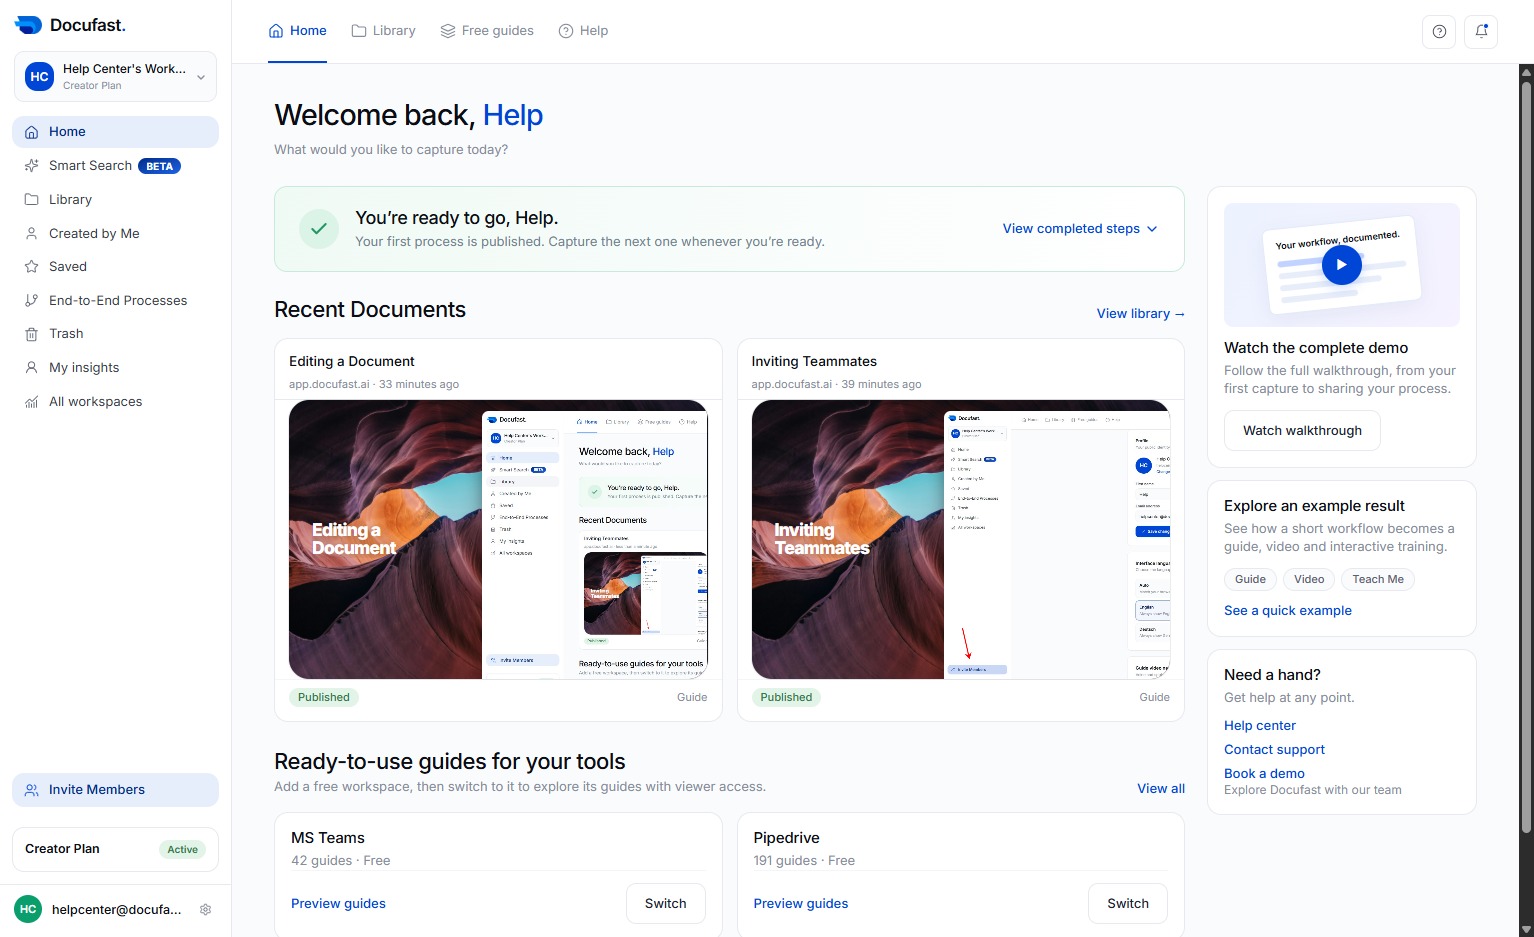
The Home page provides an overview of your recent activity. Here, you can view recently created or edited documents and start recording workflows.
Loading screenshot…
100%
Docufast dashboard is designed to help you work efficiently from one place.
Docufast dashboard is designed to help you work efficiently from one place. From here, you can access your documents, manage workspaces, collaborate with your team, and adjust account settings. Understanding how the dashboard is organized will help you navigate Docufast faster and make the most of its features.
The Home page provides an overview of your recent activity. Here, you can view recently created or edited documents and start recording workflows.
Now let's go with Smart Search
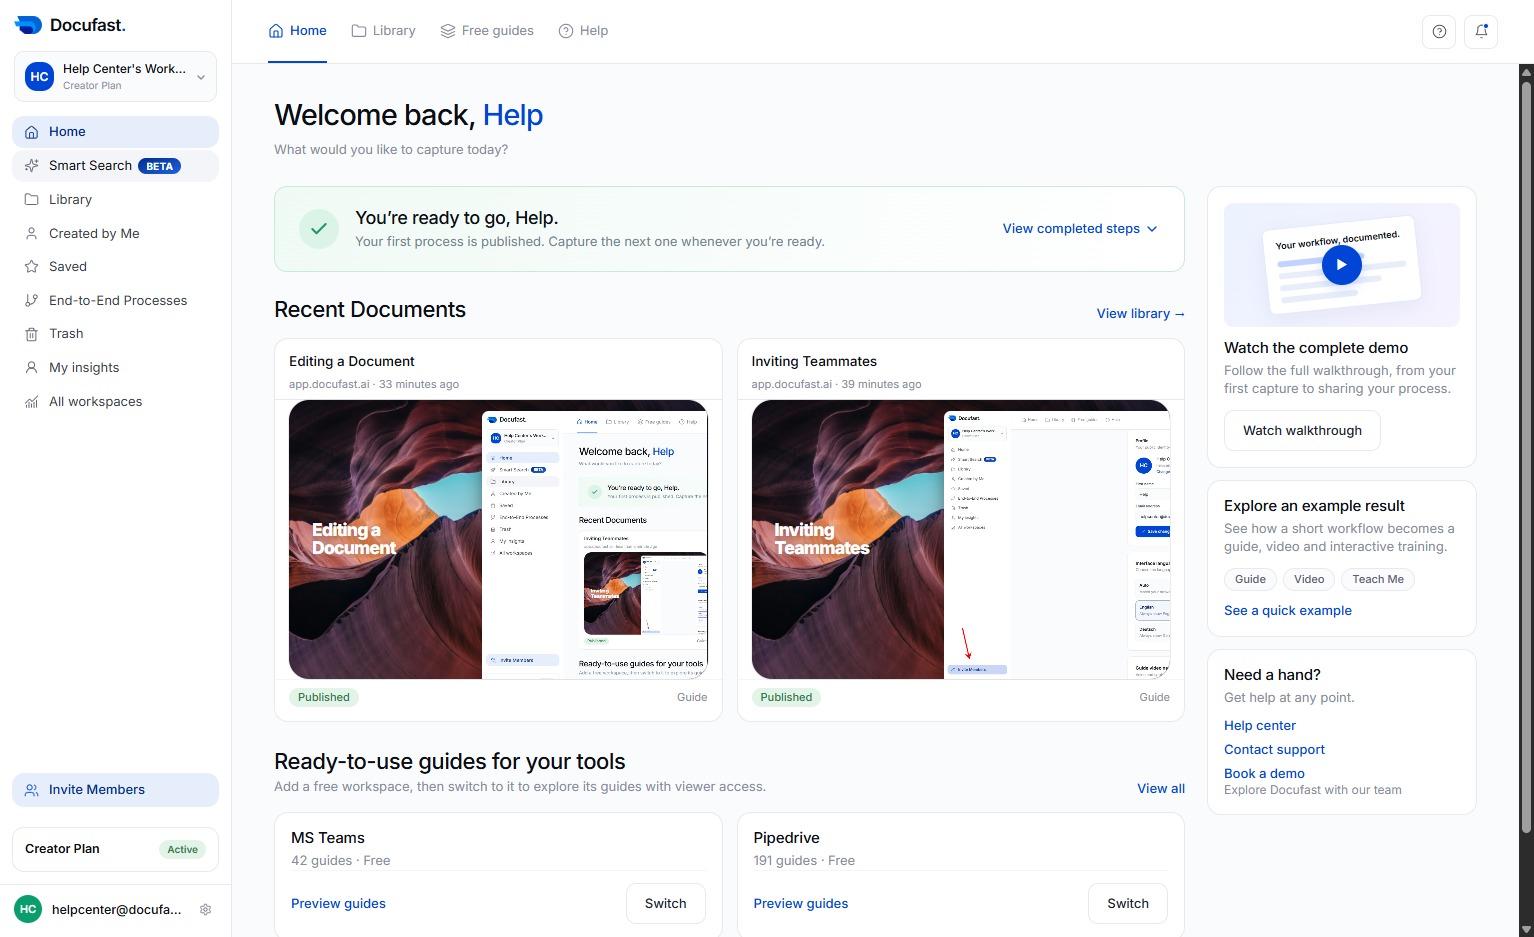
Smart Search helps you quickly find documents, people, or content without typing full queries.
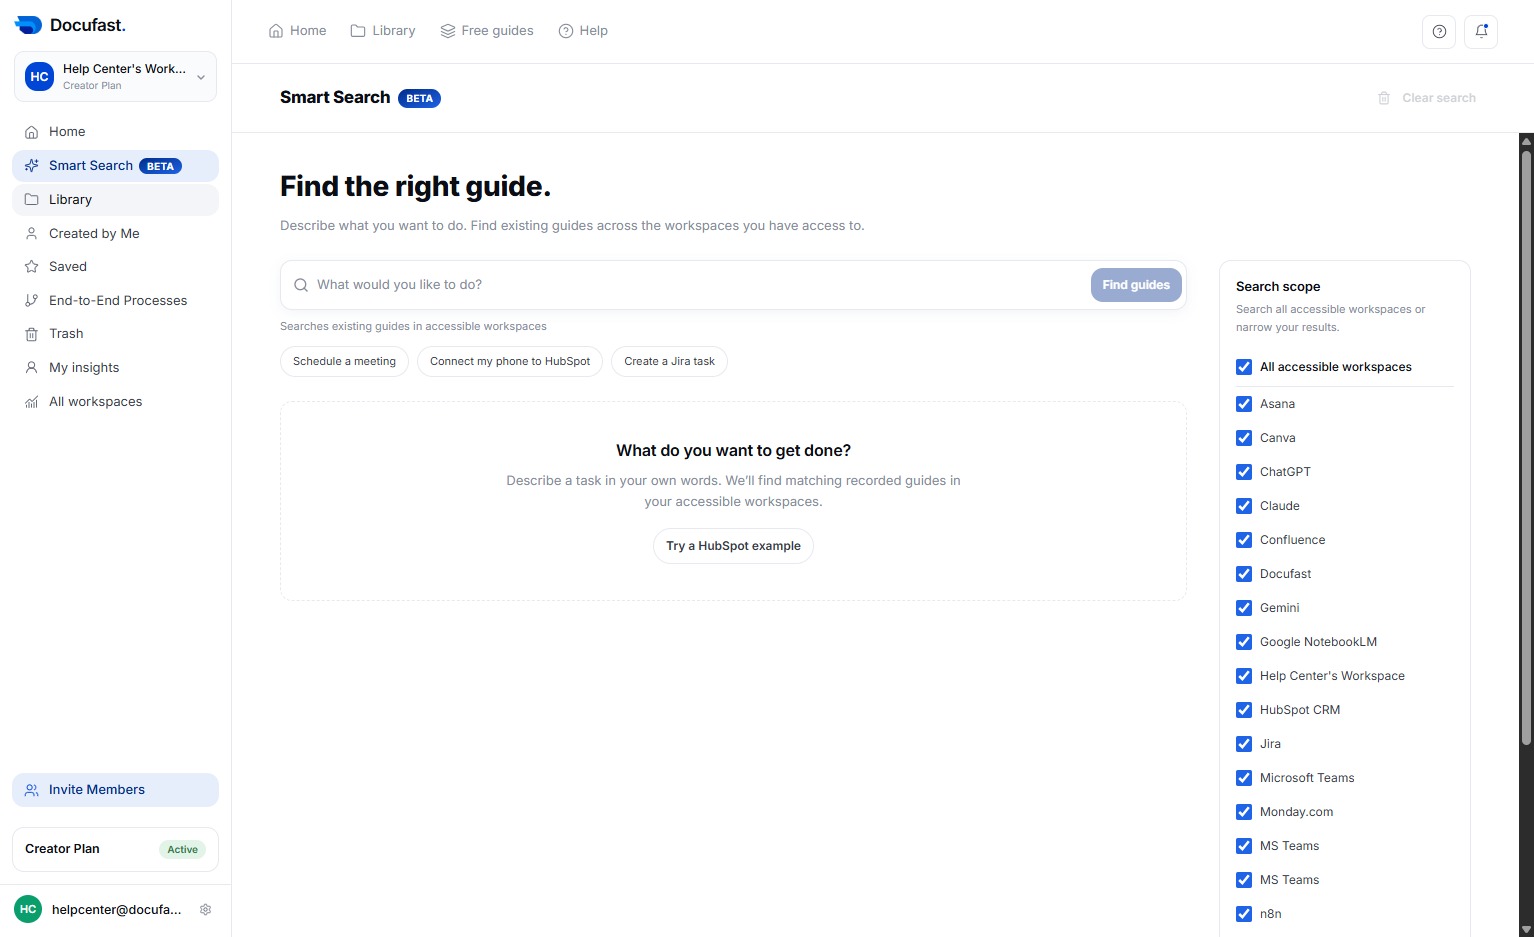
Now for Library, it is the central hub for all your Docufast content. From here, you can organize, search, manage, and access your guides and documentation in one place.
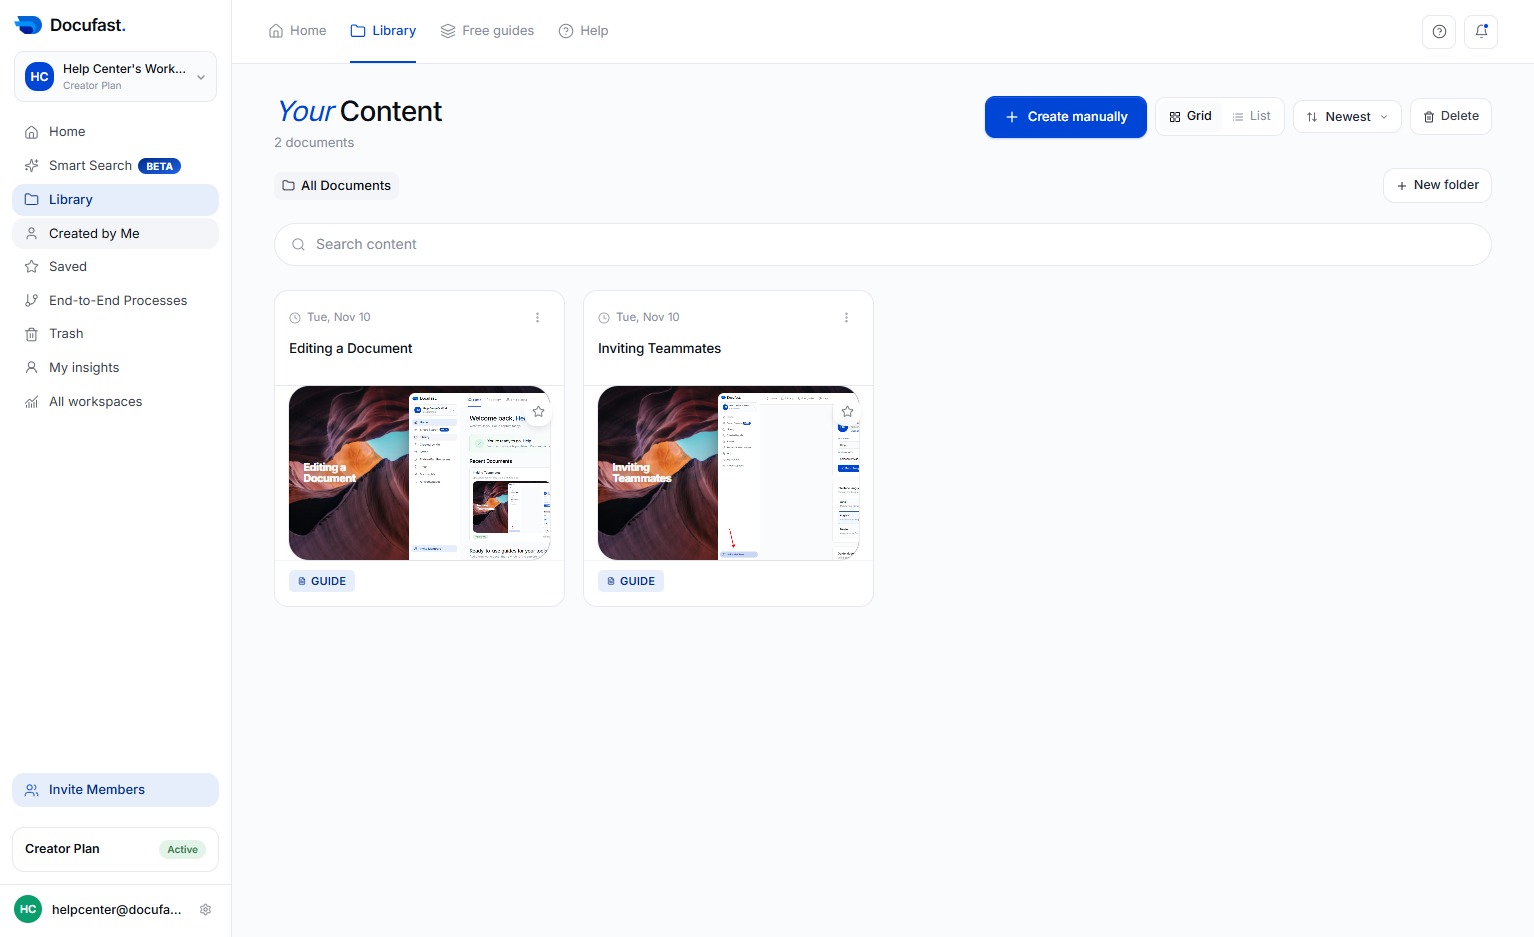
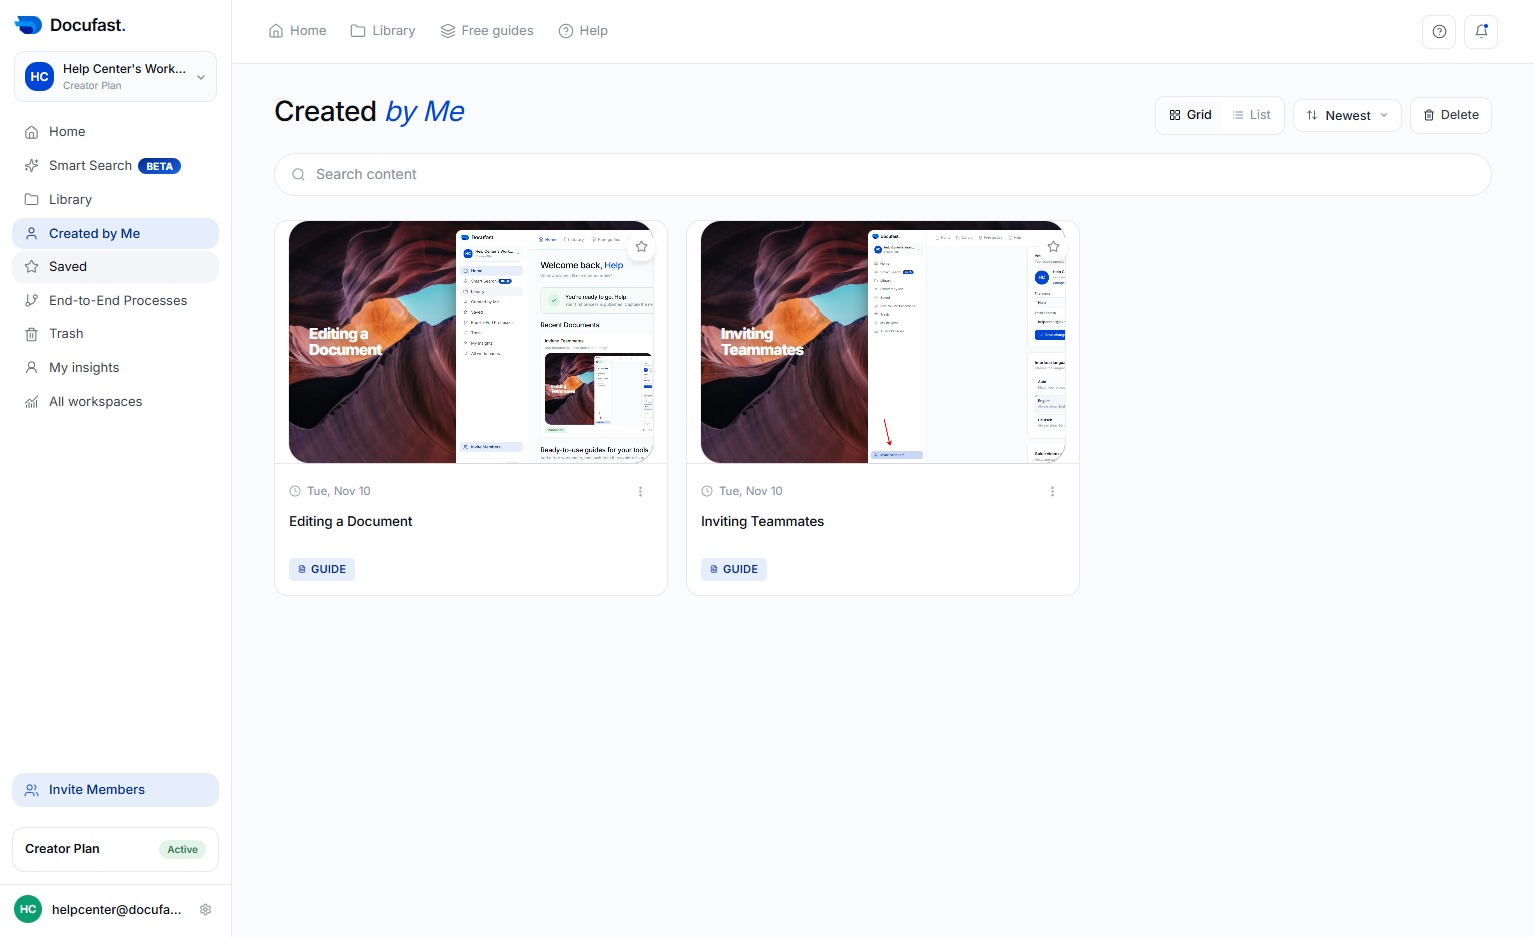
And for Created by Me, it shows all documents you personally created. It helps you quickly find your work, manage documents you own, and edit or share your guides.
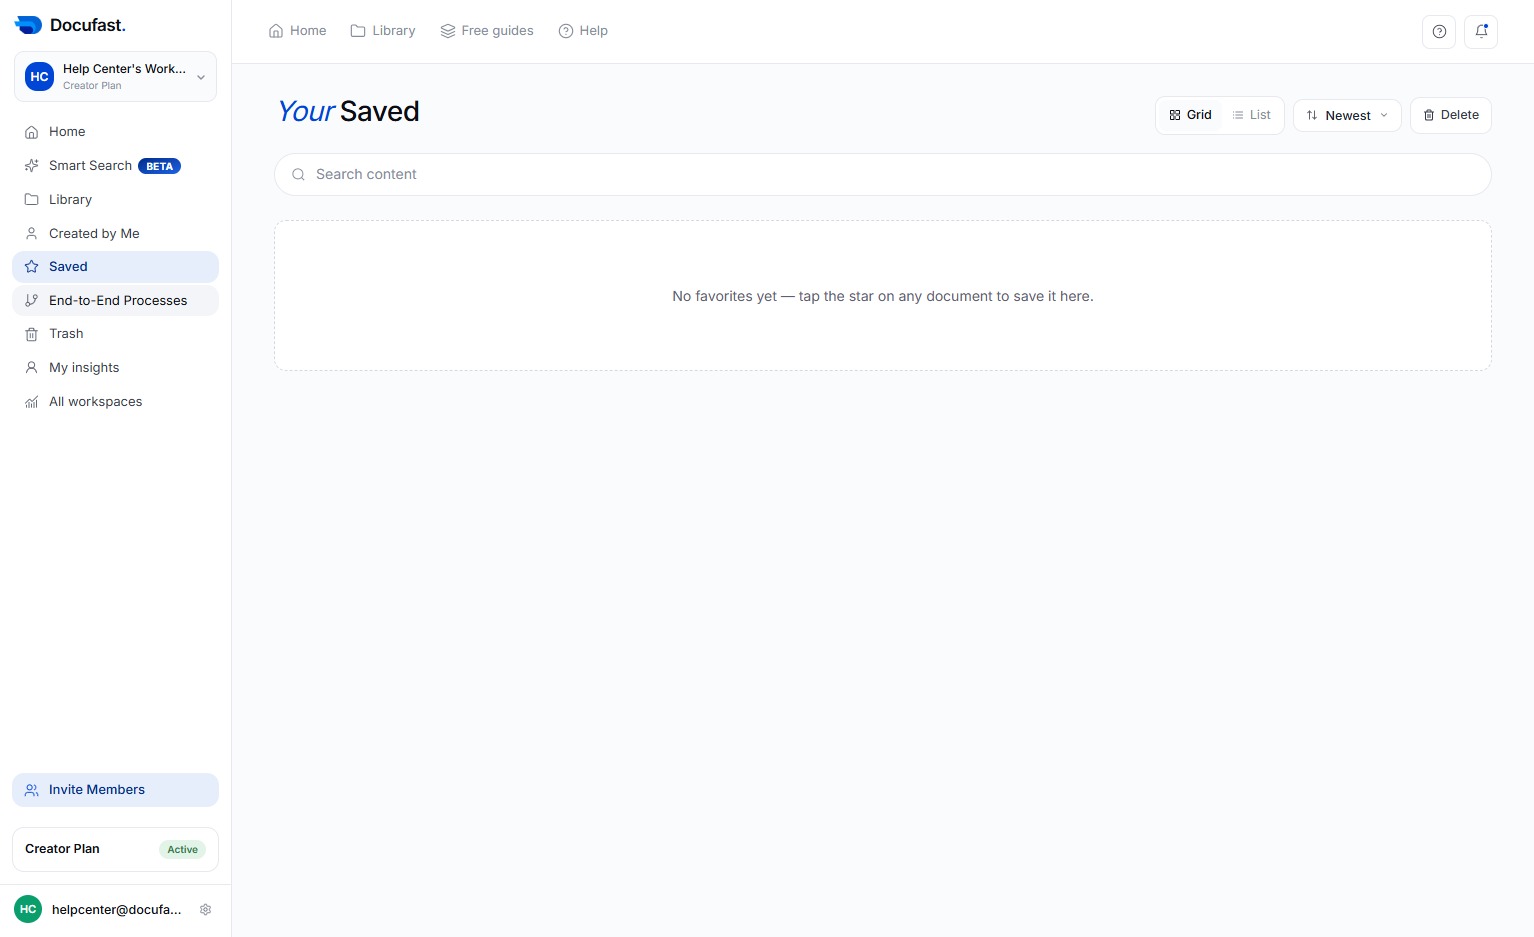
So for the saved section it is where you can find documents or guides you’ve bookmarked or starred for quick access. Use this area to store frequently used documents.
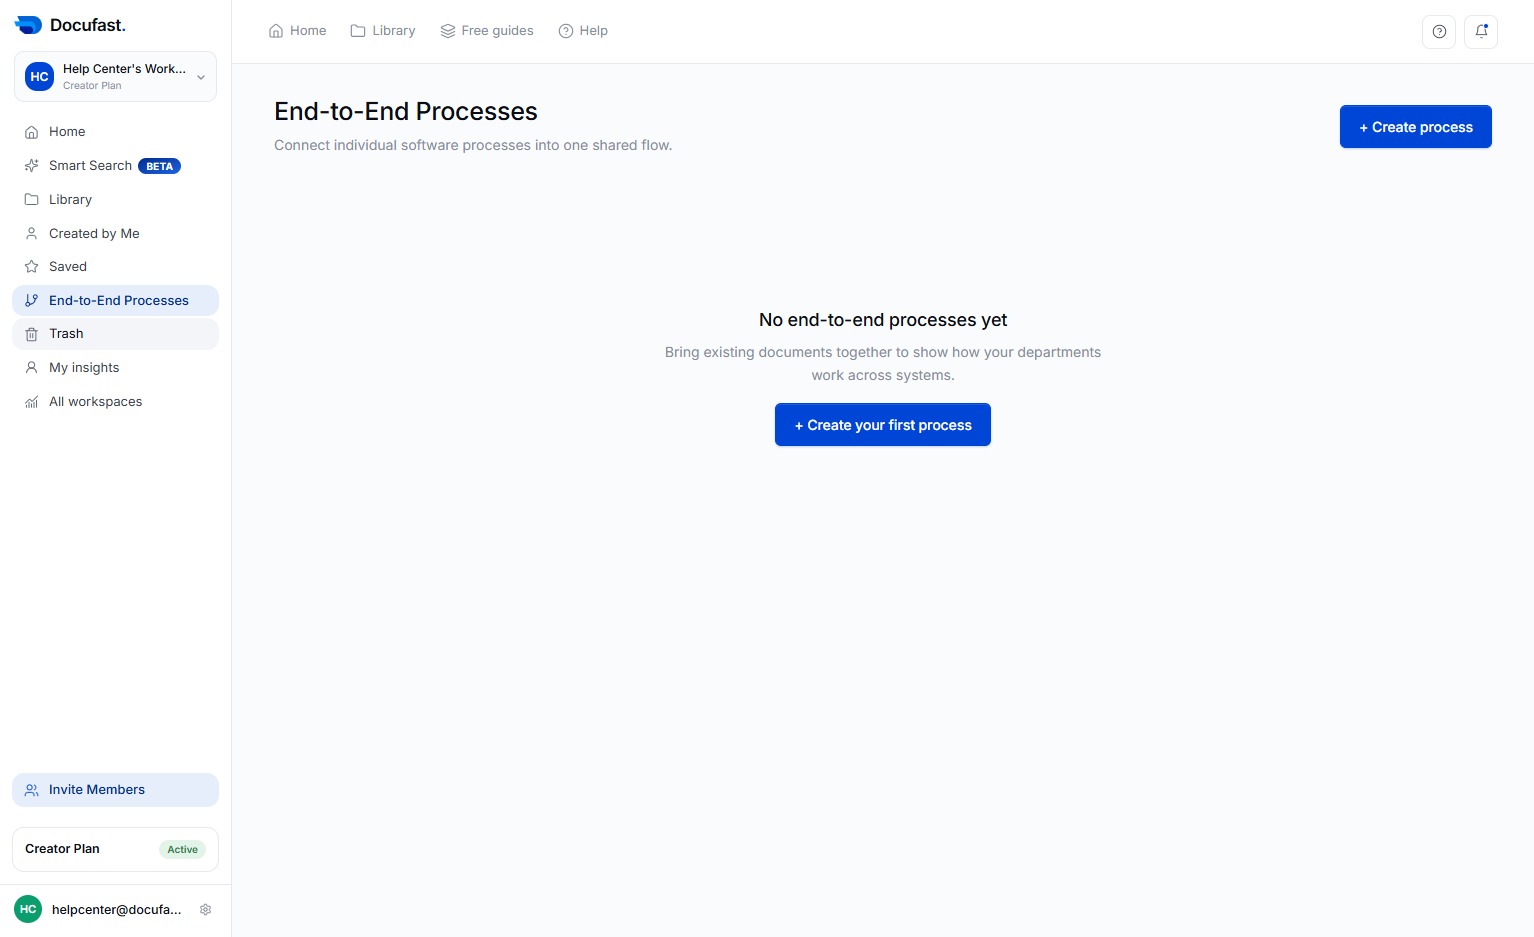
For the, End-to-End Processes it lets you connect several guides into one shared flow. It helps you document a workflow that spans multiple tools, add decisions that send people down different routes, and keep the whole journey in one place.
And for the Trash, it temporarily stores deleted documents. You can restore documents if needed or permanently delete them.
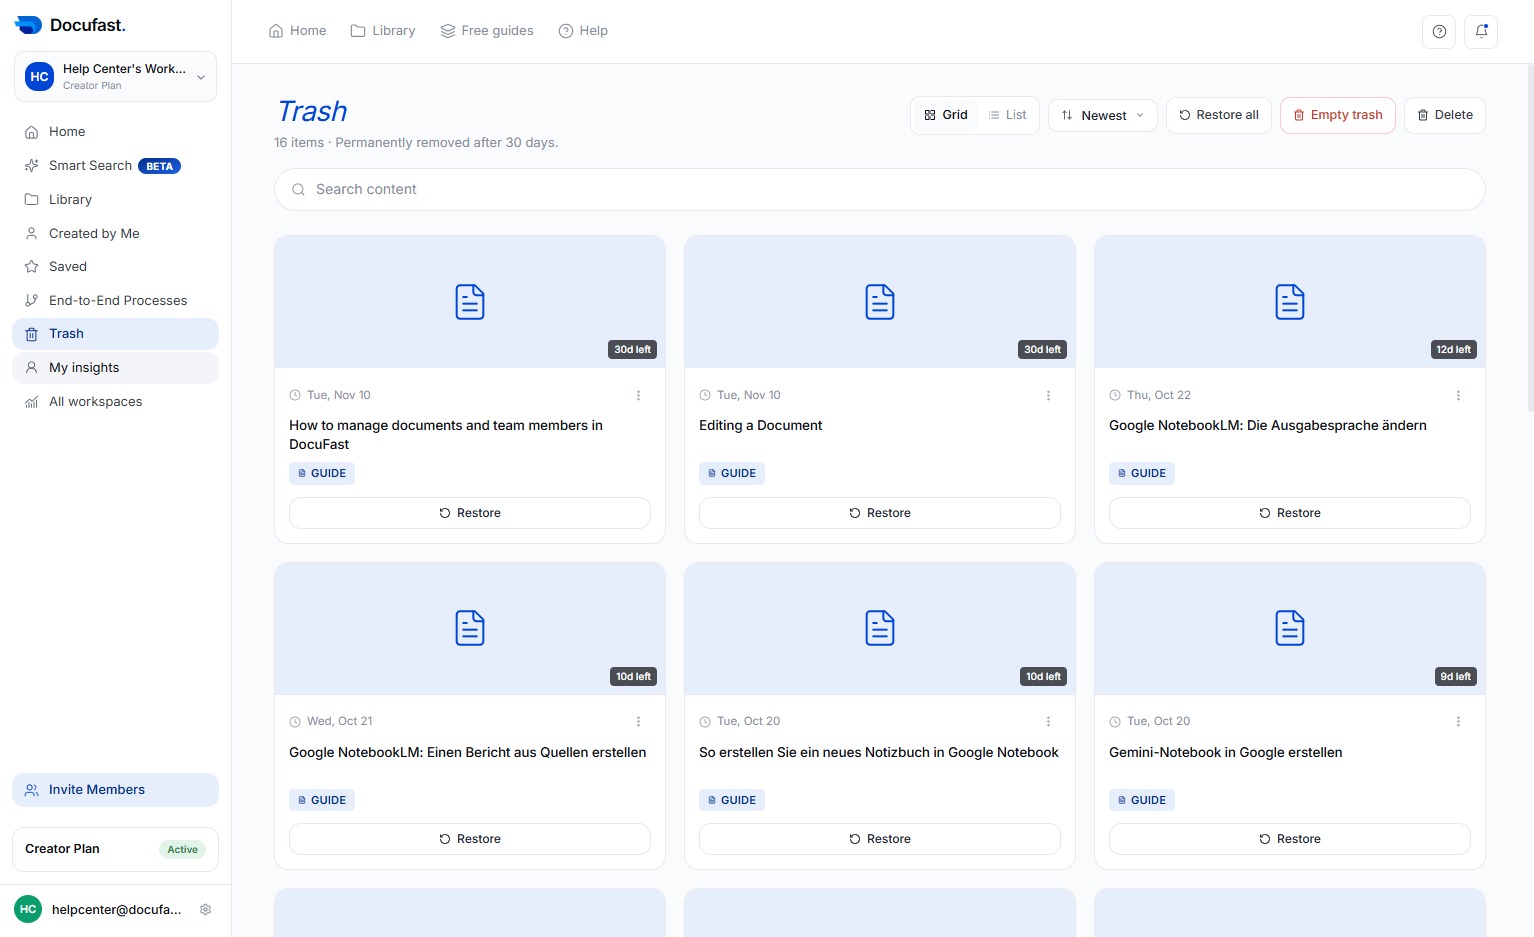
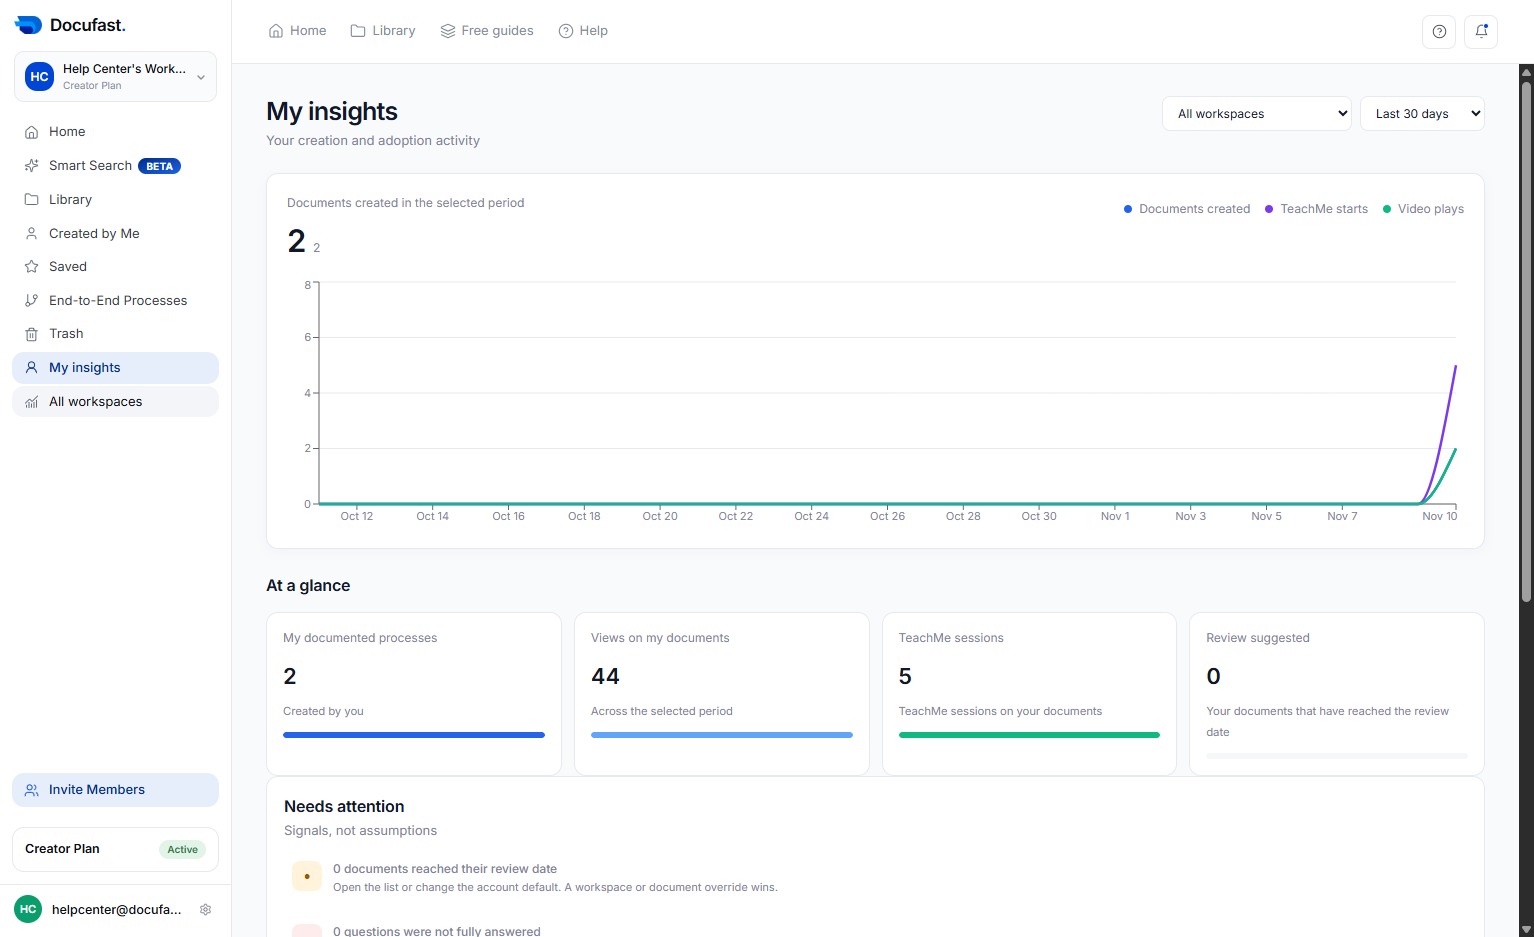
Let's now check My Insights. This feature allows you to view your personal analytics and insights within the application.
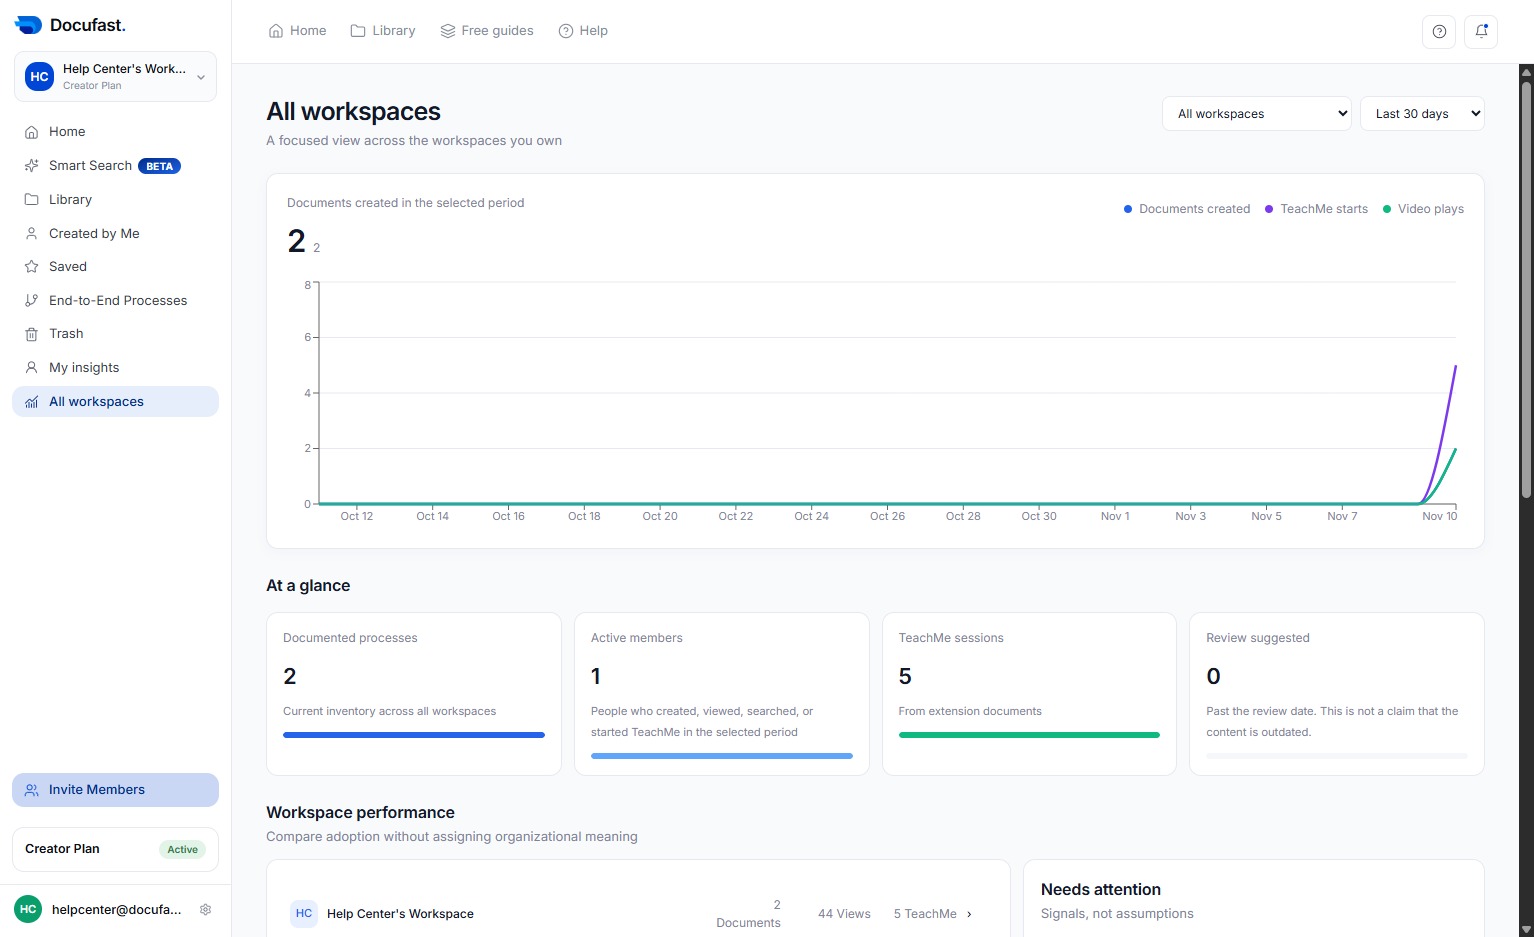
And for All Workspaces. This feature allows you to view analytics and insights across all the workspaces you currently have access to.
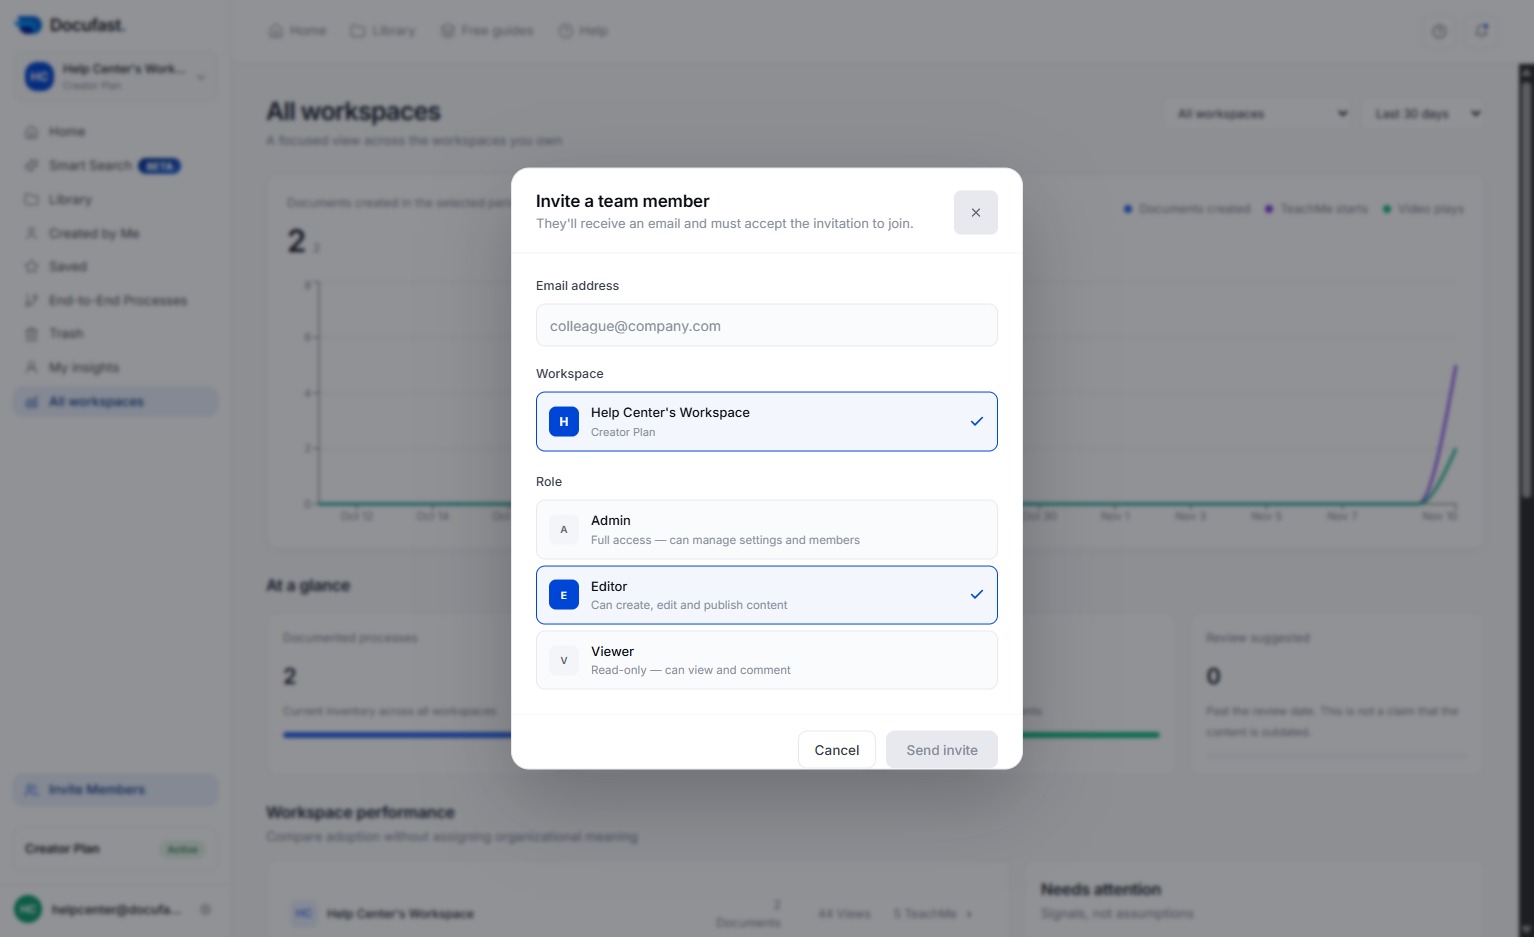
Okay, so now, let's select Invite a Team Member. This will open the invitation form, where you can add new collaborators to your workspace.
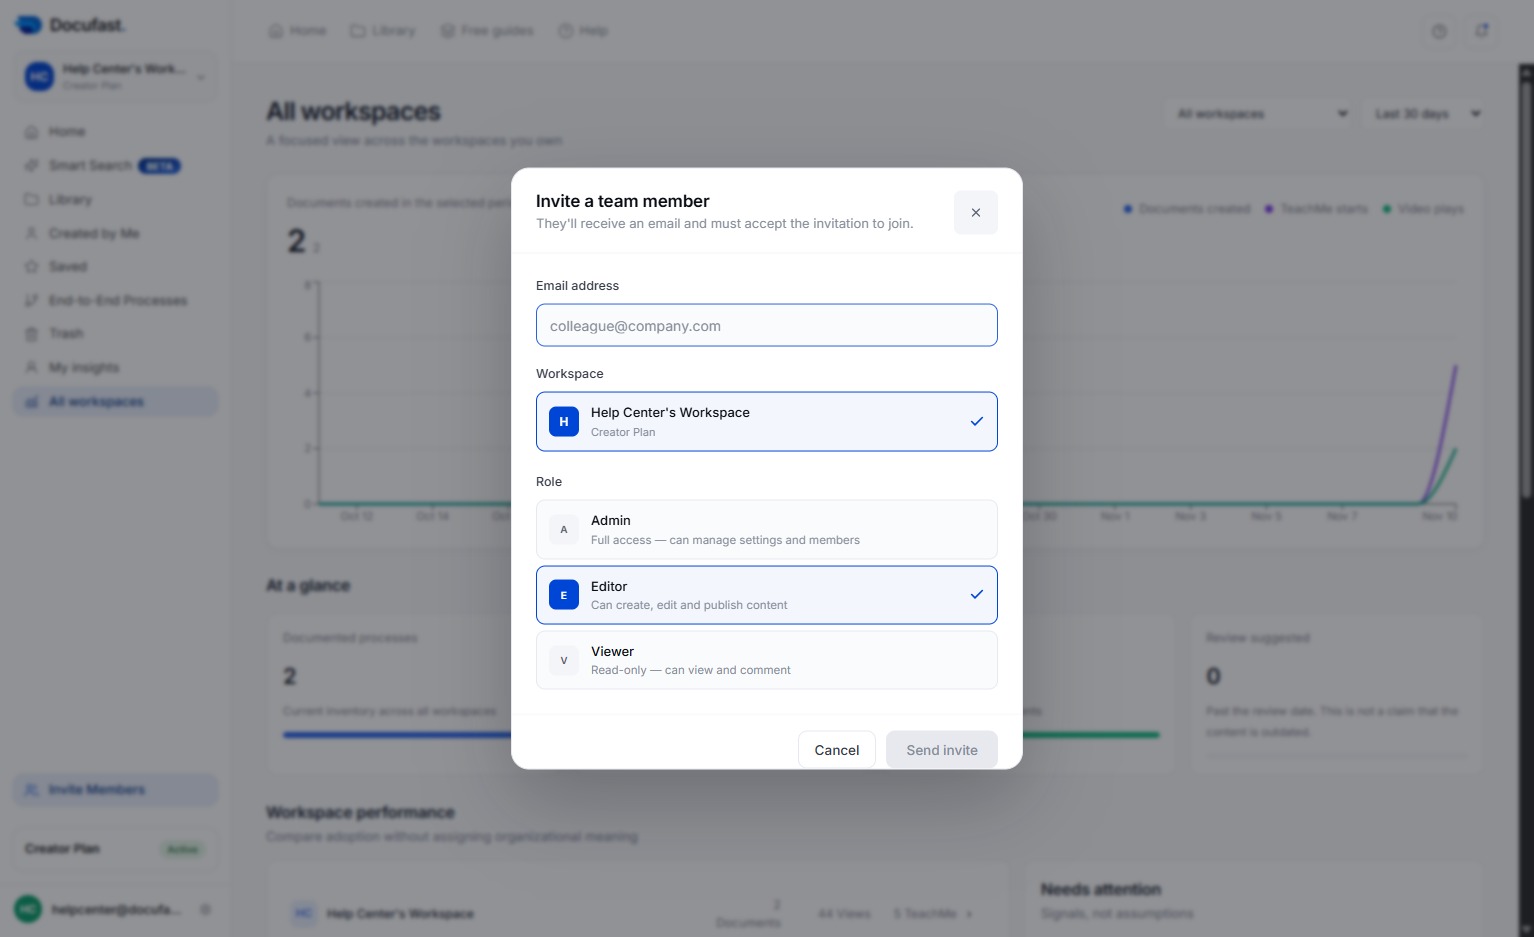
Choose the role this contact will have in the workspace.
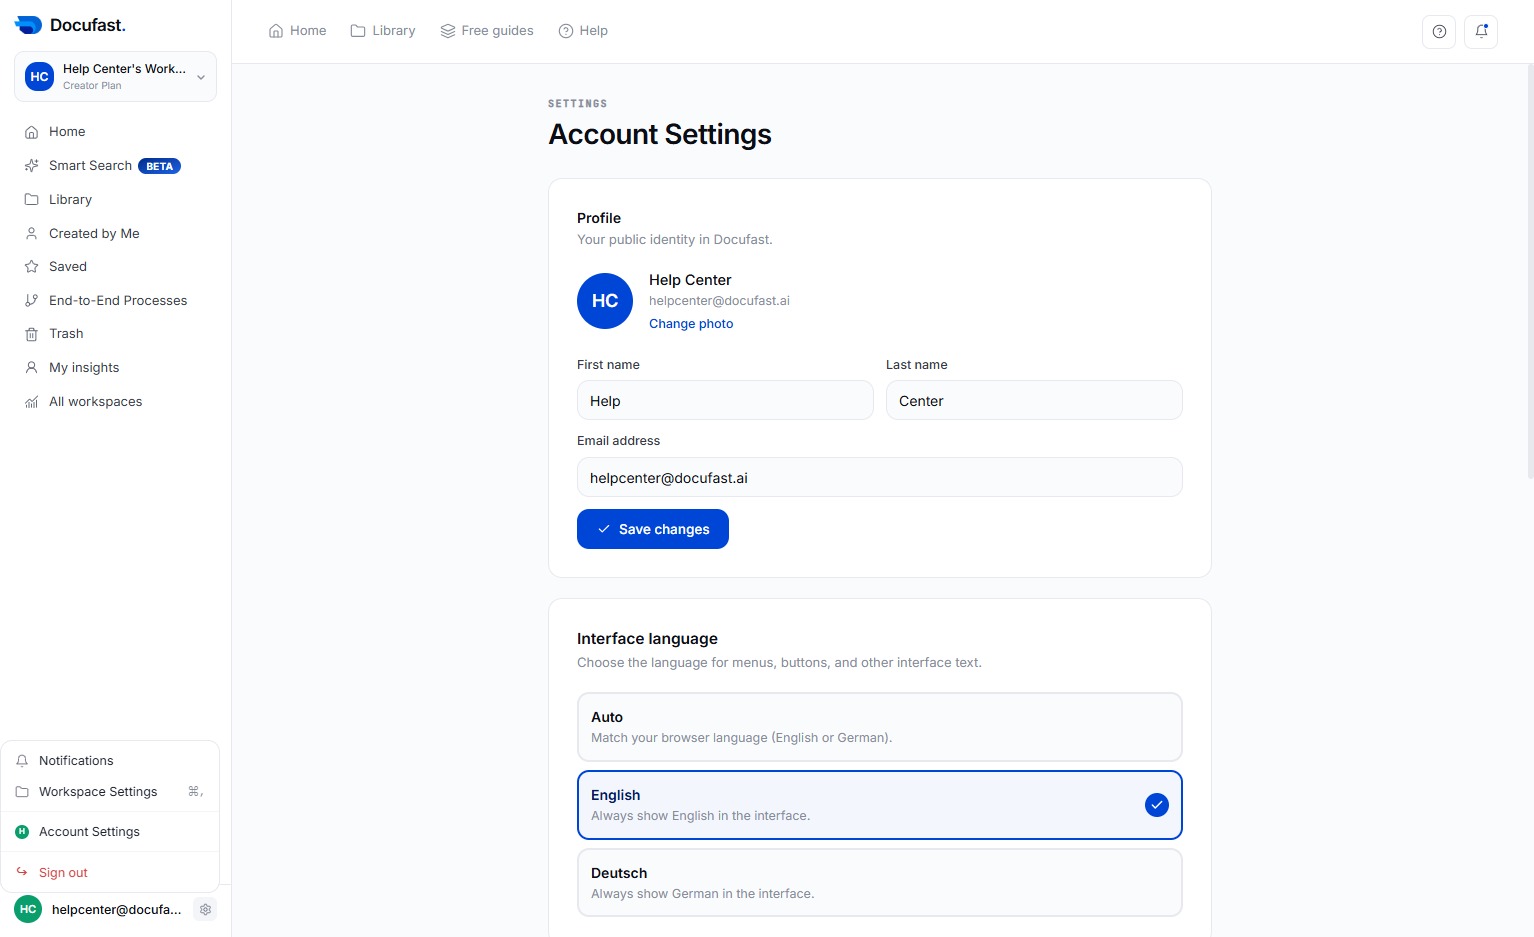
Select your Profile to change your preferred language, update your name and email, and manage guide narration settings. You can also check your current plan in this section.
Now, click the Settings button beside your Profile.
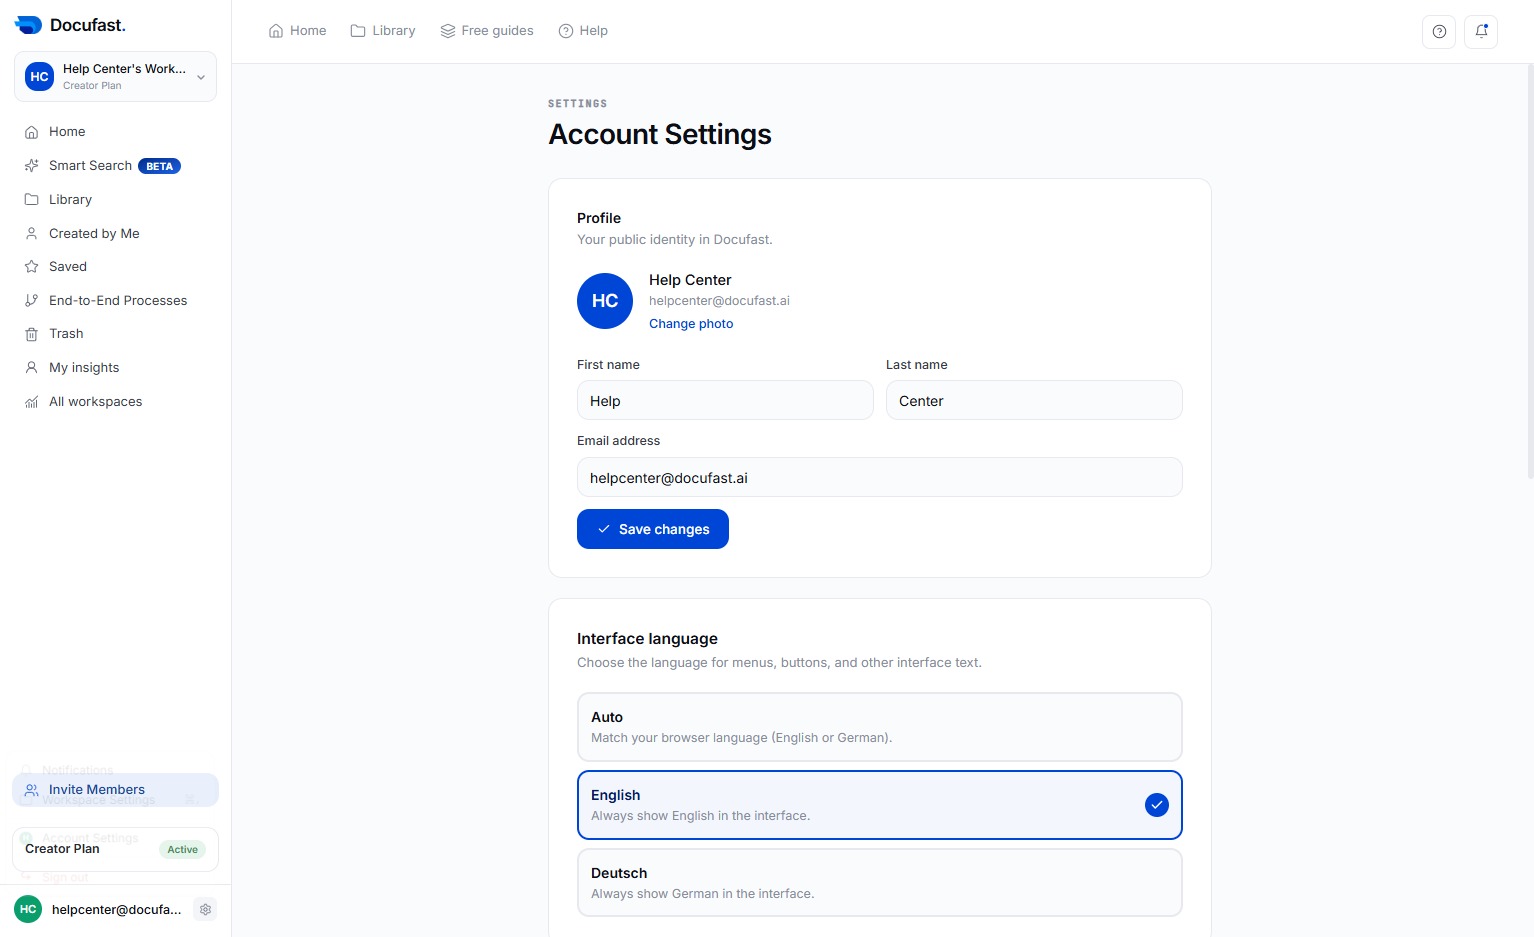
Once you click the Settings button, four options will appear: Notifications, where you can view important updates; Workspace Settings, where you can manage workspace preferences and team permissions; Account Settings, where you can update your personal information and account preferences; and Sign Out, where you can safely log out of your account.