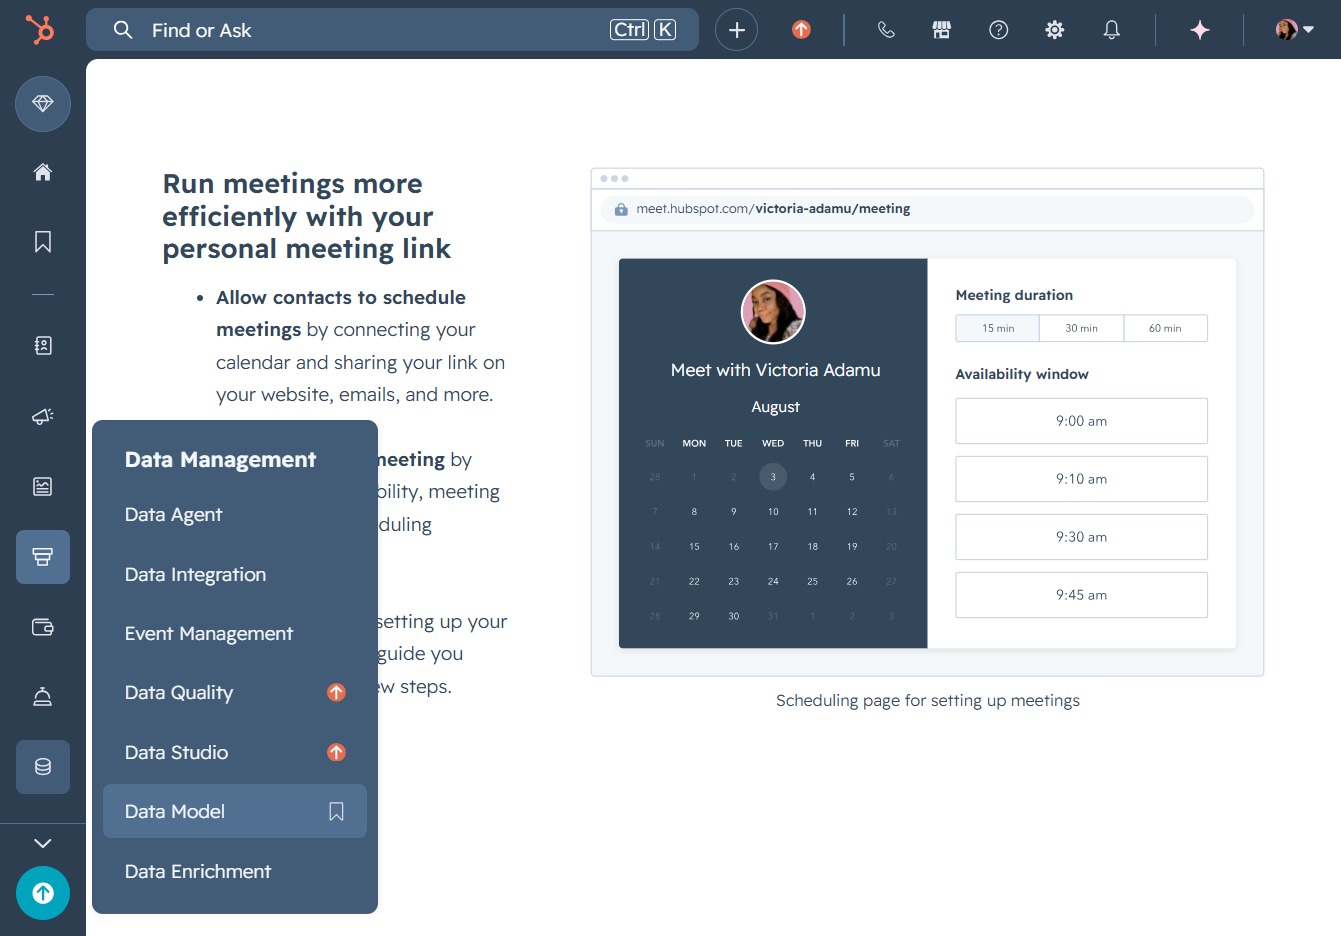
Click here to start connecting channels TEST
Click this link to access options for connecting your first channel, enabling you to bring conversations directly to your inbox. TEST

Loading screenshot…
100%
Step-by-step guide covering: Click here to start connecting channels TEST; TEST; Click here to bookmark an item; Click the Contacts option.
 viktoria
Click this link to access options for connecting your first channel, enabling you to bring conversations directly to your inbox. TEST
TEST

Clicking this option allows you to select an item in the navigation to add it as a bookmark for quick access in HubSpot.

Selecting 'Contacts' will open the section where you can manage and view your contacts and their details.

Error
This will navigate you to the Companies section, where you can manage and view your company profiles and related information.

Selecting the Deals link will take you to the Deals section of the CRM, where you can manage and track your sales opportunities and associated activities.

Tip
This action will navigate you to the Tickets section, where you can view and manage your ticketing inquiries and status.
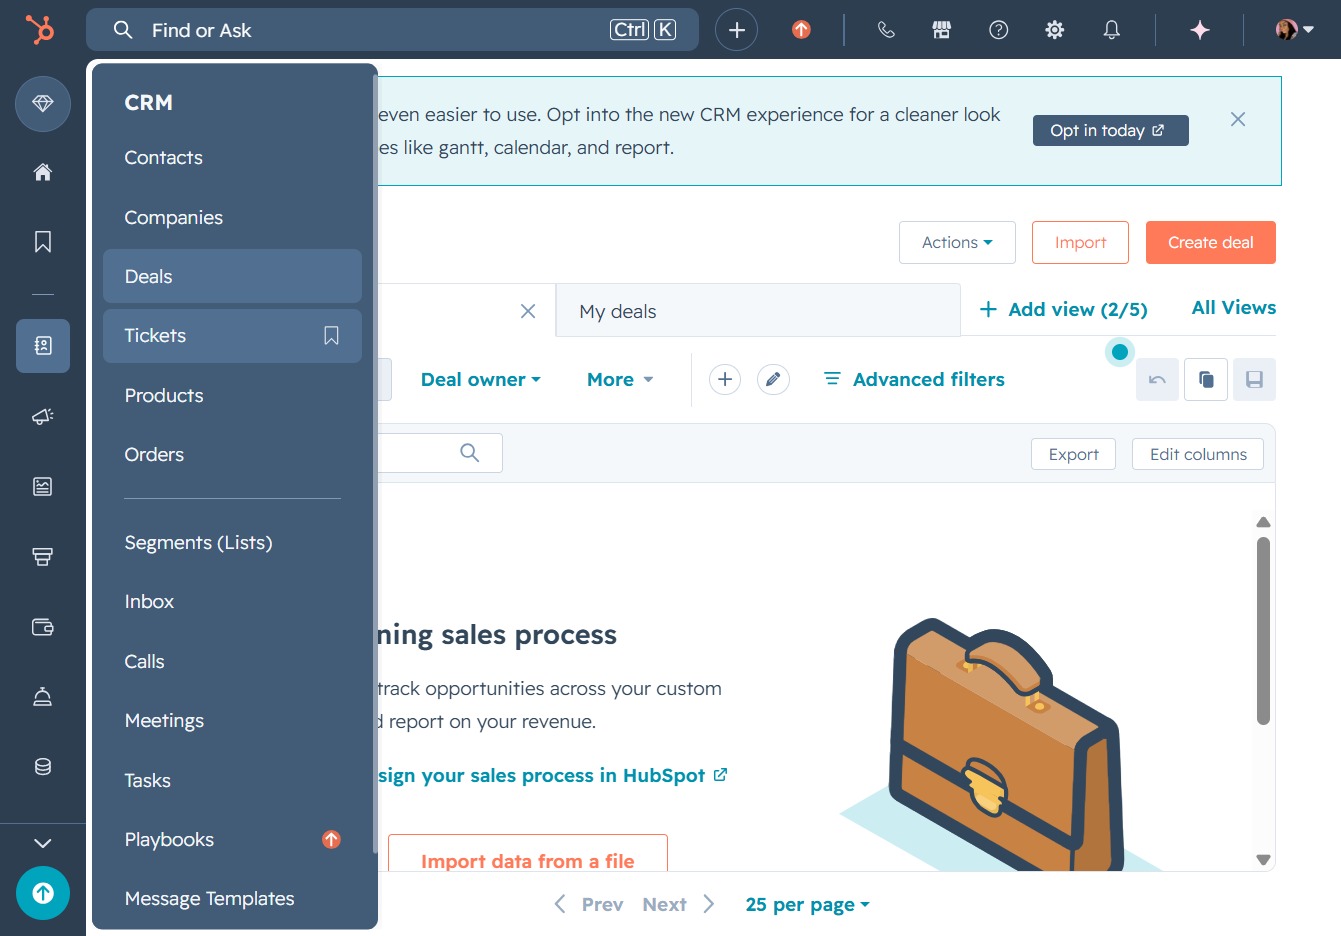
This will navigate you to the Products section, where you can view and manage your products within the CRM.

This will navigate you to the Orders section where you can manage and review all your customer orders. Here, you can add new orders or view existing ones.

This will open the Segments (Lists) section where you can manage and view different segments of your orders in the CRM.

This will take you to your Inbox, where you can view and manage your messages and communications.

This will open the Meetings Scheduler interface, where you can manage and organize meetings with your contacts.

Clicking this link will direct you to the scheduling page where you can set up meeting details and availability.
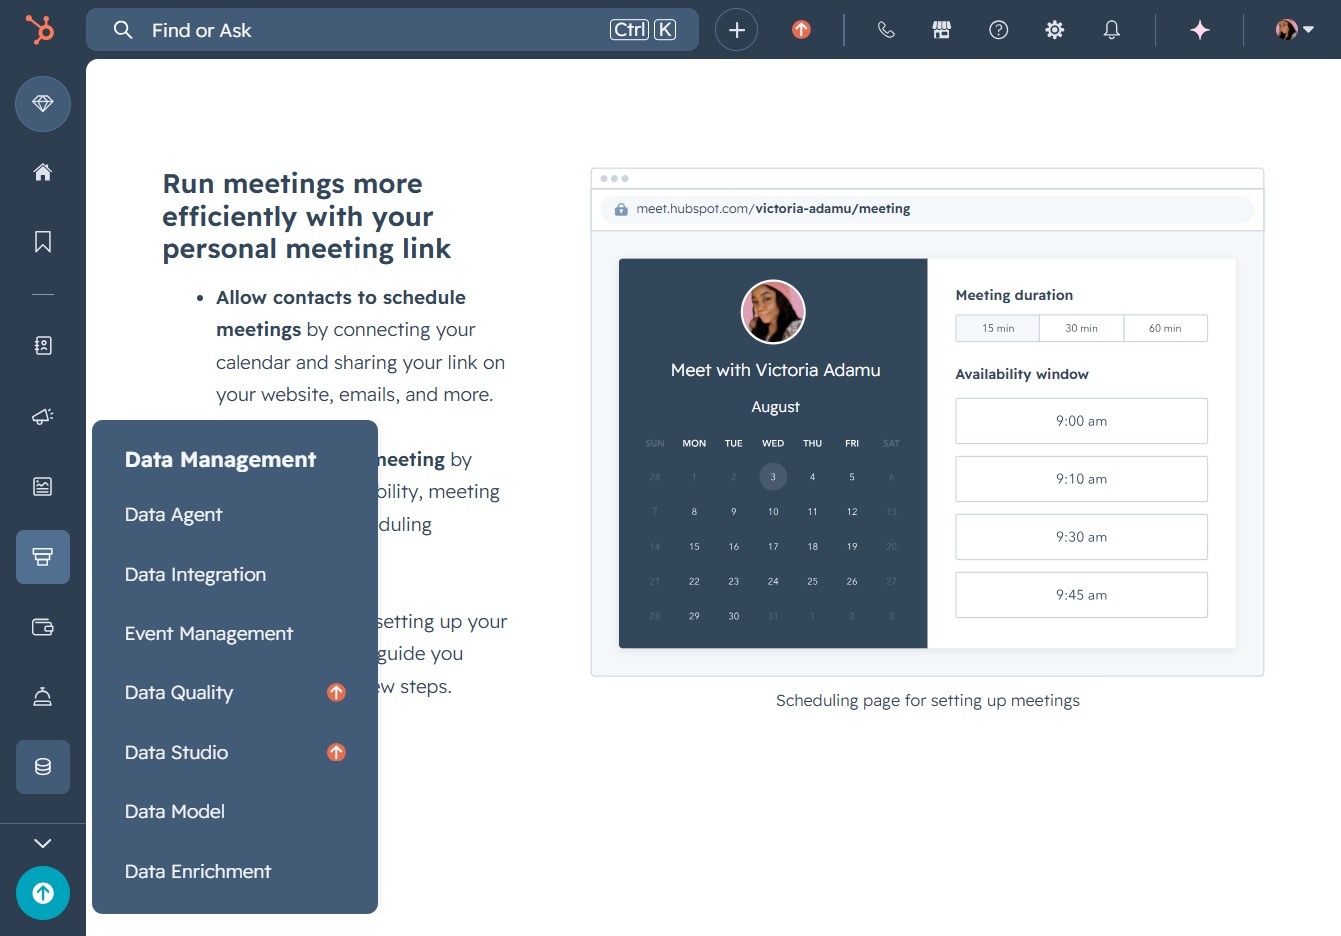
Selecting the 'Data Model' option will display the configuration settings related to your data models, allowing you to manage and edit your data structure effectively.