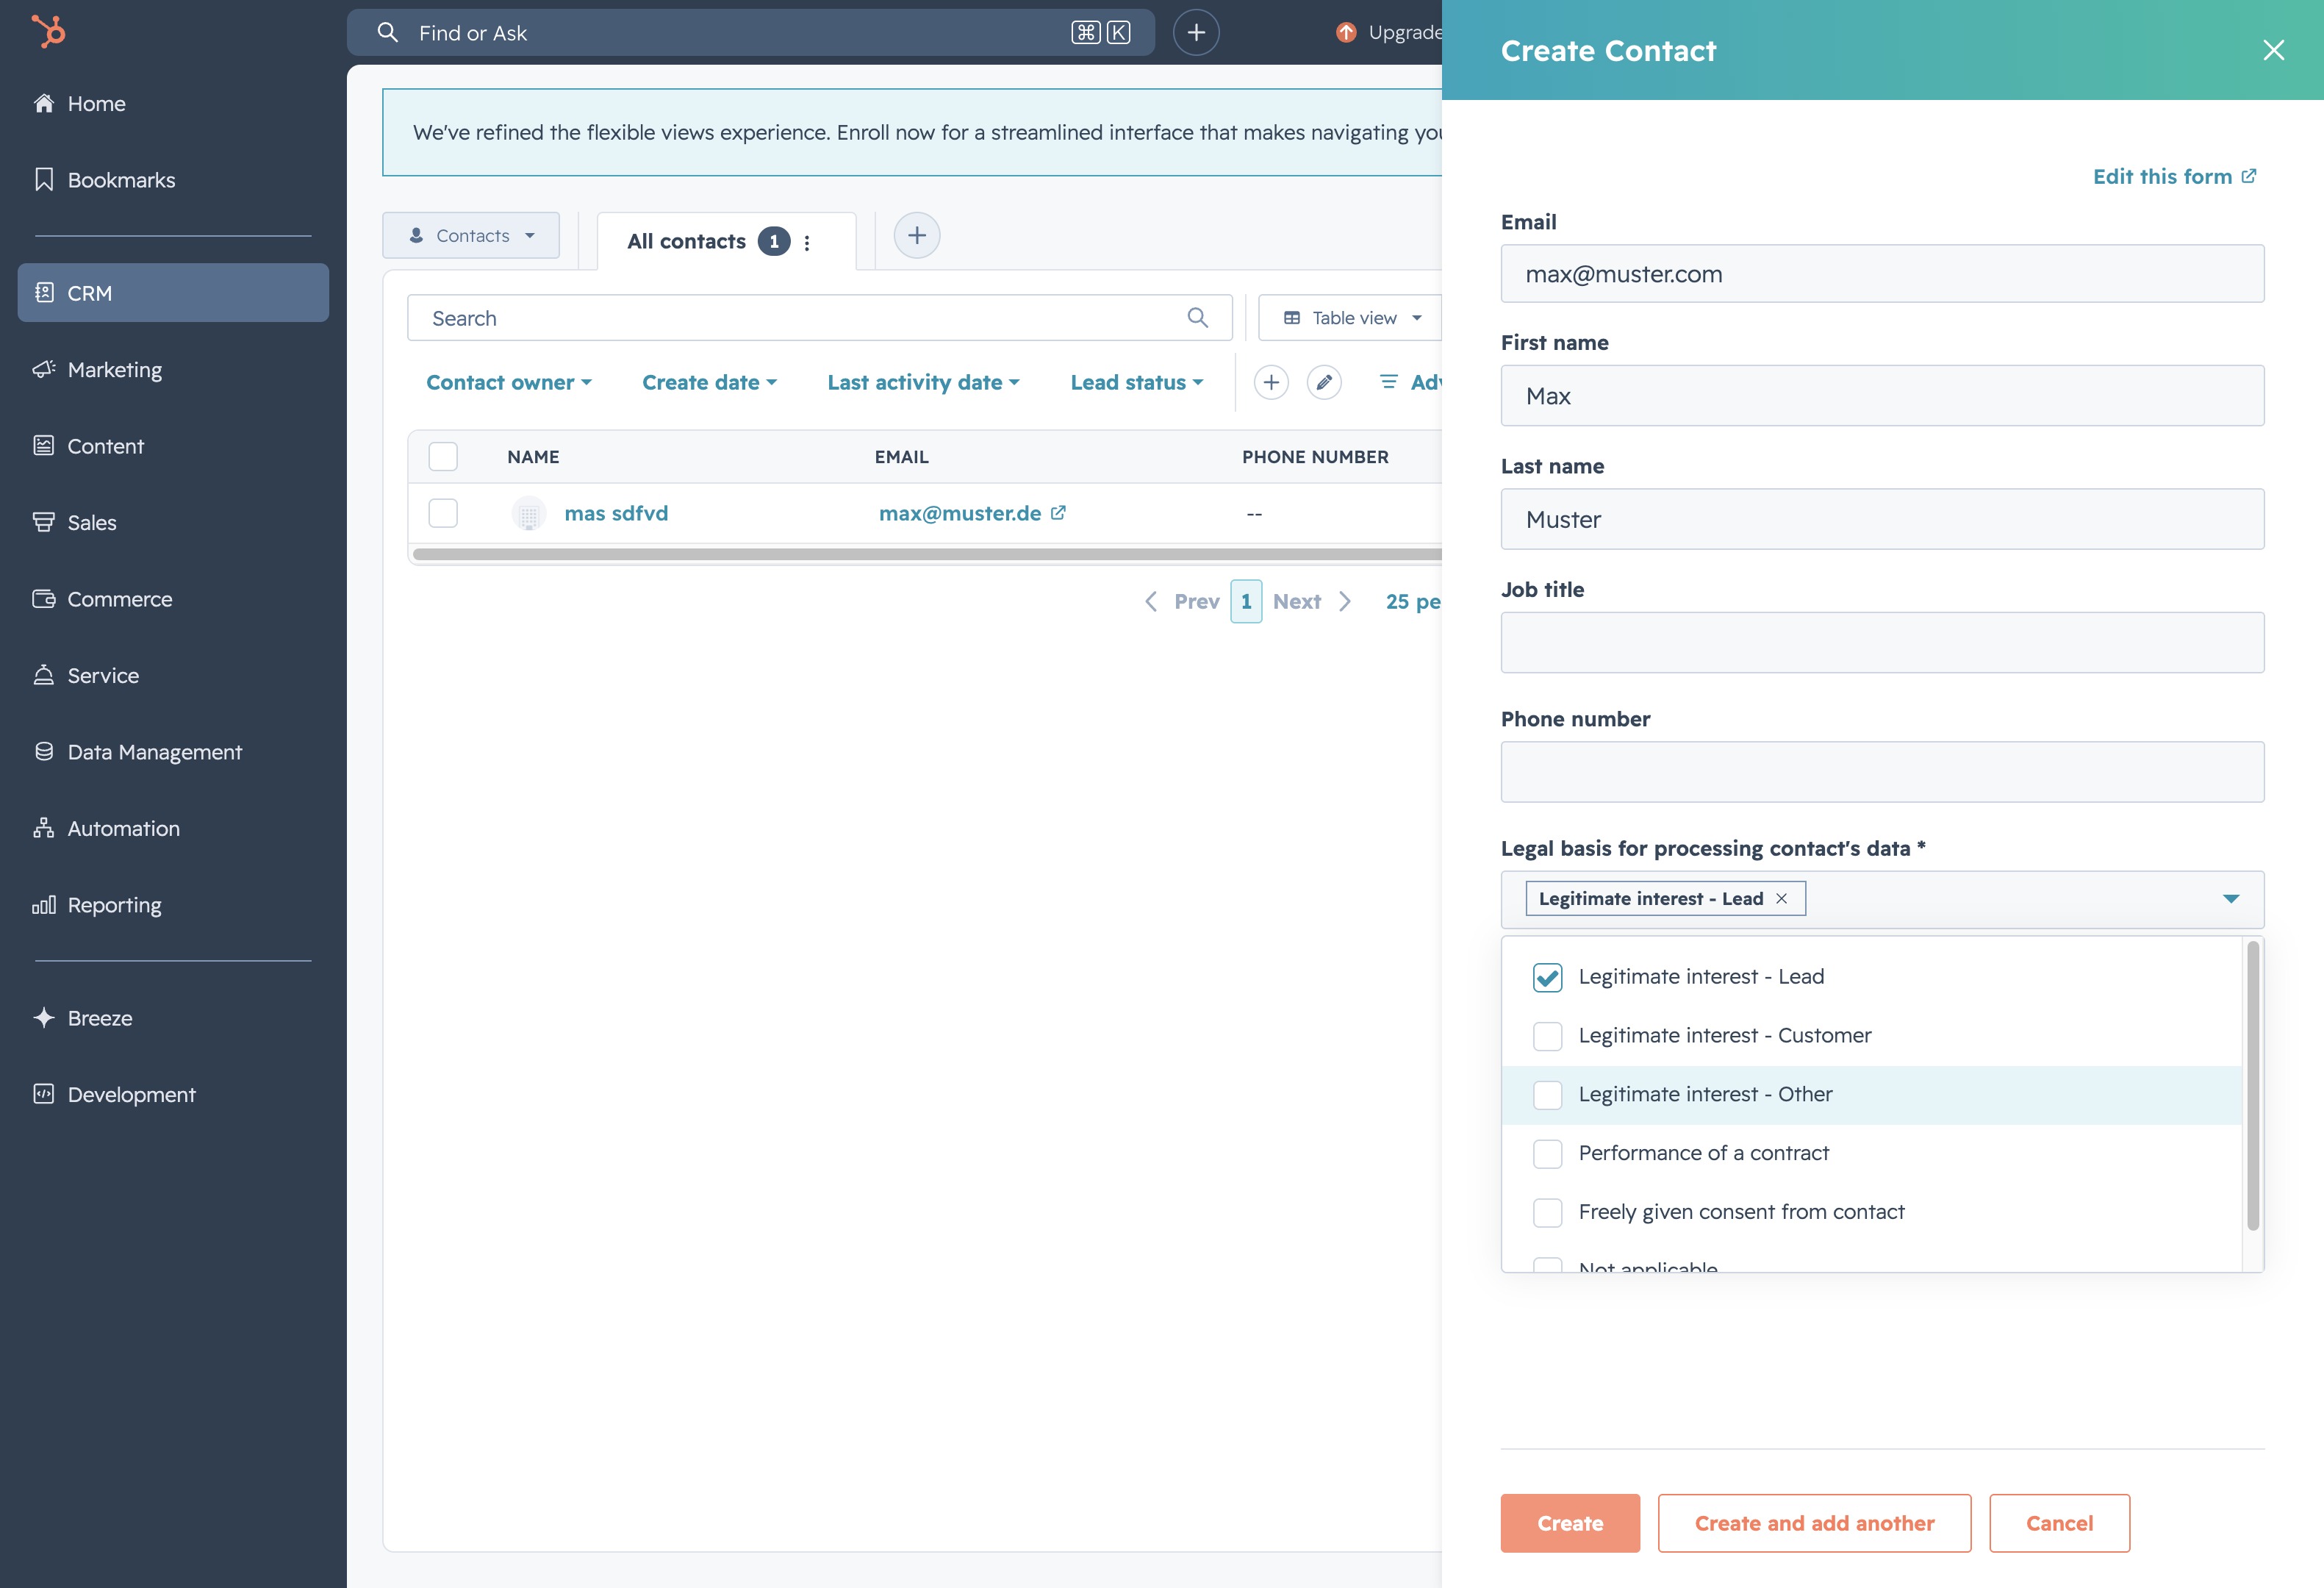
Klicke auf CRM
Durch das Klicken auf den Menüpunkt 'CRM' gelangst du zu den Kundenbeziehungen und -interaktionen, wo du Informationen zu Kontakten, Deals und Aktivitäten verwalten kannst.
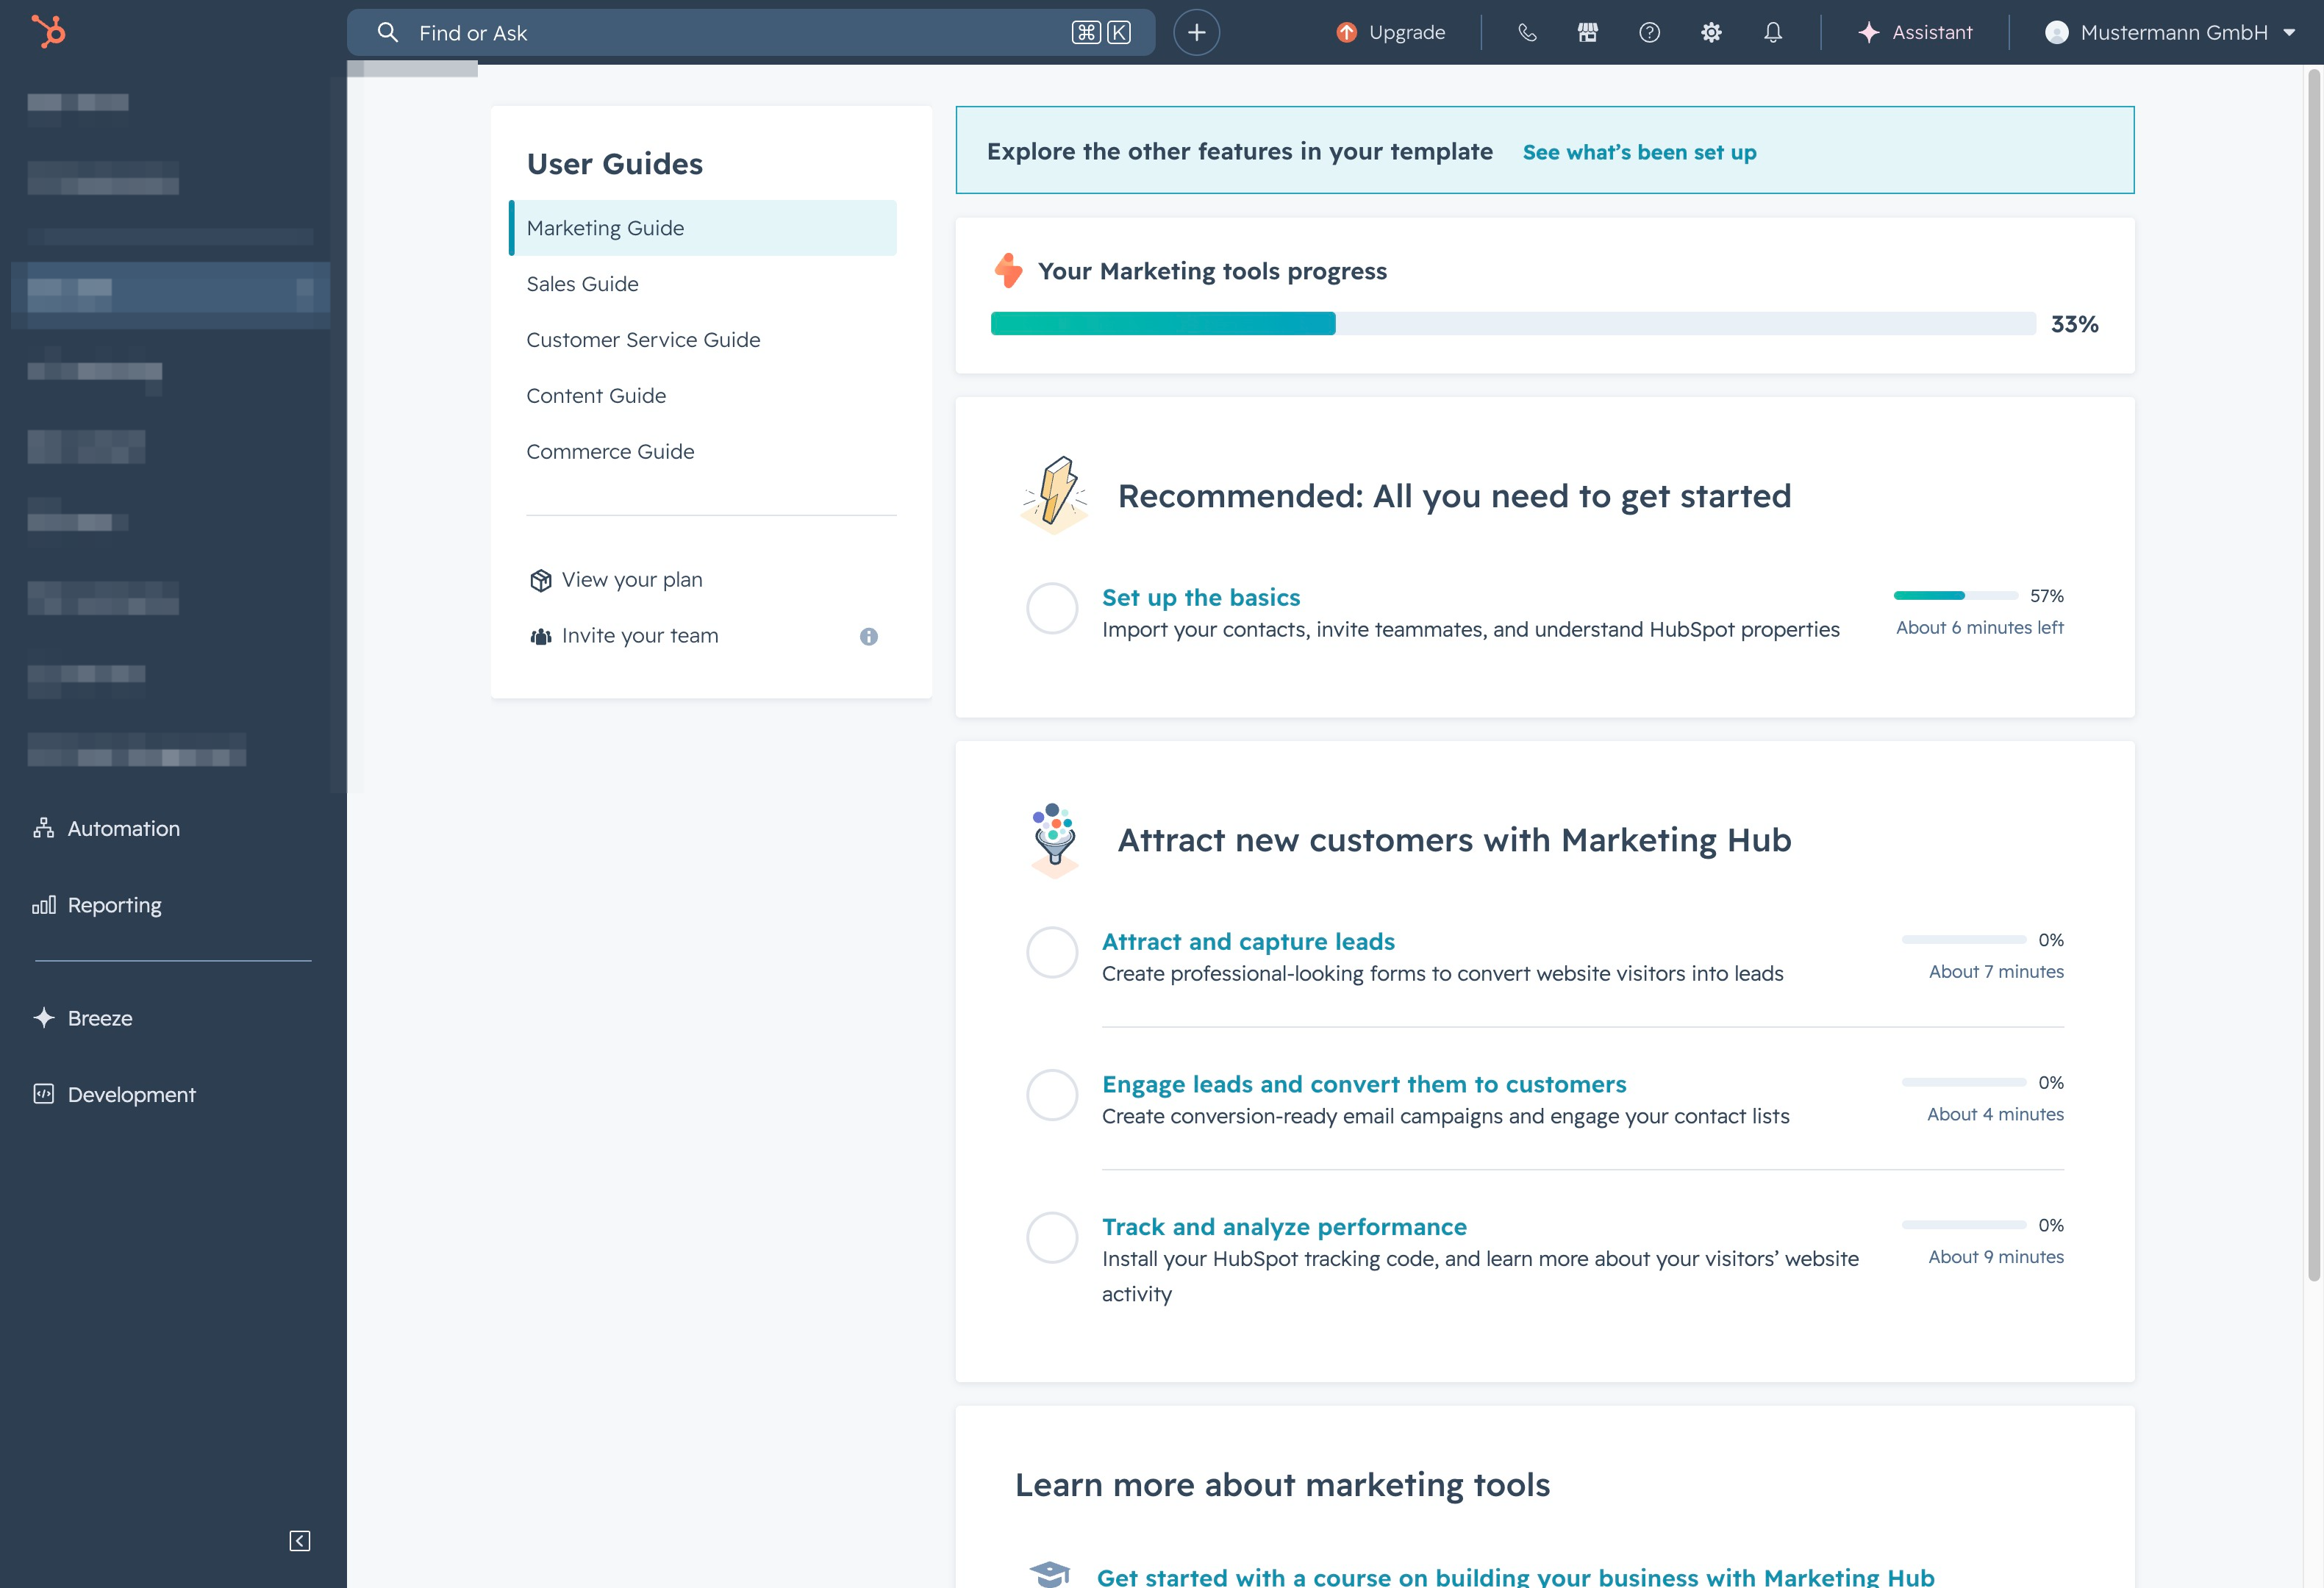
Loading screenshot…
100%
In this how-to guide, you'll learn how to create and manage contacts in HubSpot's CRM system, from accessing the correct menu to filling out essential details like email, names,…
 brian.annan
In this how-to guide, you'll learn how to create and manage contacts in HubSpot's CRM system, from accessing the correct menu to filling out essential details like email, names, and job titles. Follow along to effectively organize your contacts and ensure compliance with data protection regulations.
Durch das Klicken auf den Menüpunkt 'CRM' gelangst du zu den Kundenbeziehungen und -interaktionen, wo du Informationen zu Kontakten, Deals und Aktivitäten verwalten kannst.
Nachdem Sie auf "Kontakte" geklickt haben, gelangen Sie zu einer Übersicht Ihrer Kontaktliste, wo Sie neue Kontakte hinzufügen oder bestehende verwalten können.
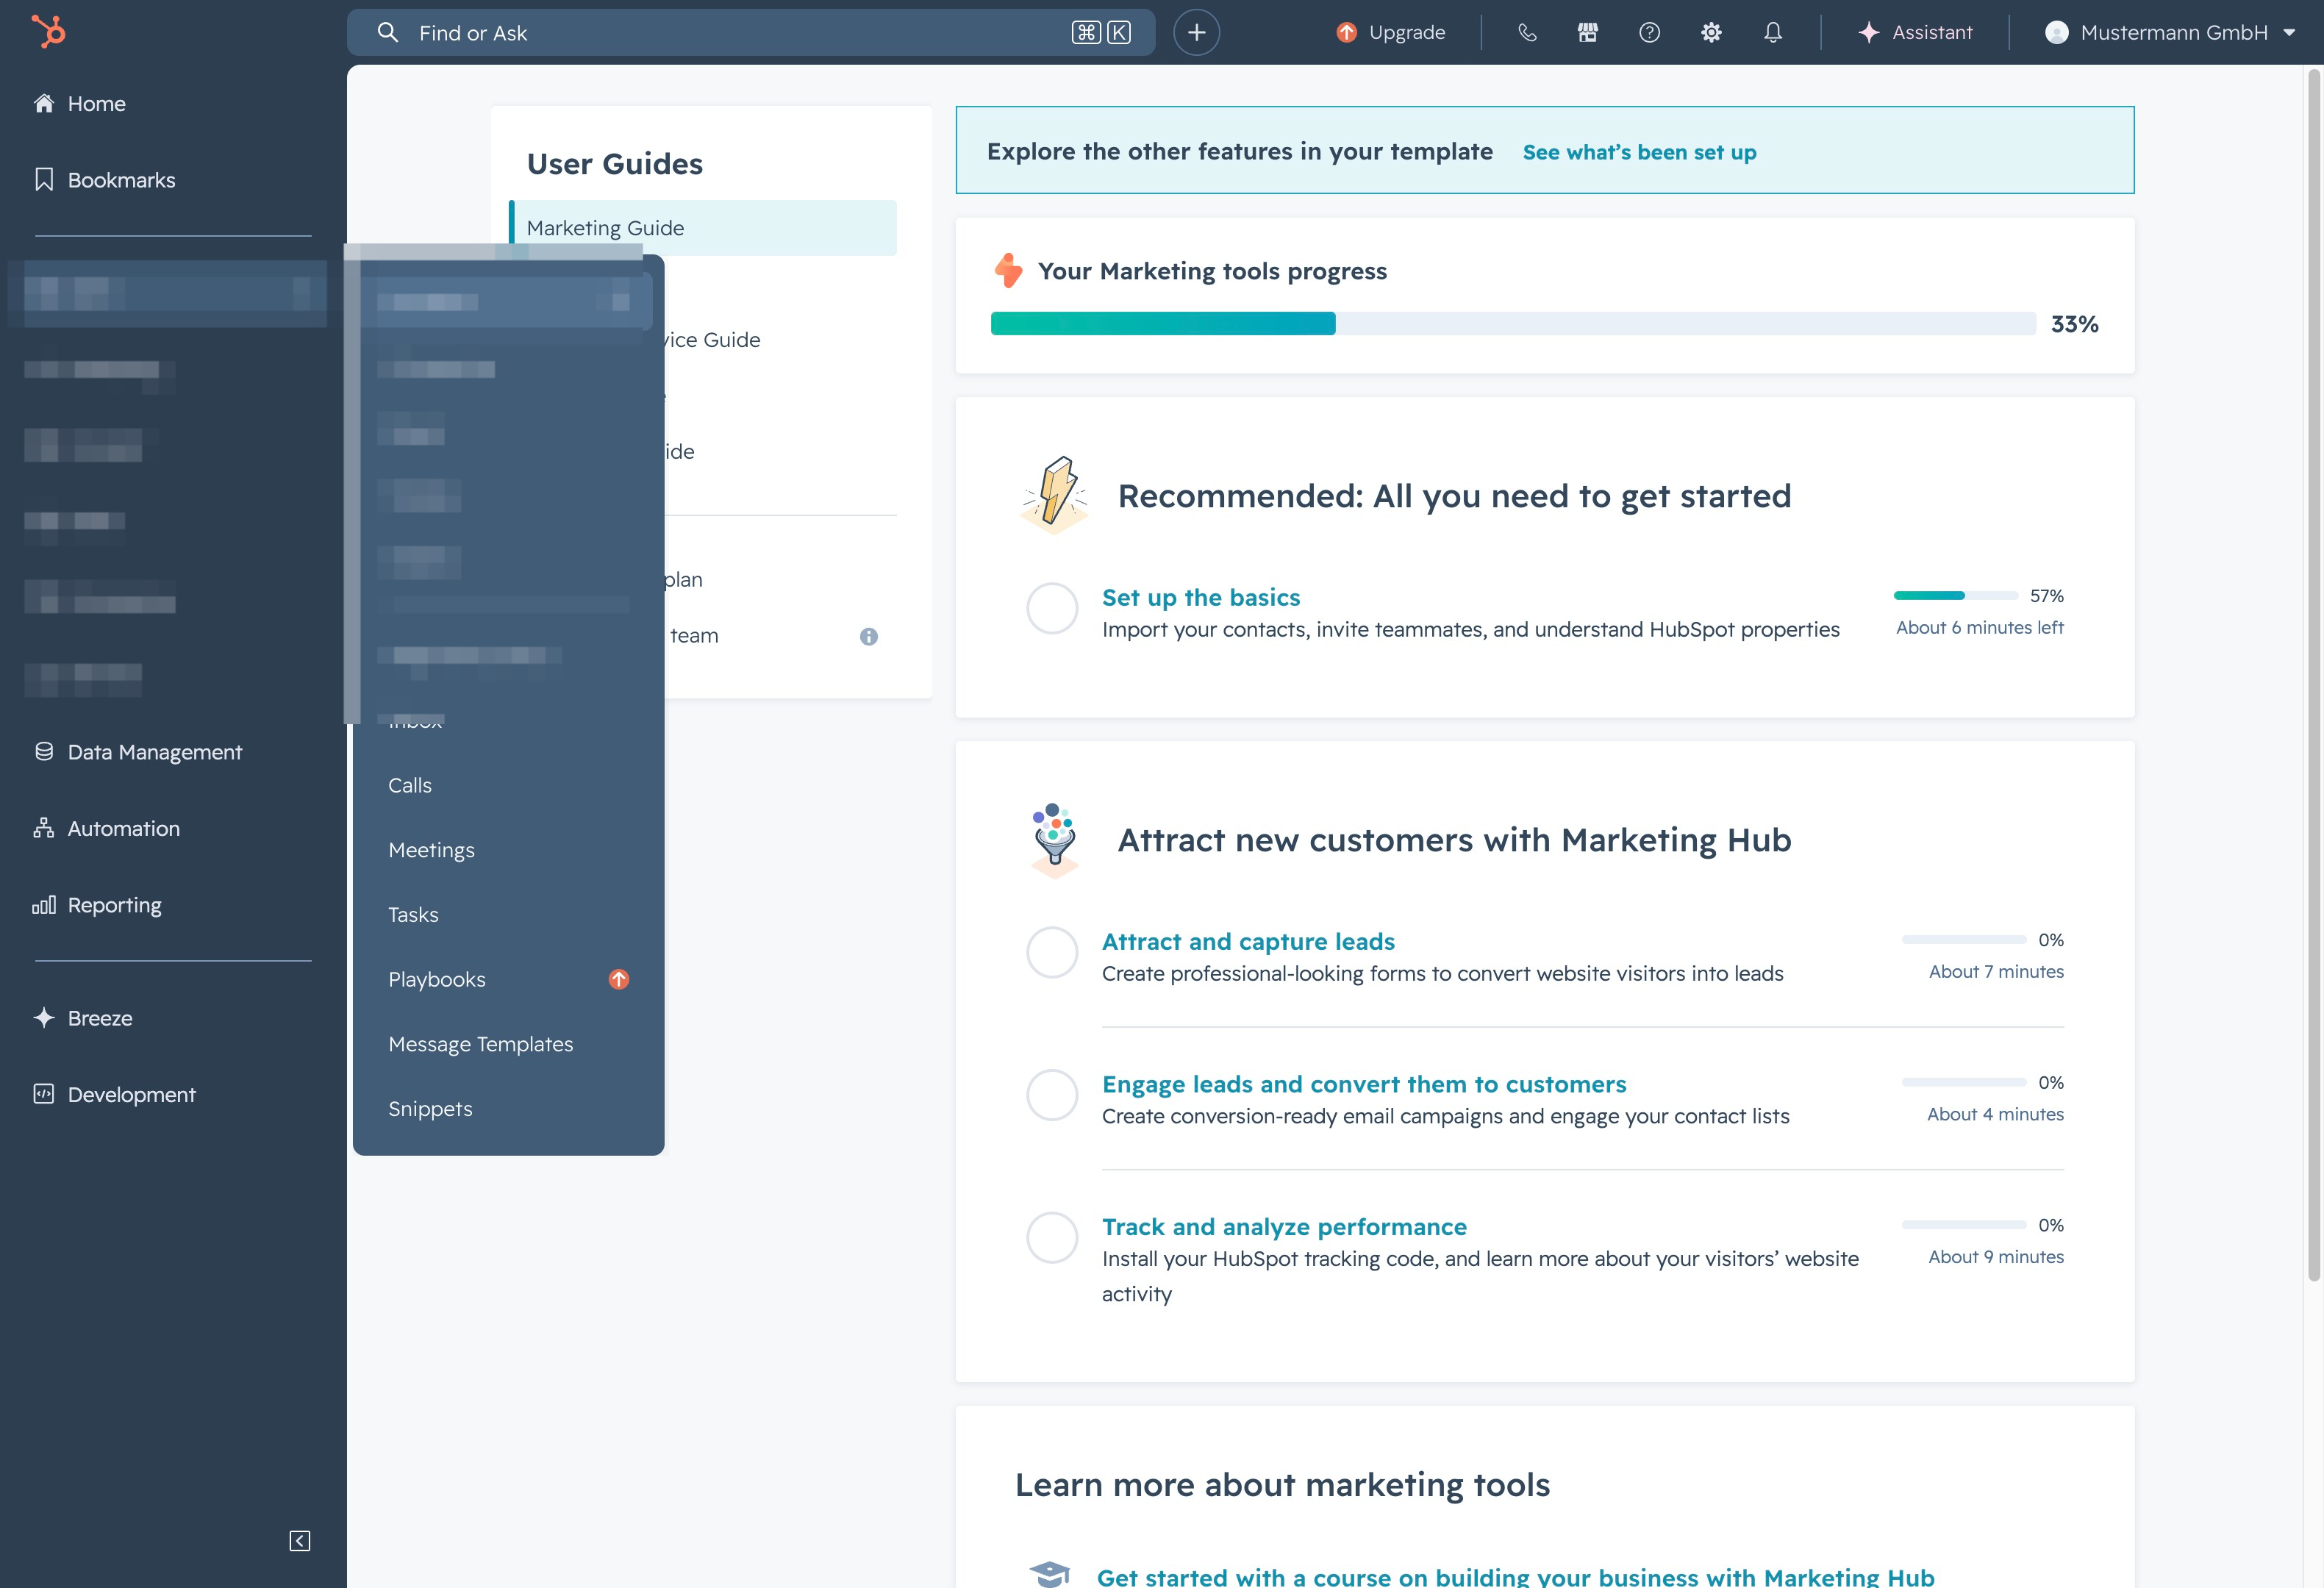
This action opens a form where you can enter the details of new contacts to add to your CRM database.
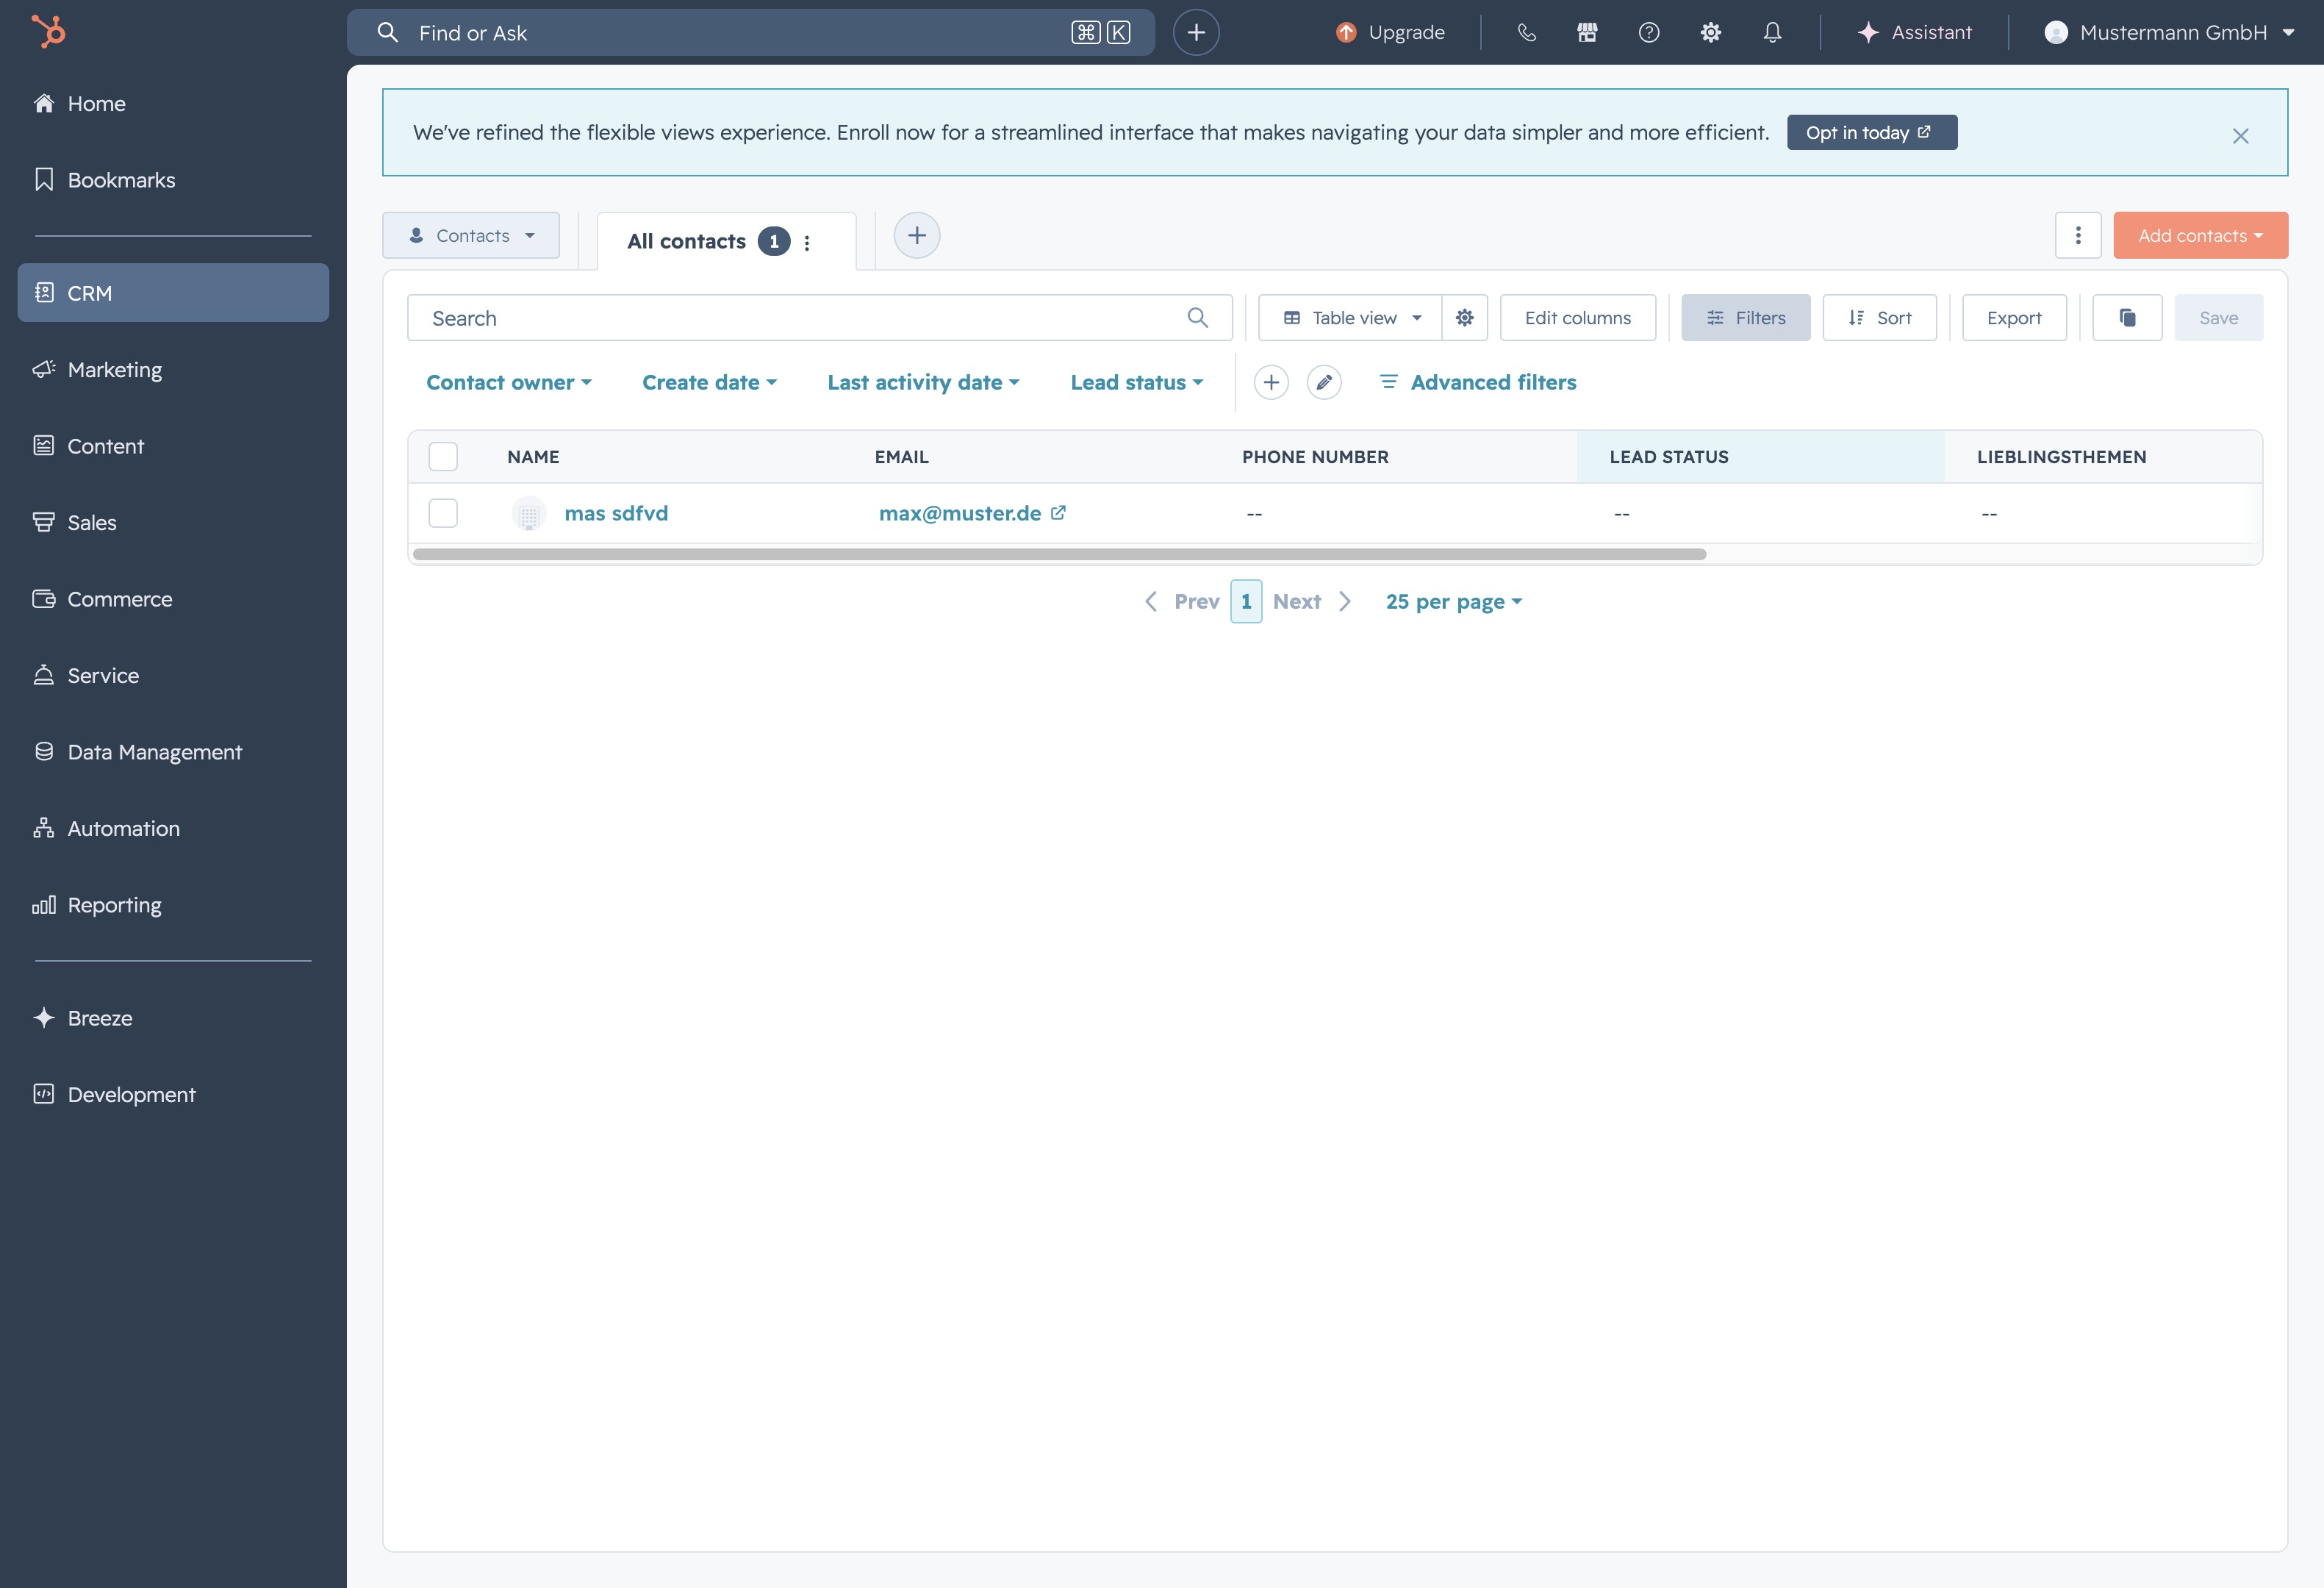
After clicking, a new form will appear allowing you to enter details for a new contact or entry in the CRM system.

Selecting this option opens the 'Create Contact' form where you can enter the new contact's email, first name, and last name.
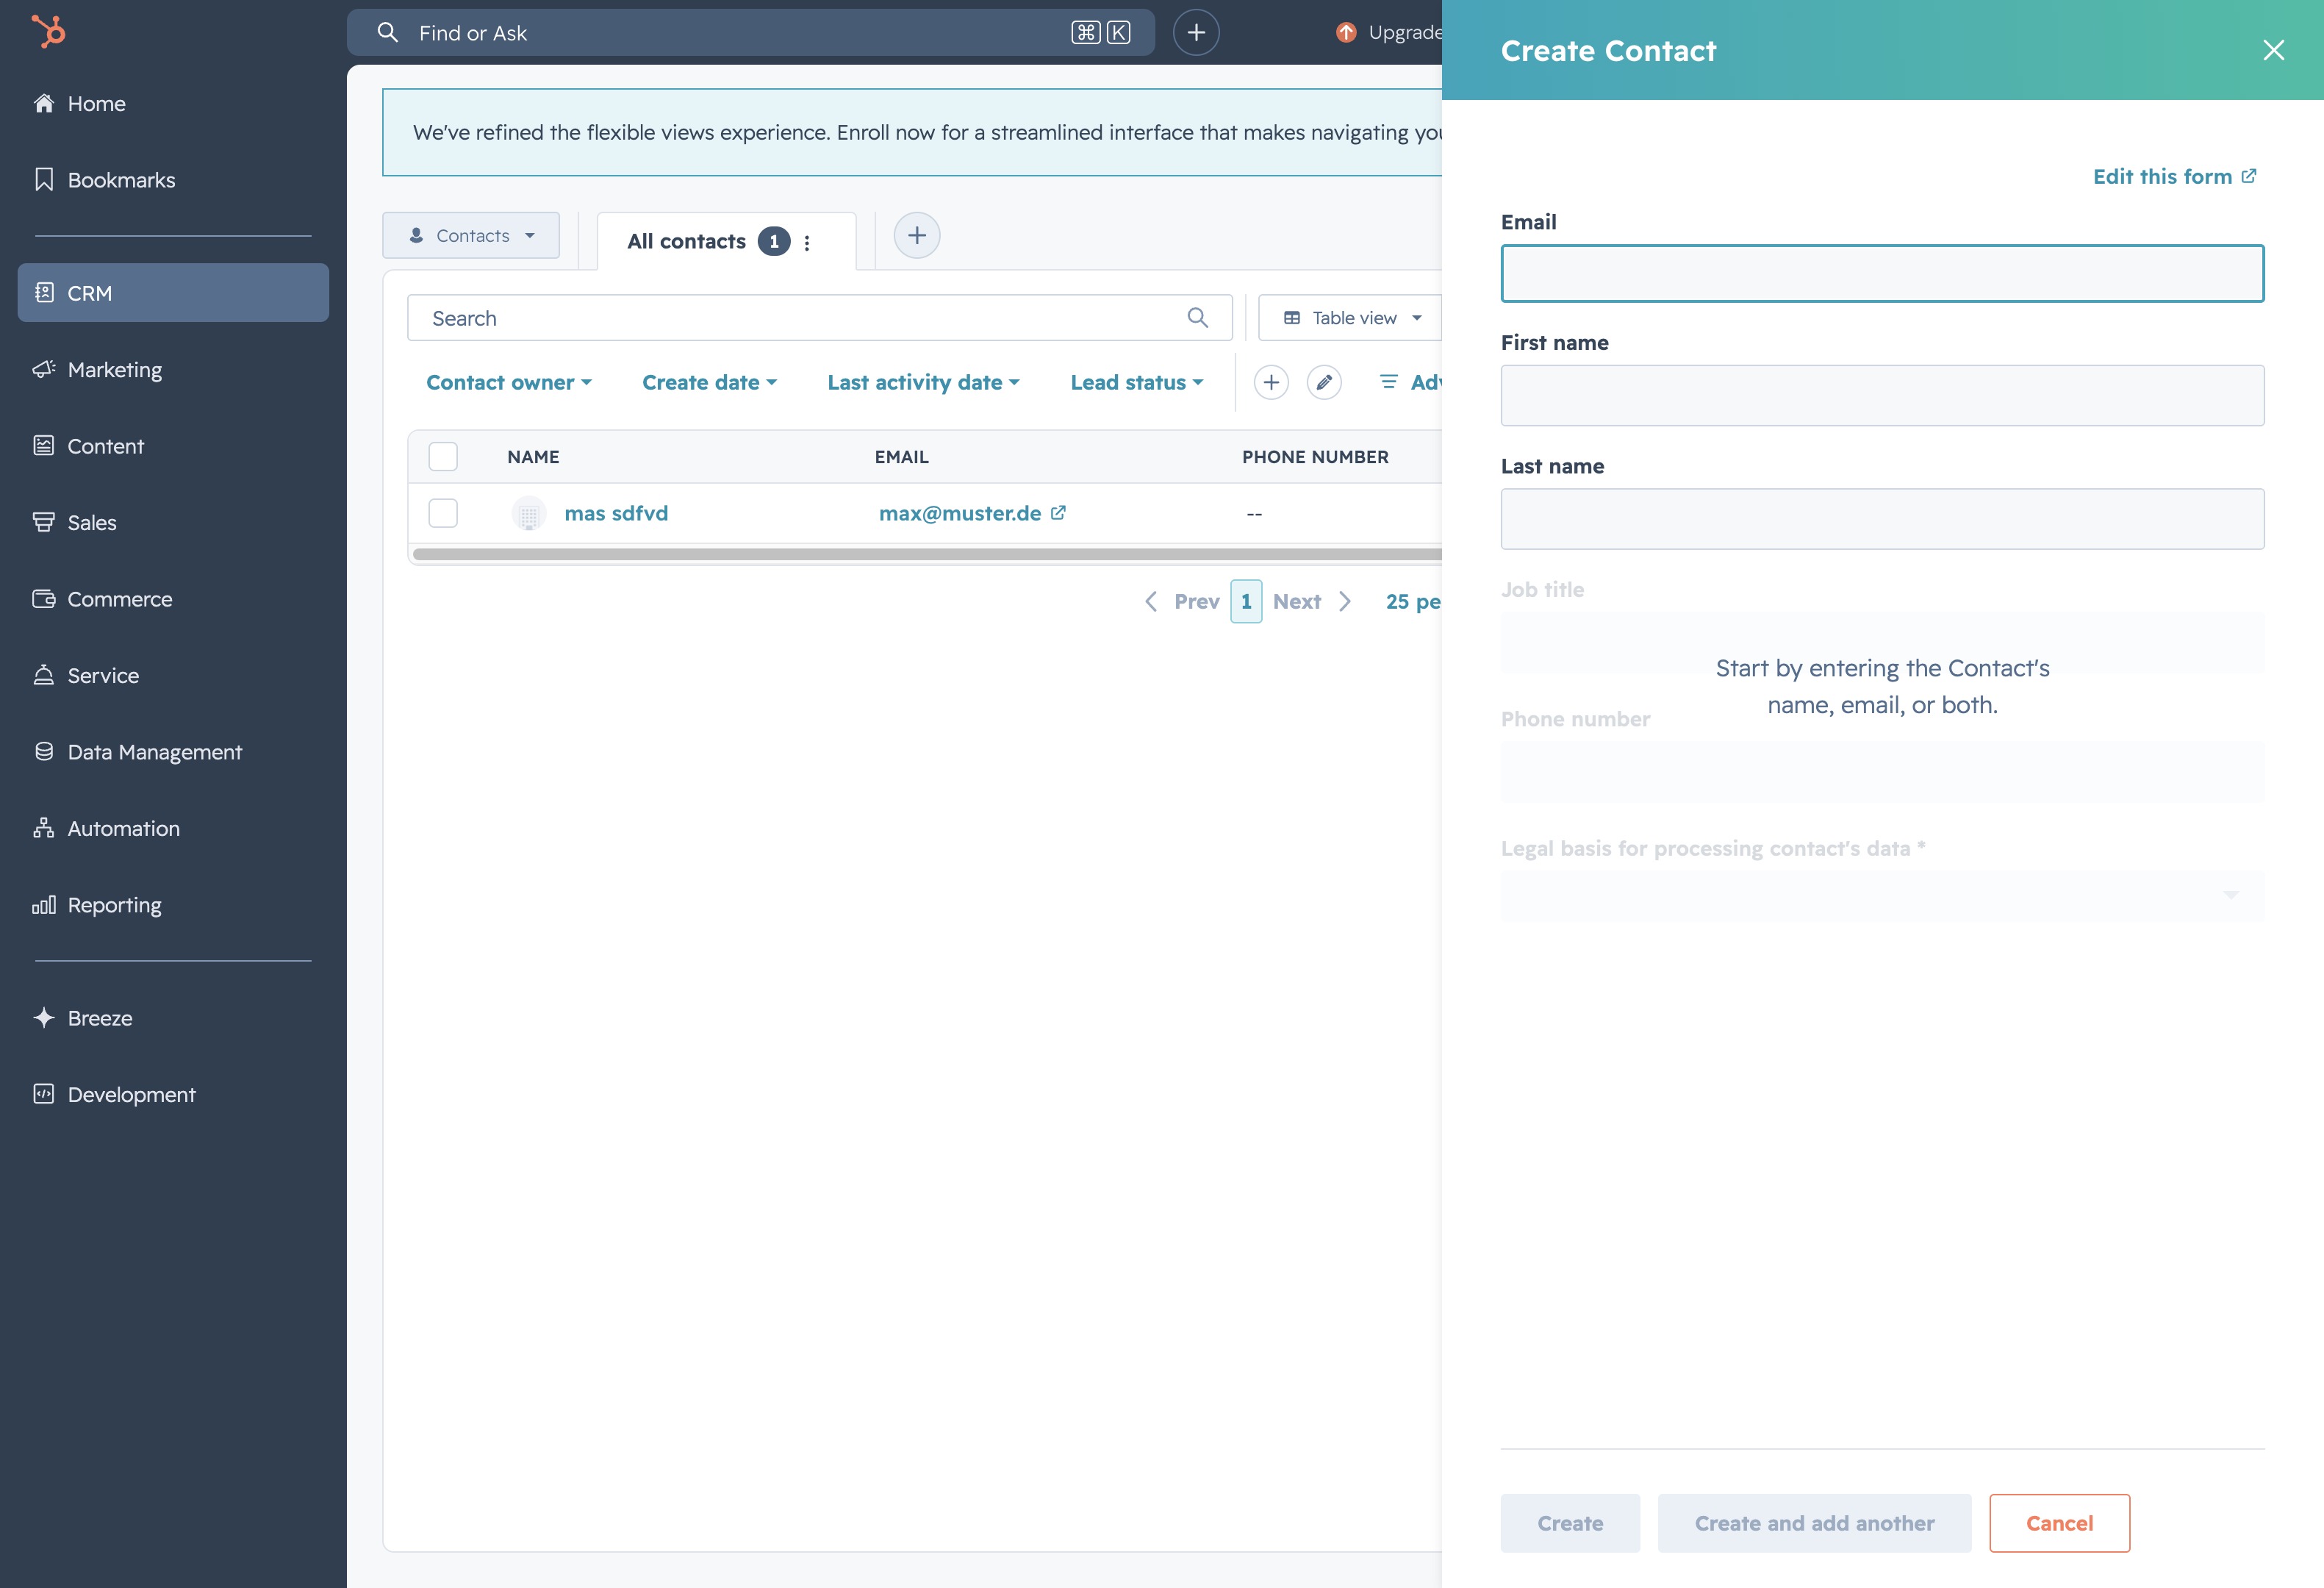
Enter 'max@muster.com' into the Email field to specify the contact's email address. This information will be used for further communication and identification in the CRM system.
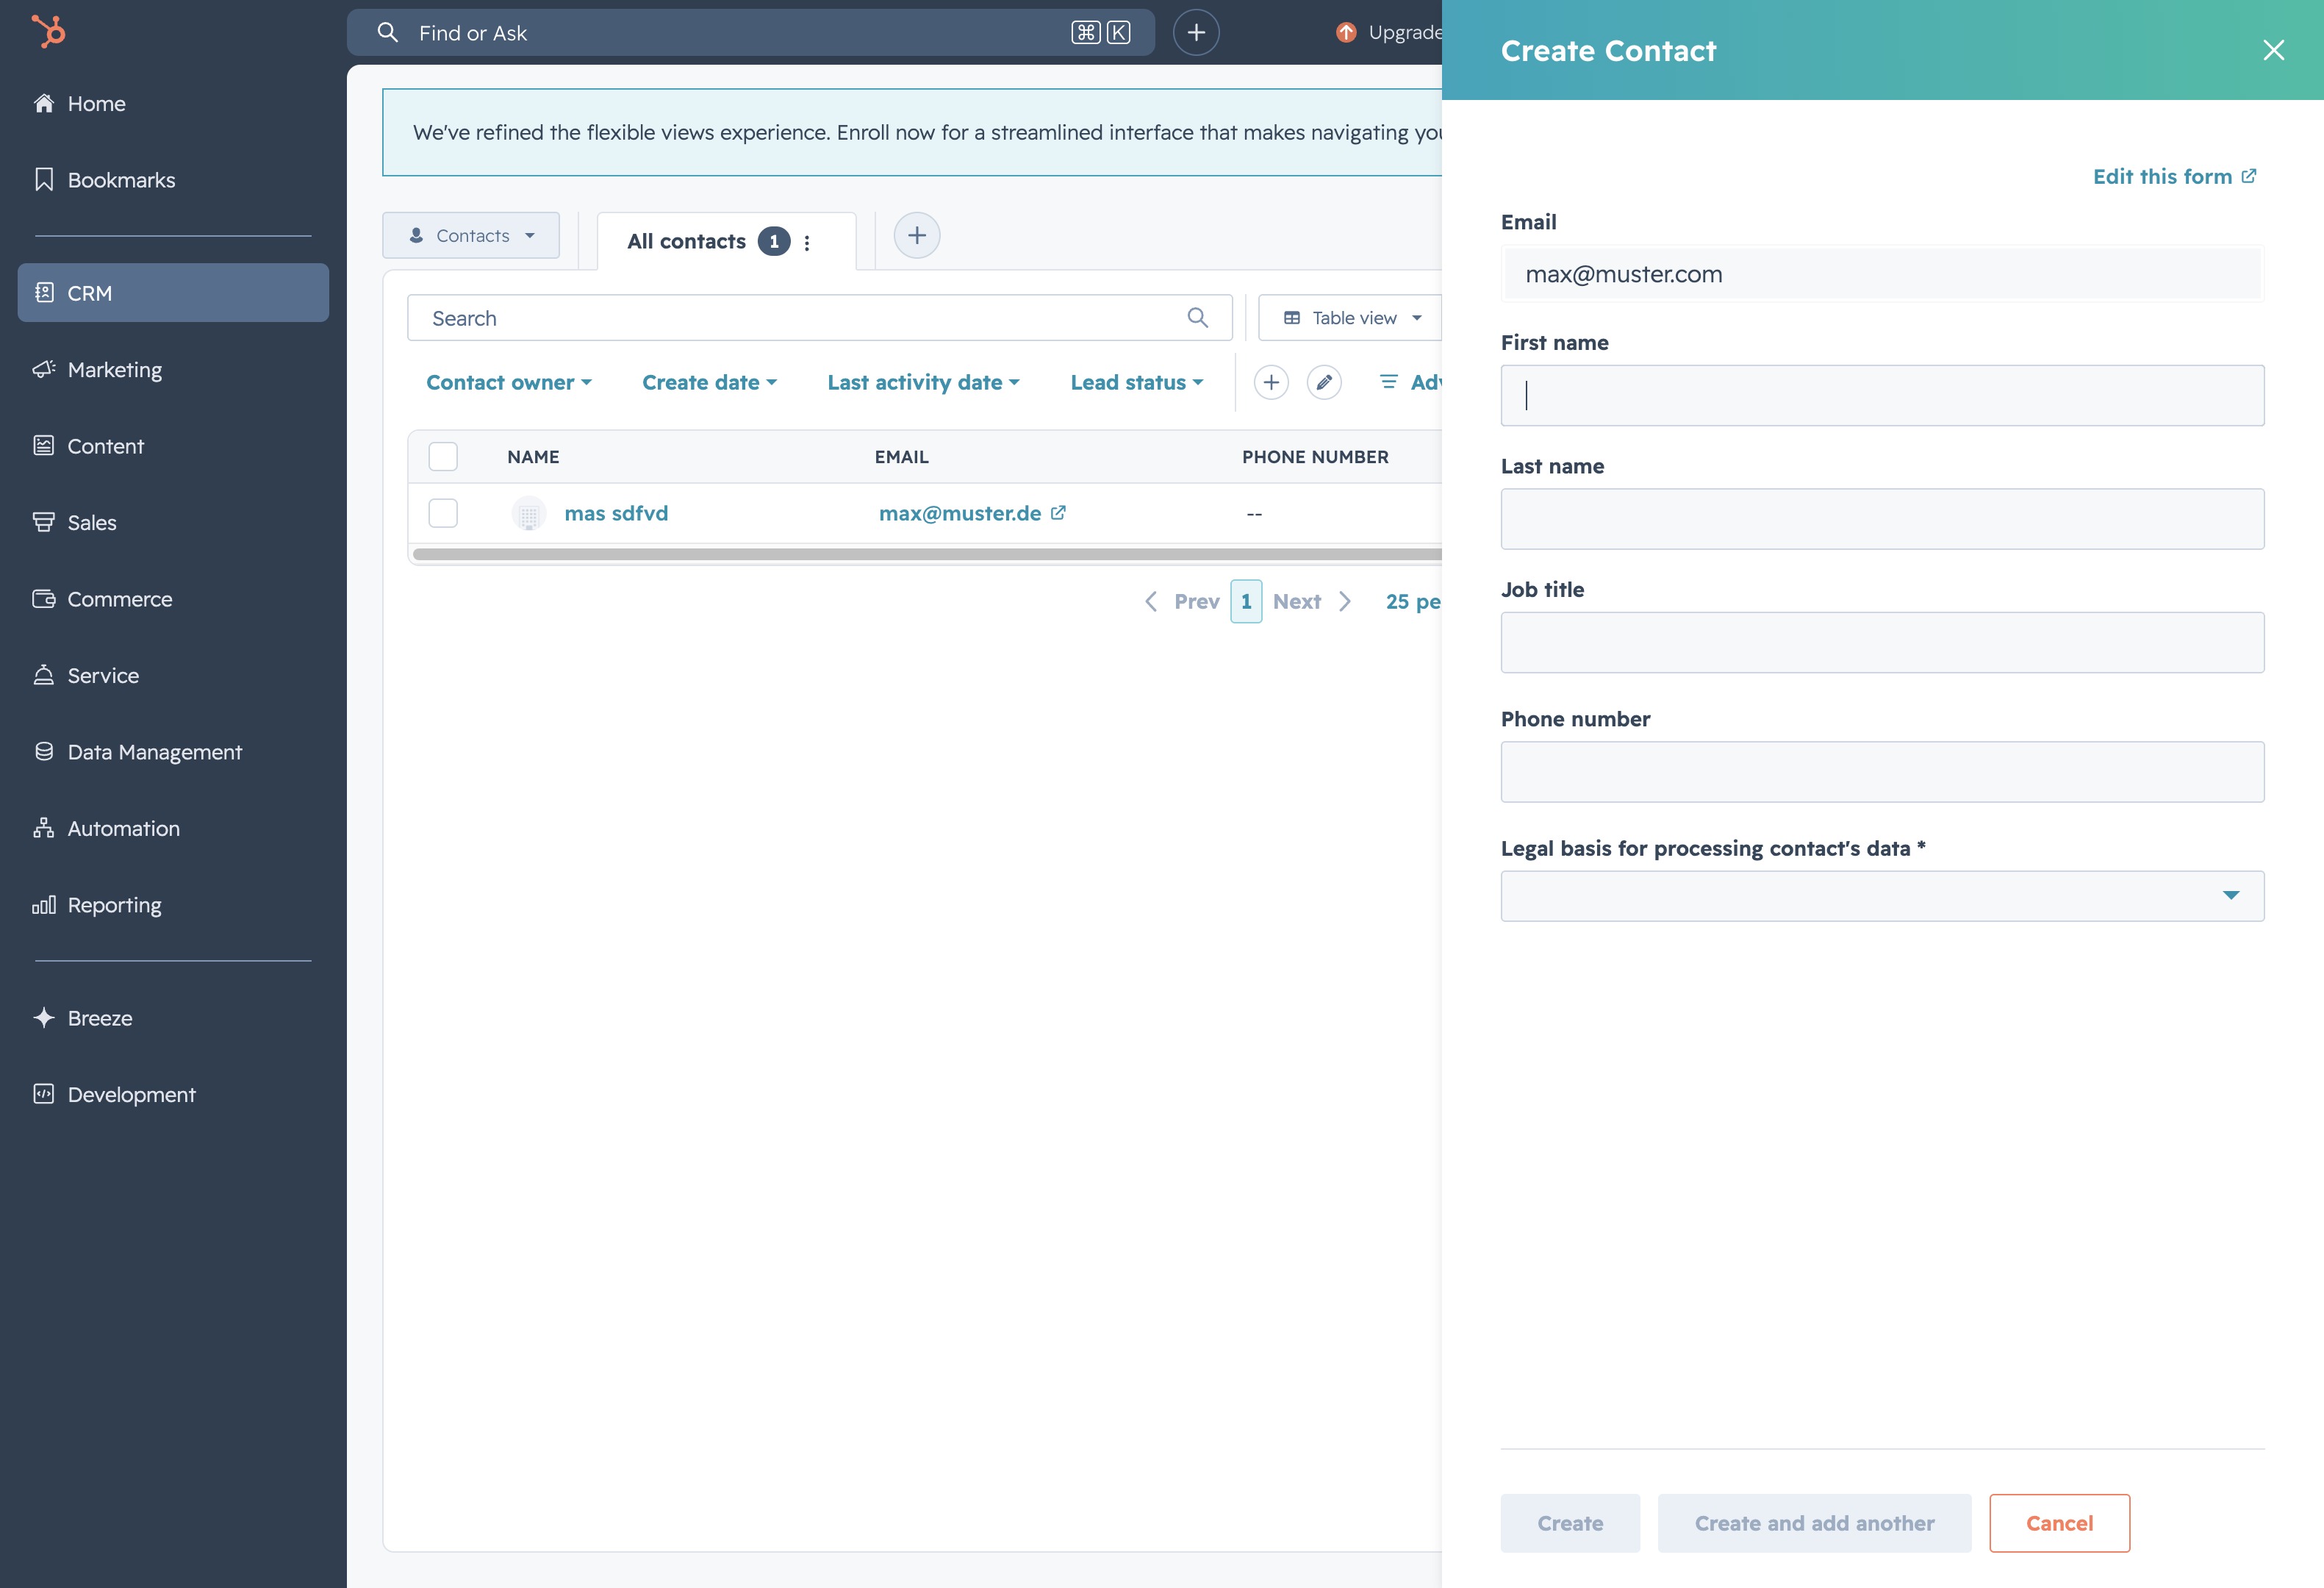
This action opens a form where you can input details to add a new contact, including fields for email, first name, last name, job title, and phone number.
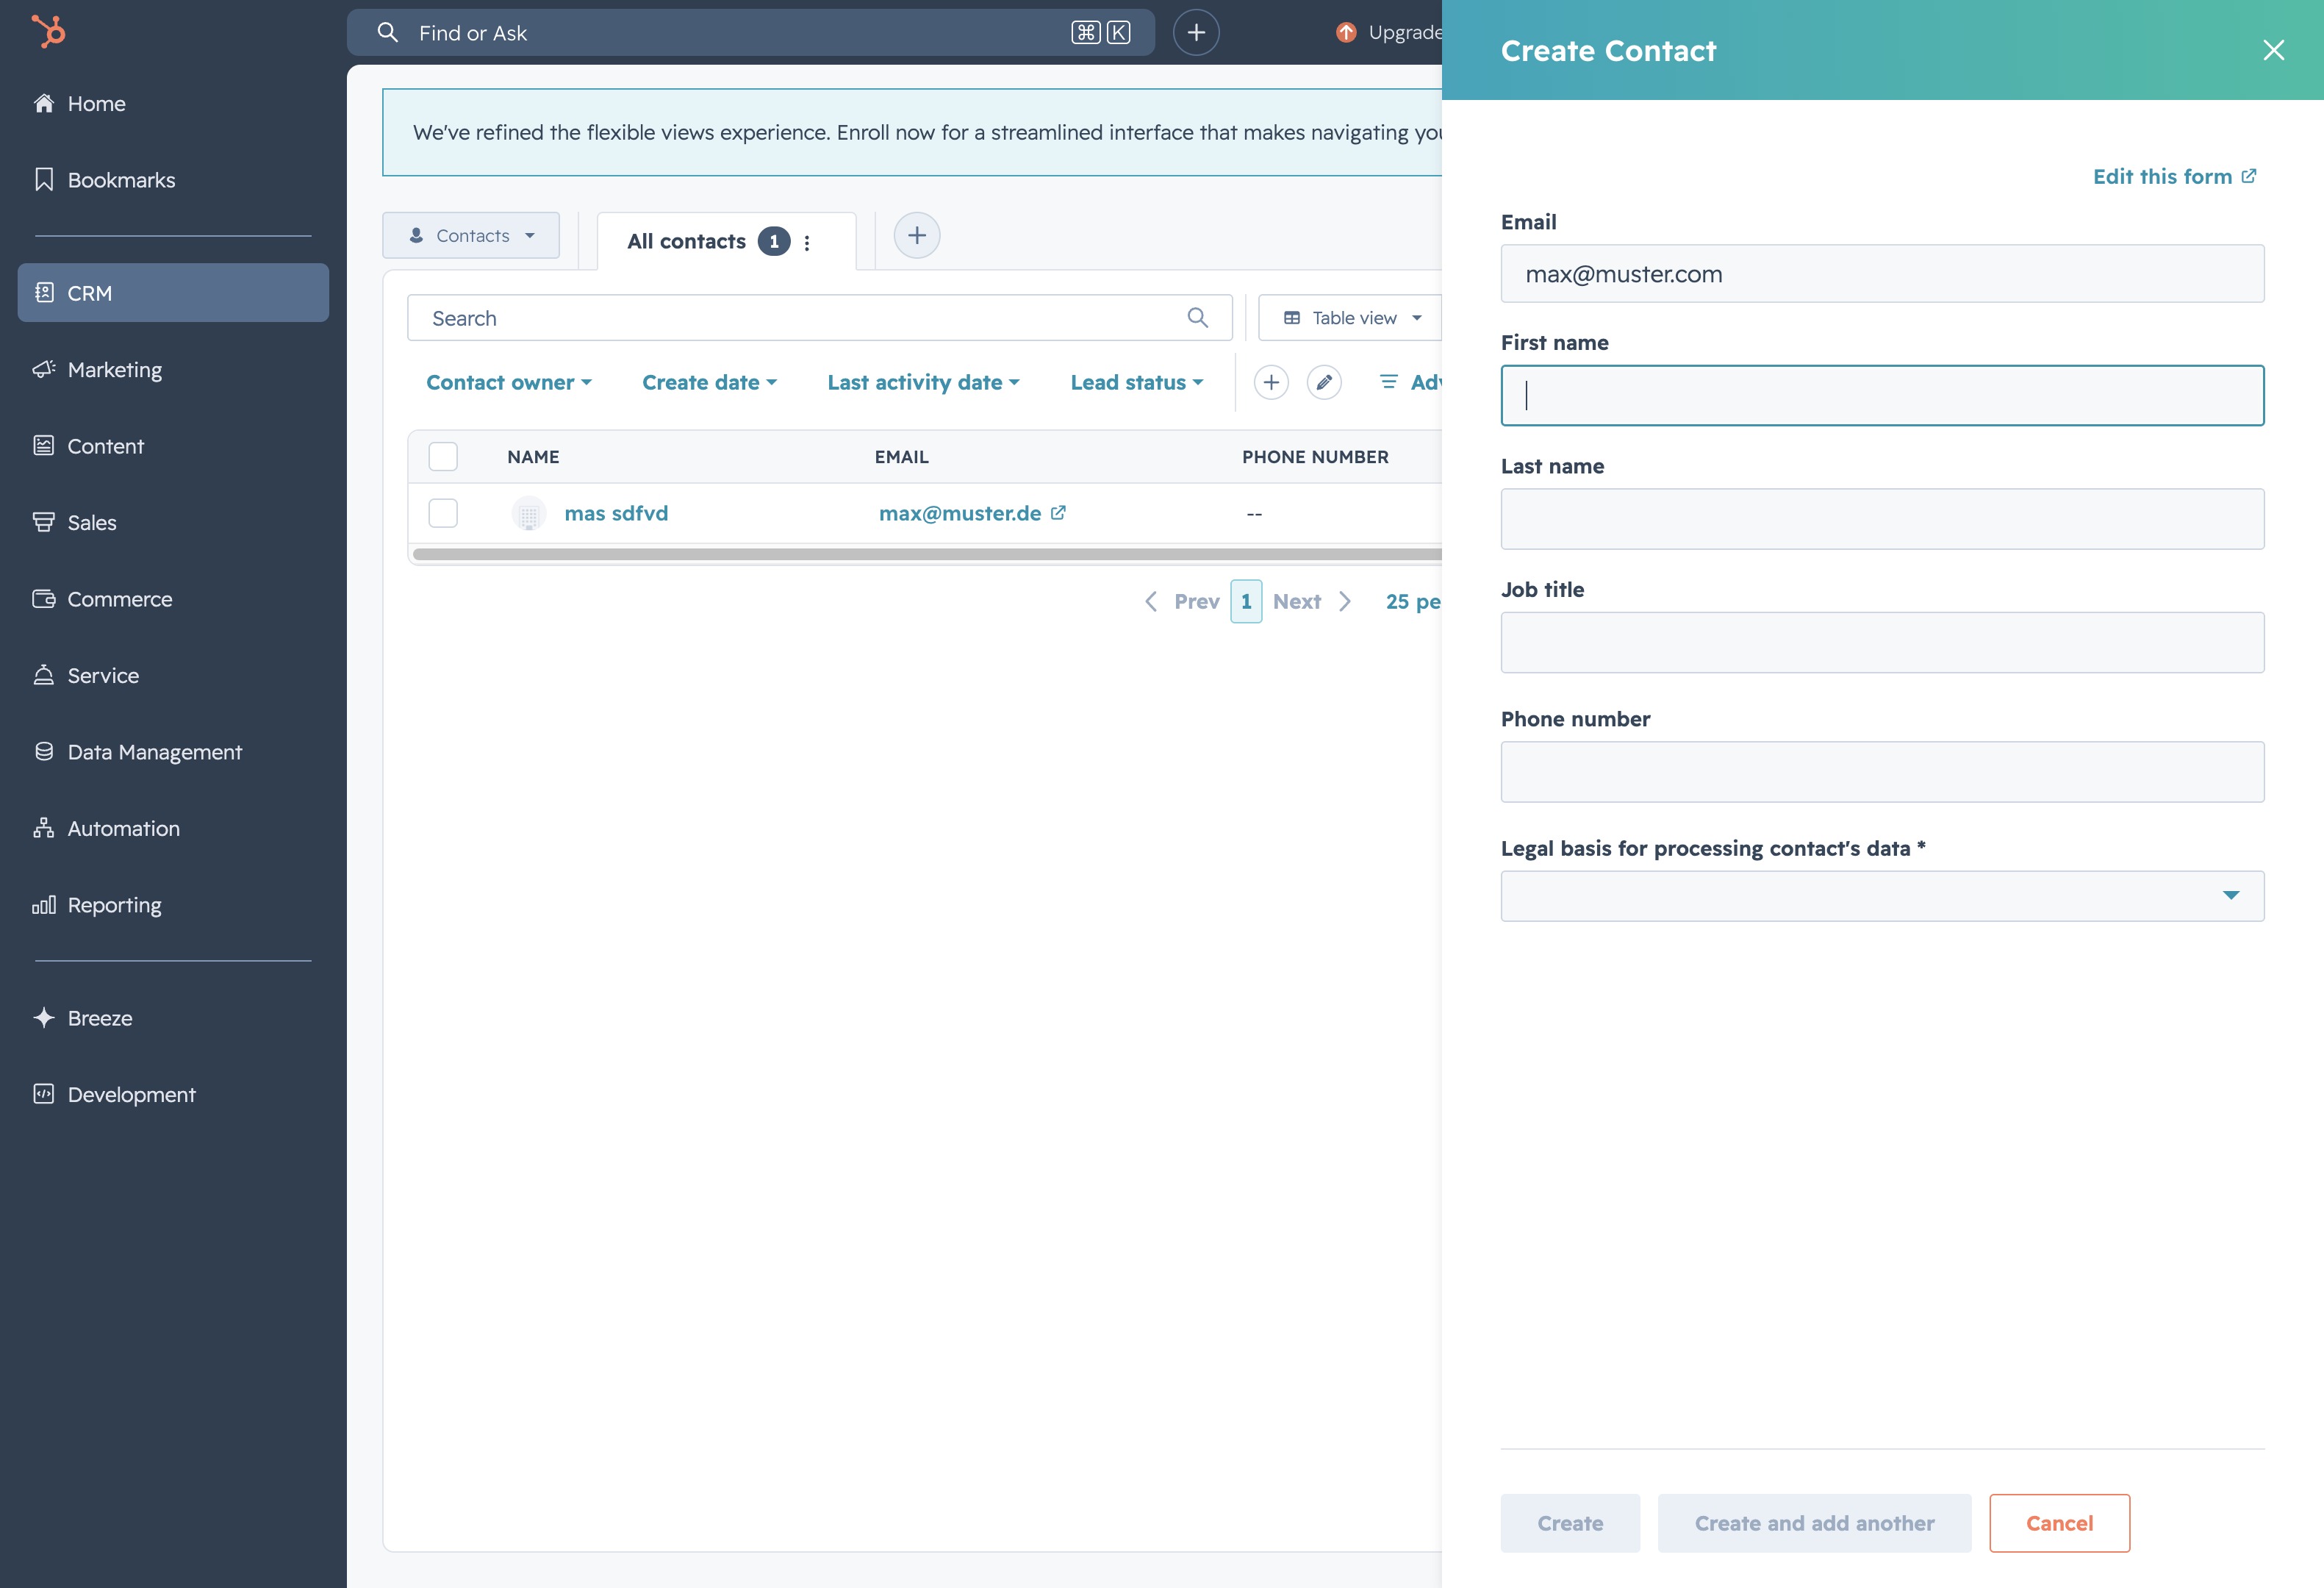
Enter 'Max' into the First Name field to identify the contact. This will help in organizing and managing your contact list effectively.

Click in the text area to input additional information for the new contact, including the last name, job title, and phone number.
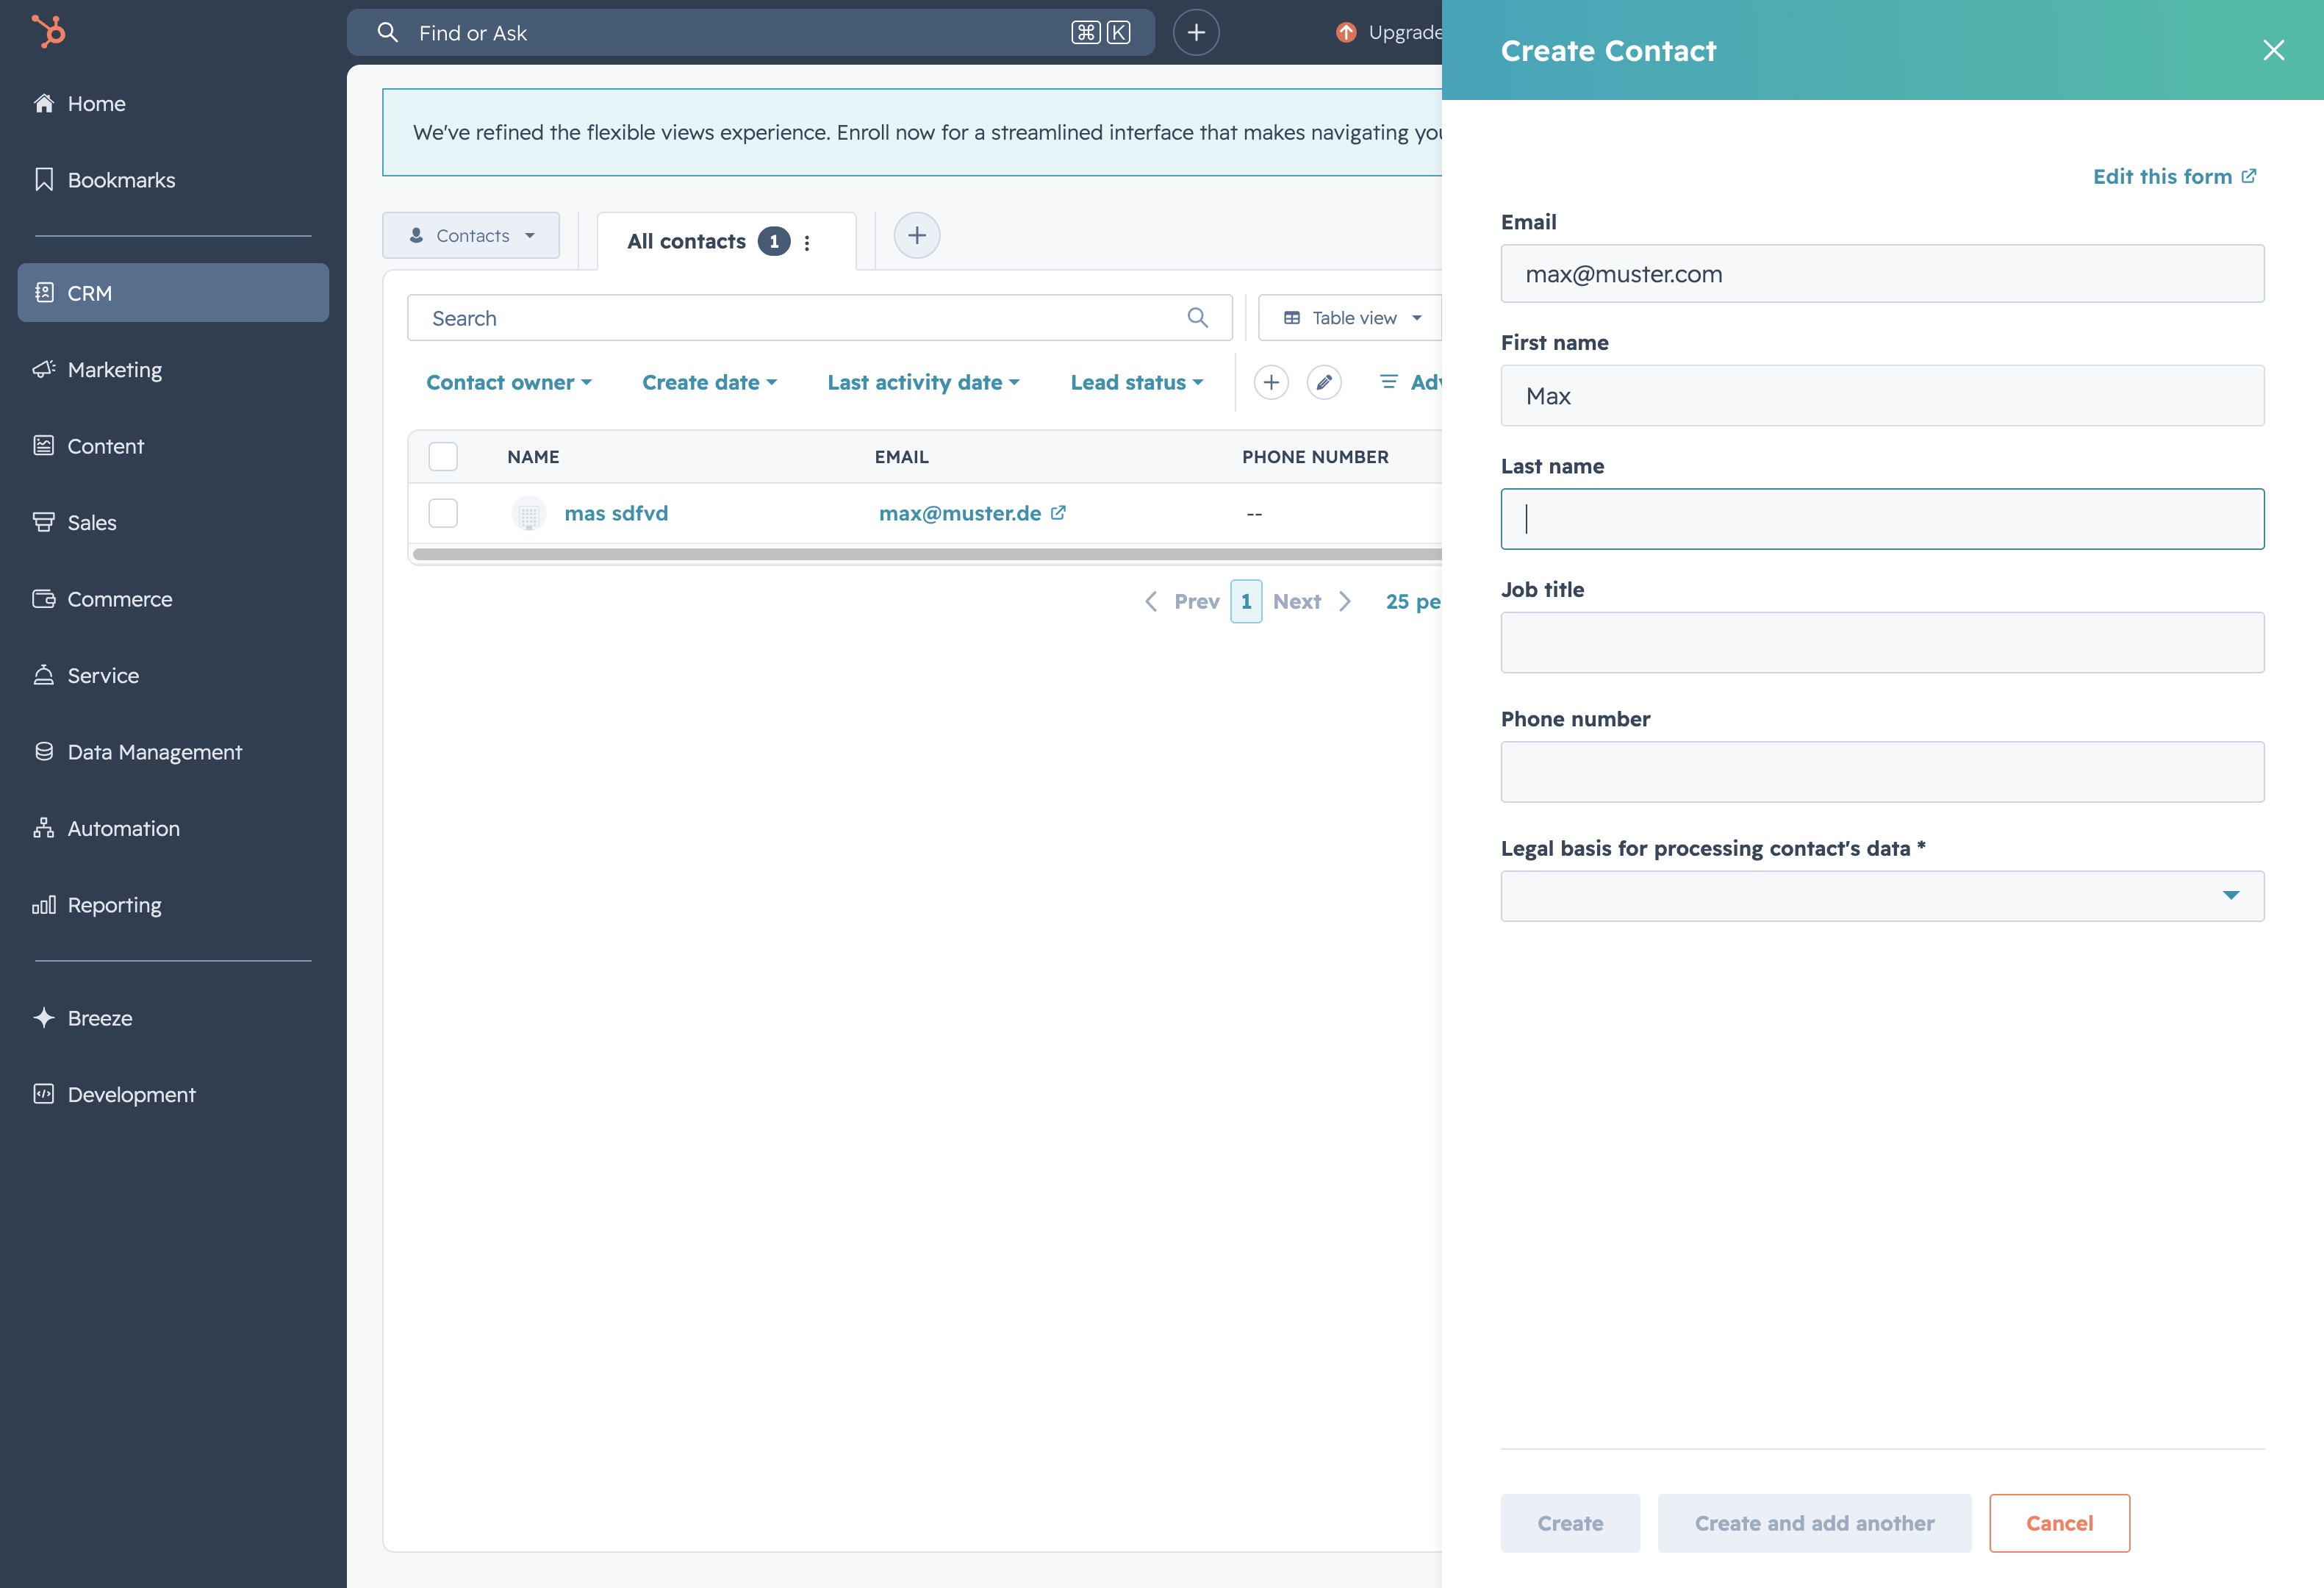
Enter 'Muster' in the Last Name field to specify the contact's surname. This information will be used when creating a new contact entry in the CRM system.
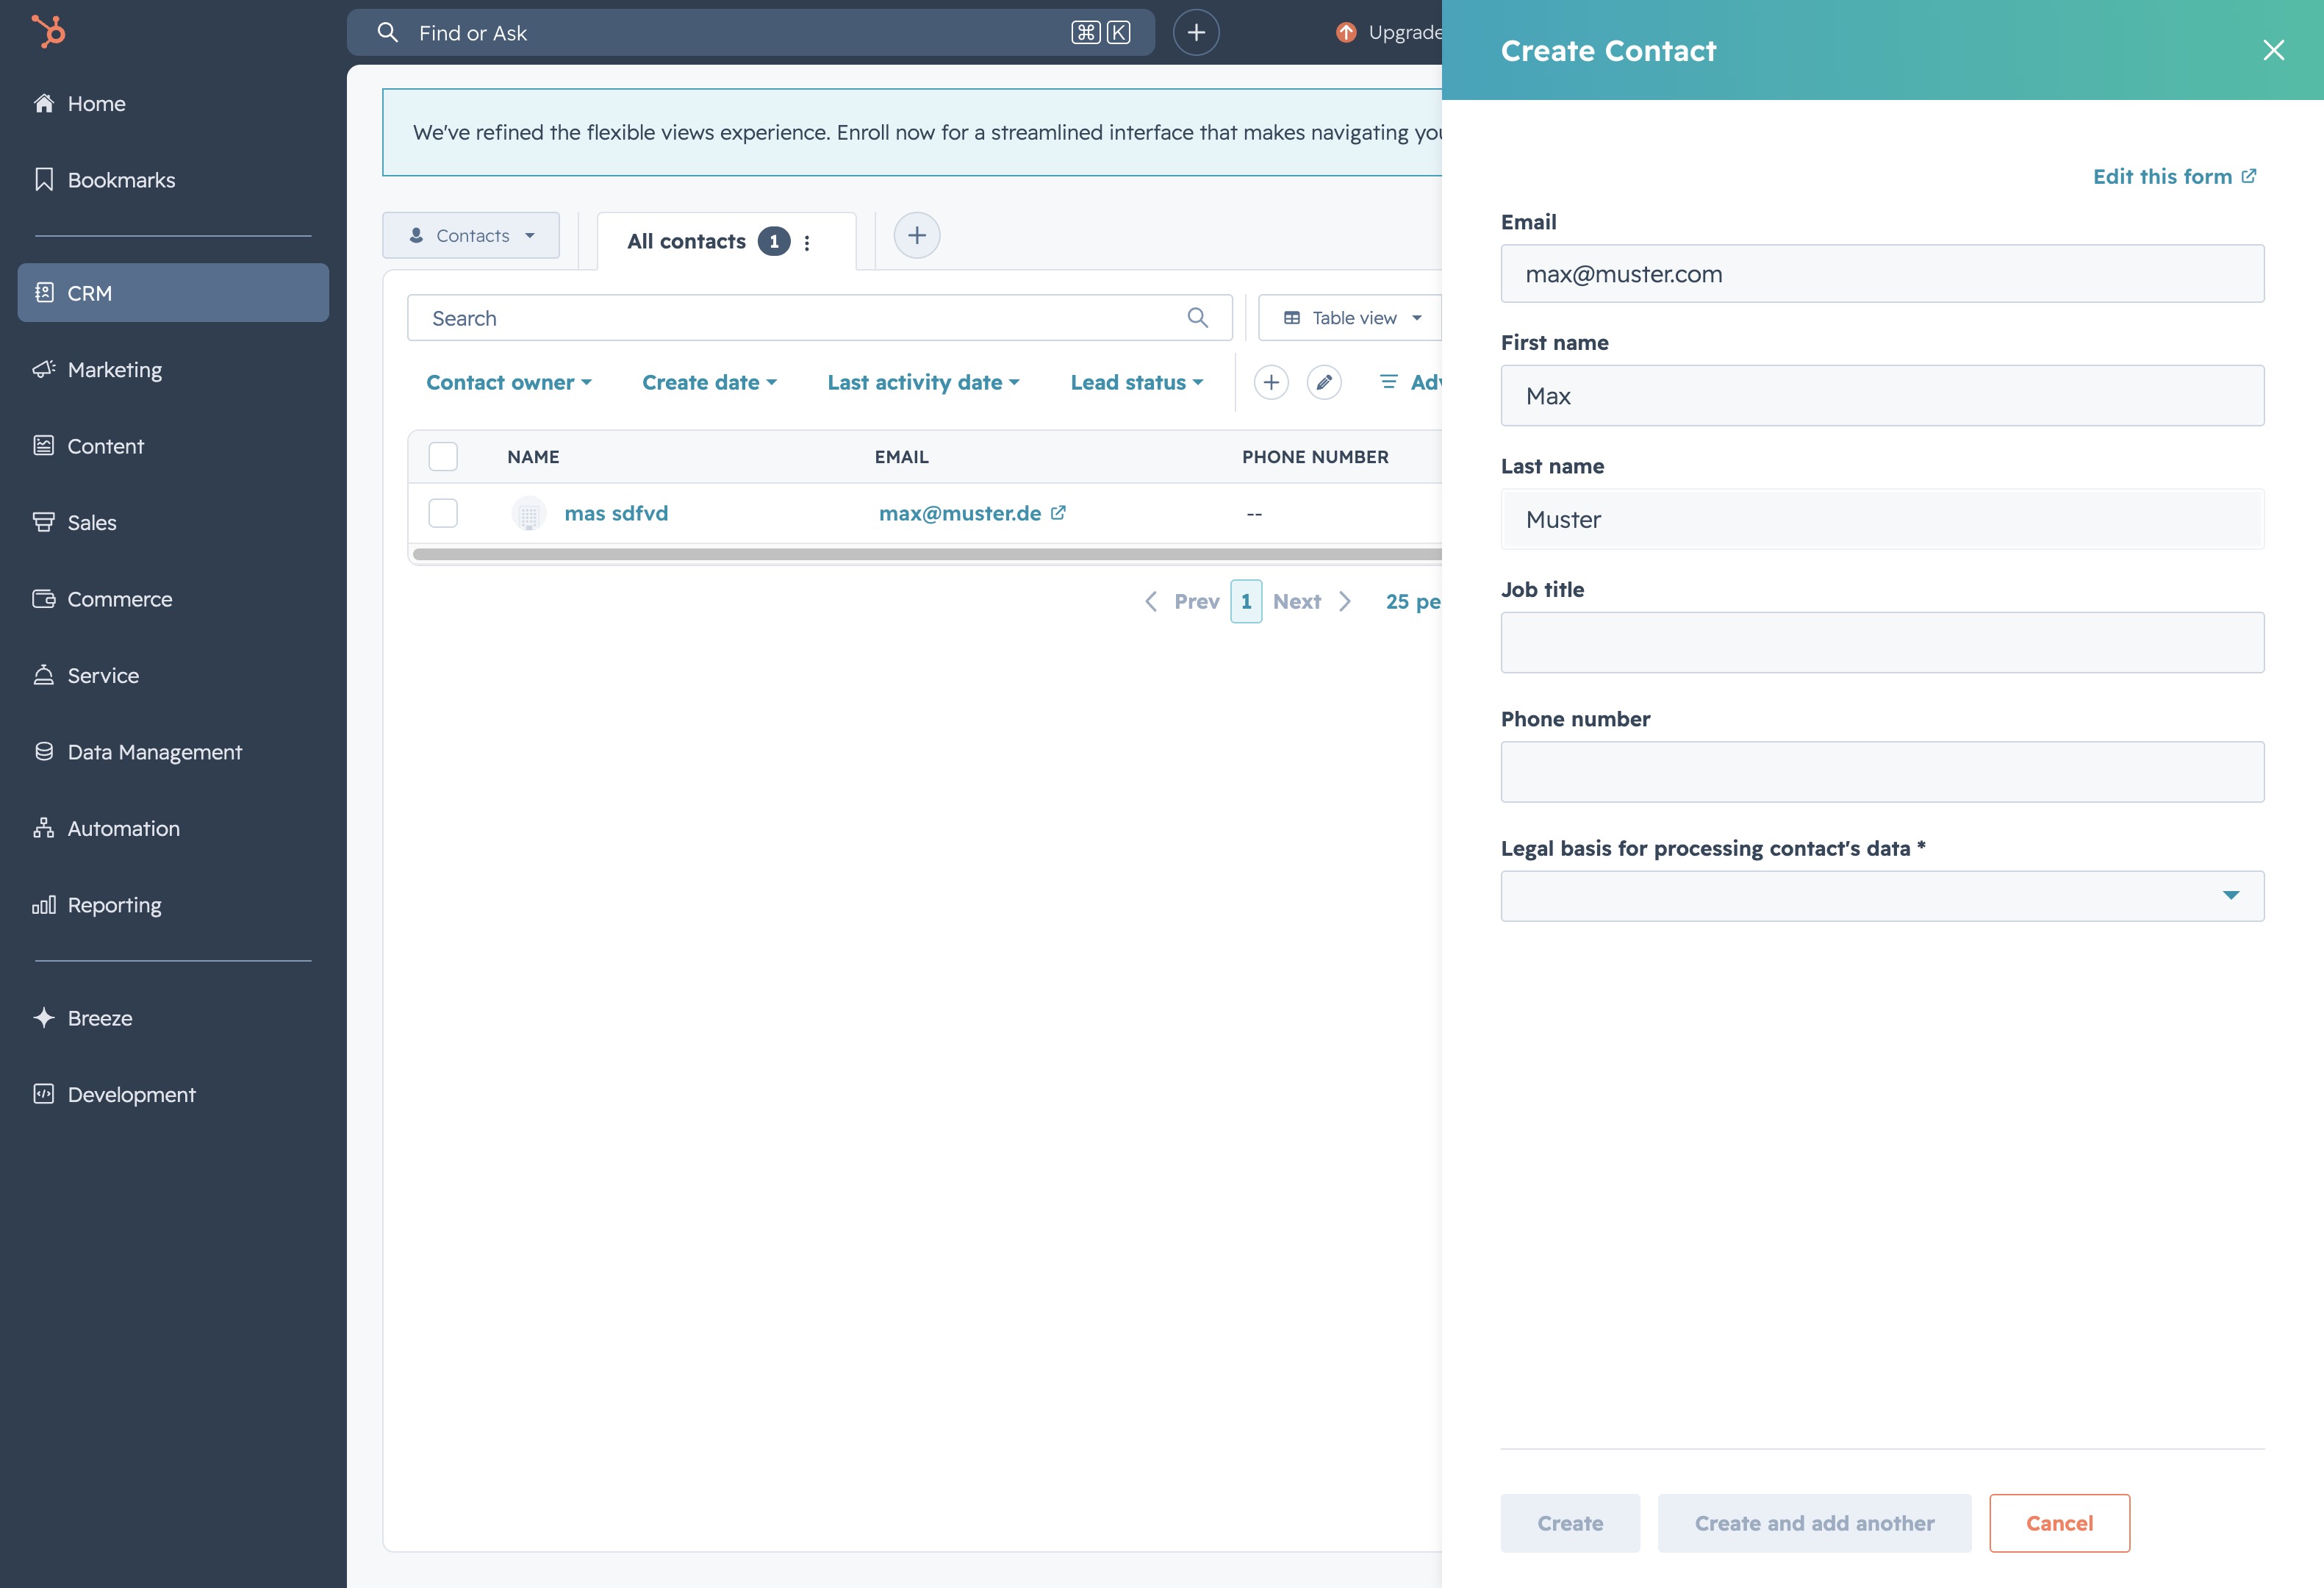
This action opens the ‘Create Contact’ form, allowing you to enter the new contact's details such as email, name, and phone number.

Selecting the 'Legitimate interest - Lead' option will assign this contact to the specified processing category, ensuring compliance with data protection regulations during the creation of the contact.

Clicking this button initiates the process of creating a new contact within the CRM system, allowing you to fill in relevant details such as email, name, and job title.