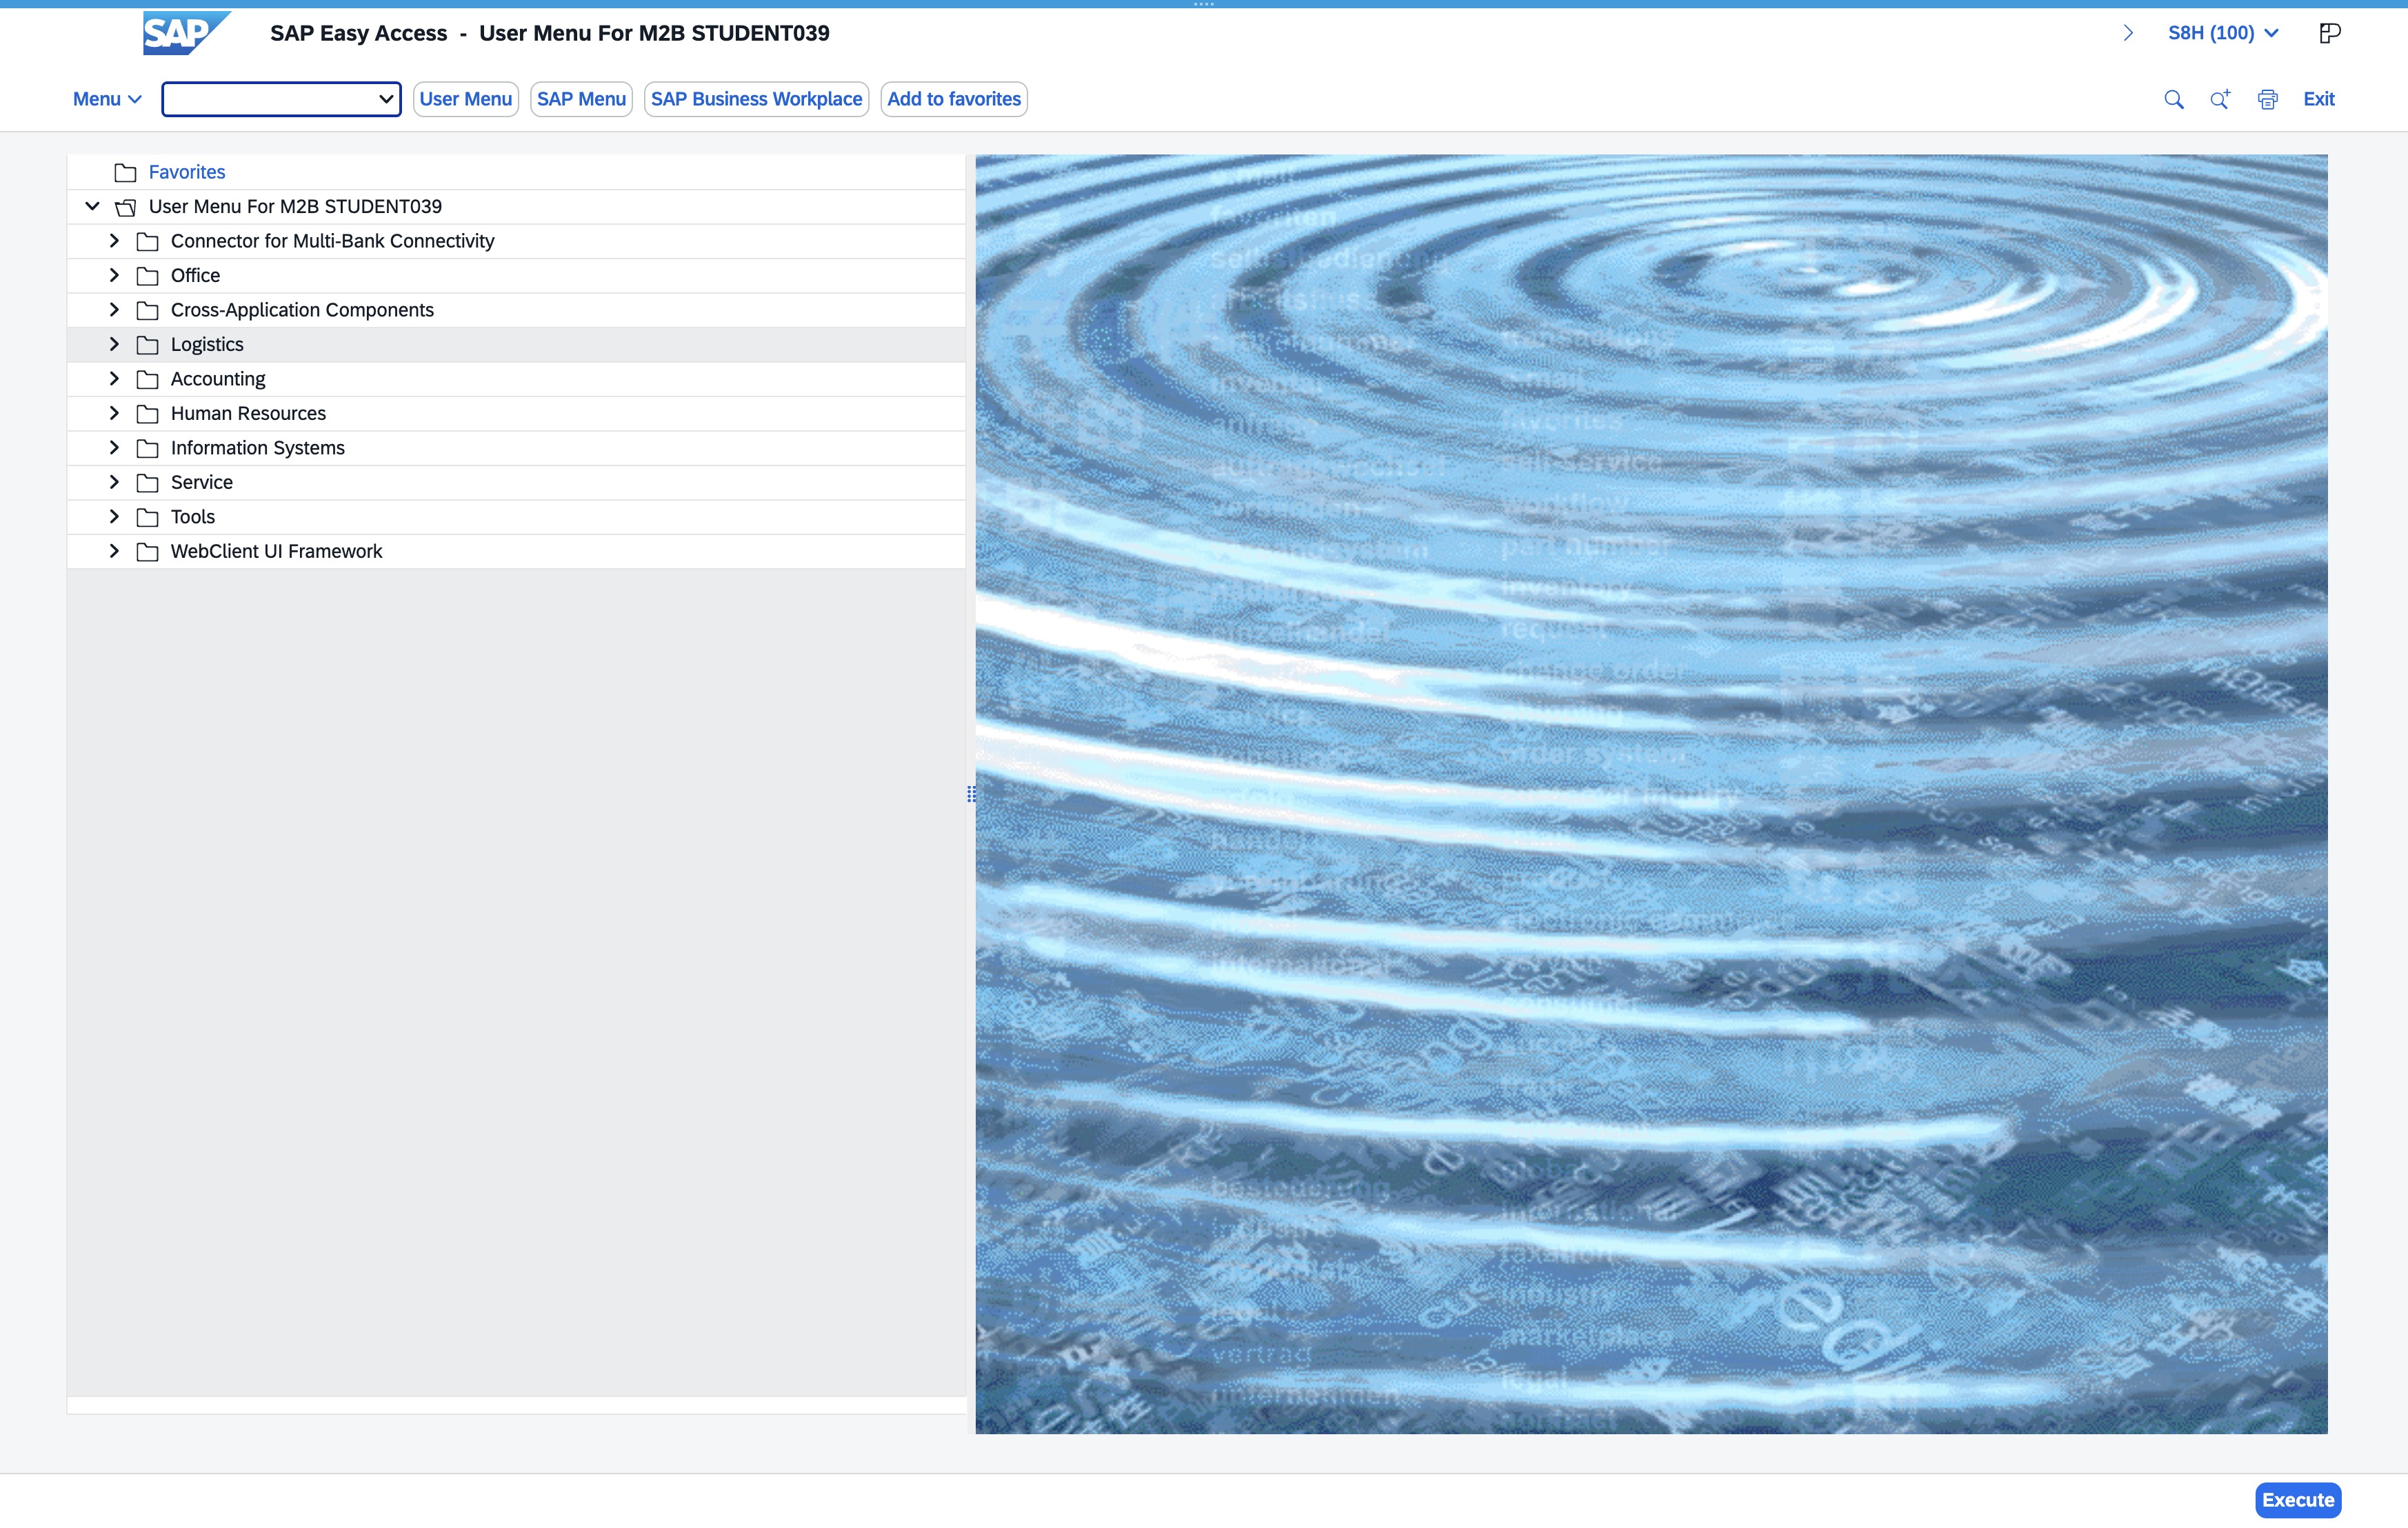
Click the Expand Node option
By clicking 'Expand Node', you will reveal additional options or sub-items related to the current menu selection in the SAP Easy Access interface.
Loading screenshot…
100%
This how-to guide walks you through the steps of navigating the SAP Easy Access Menu specifically for M2B STUDENT039.
 brian.annan
This how-to guide walks you through the steps of navigating the SAP Easy Access Menu specifically for M2B STUDENT039. You'll learn how to expand nodes to access subcategories, filter items without order references, and set up outbound deliveries, ensuring a streamlined approach to managing your logistics effectively in the SAP interface.
By clicking 'Expand Node', you will reveal additional options or sub-items related to the current menu selection in the SAP Easy Access interface.
This action will reveal additional subcategories or details within the current section of the SAP Easy Access interface, allowing you to explore more options available under that node.
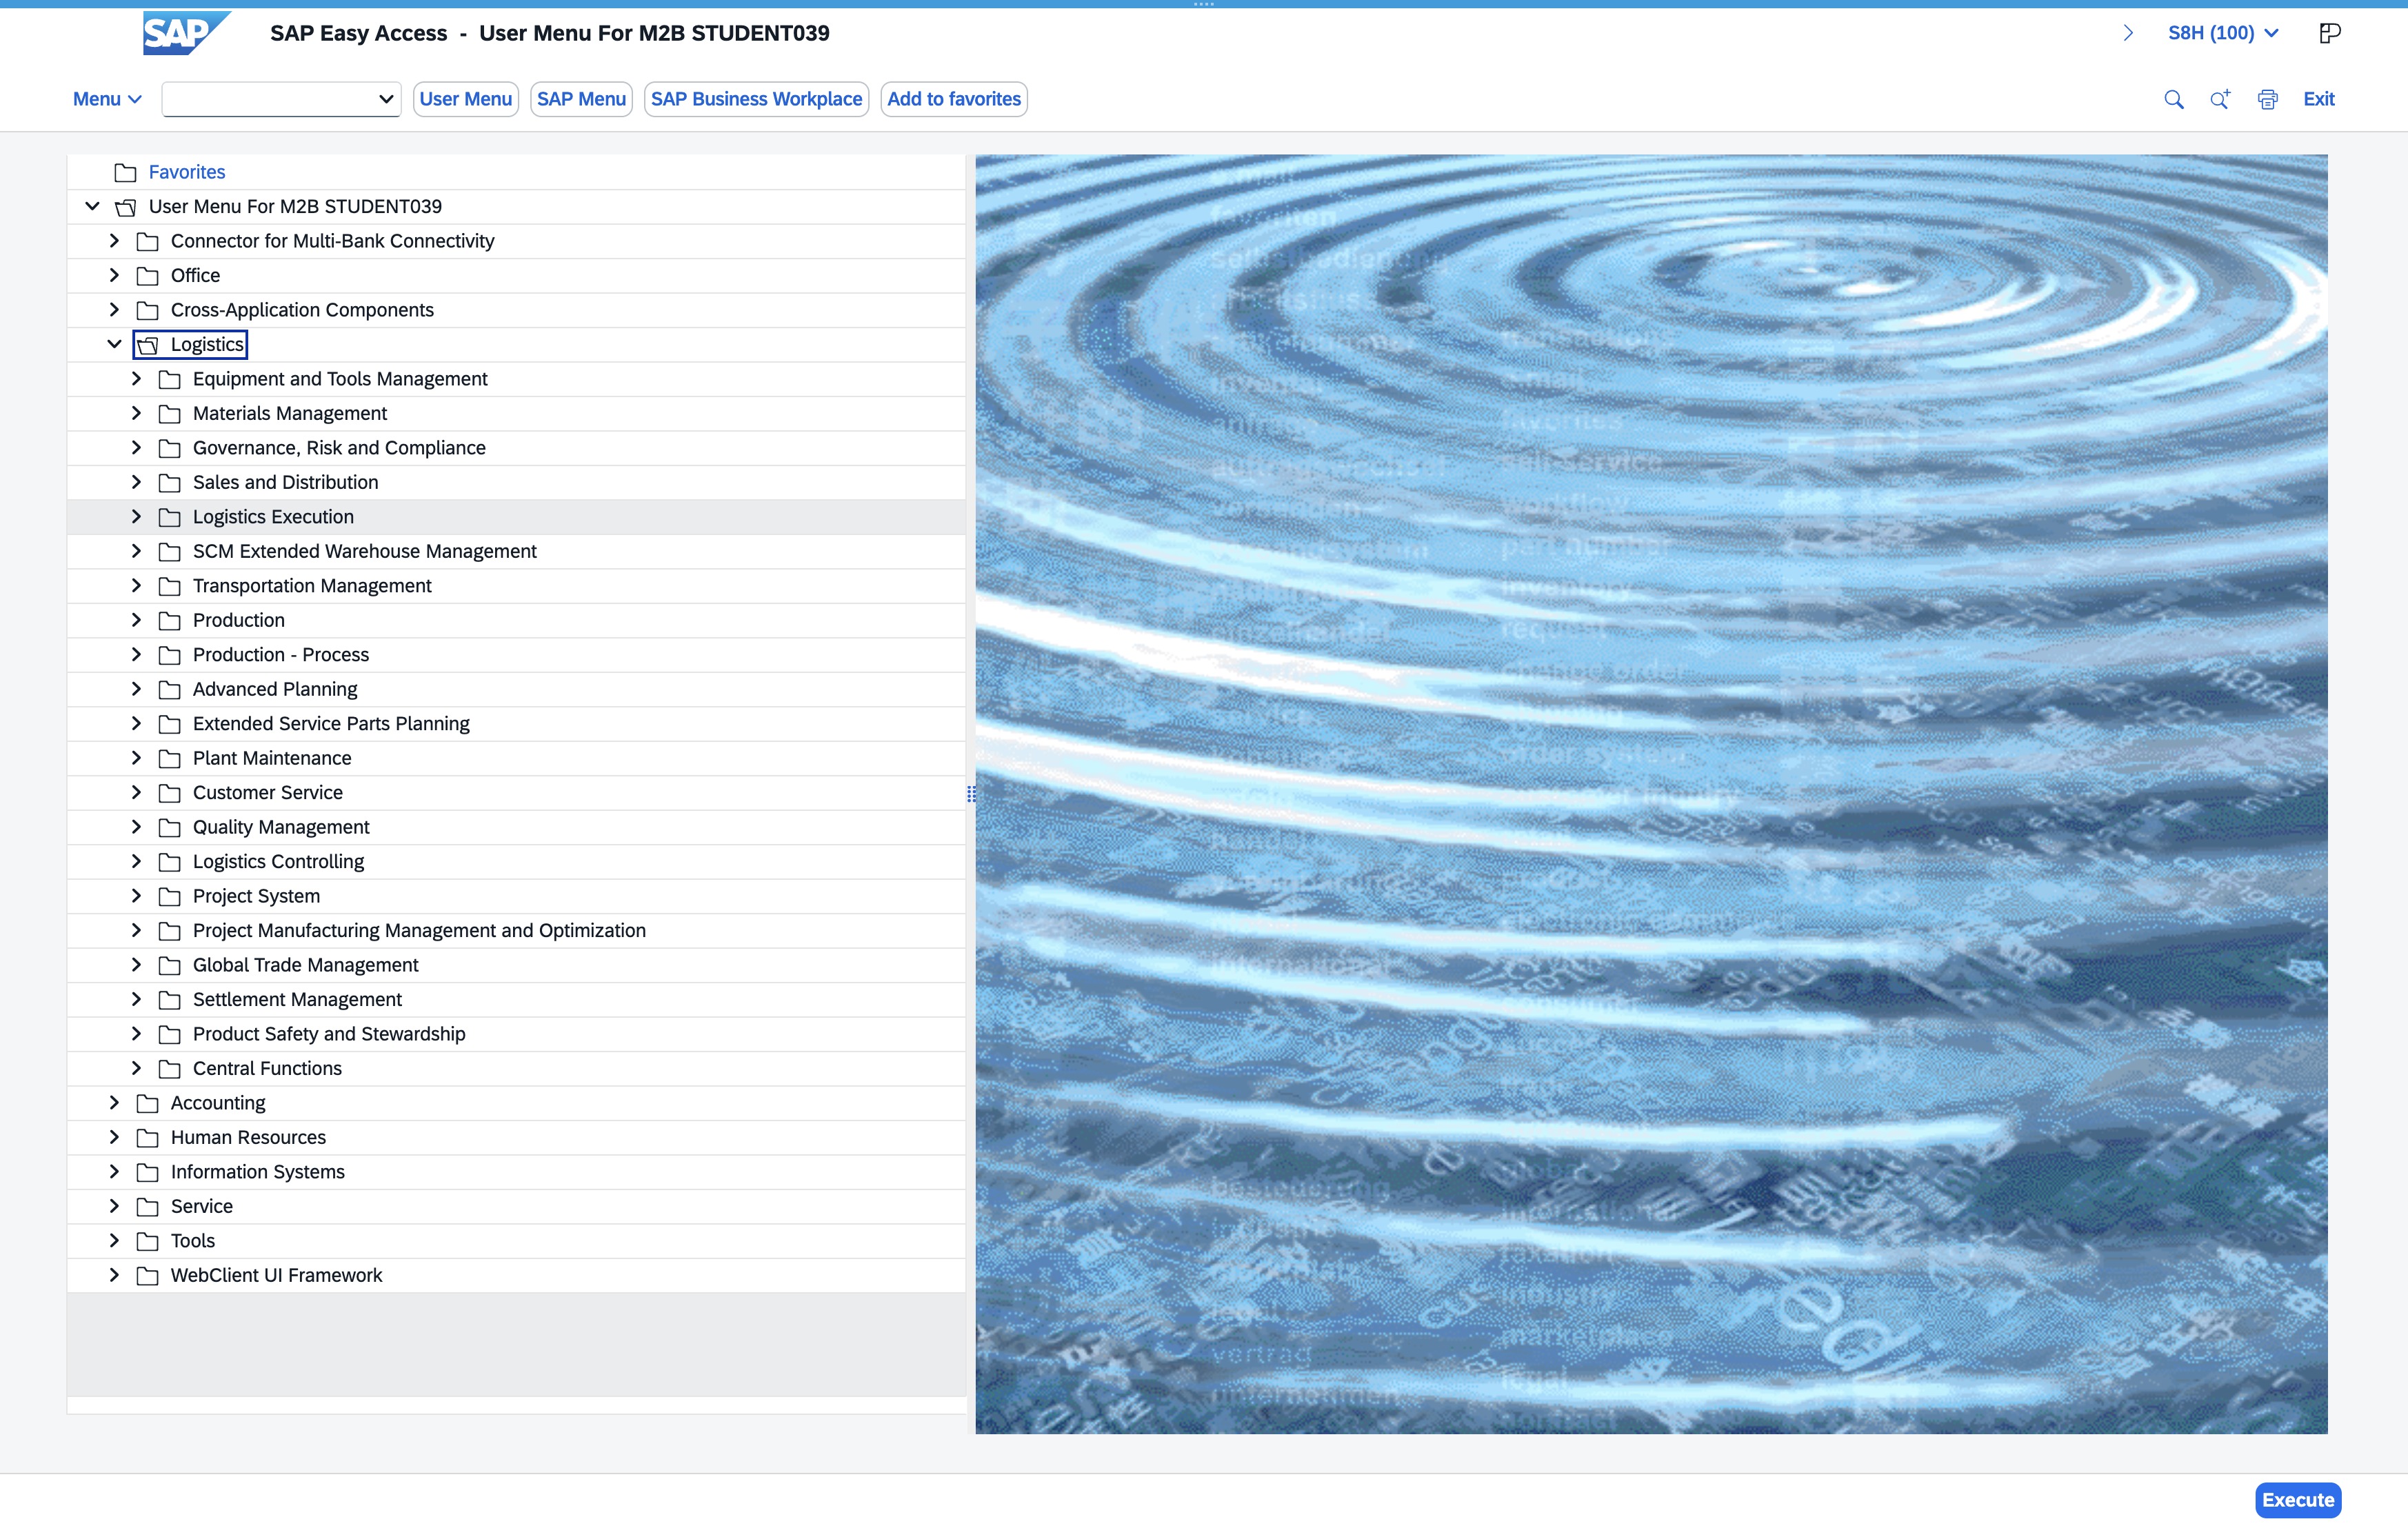
This action will reveal additional sub-items or details related to the selected node in the menu. It allows you to navigate deeper into the specific options available under that category.
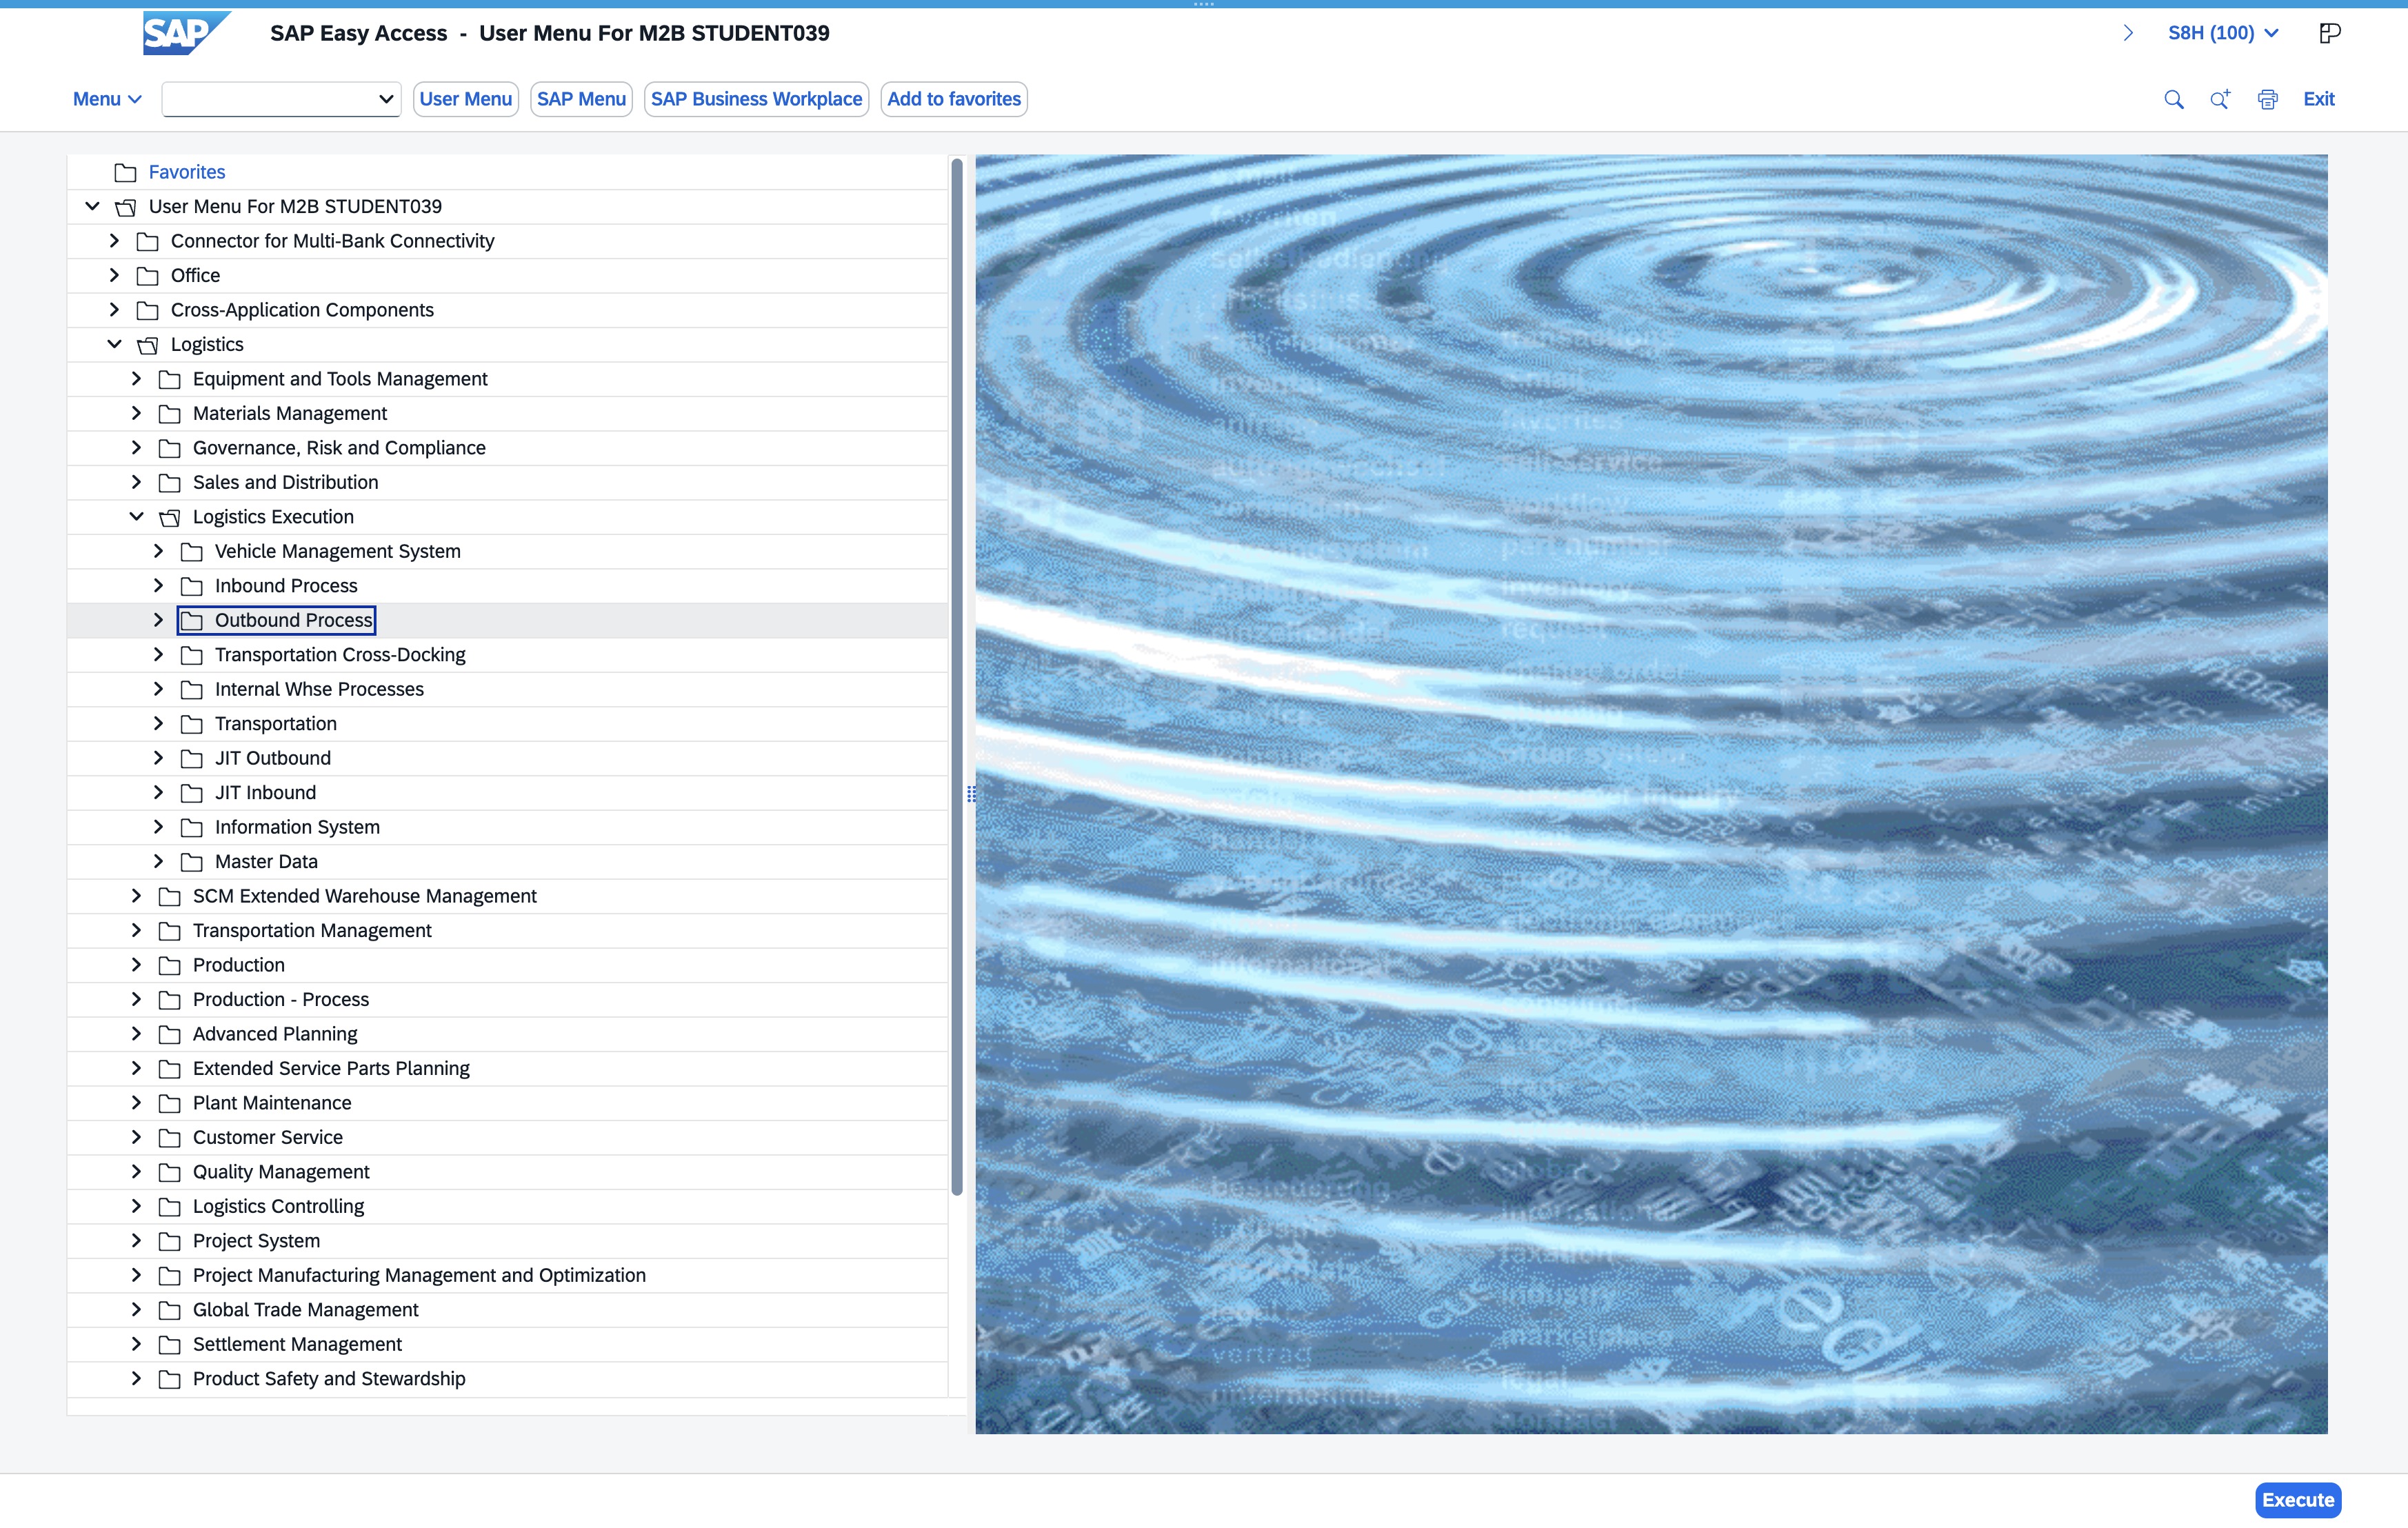
This action reveals the sub-sections under the selected category in the SAP Easy Access menu, allowing you to access more specific functionalities related to the module.

This action will expand the selected node to reveal additional details or nested elements within the SAP Easy Access menu. You will see more options related to the expanded item.

This action reveals additional subcategories or options under the selected node, allowing for easier navigation and access to more detailed features.

Clicking 'Expand Node' will reveal additional details or subcategories within the current section of the SAP Easy Access menu.

This option allows you to filter or view items that do not have an associated order reference, streamlining your search for specific records.

This action allows you to access the functionality related to processing without an order reference, streamlining your workflow in the order management system.

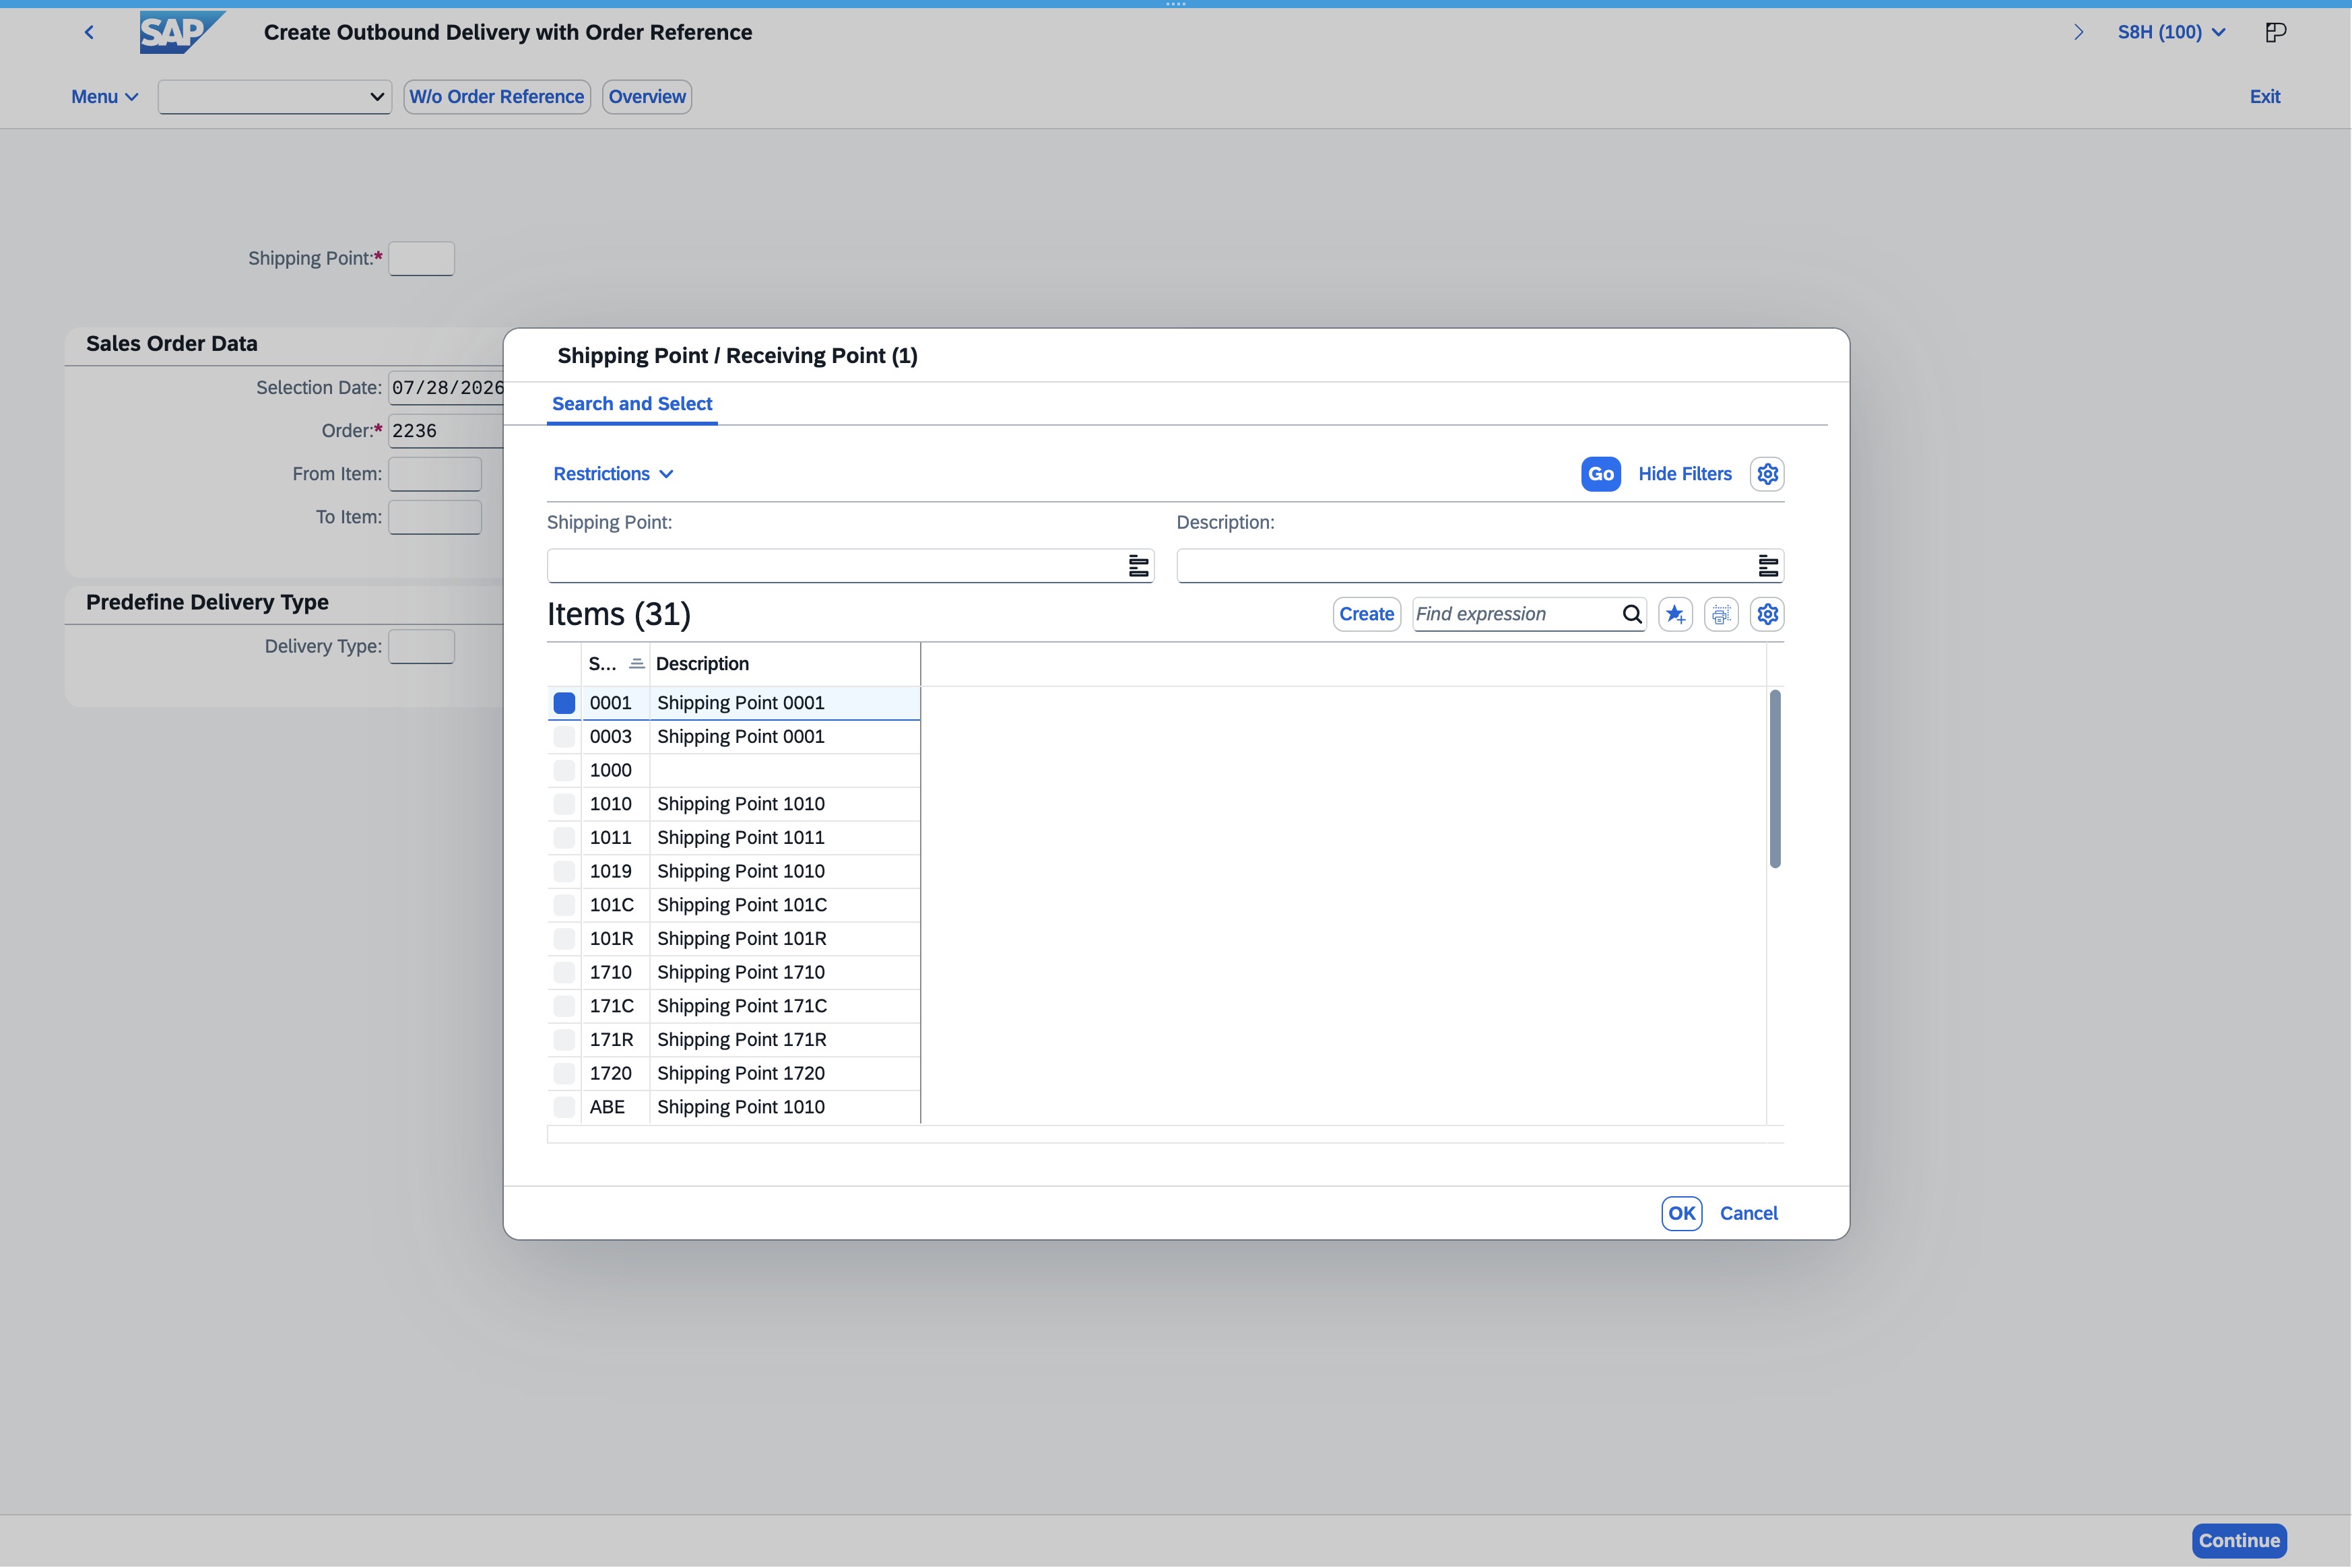
Select the appropriate shipping or receiving point from the dropdown list to continue setting up the outbound delivery.

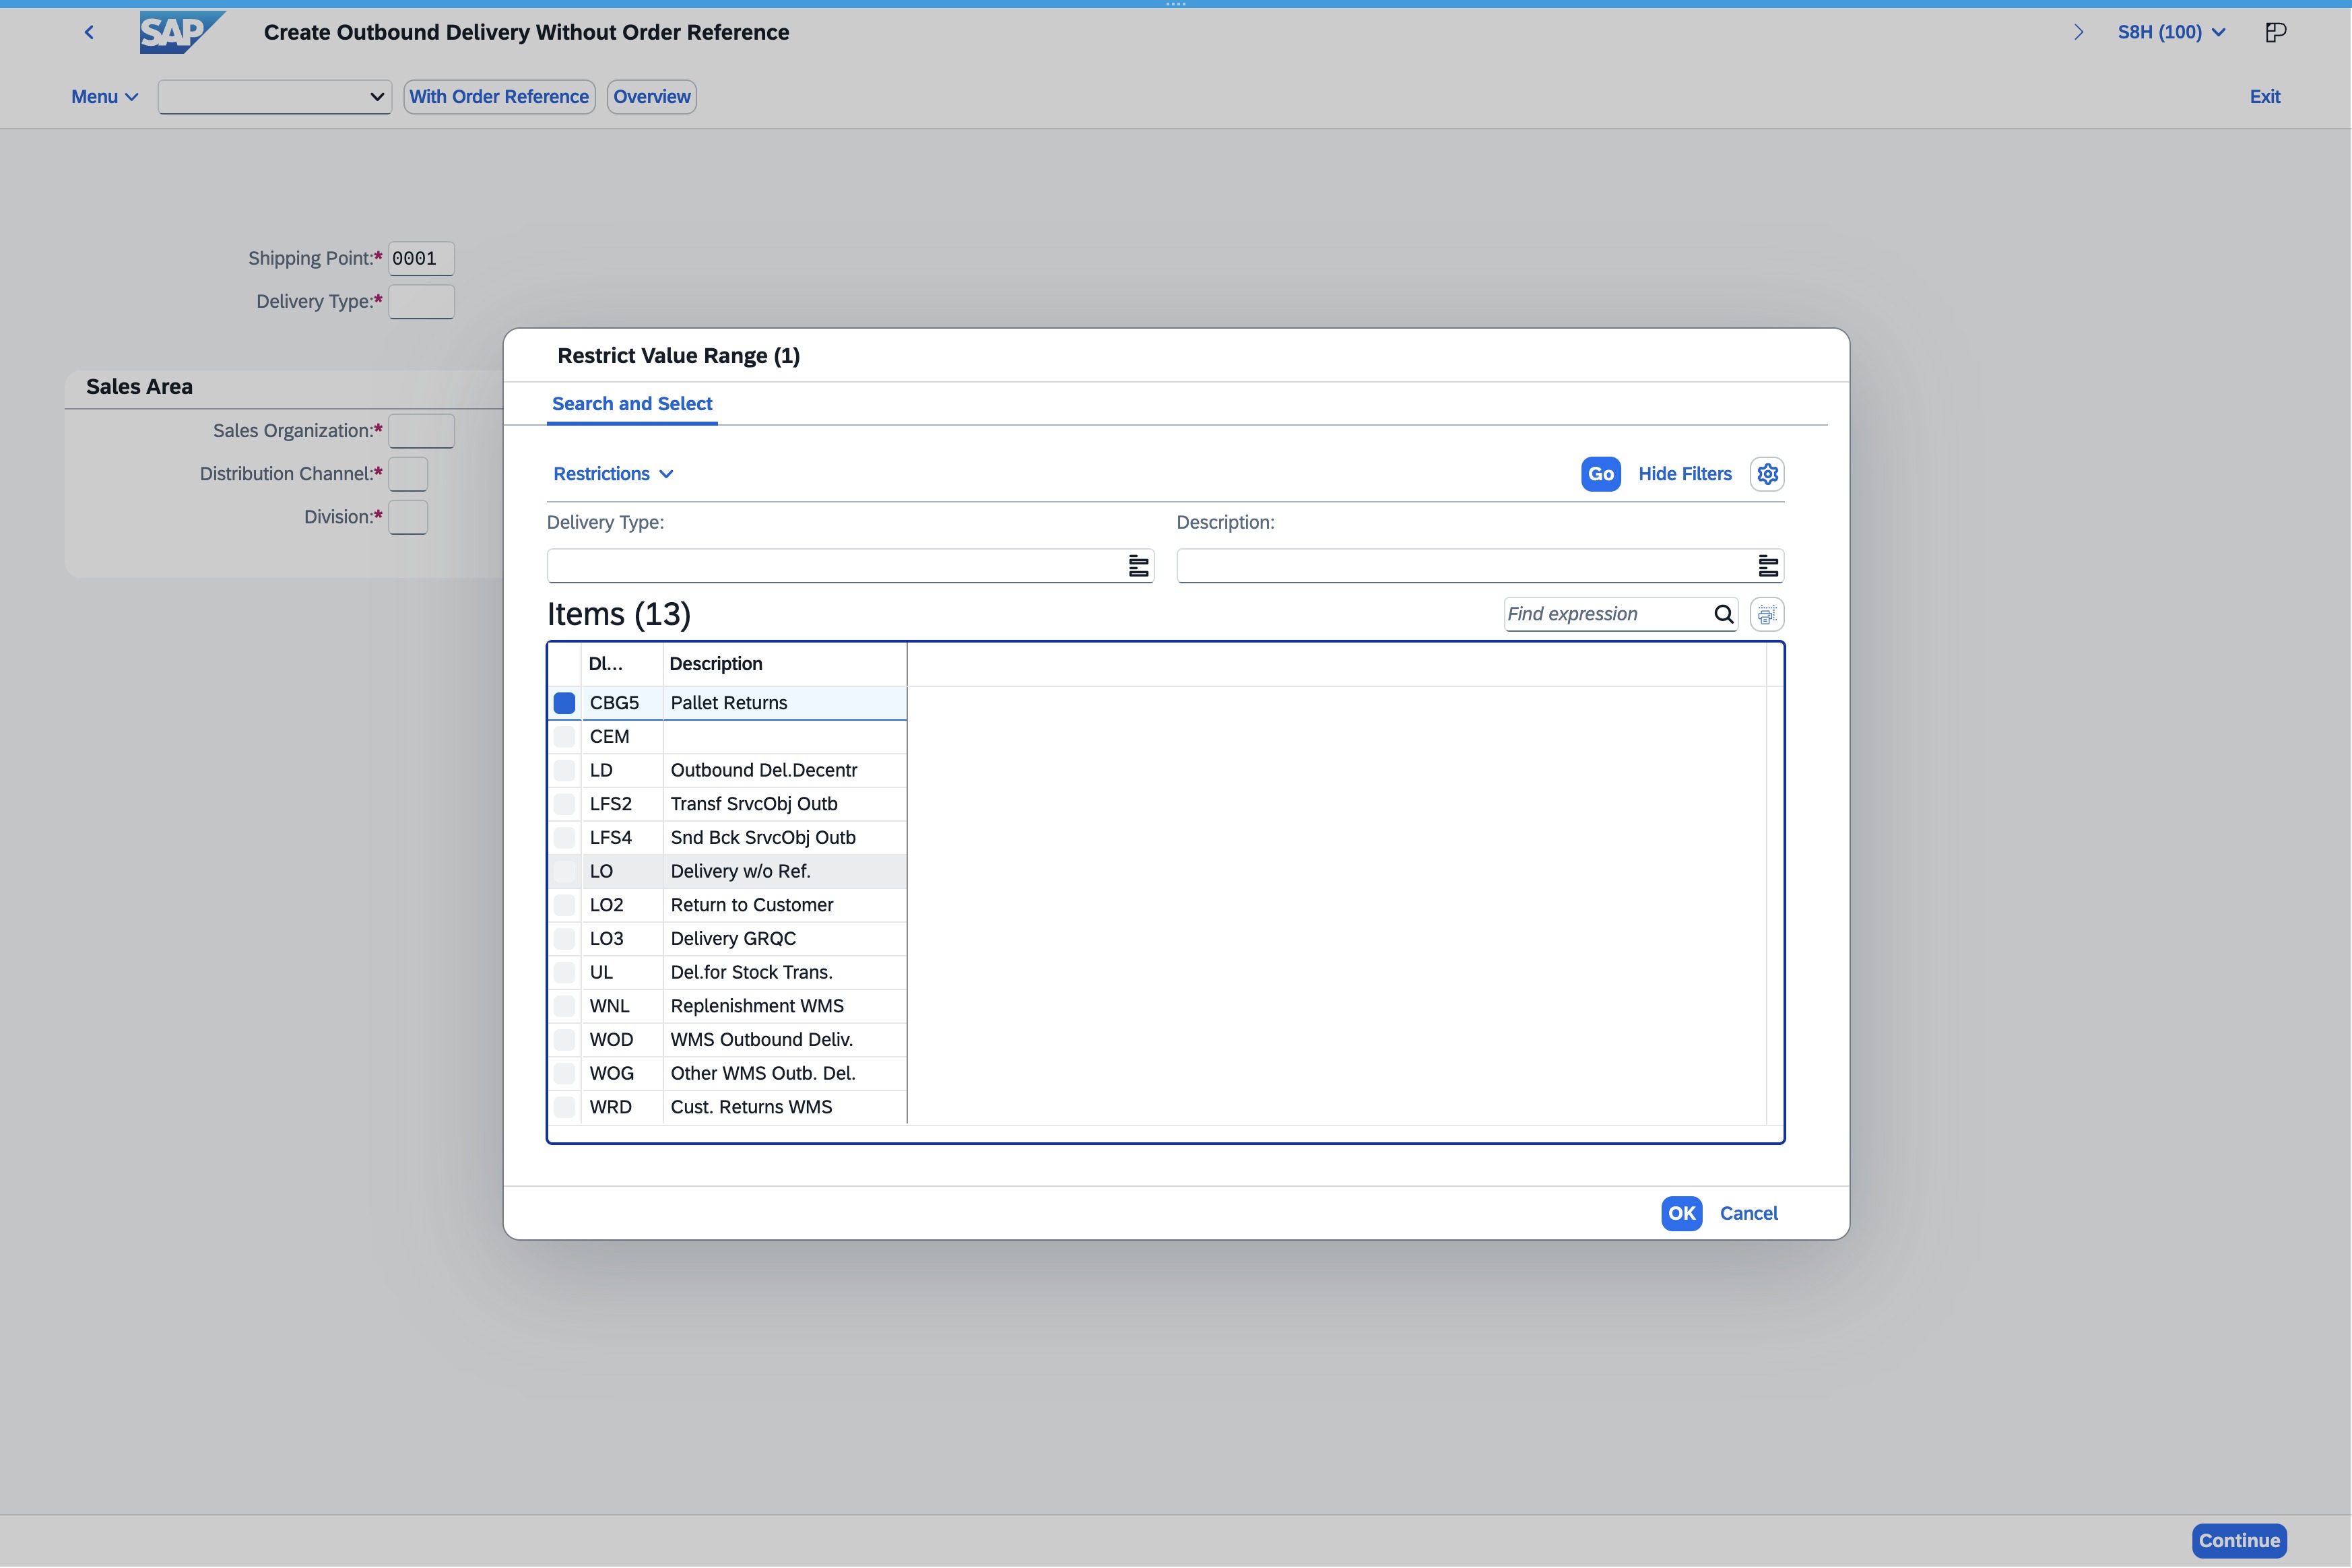
Select the desired shipping point row by clicking the checkbox in the Column for row selection. This action highlights your choice and prepares it for further processing.

This action confirms your selection and proceeds with the current operation in the shipping point setup.
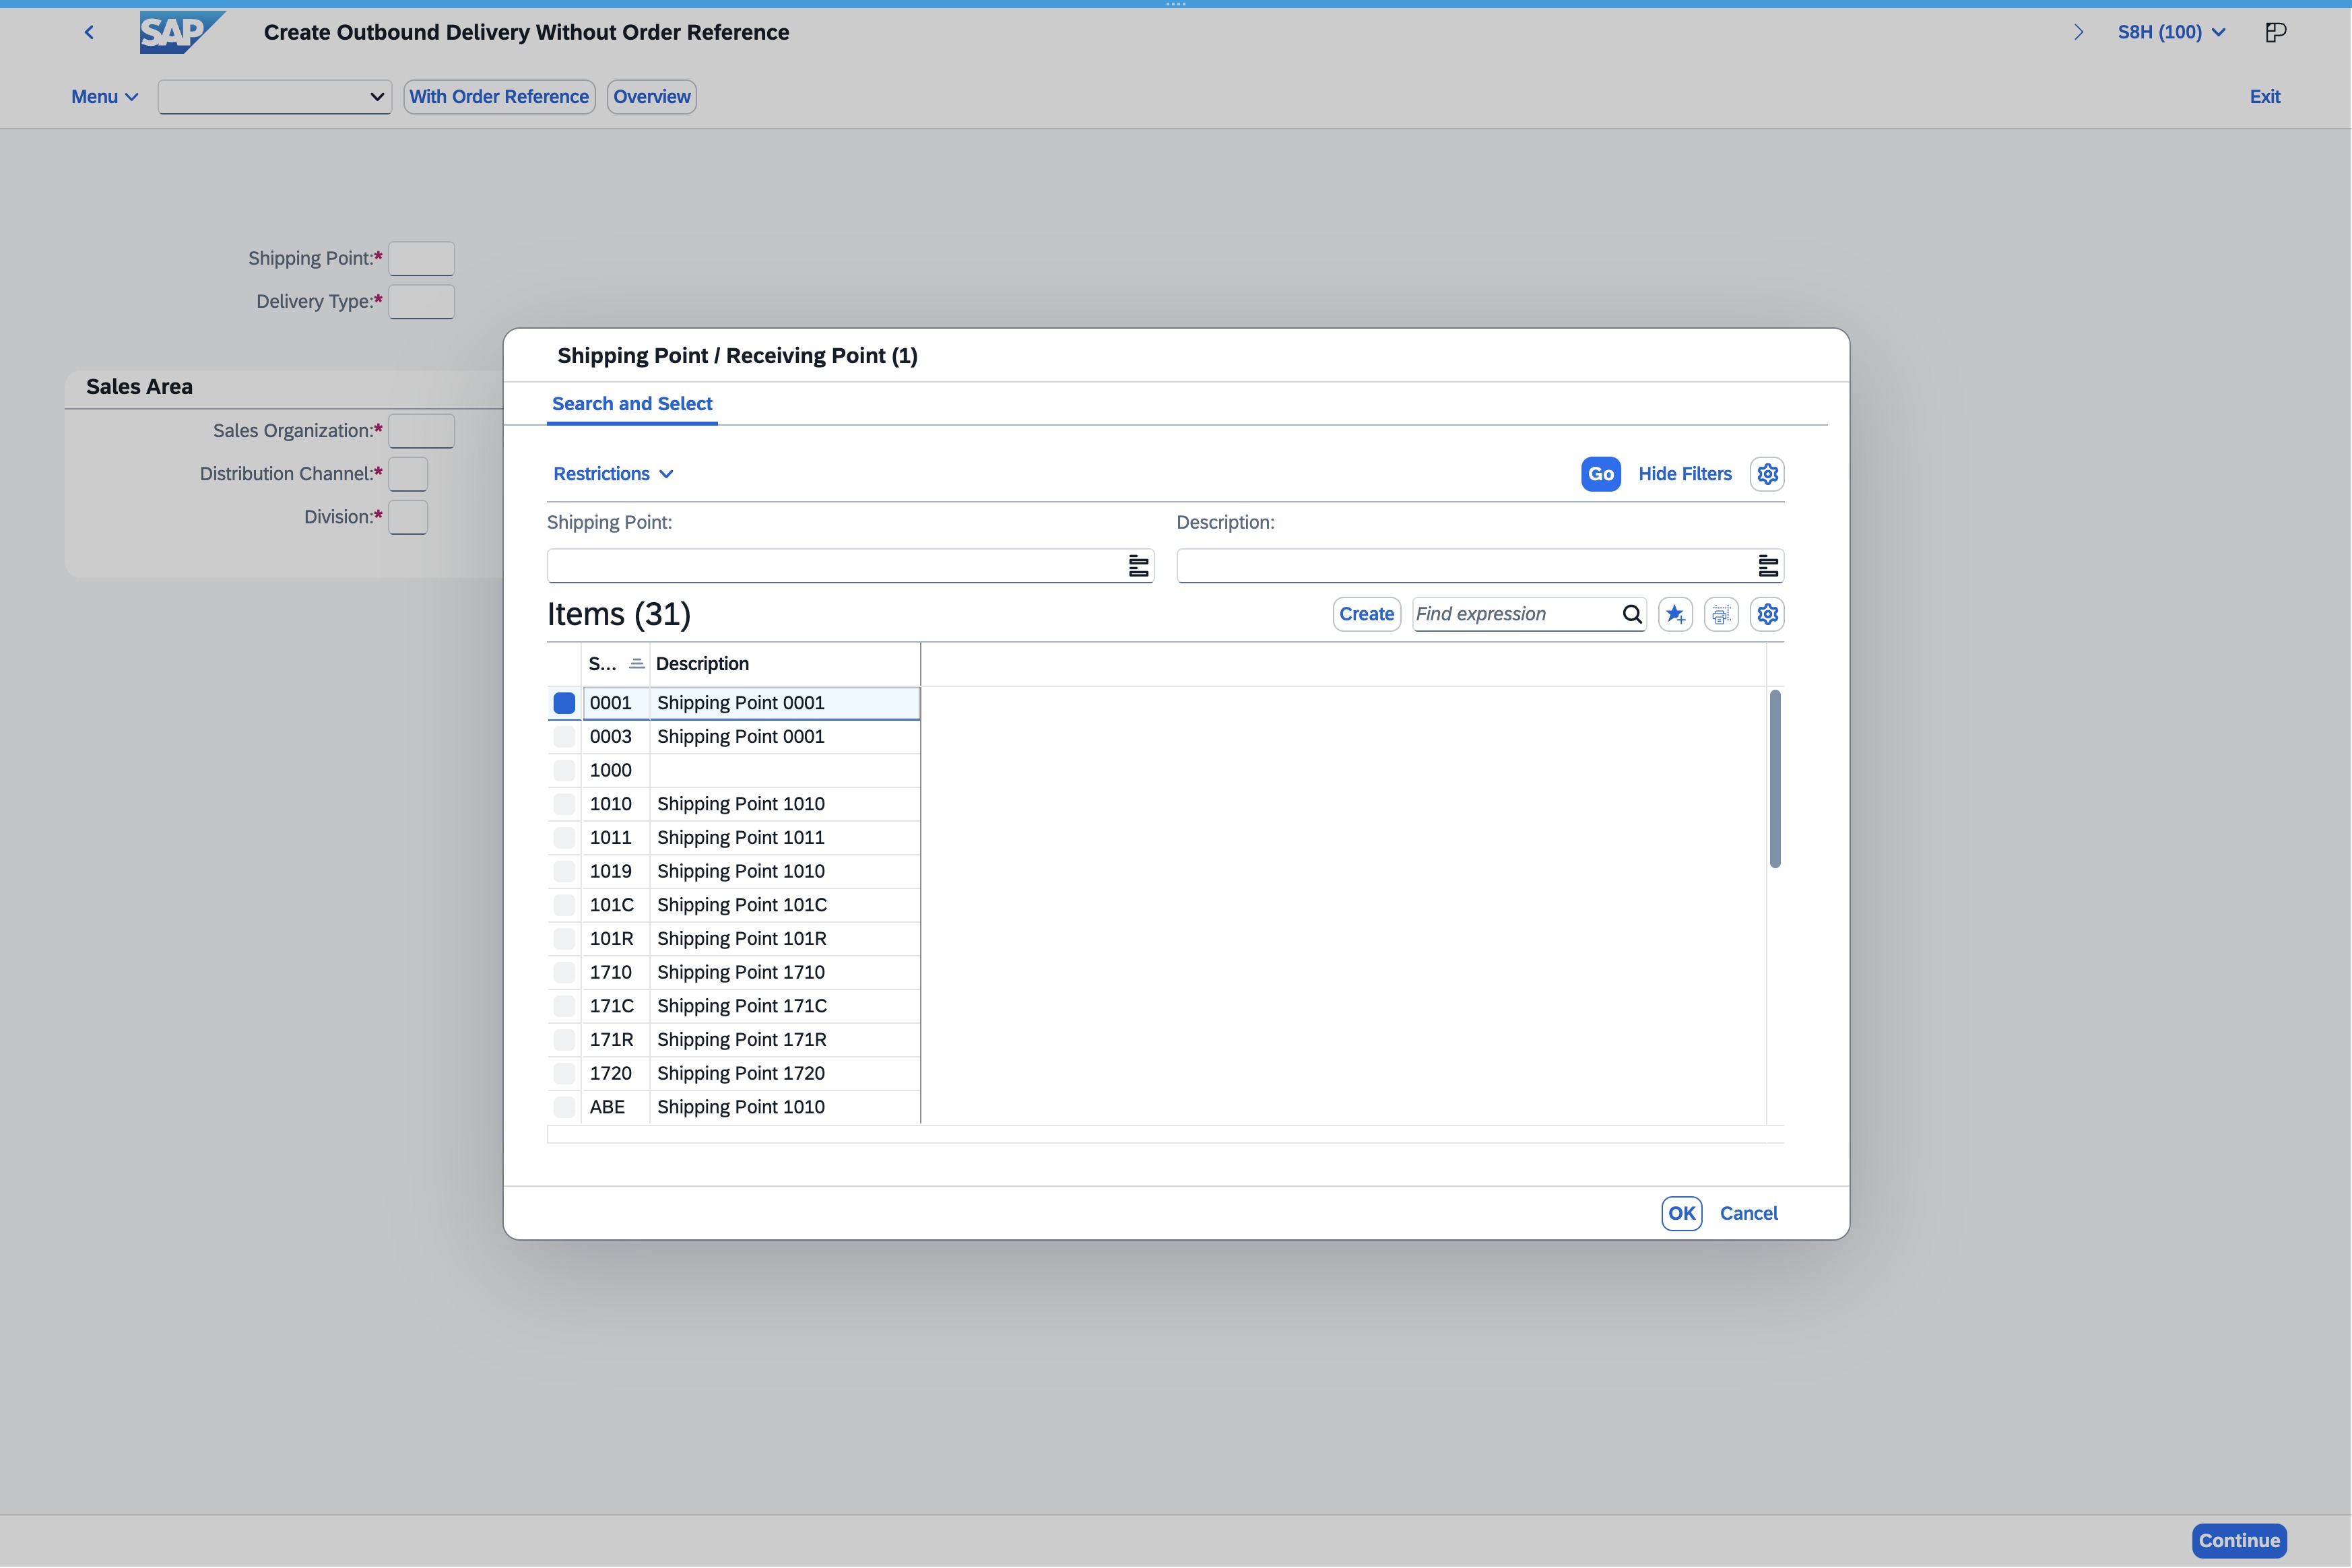
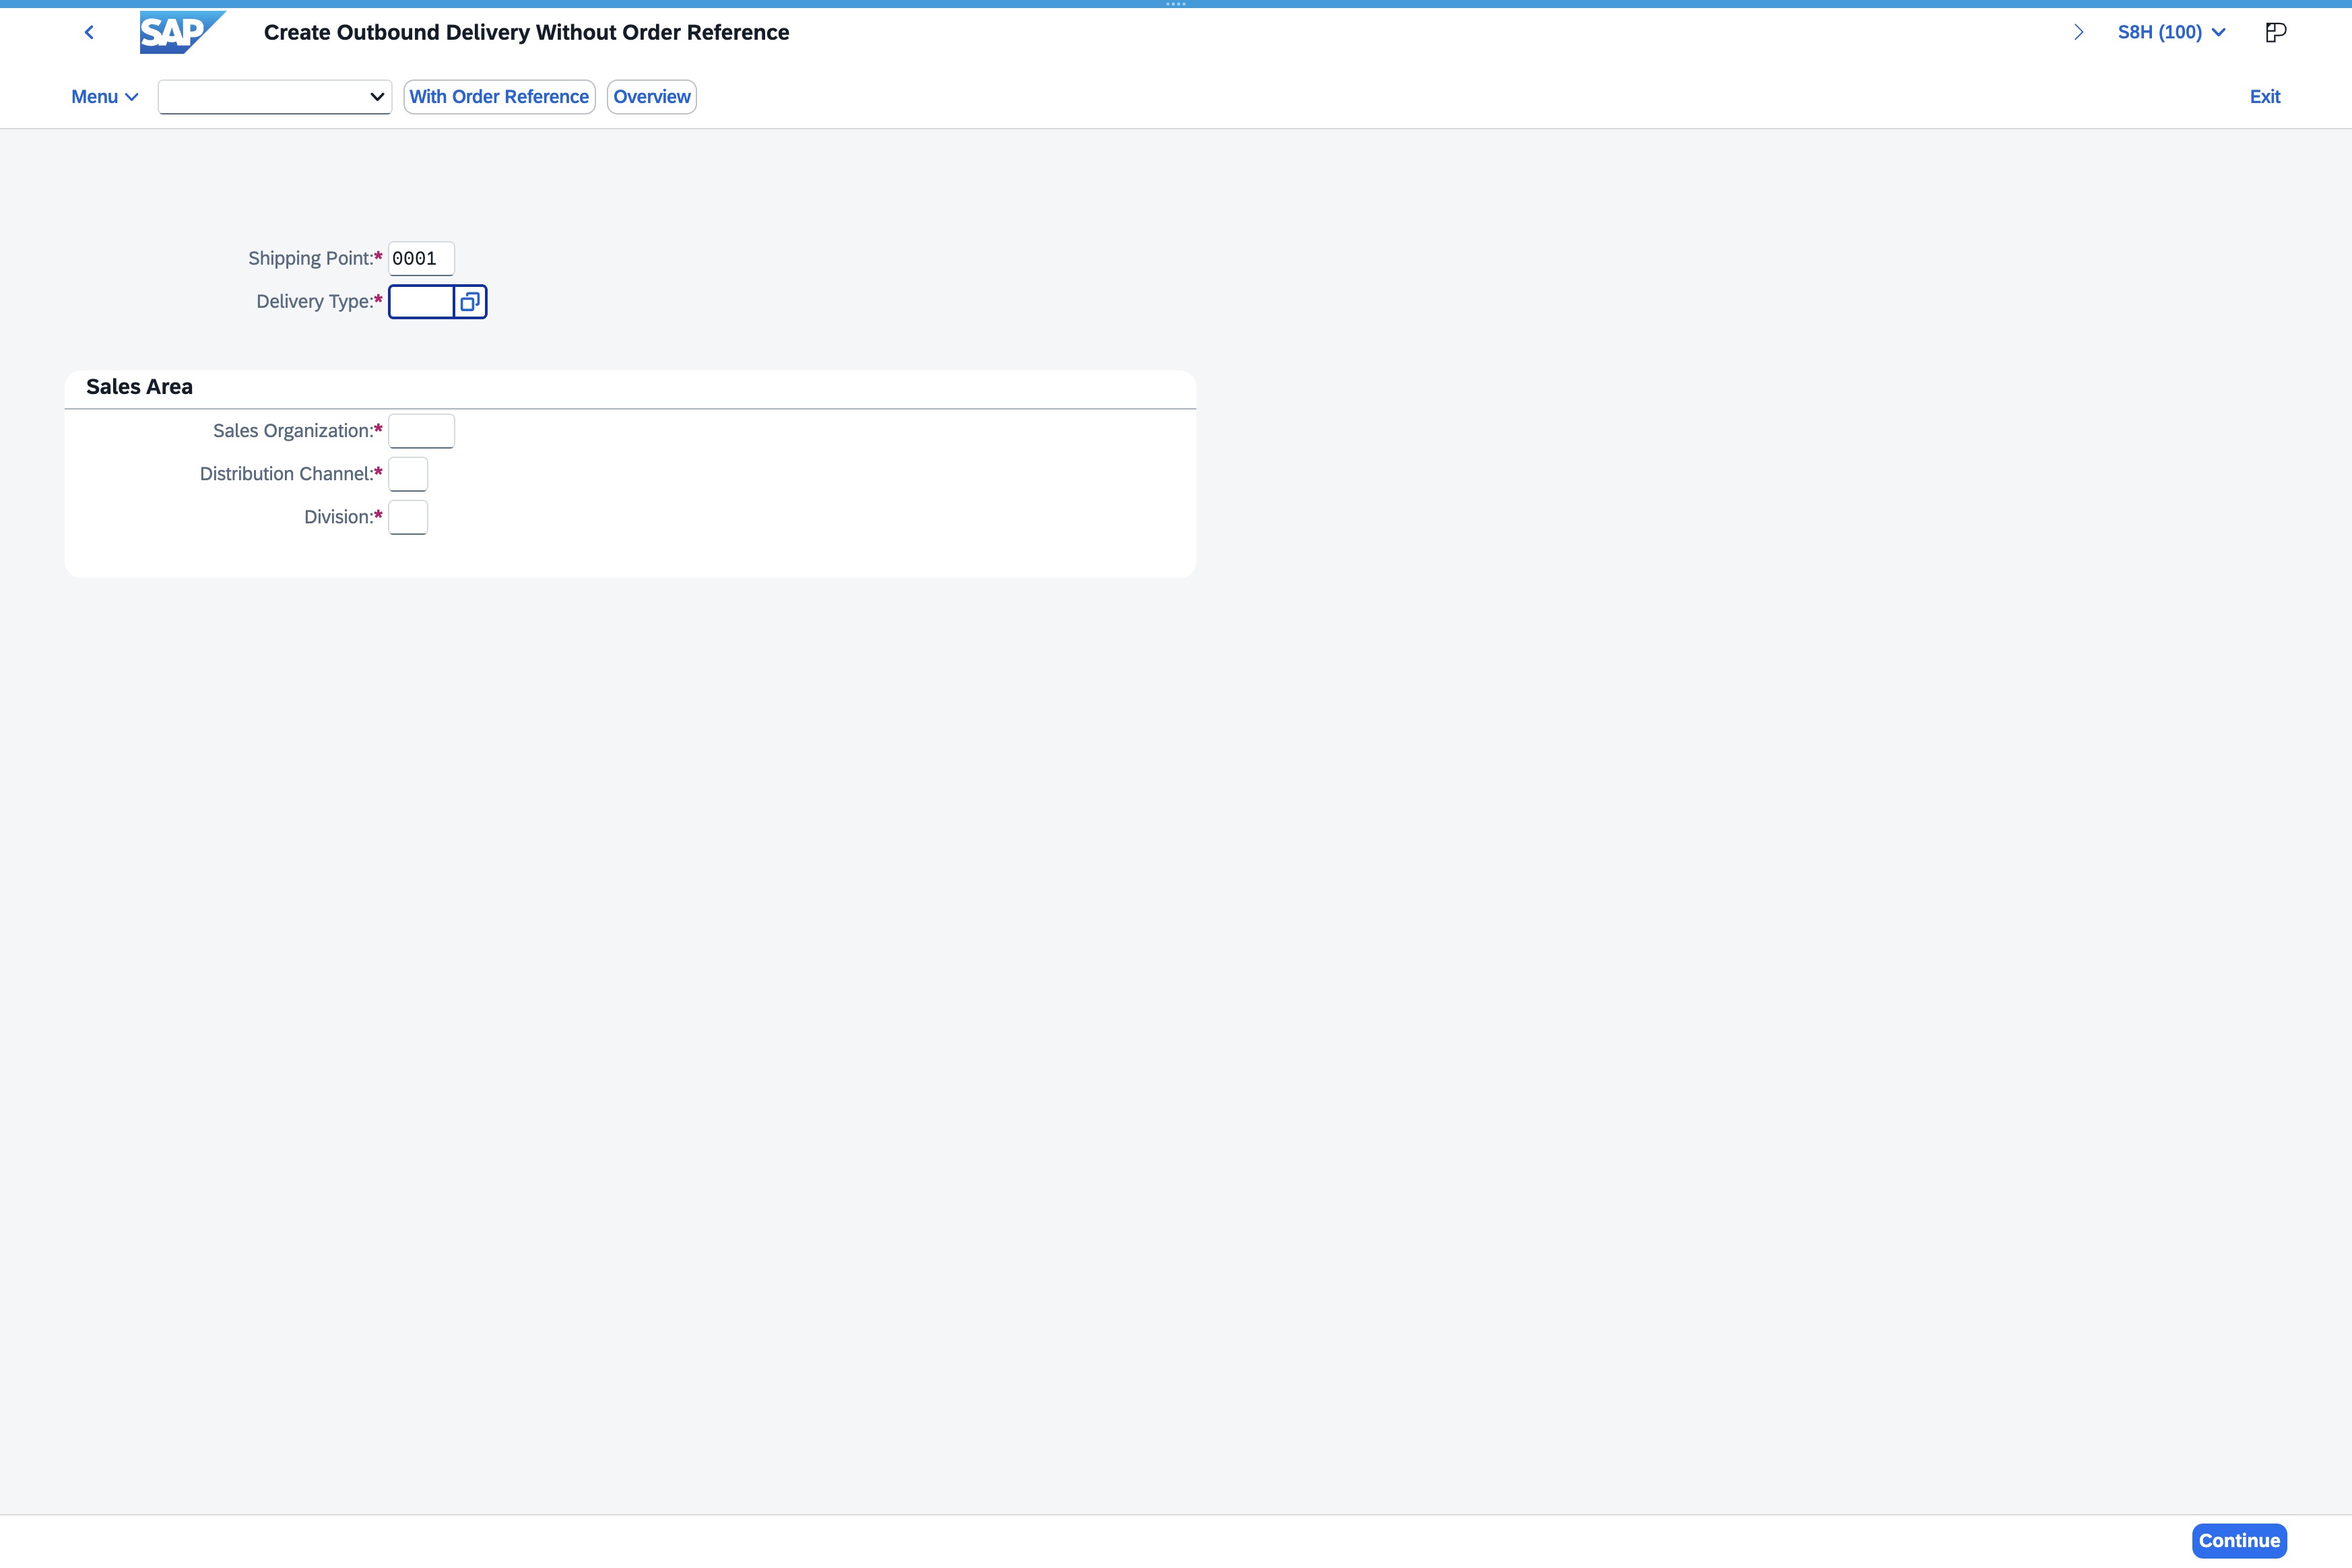
Select the appropriate delivery type from the dropdown menu to specify how the items will be shipped. This helps define the logistics involved in the outgoing delivery process.
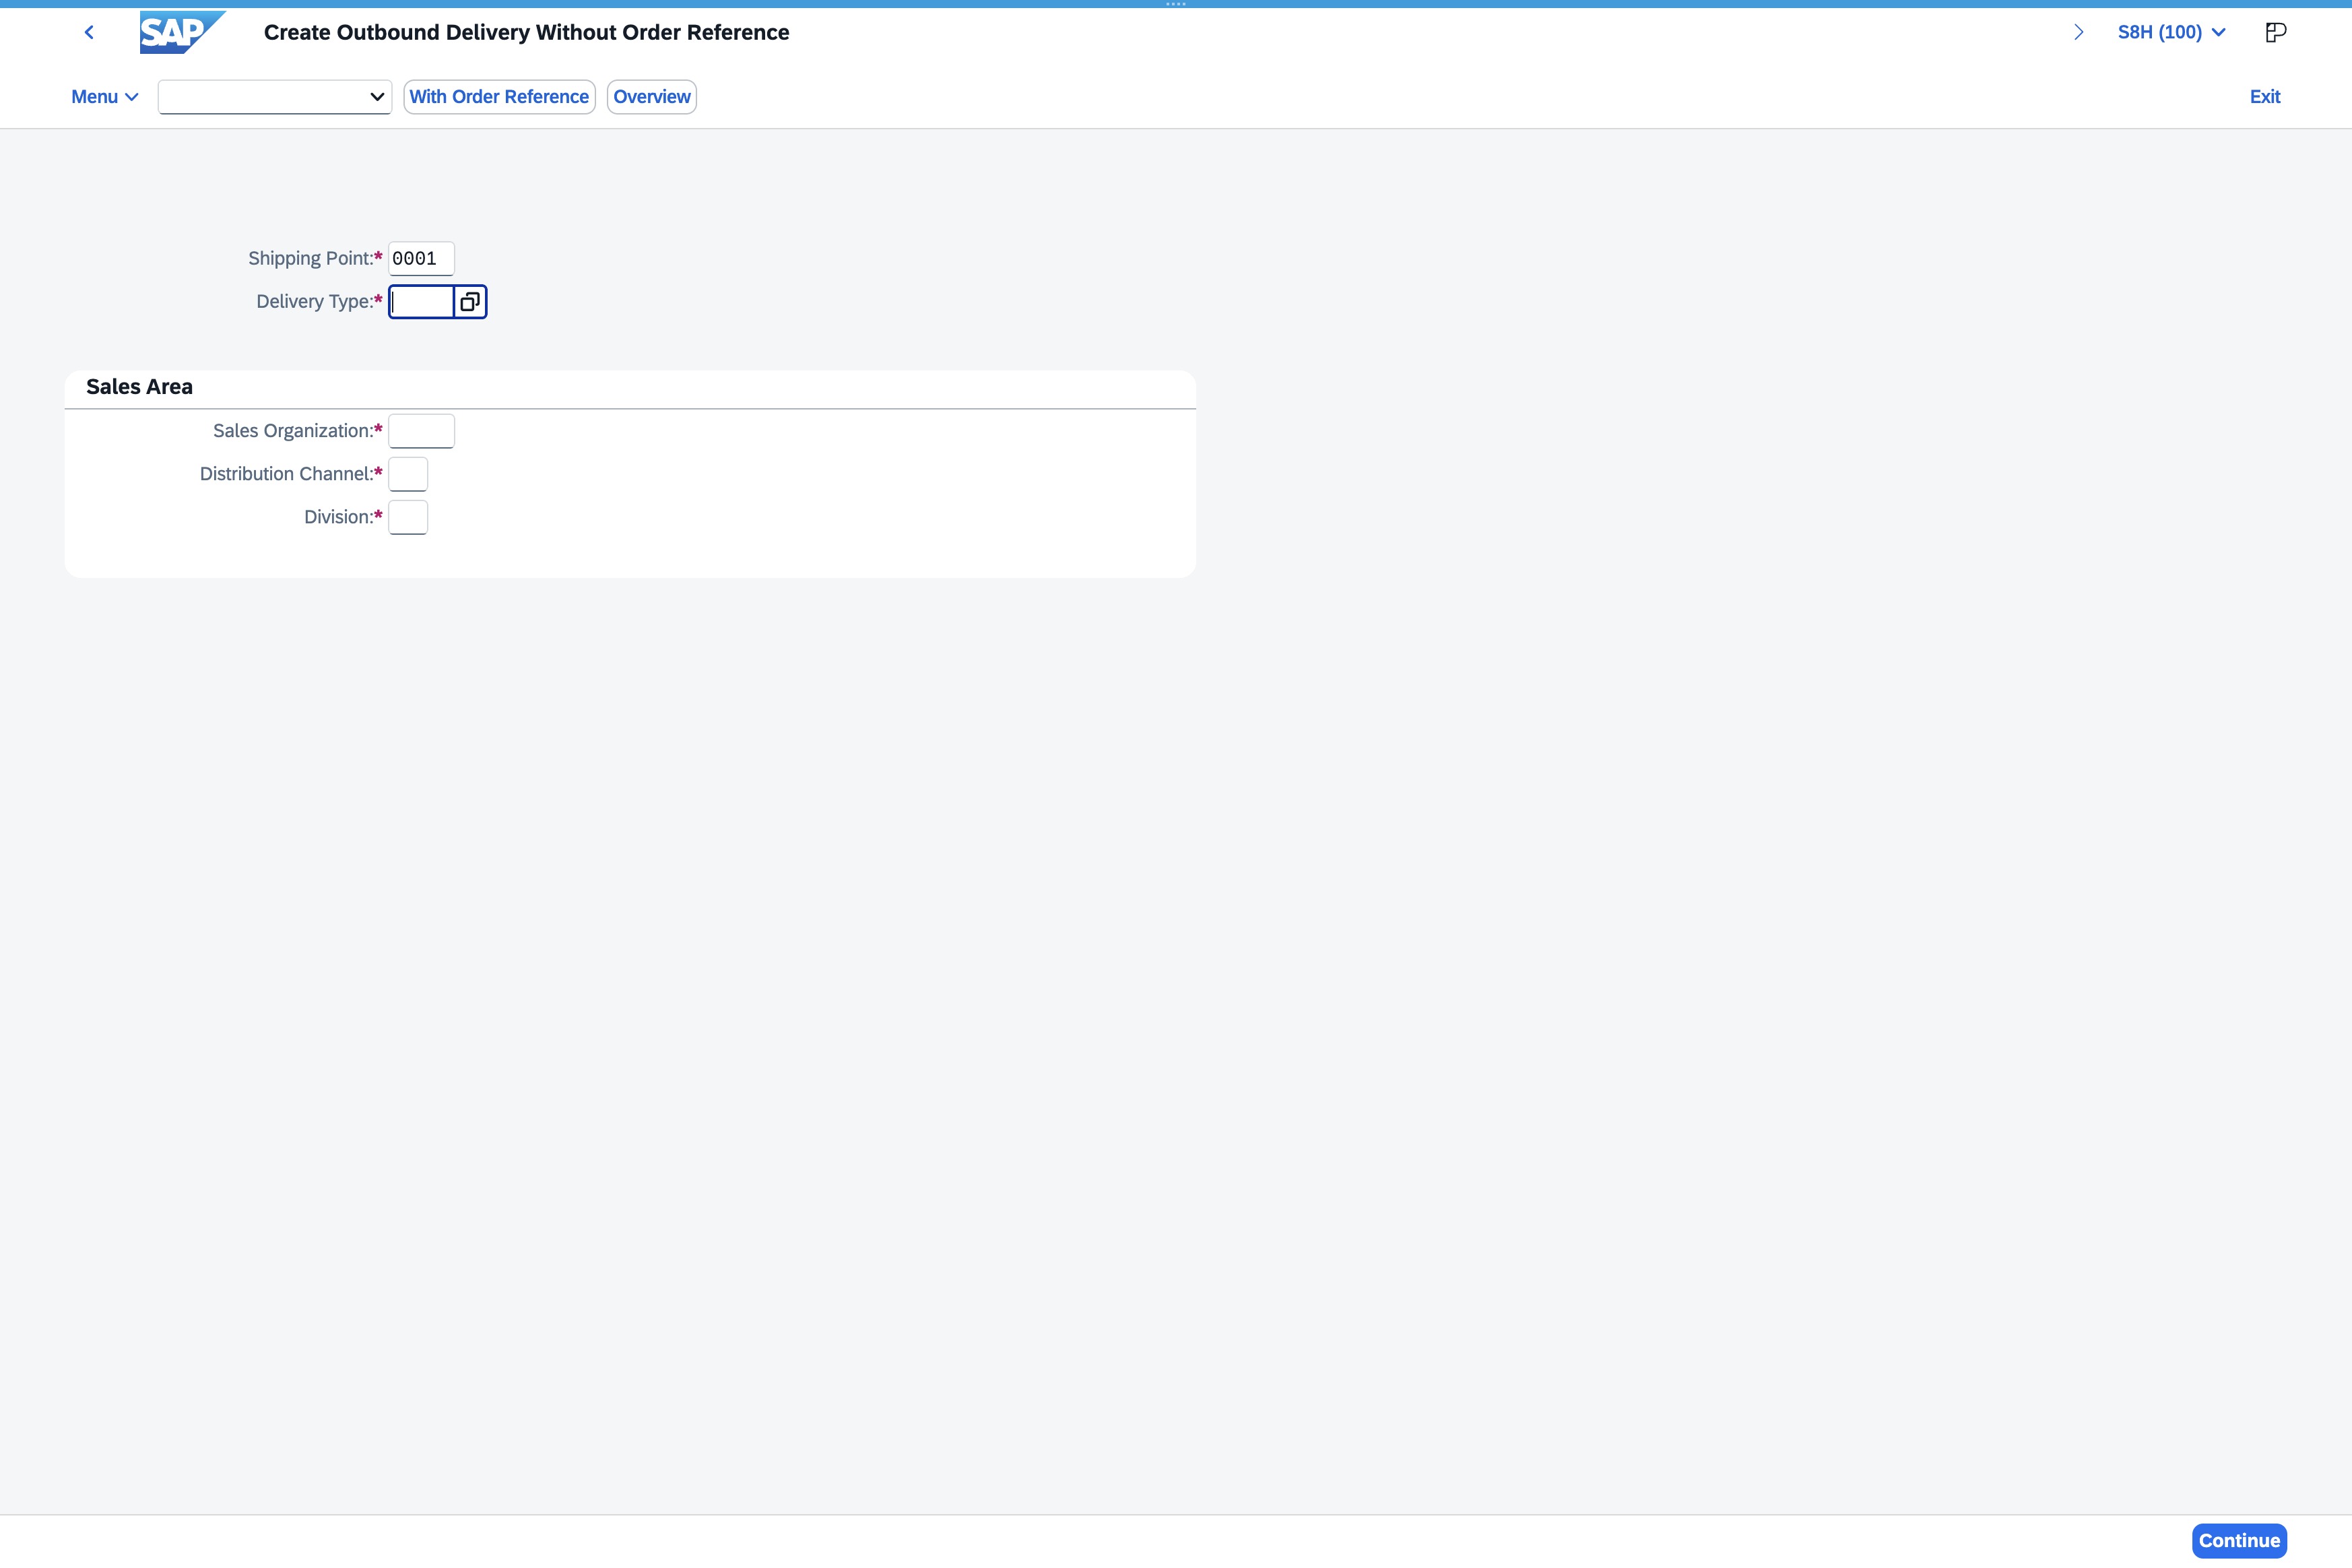
Selecting the Delivery Type allows you to specify the method of delivery for the outbound shipment you are creating. This step is essential for ensuring that the correct delivery logistics are applied to your order.
Clicking on the row selection column allows you to select or deselect items in the list. Use the space bar to select or deselect specific rows, as indicated in the interface.
This confirms your actions and proceeds to the next step in creating the outbound delivery without order references in the SAP interface.
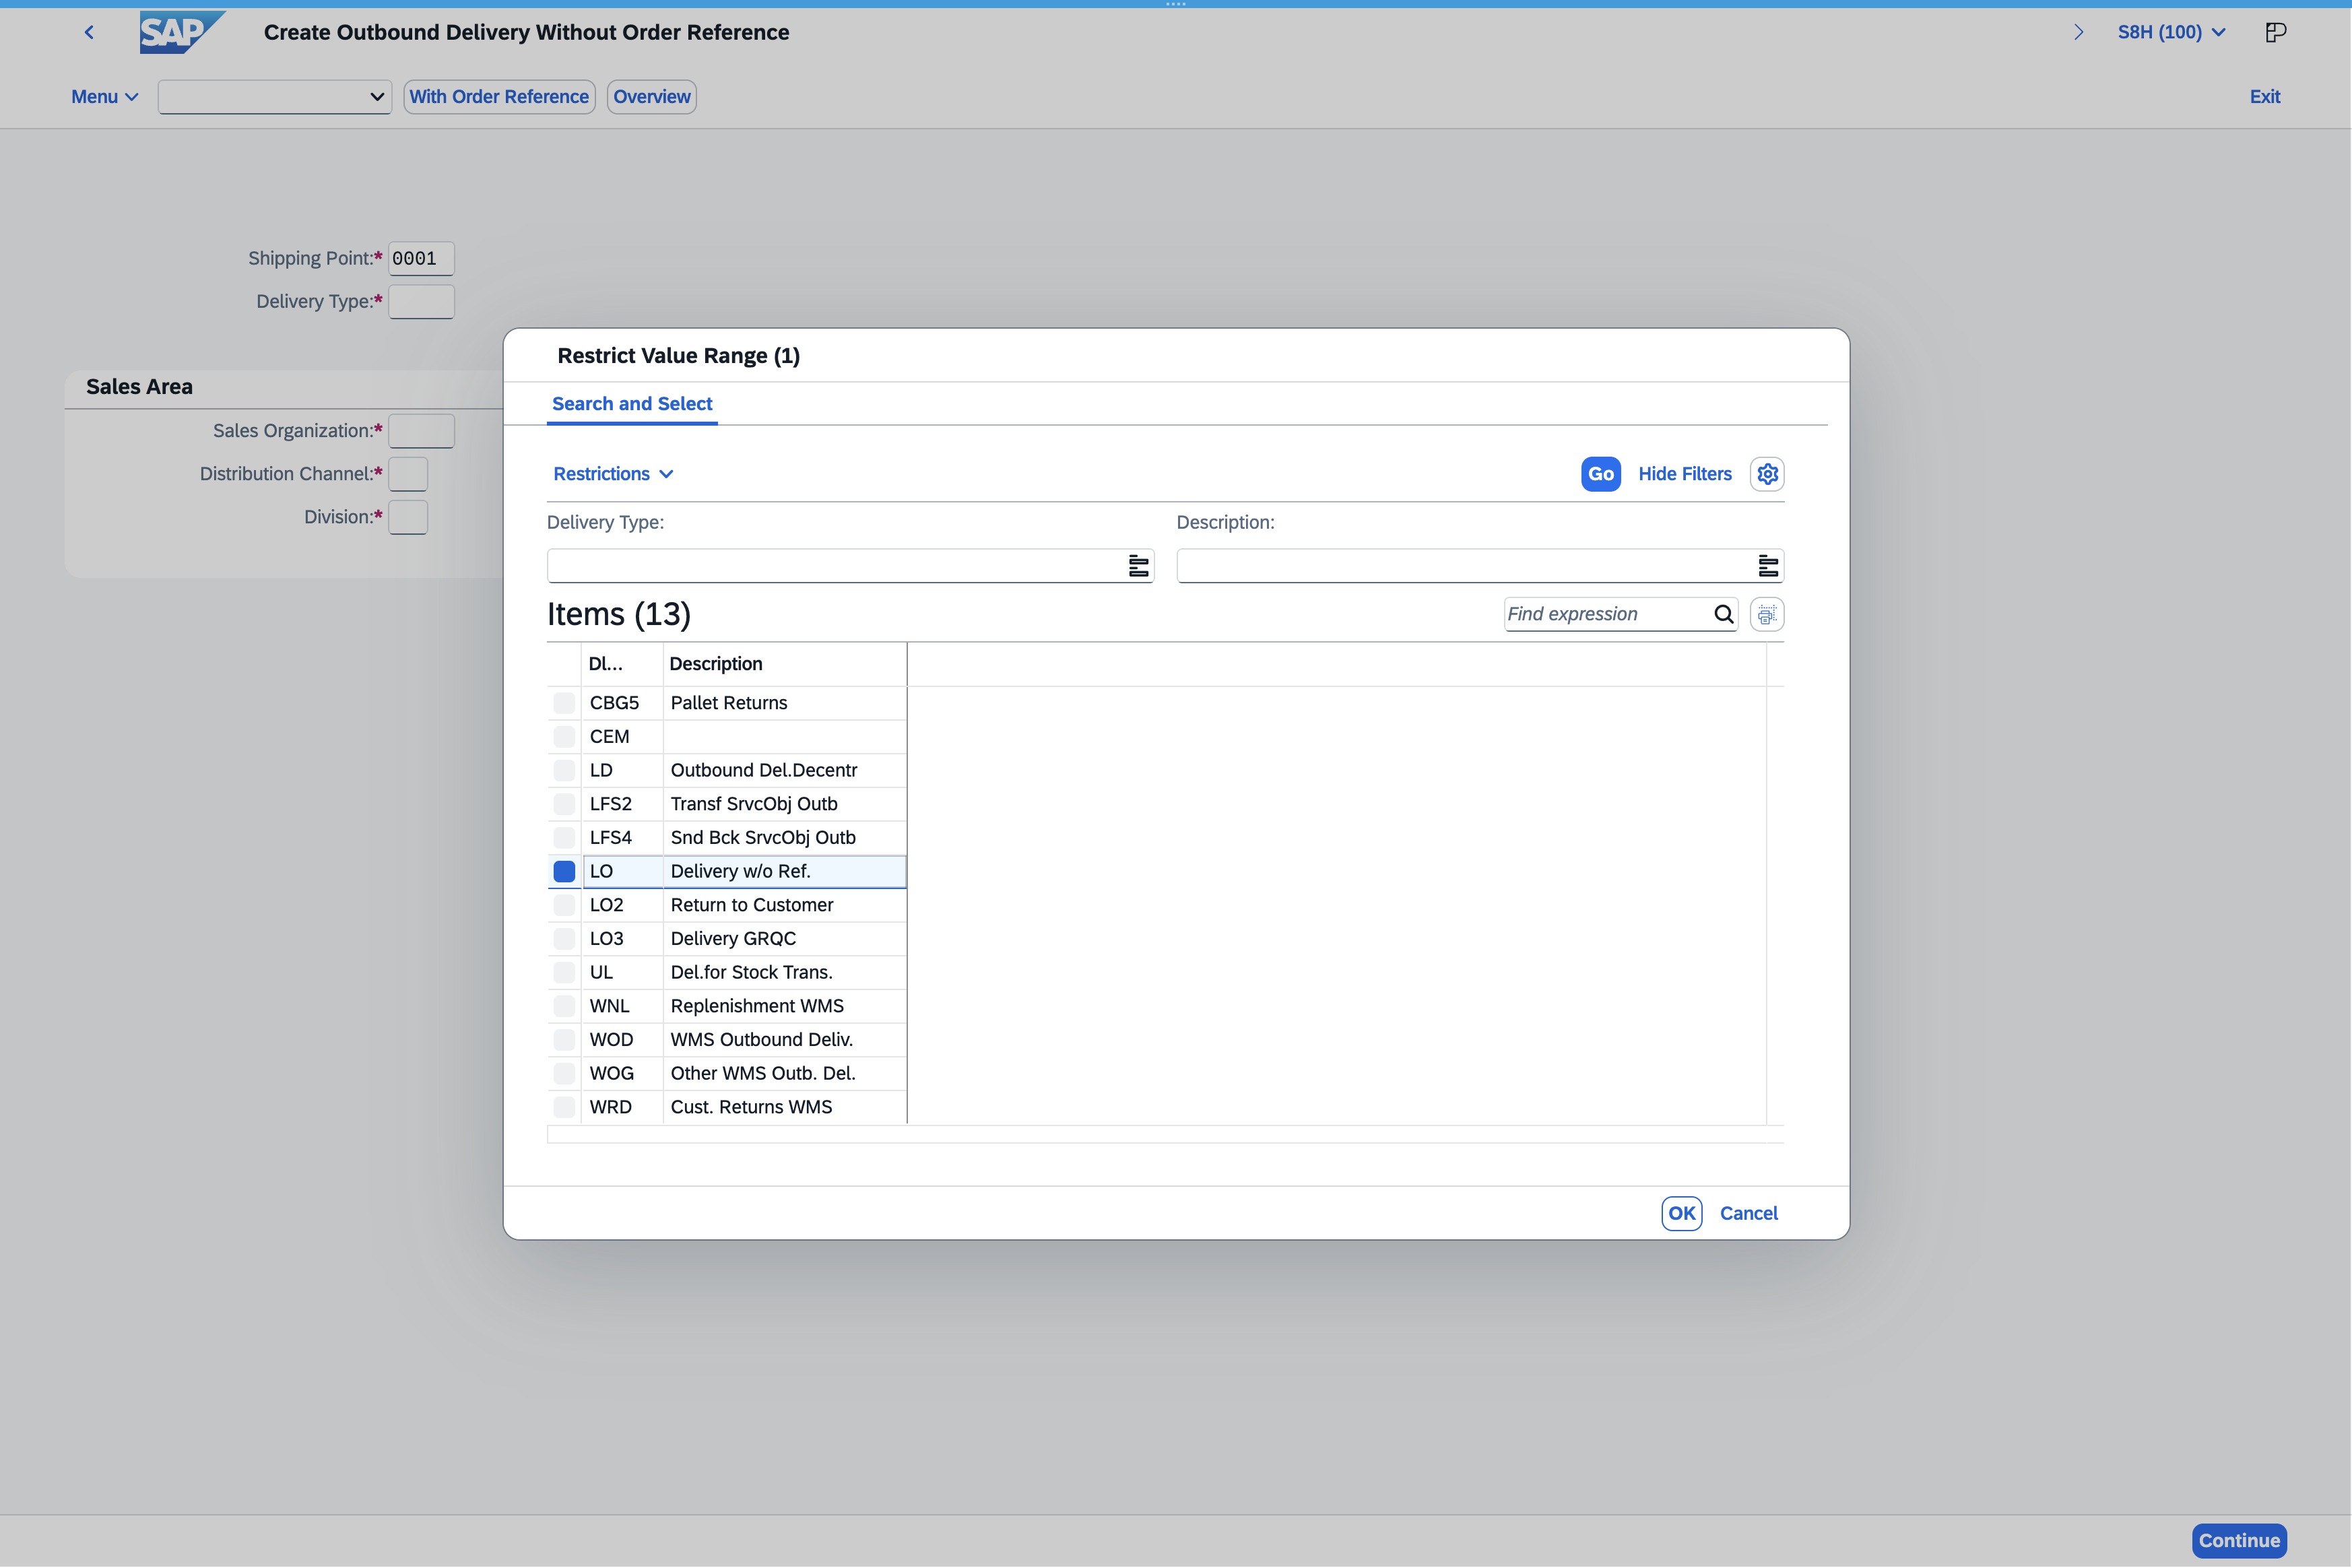
This action initiates the creation of an outbound delivery without a corresponding order reference, allowing you to specify details related to the shipping and sales area.

This action will initiate the process for creating a new outbound delivery using the specified order reference. Ensure all relevant details are filled in before proceeding.
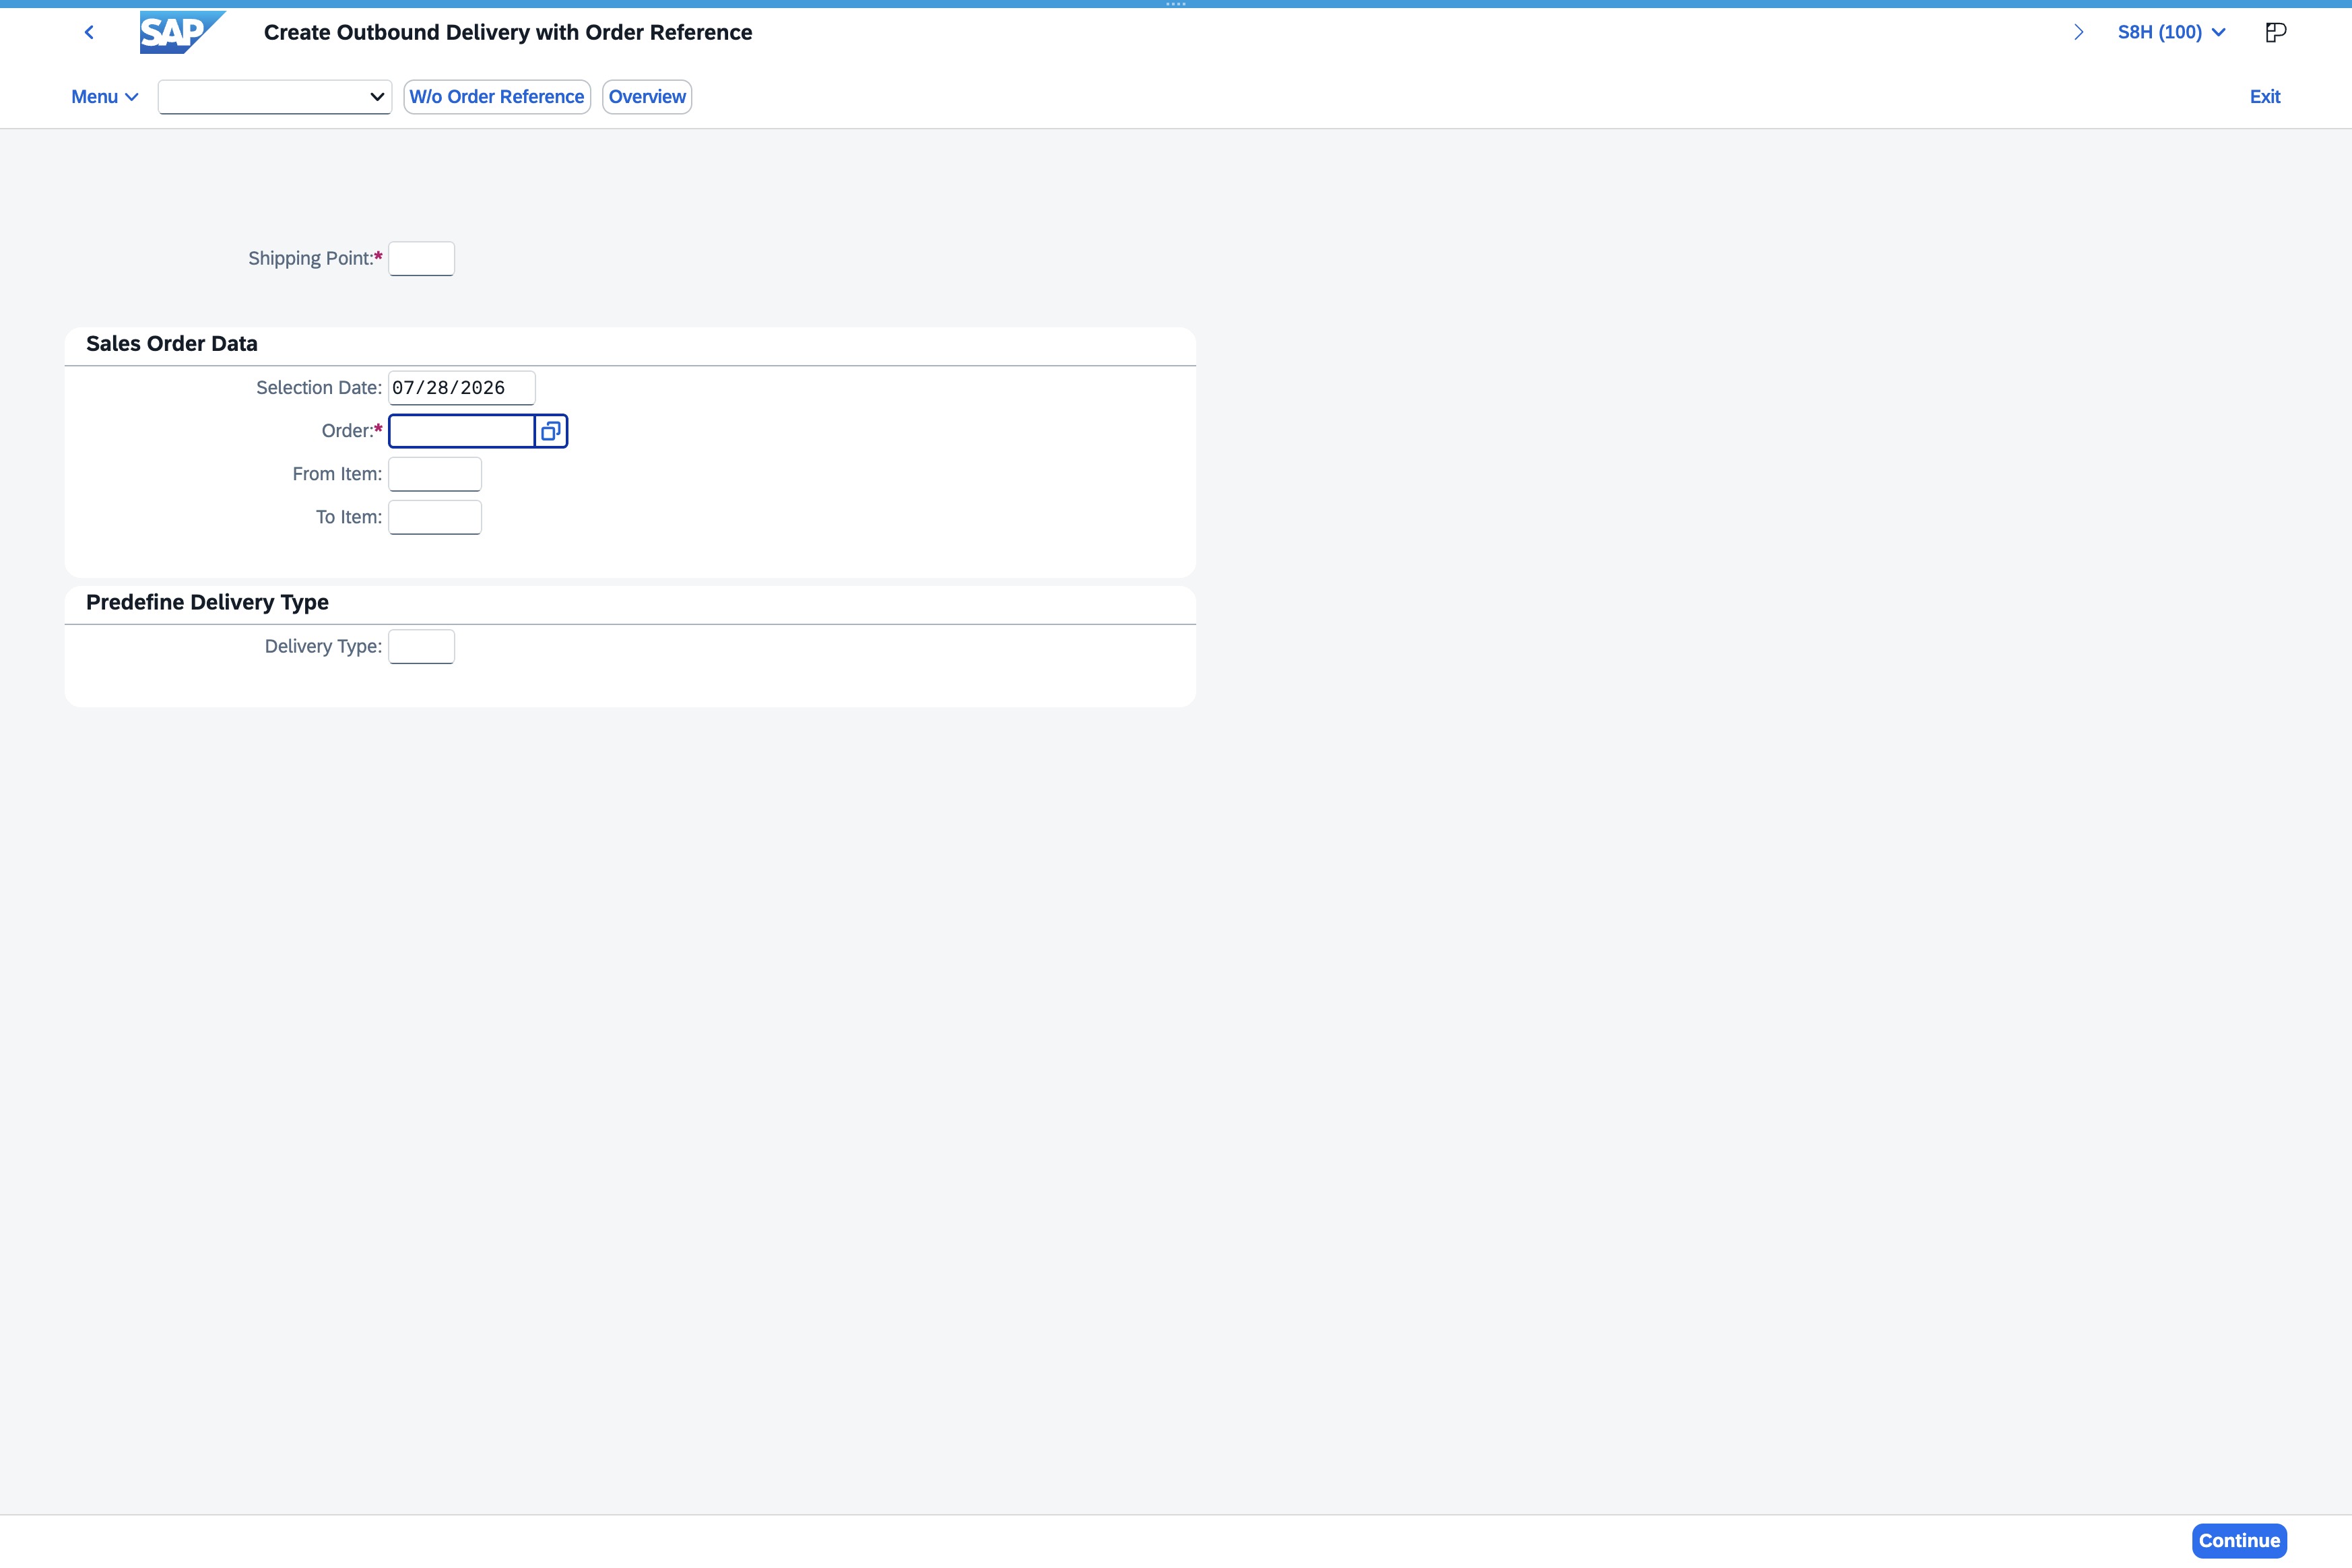
This action will proceed with the current order details you have entered, allowing you to finalize the outbound delivery process.

Clicking this order number will open the details of the specific sales order associated with it, allowing for further actions such as editing or reviewing item specifics.
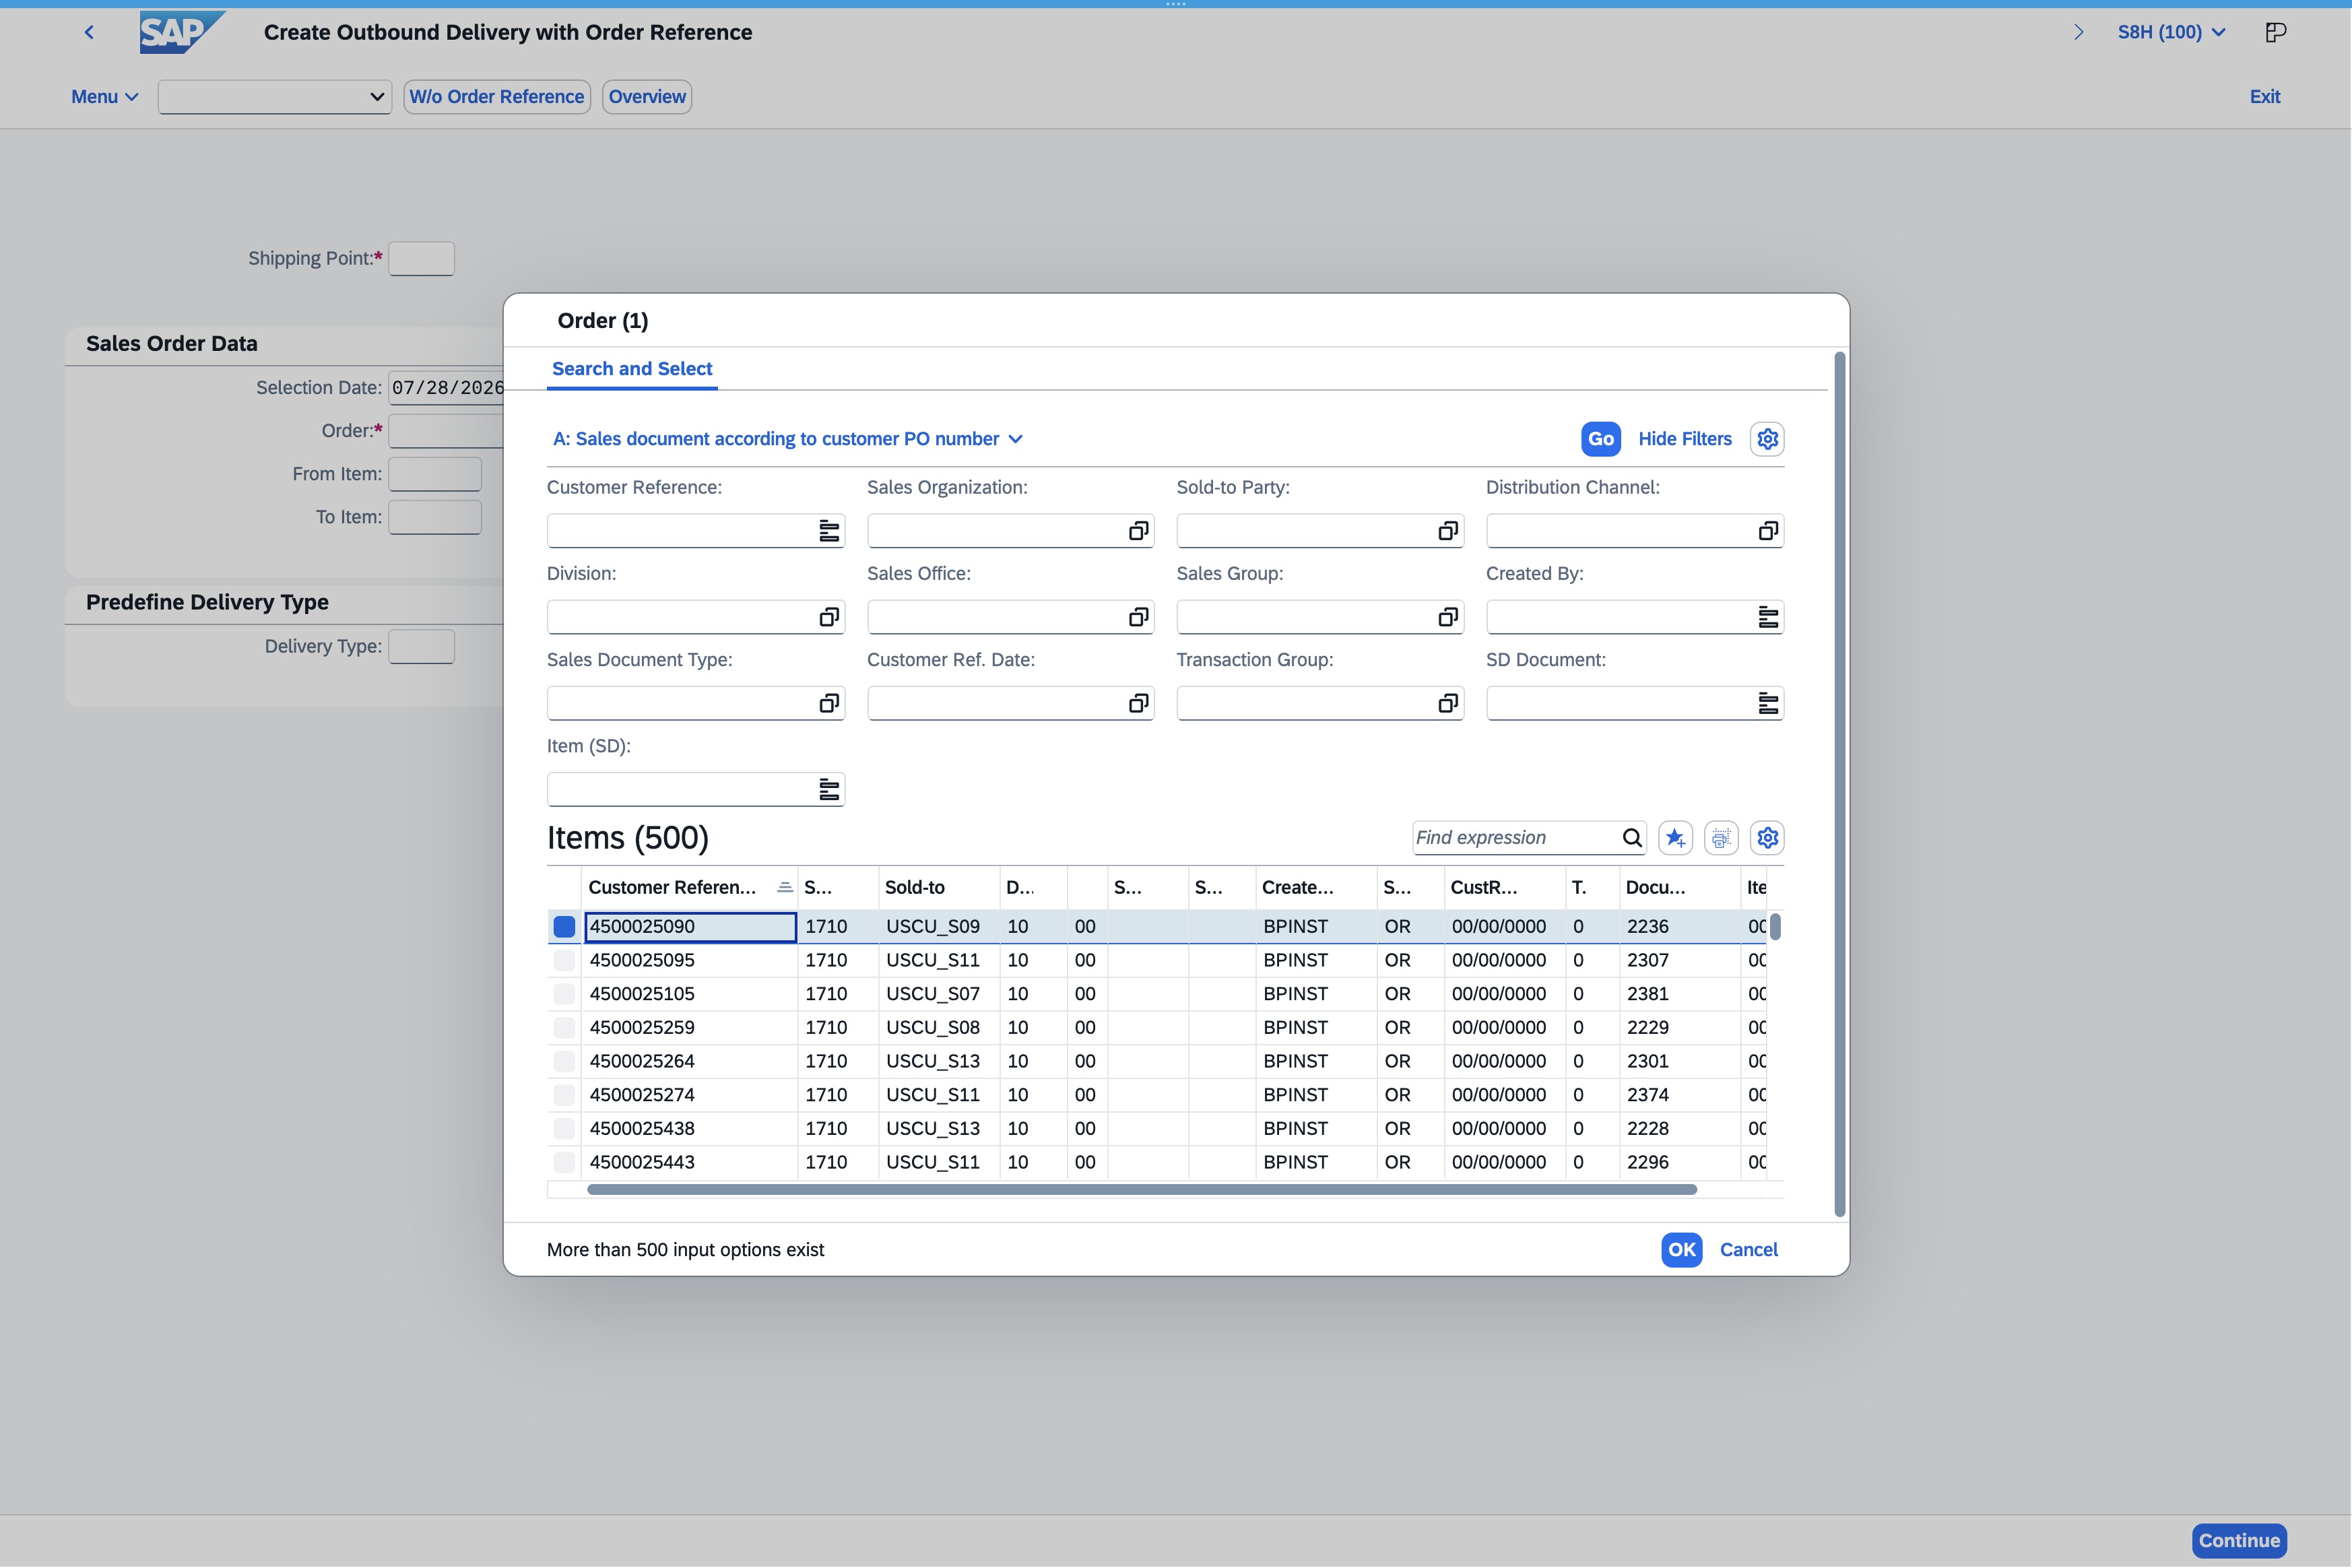
Clicking on the '4500025090' sales order reference will display detailed information about the selected order, allowing you to review and manage its contents.
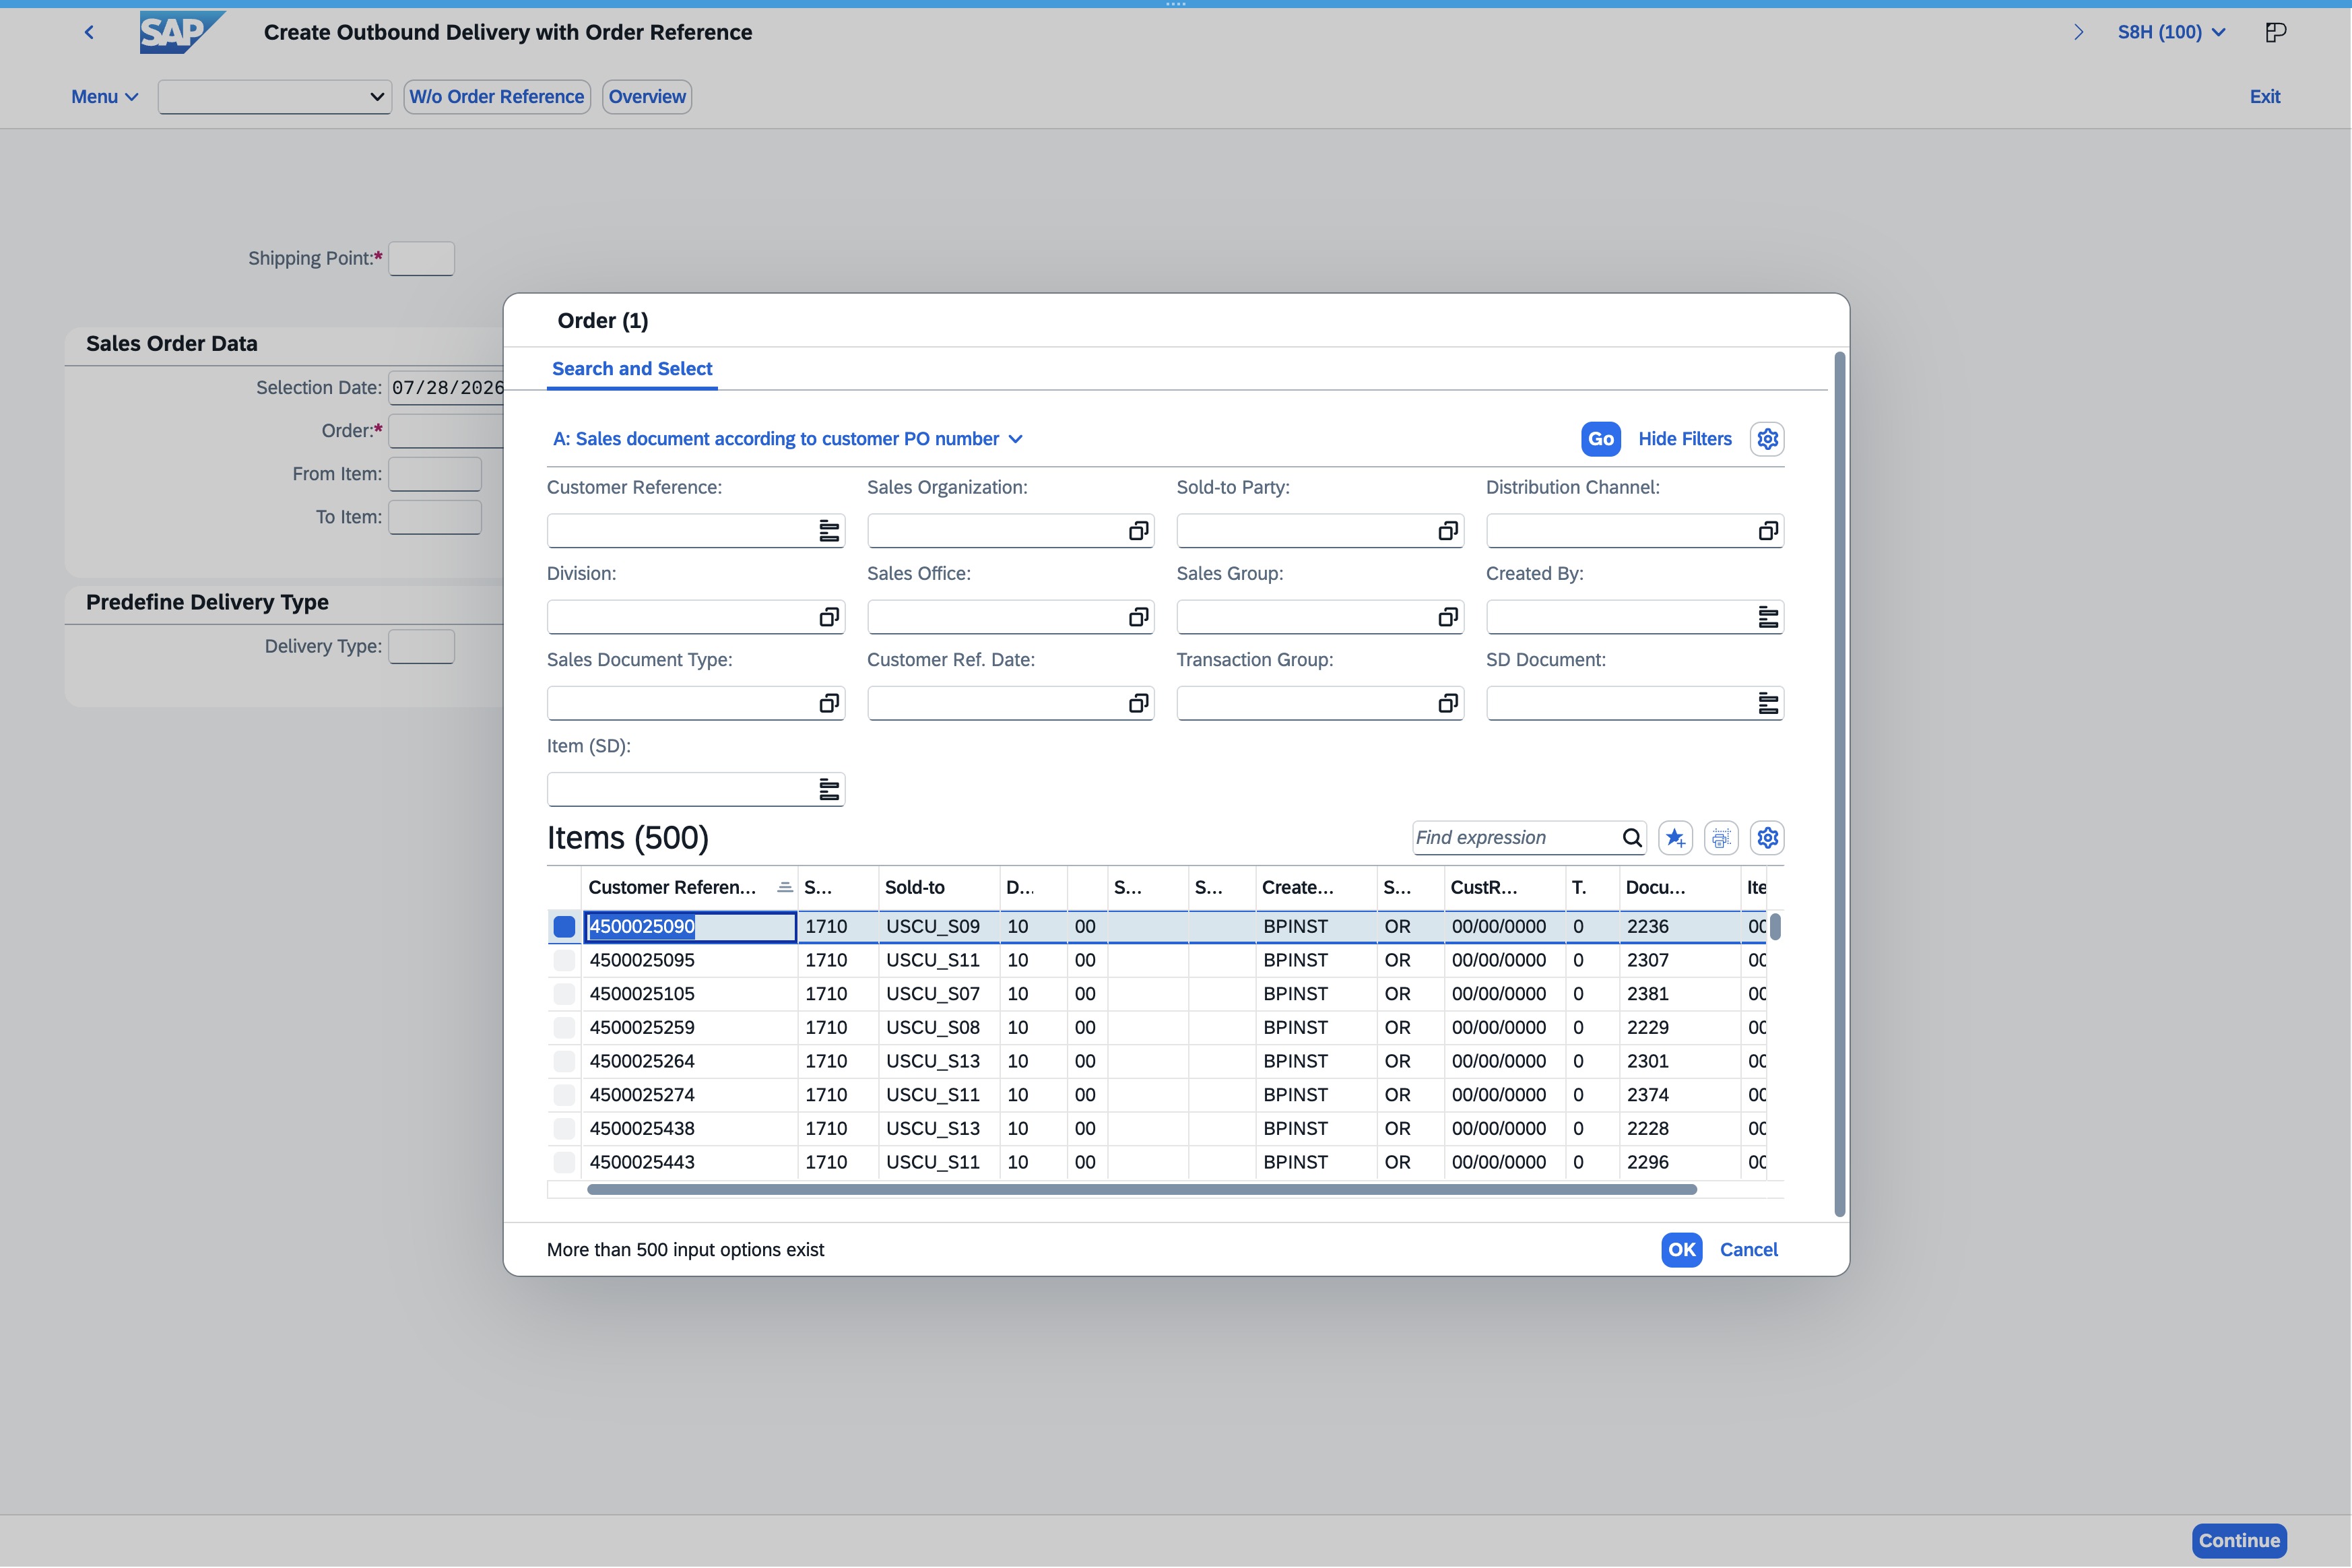
This action confirms and submits the information you have entered for the sales order delivery. Proceed to the next steps in creating the outbound delivery.
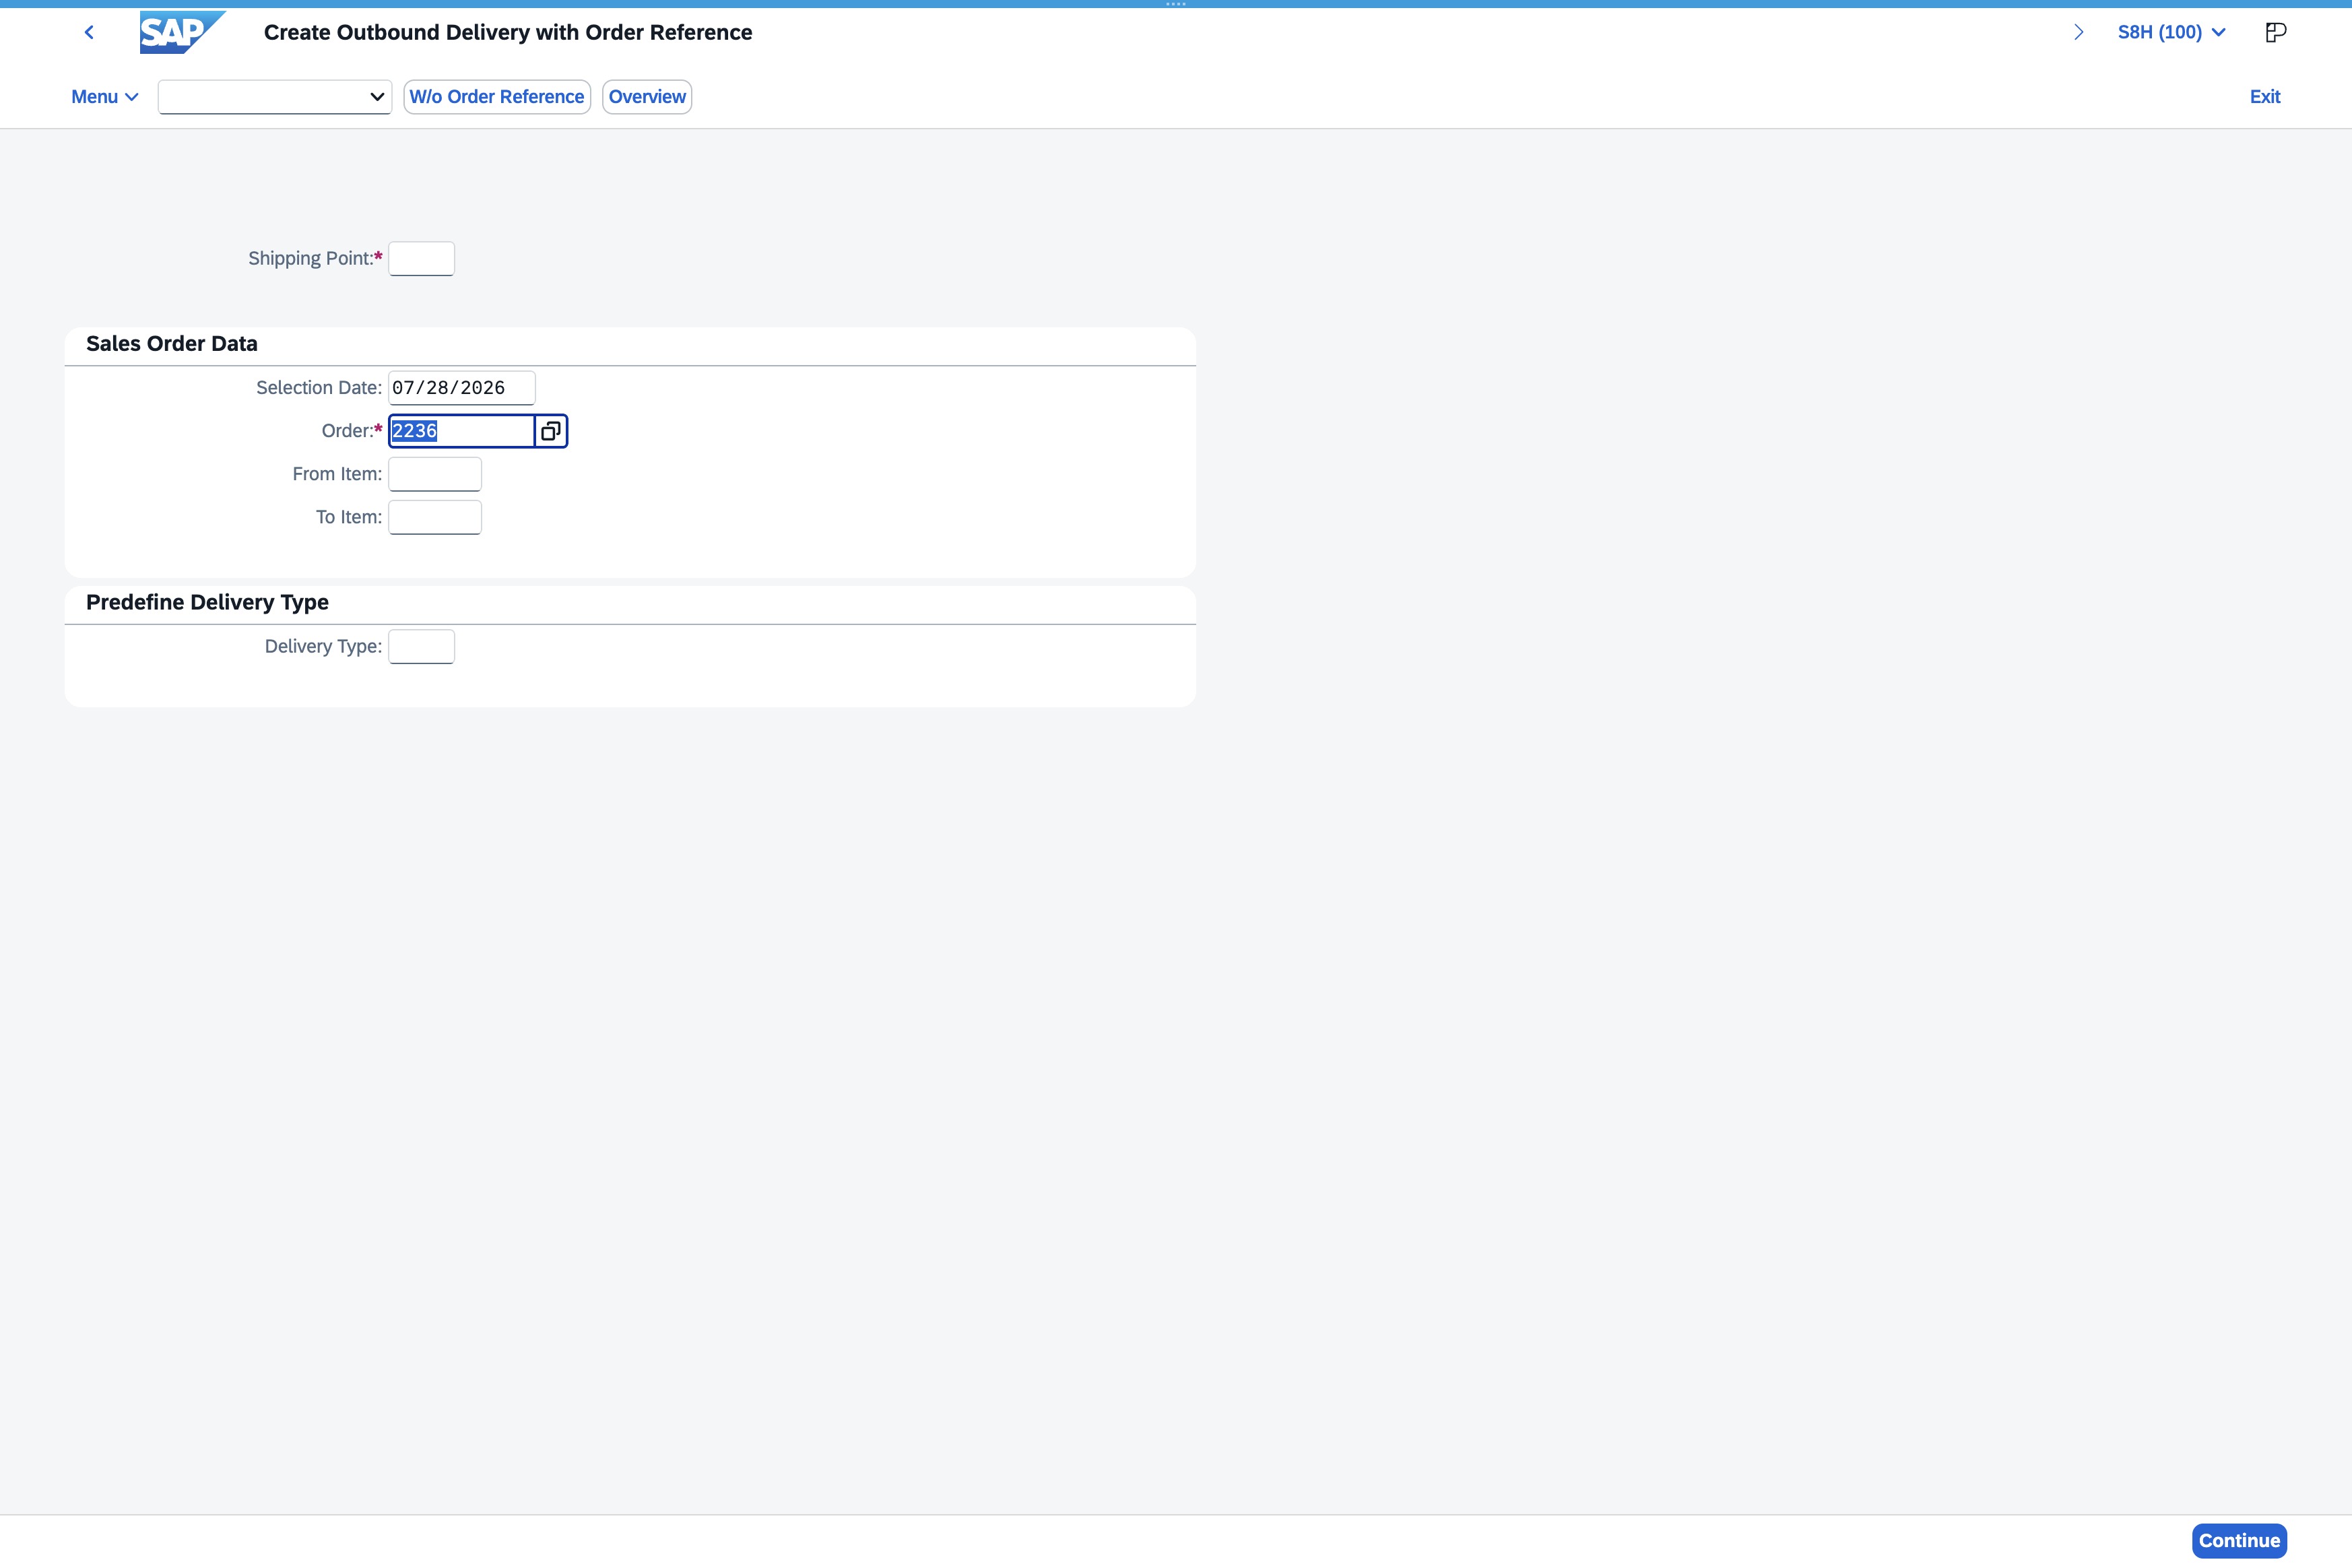
Select the Shipping Point or Receiving Point to designate the appropriate location for your outbound delivery.
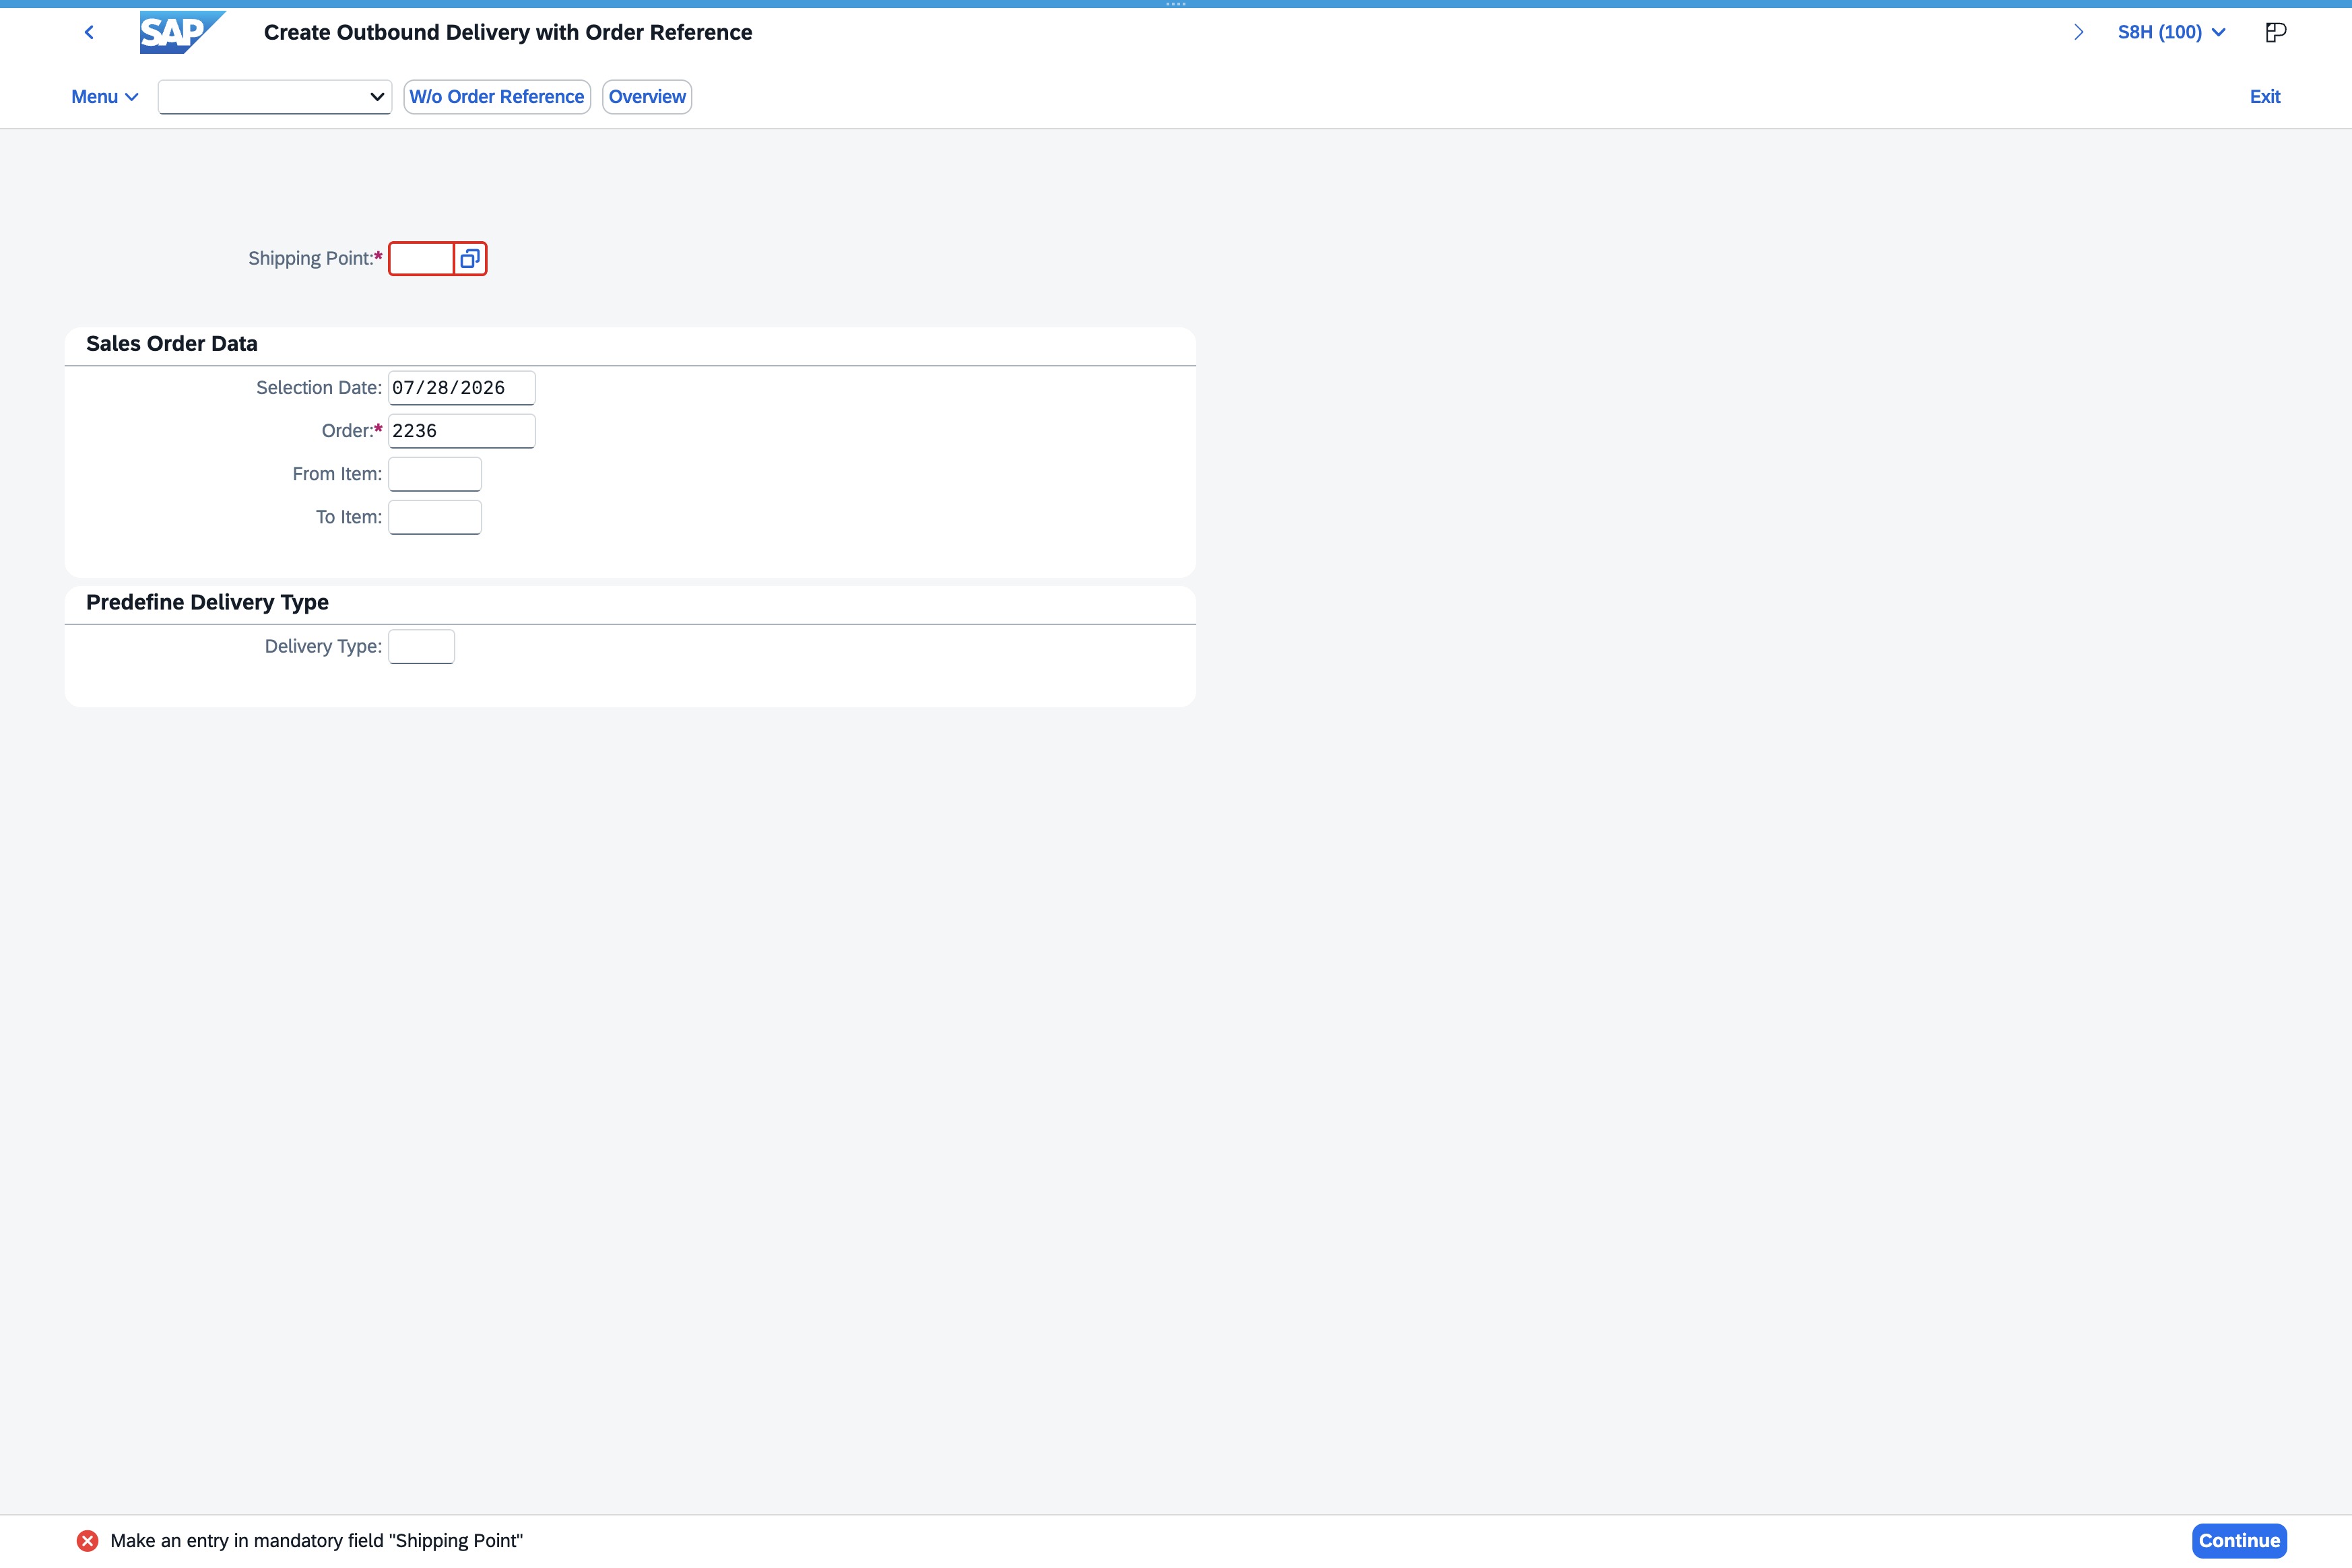
This action confirms your selections in the Shipping Point section and proceeds to the next step in the order delivery process.
This action will submit the current data you entered for processing of the outbound delivery order. Ensure all required fields are filled correctly before proceeding.

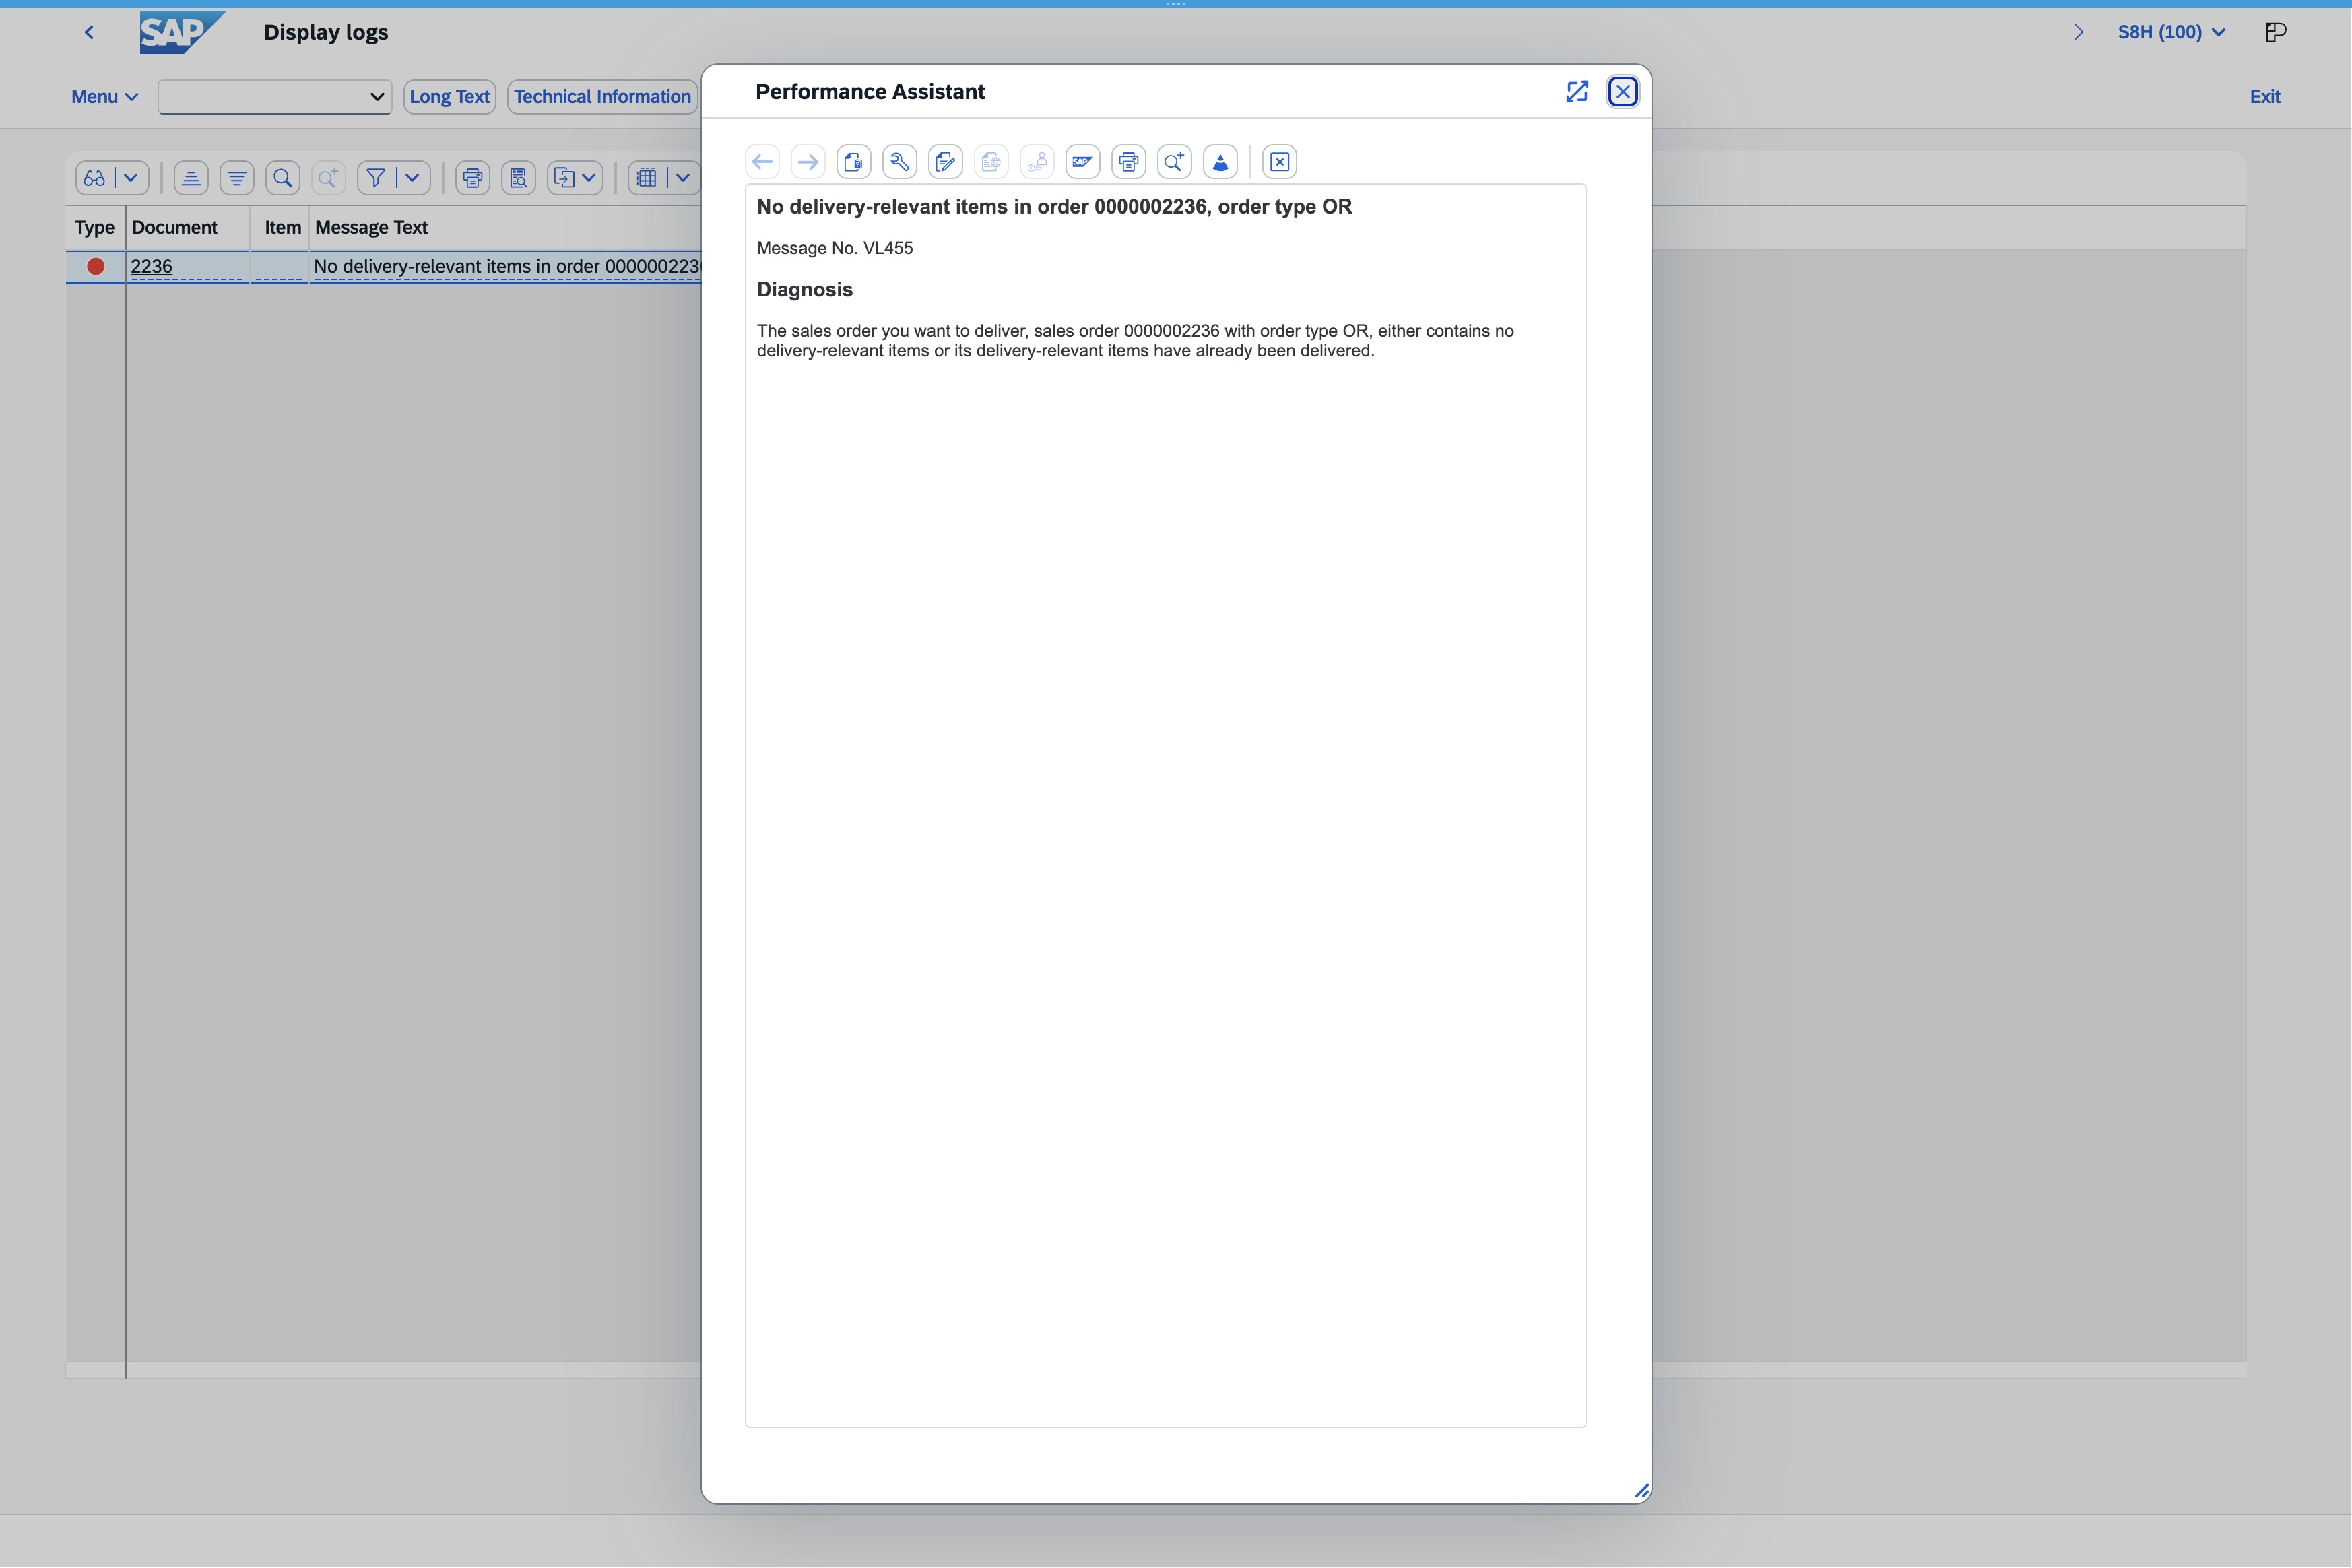
Clicking the Error icon will display the specific error message associated with your current operation, helping you troubleshoot any issues within the application.
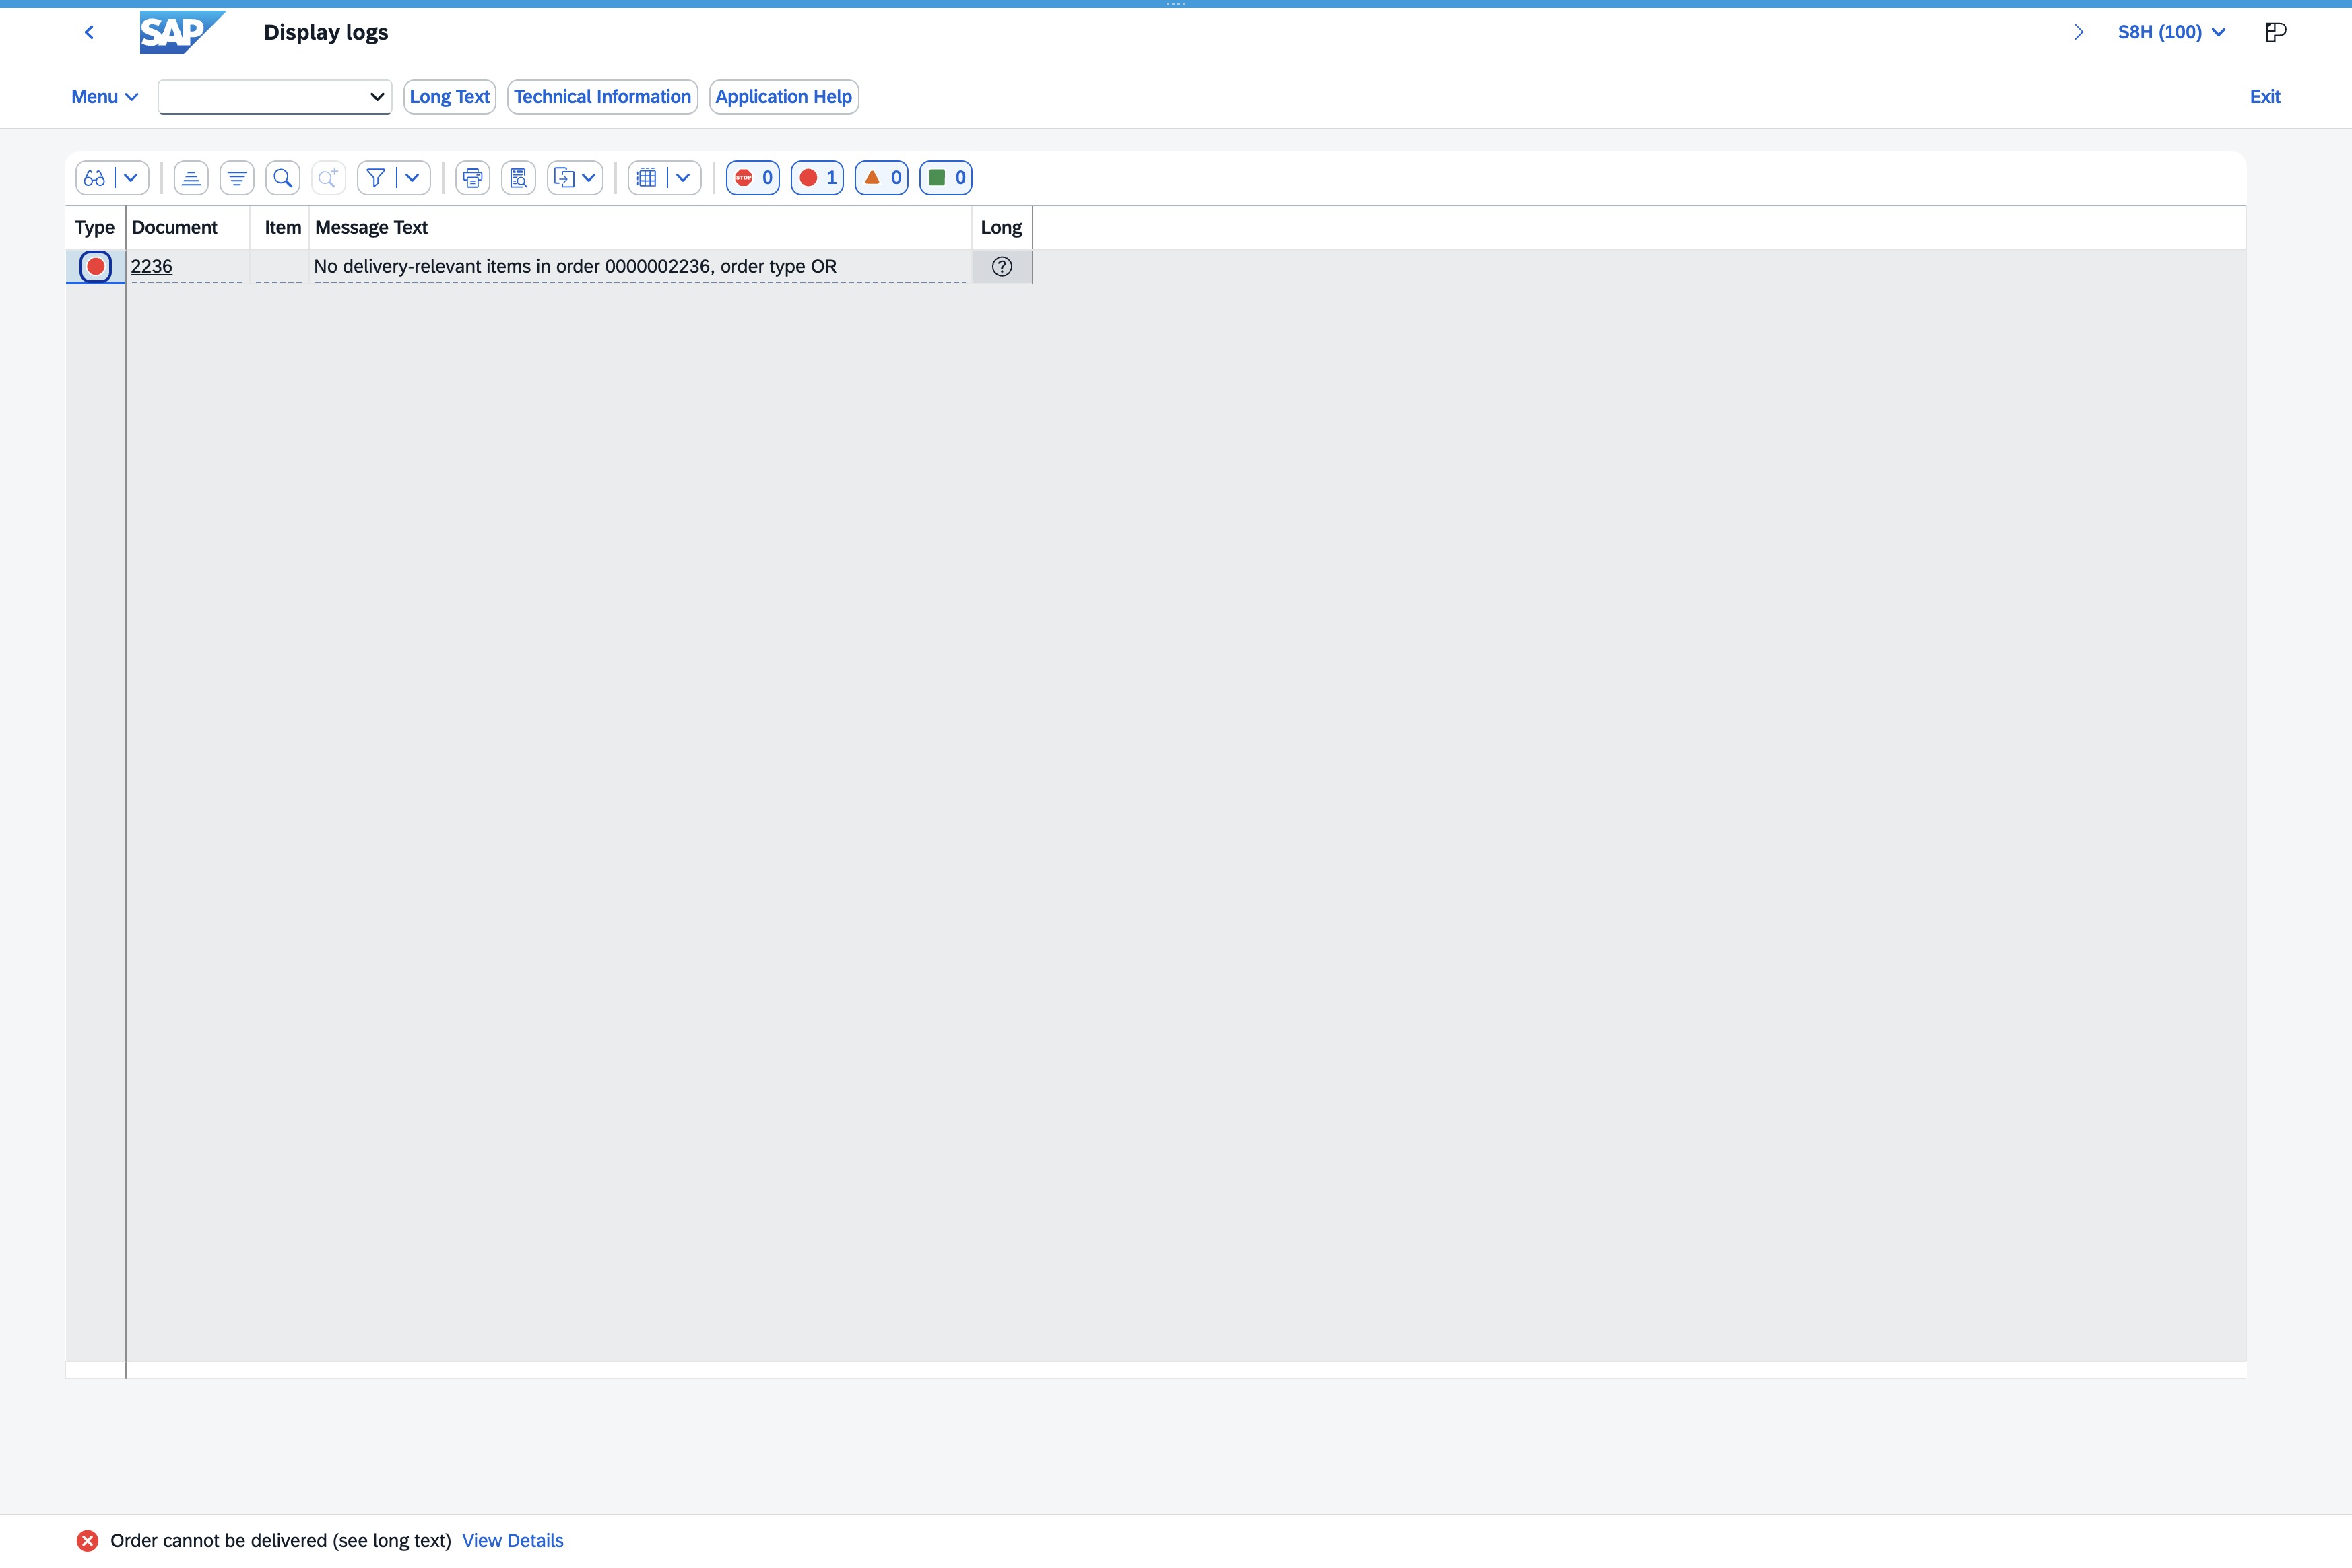
Clicking the Refresh button (F5) will reload the current page, updating the displayed data to reflect any recent changes or updates.
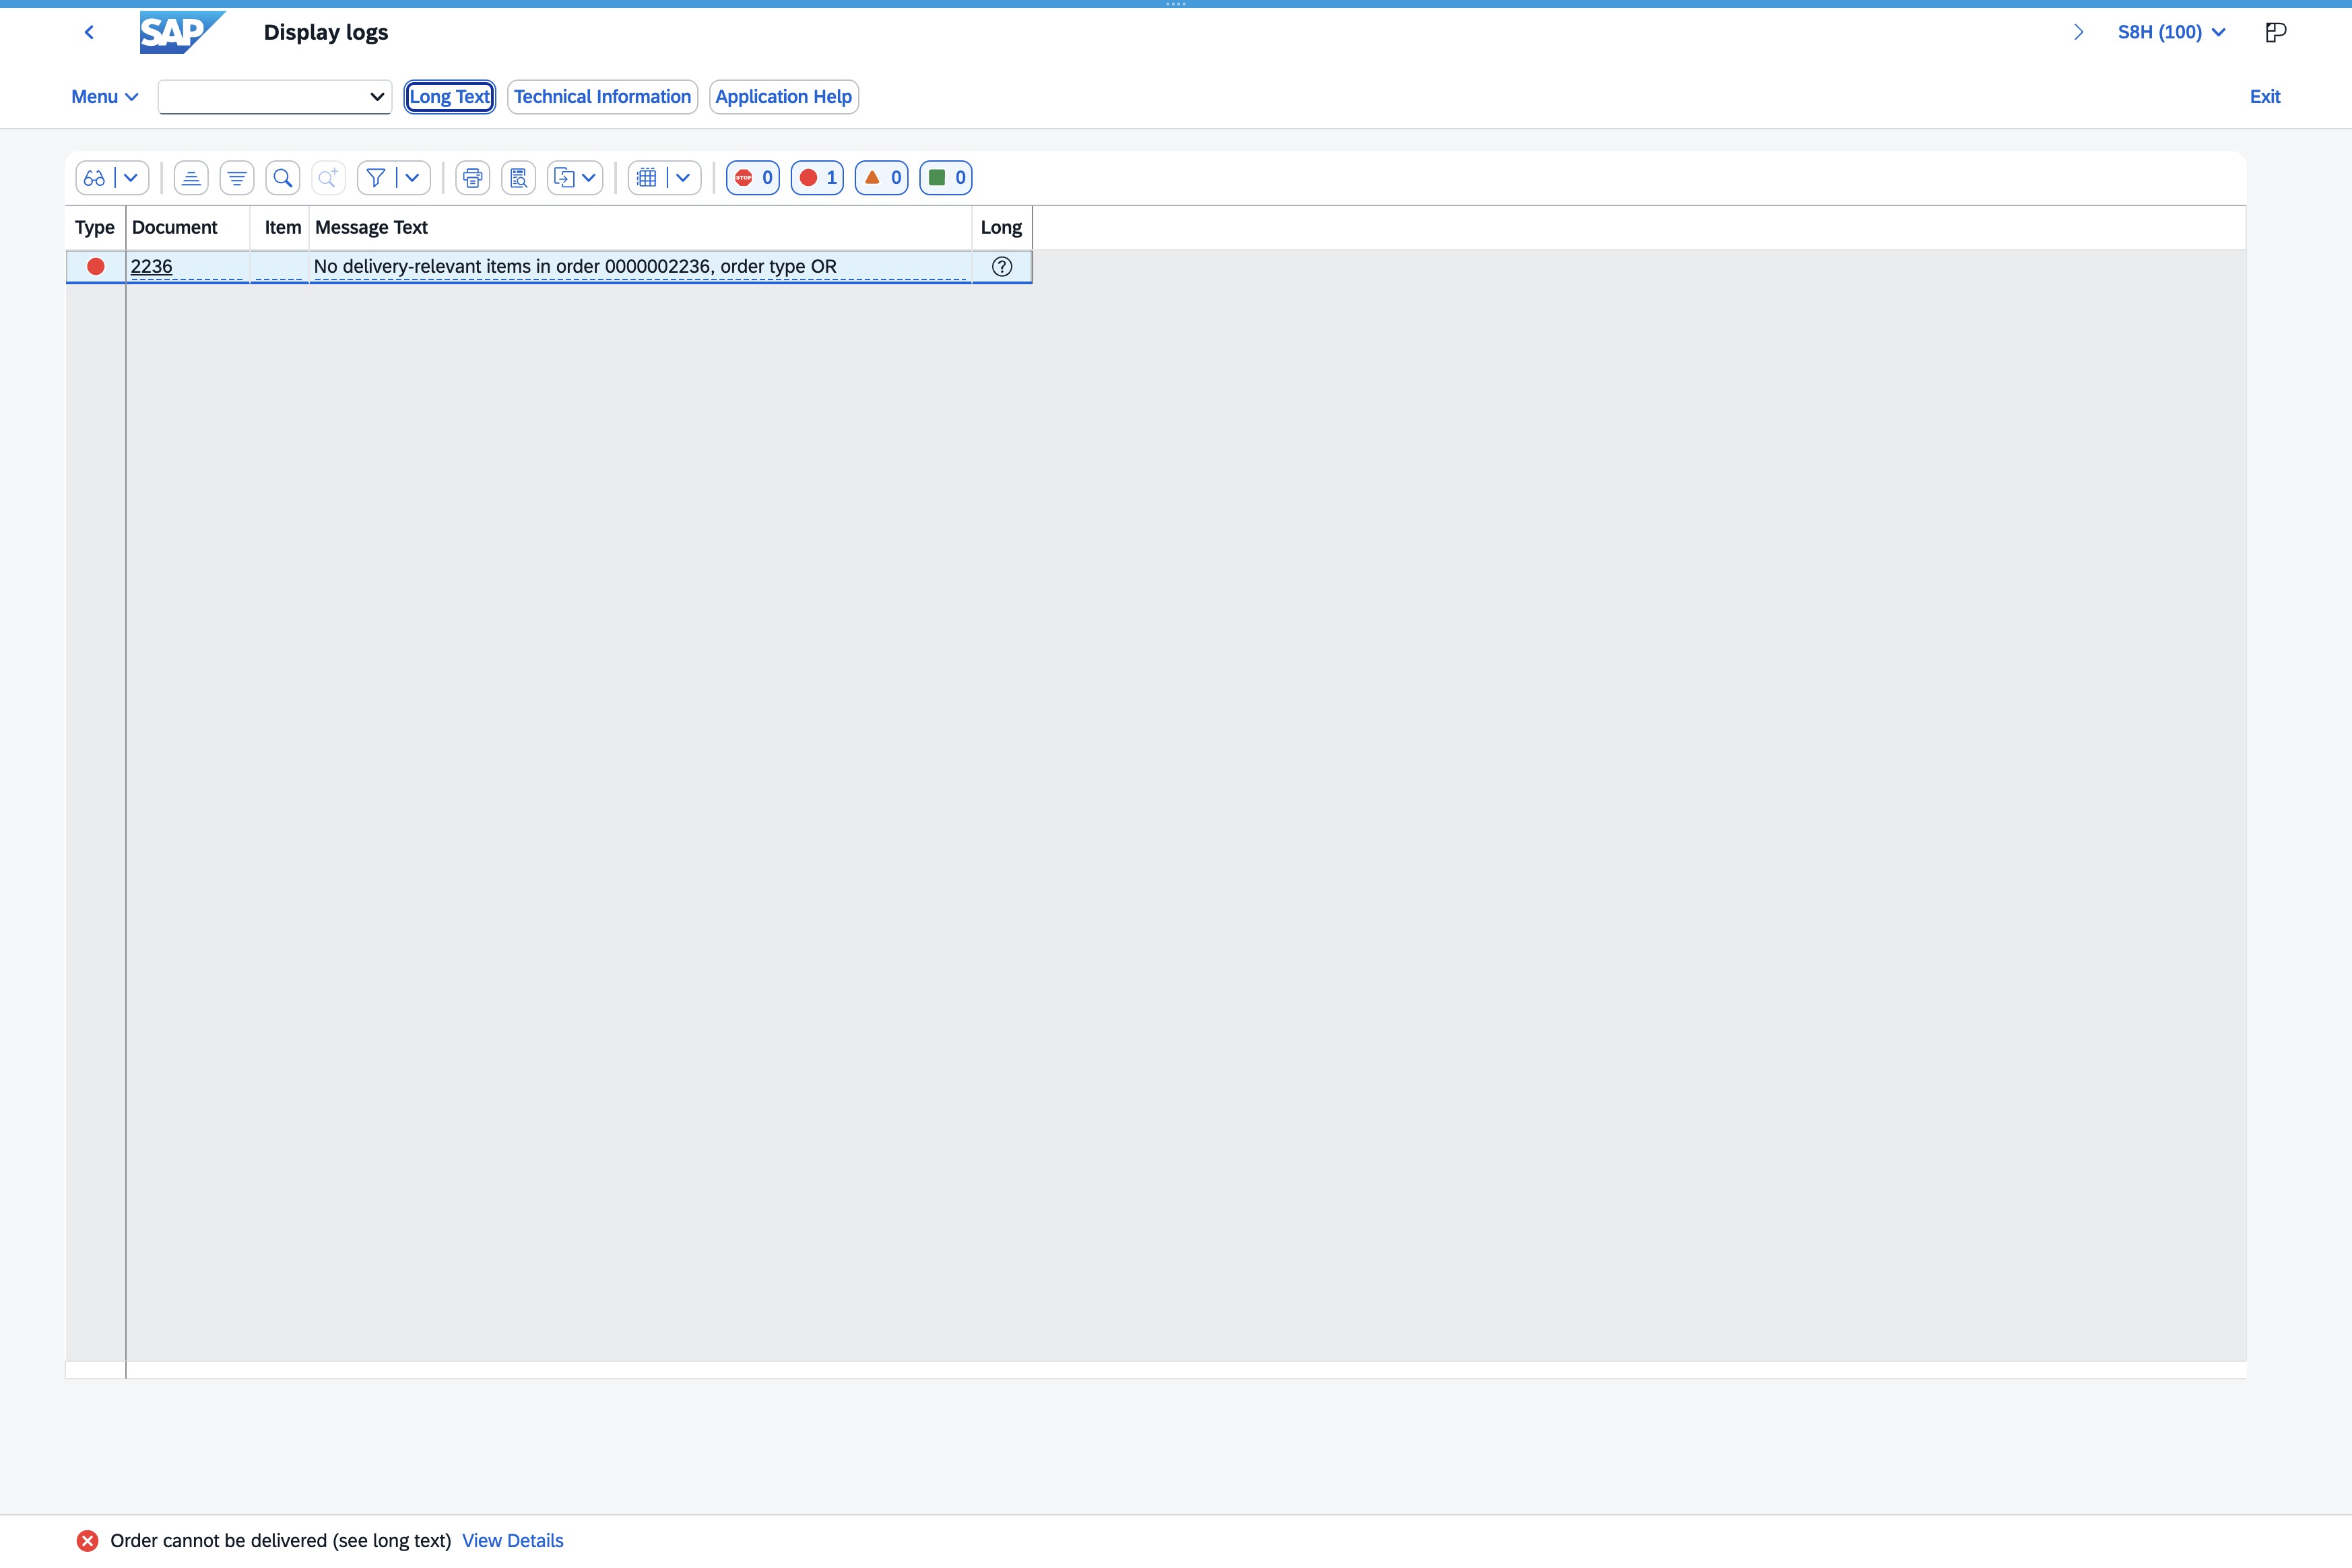
This action will close the current window of the Performance Assistant, returning you to your previous interface.
Clicking the Back button will navigate you to the previous screen in the application, allowing you to review or adjust your previous actions.
