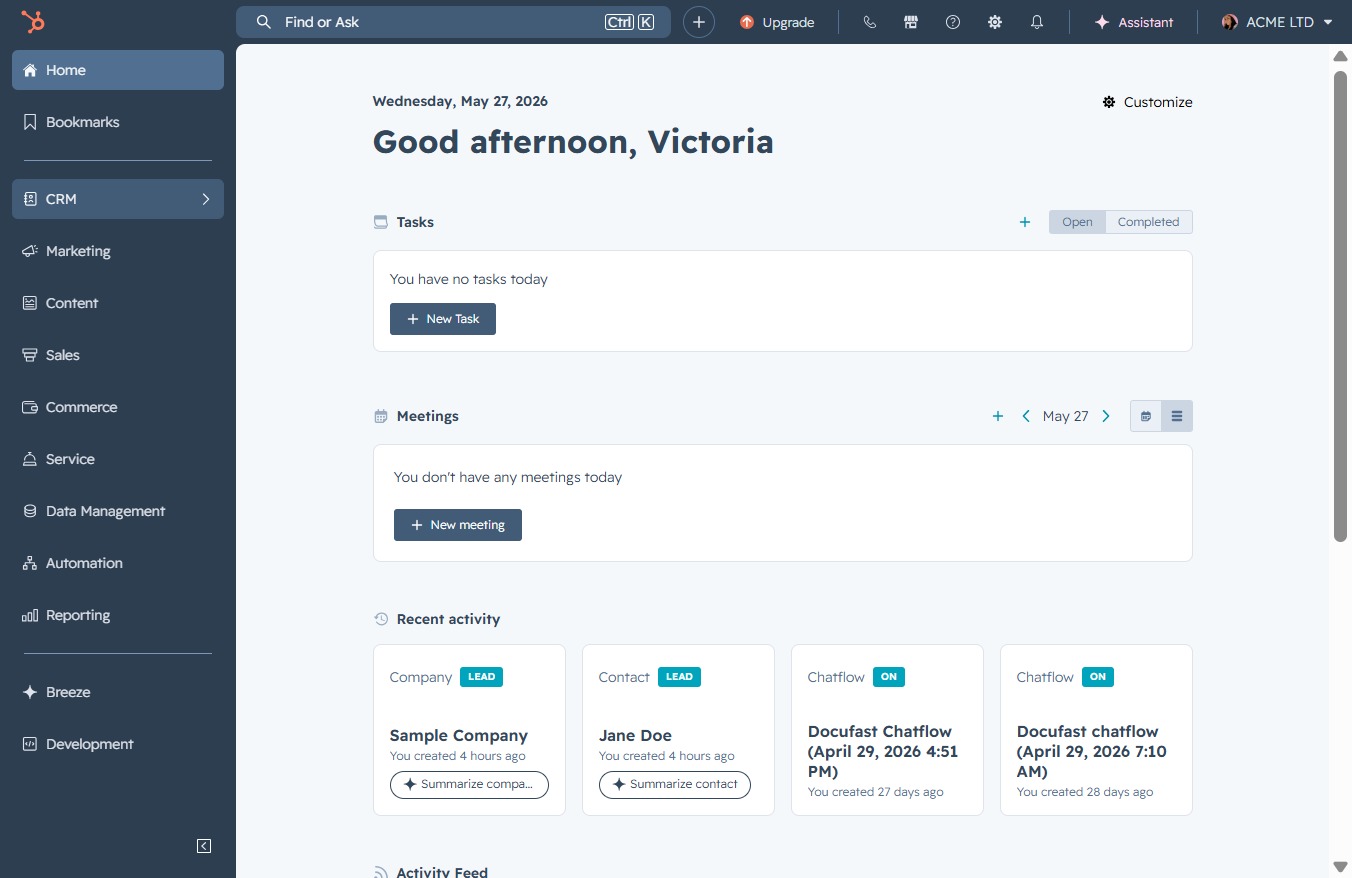
Click the CRM icon
This action will direct you to the Customer Relationship Management section, where you can manage contacts, deals, and customer interactions.
Loading screenshot…
100%
Create a saved view for companies in your CRM to better organize and filter company data based on specific attributes and access settings for improved management.
 viktoria
Create a saved view for companies in your CRM to better organize and filter company data based on specific attributes and access settings for improved management.
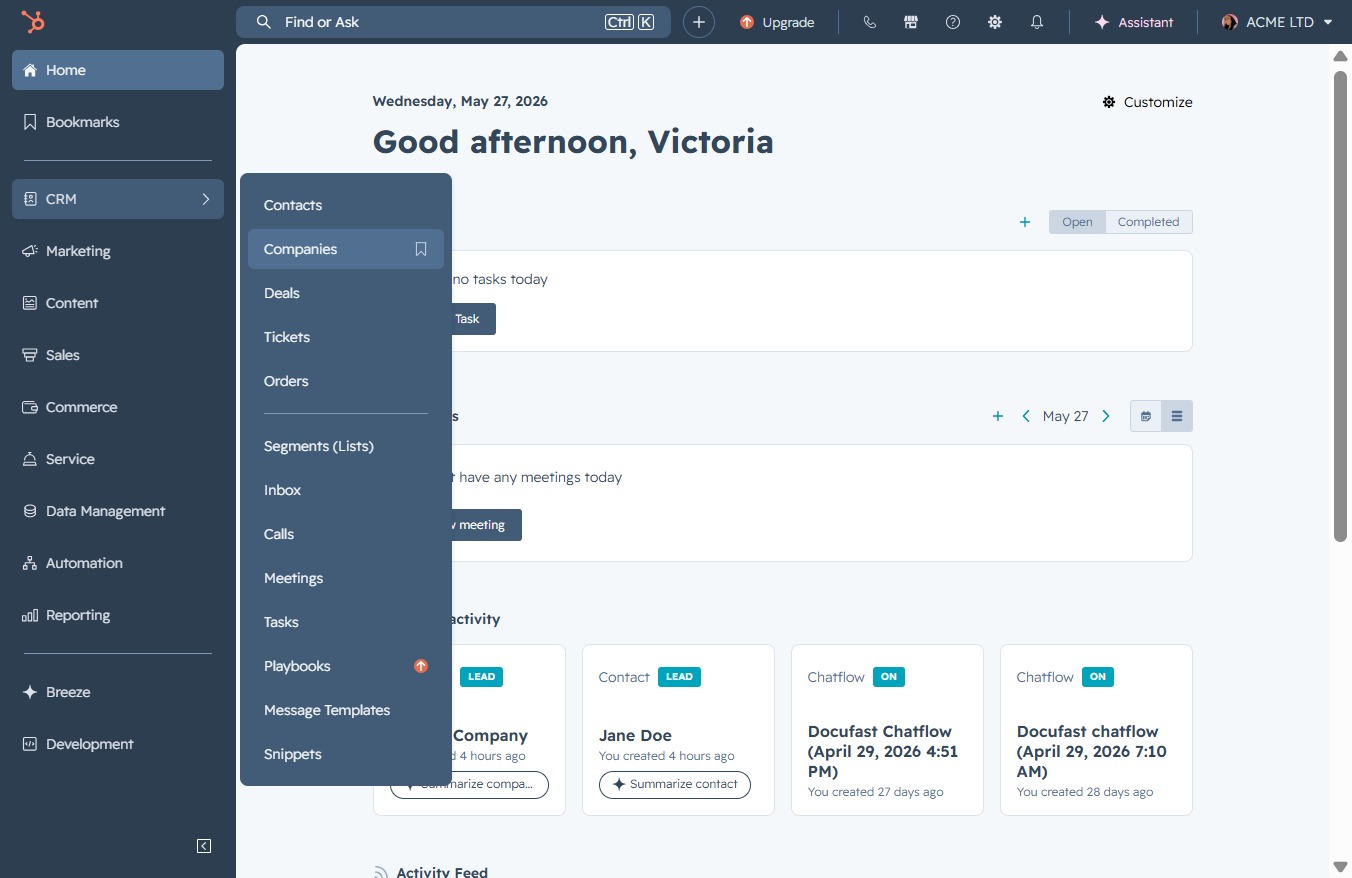
This action will direct you to the Customer Relationship Management section, where you can manage contacts, deals, and customer interactions.
Selecting 'Companies' will display the list of entities you are managing, allowing you to view and manage company-related data.
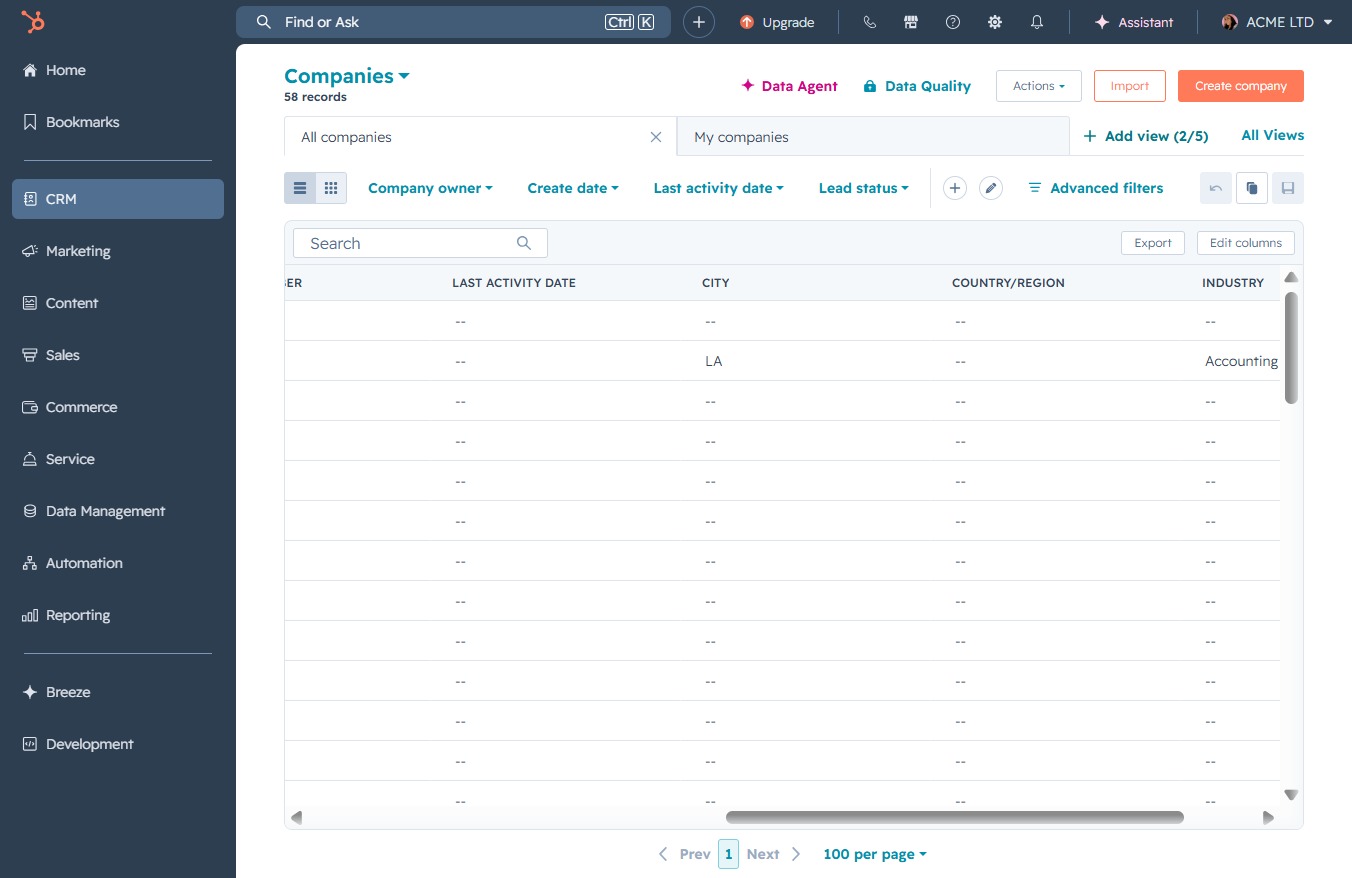
This action will allow you to create a new view for organizing your company data. You can customize the view settings to display relevant information according to your preferences.
This action opens a dialog where you can configure and save a new view for better organization of your companies in the CRM.

Click on the Name field.
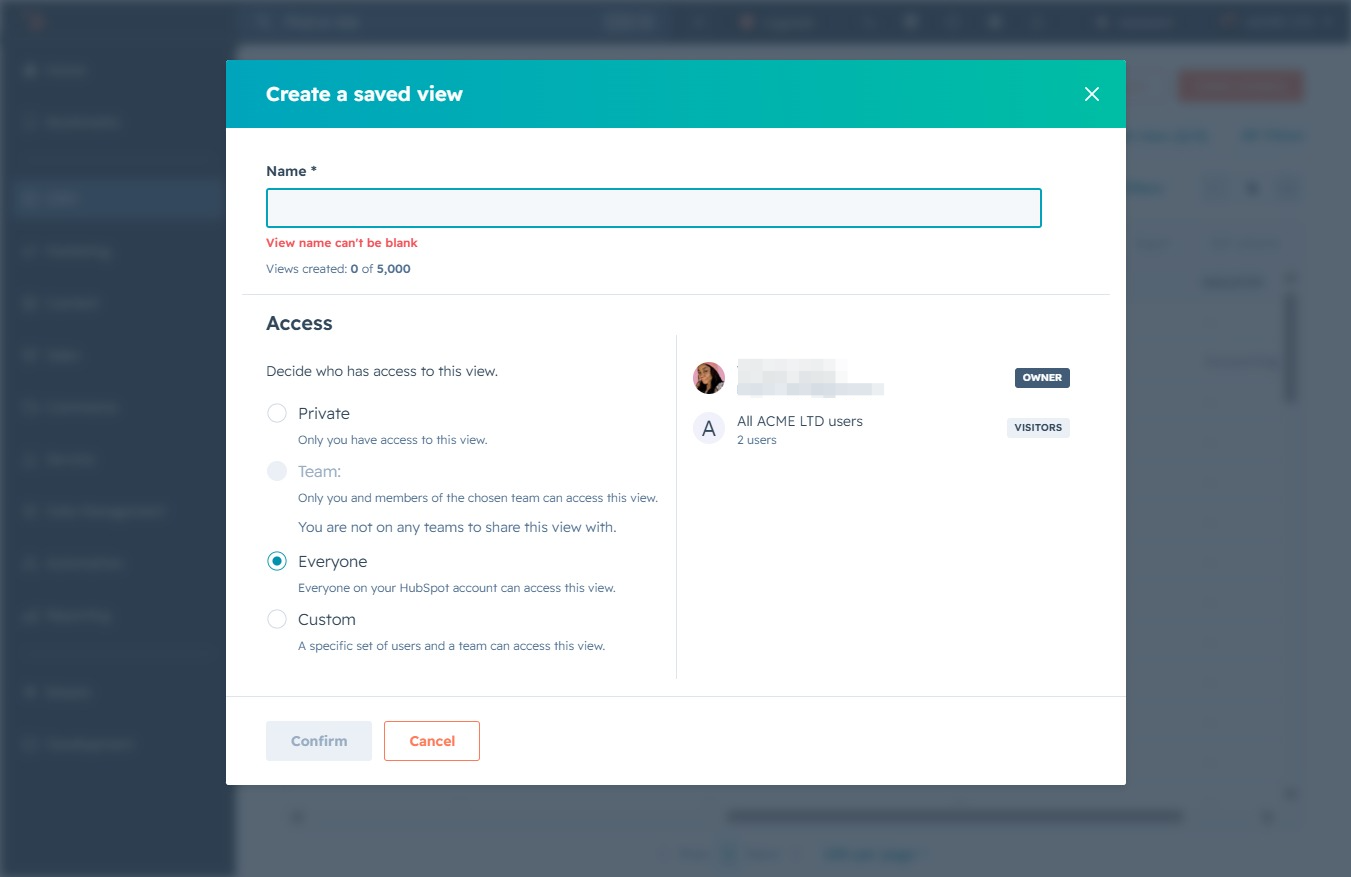
Enter a descriptive title for your new saved view in the 'Name' field. This name will help you and your team identify the view later when accessing saved filters.
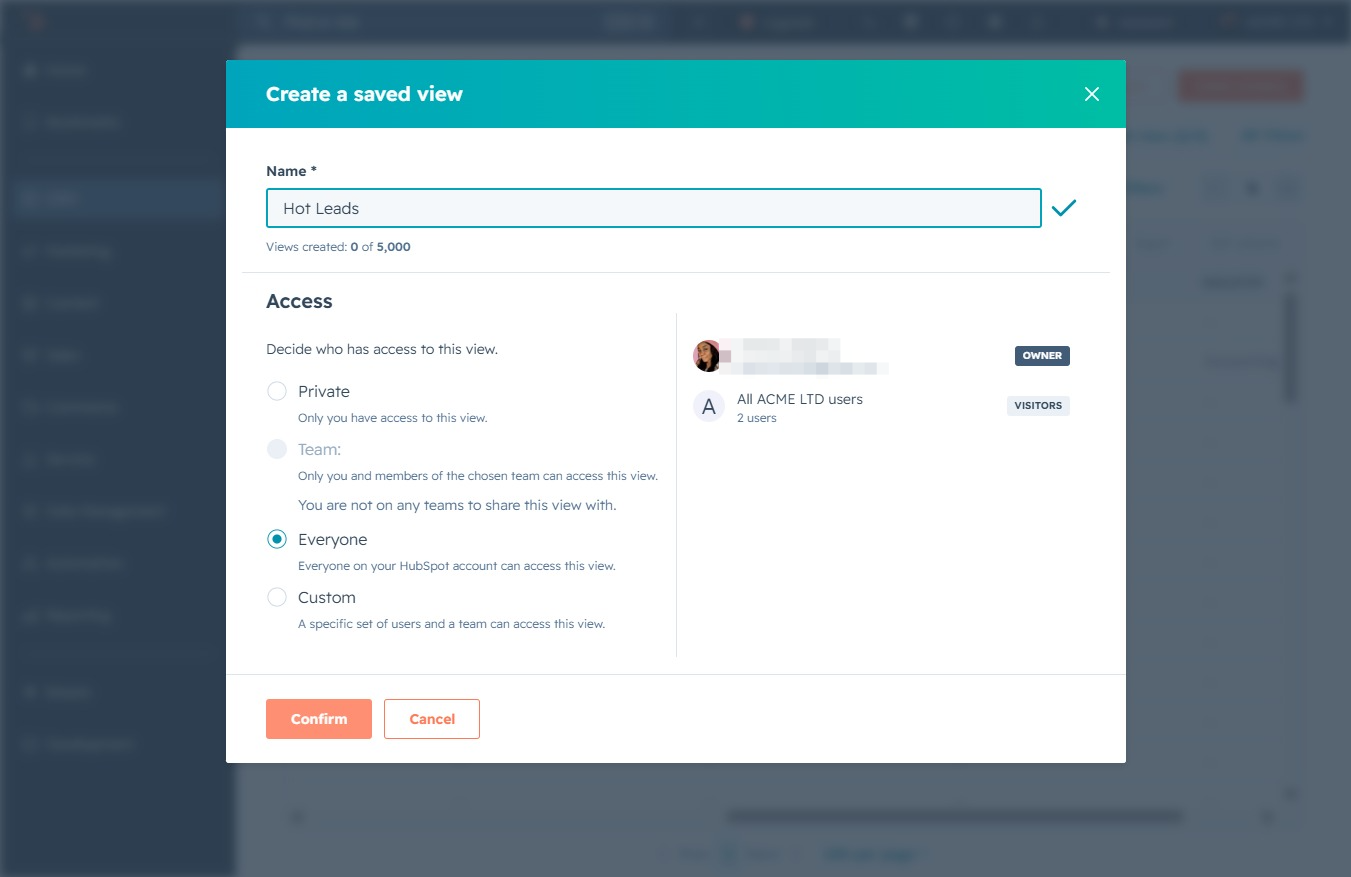
This action saves the new view with the specified access settings. Ensure that all necessary details are correctly set before confirming.

Selecting 'Advanced filters' allows you to refine your search criteria for companies based on specific attributes, enabling more targeted results.
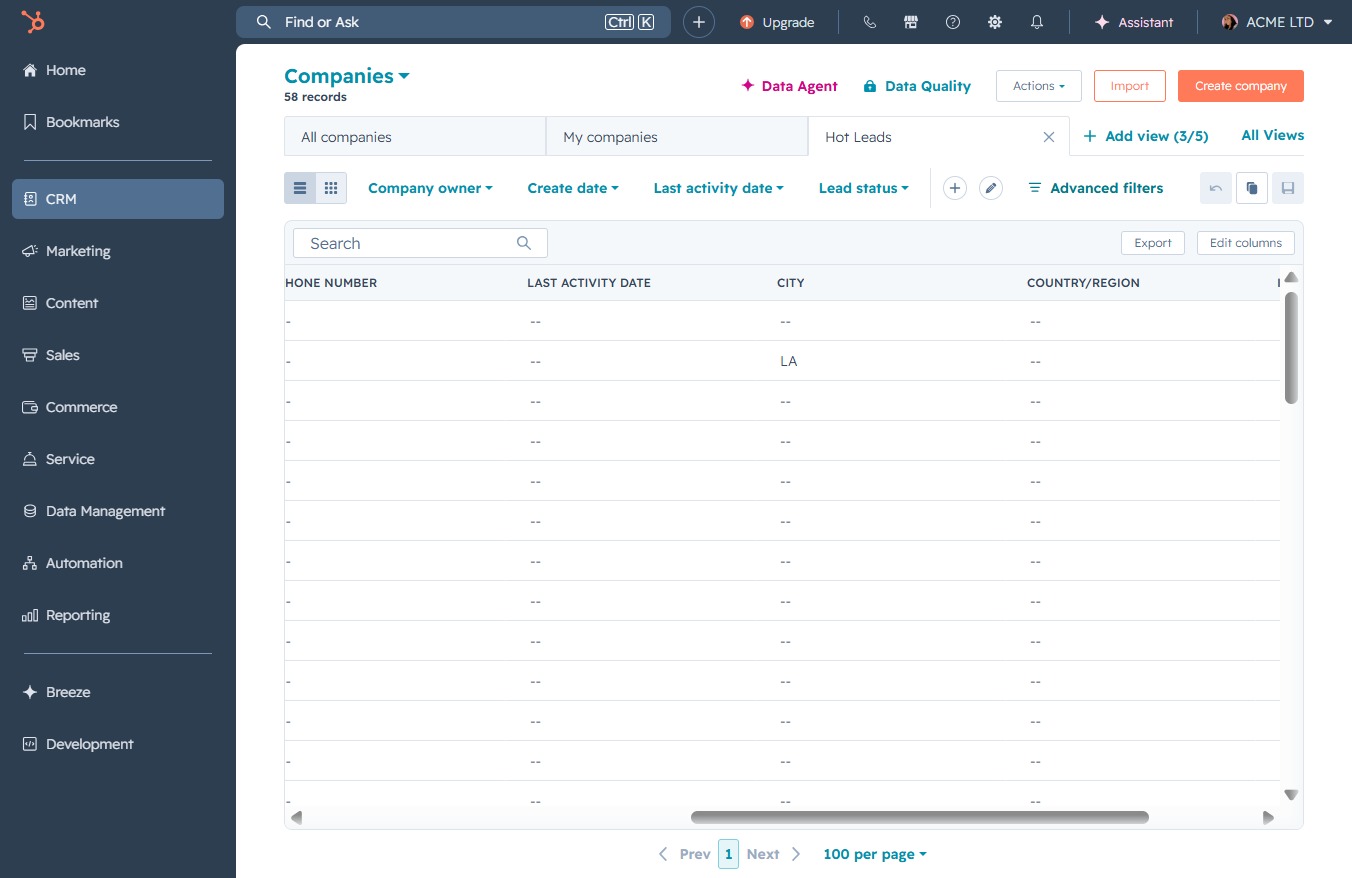
This action opens the advanced filters menu, allowing you to specify criteria for filtering your company records.

This will add the Ideal Customer Profile Tier filter to your search criteria, allowing you to narrow down your company results based on specific customer tiers.

This action will allow you to enter keywords to filter the displayed companies based on your search criteria.
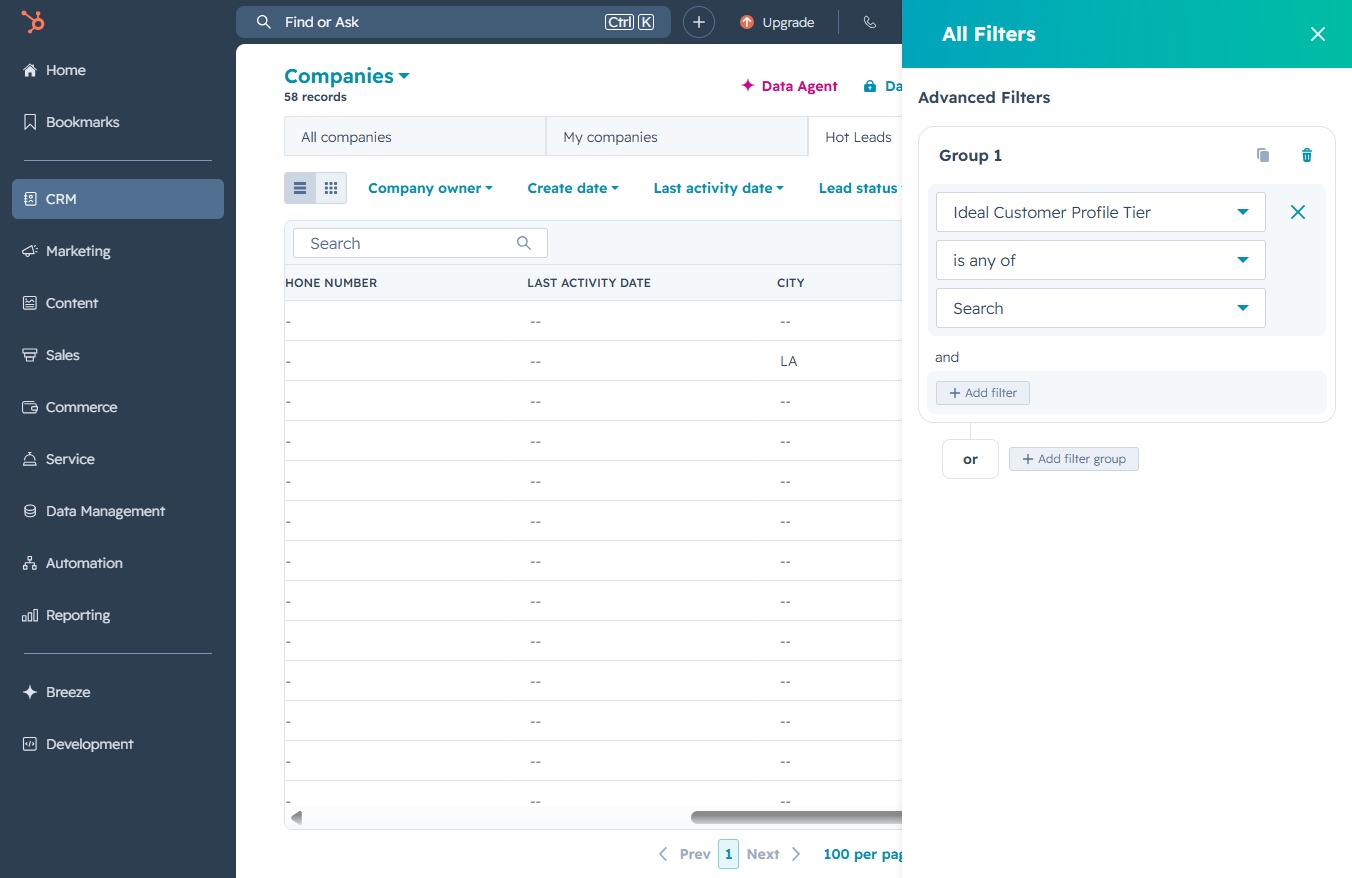
Select the desired customer profile tier from the dropdown options to filter your view of companies based on their tier classification.

This action will close the filter settings panel, returning you to the main Companies view.

By clicking this icon, you will access the advanced filtering options to refine your search criteria within the Companies section.
