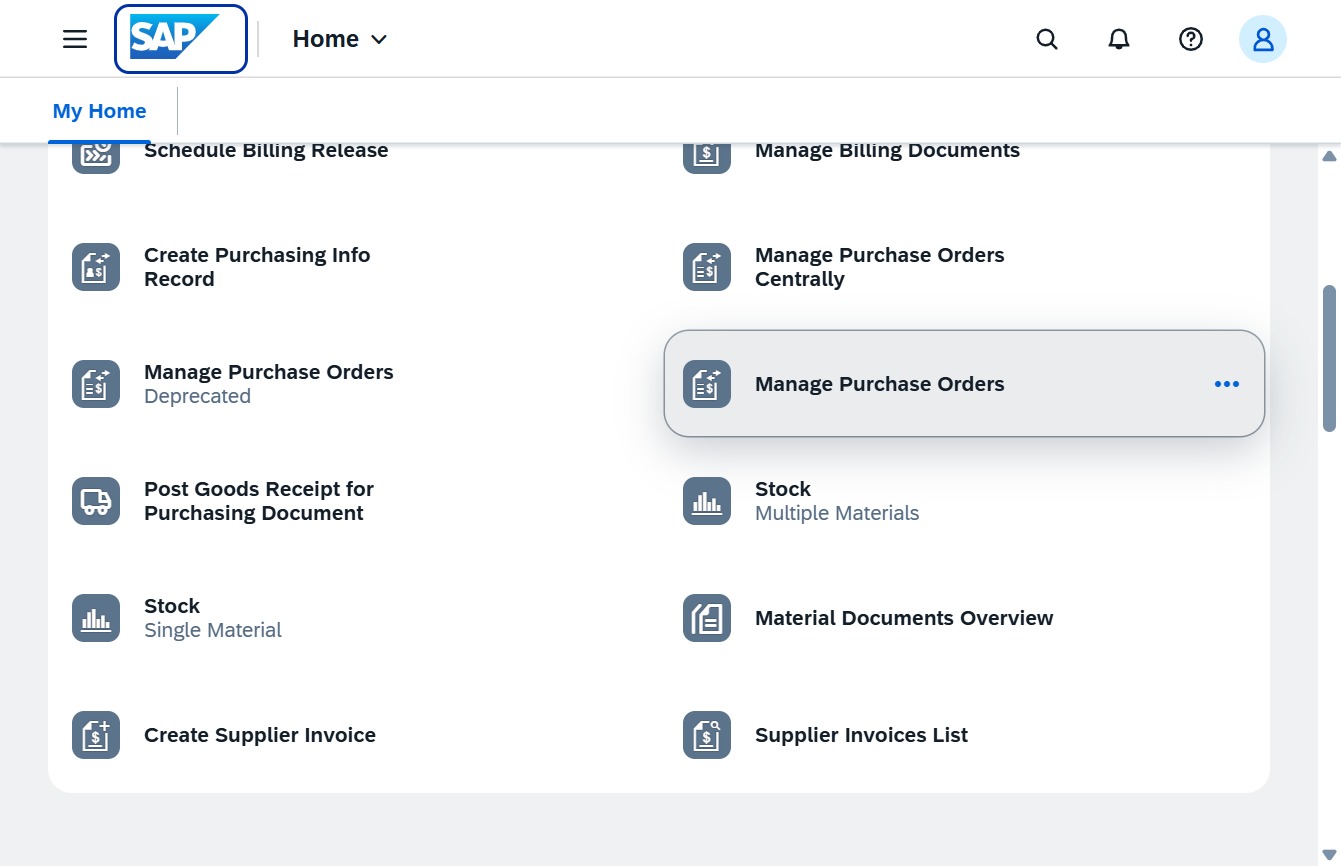
Click the Manage Purchase Orders link
Clicking this link will open the interface for managing purchase orders, allowing you to view, edit, or create new purchase orders within the SAP system.
Loading screenshot…
100%
This how-to guide demonstrates the process of managing purchase orders in the MMC system, covering steps to create, edit, and filter purchase orders efficiently.
 Ferdaus r
This how-to guide demonstrates the process of managing purchase orders in the MMC system, covering steps to create, edit, and filter purchase orders efficiently. Follow along to learn how to navigate the interface, attach relevant documents, set filters for your purchasing criteria, and effectively manage vendor information to streamline your order management process.
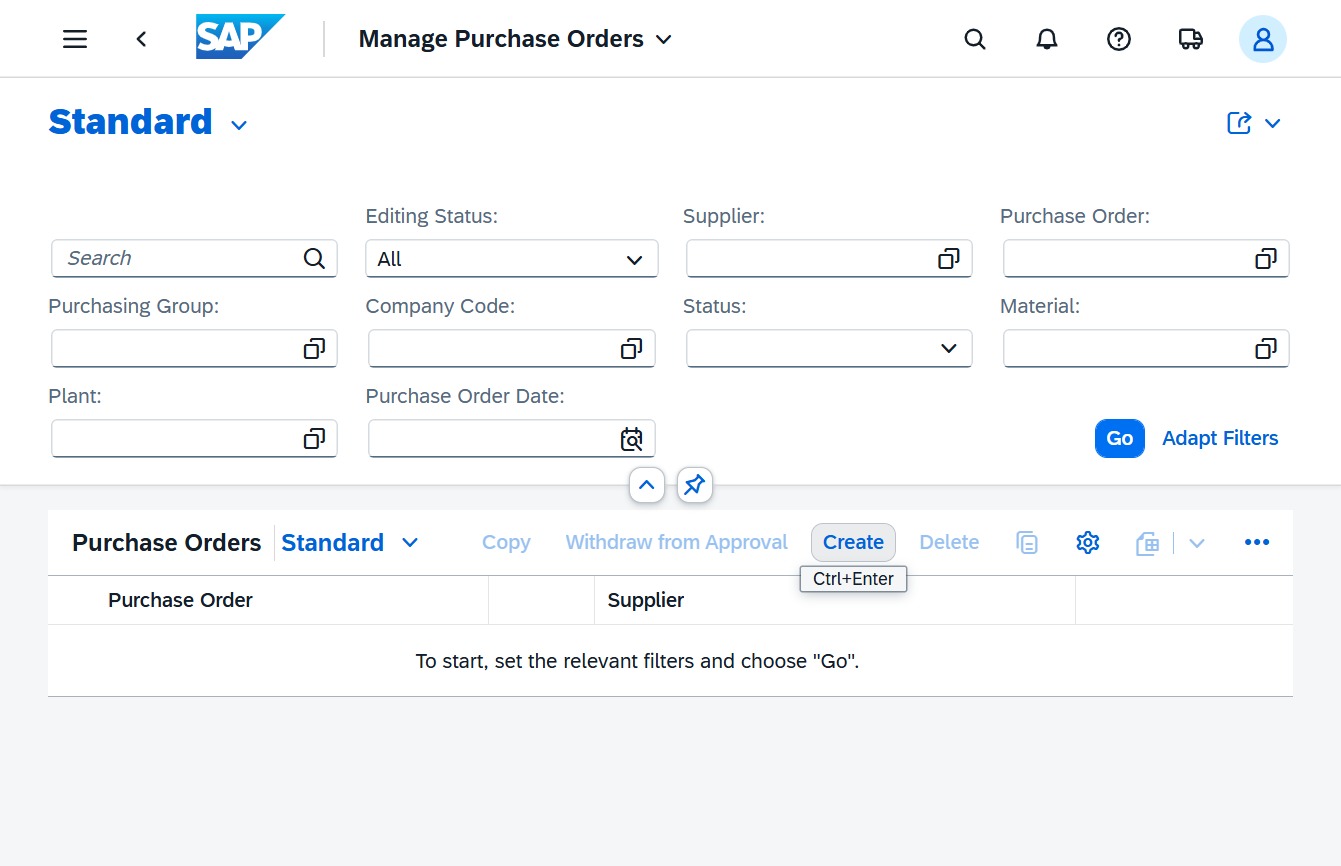
Clicking this link will open the interface for managing purchase orders, allowing you to view, edit, or create new purchase orders within the SAP system.
This action will initiate the process to create a new purchase order within the Manage Purchase Orders interface.
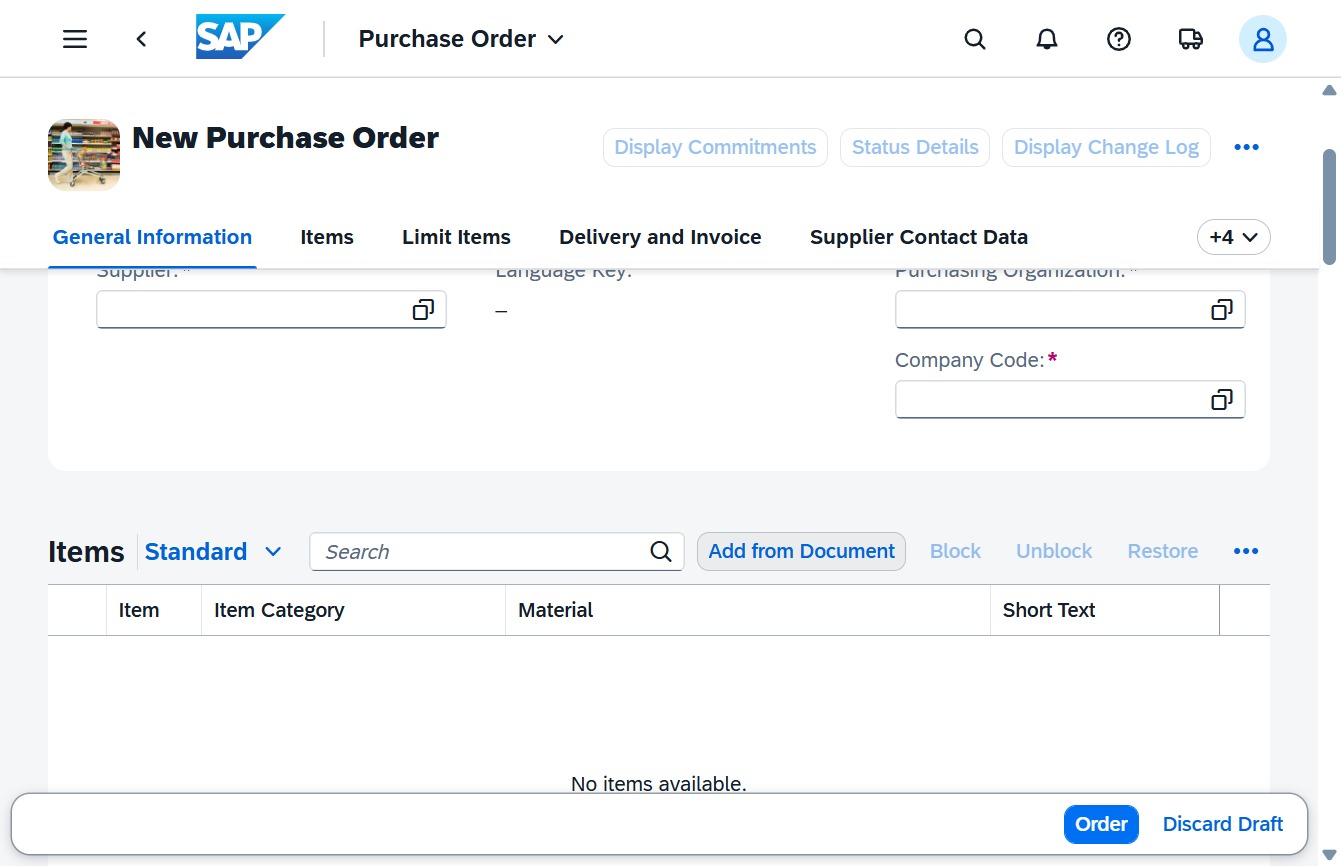
This action allows you to attach items or data from a document into your purchase order. You can select the relevant entries to streamline your order creation process.
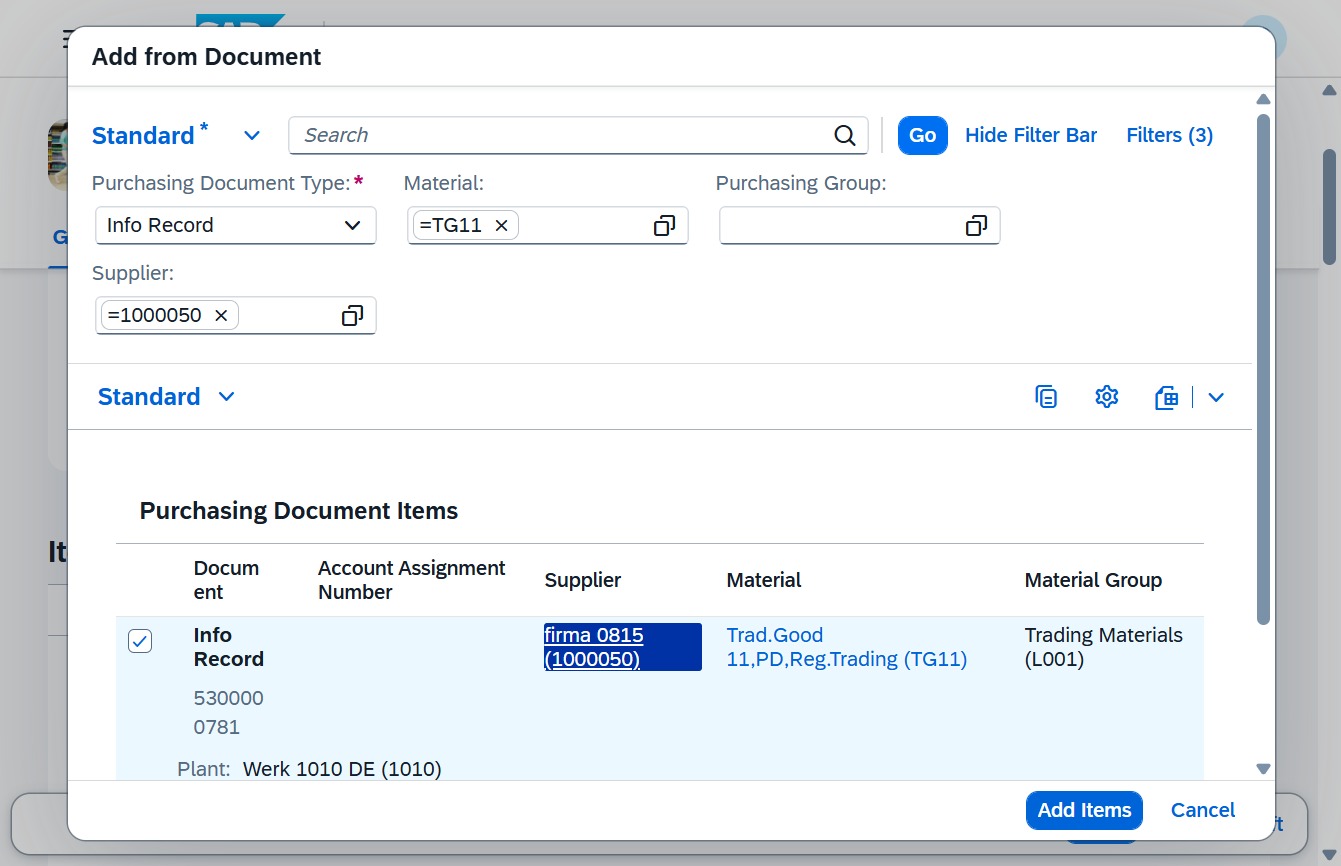
Clicking the 'Select Options' control allows you to personalize your purchasing document criteria by setting filters for parameters such as Document Type, Material, and Purchasing Group.
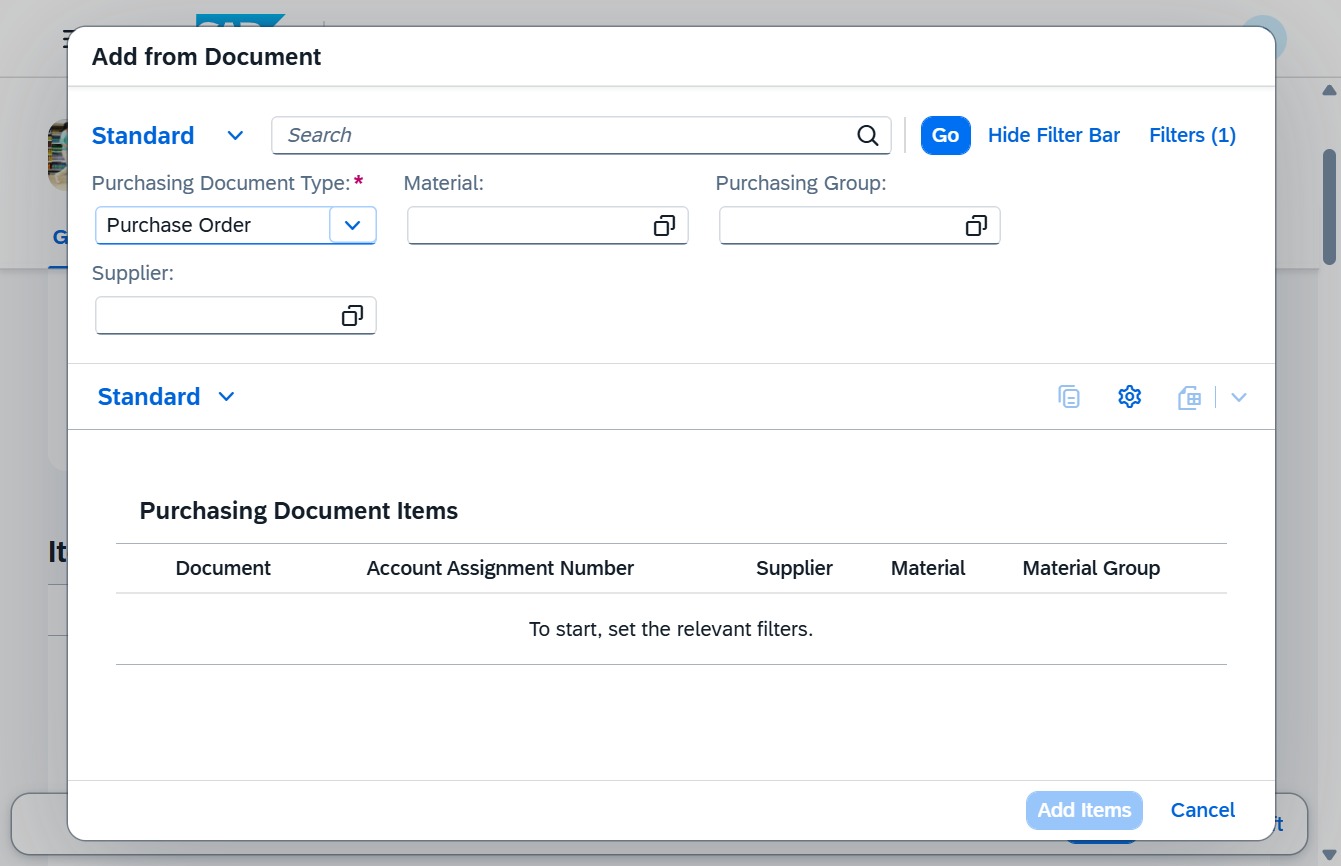
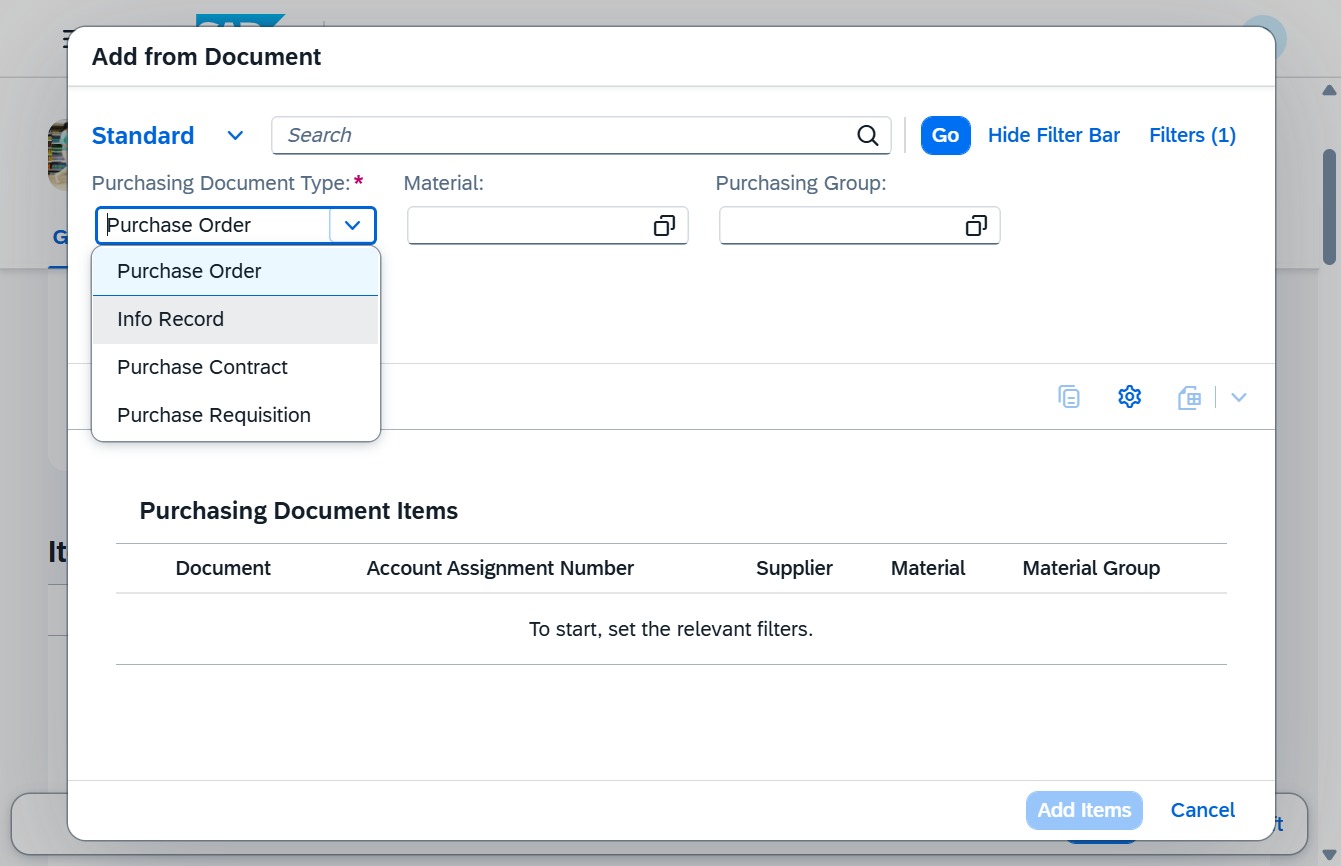
Select 'Info Record' from the dropdown to specify the type of purchasing document you wish to add, which will allow you to manage vendor information and related items.
This action will submit the selected purchasing document items for processing, allowing you to add them to your inventory or order management system.
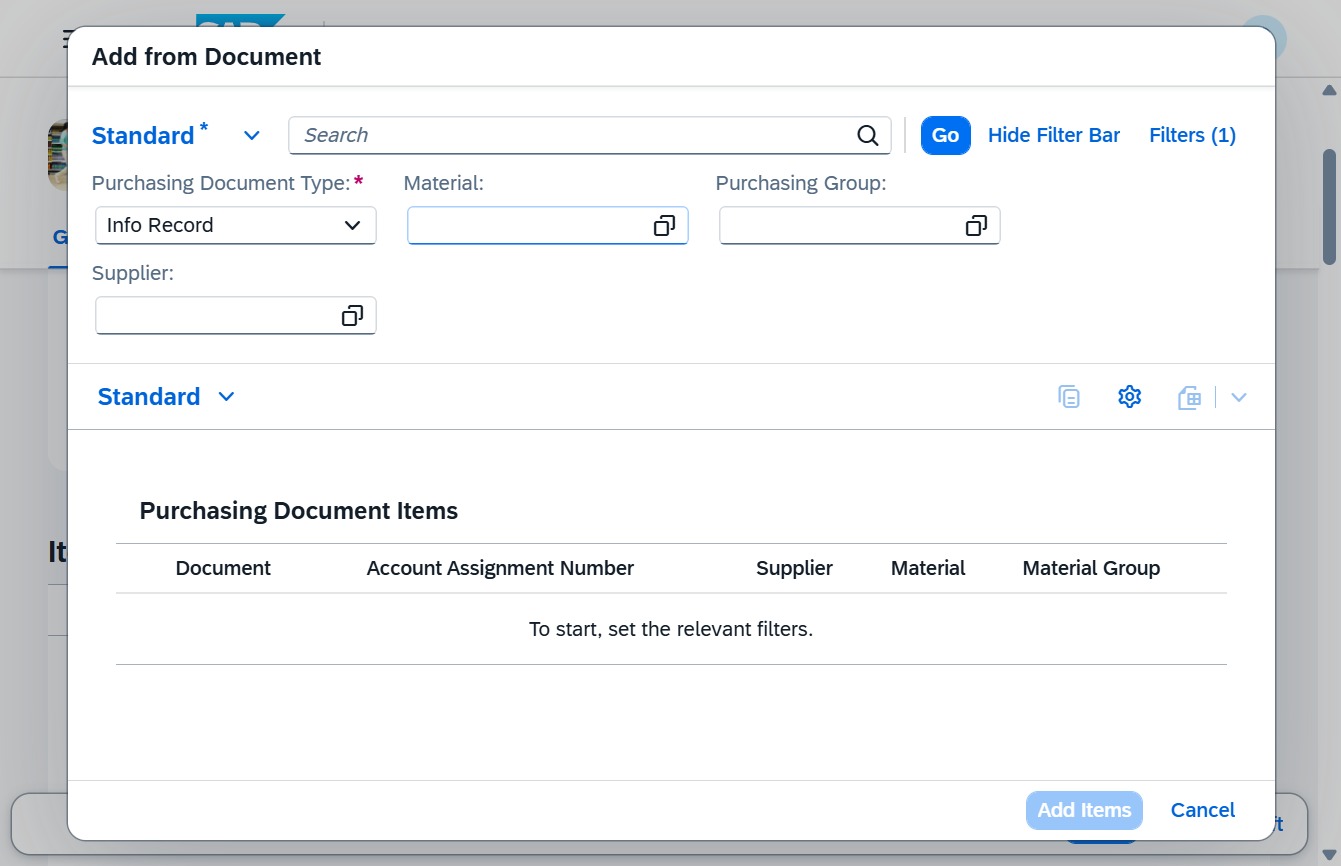
Enter 'TG11' into the Material field to filter or select the relevant purchasing document items associated with that material.
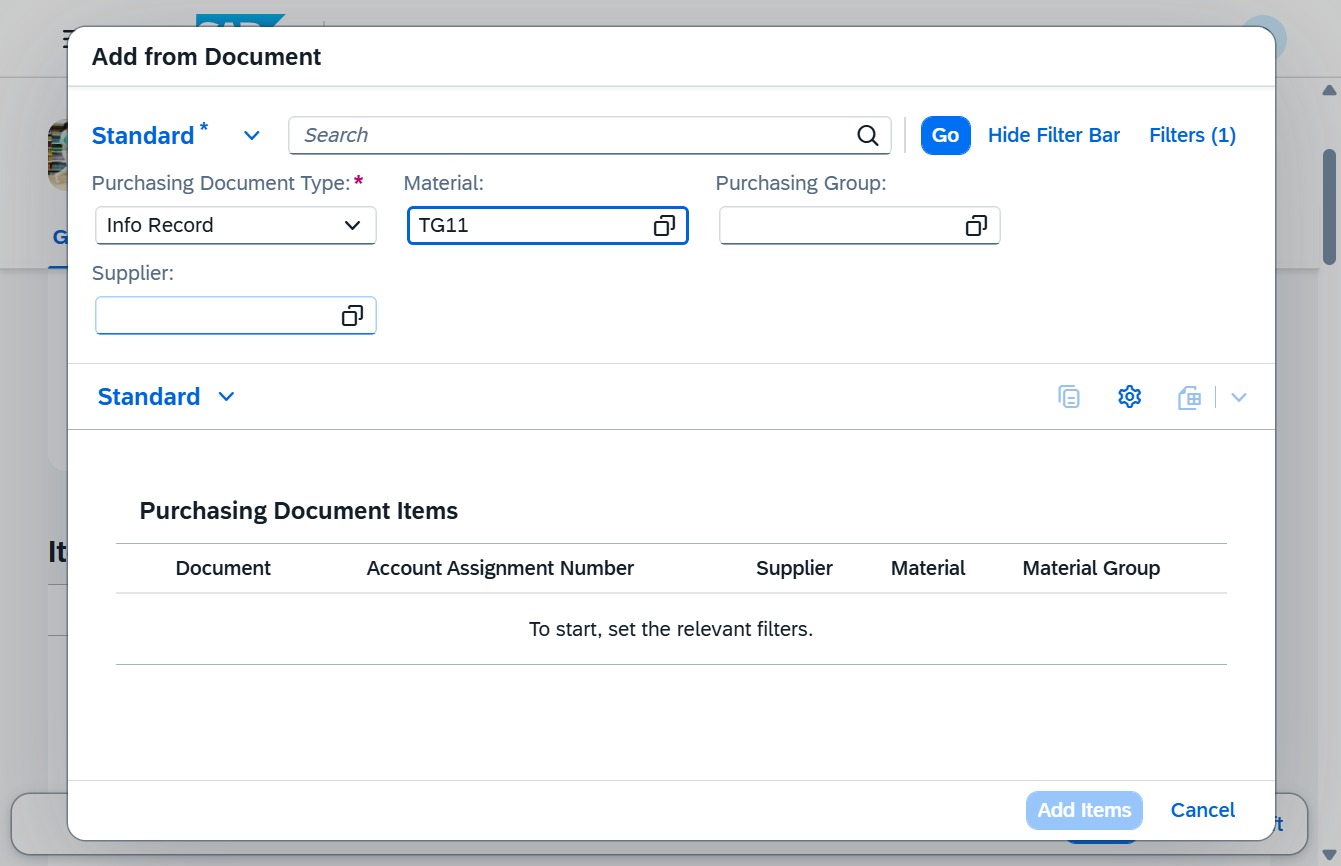
Clicking 'Search' will initiate the filter process for purchasing document items based on the criteria you have entered in the fields above.
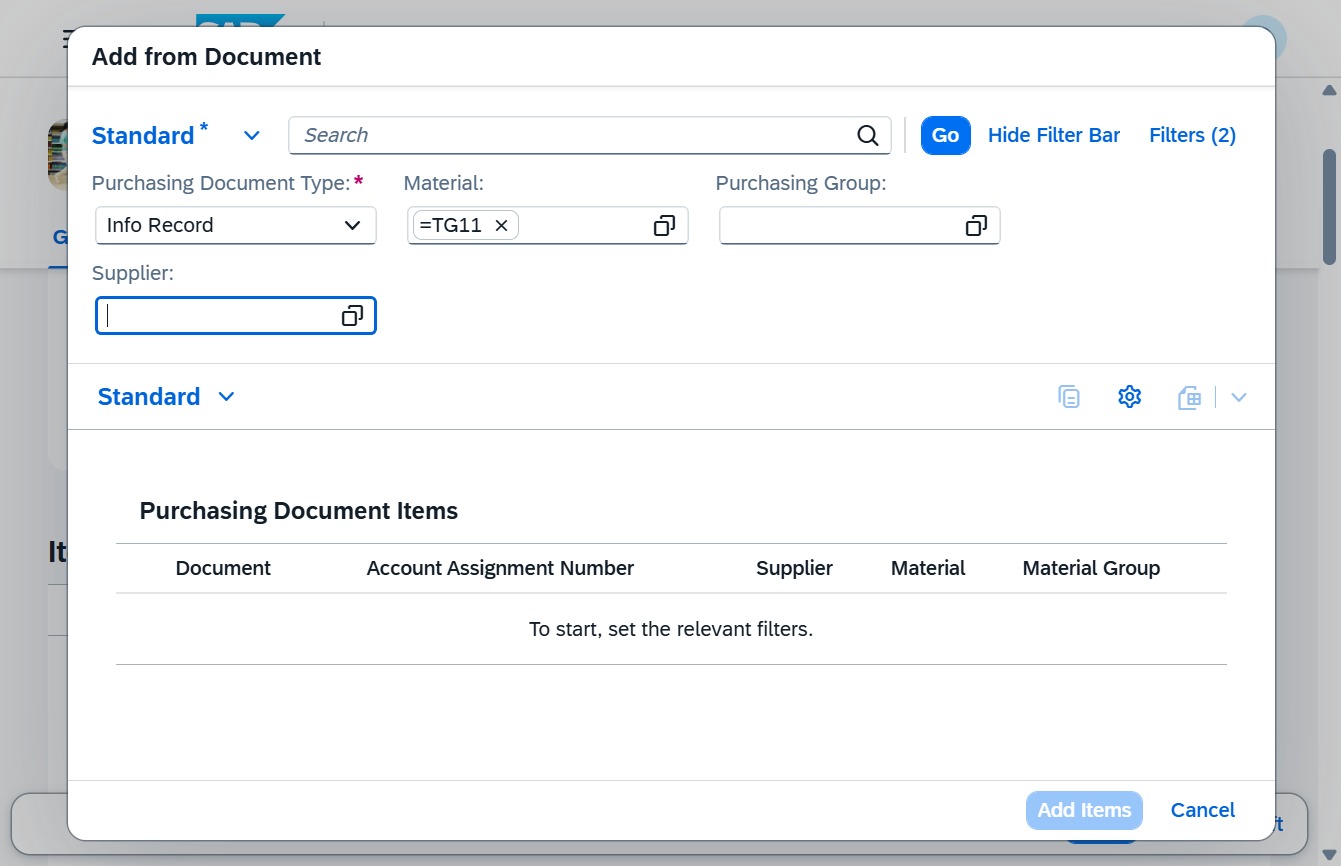
Enter '1000050' in the Supplier input field to specify the desired vendor for your purchasing document. This will help in filtering and retrieving relevant supplier information for the transaction.
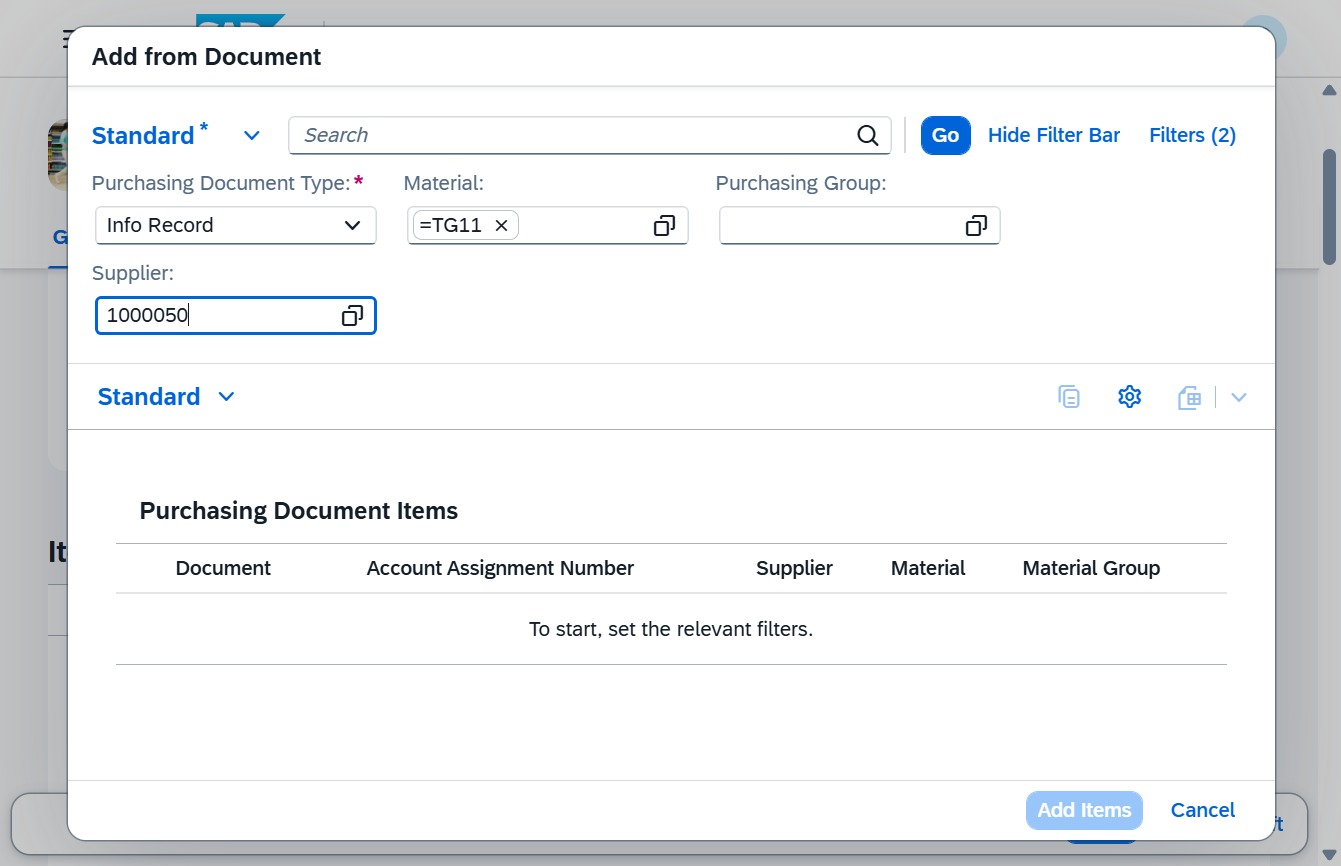
Clicking the Go button will execute the search based on the criteria entered in the Purchasing Document Type, Material, and Supplier fields, displaying relevant purchasing document items.
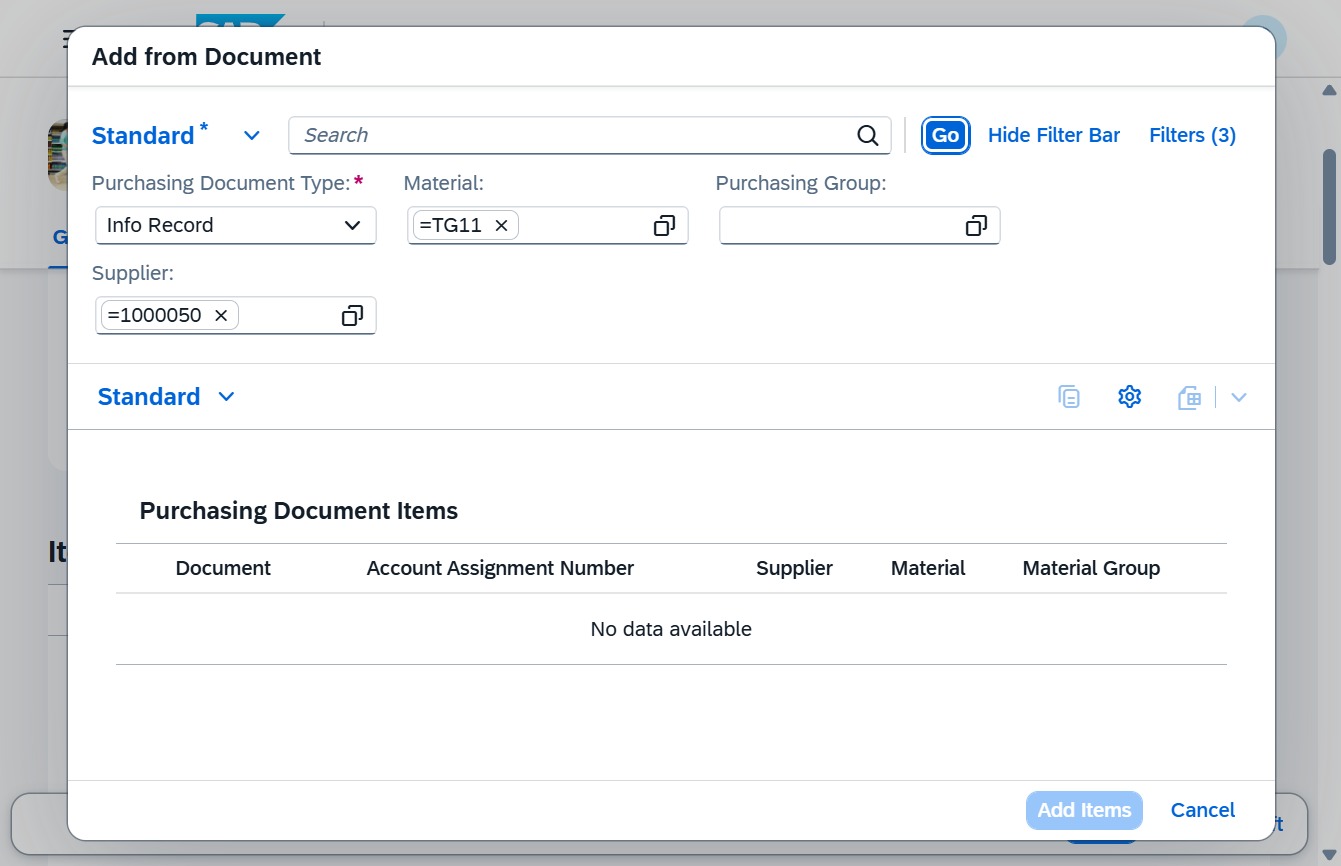
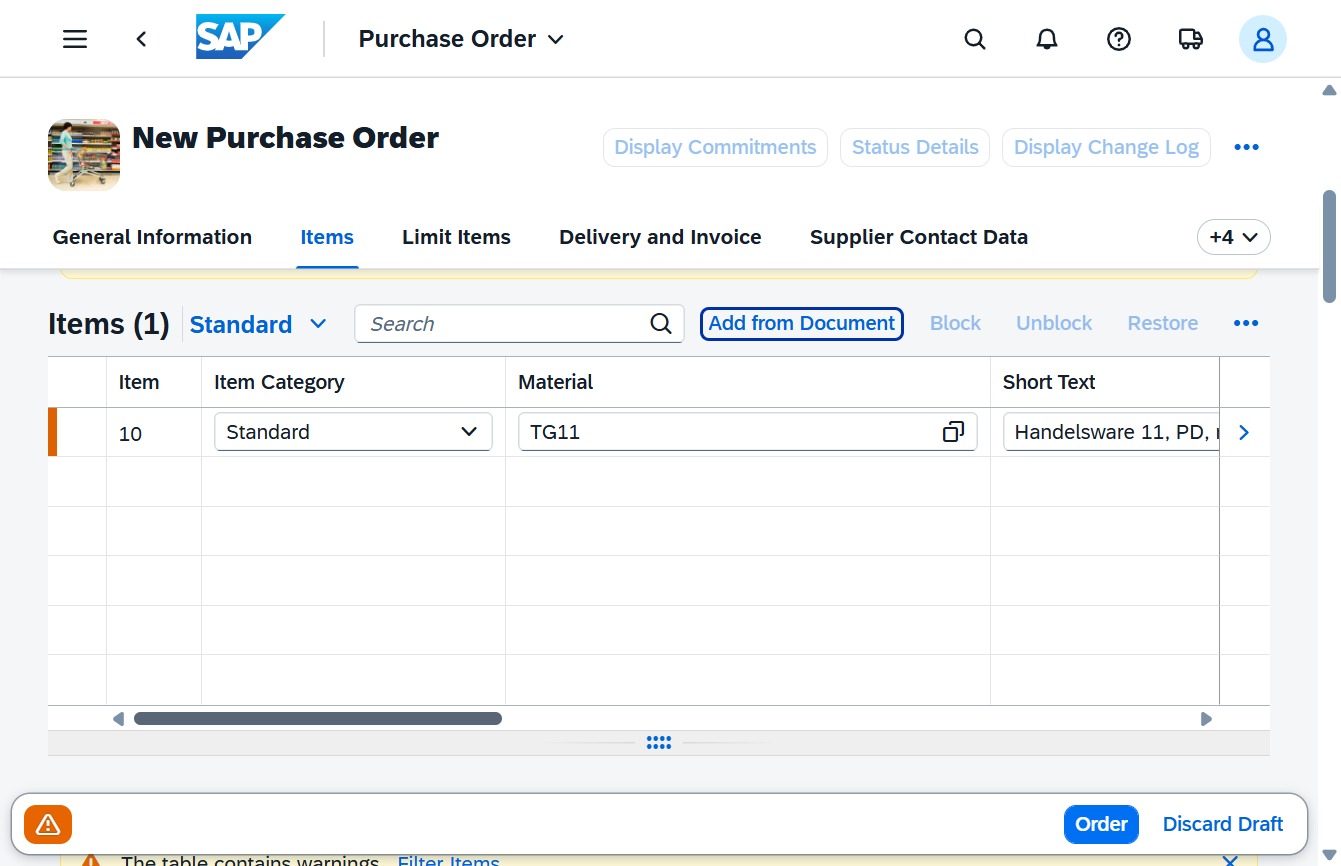
This action will initiate the process to add items from the document, allowing you to select or input relevant purchasing information.
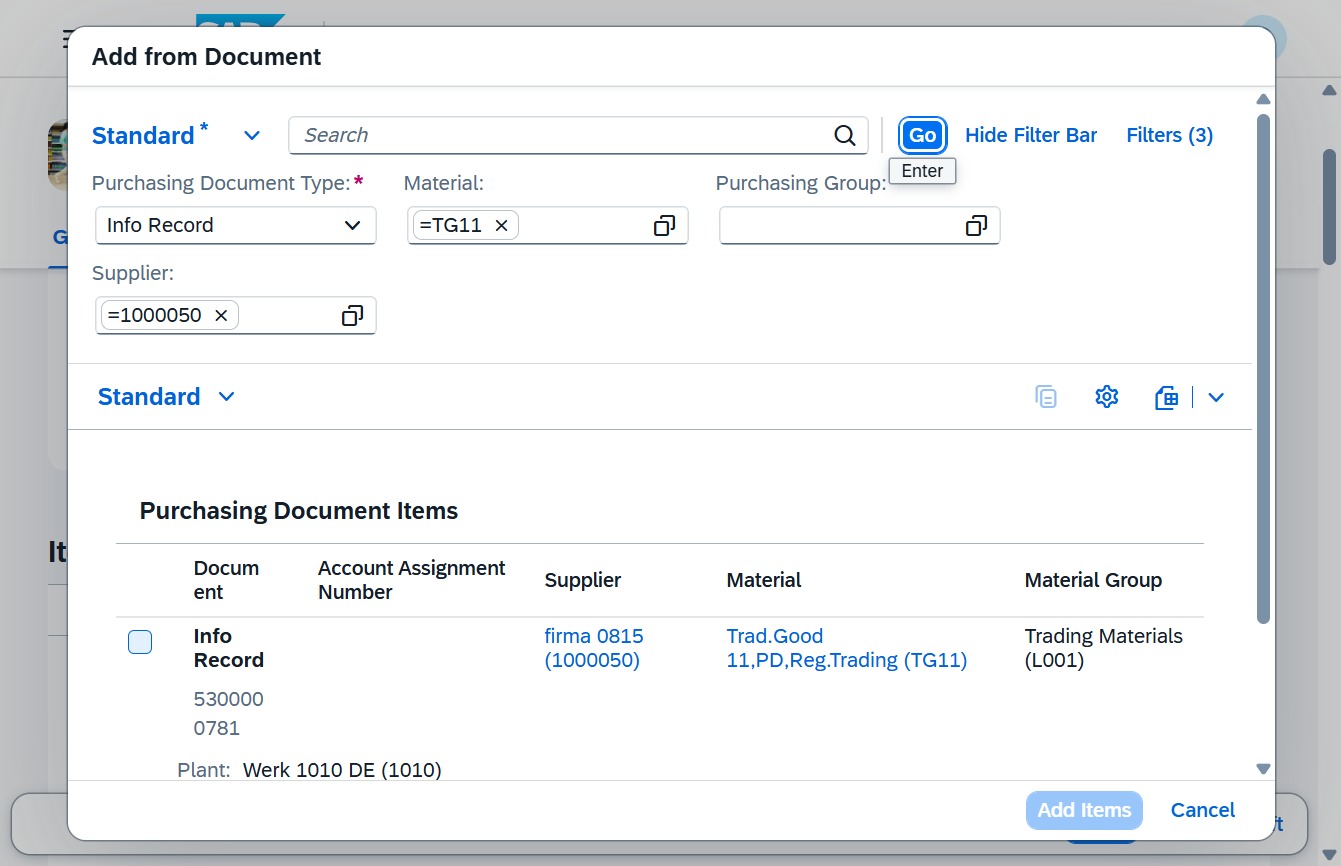
This action will add the selected purchasing document items to your current order. Ensure the necessary items are checked before proceeding.
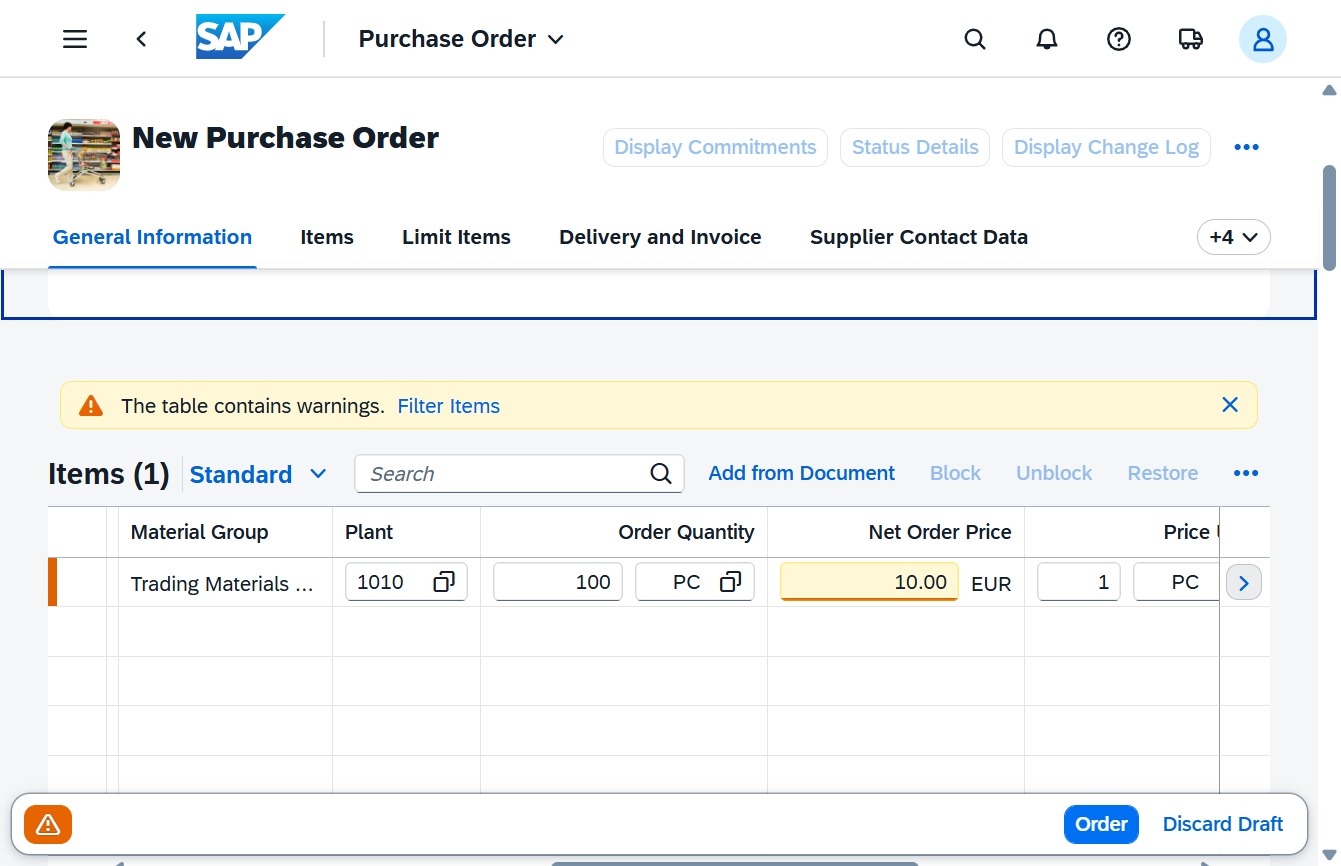
Clicking this button will dismiss the warning notification about the table containing warnings, allowing you to continue with your purchase order actions without distraction.
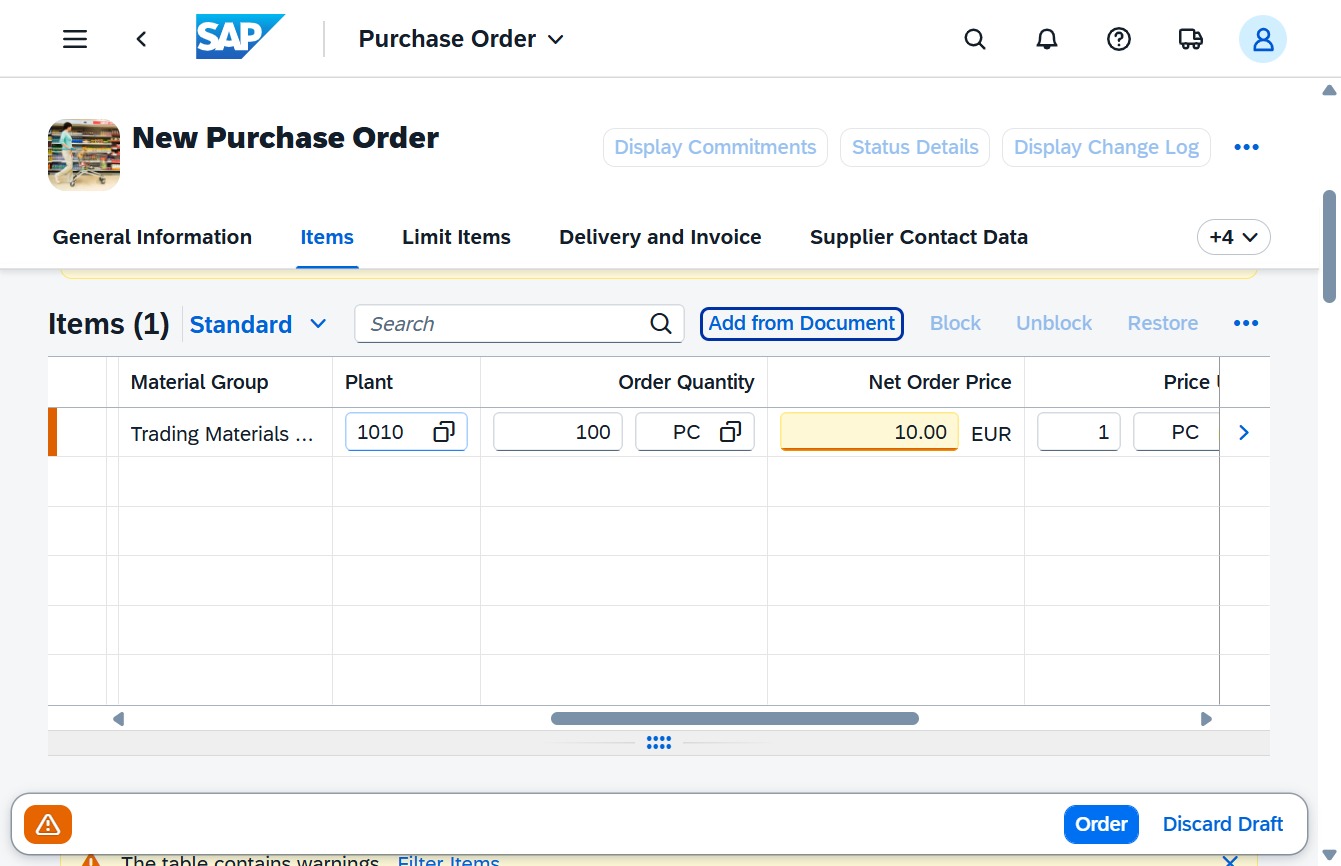
This action closes any open warning notifications within the table, allowing you to focus on the current items and proceed with your purchase order.
Clicking the +4 button allows you to add four additional items to the purchase order. This action will update the item list in the Items section of your order.
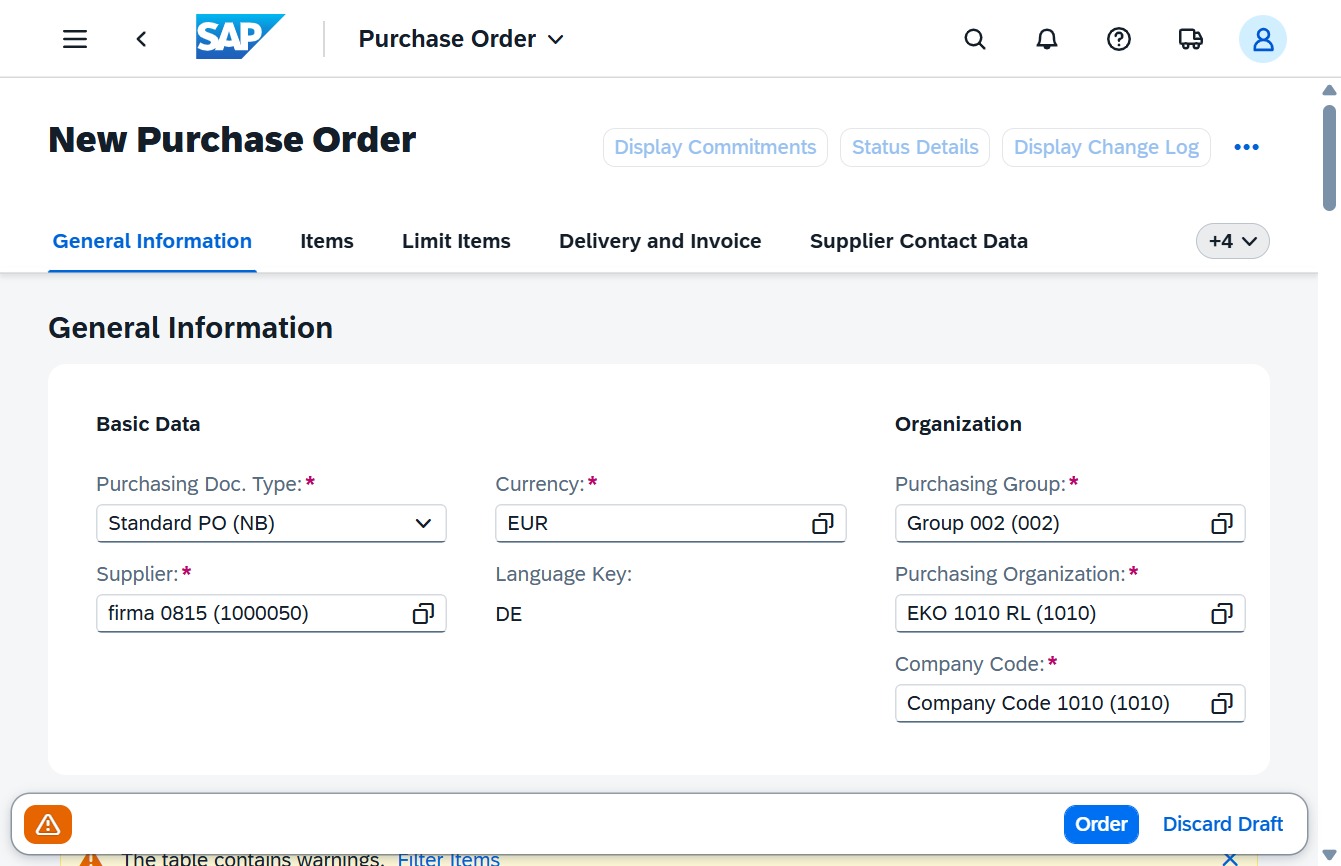
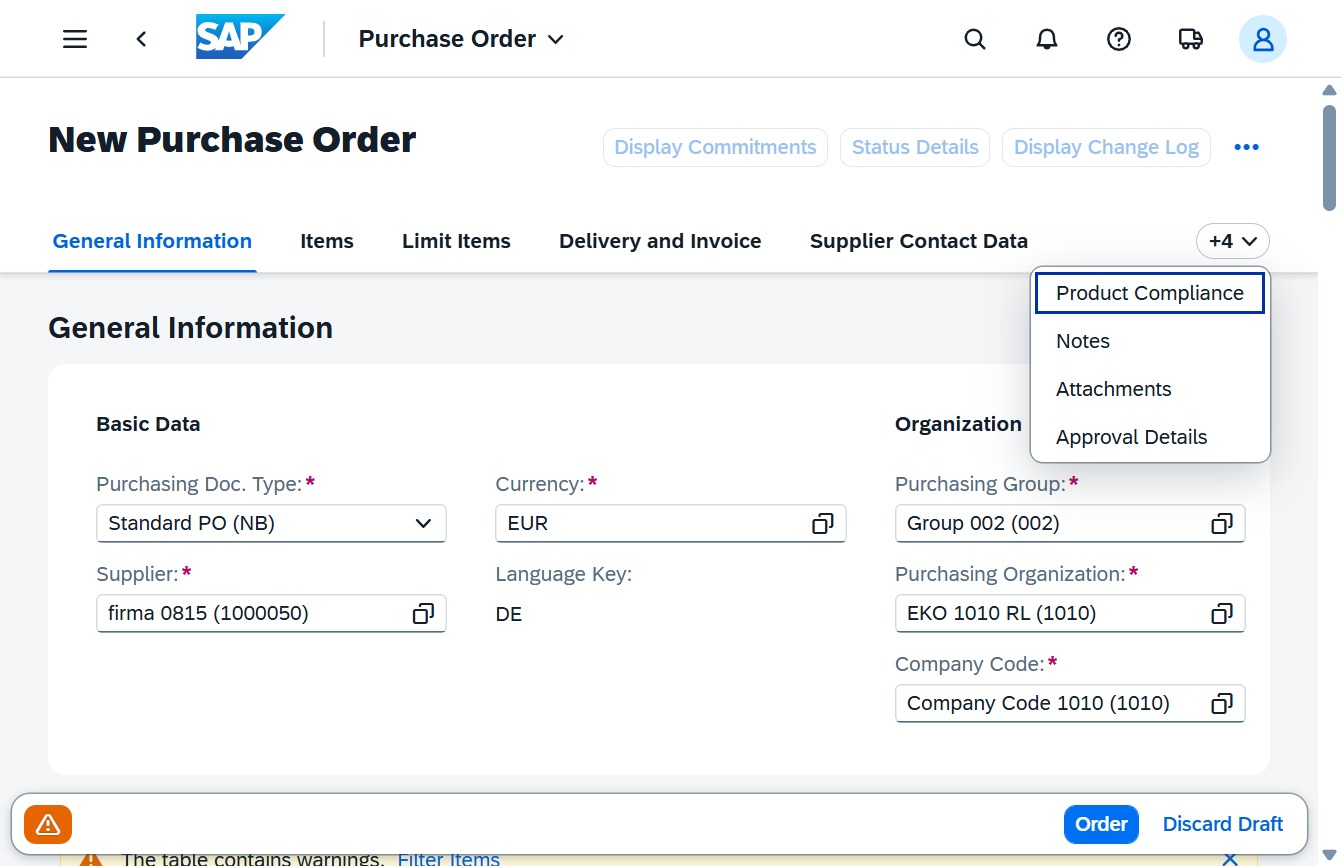
Clicking 'Show More' reveals additional fields related to the general information for the purchase order, allowing you to input further details such as product compliance, notes, and attachments.
Clicking the Details link opens a comprehensive view of the selected item’s specifications and additional information.
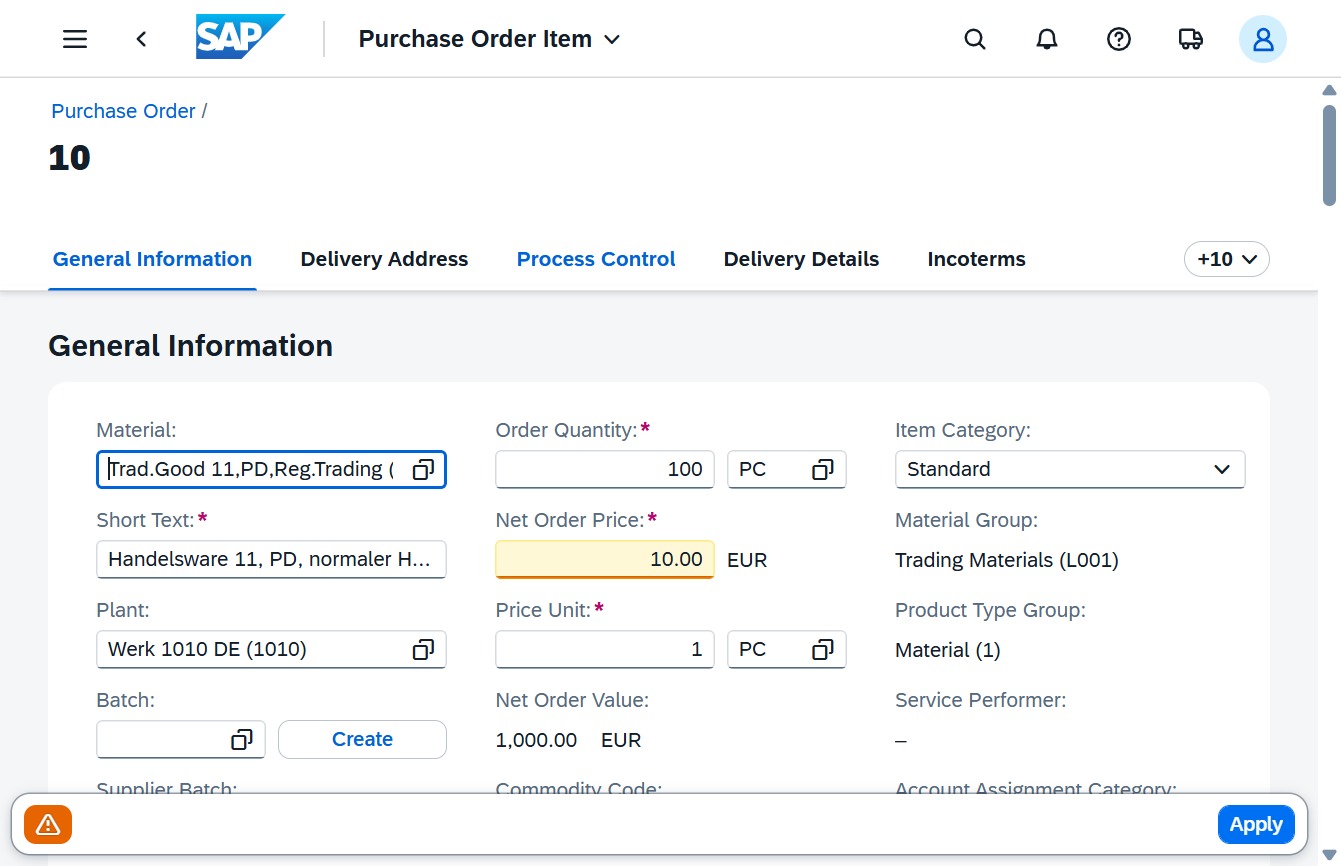
Selecting the Delivery Details tab will display specific information regarding the delivery terms, including shipping details and schedules related to the purchase order.
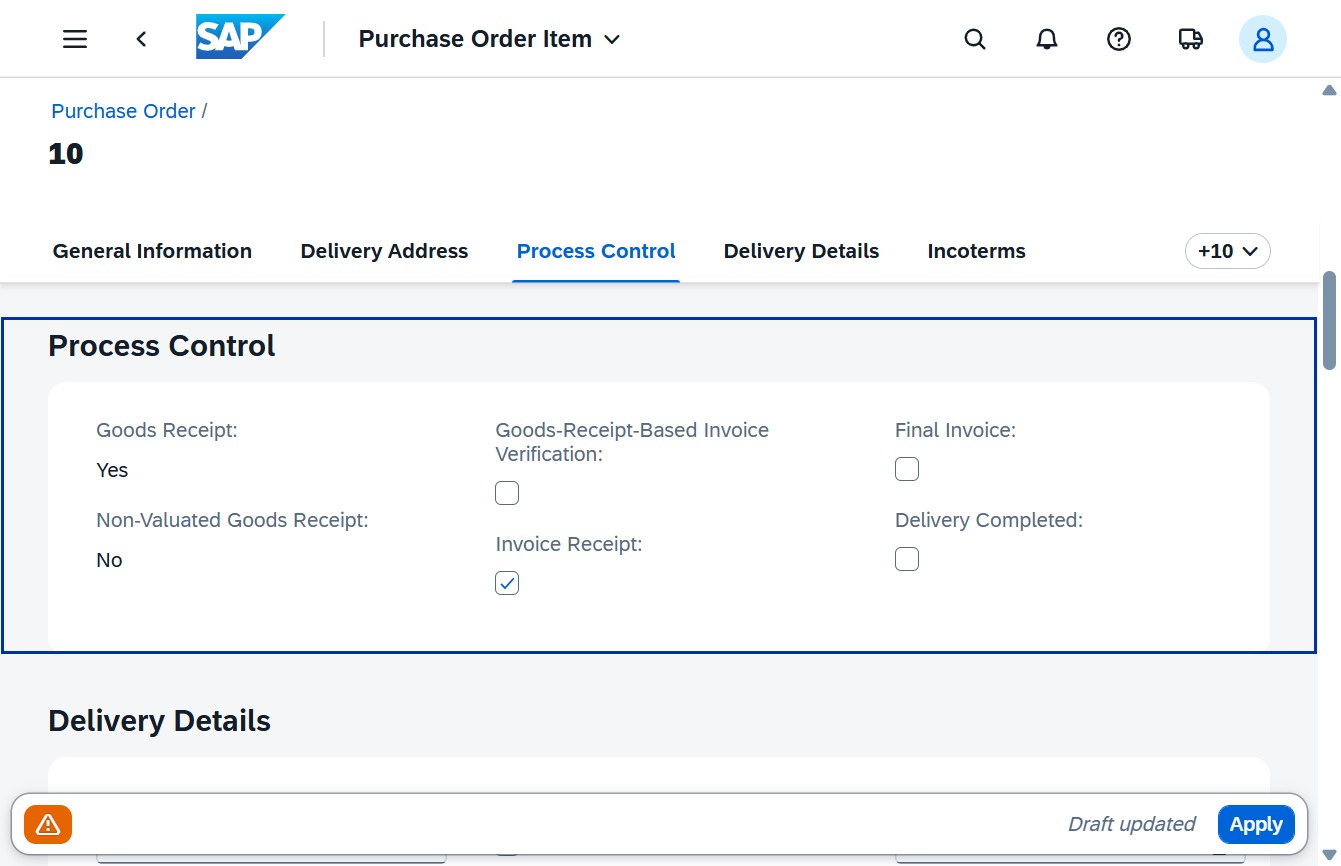
Clicking this option allows you to modify the settings related to goods receipt and invoice verification for the selected purchase order item.
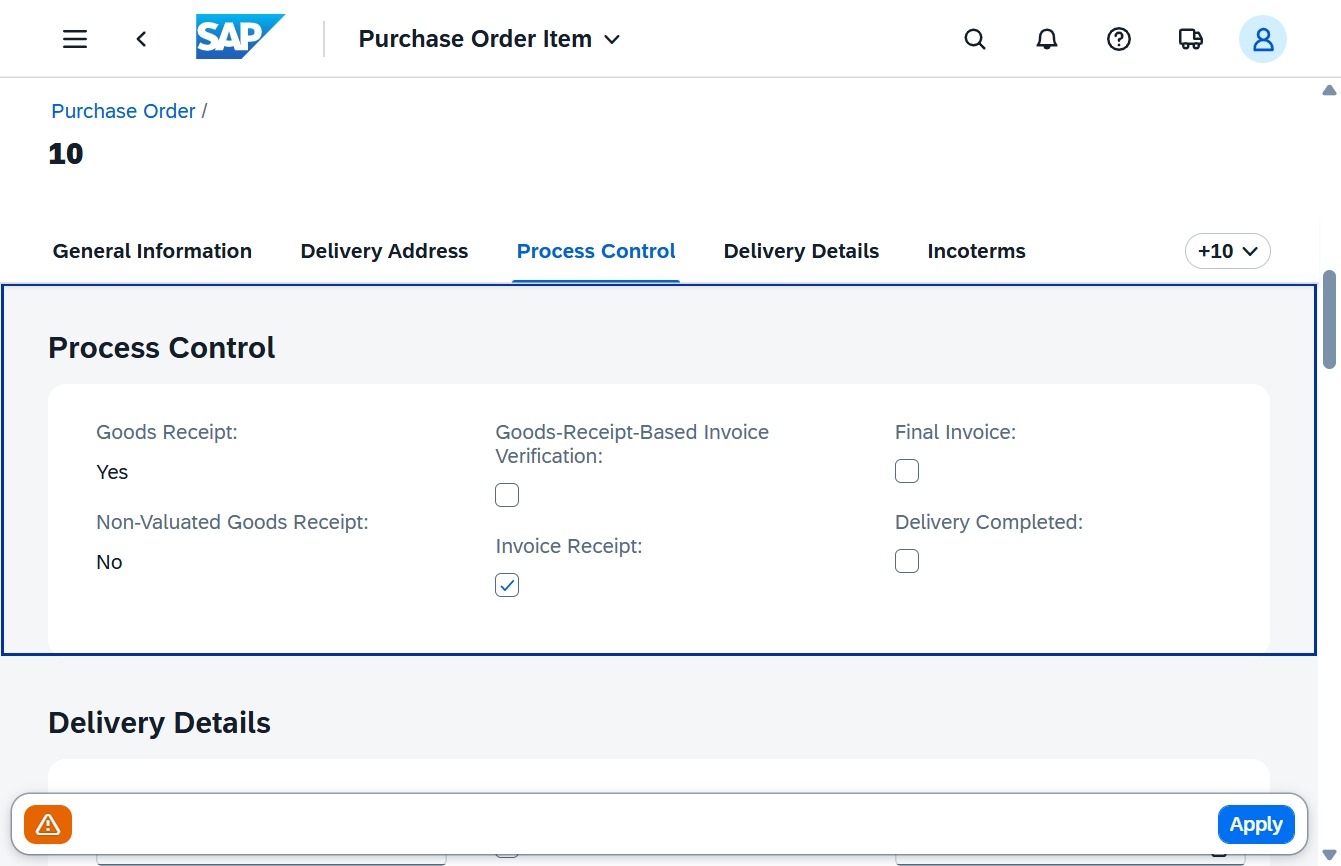
Clicking this option will enable the Invoice Receipt checkbox, allowing you to confirm the receipt of the invoice for the purchase order.
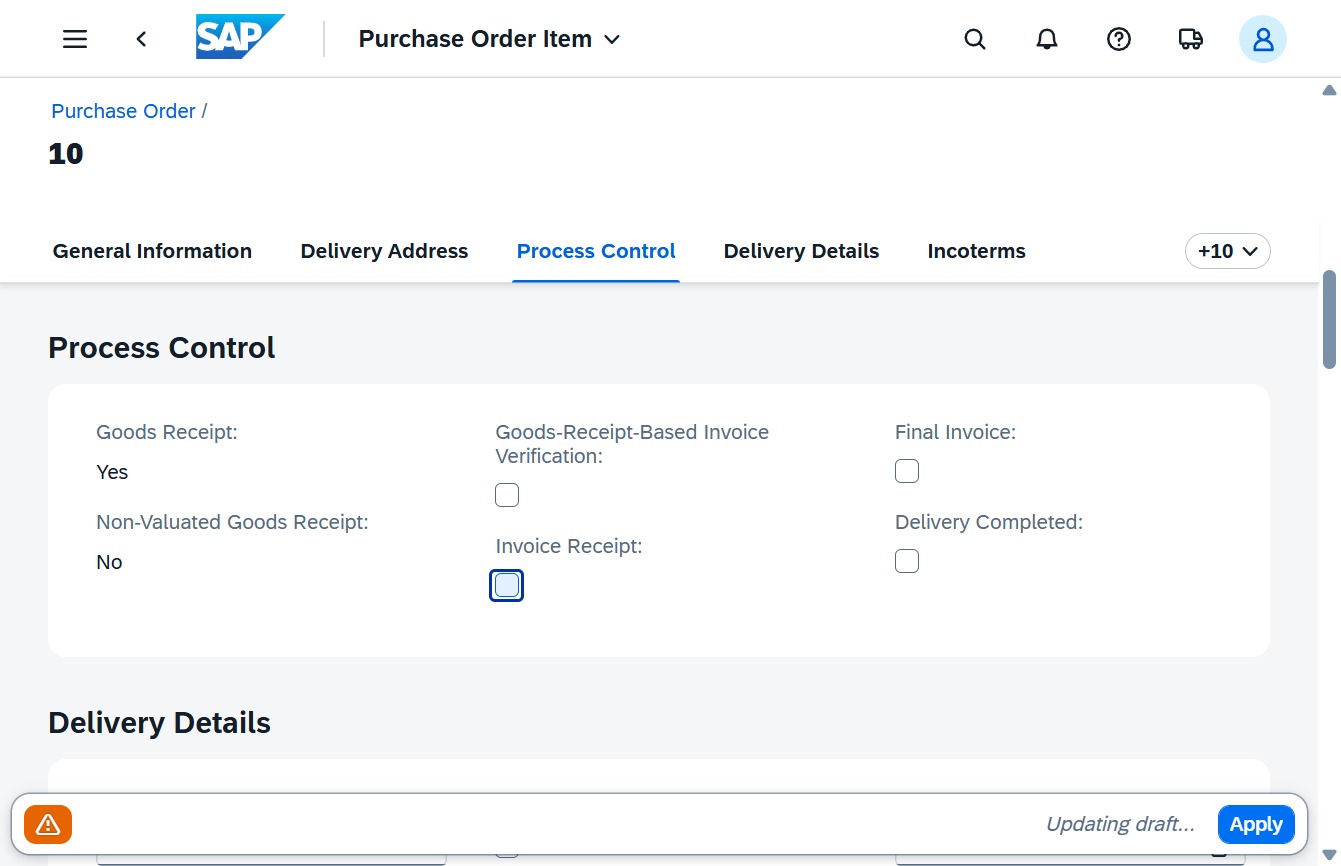
Selecting 'Yes' confirms that a goods receipt has been acknowledged for this purchase order item, enabling further processing of the invoice and associated documentation.
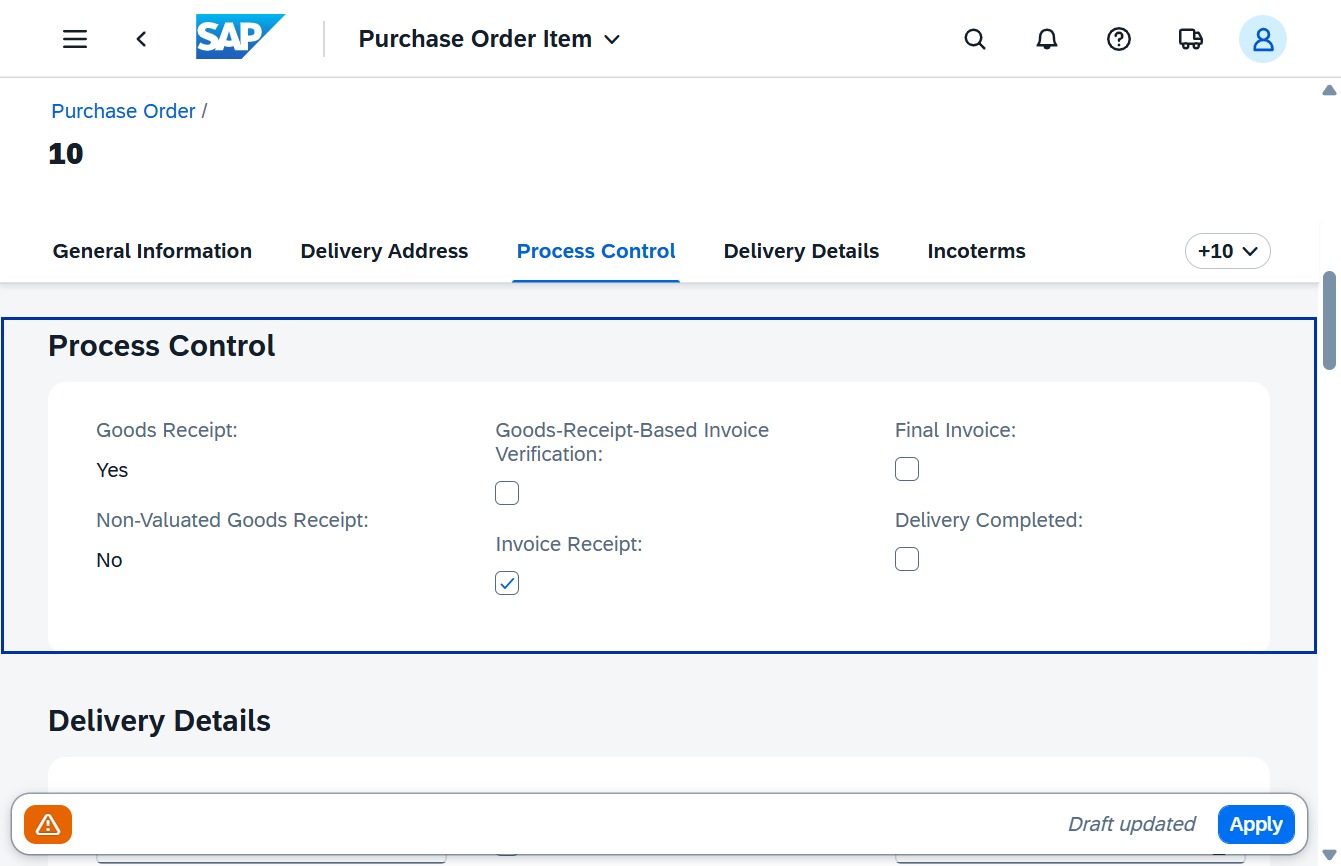
Clicking 'Apply' confirms the selected process control options for the purchase order item. This will process the entries related to goods receipt and invoice receipt as specified.