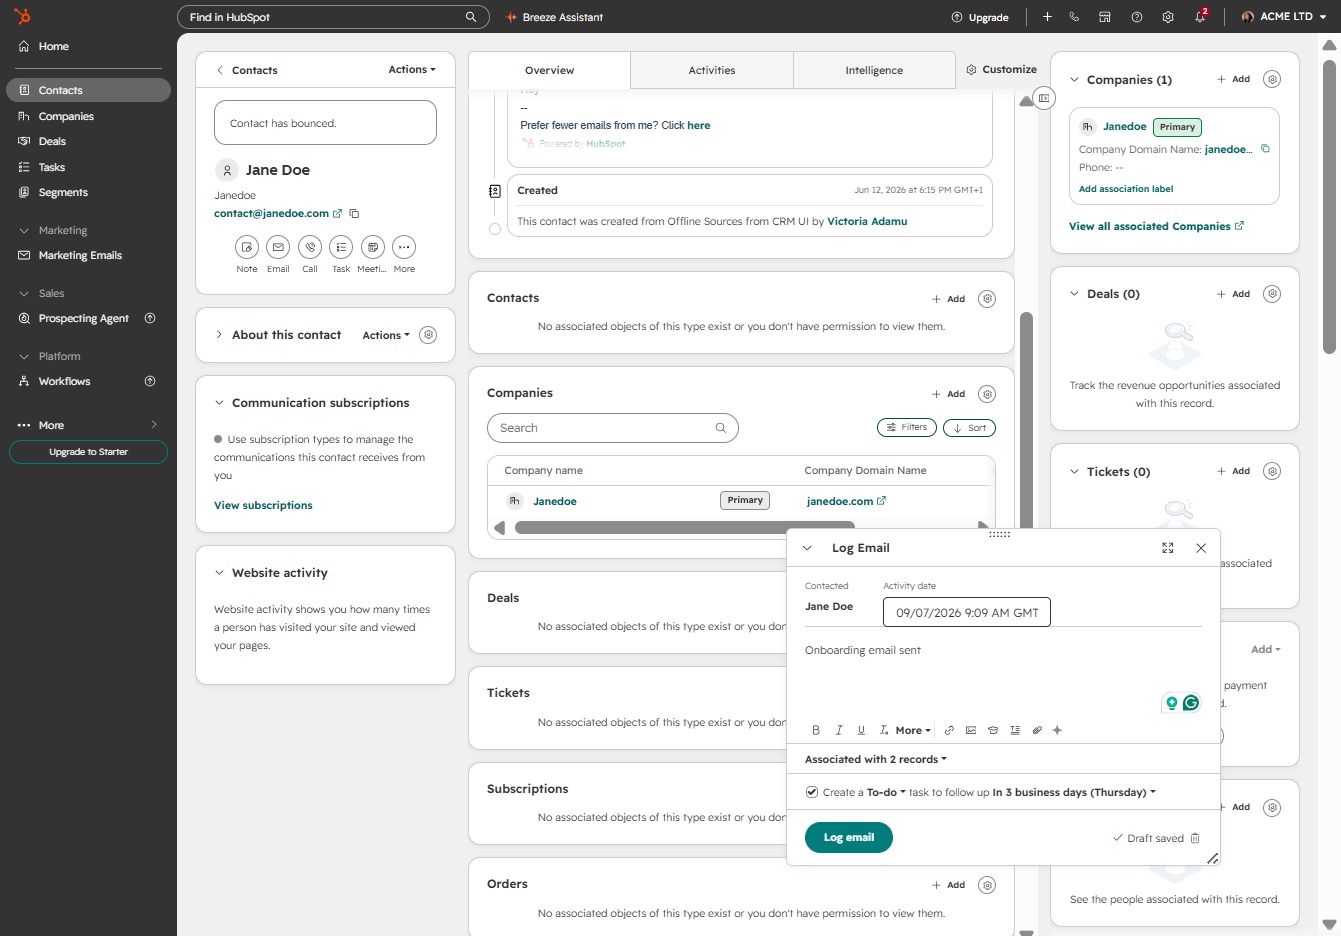
Click Contacts
By clicking on the Contacts section, you can view and manage all your saved contacts, making it easy to stay connected with your network.
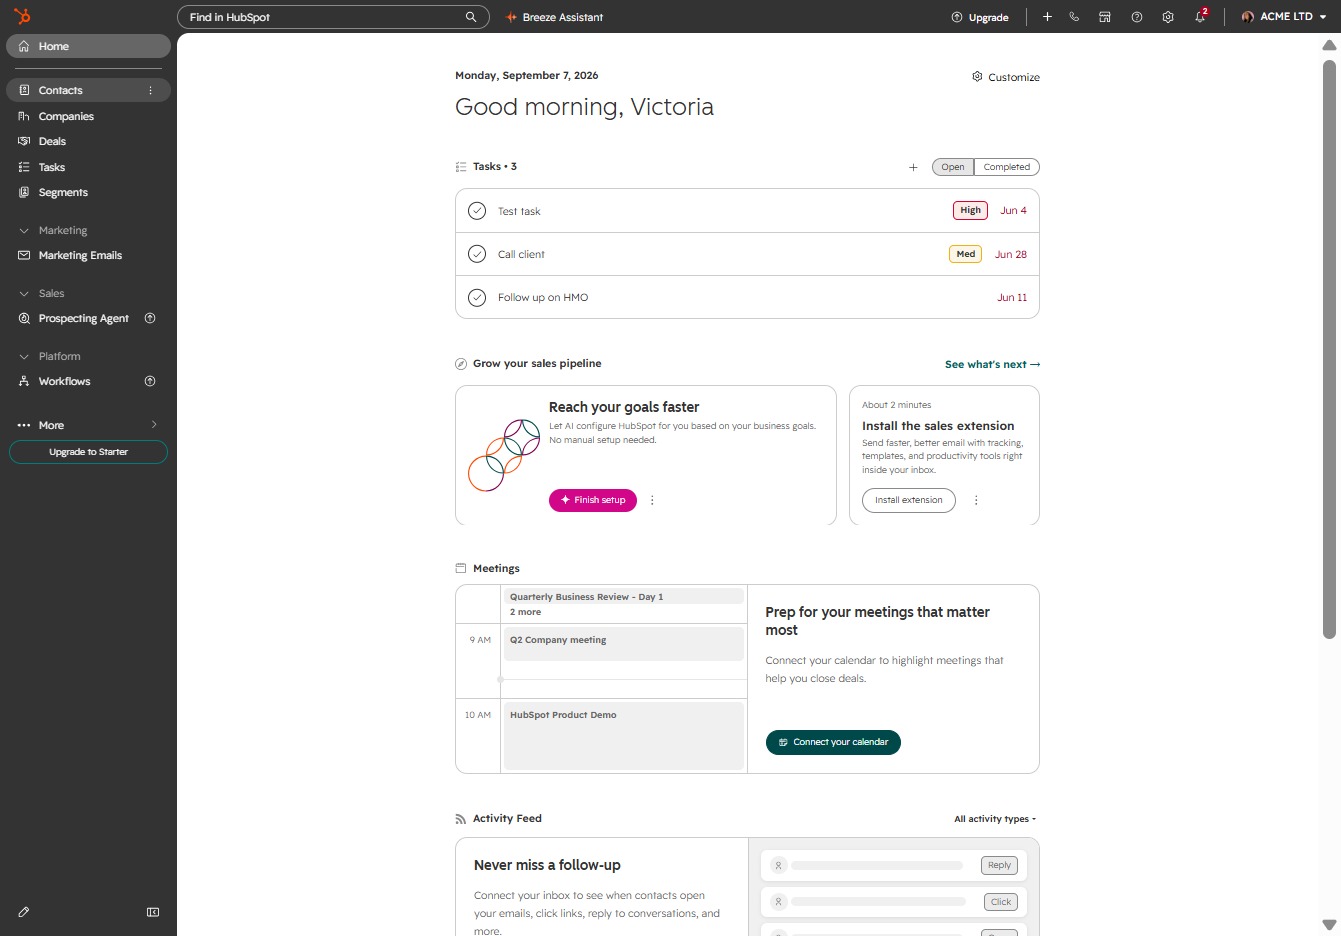
Loading screenshot…
100%
Log an email for a contact in HubSpot to keep track of your correspondence, ensuring all communications are documented within the contact's profile for future reference.
 viktoria
Log an email for a contact in HubSpot to keep track of your correspondence, ensuring all communications are documented within the contact's profile for future reference.
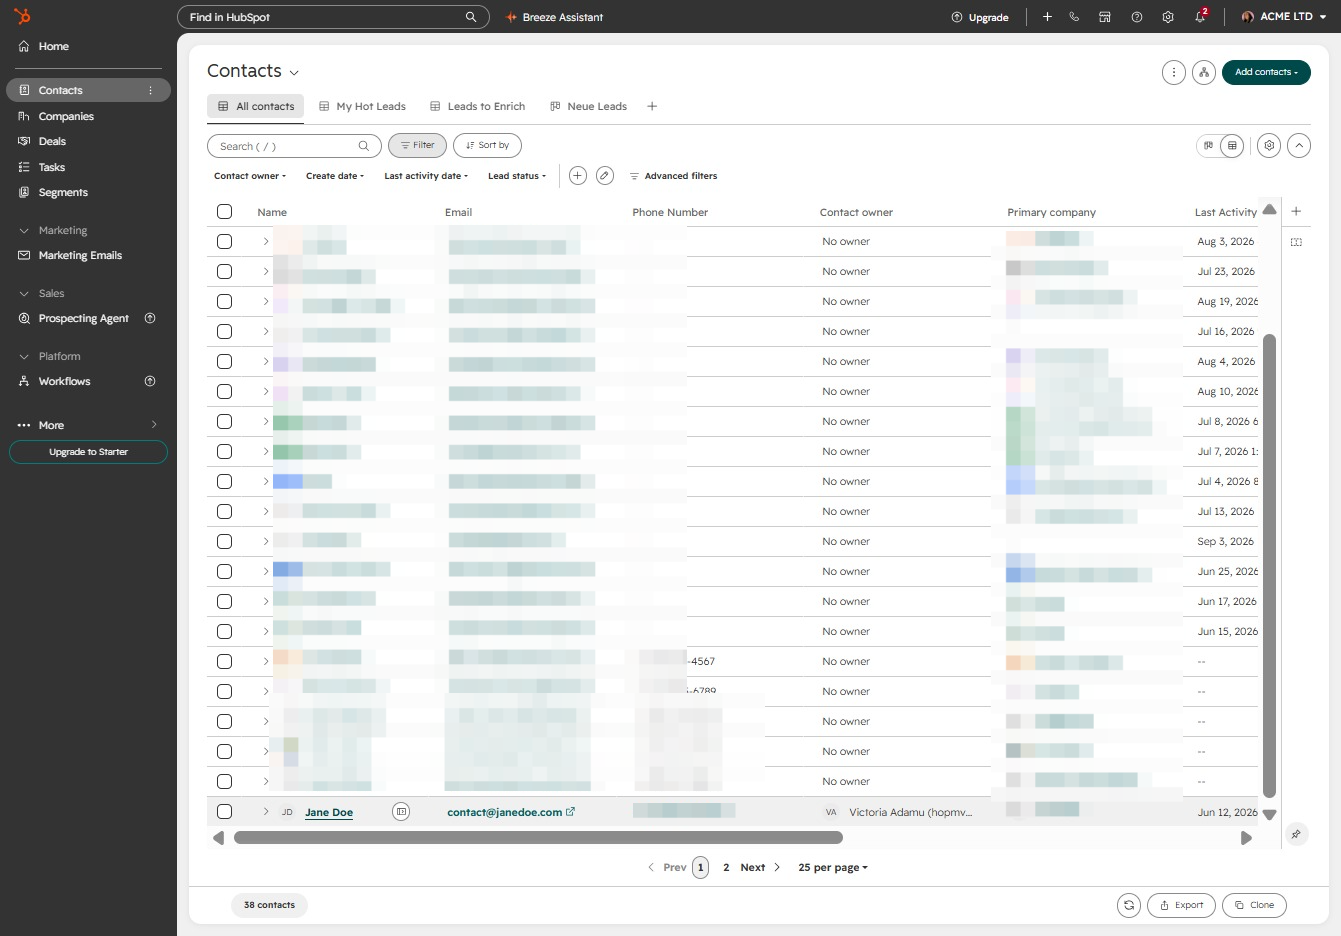
By clicking on the Contacts section, you can view and manage all your saved contacts, making it easy to stay connected with your network.
Clicking on Jane Doe will bring up her contact details, allowing you to view and edit information related to her profile in your contacts list.
You’re selecting the prompt that guides you further in the interface, helping you to access relevant details or options related to the current context.

To track your email correspondence, click the 'Log an email' option. This allows you to record important communications directly within the system for future reference.

By clicking 'Create a Logged Email', you'll open a new email log entry to document your interaction. This feature helps you keep track of communications related to specific contacts.
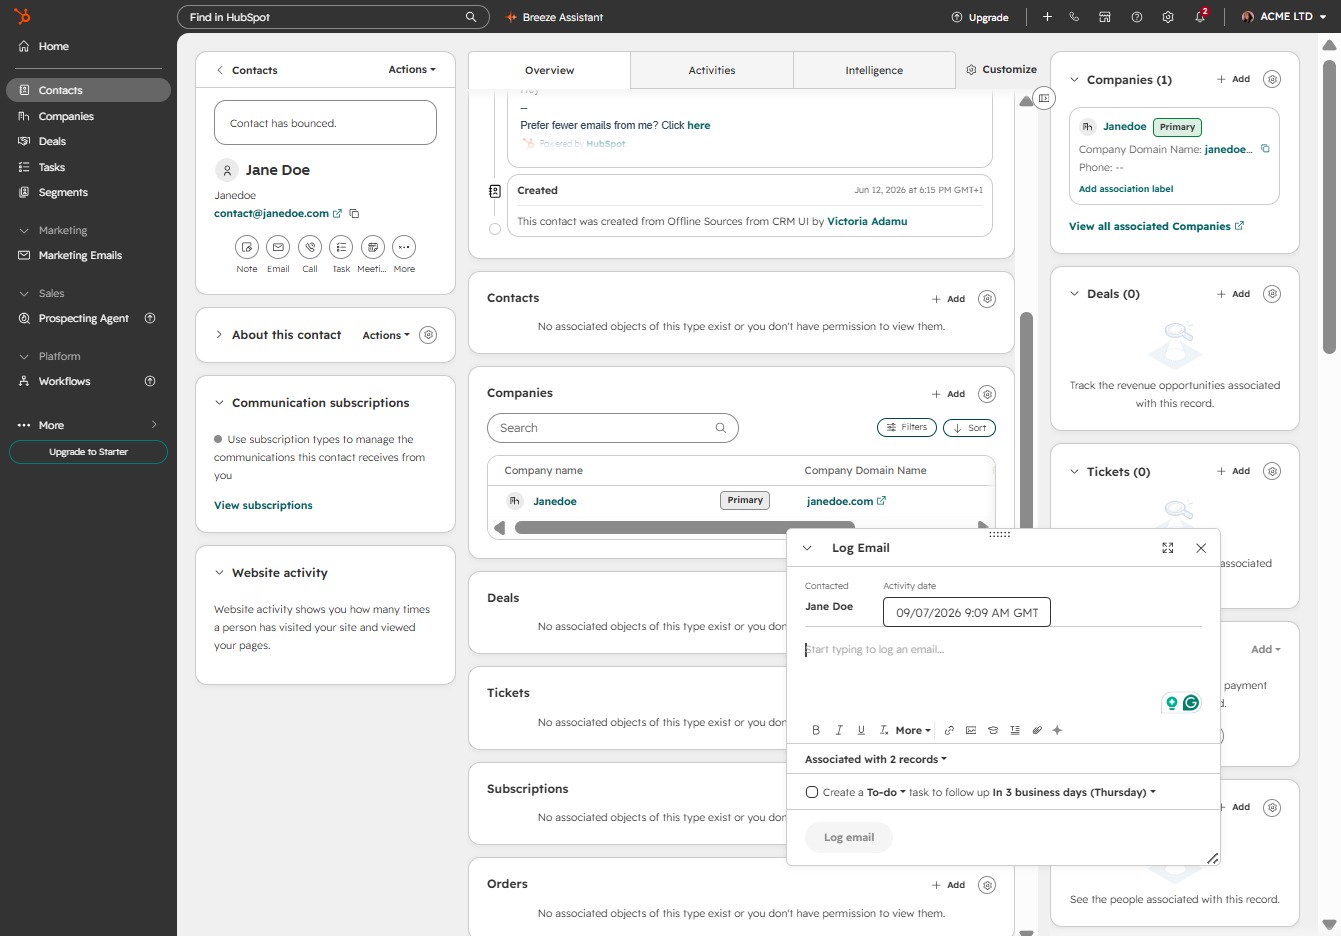
In the 'Create a Logged Email' section, you'll type 'Onboarding email sent' to record the email interaction, ensuring all necessary communication is documented in the system.

By clicking here, you can enter new contact details in the system. This feature helps you keep organized information for each individual, making communication more efficient.

To document your email communication, click the 'Log Email' button. This feature allows you to easily record interactions, ensuring you have a complete history of your correspondence with contacts.