Click on Project A link
This action opens the details of Project A, allowing you to view and manage tasks associated with this specific project.

Loading screenshot…
100%
This how-to guide walks you through the essential steps for effectively using workload management in Project A.
 viktoria
This how-to guide walks you through the essential steps for effectively using workload management in Project A. Learn how to navigate tasks, visualize workload distribution, customize settings, and optimize scheduling to ensure efficient project management and team productivity.
This action opens the details of Project A, allowing you to view and manage tasks associated with this specific project.
Clicking the Workload tab will display the workload view for Project A, allowing you to manage and assign tasks based on team availability and workload distribution.
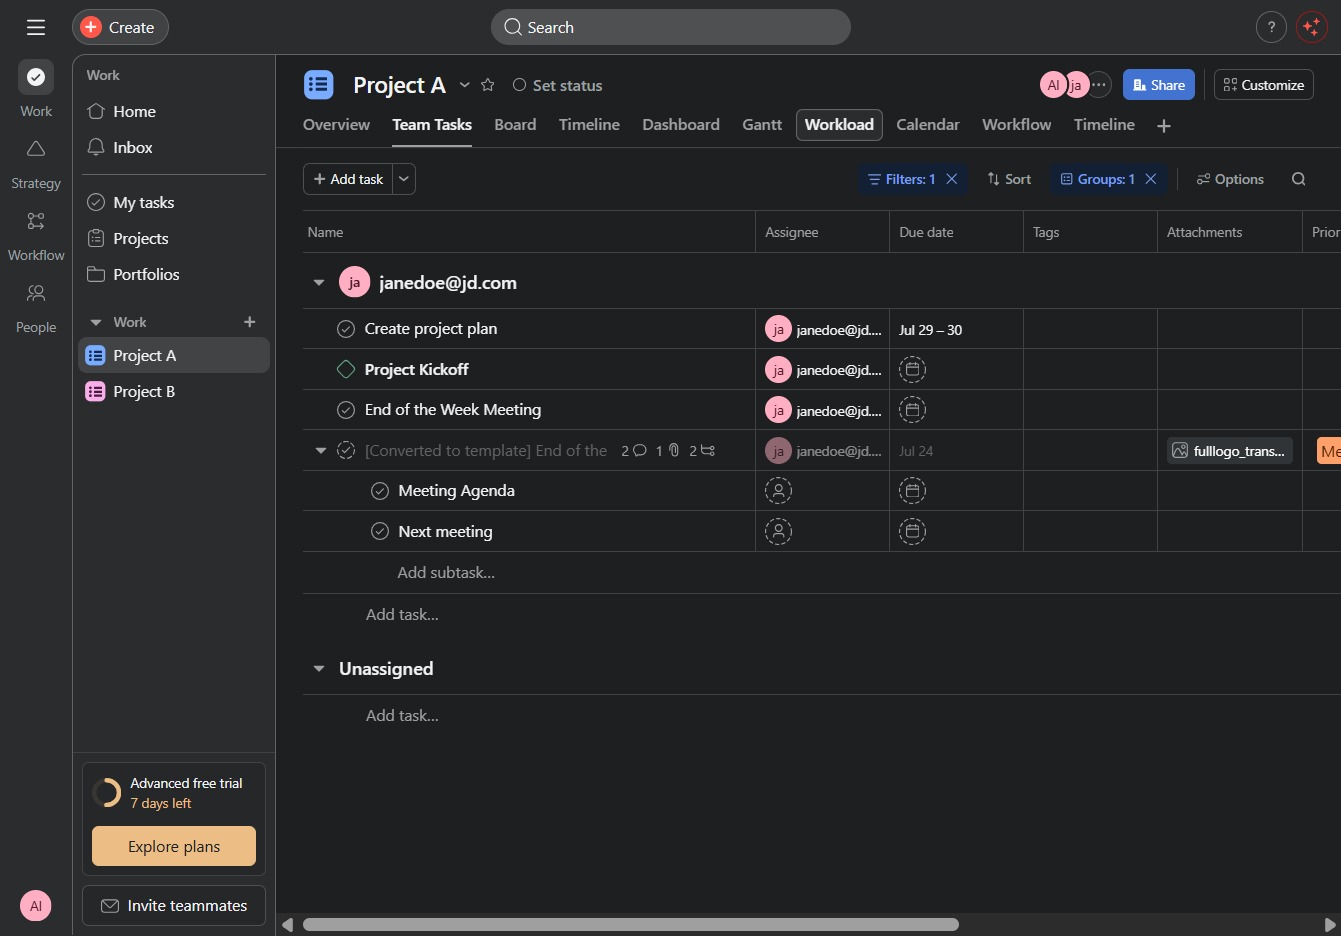
This action will display the tasks and assignments scheduled for today within the workflow section of Project A.
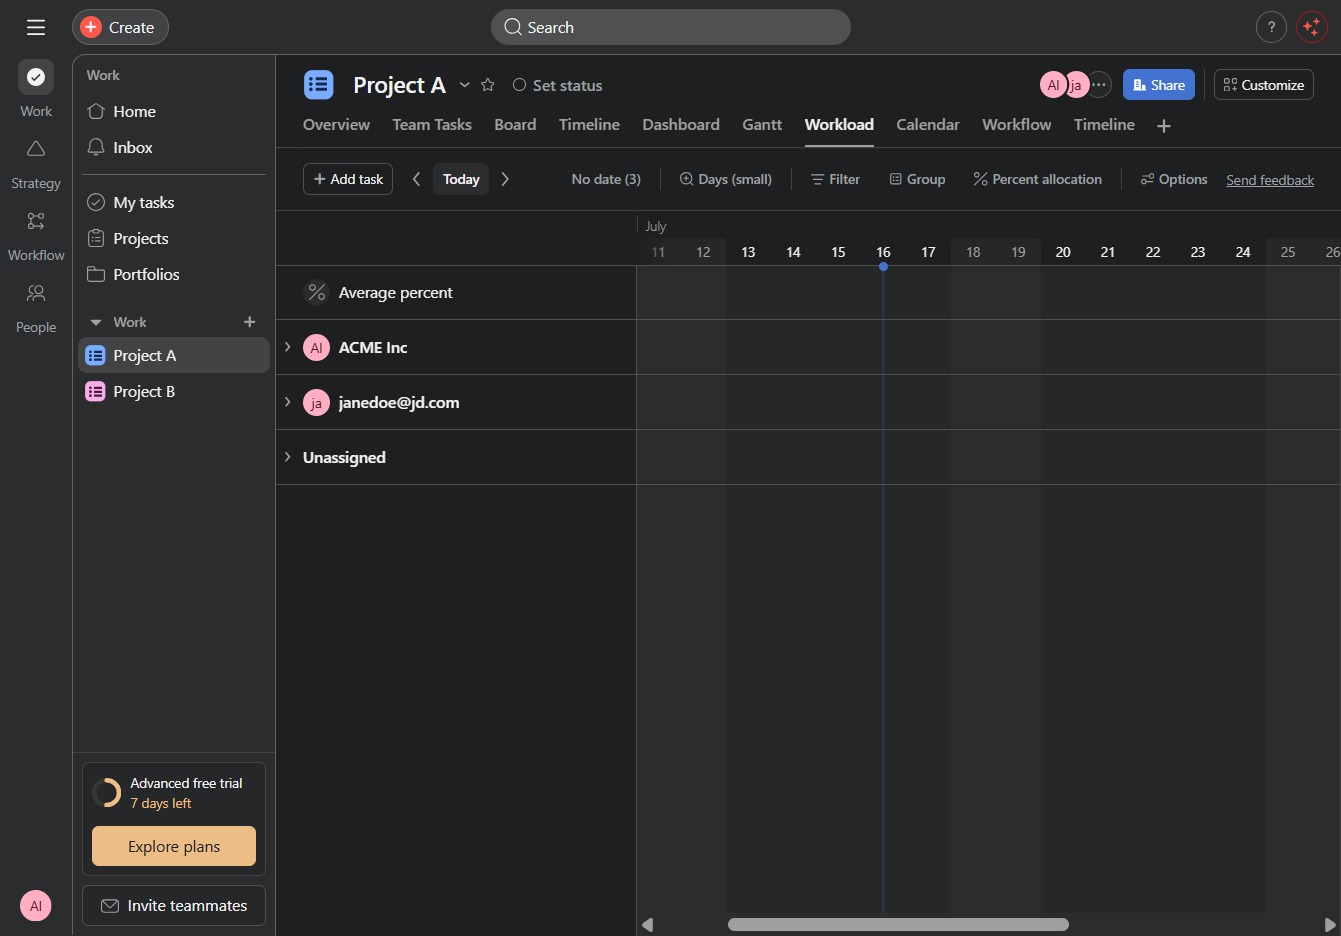
This action will switch the task view to display the workload summarized by days. You can now manage tasks on a daily basis to optimize your scheduling.
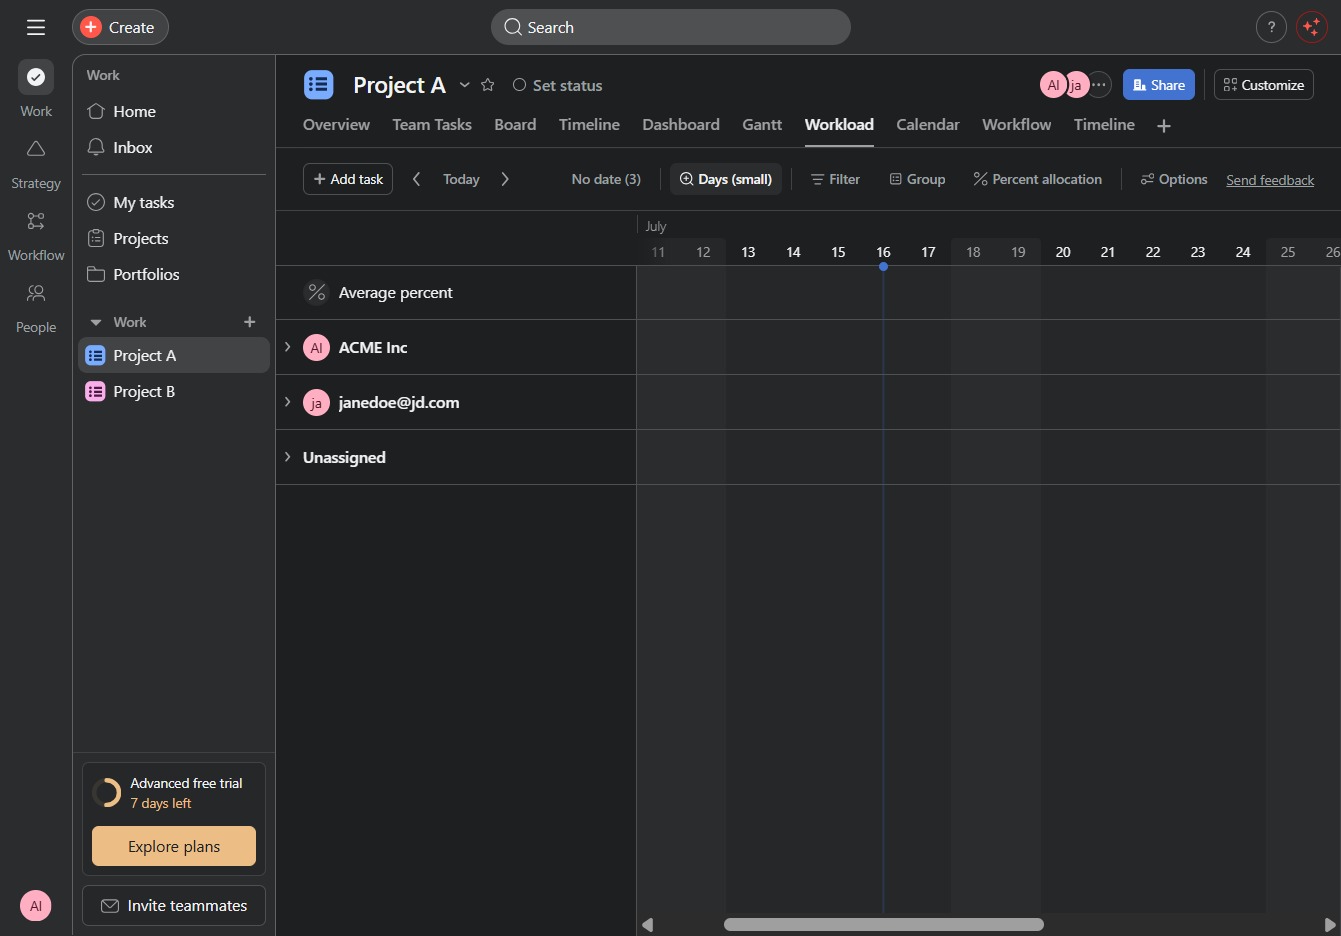
This action will display a list of time grouping options for managing tasks in your project. You can choose how to visualize your data, such as by days or months, helping you better plan your workload.
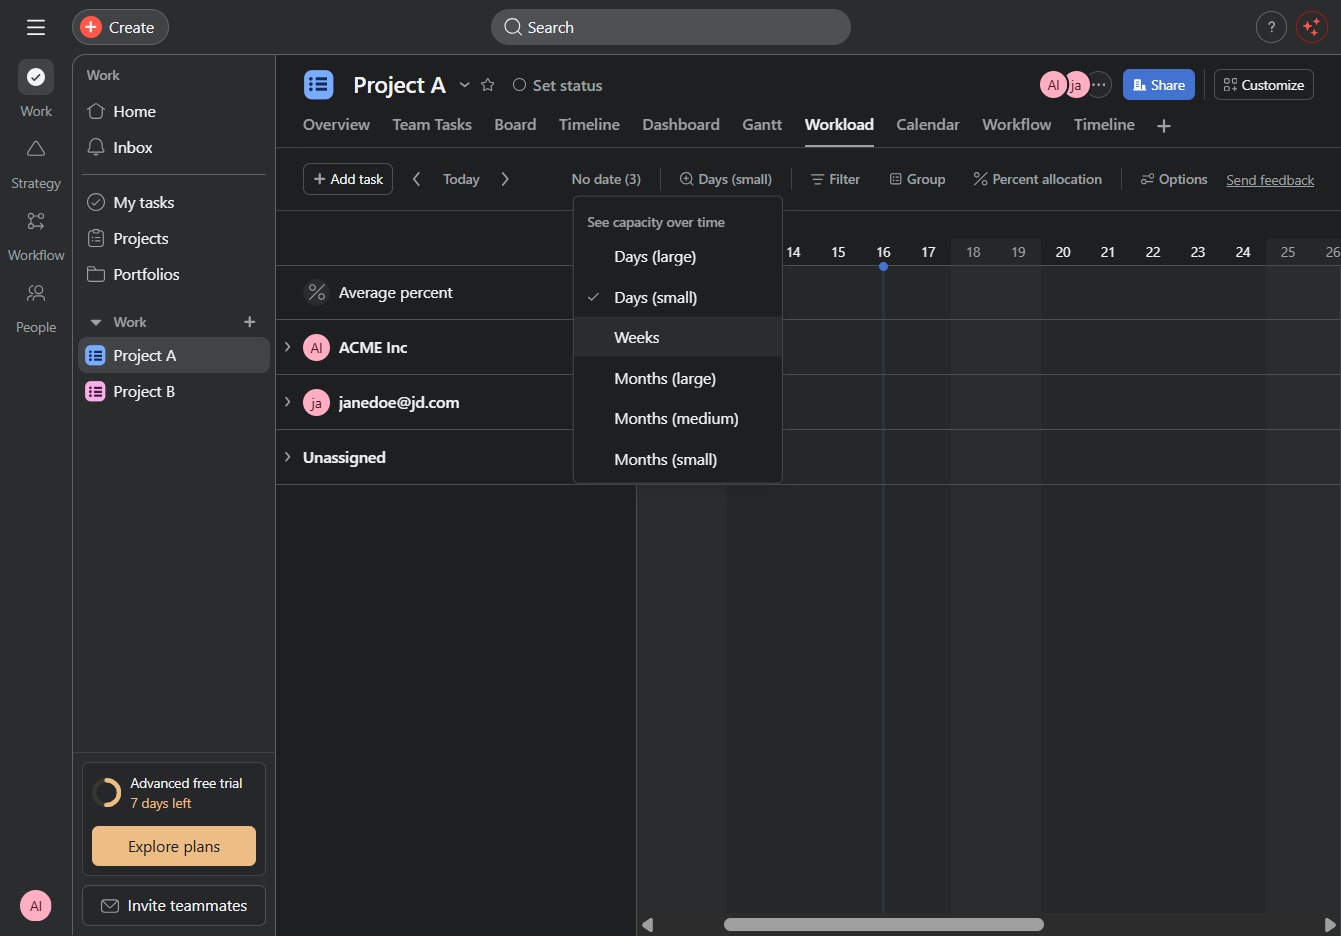
Selecting the Options menu allows you to customize settings related to the workload view, such as adjusting task filters and groupings for better project management.

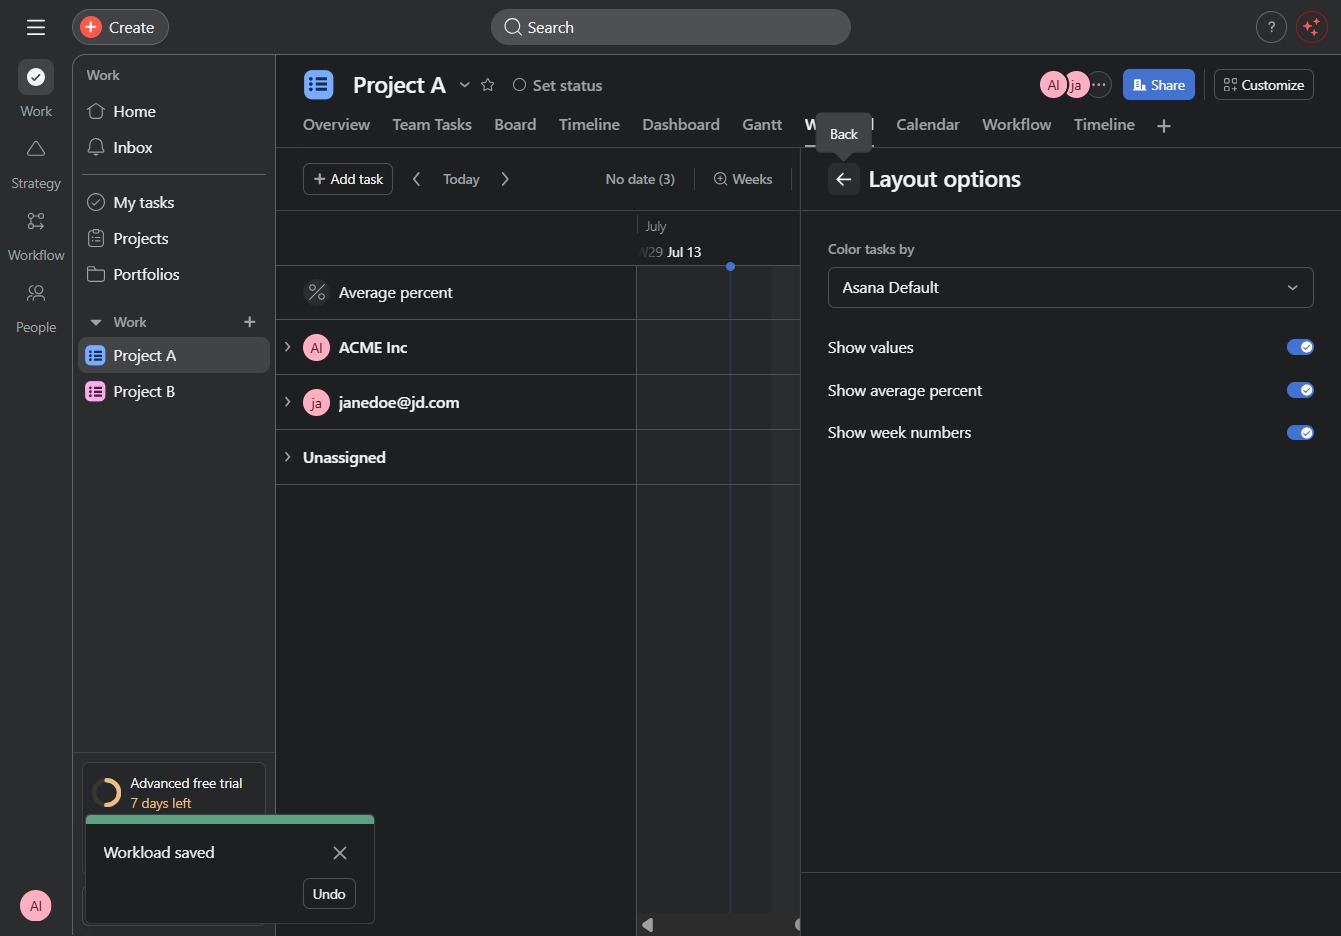
Selecting the Layout options menu will display different layout preferences for viewing the workload, allowing you to customize how information is visually organized in the Workload section.
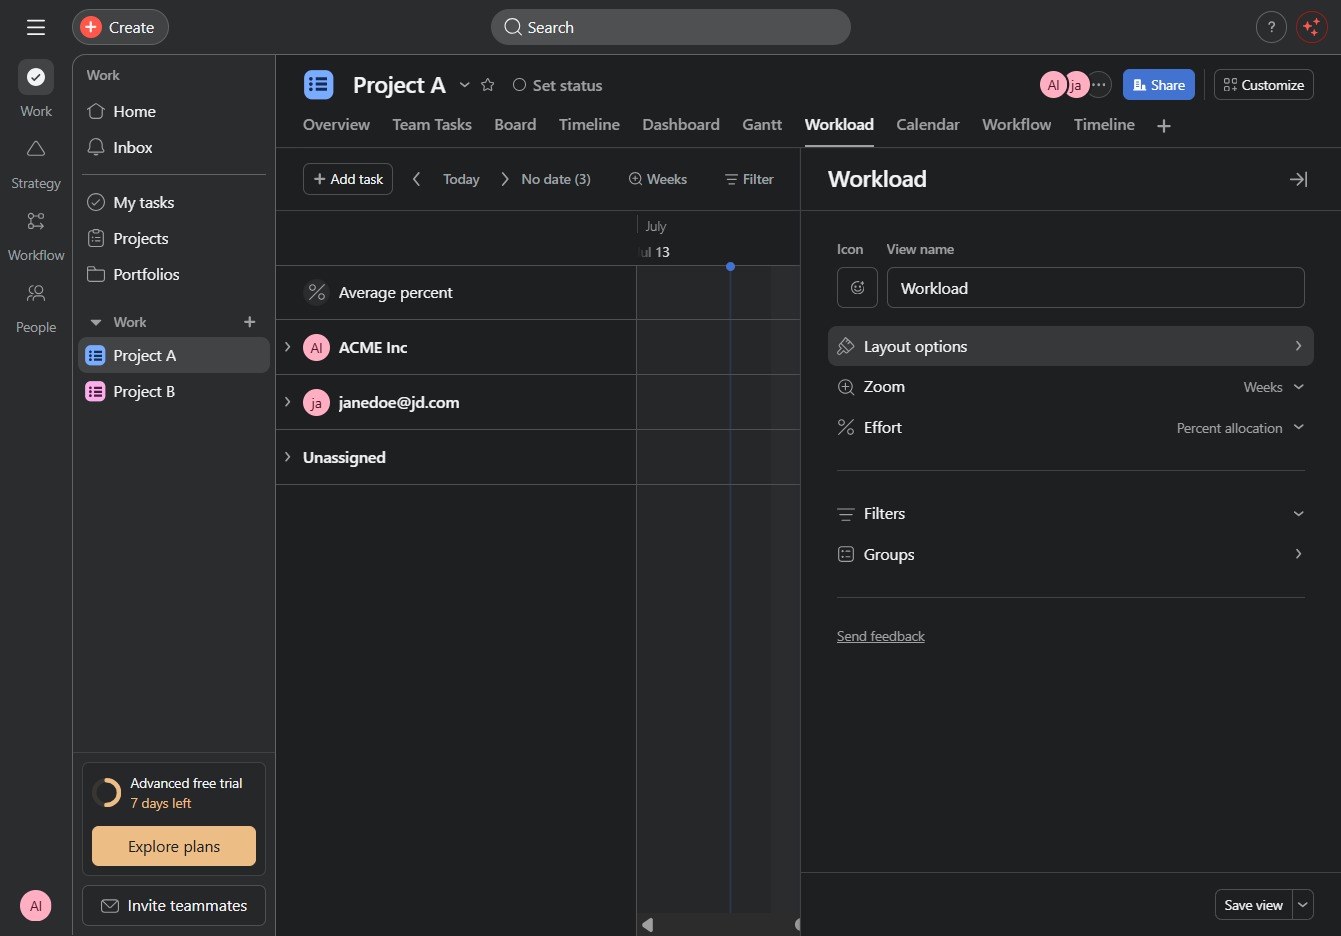
This action enables the display of week numbers in your project timeline, helping you track progress and deadlines more effectively.
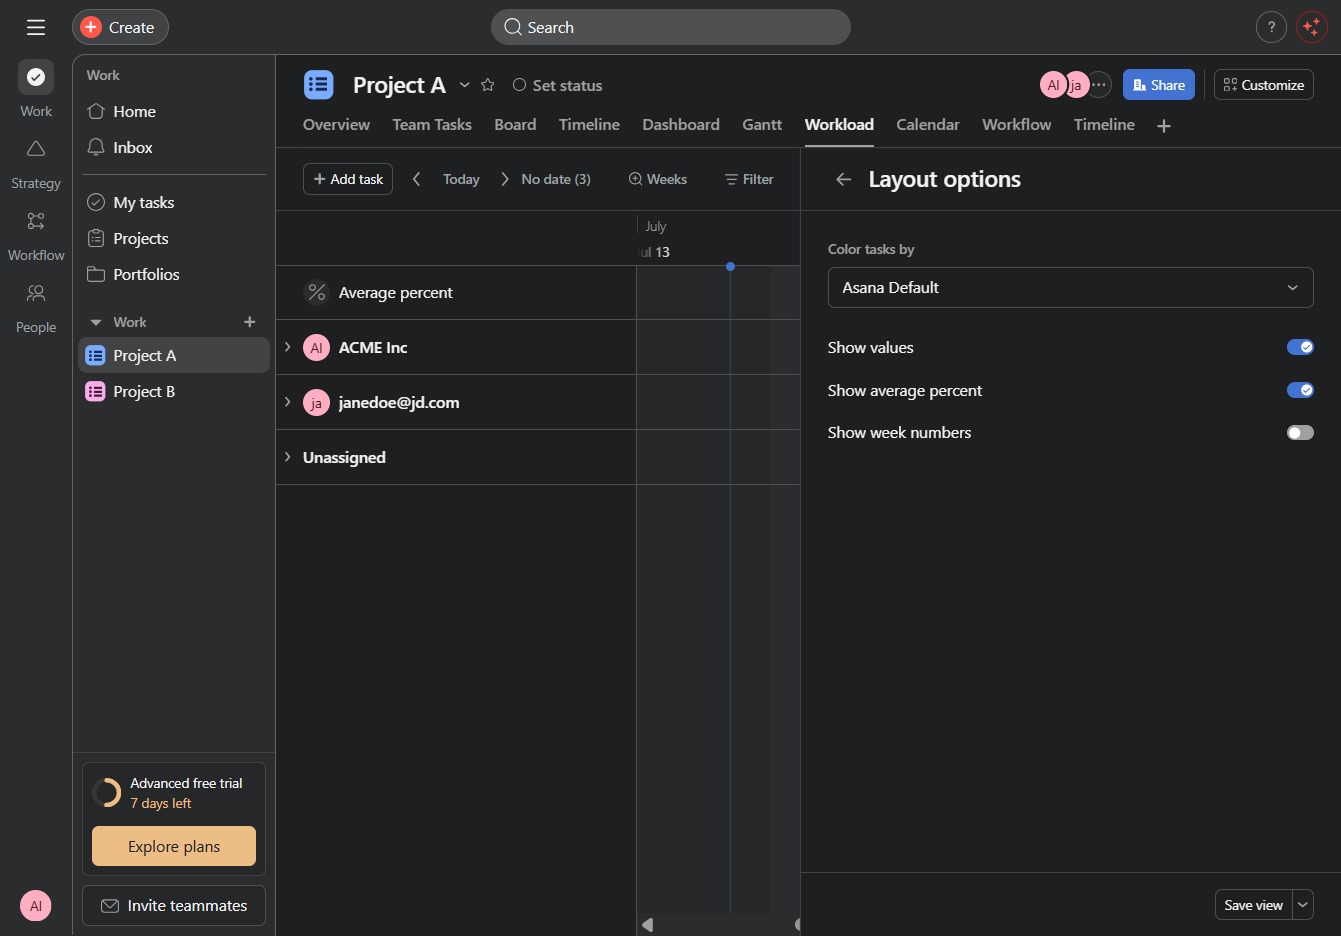
This action will save your current layout options and settings for the Project A workload view, allowing you to quickly access them in future sessions.
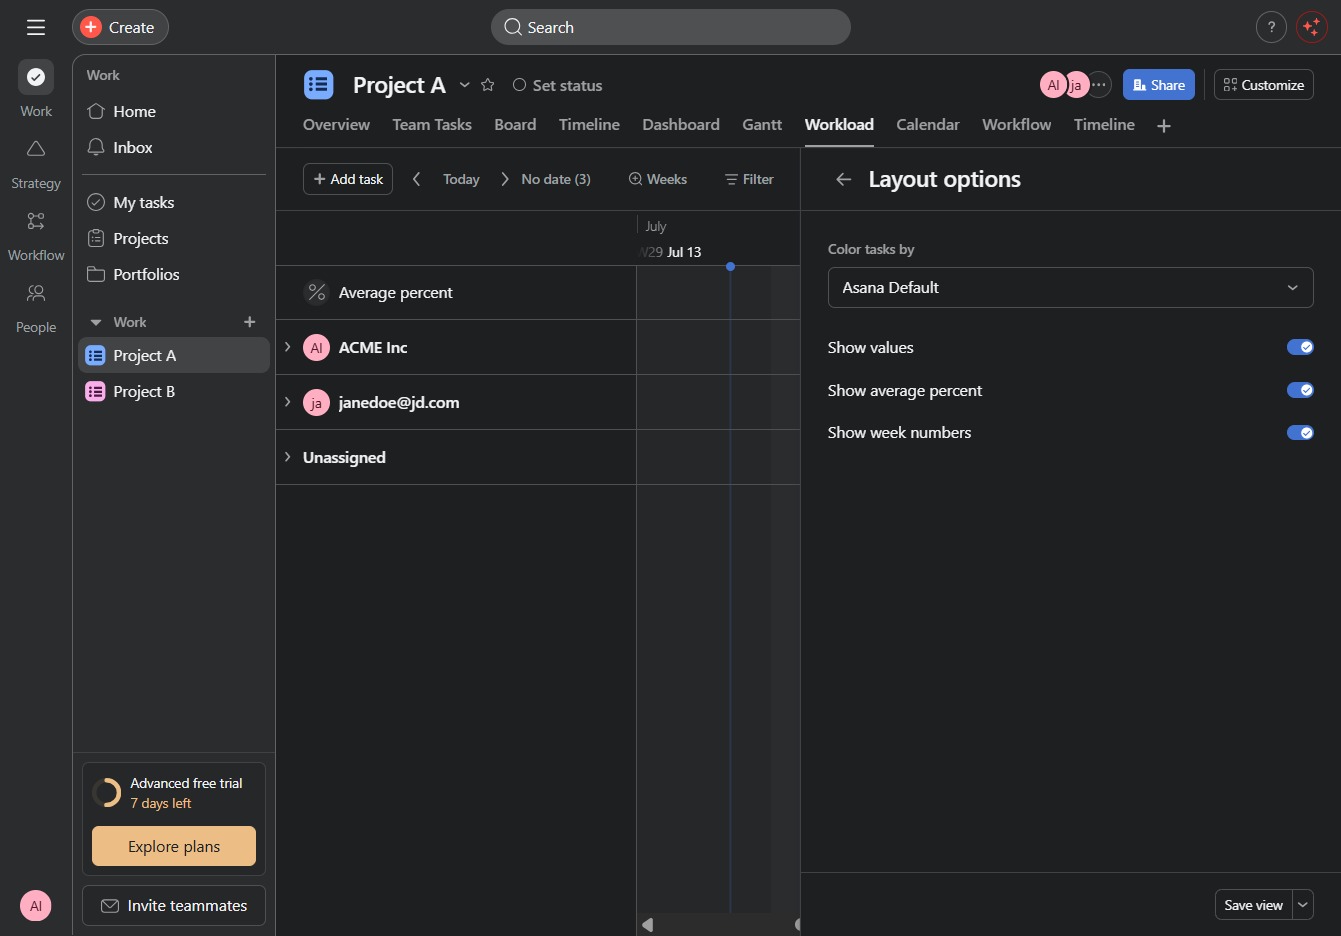
Clicking this control will reveal layout options for customizing how tasks are displayed in your project view.