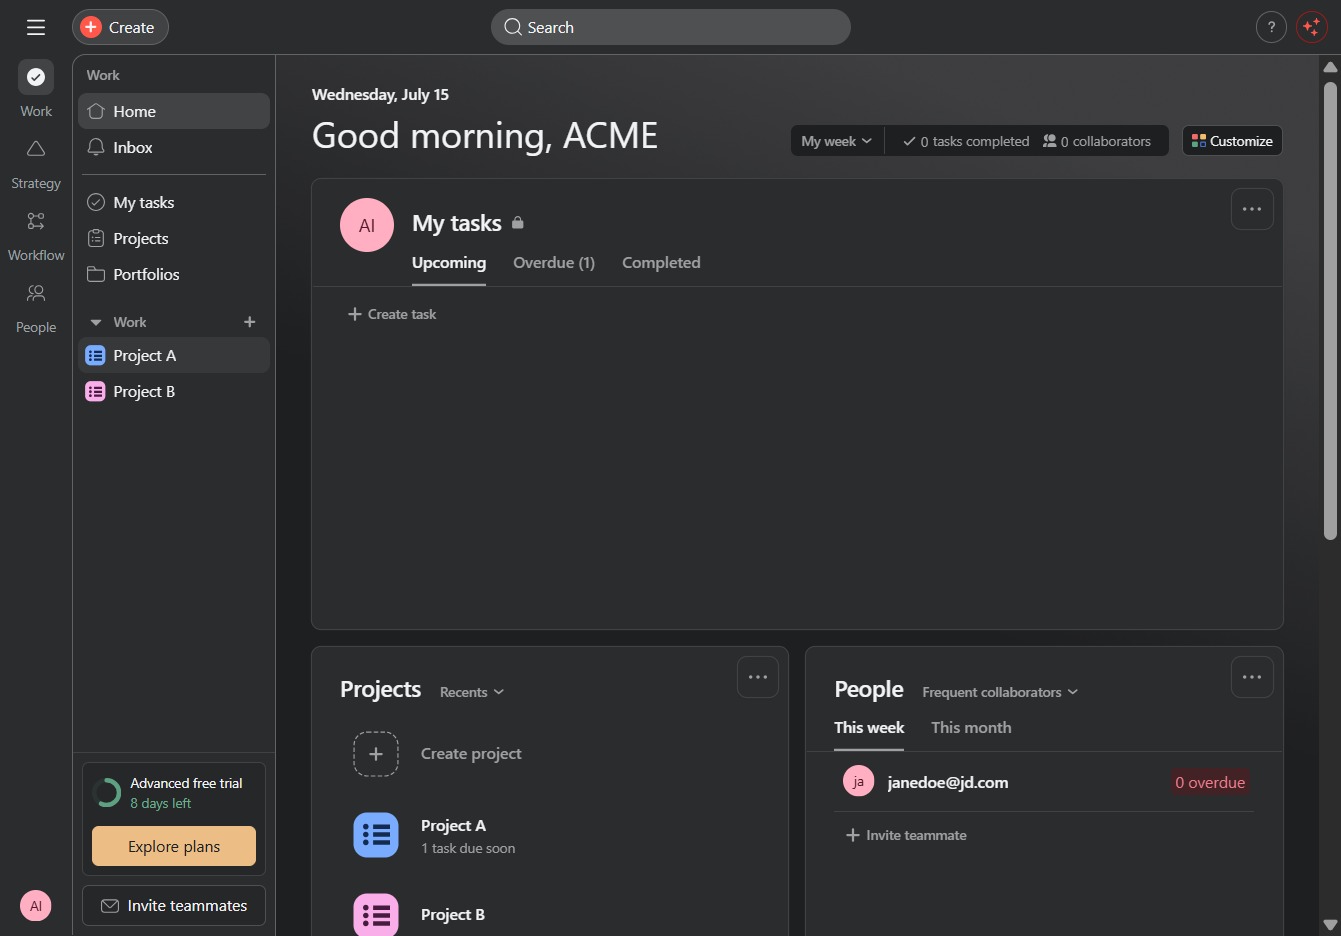
Click the Project A link
Clicking on 'Project A' will take you to the specific project workspace, allowing you to manage tasks and collaborate with teammates associated with this project.
Loading screenshot…
100%
In this how-to guide, you will learn to effectively use the Workflow view by managing tasks within a project, creating new tabs and sections, and inviting team members for…
 viktoria
In this how-to guide, you will learn to effectively use the Workflow view by managing tasks within a project, creating new tabs and sections, and inviting team members for collaboration. The steps will also demonstrate how to set up automation rules to streamline your workflow, ensuring efficient task management and organization.
Clicking on 'Project A' will take you to the specific project workspace, allowing you to manage tasks and collaborate with teammates associated with this project.
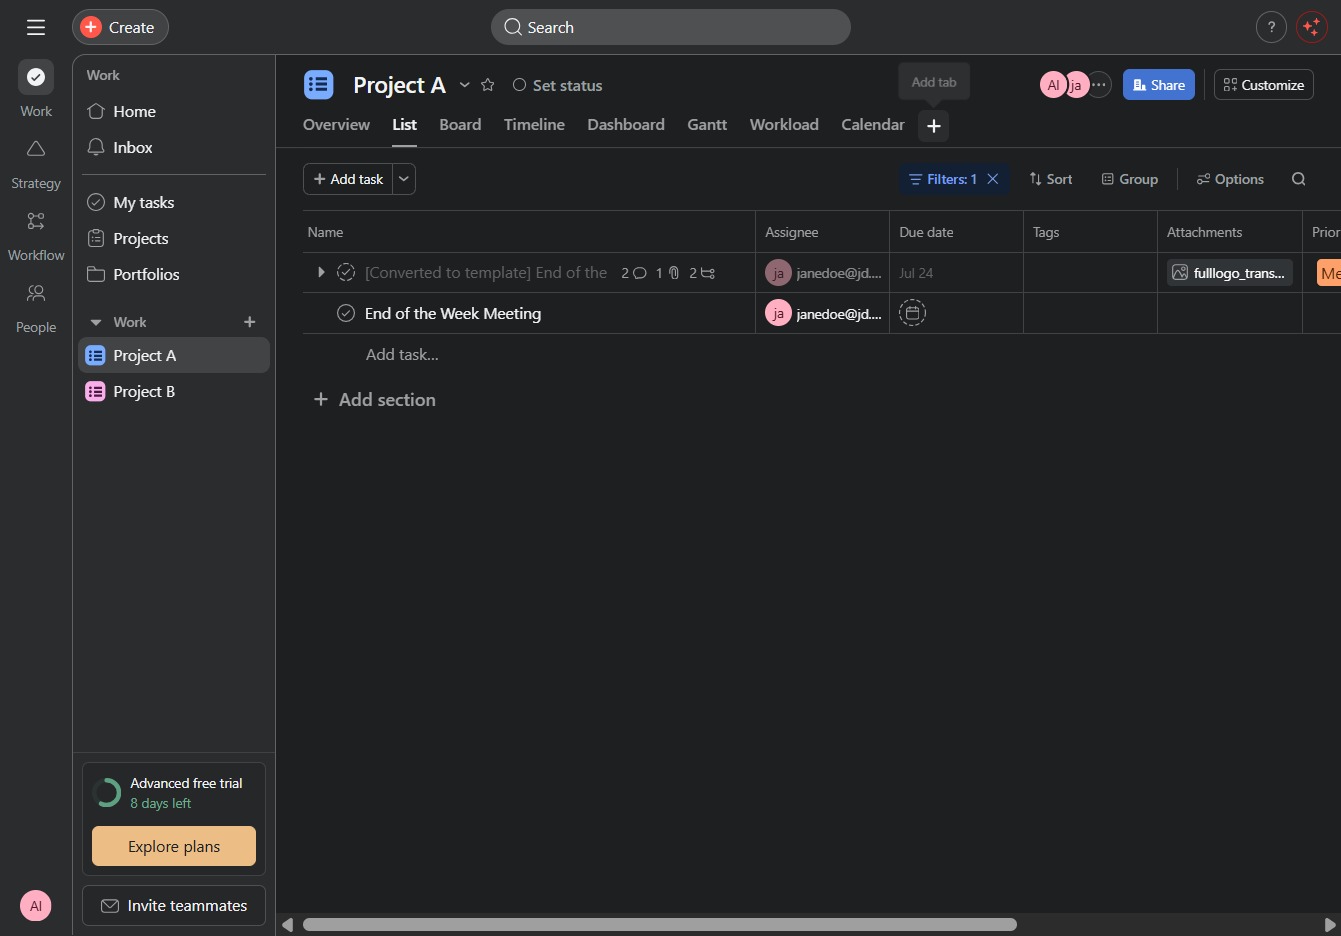
Clicking the 'Add tab' button will create a new tab within your current project, allowing you to organize your tasks and sections more efficiently.
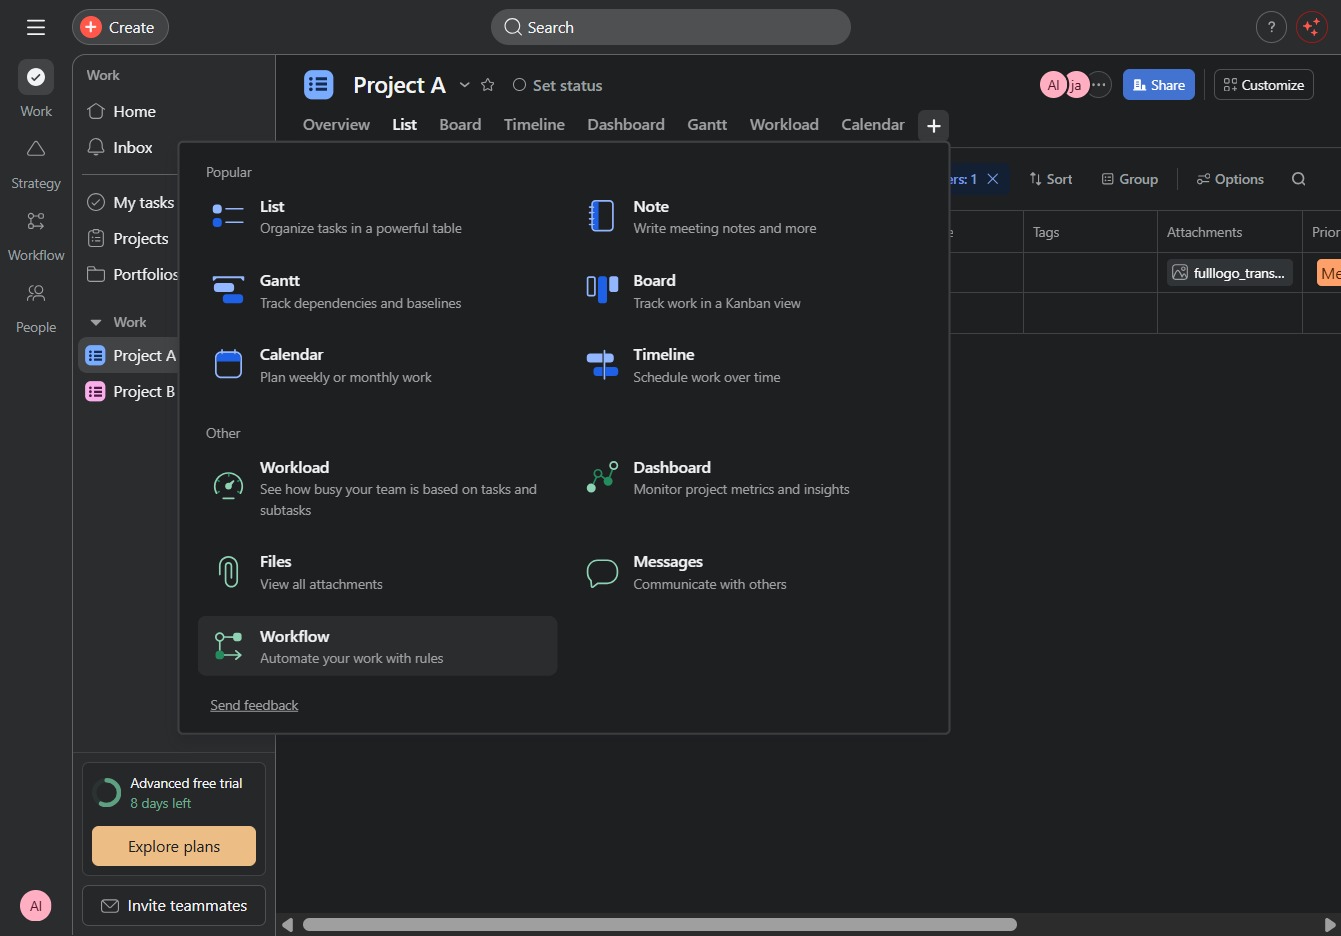
This action allows you to set up automation rules that streamline your workflow and enhance task management within the project.
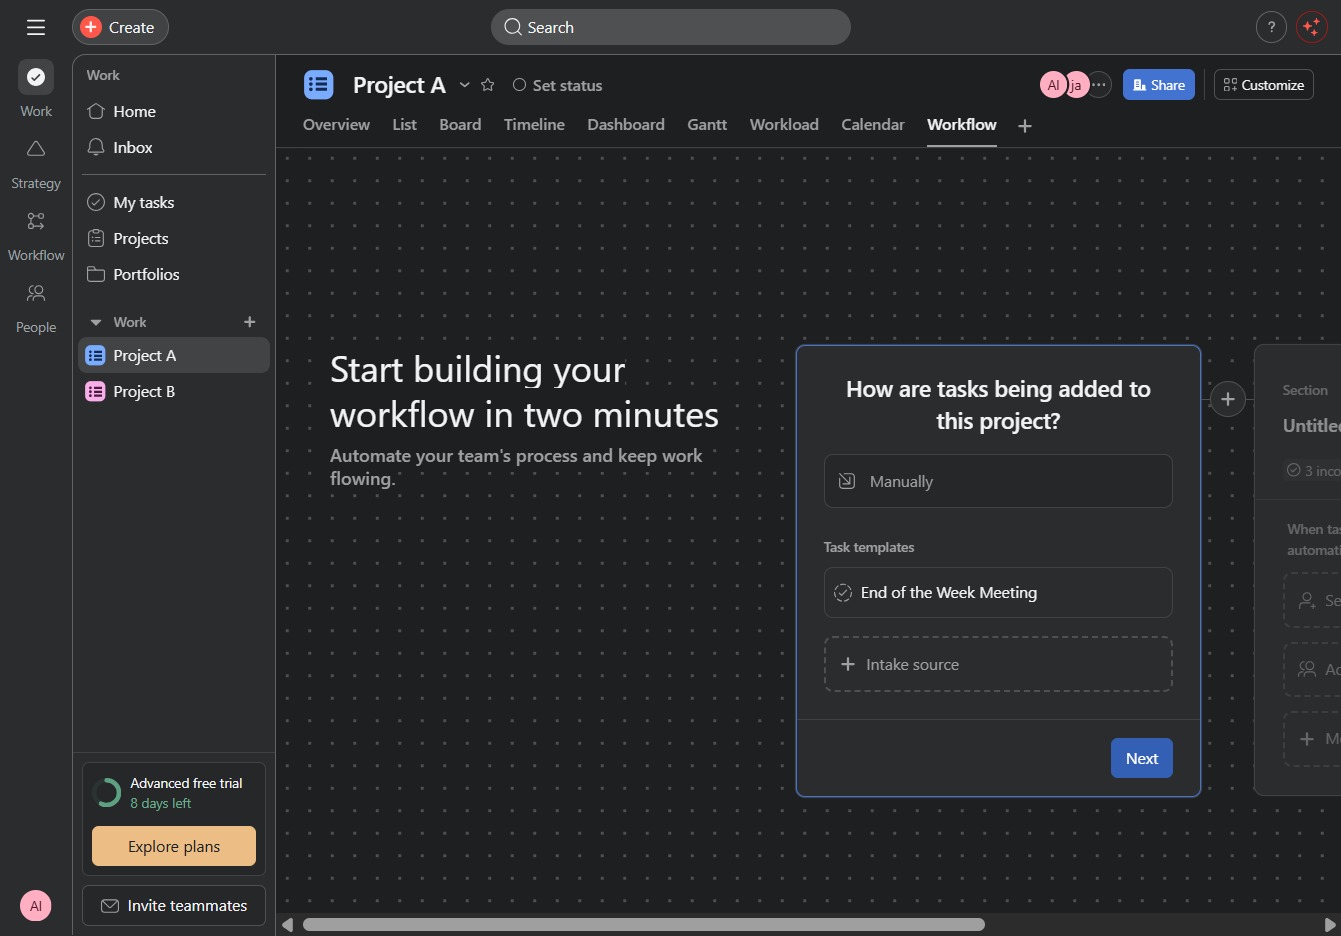
This will advance you to the next step in setting up your workflow for Project A, allowing you to configure how tasks are added.
This action will allow you to configure settings for the section, including options for task assignments and additional actions that can occur automatically.
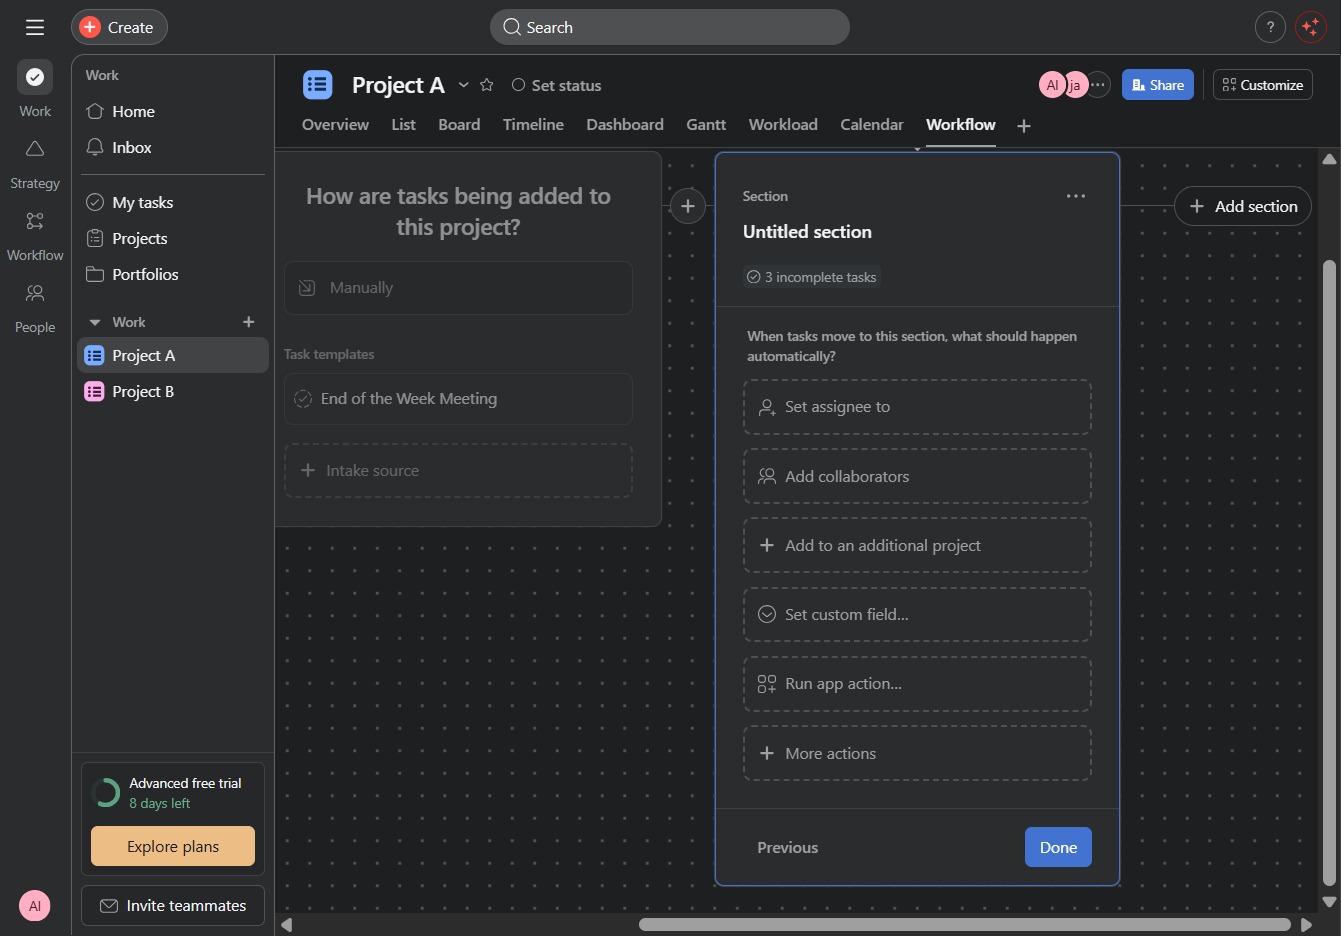
Enter 'To Do' in the designated field to create a new section for tasks. This section will organize your task workflow by automatically applying relevant actions once tasks are added.
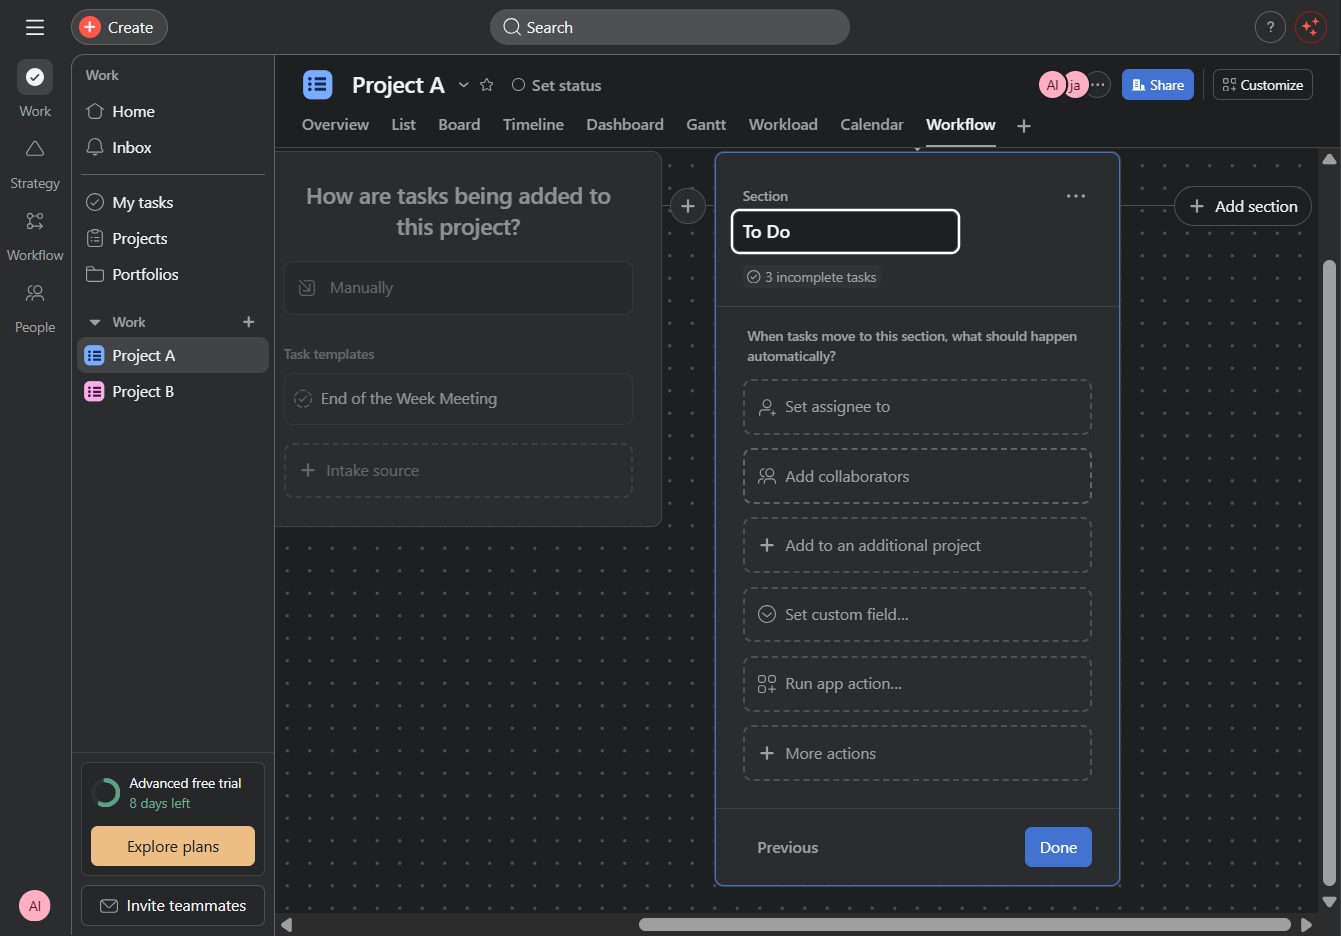
This action allows you to invite team members to collaborate on tasks within the selected project. You can specify their roles and permissions as part of the collaboration setup.
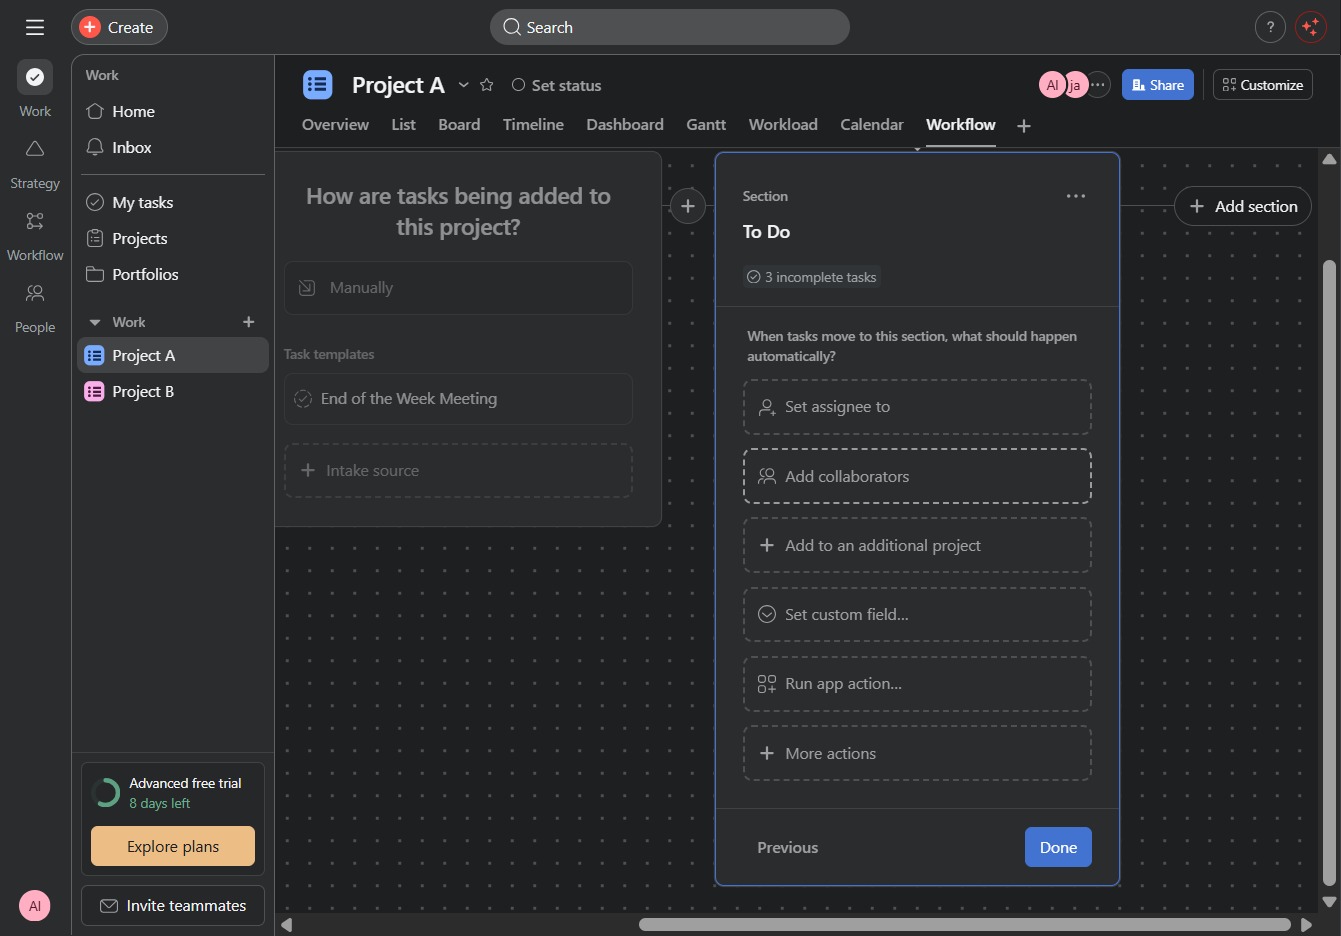
After clicking, you will be able to enter names or emails to invite collaborators to the task in the specified section.
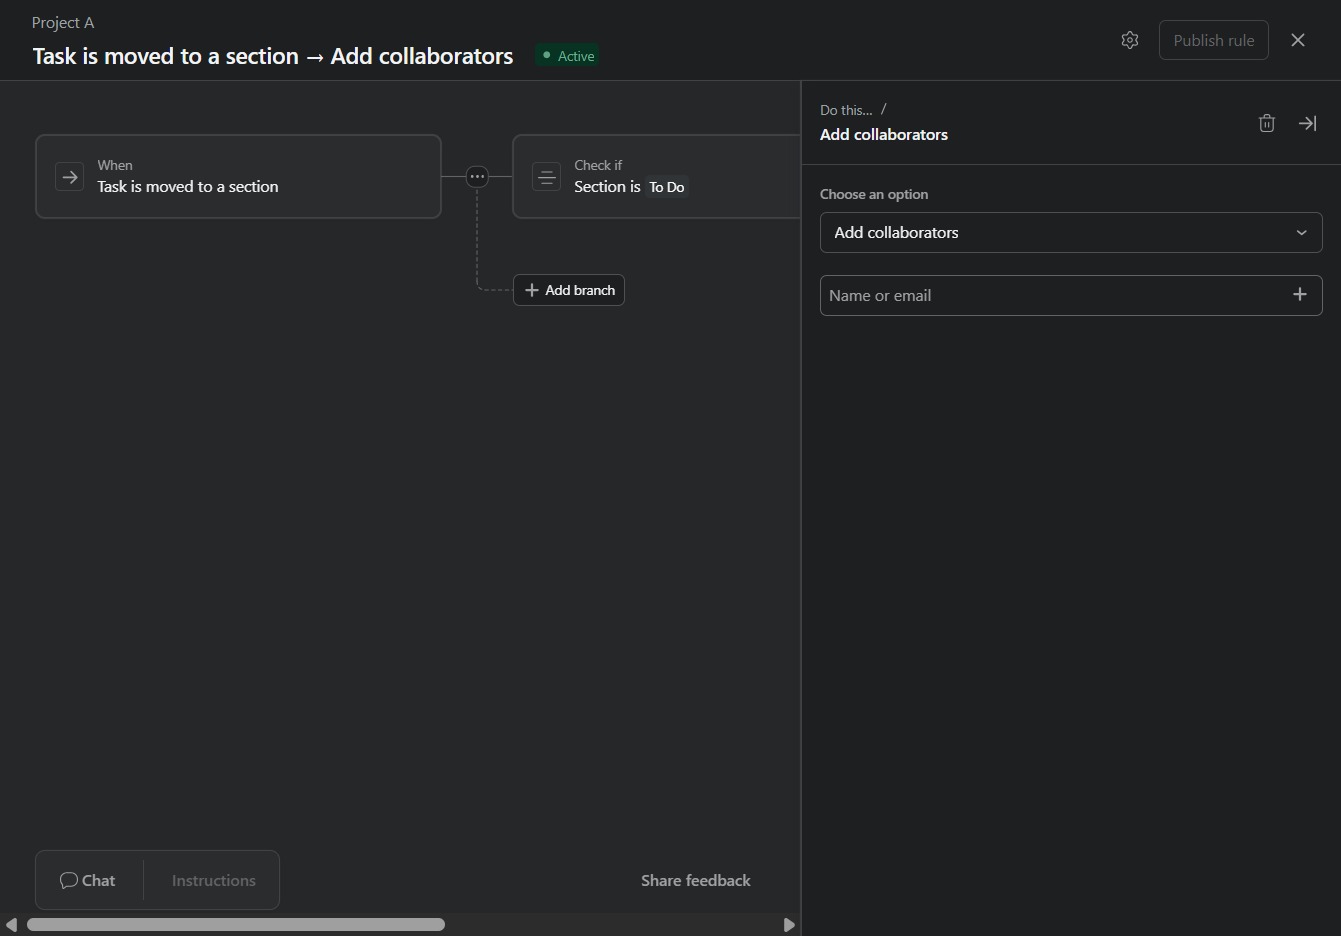
Entering 'jan' in the Name or email field allows you to search for collaborators to add to this task. This will filter the list of available users based on the input provided.
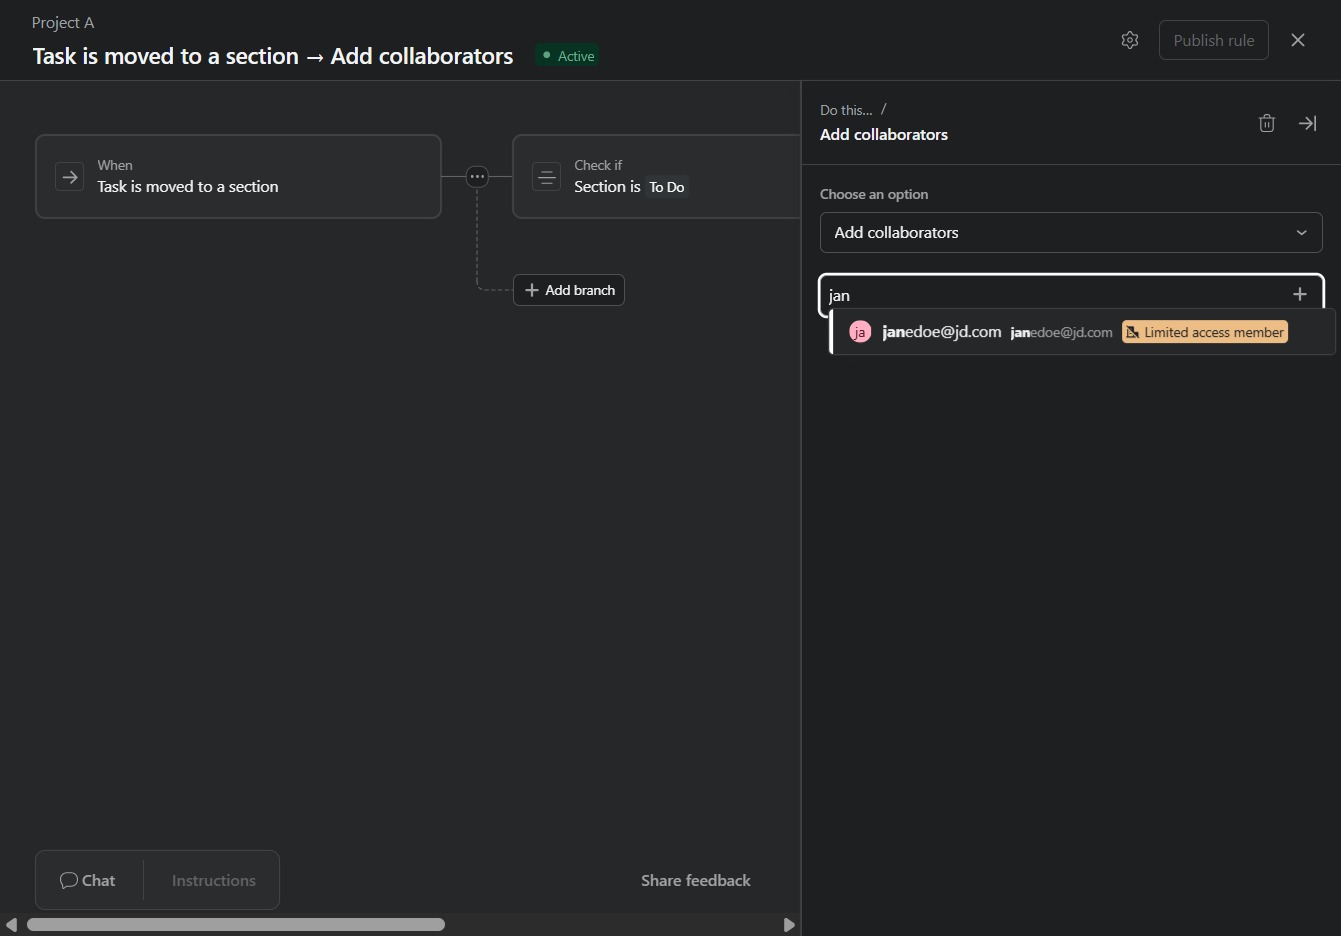
This action opens the user details for jajanedoe@jd.com, allowing you to view or edit their permissions and access level.

This action finalizes your workflow rule, making it active and ready for use in the project. Ensure all settings are correct before publishing.

Clicking 'Done' saves the changes made to the workflow settings for adding tasks. This action finalizes your selections and returns you to the previous interface.
