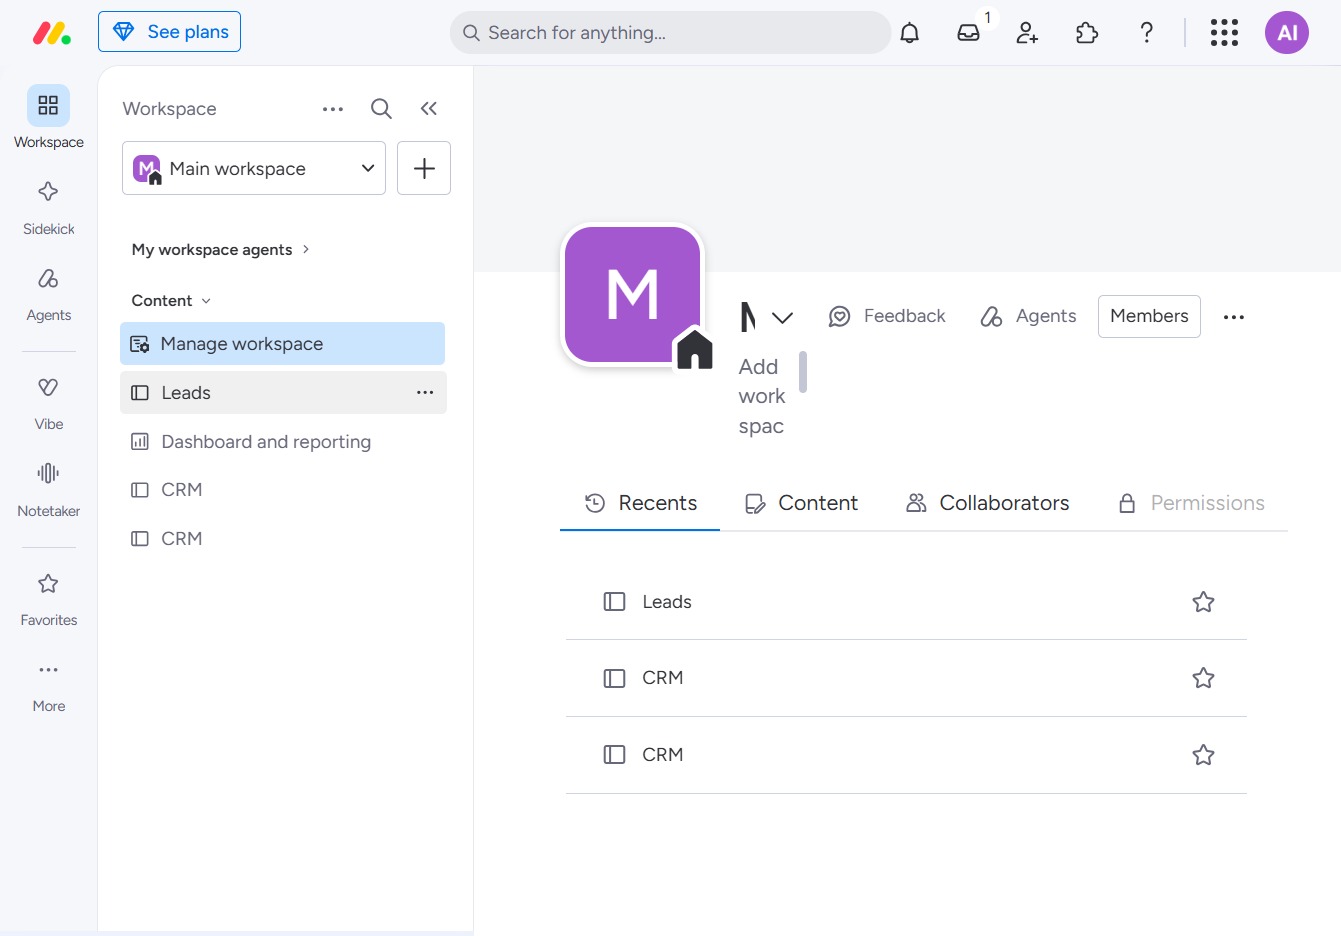
Click the BoardLeads area
This action will navigate you to the BoardLeads section, where you can view and manage your leads effectively.
Loading screenshot…
100%
In this how-to guide, you'll learn to effectively use the Timeline column in your Leads table to visualize project timelines and manage deadlines.
 viktoria
In this how-to guide, you'll learn to effectively use the Timeline column in your Leads table to visualize project timelines and manage deadlines. Follow the steps to navigate to your workspace, add a Timeline column, and set specific start and end dates for your tasks to enhance organization and task management.
This action will navigate you to the BoardLeads section, where you can view and manage your leads effectively.
Clicking 'Add column' allows you to create a new column in the Leads table, helping organize your tasks with additional attributes.
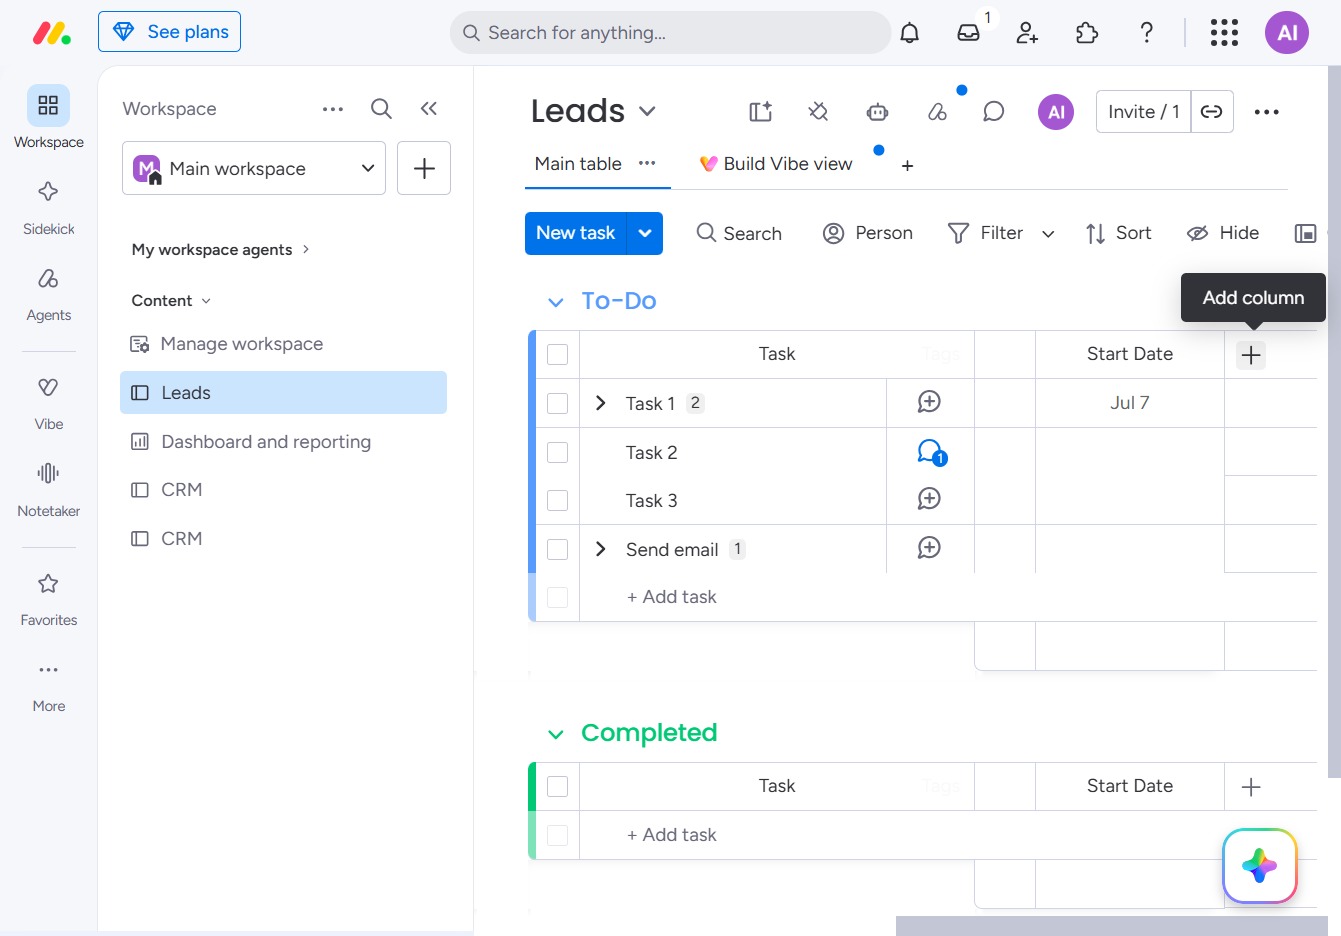
This action adds a Timeline column to your current Leads table, allowing you to visualize project timelines and deadlines effectively.

This action will open a prompt for you to enter details for your new task within the Leads section.

This action opens a date picker where you can select the desired start date for the task. After choosing a date, it will be set for when the task is scheduled to begin.
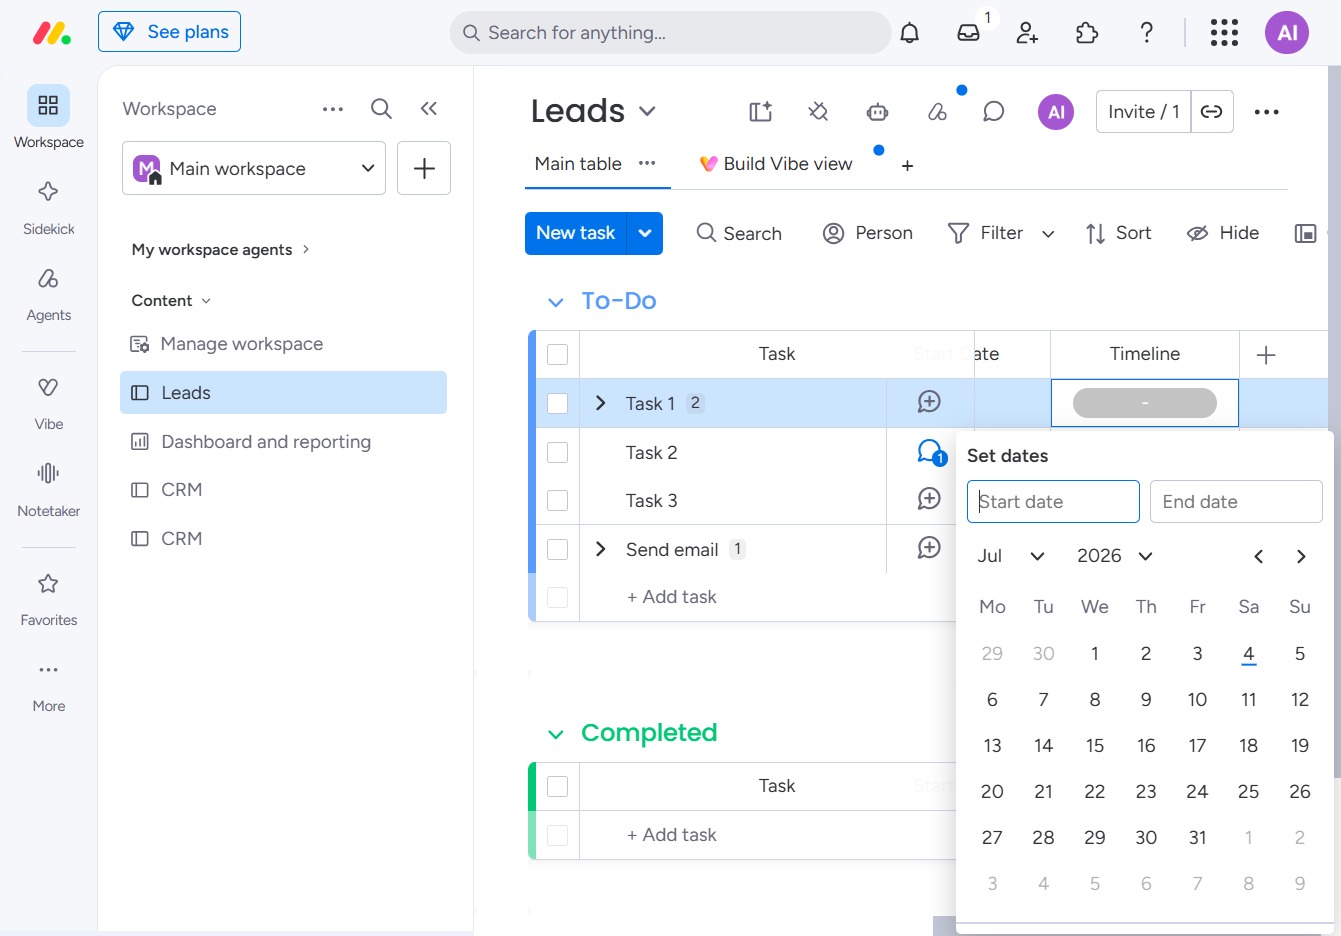
Clicking this button sets the value to 8 for a specific task duration or date selection in the Leads management section.
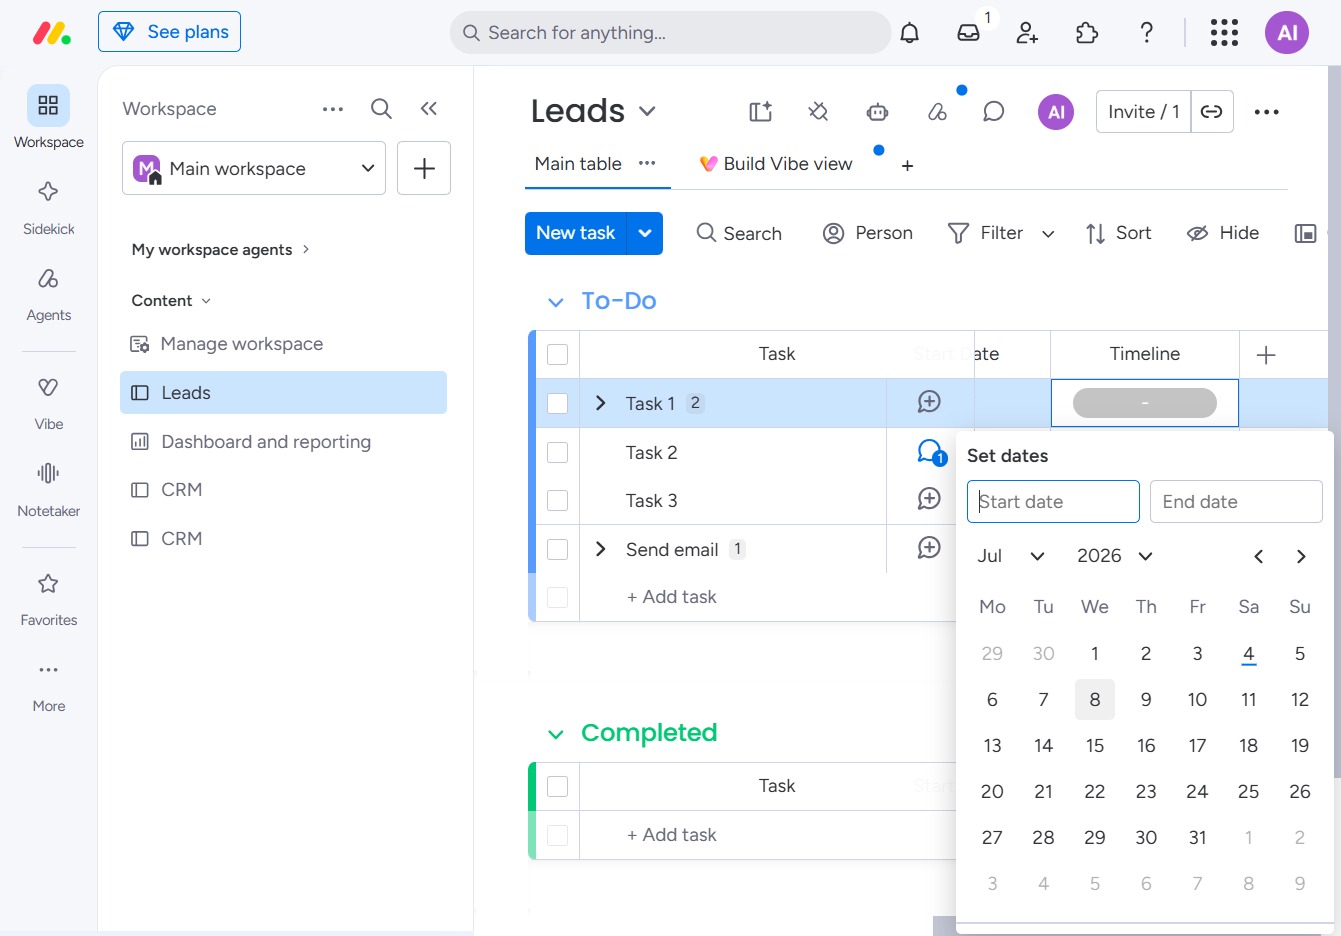
A date picker will appear, allowing you to select the desired end date for the task. Choose the appropriate date to update the task's timeline.
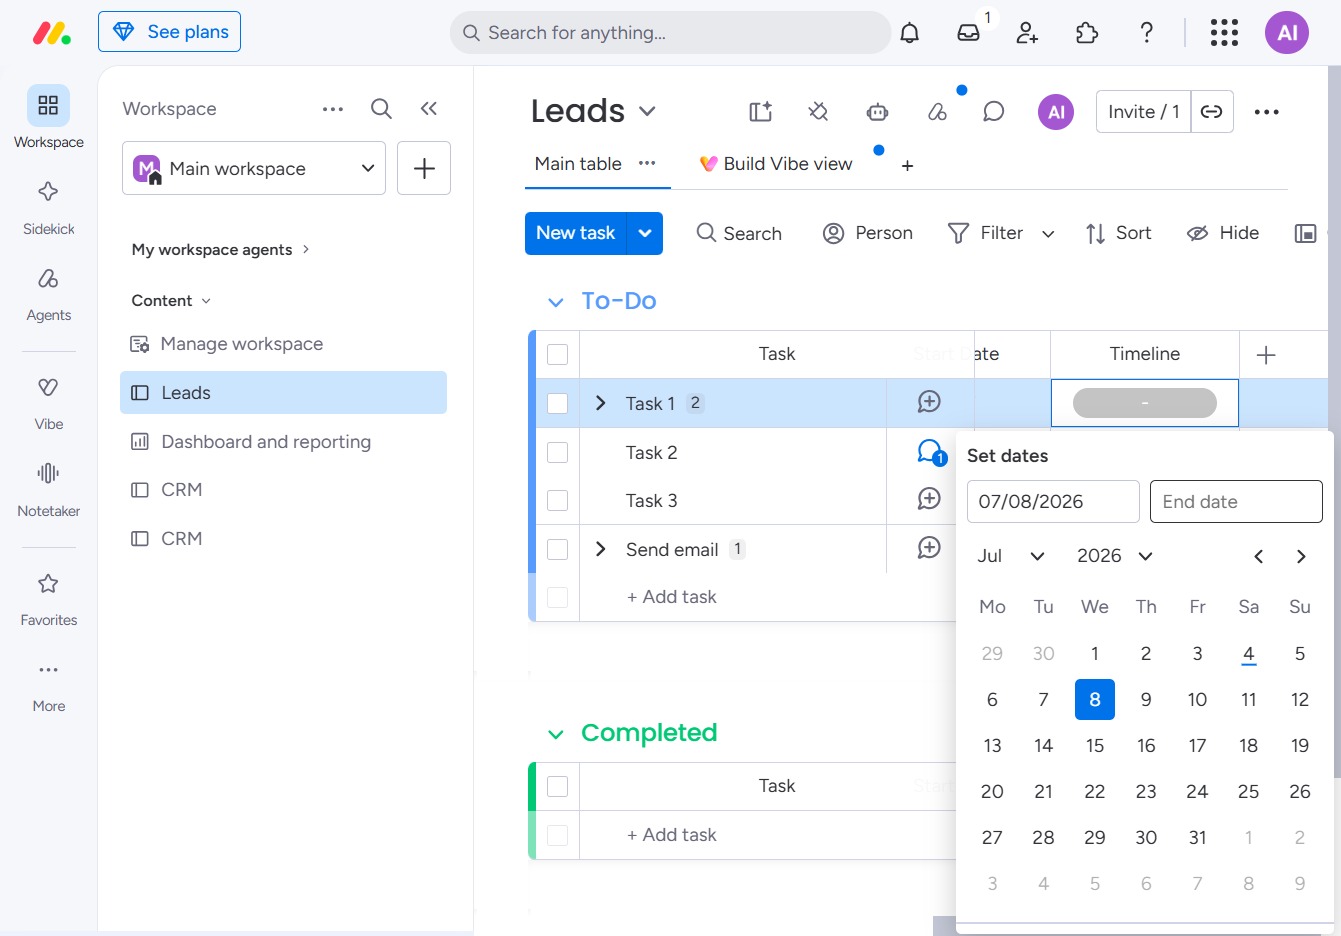
This action allows you to open the date selection for the task labeled '25', enabling you to set specific start and end dates for scheduling.
