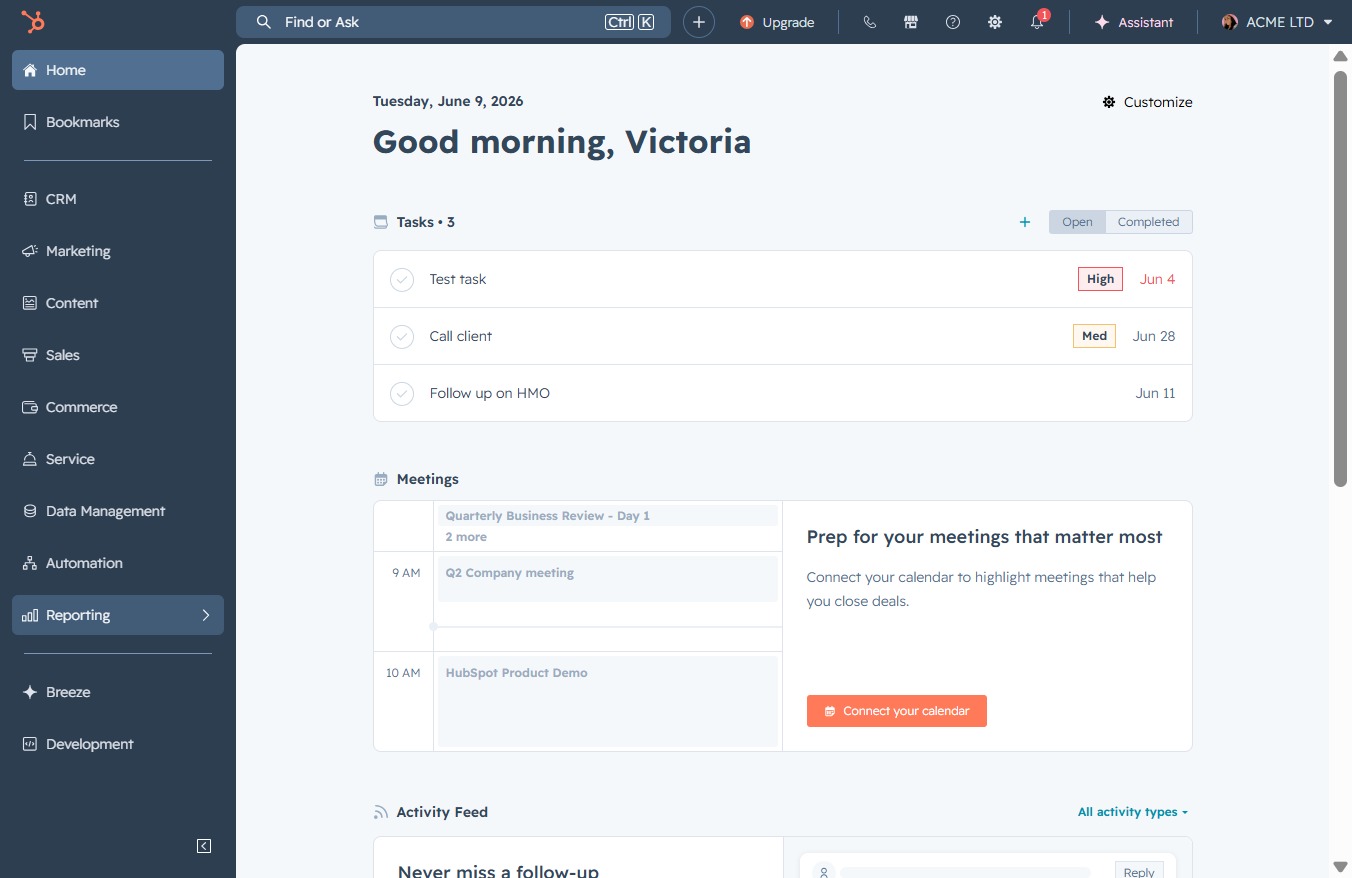
Click the Reporting link
Selecting the Reporting link will take you to the dedicated reporting section, where you can view and analyze various metrics related to your tasks and meetings.
Loading screenshot…
100%
Create a sales activity report in the reporting tool by navigating to the reports section, customizing your report parameters, and saving it with specific access settings for…
 viktoria
Create a sales activity report in the reporting tool by navigating to the reports section, customizing your report parameters, and saving it with specific access settings for future reference.
Selecting the Reporting link will take you to the dedicated reporting section, where you can view and analyze various metrics related to your tasks and meetings.
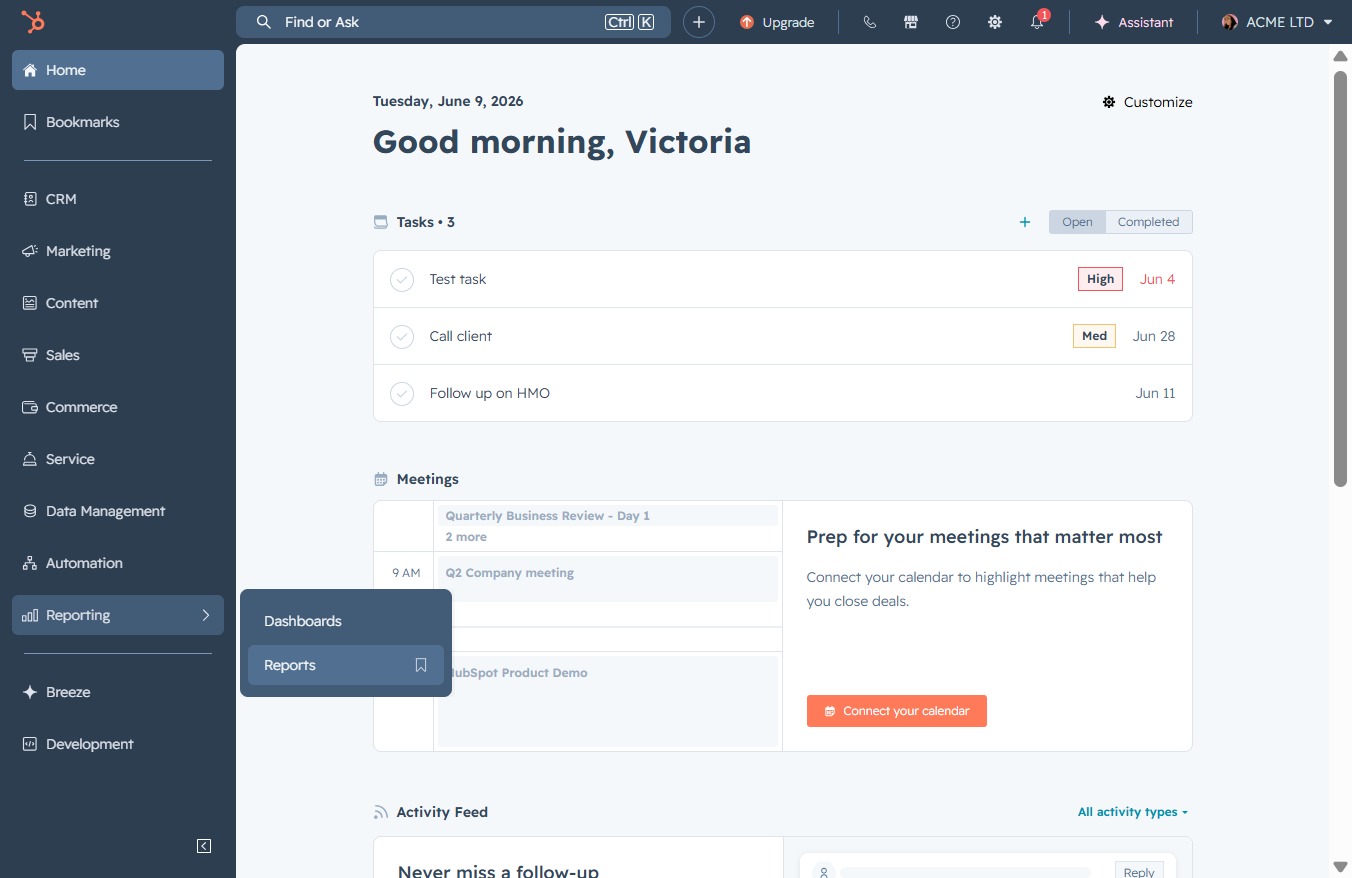
Clicking the Reports link will navigate you to the reports section, where you can view, analyze, and manage various reports related to your activities and performance.
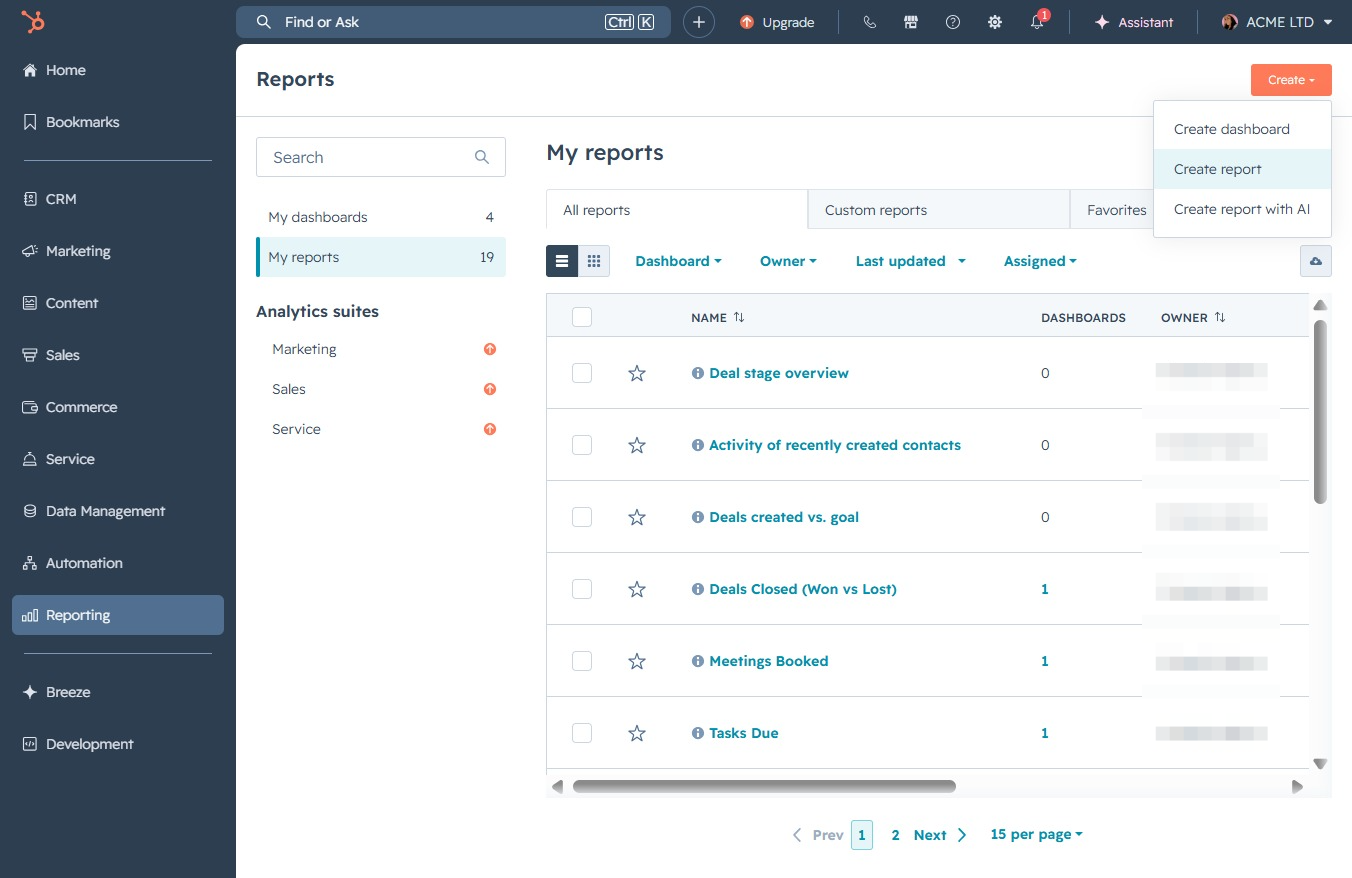
This action will initiate the process to create a new report within your 'My reports' section. Follow the prompts to customize your report settings and data.
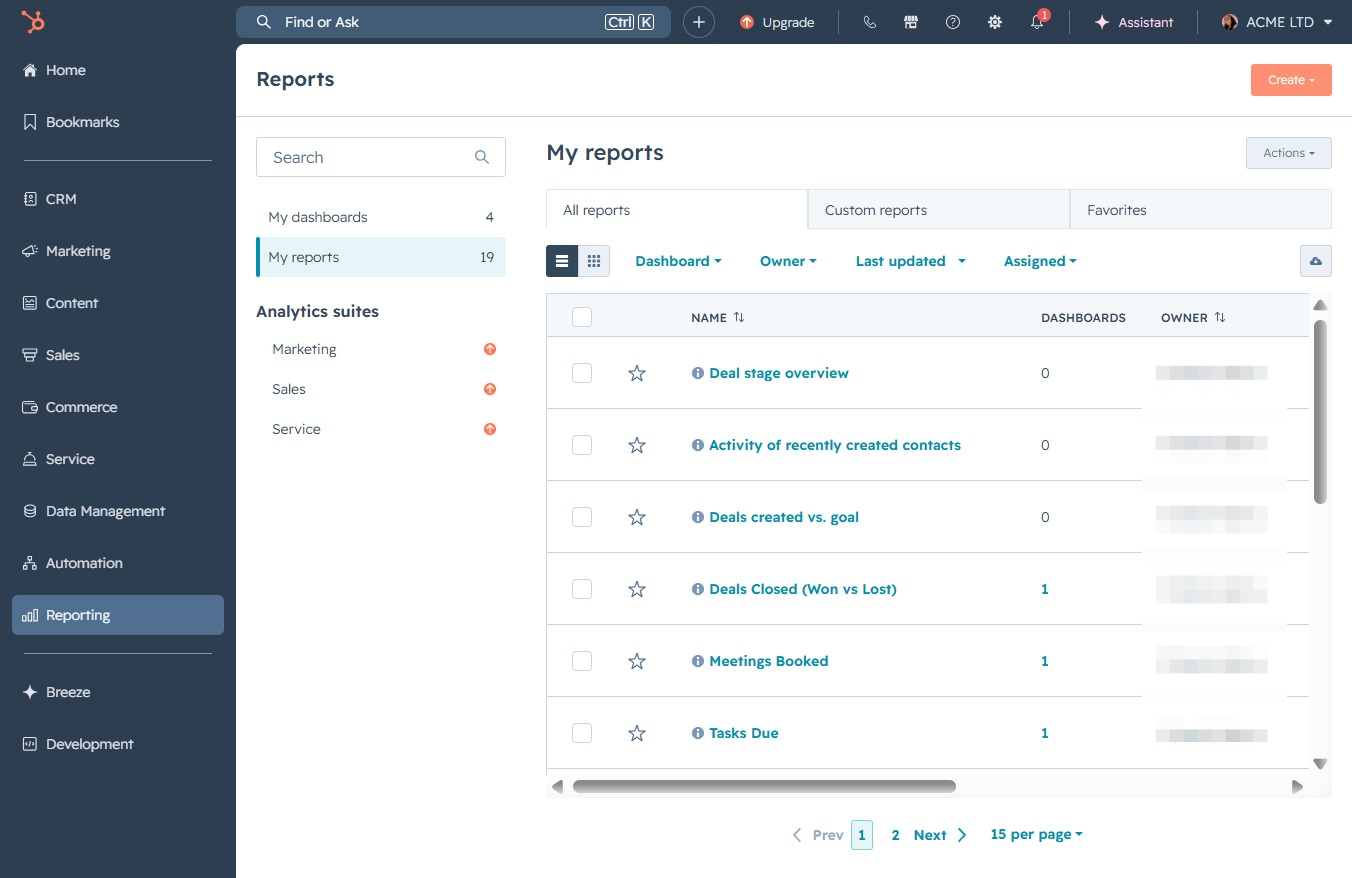
Clicking this button initiates the process to generate a new report, allowing you to customize the report parameters and select data to include.
Entering keywords in this field enables you to quickly locate specific report templates based on your criteria.
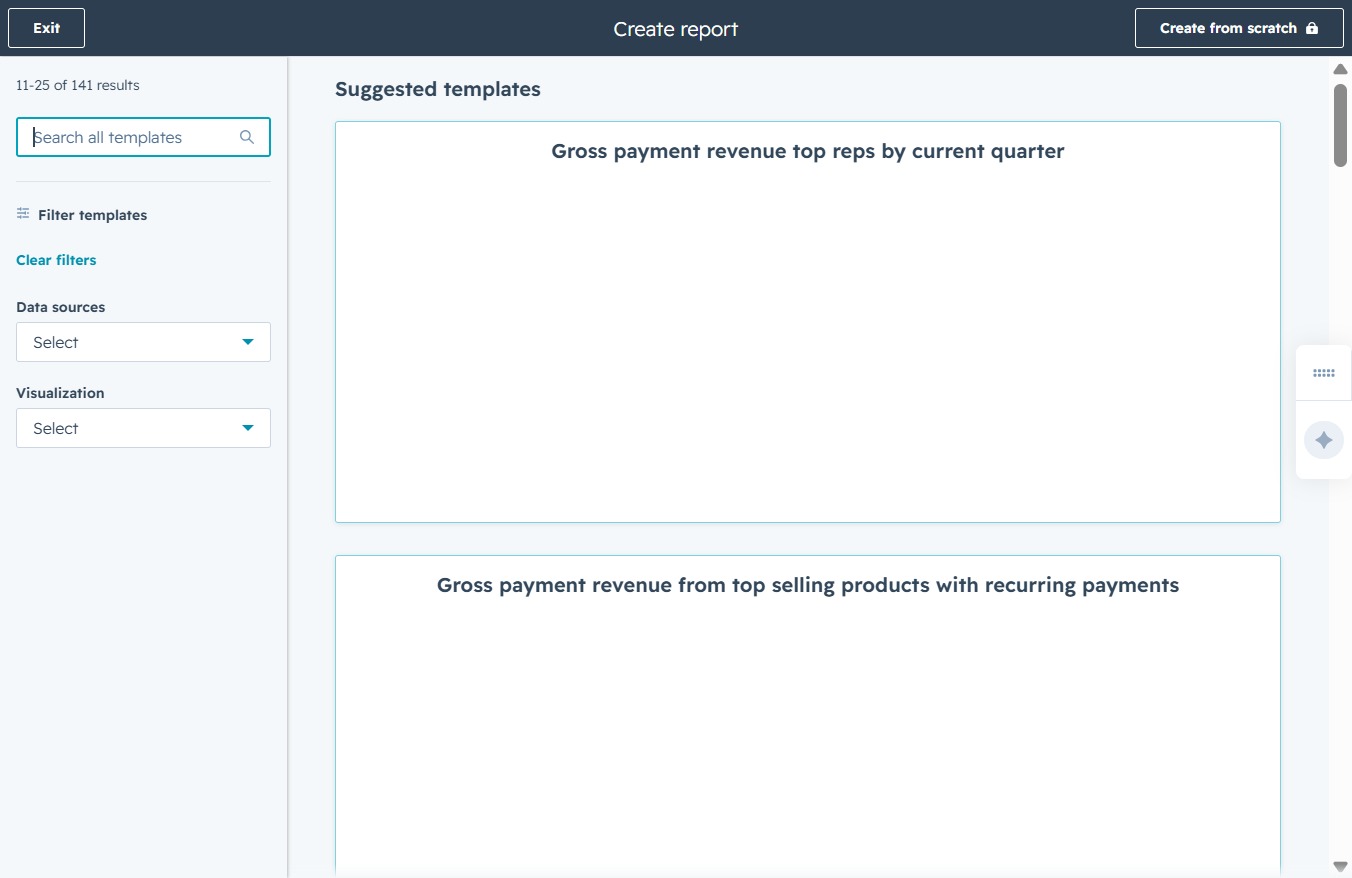
Input 'sales activity' in the search field to filter templates matching this term. This will help you quickly locate relevant reports related to sales activities.

Select a specific date to filter the meetings booked with you. This will adjust the view to show only those meetings scheduled on the chosen date.

This action will save the current meeting report, preserving the selected activity date and related properties for future reference. Ensure all desired filters are applied before saving.

Proceed to the next step in the report saving process, where you may add the report to a dashboard or finalize your settings.
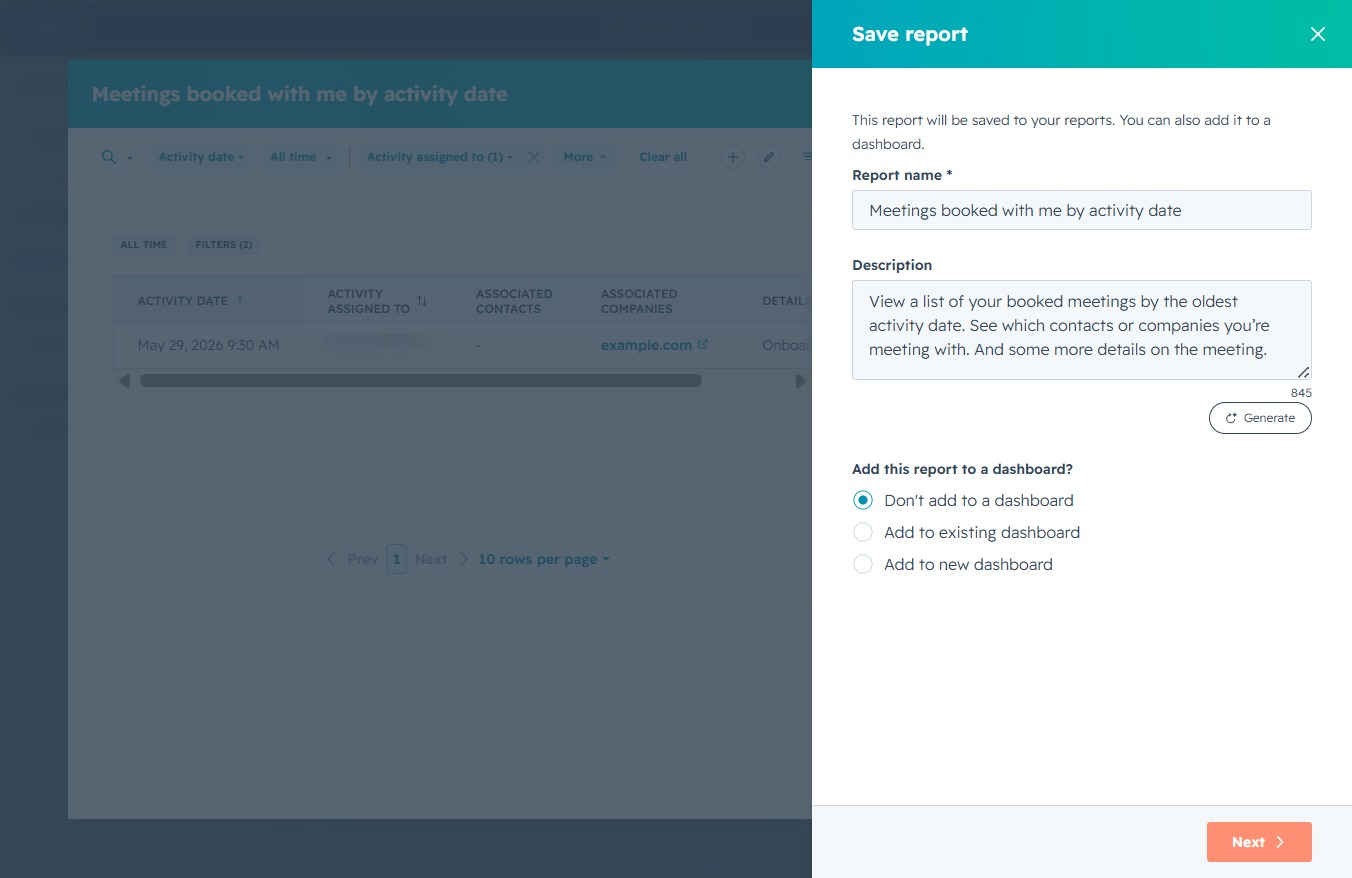
After clicking 'Save', your report will be stored with the specified access settings, allowing you to control who can view or edit it based on your selection.
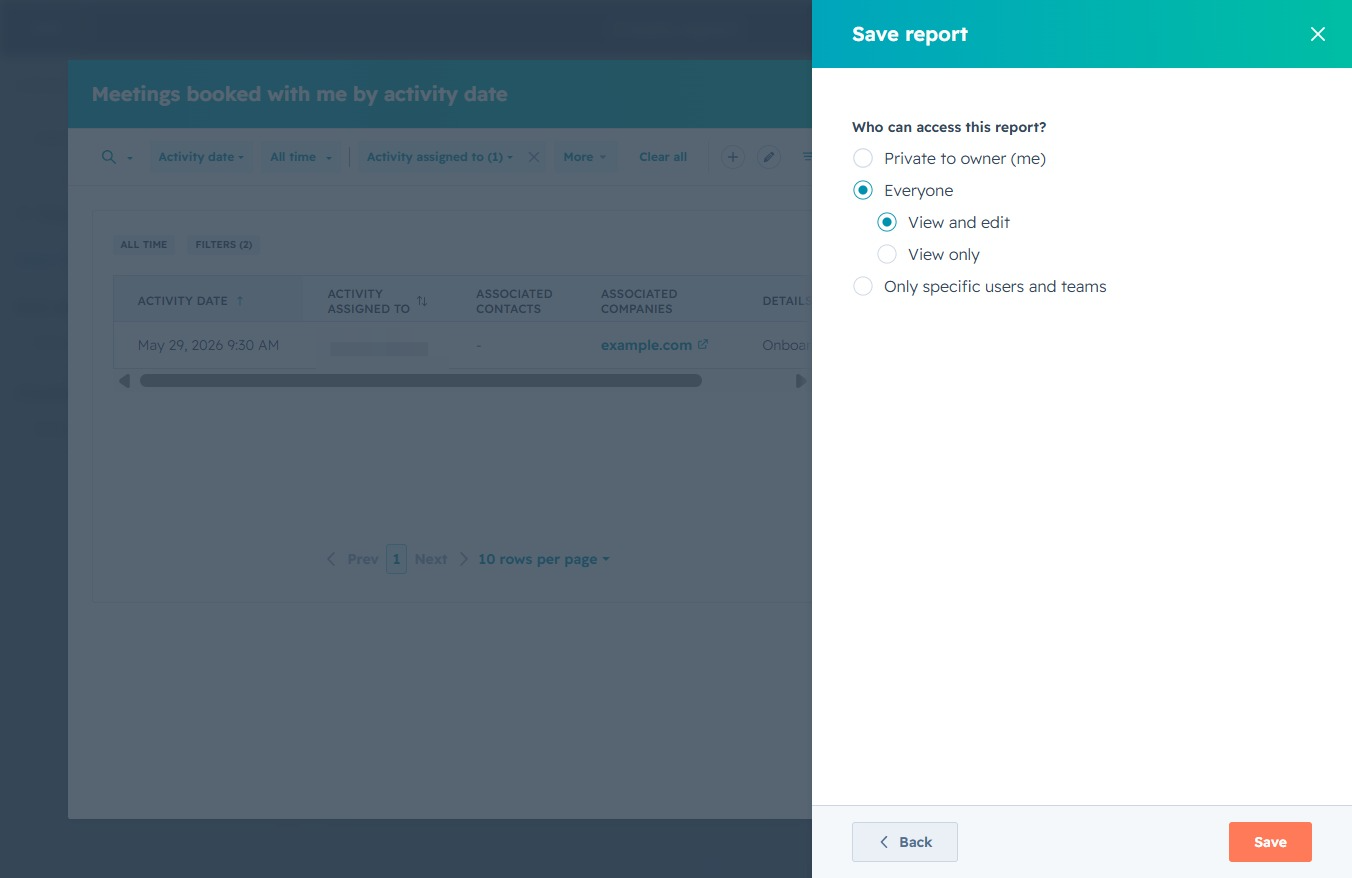
This will save the report with the specified access settings as chosen in the prior options. Ensure that you have selected the appropriate access level for sharing the report.
