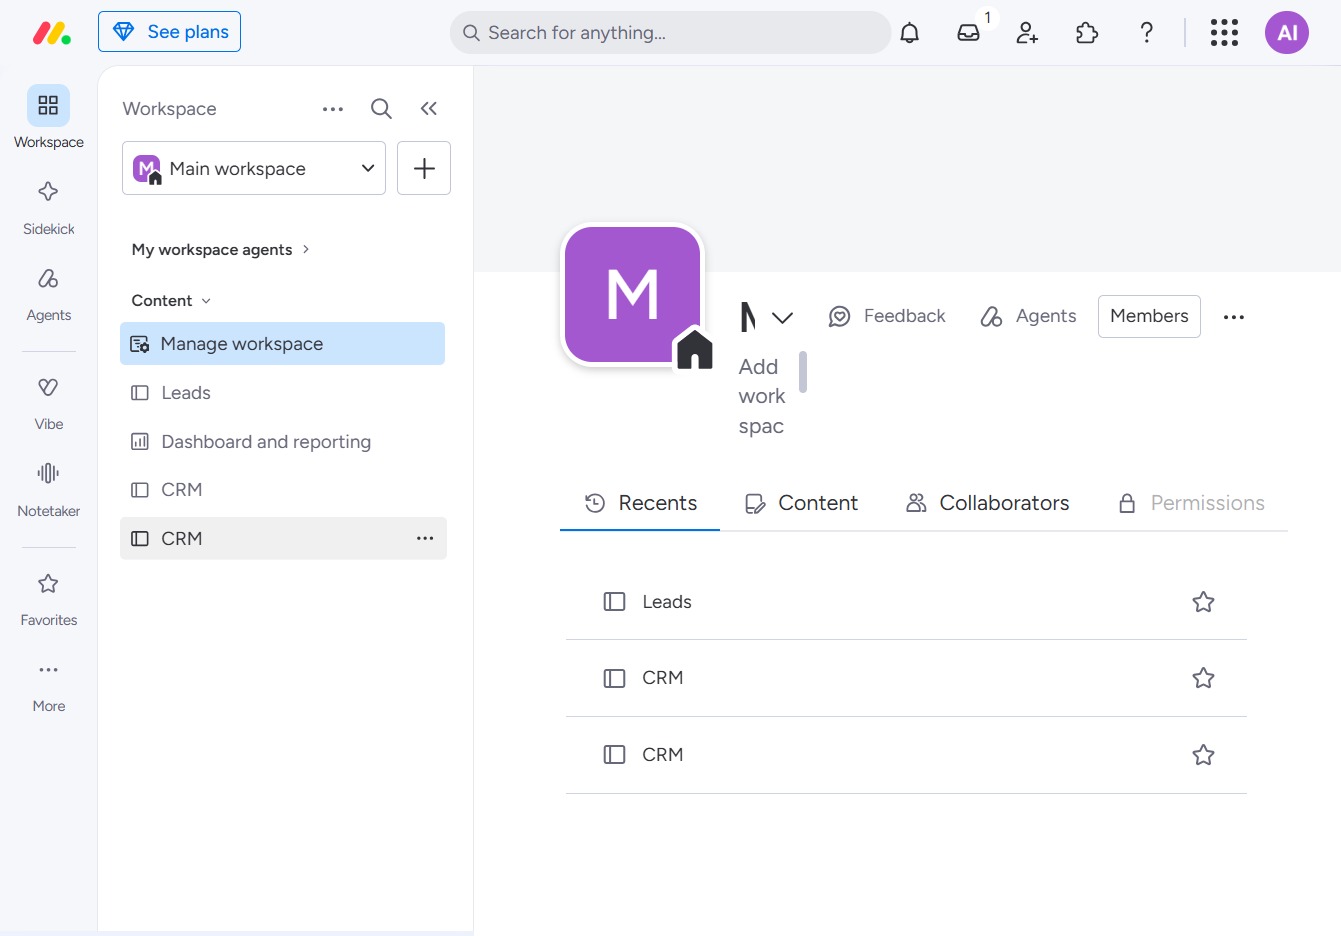
Click the CRM option
Selecting the CRM option will direct you to the Customer Relationship Management section, where you can manage leads and engage with your clients.
Loading screenshot…
100%
In this how-to guide, you'll learn to navigate the People column in your CRM workspace, allowing you to manage leads and team collaborations effectively.
 viktoria
In this how-to guide, you'll learn to navigate the People column in your CRM workspace, allowing you to manage leads and team collaborations effectively. Follow step-by-step instructions to add, edit, and invite team members, ensuring your customer interactions are organized and streamlined.
Selecting the CRM option will direct you to the Customer Relationship Management section, where you can manage leads and engage with your clients.
This action will redirect you to a related section where you can find additional options for managing your CRM tasks.
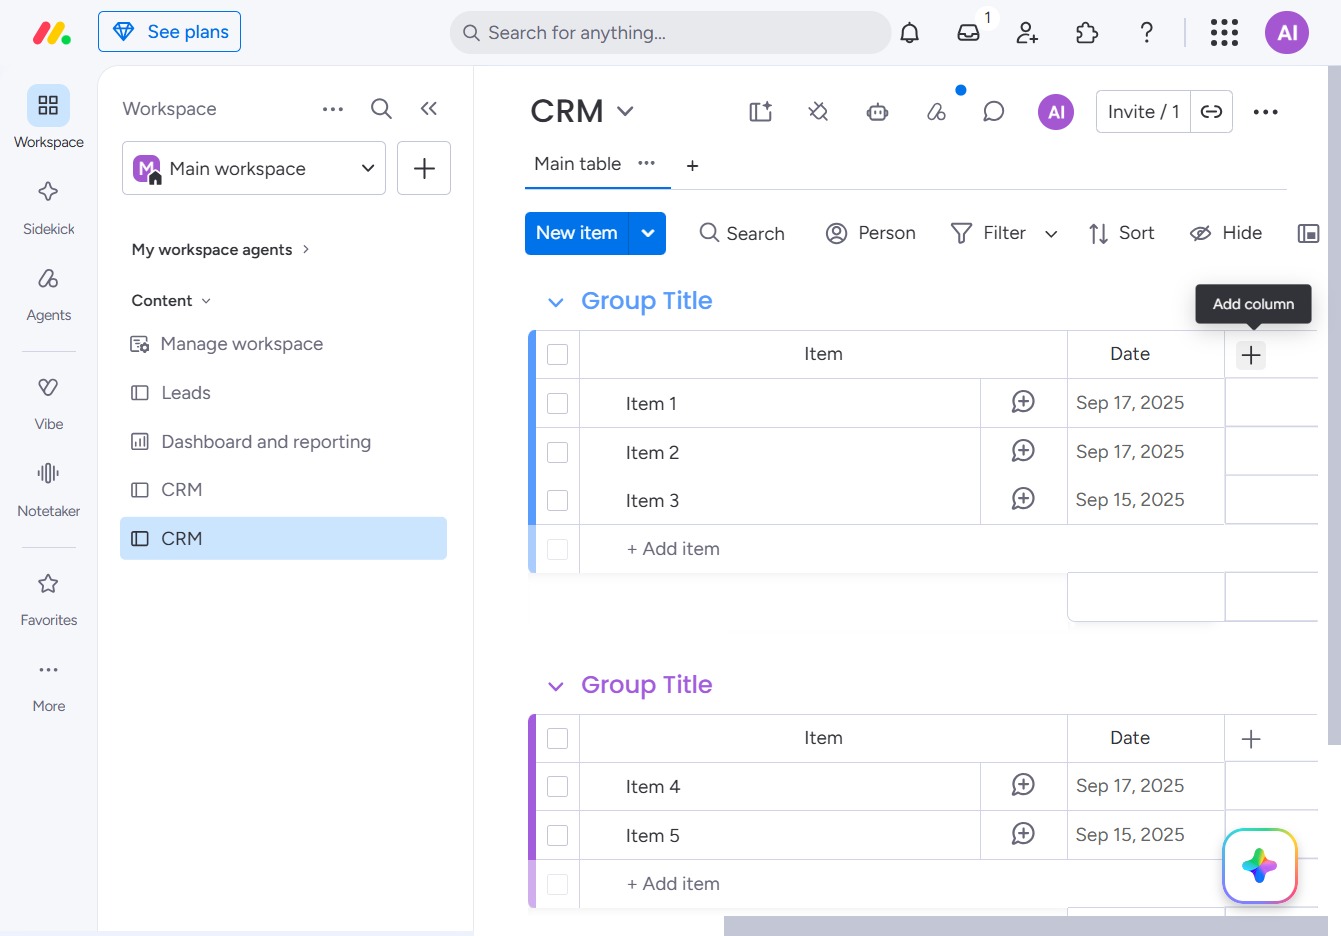
Selecting the People option allows you to add a column for tracking individuals associated with your items in the CRM workspace.

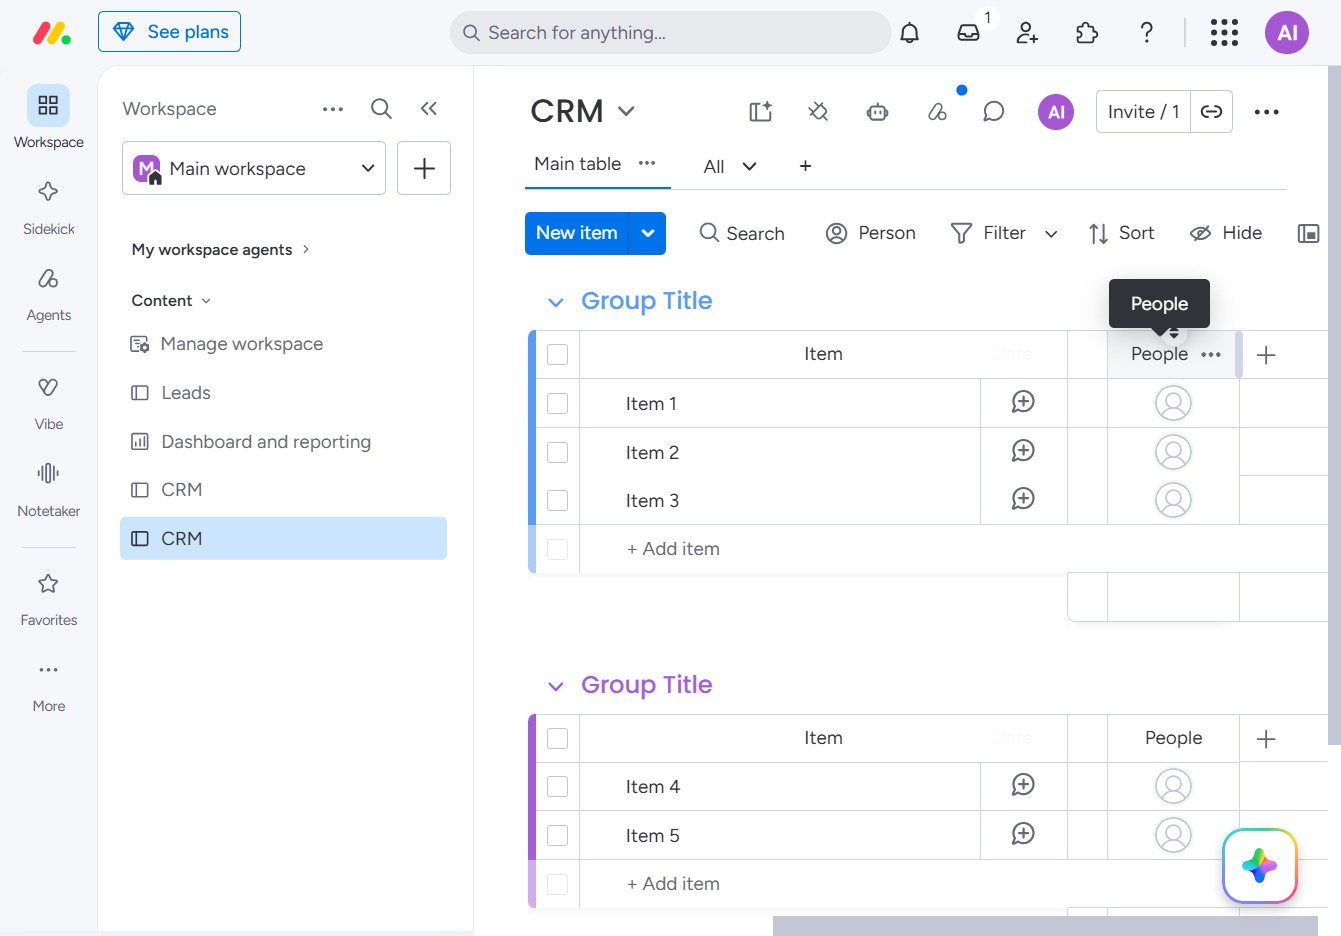
Clicking this option allows you to edit the details of the People listed in your CRM. This may include updating contact information or modifying other attributes related to each individual.
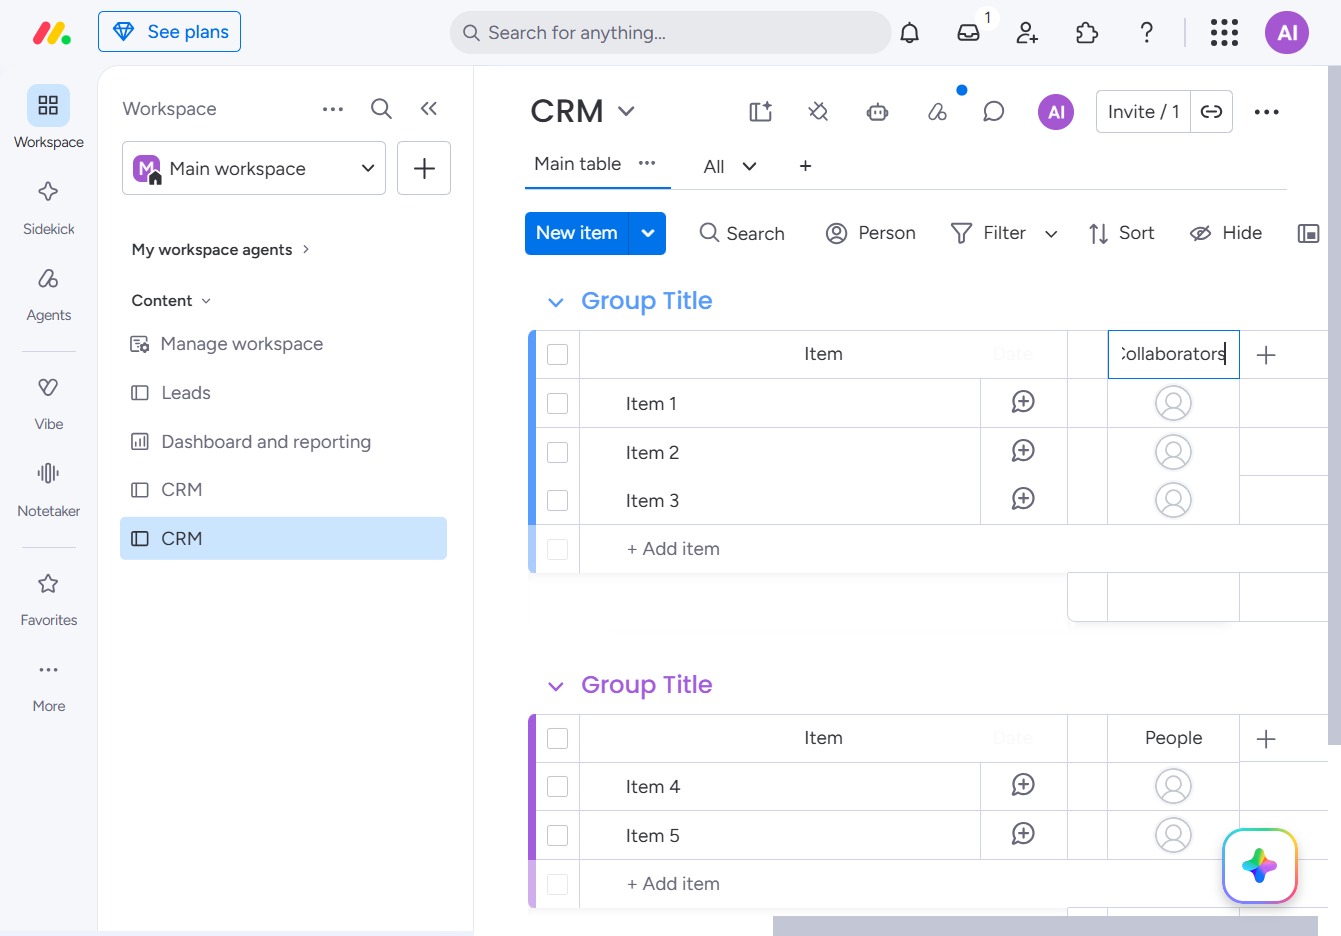
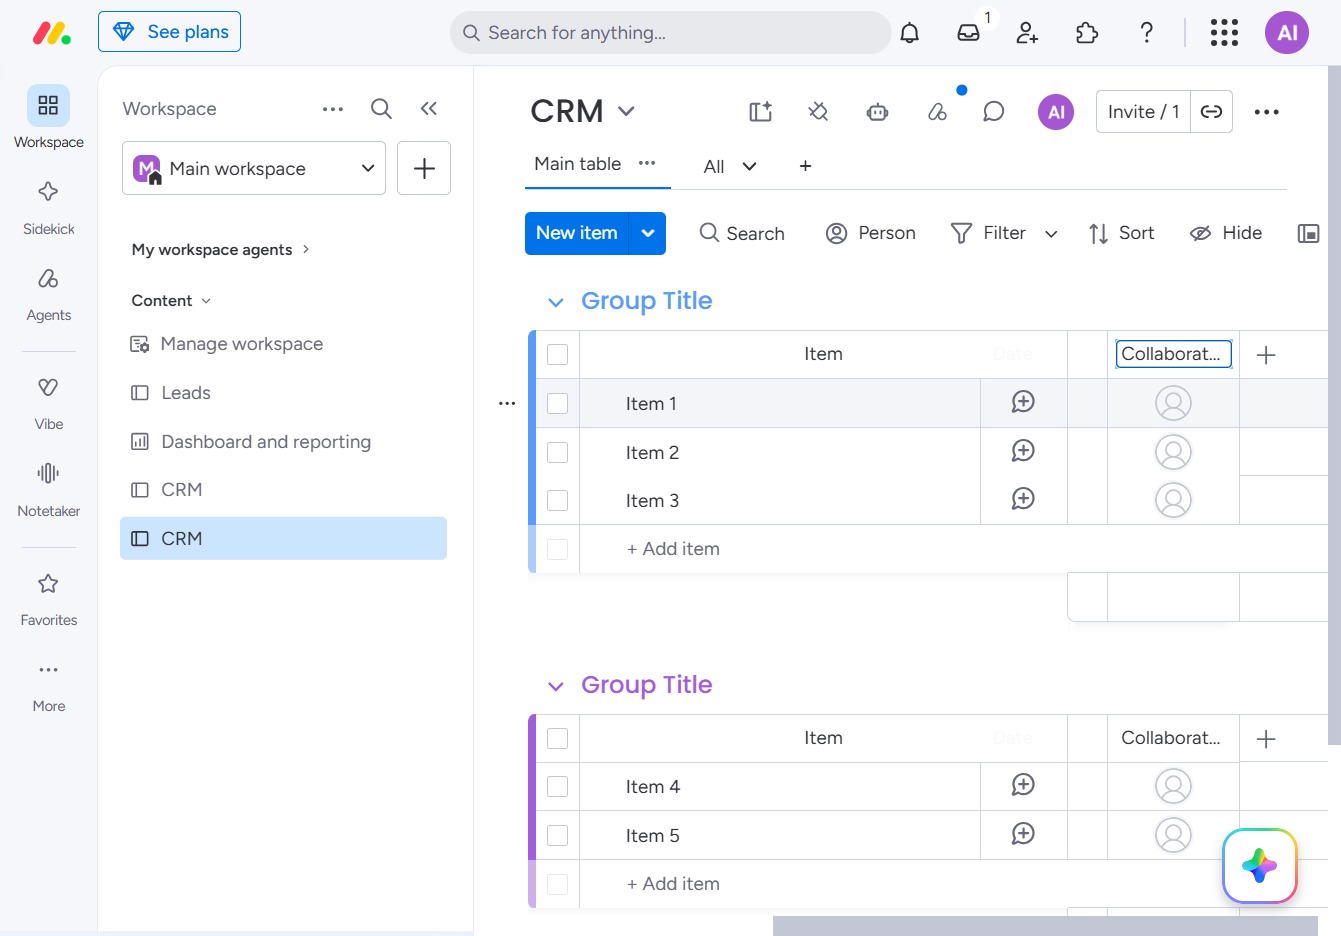
Enter 'Collaborators' in the designated input field to specify team members for this item. This will help identify contributors associated with the selected task or project.
Clicking this button allows you to add a new item to your CRM, enabling you to manage your leads and tasks effectively.
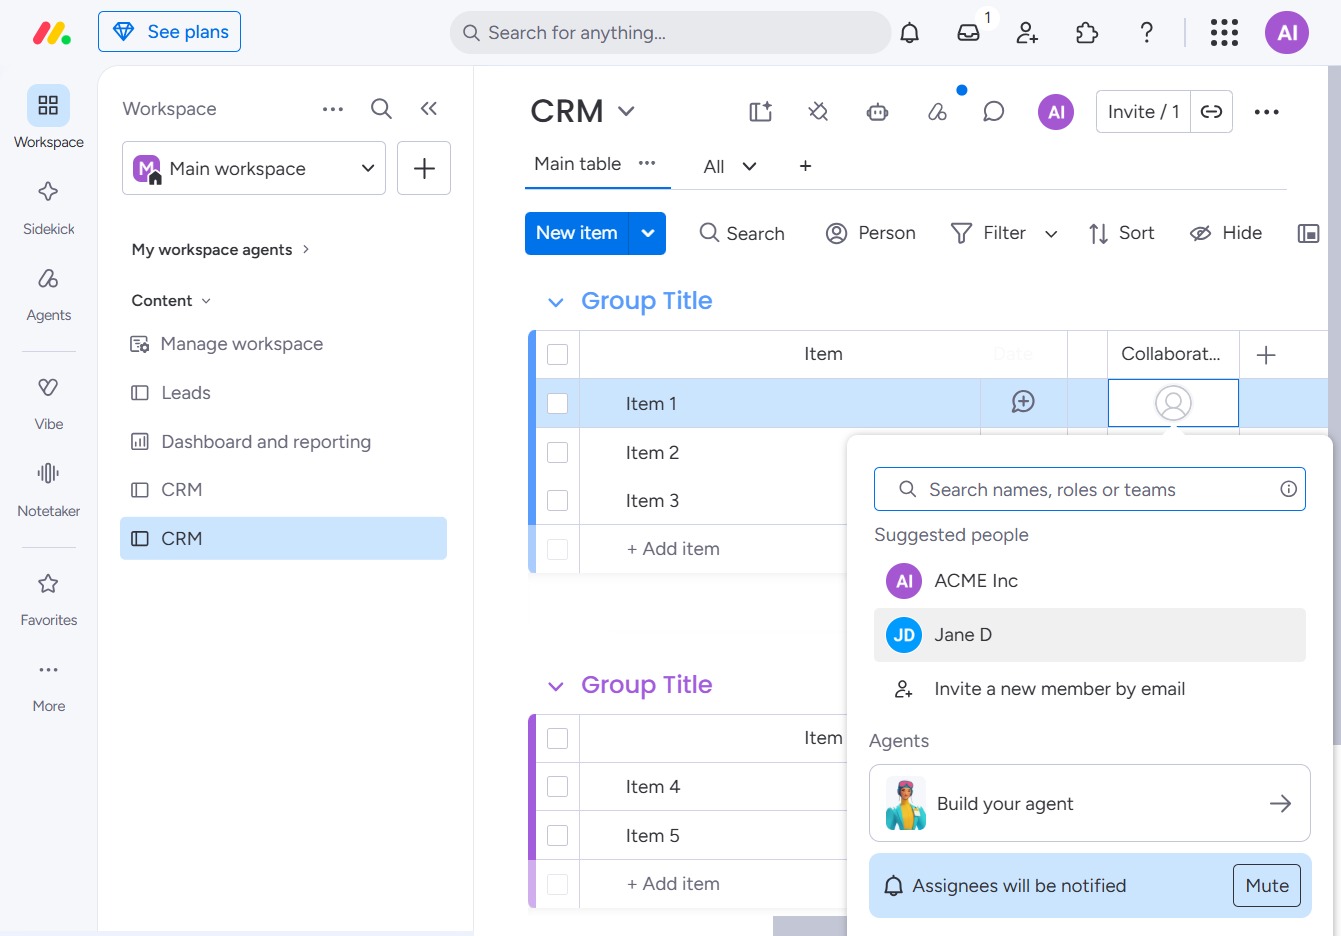
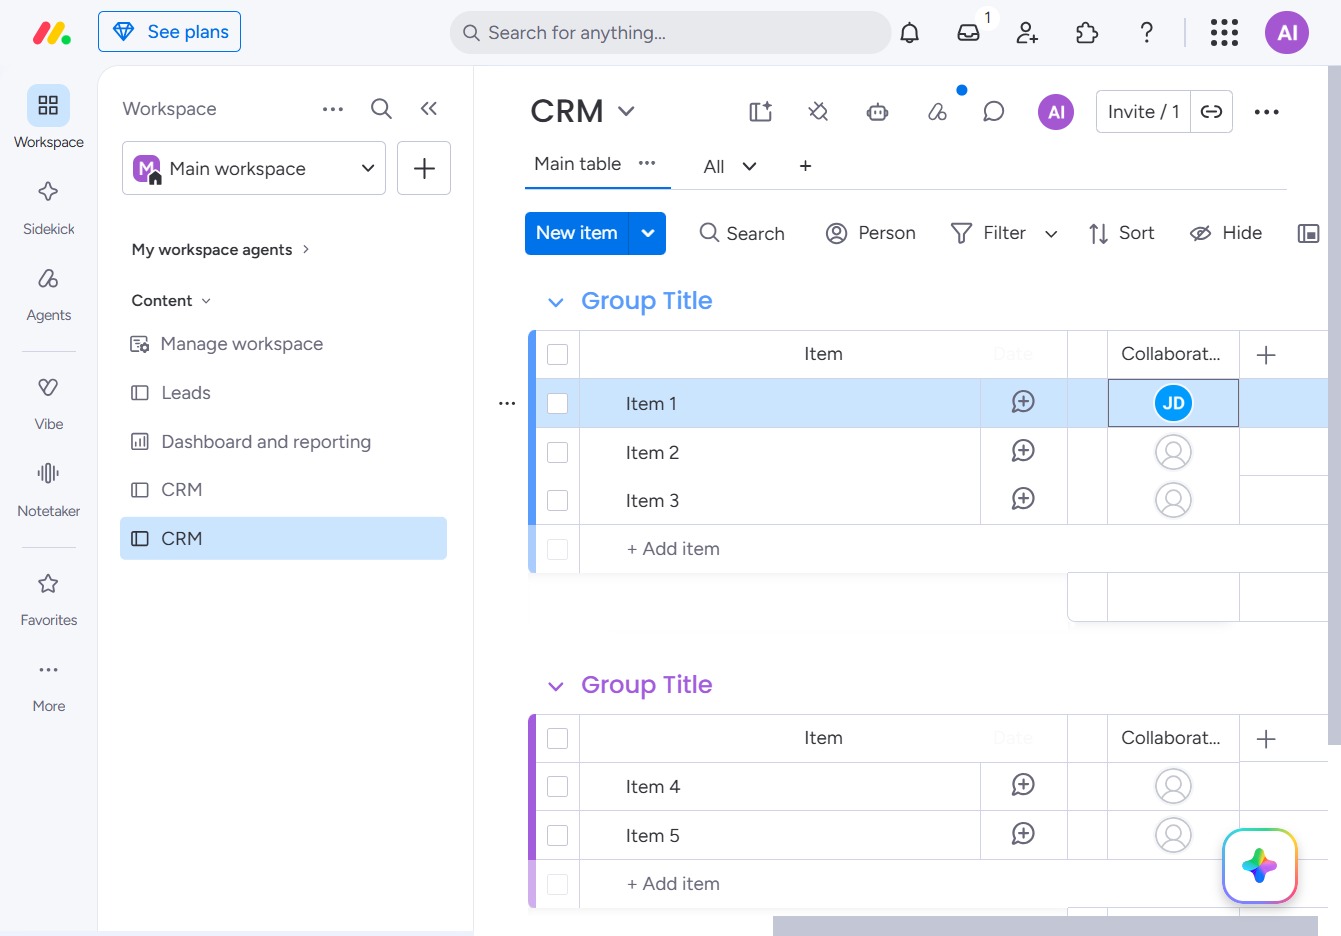
This action selects the contact 'Jane D' from the suggested options. You can then assign tasks or manage interactions related to this contact within your CRM.
This action opens a prompt where you can enter details for a new item in the CRM.
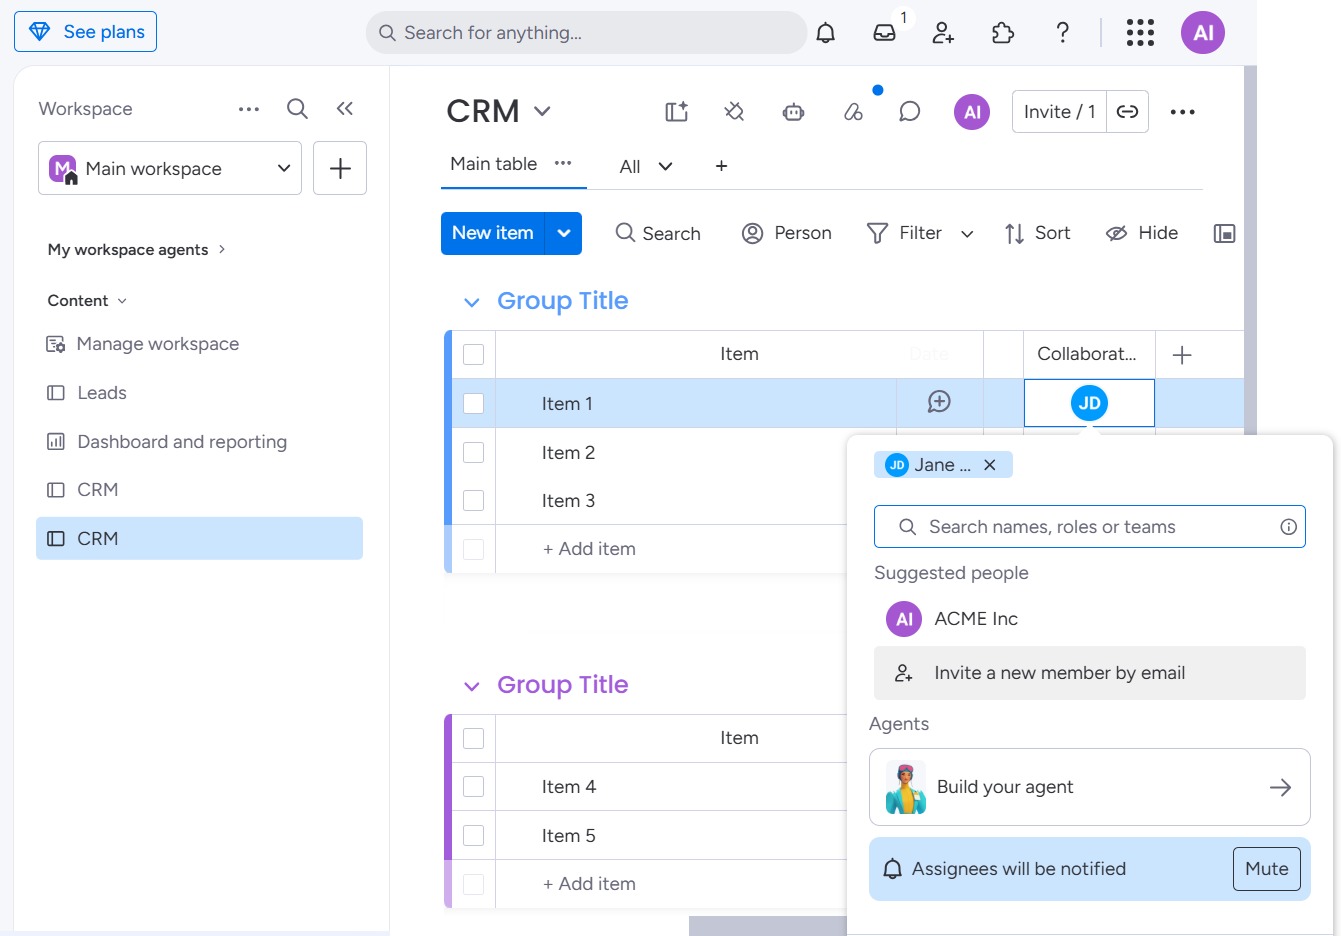
This action opens a prompt to send an invitation via email to a new member, allowing you to expand your team in the CRM.
Enter the email address of the person you wish to invite to your workspace. Once you've entered the email, you can proceed to send the invitation.
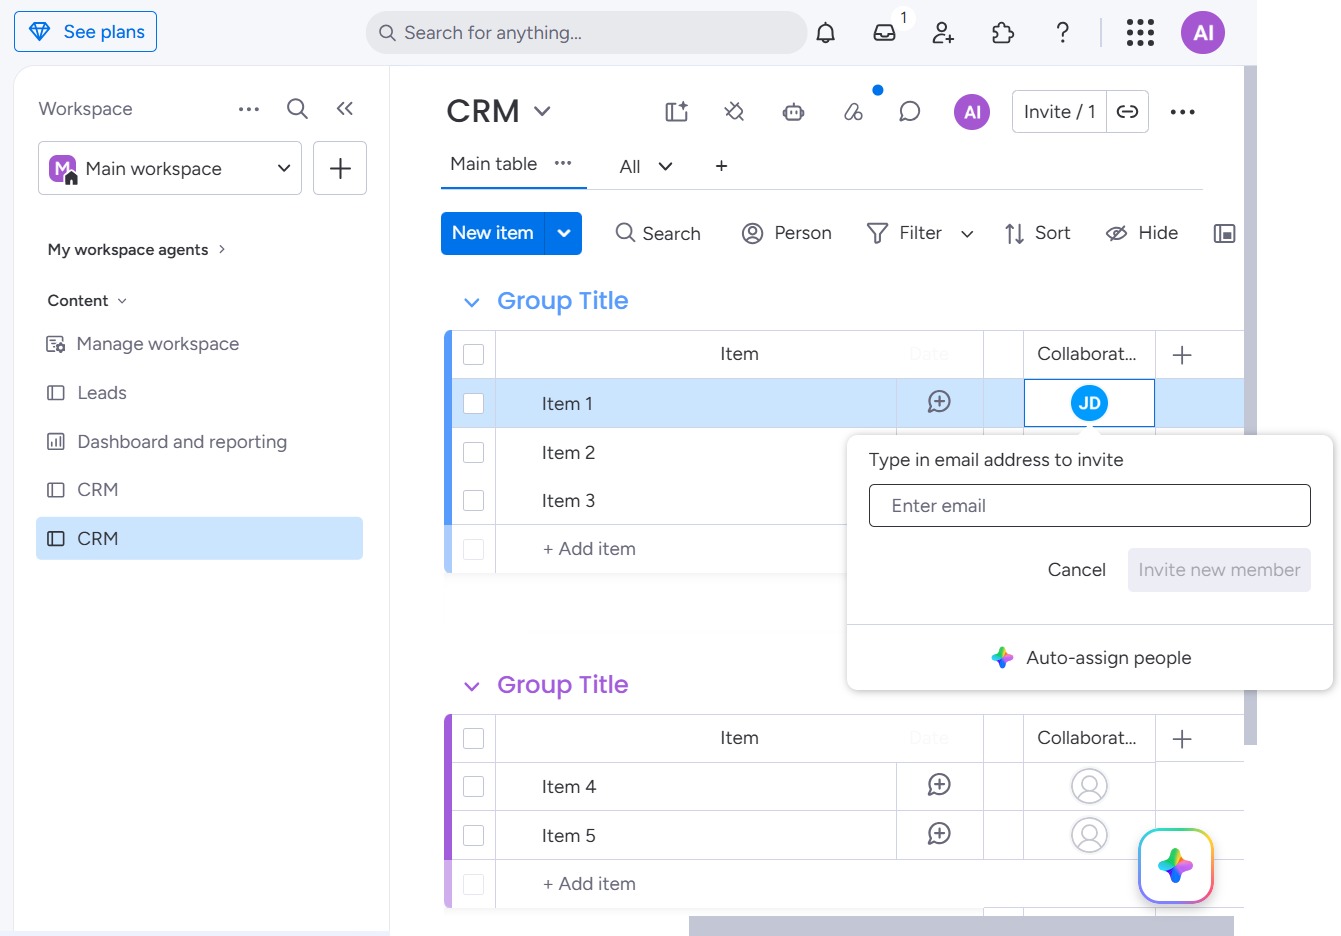
Enter the email address of the person you wish to invite in the provided field. This action will allow you to send an invitation for collaboration within the CRM.

This action opens a dialog where you can enter the email address of the new member to invite. Upon confirming, an invitation will be sent to the specified email.
