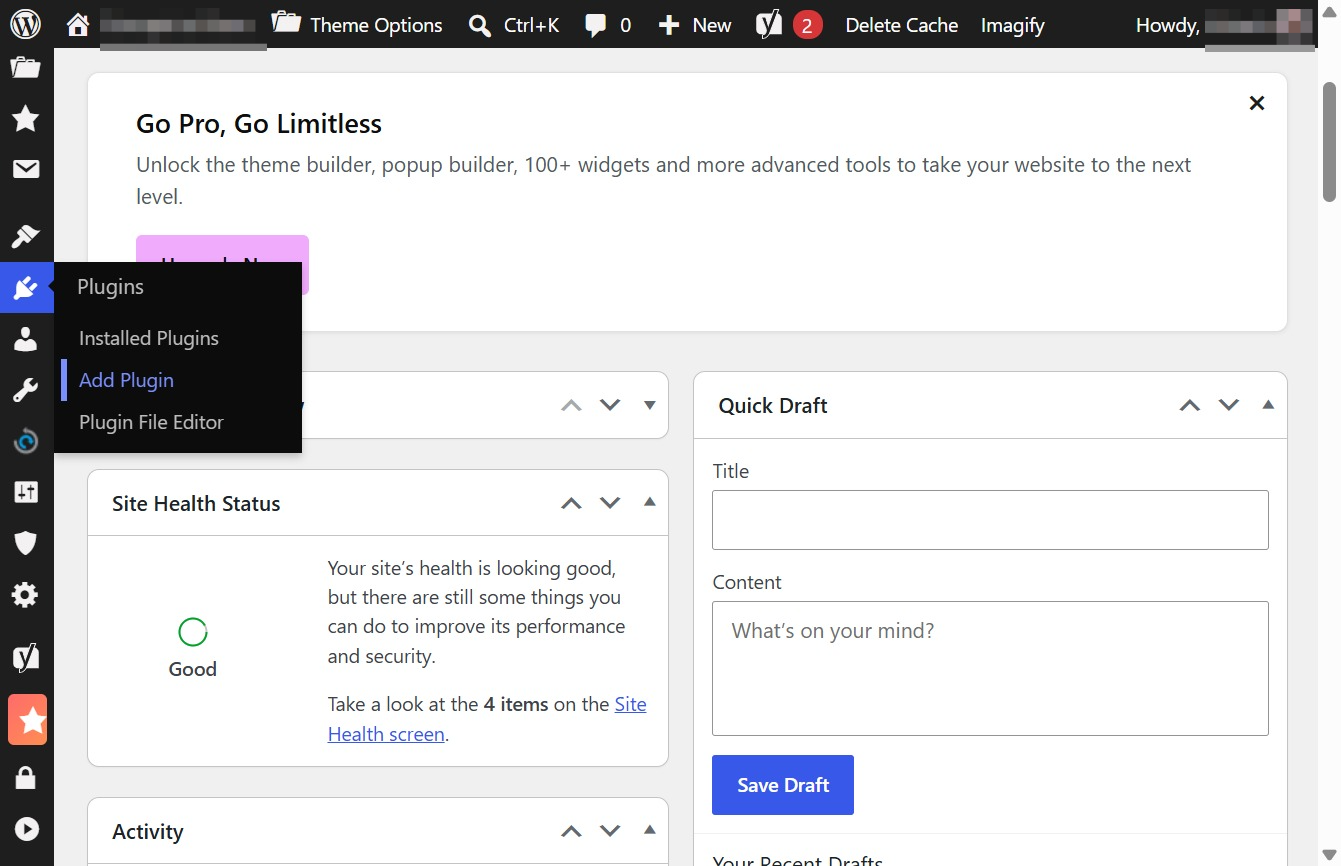
Click the Add Plugin button
This action opens the plugin installation interface, allowing you to browse and add new plugins to enhance your website's functionality.
Loading screenshot…
100%
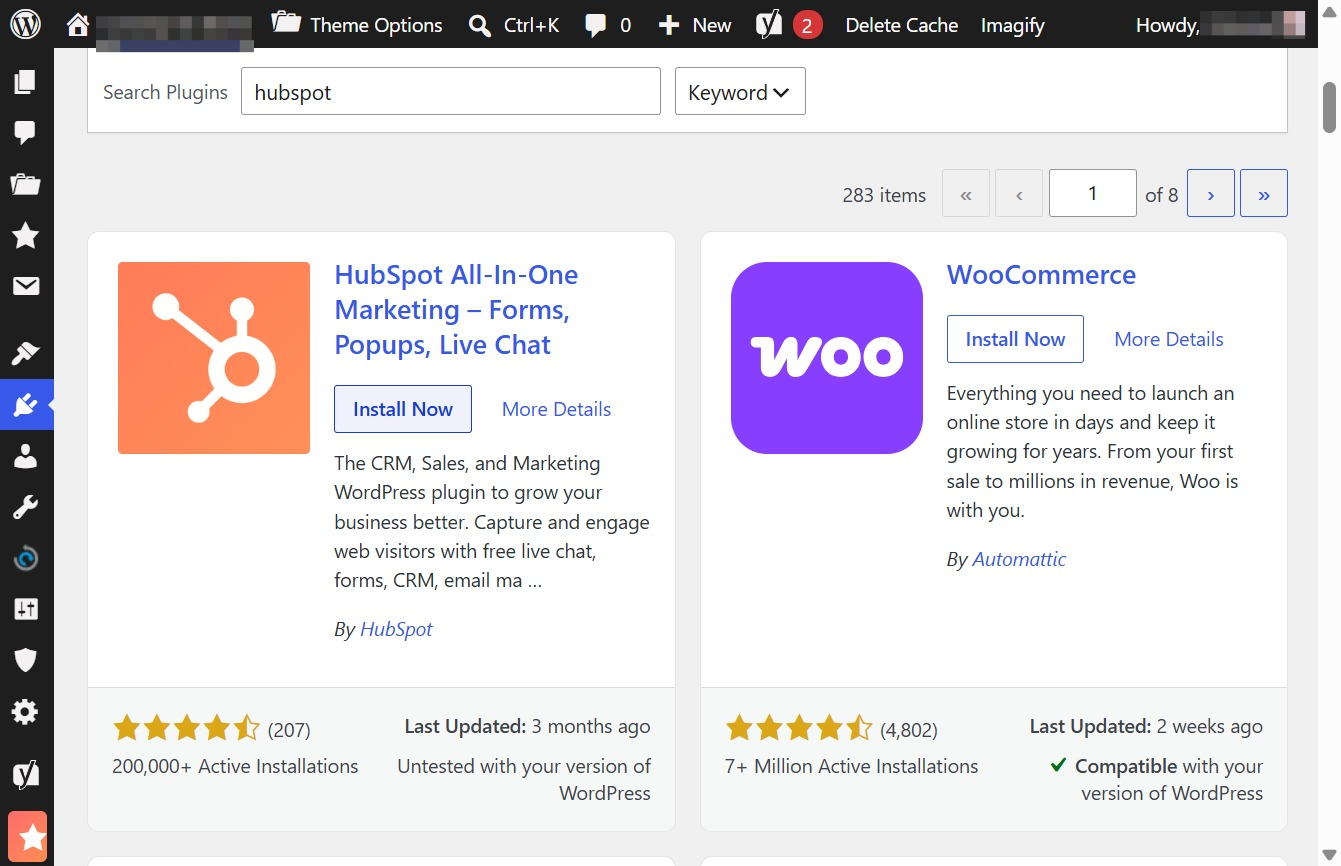
Connect your WordPress site to HubSpot by installing the HubSpot All-In-One Marketing plugin to enable features like live chat, forms, and popups for enhanced user engagement.
 viktoria
Connect your WordPress site to HubSpot by installing the HubSpot All-In-One Marketing plugin to enable features like live chat, forms, and popups for enhanced user engagement.
This action opens the plugin installation interface, allowing you to browse and add new plugins to enhance your website's functionality.
This action will initiate the installation process for the Scrollchart plugin, allowing you to add accessible diagrams to your WordPress posts.
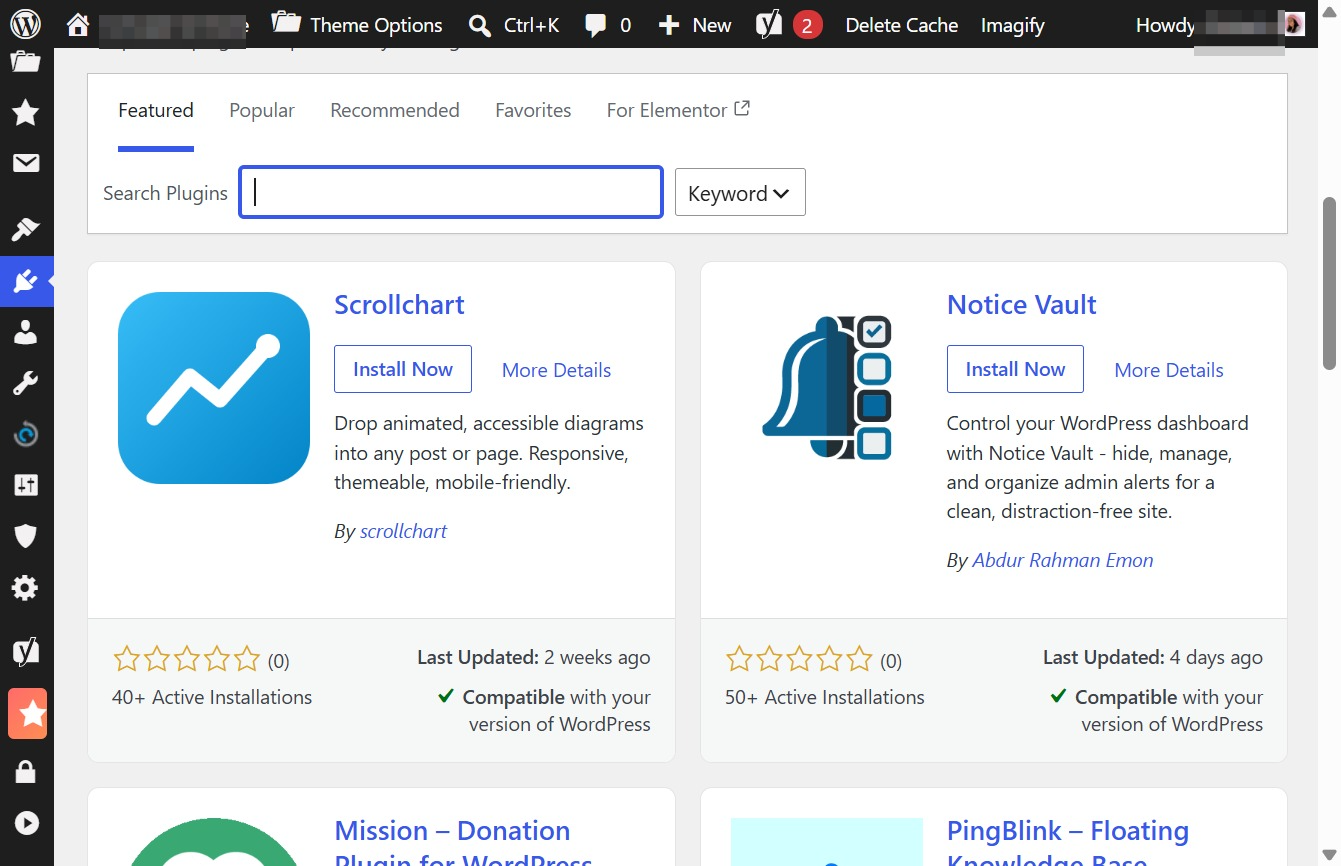
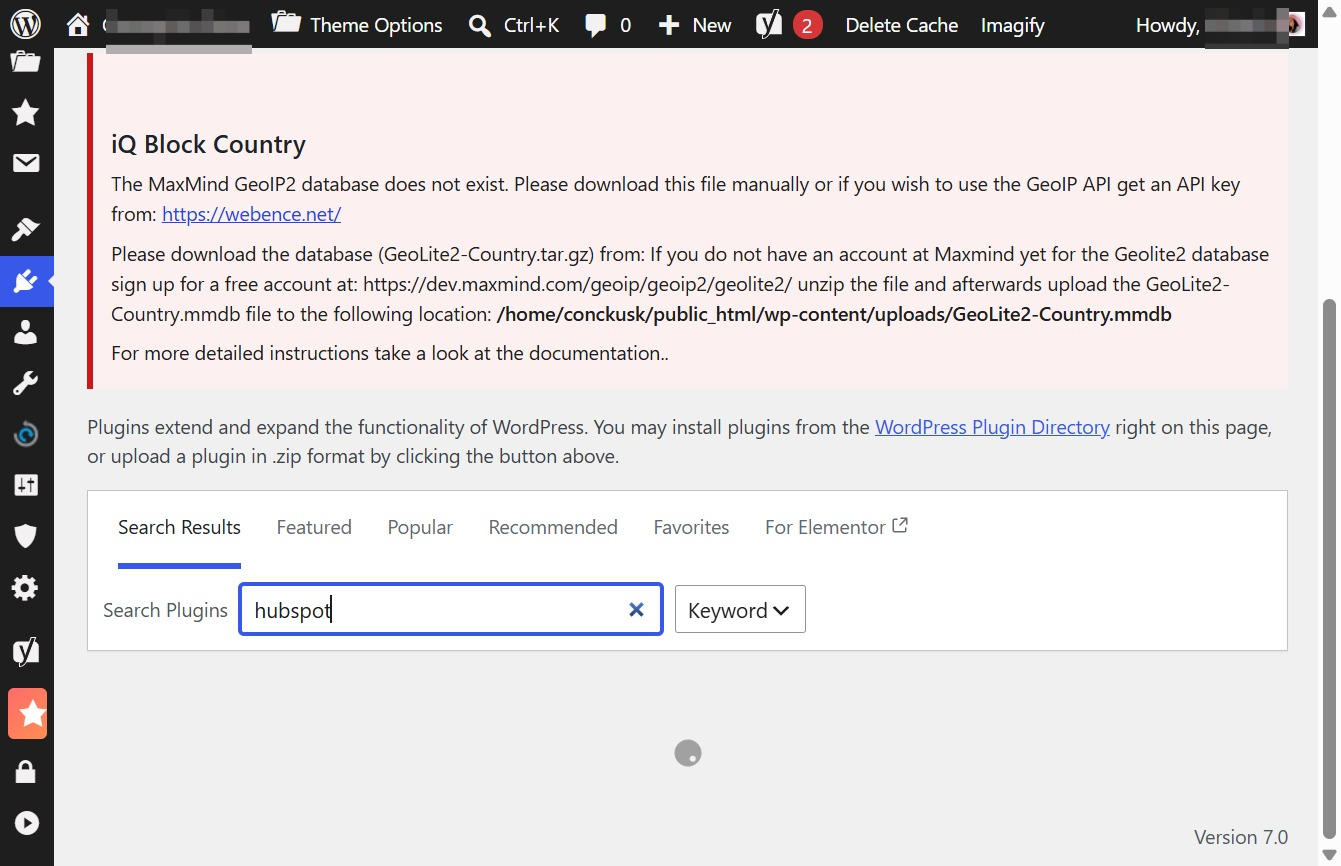
Entering 'hubspot' in the search box will filter the plugin results to show relevant HubSpot options, allowing you to easily find and install the desired plugin.
This will initiate the installation of the HubSpot All-In-One Marketing plugin, allowing you to integrate forms, popups, and live chat functionalities into your WordPress site.
This action enables the HubSpot All-In-One Marketing plugin, allowing you to utilize features like forms, popups, and live chat to enhance your website's engagement.
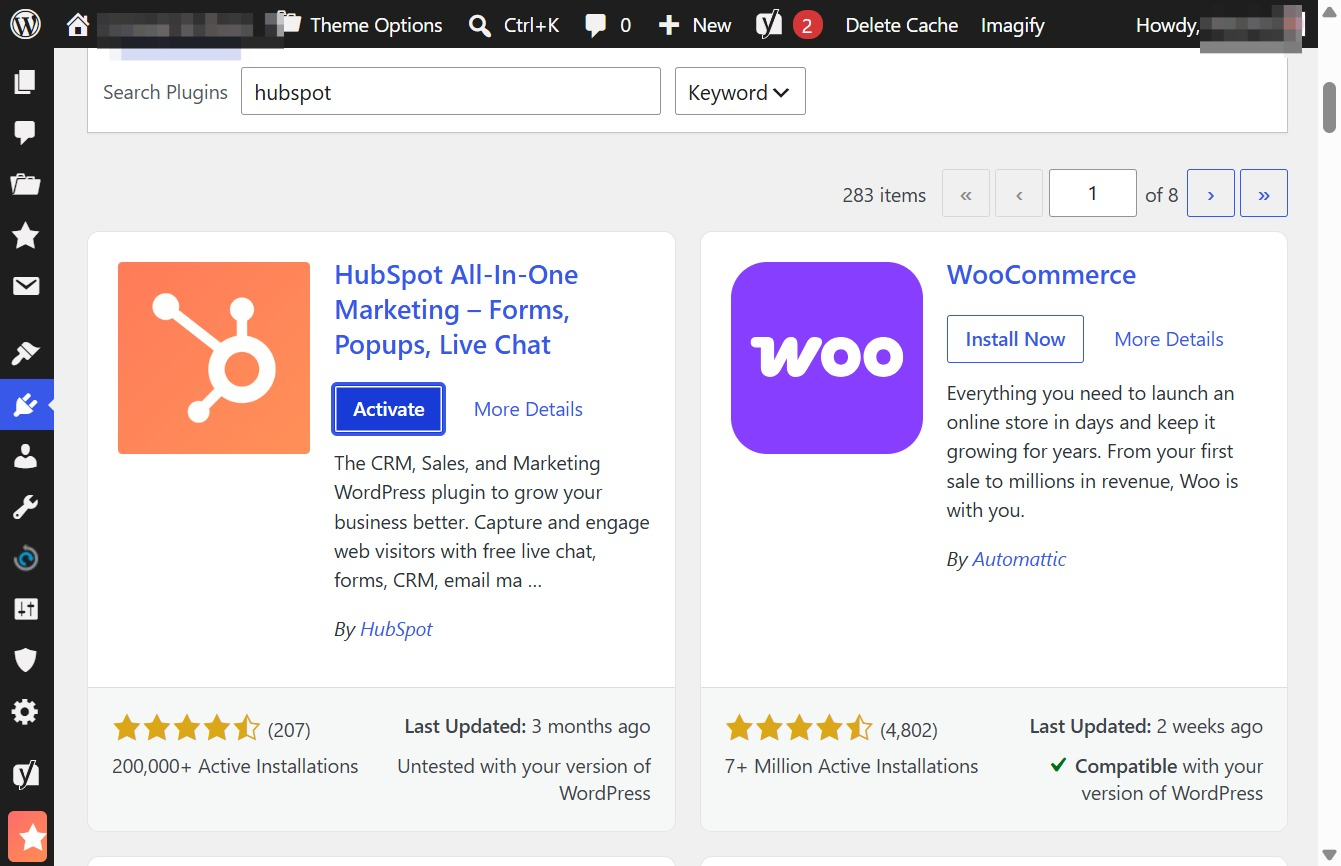
This action will log you in to your existing HubSpot account, allowing you to access your dashboard and related features.
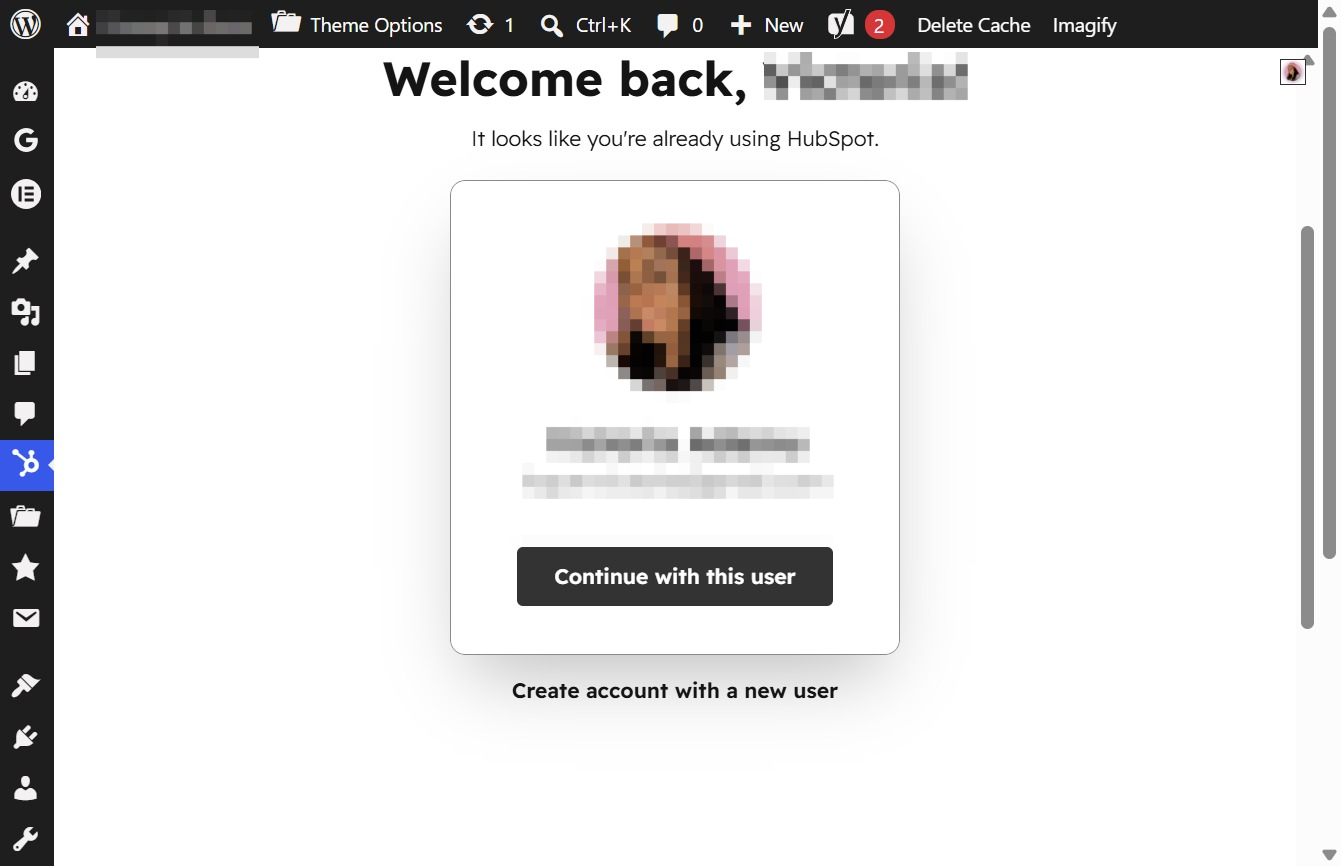
This action opens a section displaying all your additional accounts, allowing you to switch between them easily.

By clicking this button, you will proceed to access the selected account, allowing you to utilize its associated features and settings.

This action proceeds to the next step using the selected account, in this case, ACME LTD. You will be directed to the relevant account settings or dashboard associated with this account.
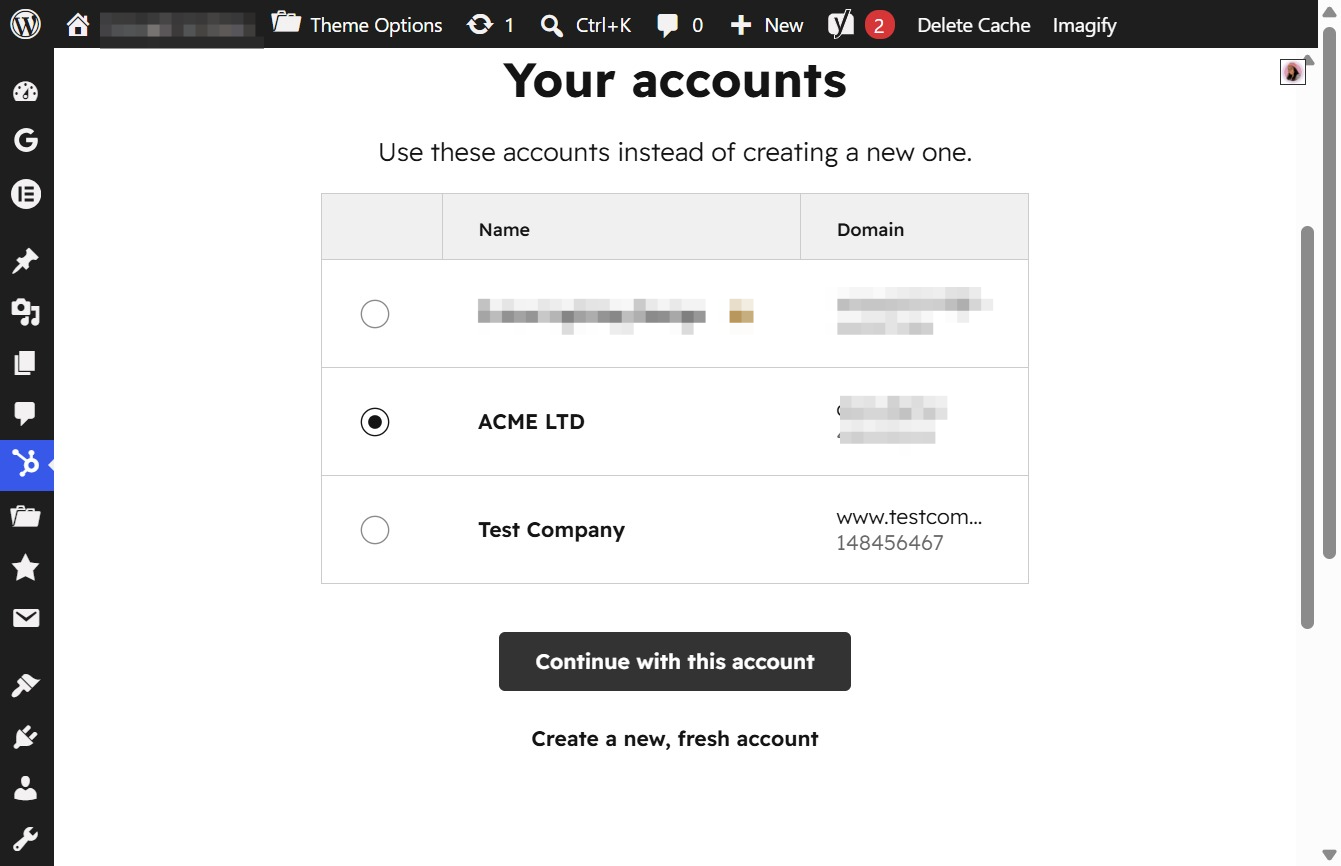
Clicking this button allows you to link your HubSpot account to your WordPress site, granting access to features such as live chat, forms, and contact management.