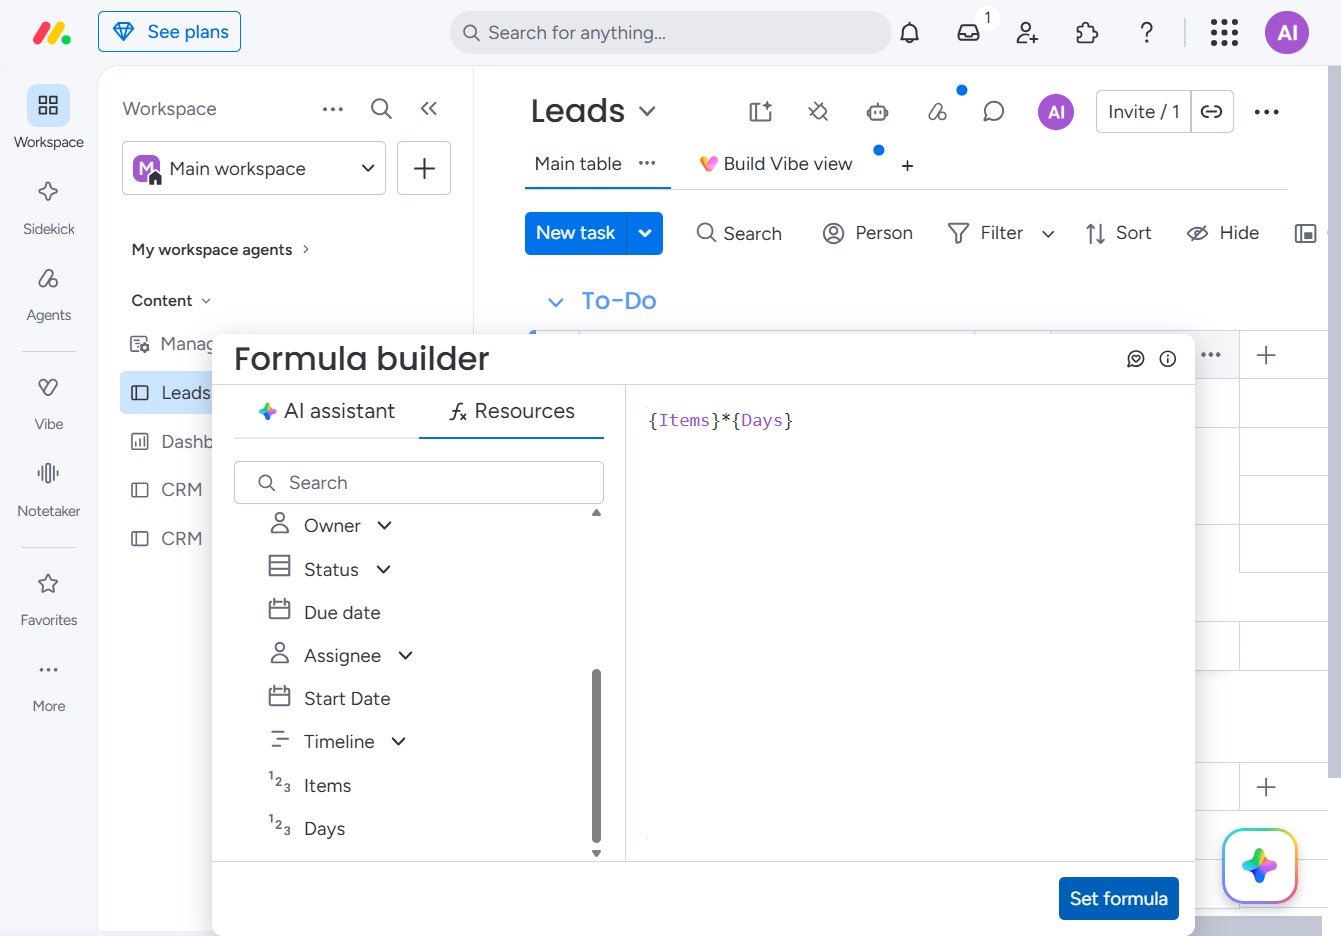
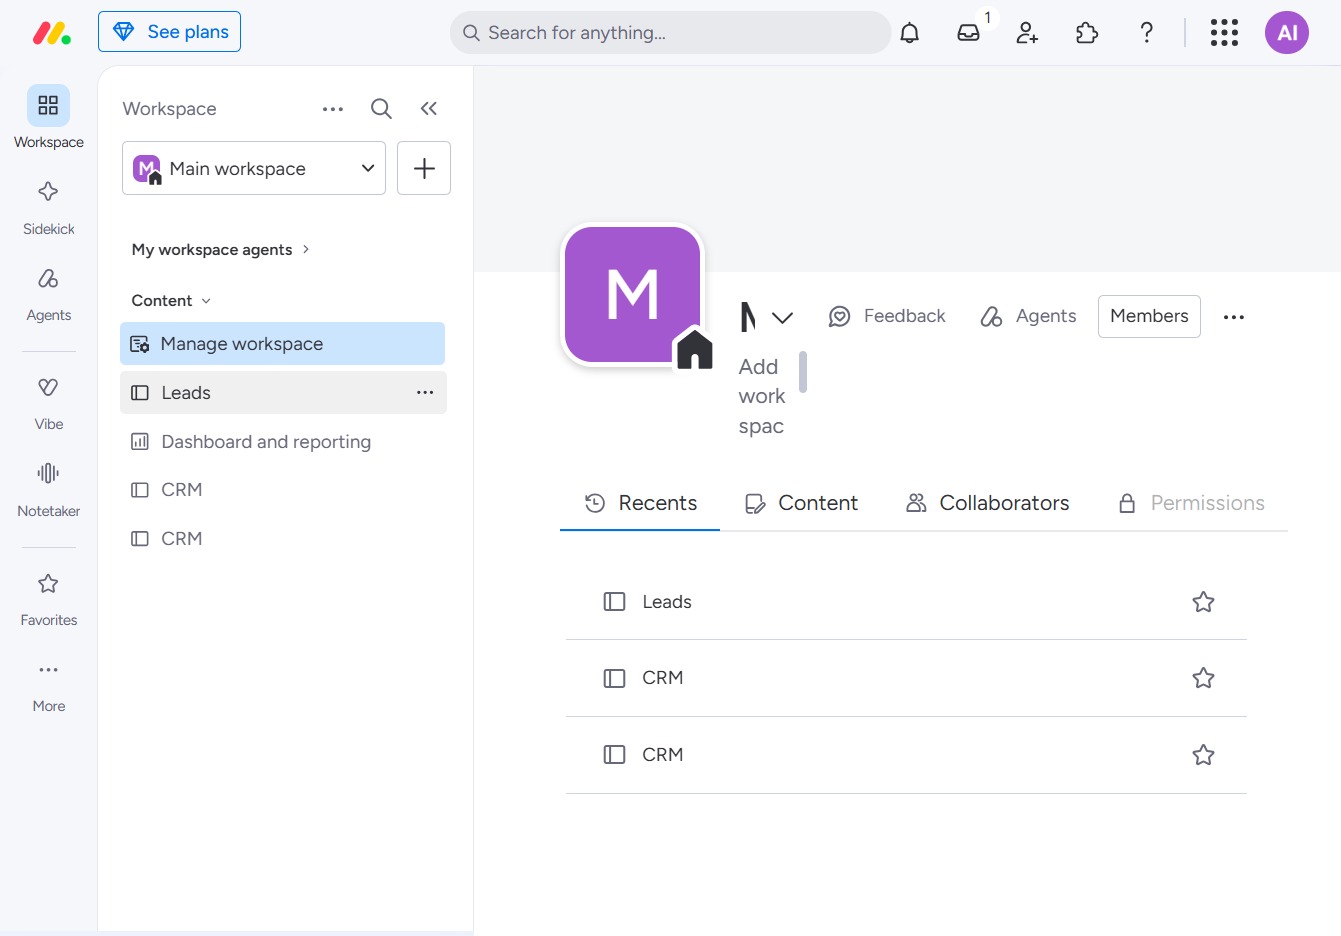
Click the BoardLeads section
This action will take you to the BoardLeads area, where you can manage leads and their associated details in the system.
Loading screenshot…
100%
This guide walks you through using the Formula column in the BoardLeads area, detailing how to navigate to your workspace, add a custom formula column, and incorporate variables…
 viktoria
This guide walks you through using the Formula column in the BoardLeads area, detailing how to navigate to your workspace, add a custom formula column, and incorporate variables for effective lead management. By following these steps, you'll be able to create custom calculations that enhance your project's data visibility and usability.
This action will take you to the BoardLeads area, where you can manage leads and their associated details in the system.
Clicking this button will allow you to add a new column to the Main table within the Leads workspace, enabling you to customize the displayed information.
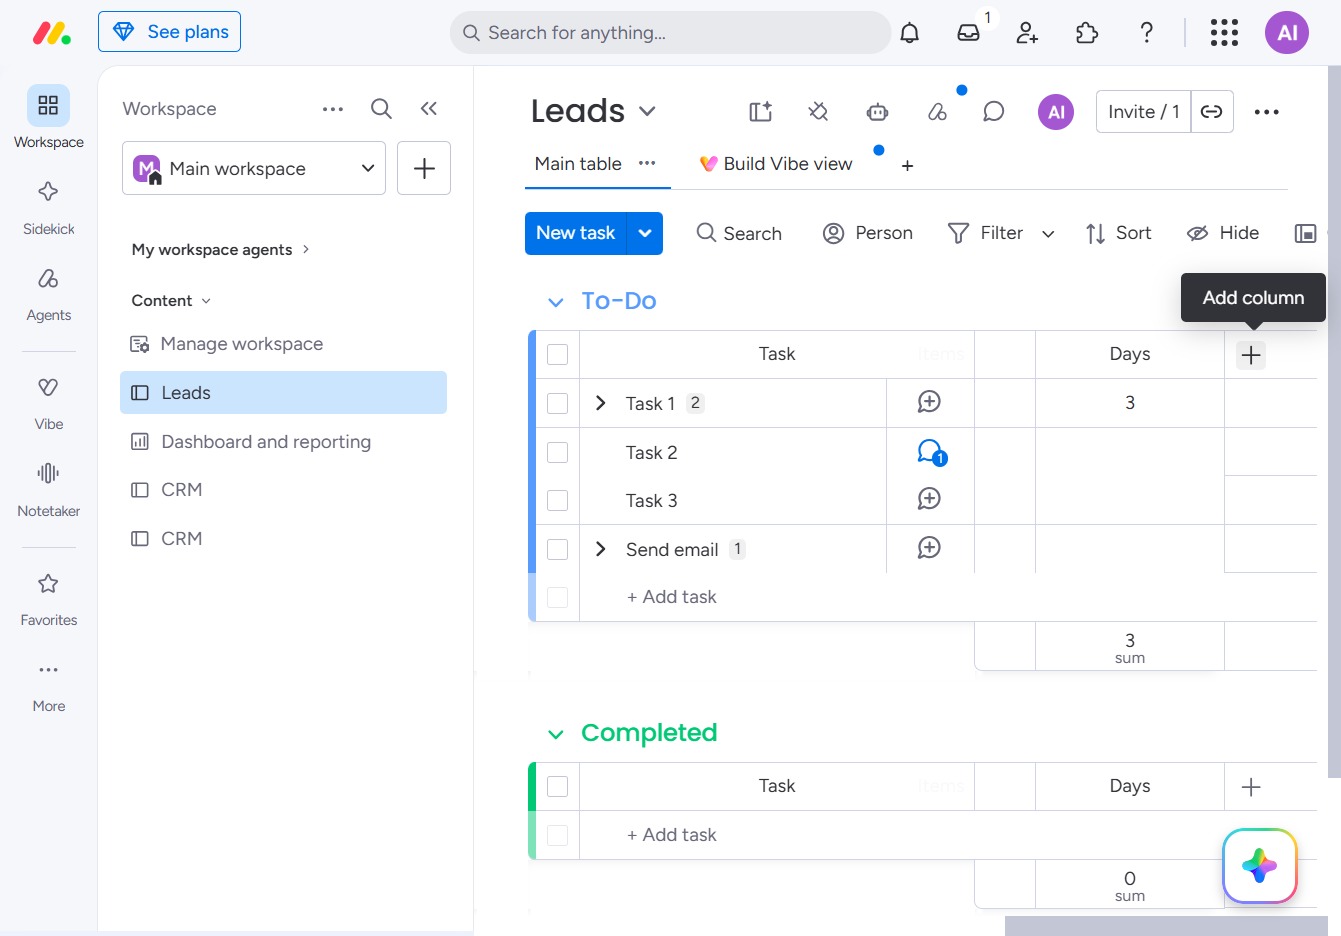
Selecting the Formula option adds a new column to your Leads table, allowing you to implement custom calculations based on other column values.

This will open the Resources section, providing you with additional tools and information to assist in building your formula.
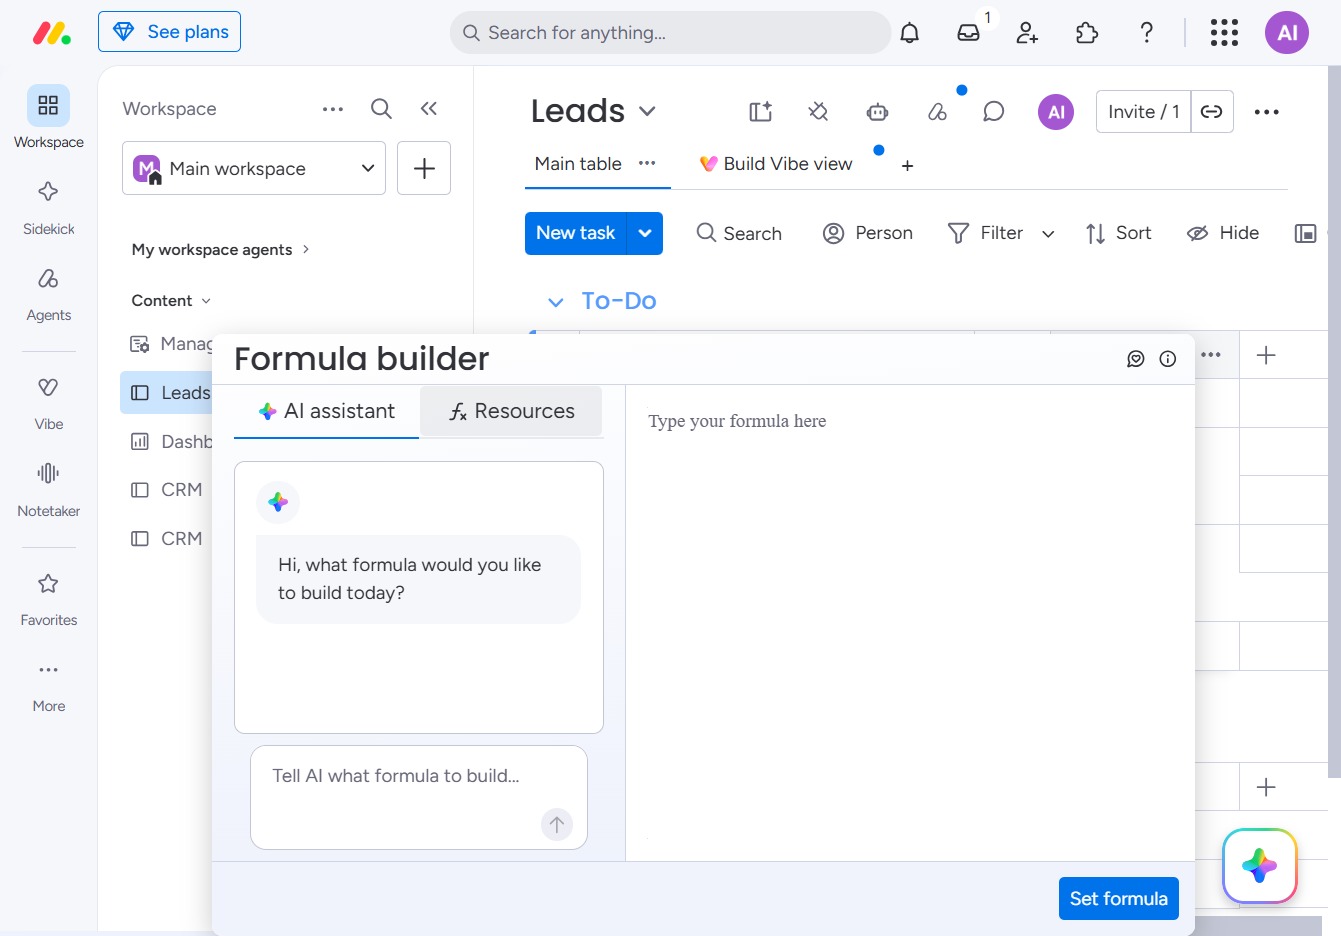
This will display the available columns and labels for your formula in the Formula builder, allowing you to integrate them into your calculations.

This action will allow you to incorporate items into your formula within the Formula Builder. Selecting 'Items' generates a list of available items for use in your calculations.
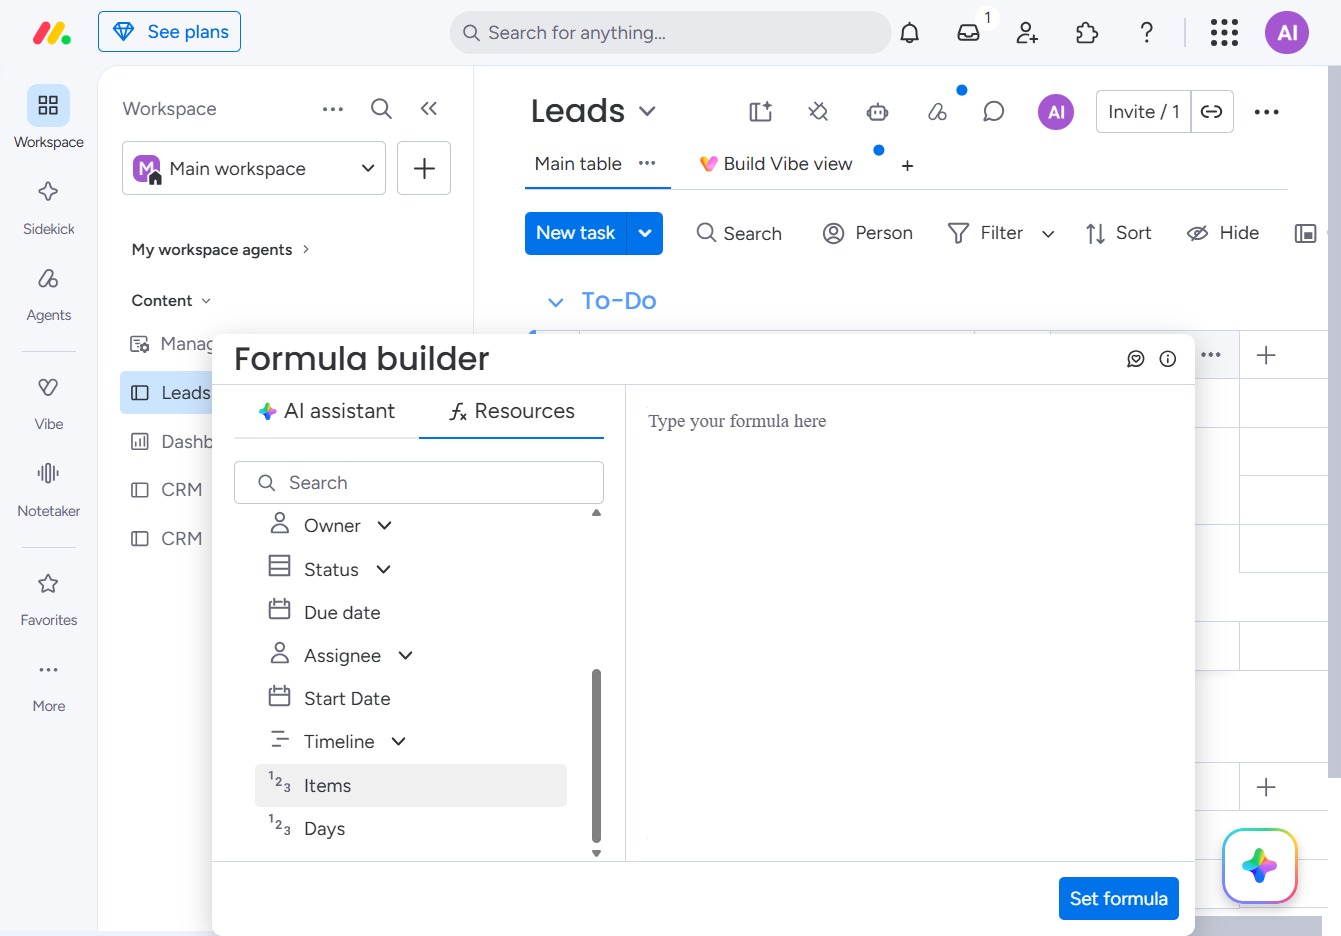
This action opens the Items dropdown where you can select specific items related to your task or lead management.
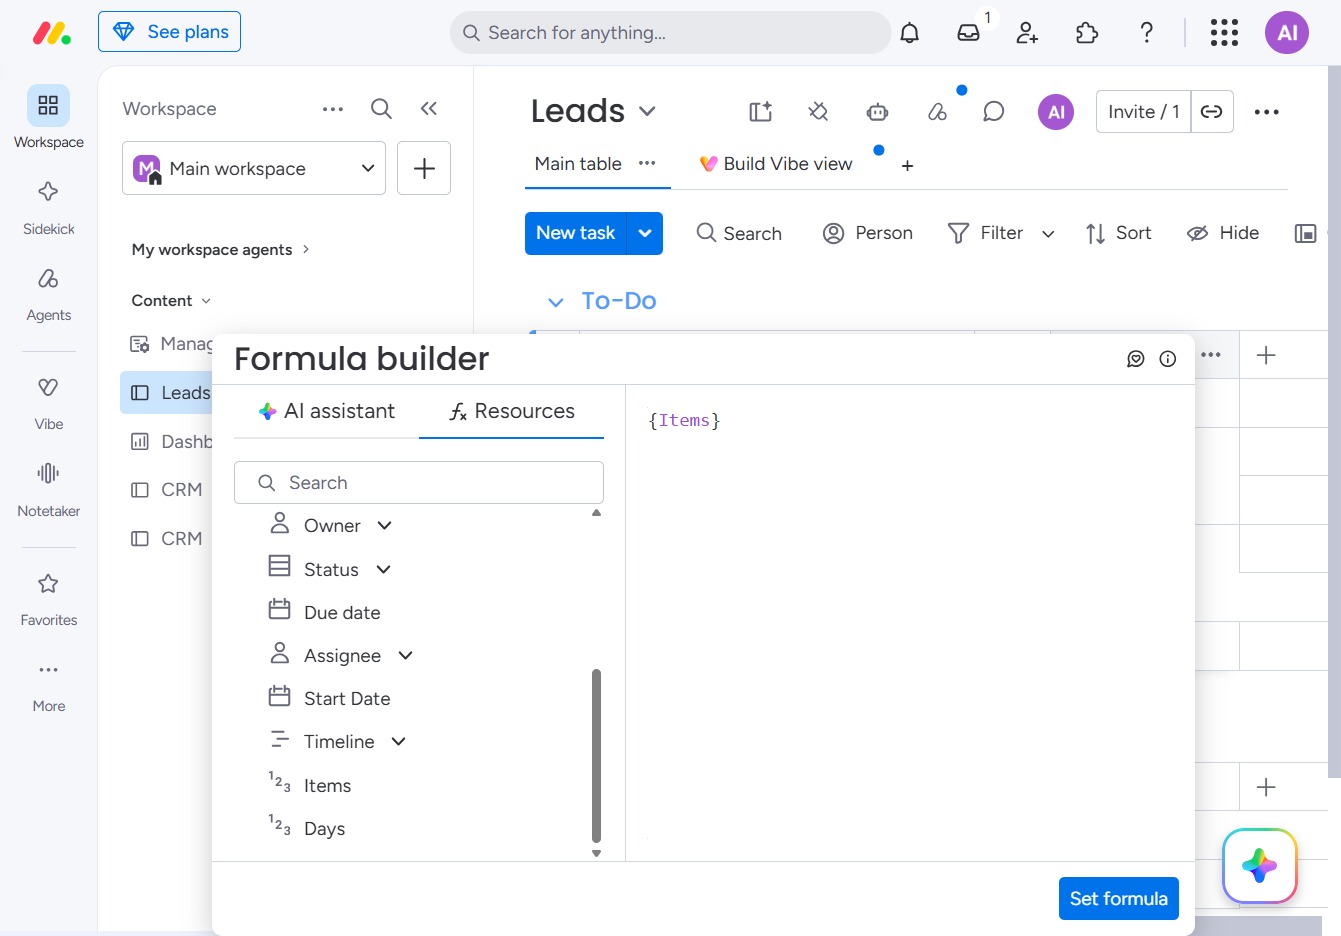
This will allow you to utilize the Days variable in your formula within the Formula builder, enabling you to set conditions or calculations based on this time frame.
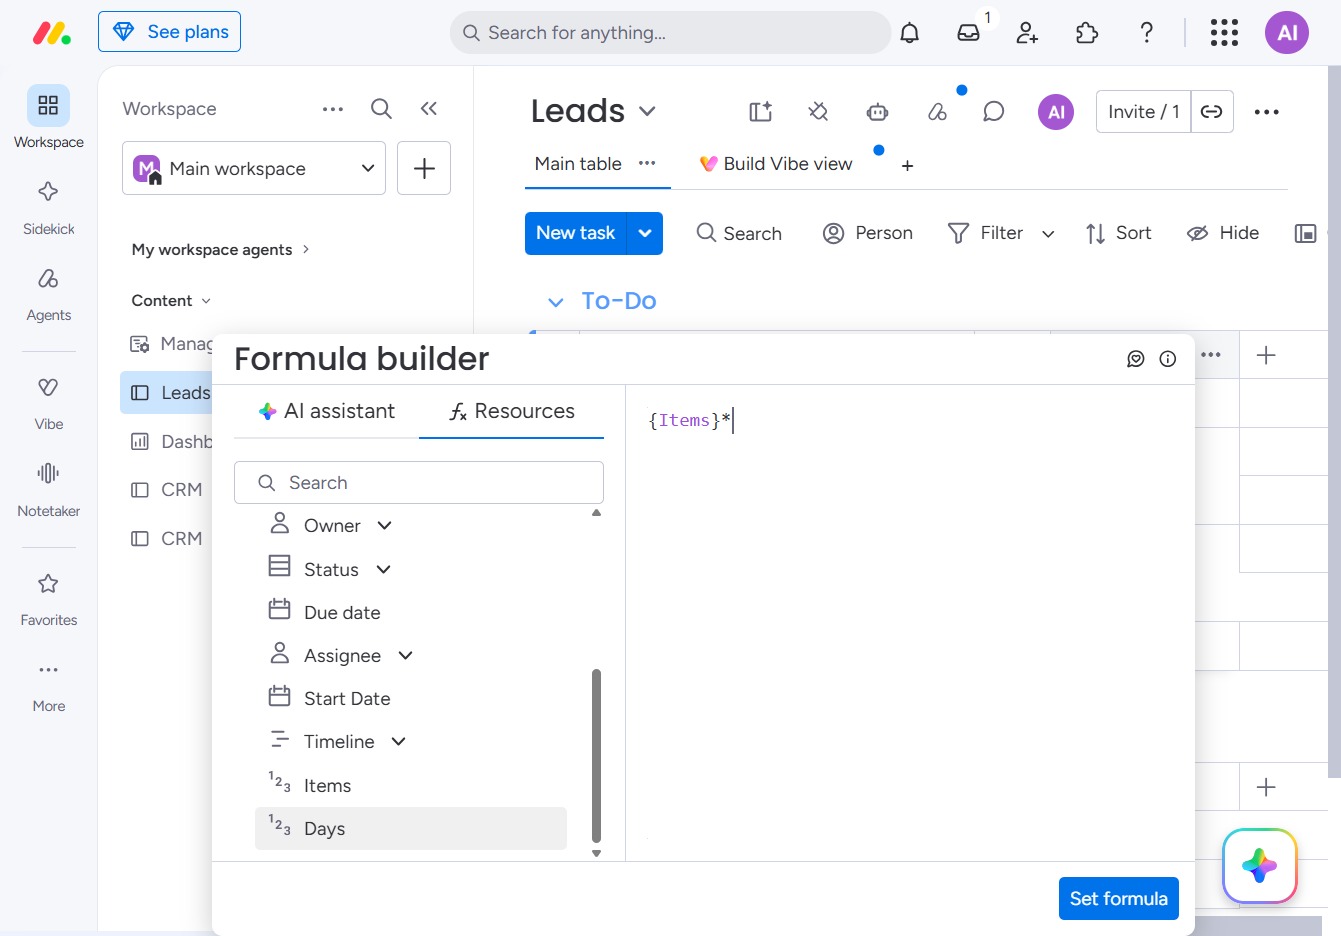
This will apply the formula you've defined in the Formula builder to your leads table, allowing you to use calculated values in your project management.