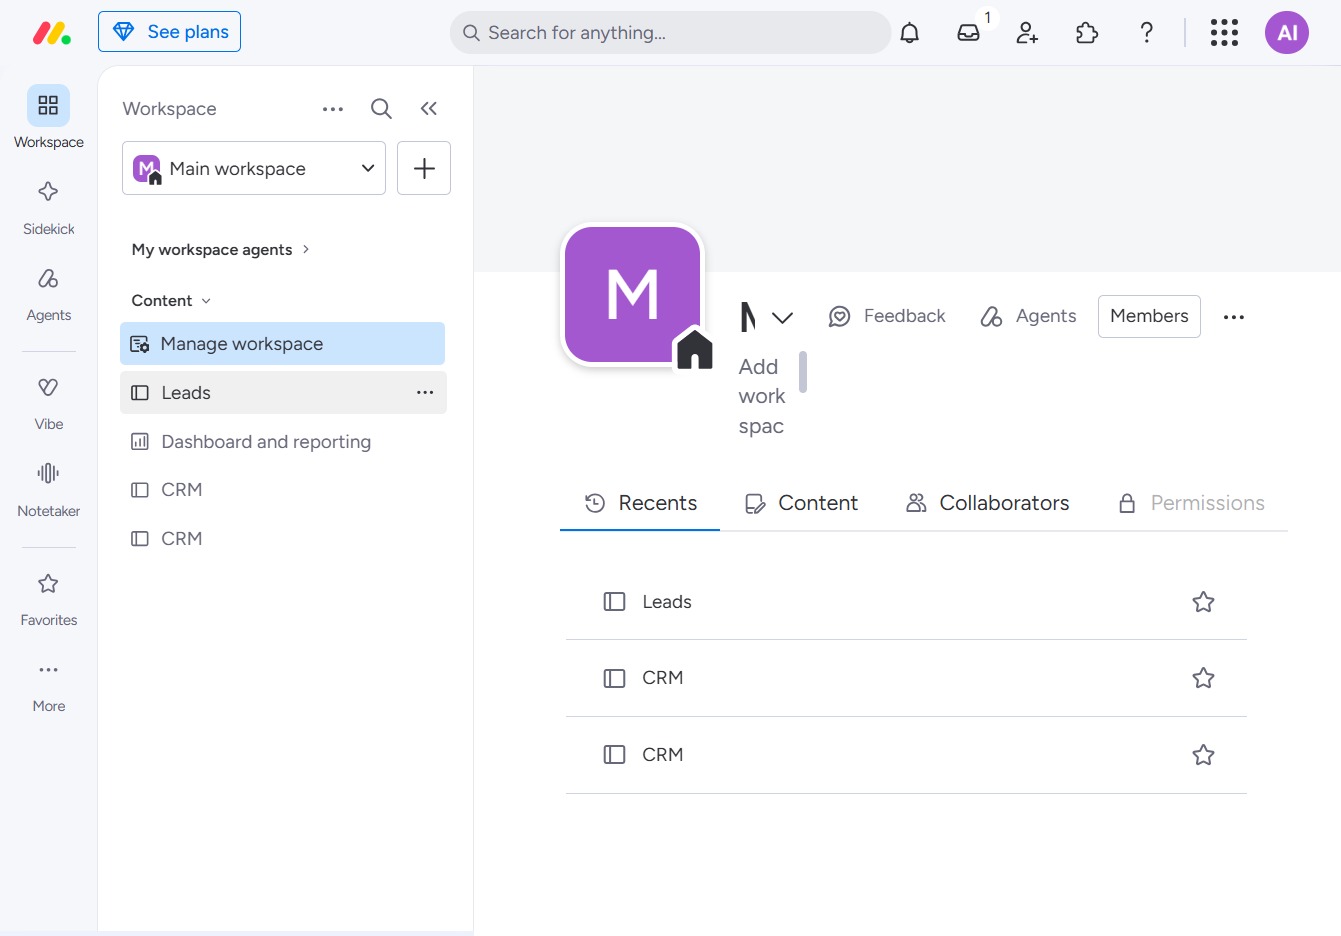
Click the BoardLeads section
This action will open the BoardLeads interface, allowing you to manage board activities and view associated data.
Loading screenshot…
100%
Learn how to effectively use the Dropdown column in BoardLeads by navigating through your workspace to create and customize task columns, input specific labels, and enhance your…
 viktoria
Learn how to effectively use the Dropdown column in BoardLeads by navigating through your workspace to create and customize task columns, input specific labels, and enhance your task management efficiency. This guide walks you through step-by-step instructions for maximizing your Leads table for better organization and tracking.
This action will open the BoardLeads interface, allowing you to manage board activities and view associated data.
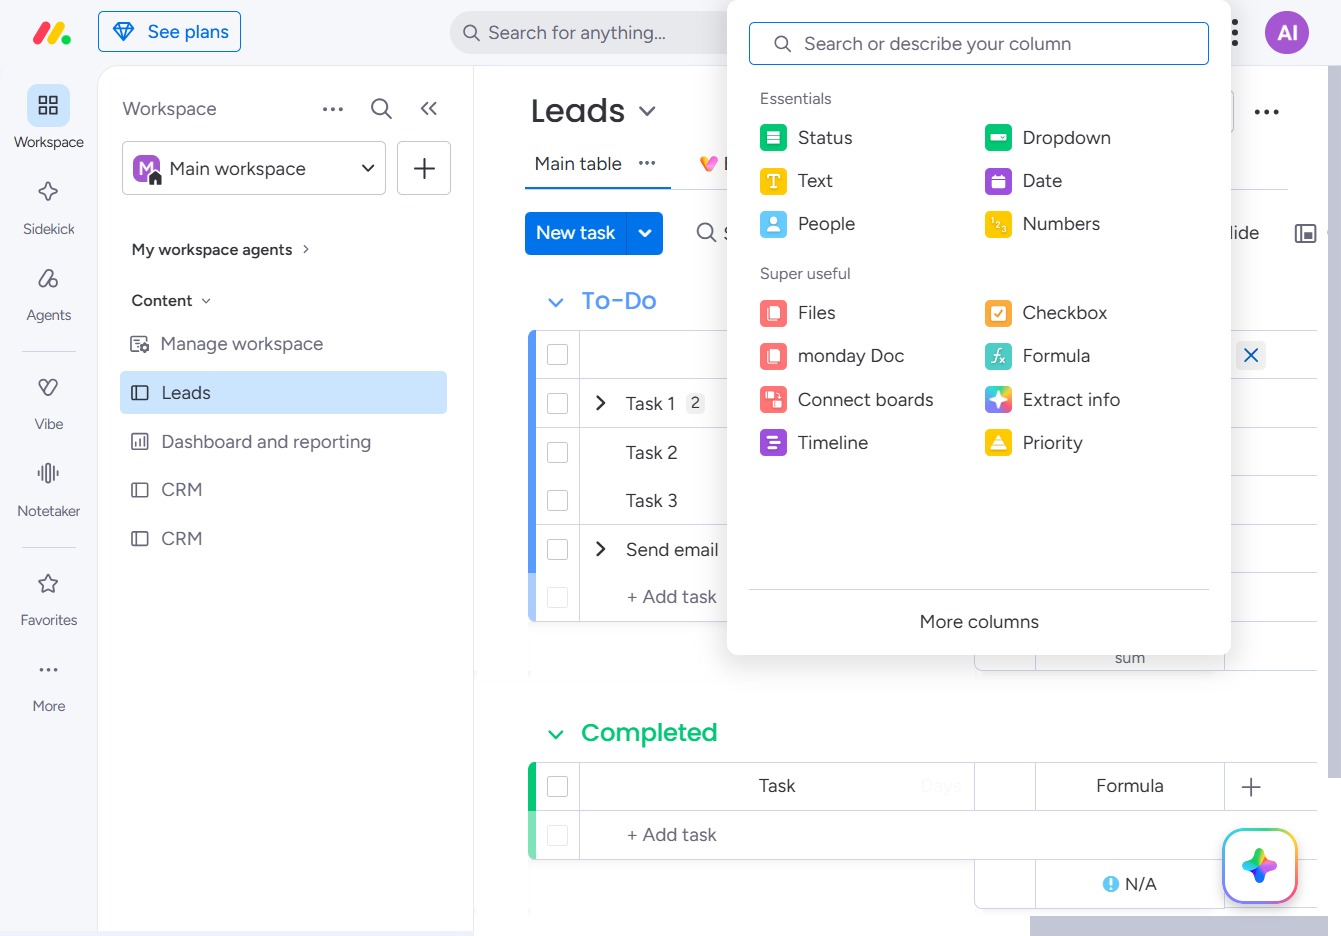
This action allows you to create a new column in the Leads table, enhancing your ability to manage tasks by adding additional data points or tracking metrics.

Clicking this input will allow you to specify a new column name, making it easy to customize your table in the Leads section.
Input 'drop' in the Search box to find and describe the appropriate column type for your leads, such as Dropdown or Date.
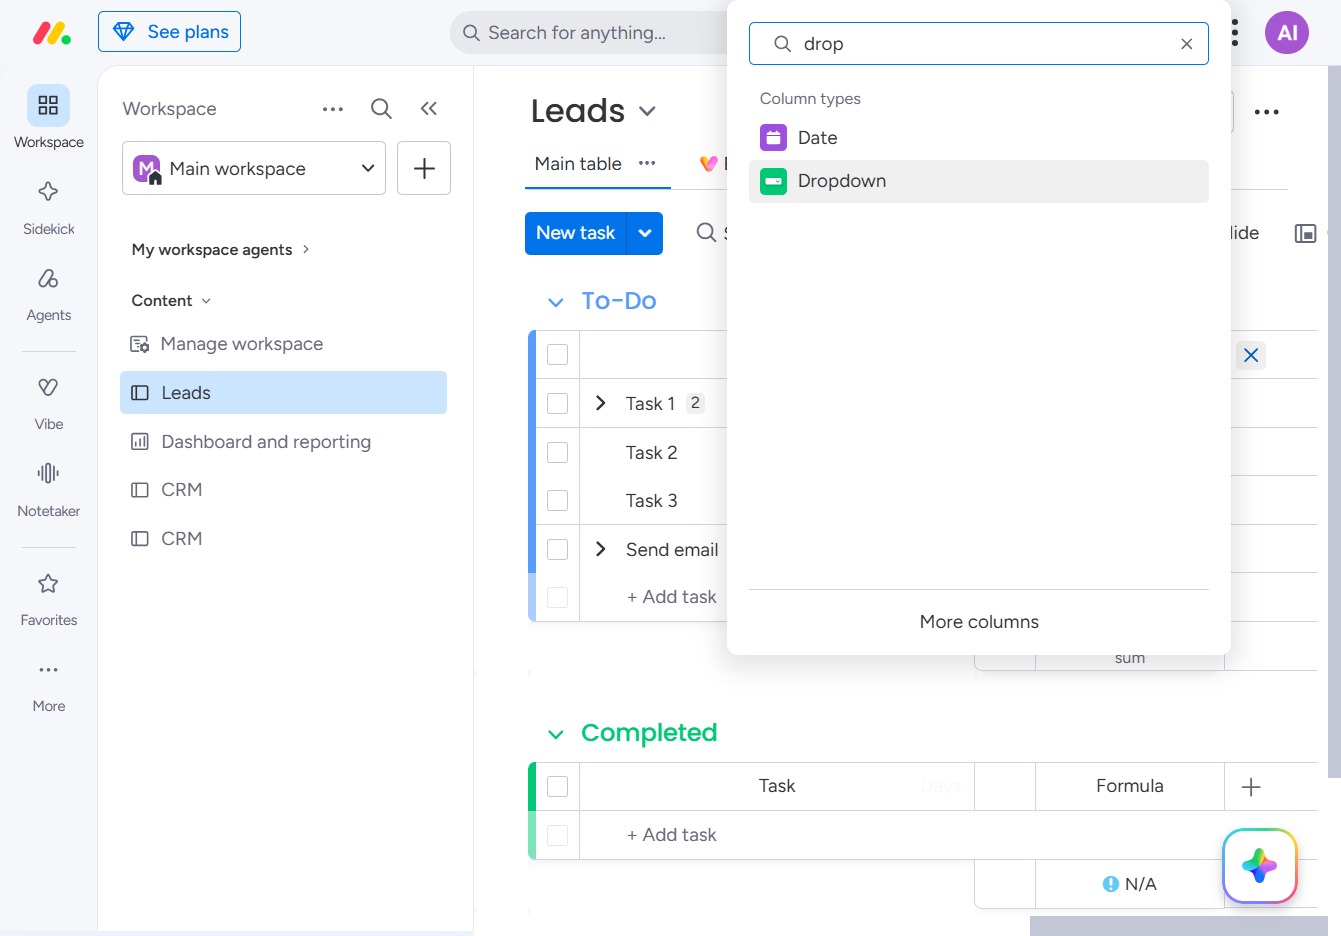
This opens the column type options, allowing you to select 'Dropdown' for your table configuration.

Clicking the Edit Dropdown will allow you to modify task details or options associated with the selected task within the Leads table.

Enter the relevant platform information in the designated field to specify the context for the task. This will help categorize and manage the task effectively within the Leads workspace.
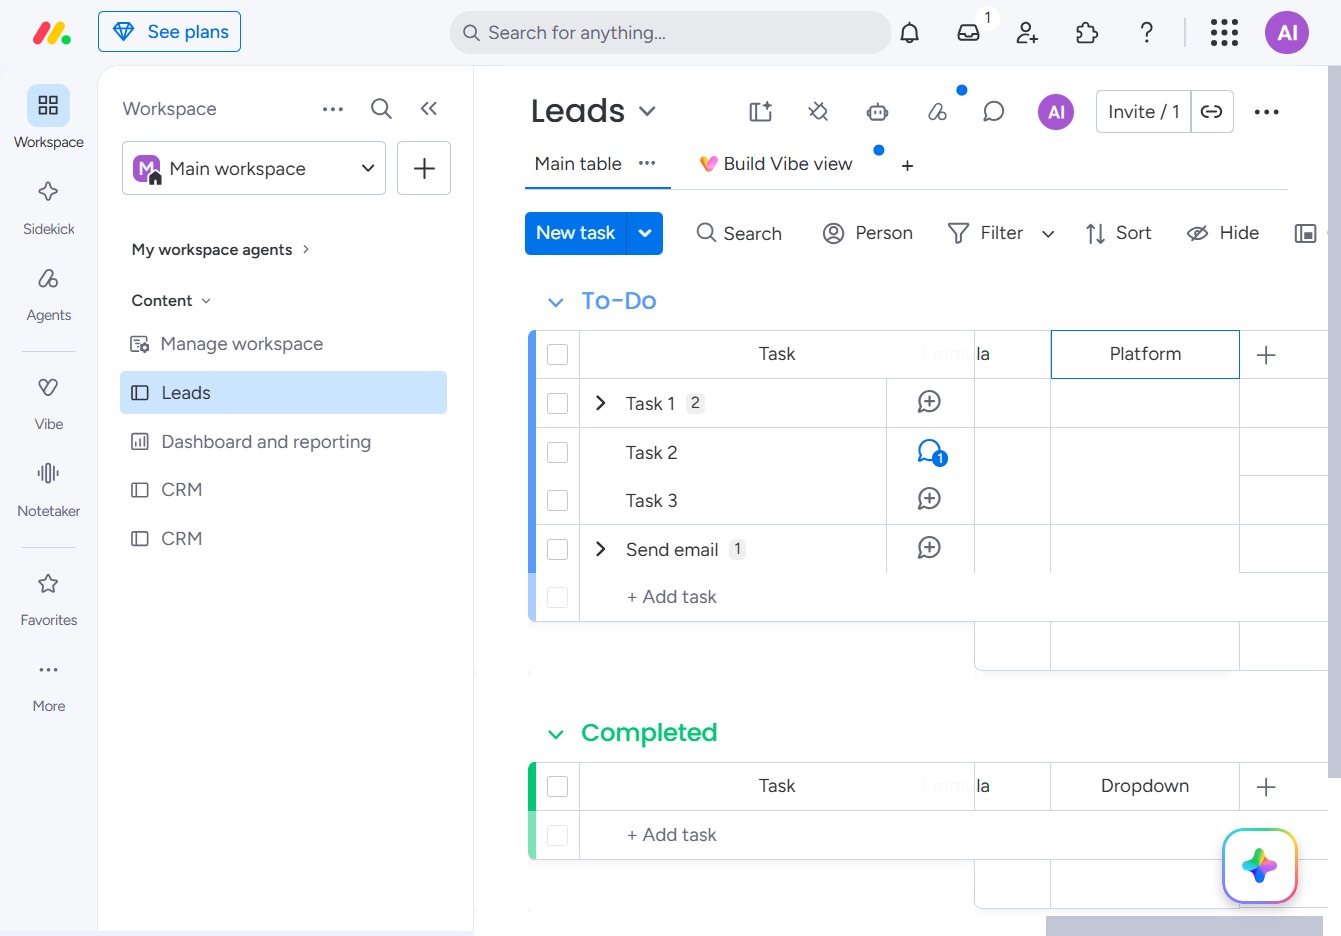
Clicking this link will allow you to create a new task in the Leads section, helping you manage your ongoing projects effectively.
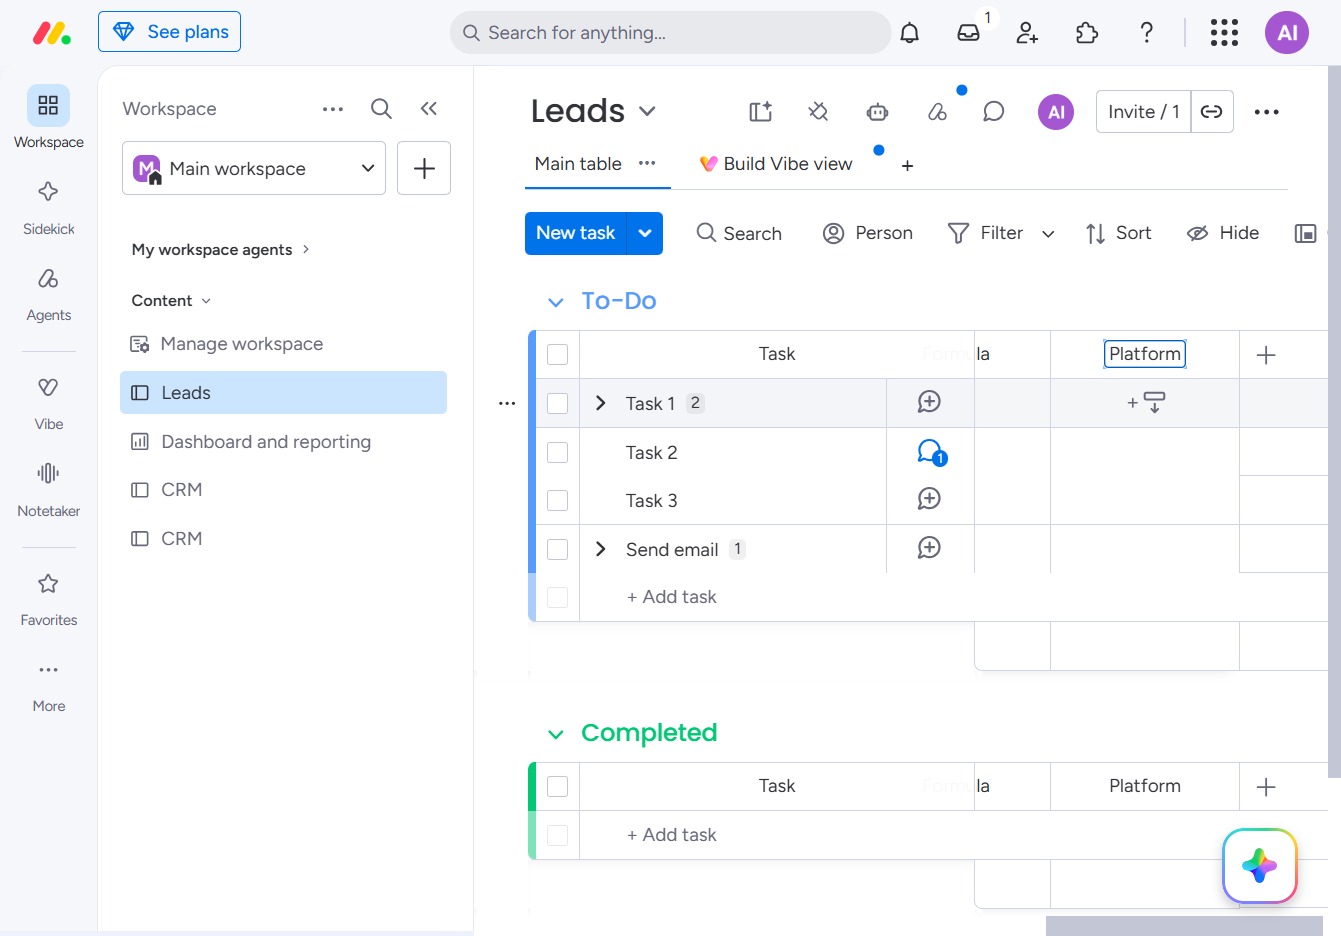
Clicking this input field allows you to enter or edit labels for your tasks in the 'Leads' table, helping to categorize and organize your workflow.
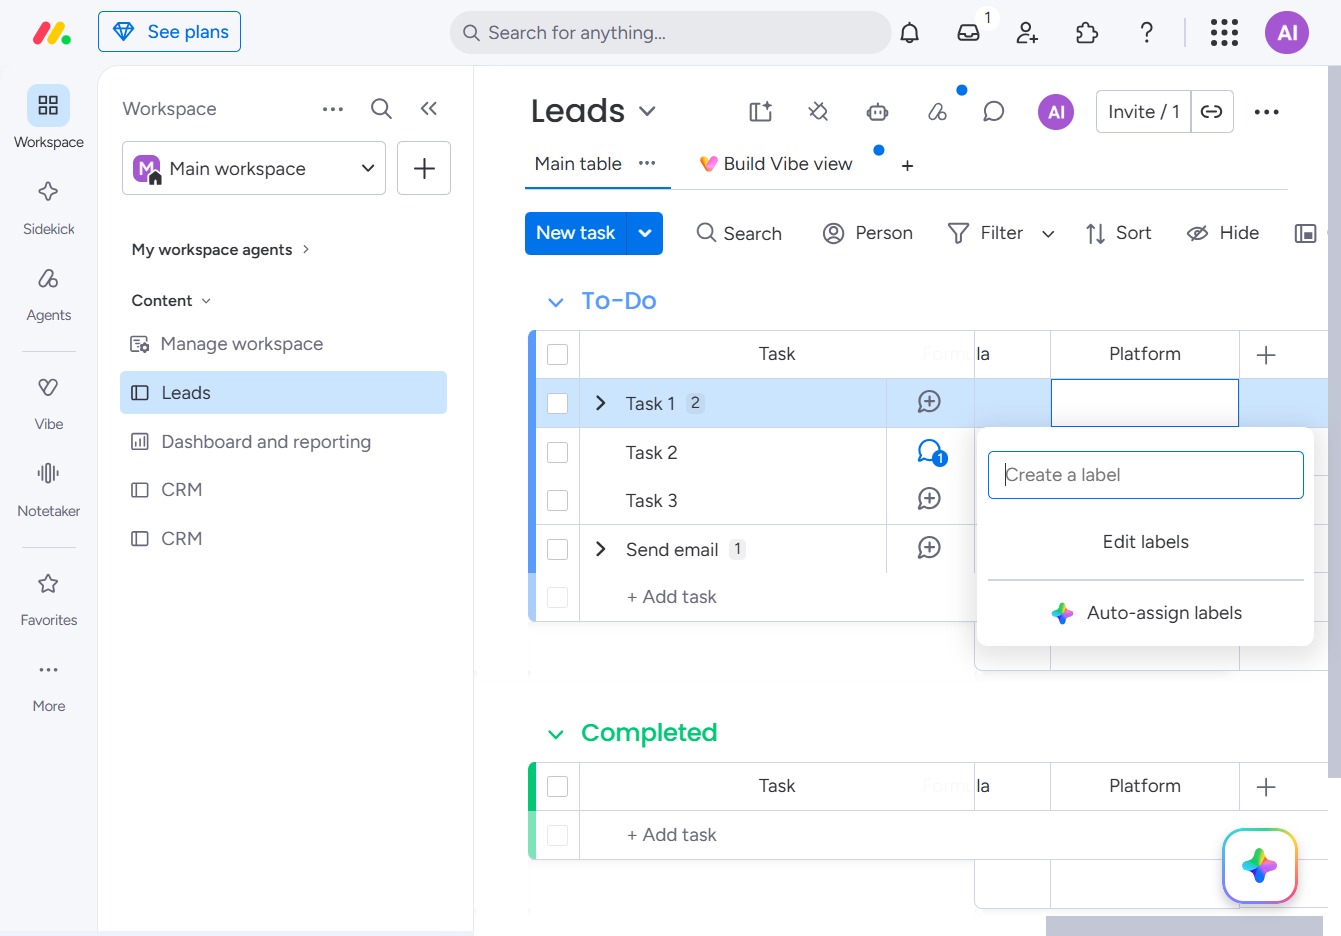
Enter "Instagram" to create a new label for organizing your tasks. This allows you to categorize and filter your tasks effectively within the Leads section.

This action allows you to create a new custom label for better task organization in your Leads section. After clicking, a new label input field will appear for you to enter the label name.

Enter the desired label for your task in the Label field, which will categorize your task under specified labels for better organization.

Enter 'X (Twitter)' into the 'Create or find labels' field to add a new label to your tasks. This allows for better organization and categorization within your Leads management.

This action allows you to initiate the process of creating a new label for organizing your tasks within the Leads section. After clicking, a prompt will appear for you to enter the desired label name.
