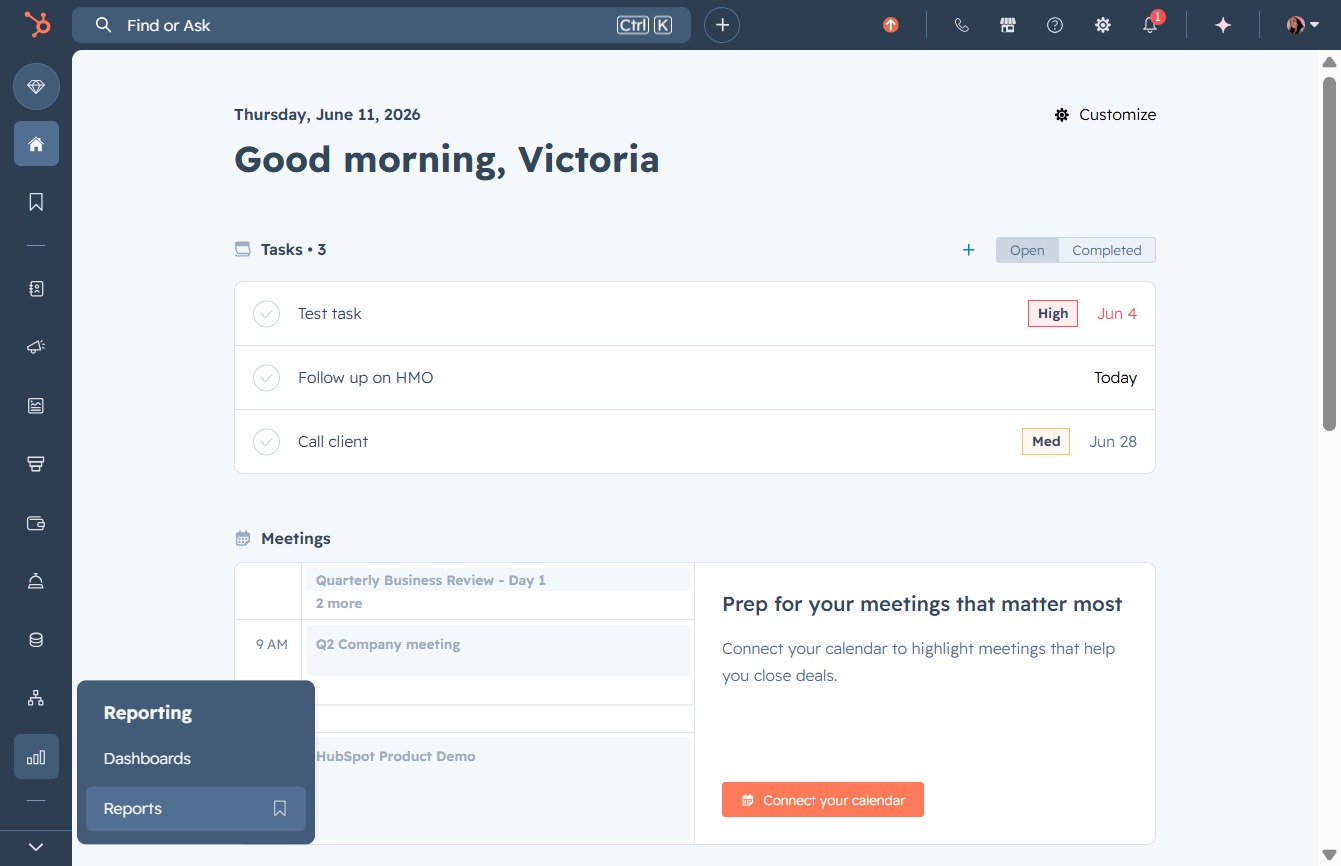
Click the Reports option
This will navigate you to the Reports section, where you can view and analyze various performance metrics and data relevant to your tasks and meetings.
Loading screenshot…
100%
Generate a deal activity report in HubSpot by customizing parameters and analyzing recent lead interactions, enhancing your ability to track engagement and performance metrics.
 viktoria
Generate a deal activity report in HubSpot by customizing parameters and analyzing recent lead interactions, enhancing your ability to track engagement and performance metrics.
This will navigate you to the Reports section, where you can view and analyze various performance metrics and data relevant to your tasks and meetings.
Clicking the Create button will open the interface for generating a new report, allowing you to set parameters and customize your report's content.
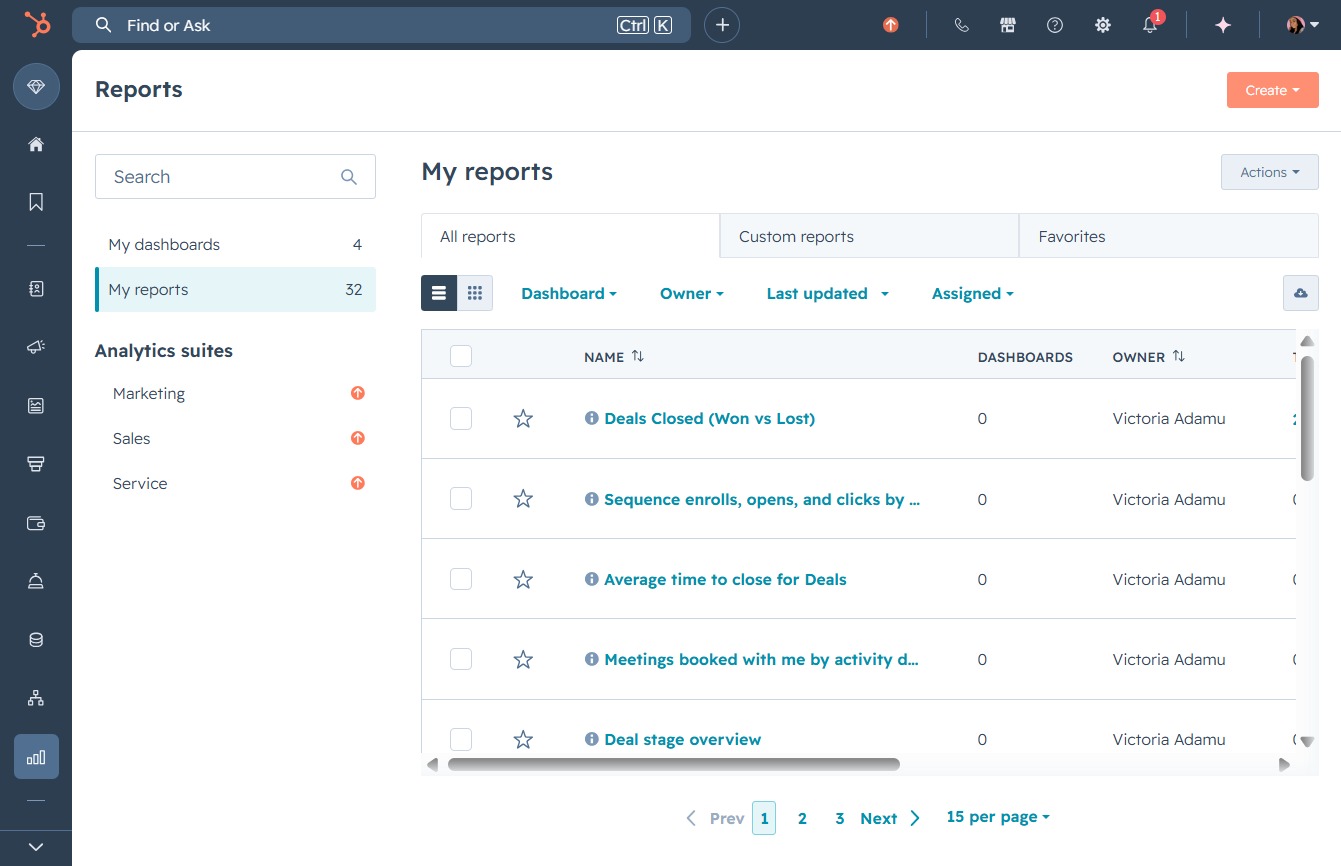
Clicking this button will open a form for generating a new report, allowing you to specify the necessary parameters and details for your report.
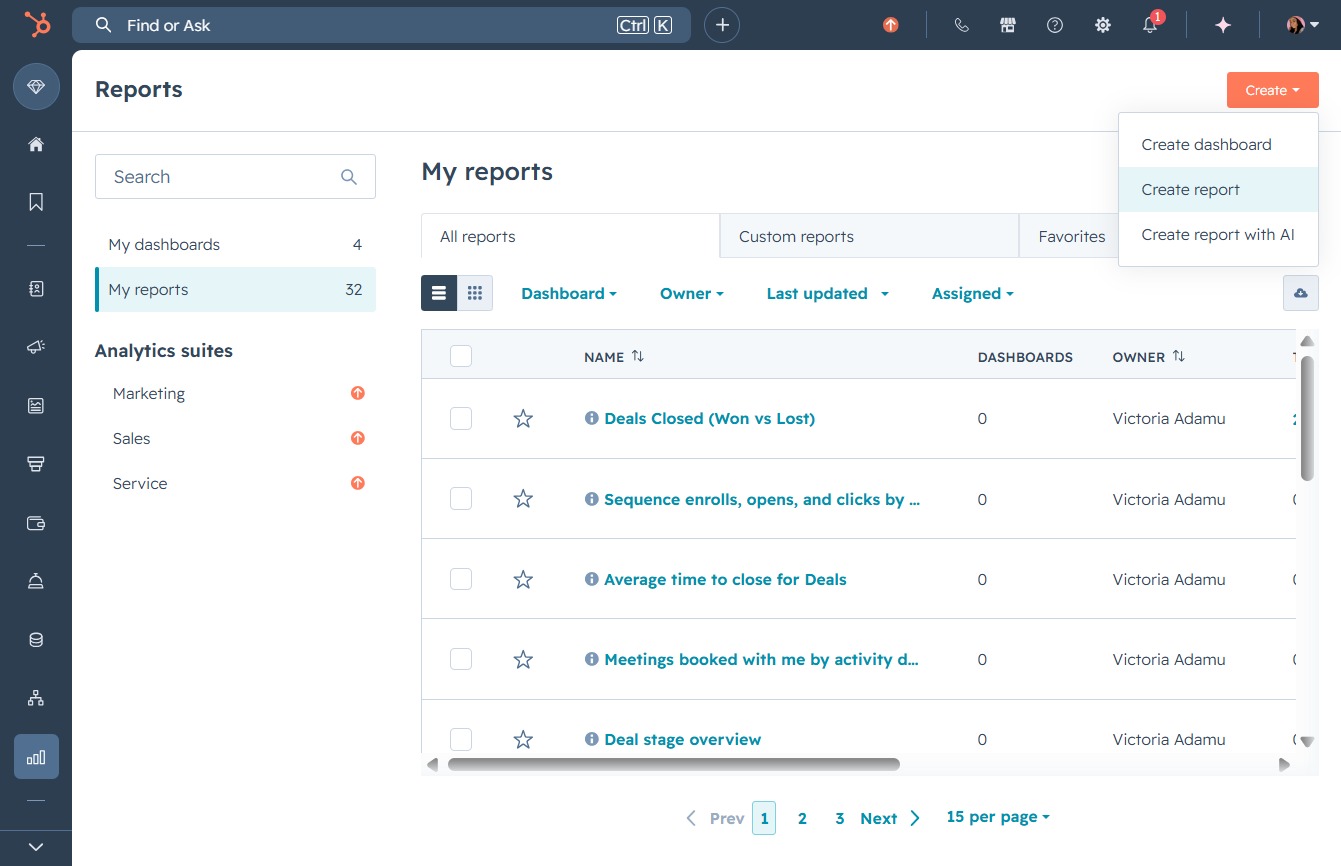
This allows you to search through available report templates to quickly find the one you need. Start typing keywords related to your desired template to filter the suggestions displayed.
Entering 'deal activity' into the search field will filter and display relevant reporting templates related to deal activities, aiding in the quick identification of specific reports.

This section displays the recent activities related to your reports, including email sends and connections made. After clicking, you can review detailed information about each activity type.
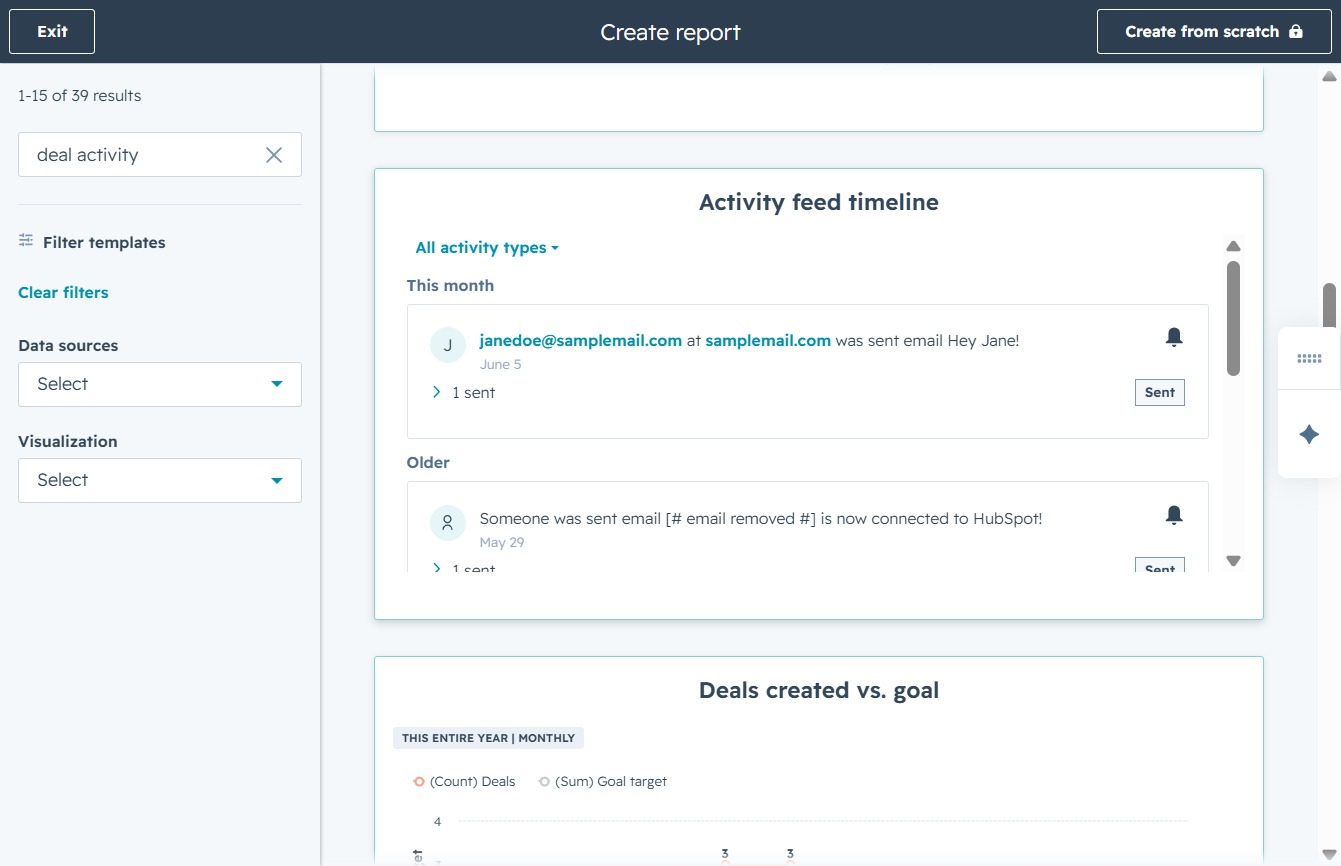
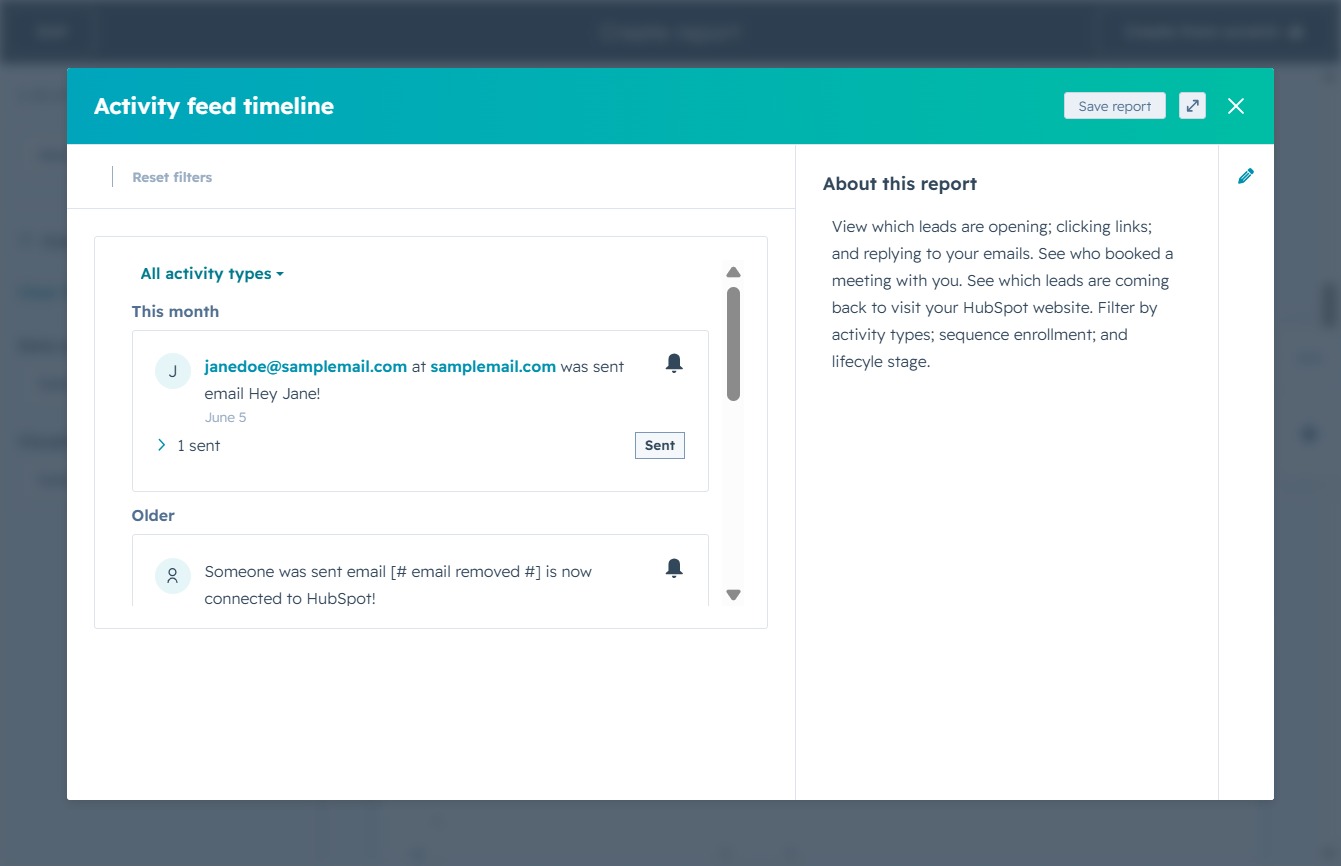
This action will display a dropdown menu with different activity types, allowing you to filter the activity feed timeline based on specific criteria.
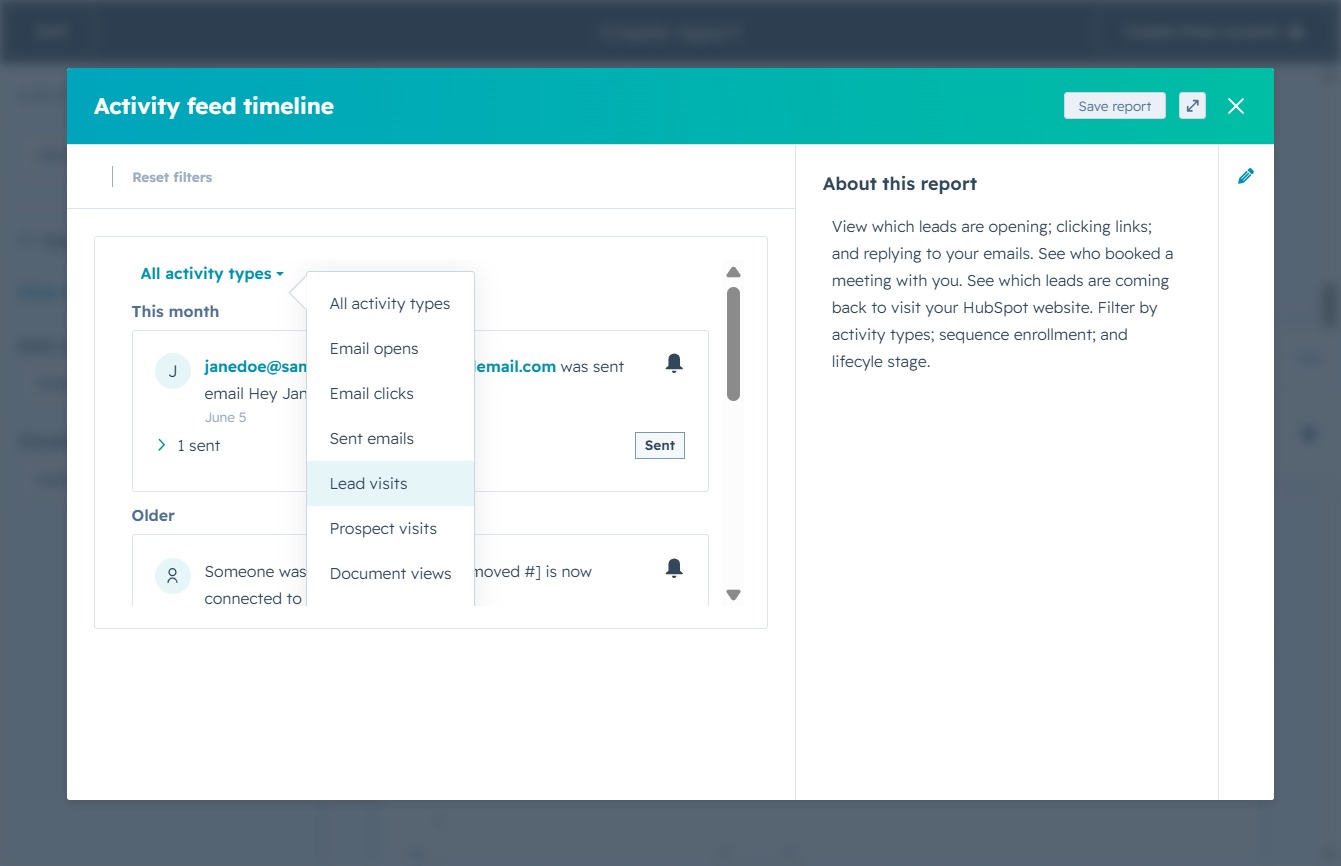
Selecting 'Lead visits' will filter the activity feed to display specific interactions and visits from your leads to your site. This helps in analyzing which leads are engaging with your content.
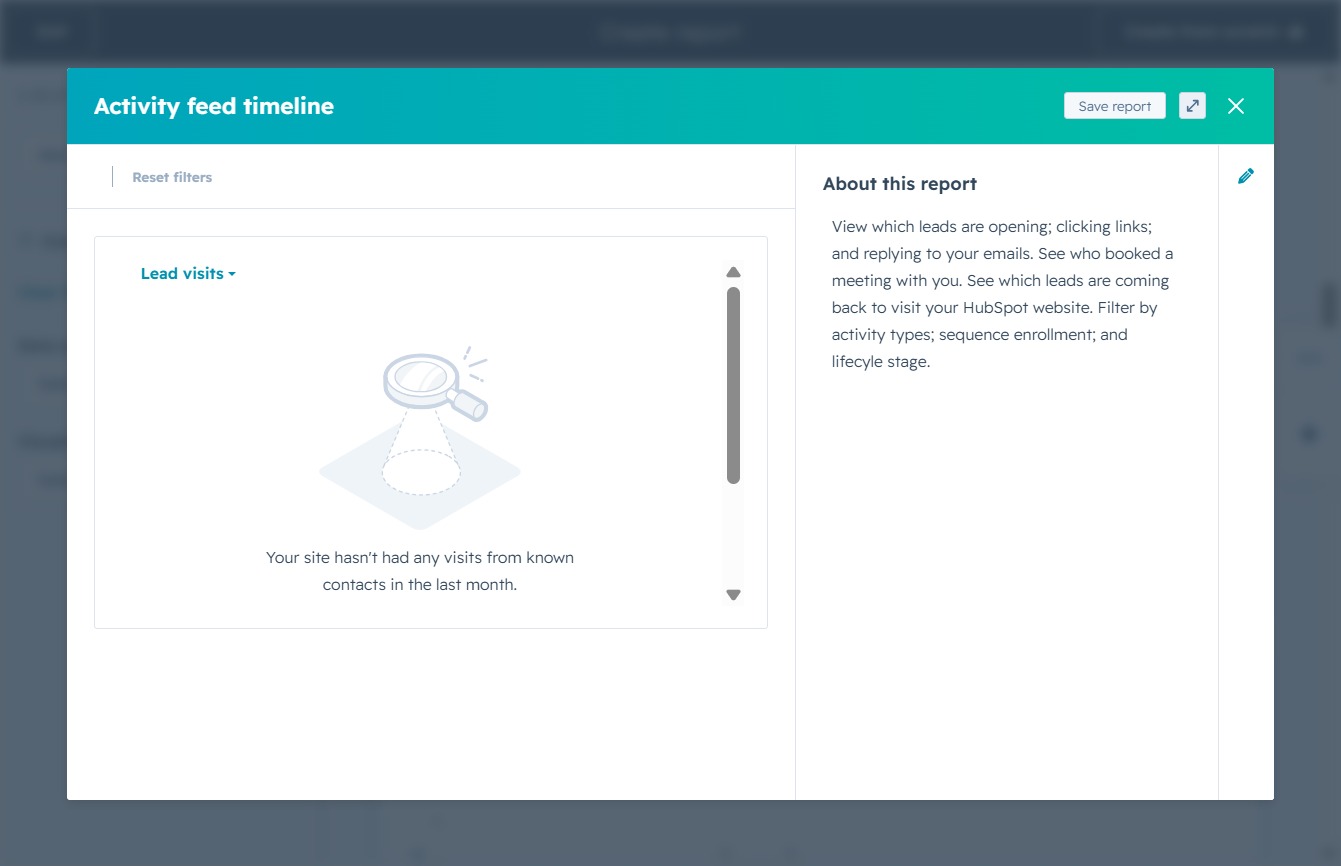
Clicking this button will save the current report, preserving the data and insights related to lead visits and activity timelines. Review your saved reports later to track engagement and performance.
This will proceed to the next step of saving your report, allowing you to define additional options for dashboard integration.
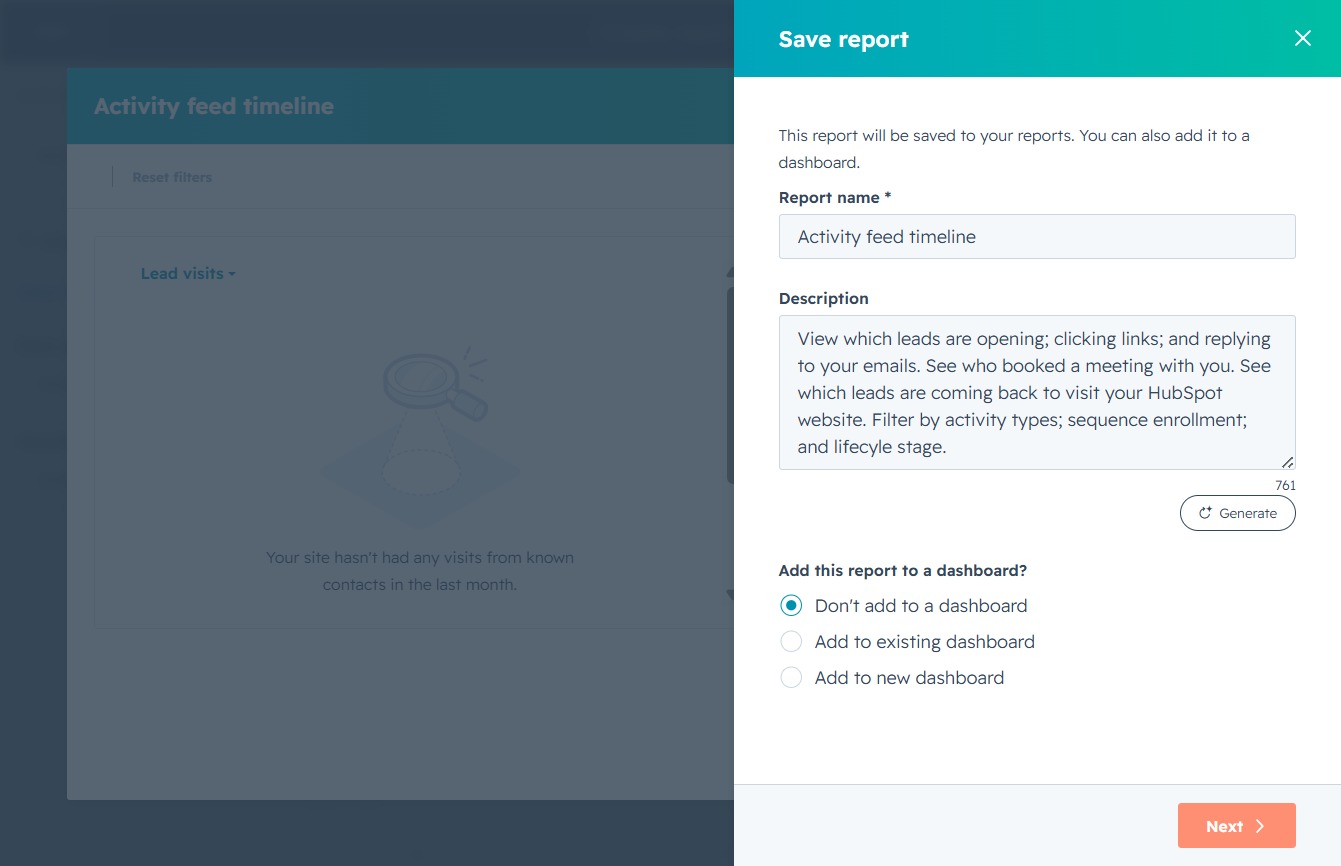
This action will save your report along with the access permissions you have selected, allowing you to manage who can view or edit the report.
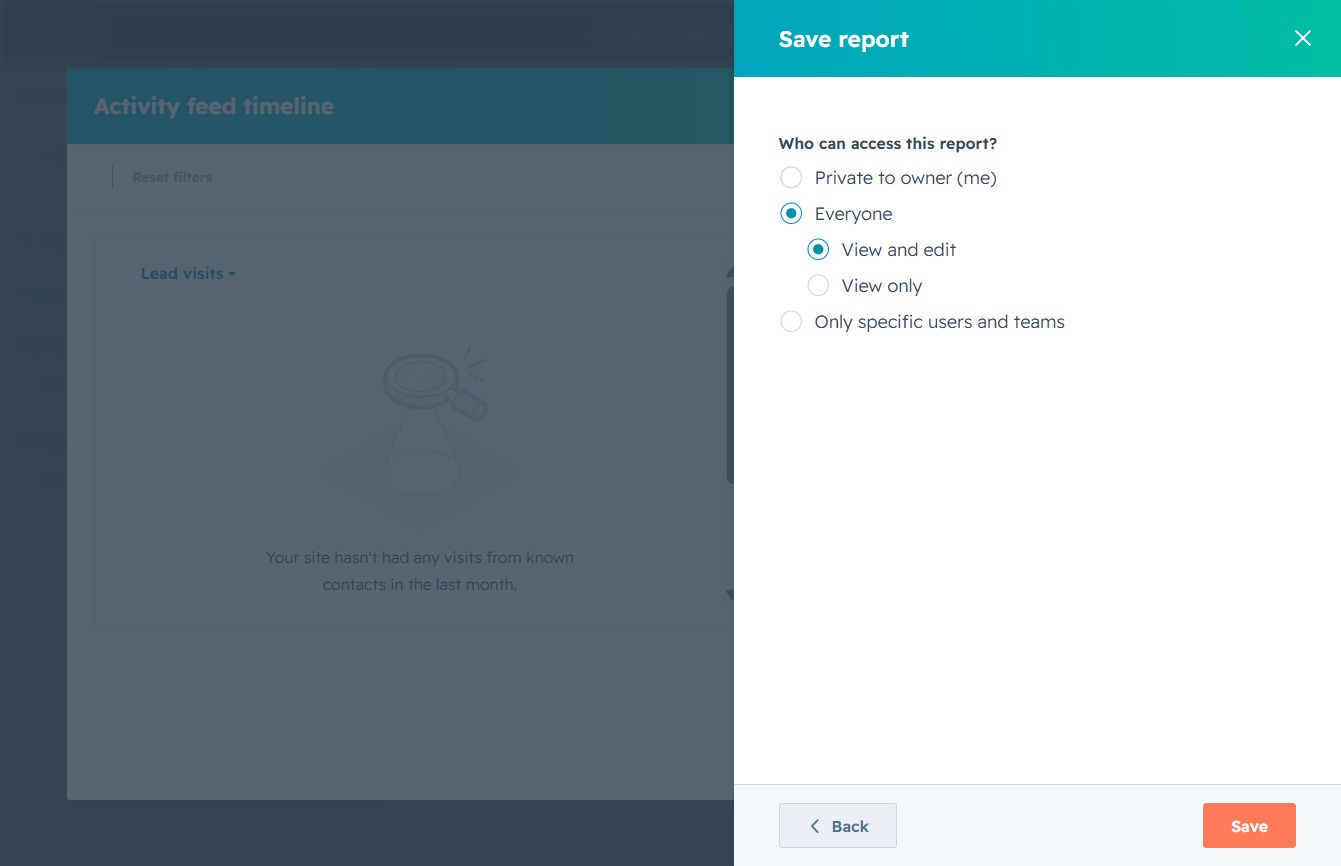
After clicking 'Save', your report settings will be confirmed, and the report will be stored with the selected accessibility options.
