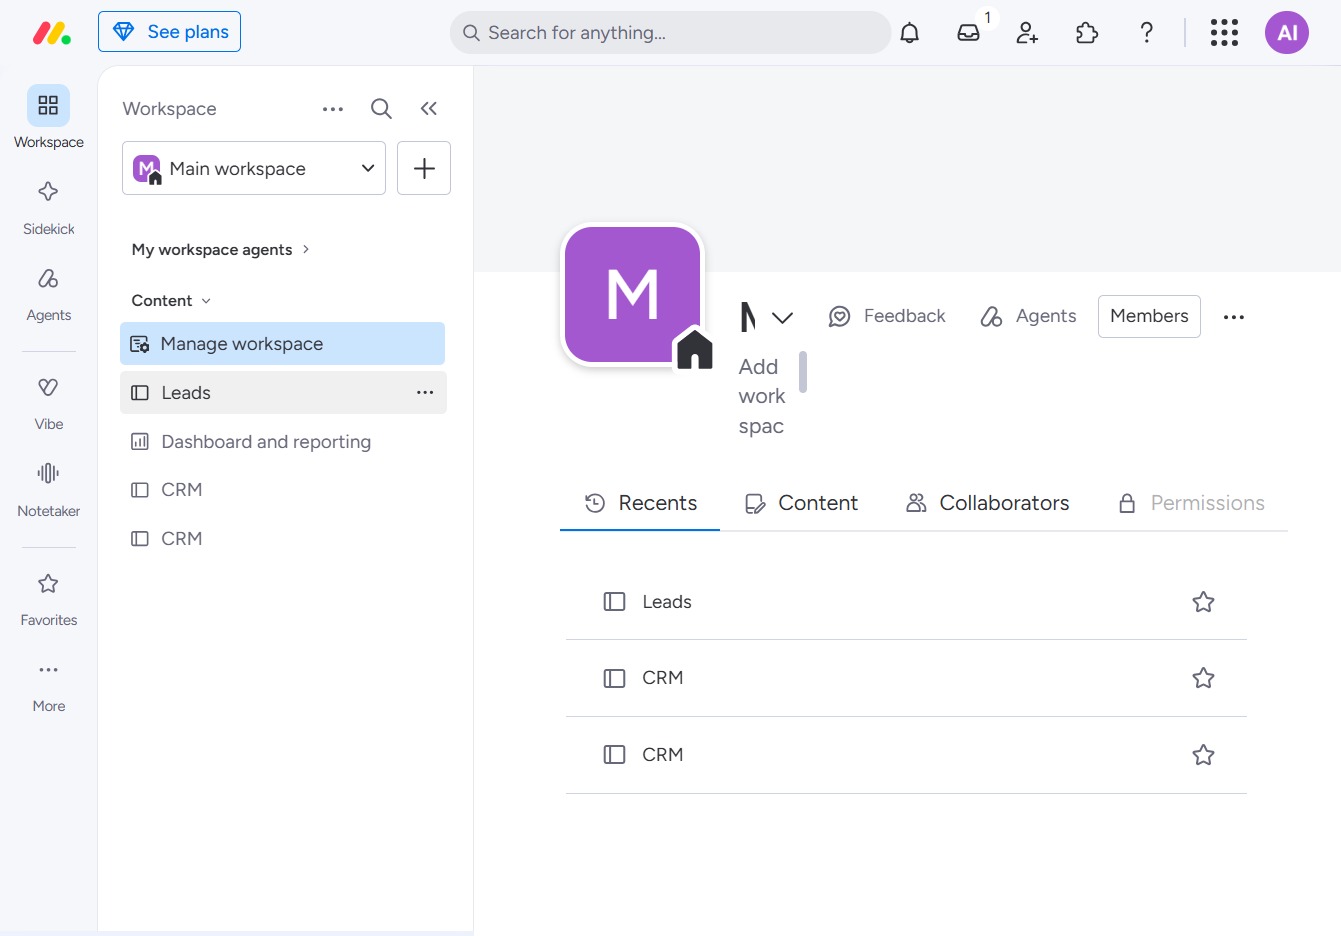
Click the BoardLeads section
Clicking on the BoardLeads section will allow you to manage and view your leads. This section provides access to your lead management features, facilitating tracking and updates.
Loading screenshot…
100%
This guide teaches you how to effectively utilize the Date column in your lead management workspace, from navigating to the appropriate sections to adding and modifying…
 viktoria
This guide teaches you how to effectively utilize the Date column in your lead management workspace, from navigating to the appropriate sections to adding and modifying date-related fields for tasks. Follow the steps to enhance your scheduling and tracking capabilities for better task management.
Clicking on the BoardLeads section will allow you to manage and view your leads. This section provides access to your lead management features, facilitating tracking and updates.
Clicking this button allows you to add a new column to your Leads workspace, enabling you to customize your task management view.
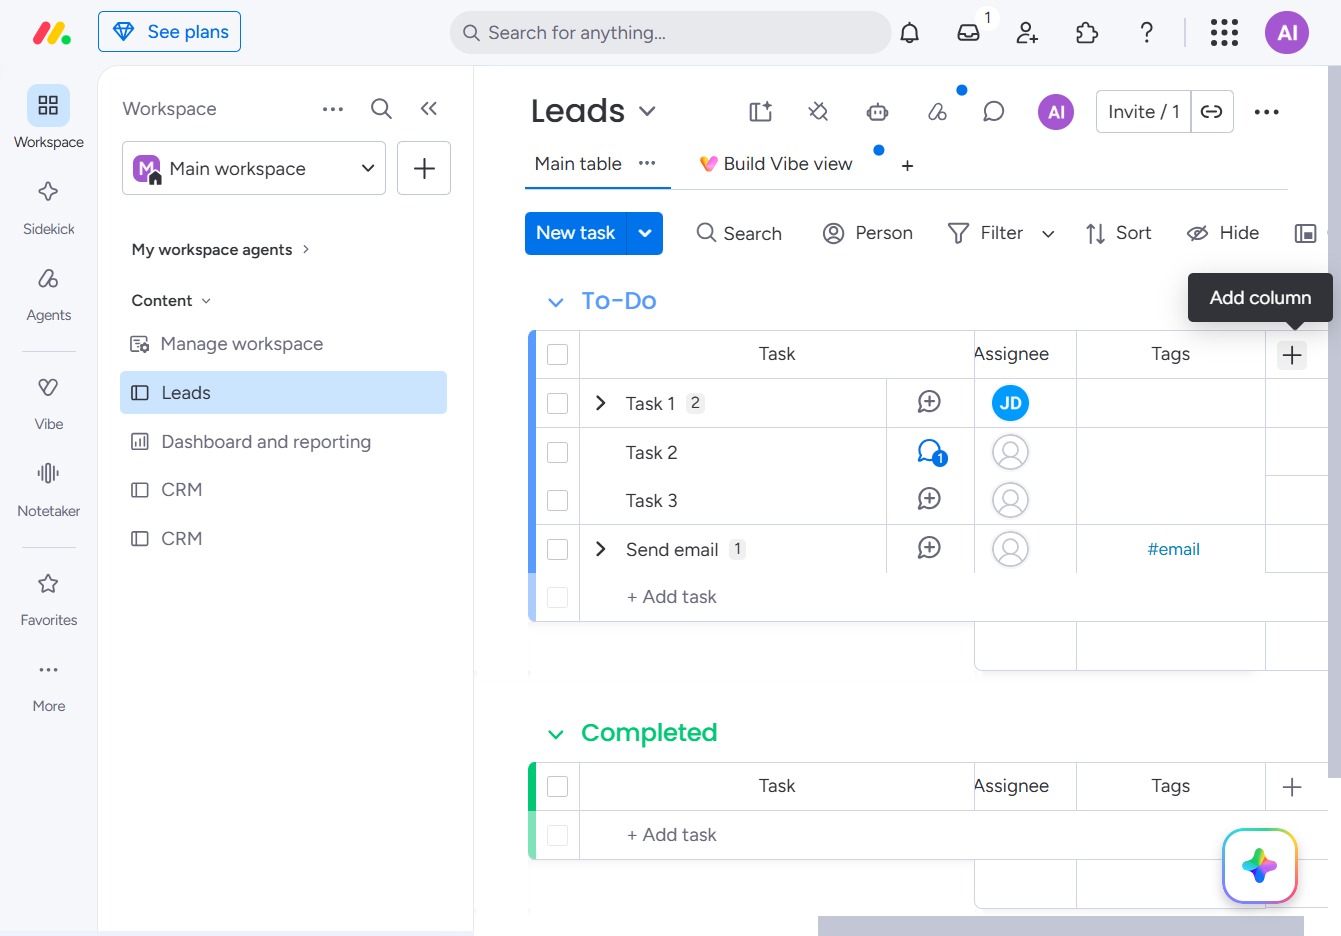
Selecting the Date option allows you to configure date-related fields for your leads, enhancing task scheduling and tracking.

This action allows you to modify the date associated with a task in the Leads main table. After clicking, a date picker or input field will appear for you to select or enter a new date.
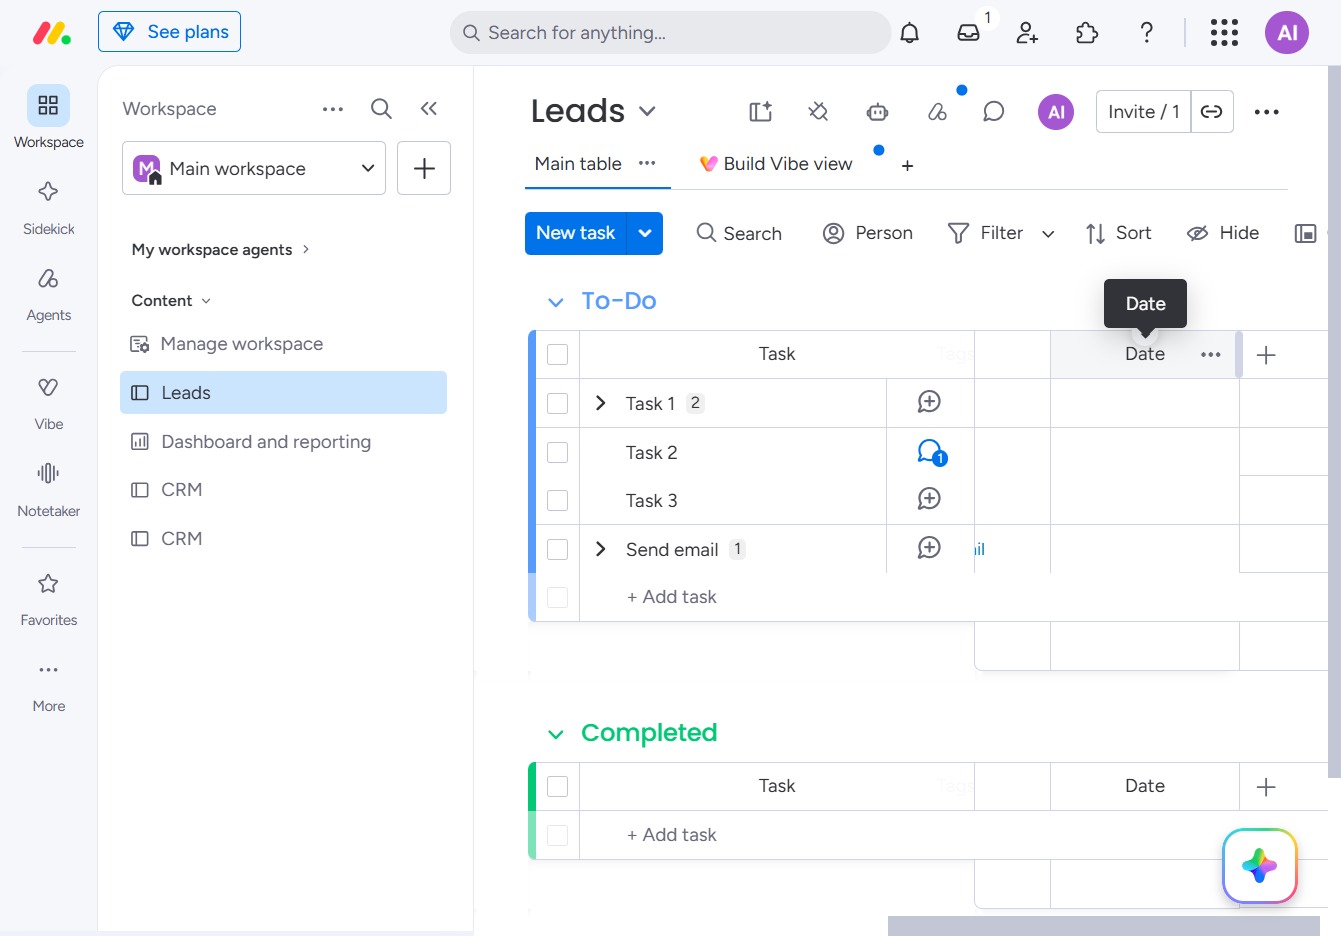
Enter the start date for your task in the designated field to ensure proper scheduling within the Leads section of your workspace.
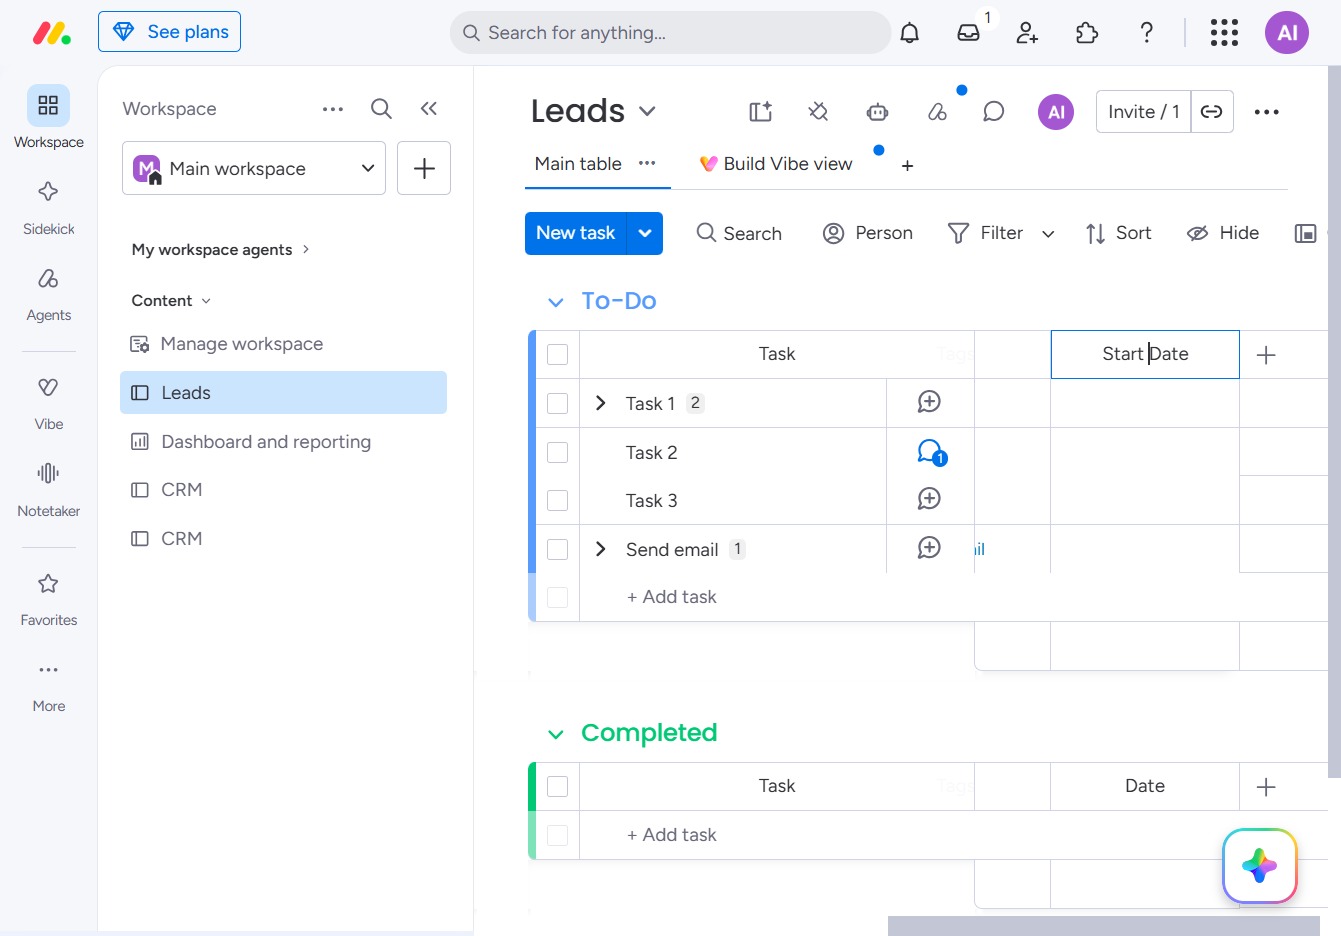
This will open the task creation interface, allowing you to enter the details of a new task in the Leads section.

This action opens the calendar, allowing you to select a date for the task's completion. Choose a date to set it for your task.
