Click on John in the Contacts list
Clicking on John will allow you to view and edit his contact details, including his email and phone number, within the Contacts section of the CRM.

Loading screenshot…
100%
Insert the Meeting Confirmation snippet into your email in HubSpot to quickly confirm meeting details with contacts while managing email preferences directly from the CRM.
 viktoria
Insert the Meeting Confirmation snippet into your email in HubSpot to quickly confirm meeting details with contacts while managing email preferences directly from the CRM.
Clicking on John will allow you to view and edit his contact details, including his email and phone number, within the Contacts section of the CRM.
Clicking this button will initiate the process to compose a new email to the contact 'John', allowing you to communicate directly from the CRM interface.

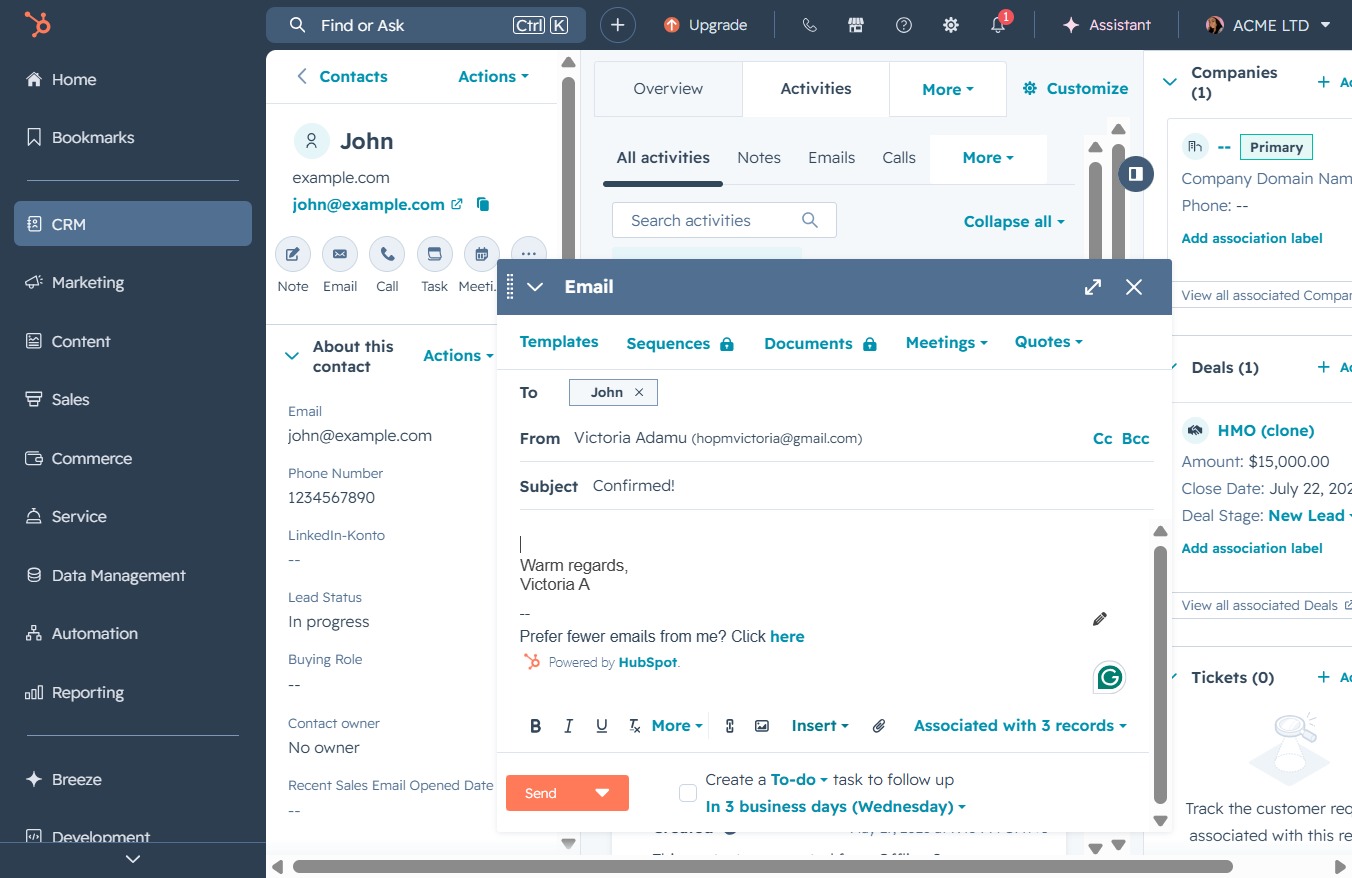
This will allow you to manage your email preferences in HubSpot. You can adjust how often you receive emails from this contact.
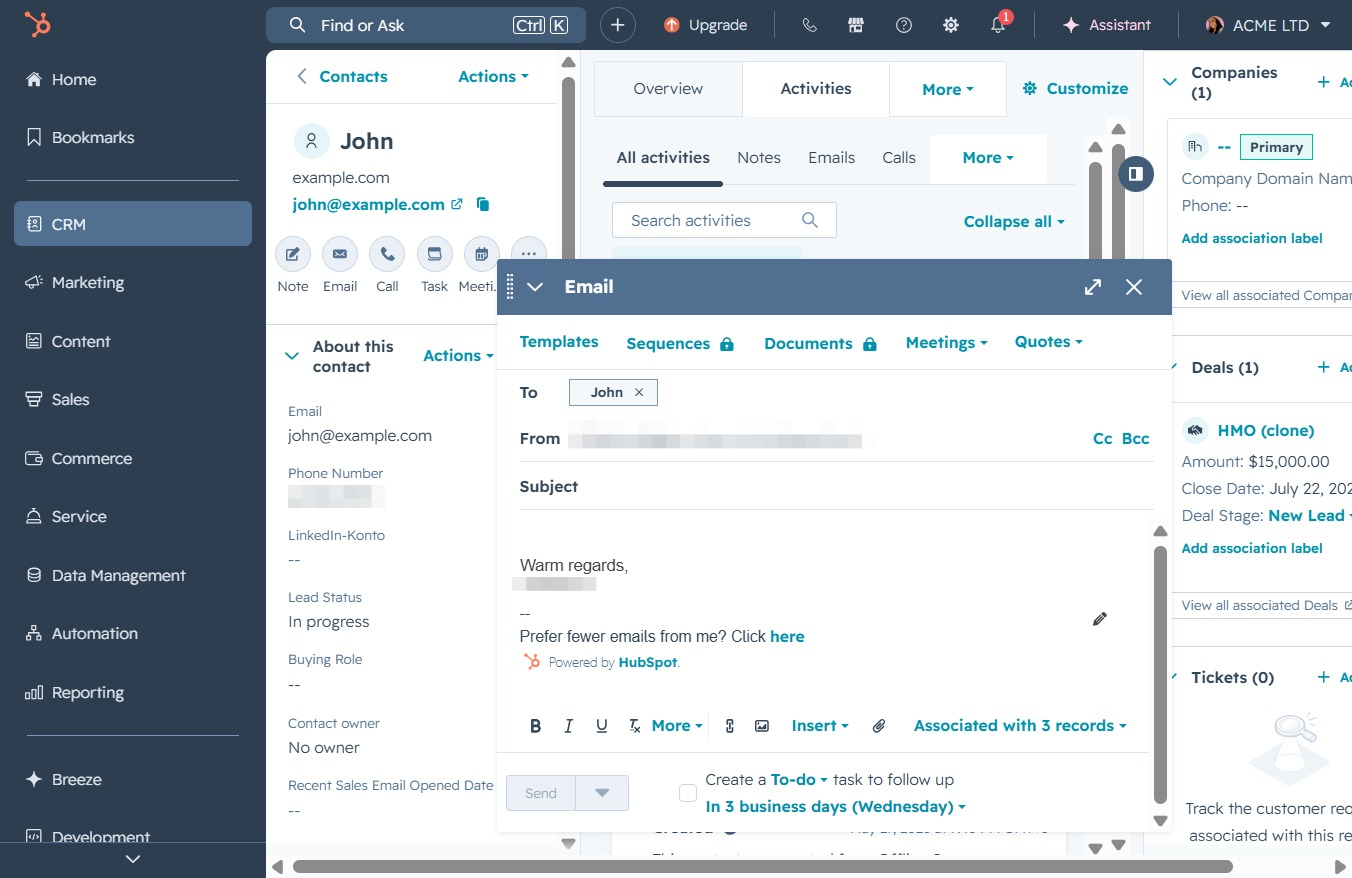
In the 'To' field of the email, enter the email address of the person you wish to contact. This ensures the message is sent to the correct individual within the CRM system.
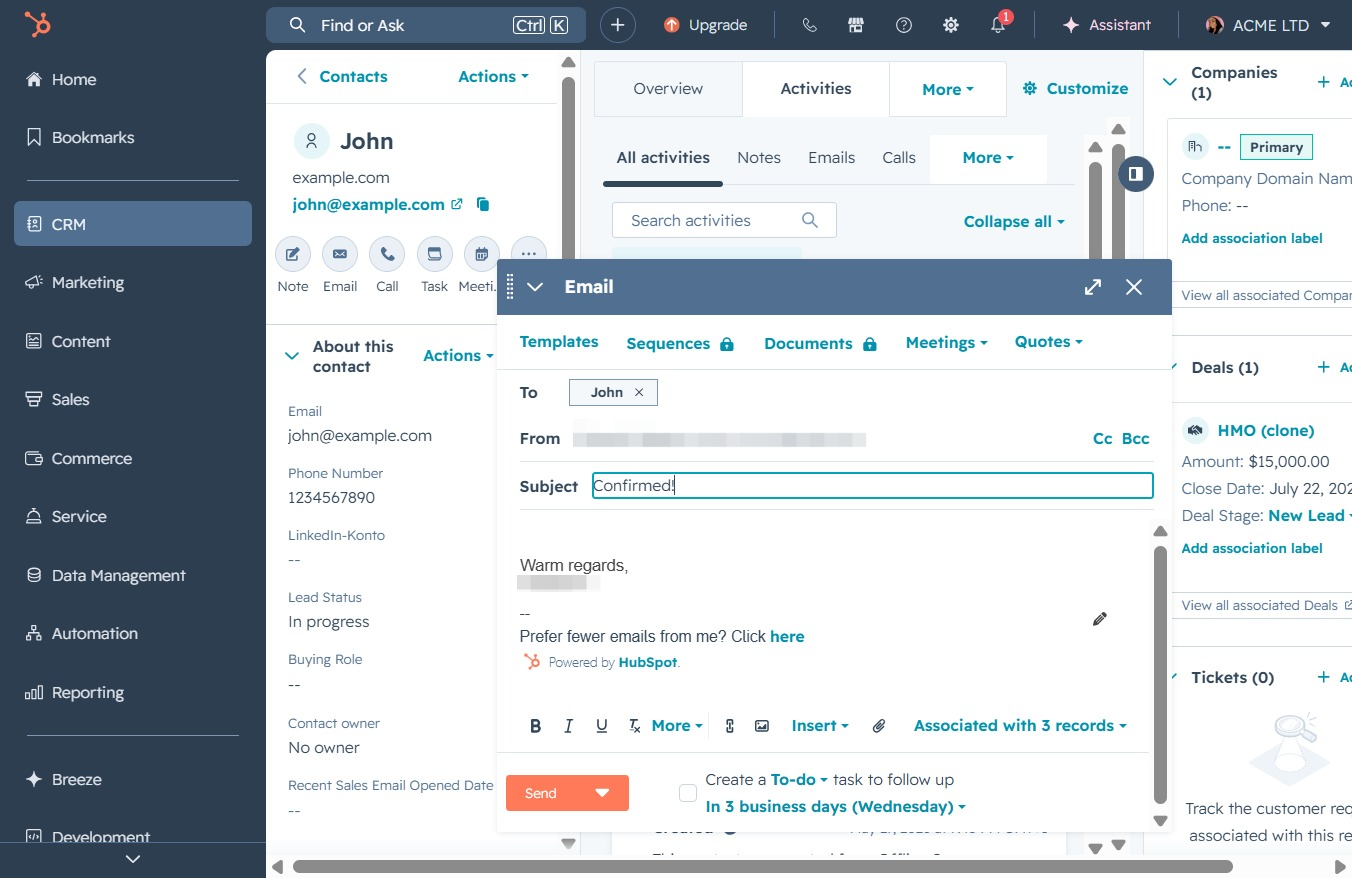
This will prompt an option to manage your email preferences. You can select how you wish to receive future emails from this contact.

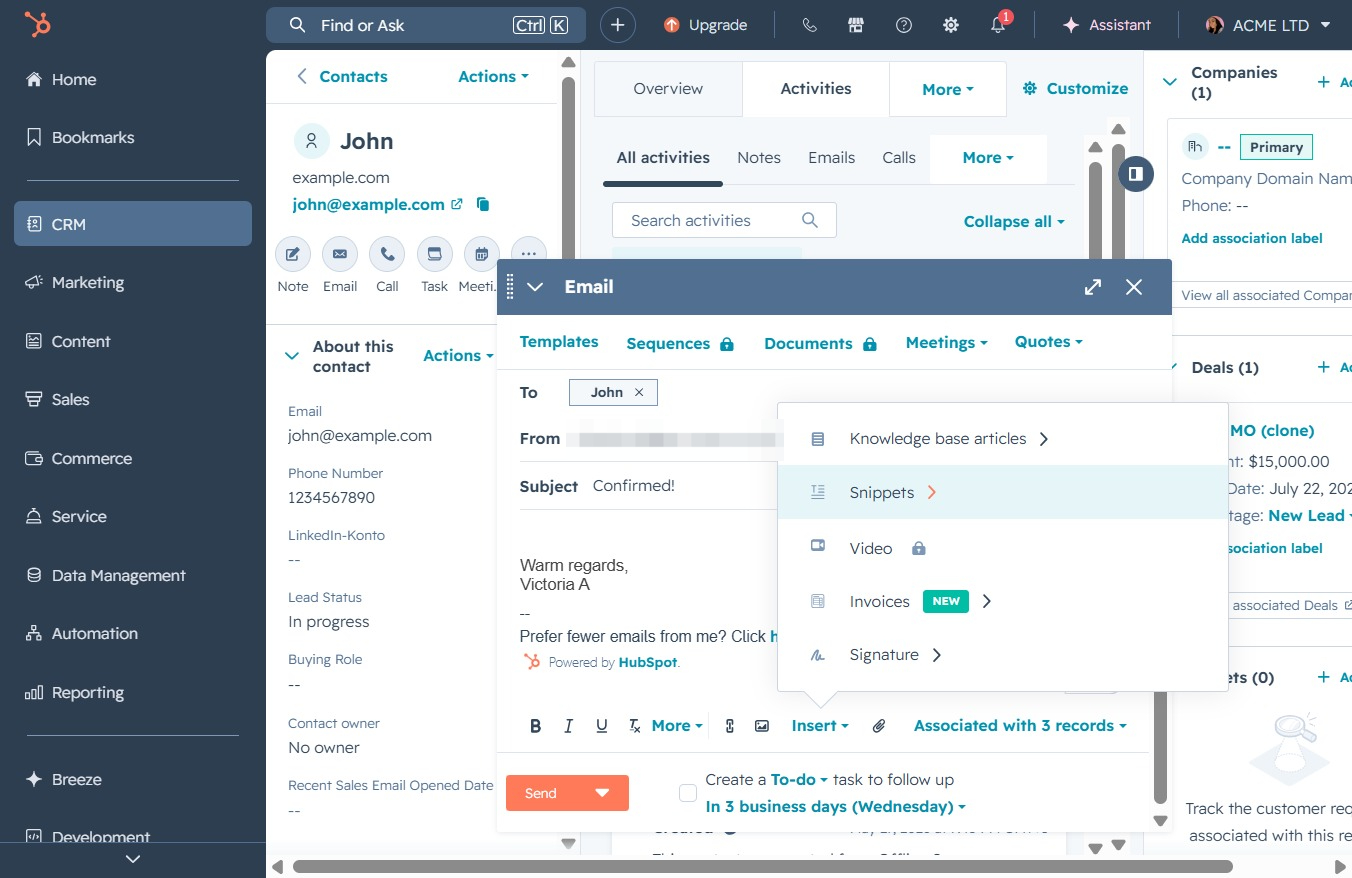
By clicking the Insert button, you can add various elements to your email, such as templates, documents, or sequences, enhancing the message before sending it.
Selecting the Snippets option allows you to insert pre-defined text snippets into your email, streamlining your message composition.
Selecting the 'Meeting Confirmation' snippet will insert a pre-defined message into the email being composed, confirming the meeting details for the recipient.
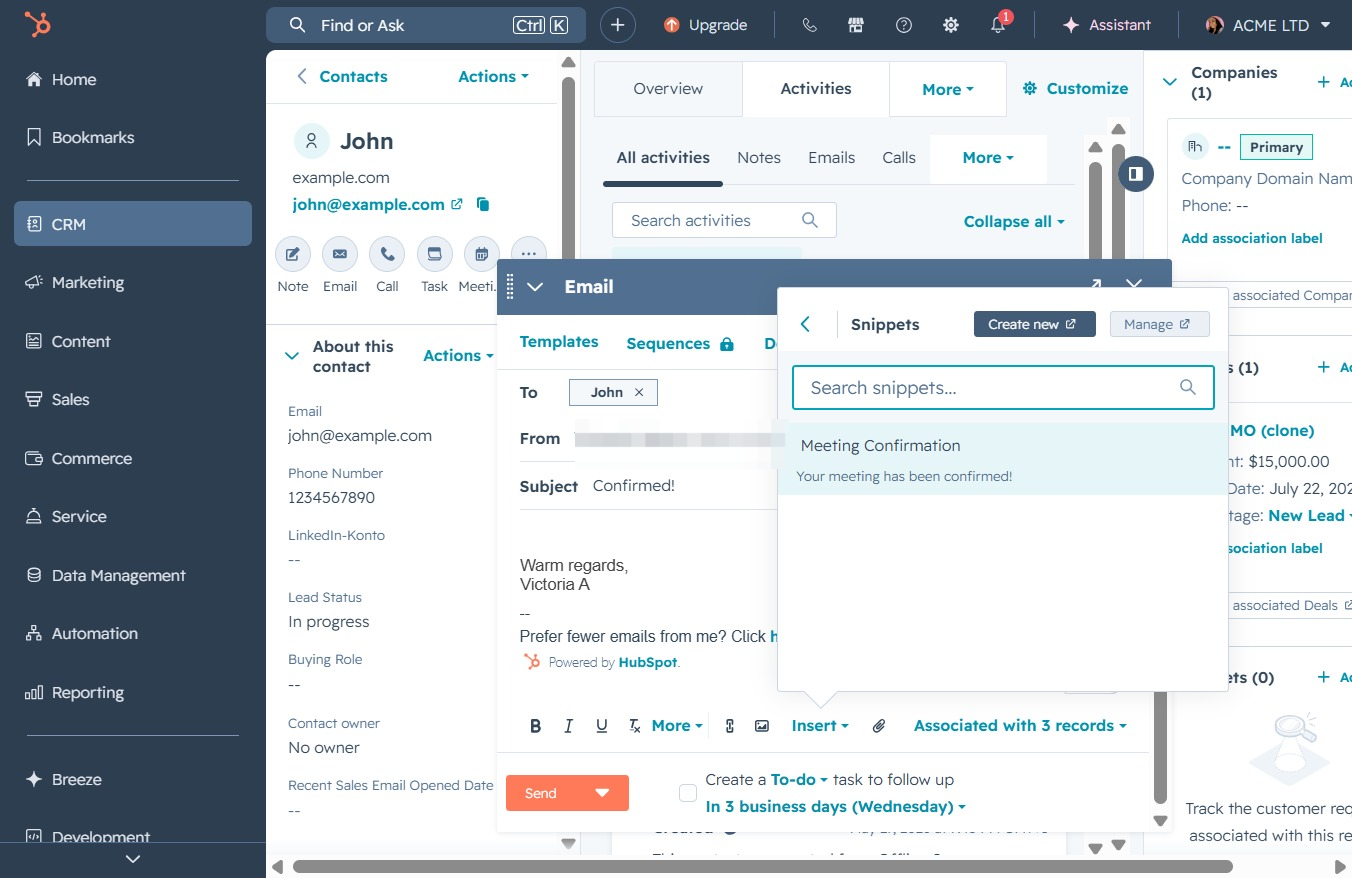
Clicking the 'Send' button will dispatch your composed email to the recipient listed in the 'To' field. Ensure that all email details are correct before sending.
