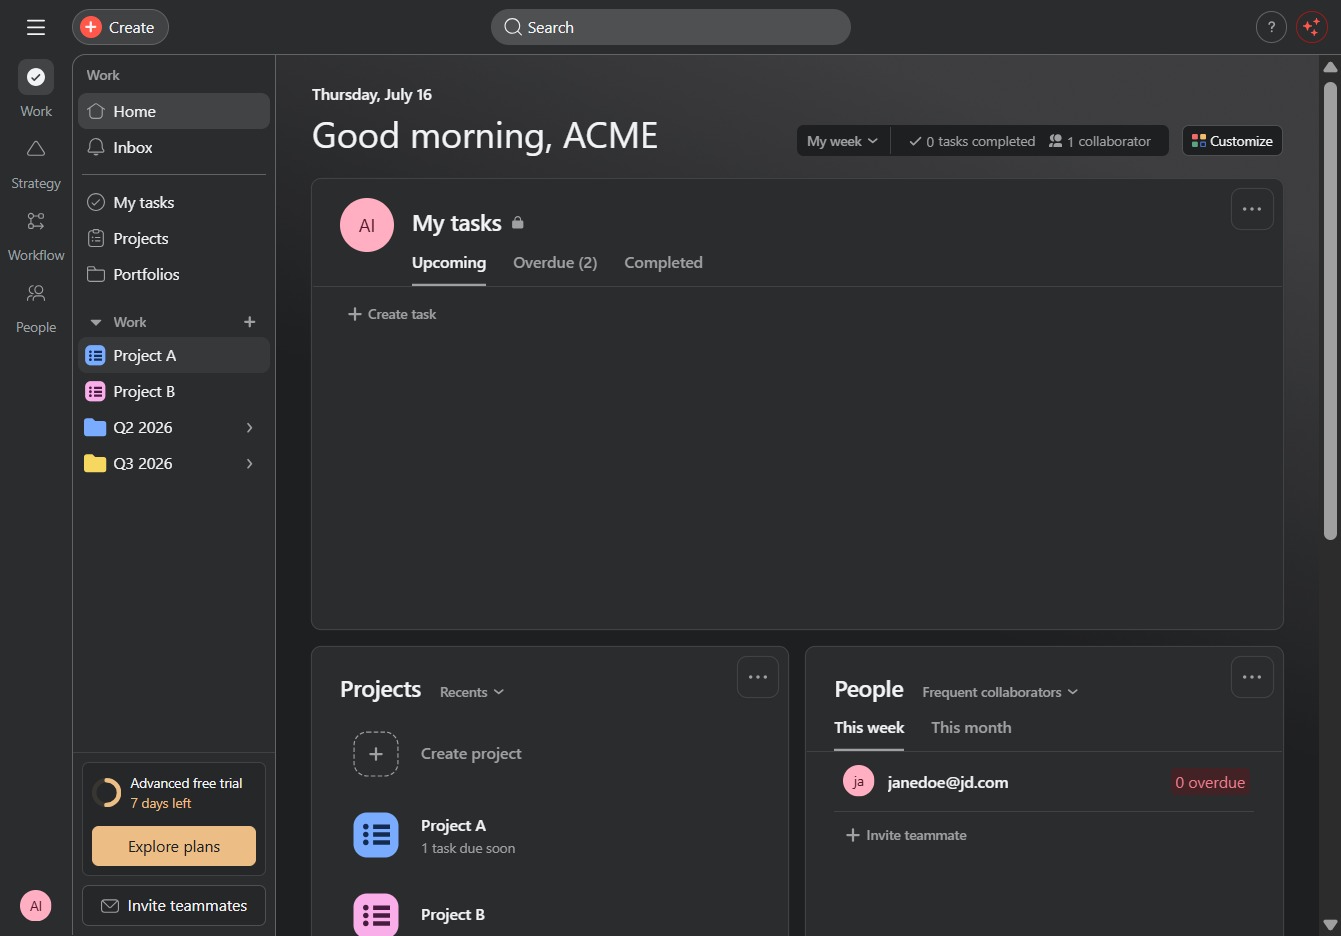
Click Project A
Clicking on 'Project A' will open the details and tasks associated with this specific project, allowing you to manage and review its progress.
Loading screenshot…
100%
This how-to guide walks you through using rule templates to effectively manage your projects.
 viktoria
This how-to guide walks you through using rule templates to effectively manage your projects. You’ll learn how to navigate to project details, customize settings, create tasks, and automate workflow with rules that enhance organization and efficiency.
Clicking on 'Project A' will open the details and tasks associated with this specific project, allowing you to manage and review its progress.
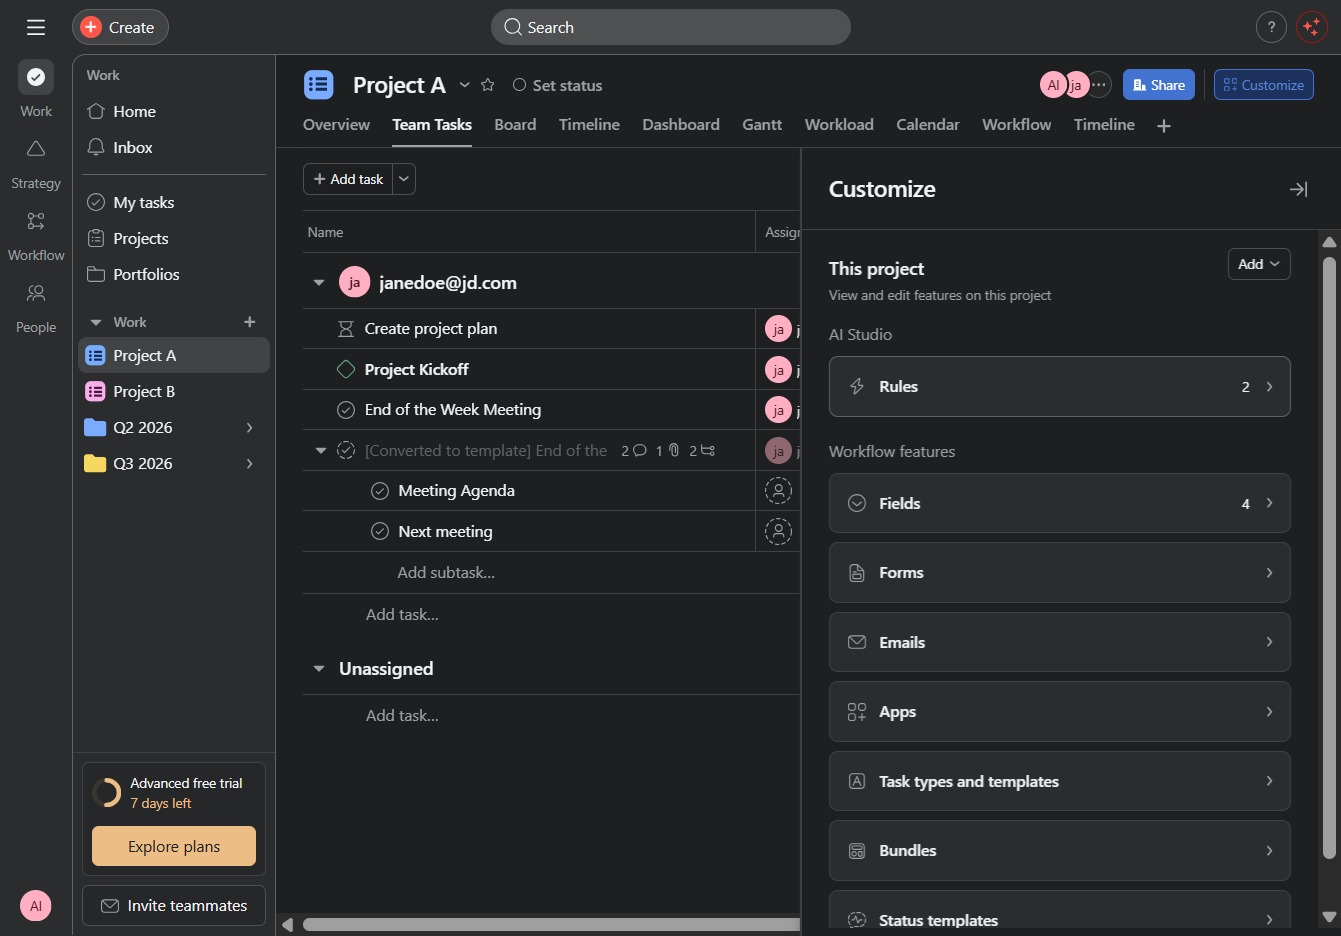
This will open the customization settings, allowing you to modify the appearance and features of your project interface.

Selecting the Rules2 section allows you to access and customize the specific rules associated with this project, enabling better management and workflow automation.
This adds a new task or item to your project, allowing you to input details and manage team responsibilities effectively.

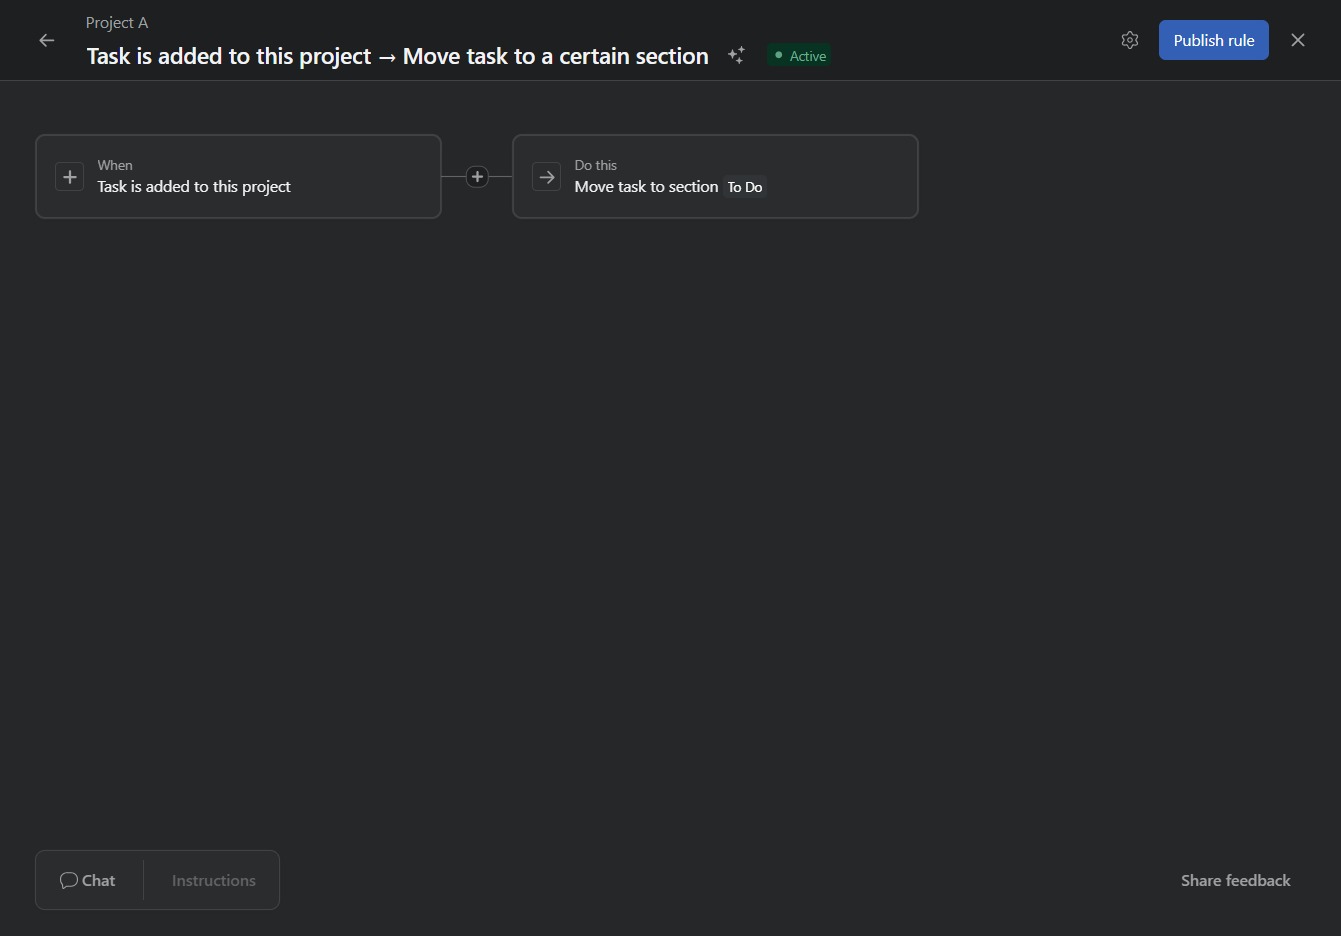
This action allows you to configure a rule that automatically moves the task to a specified section within the project upon being added. It streamlines task management by ensuring tasks are organized effectively from the start.

This action finalizes and activates the rule you have created for task management within the project. Once published, the rule will execute the specified conditions and actions automatically.