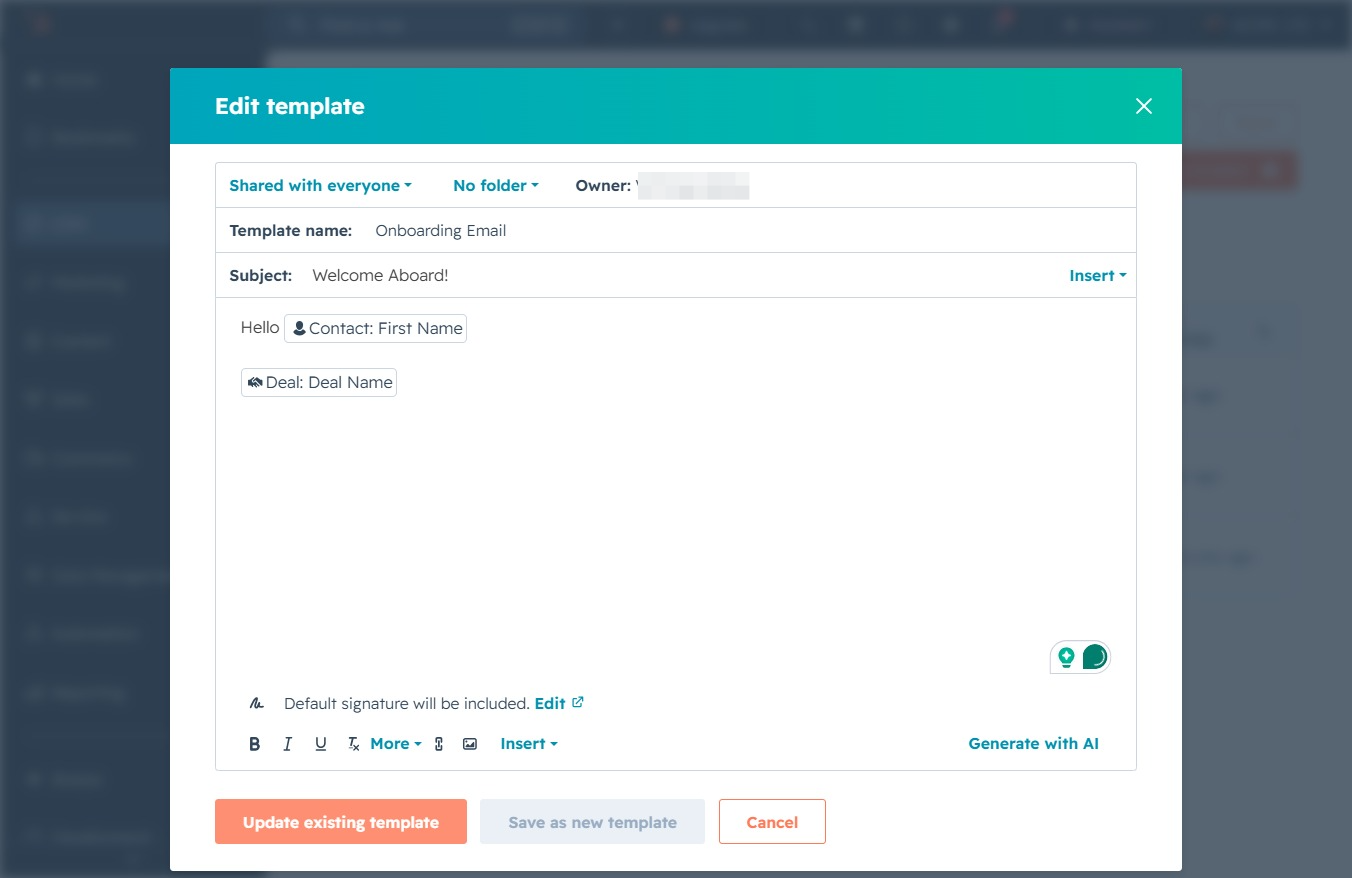
Click the CRM icon
This will open the Customer Relationship Management section, where you can manage your contacts, deals, and interactions with customers.
Loading screenshot…
100%
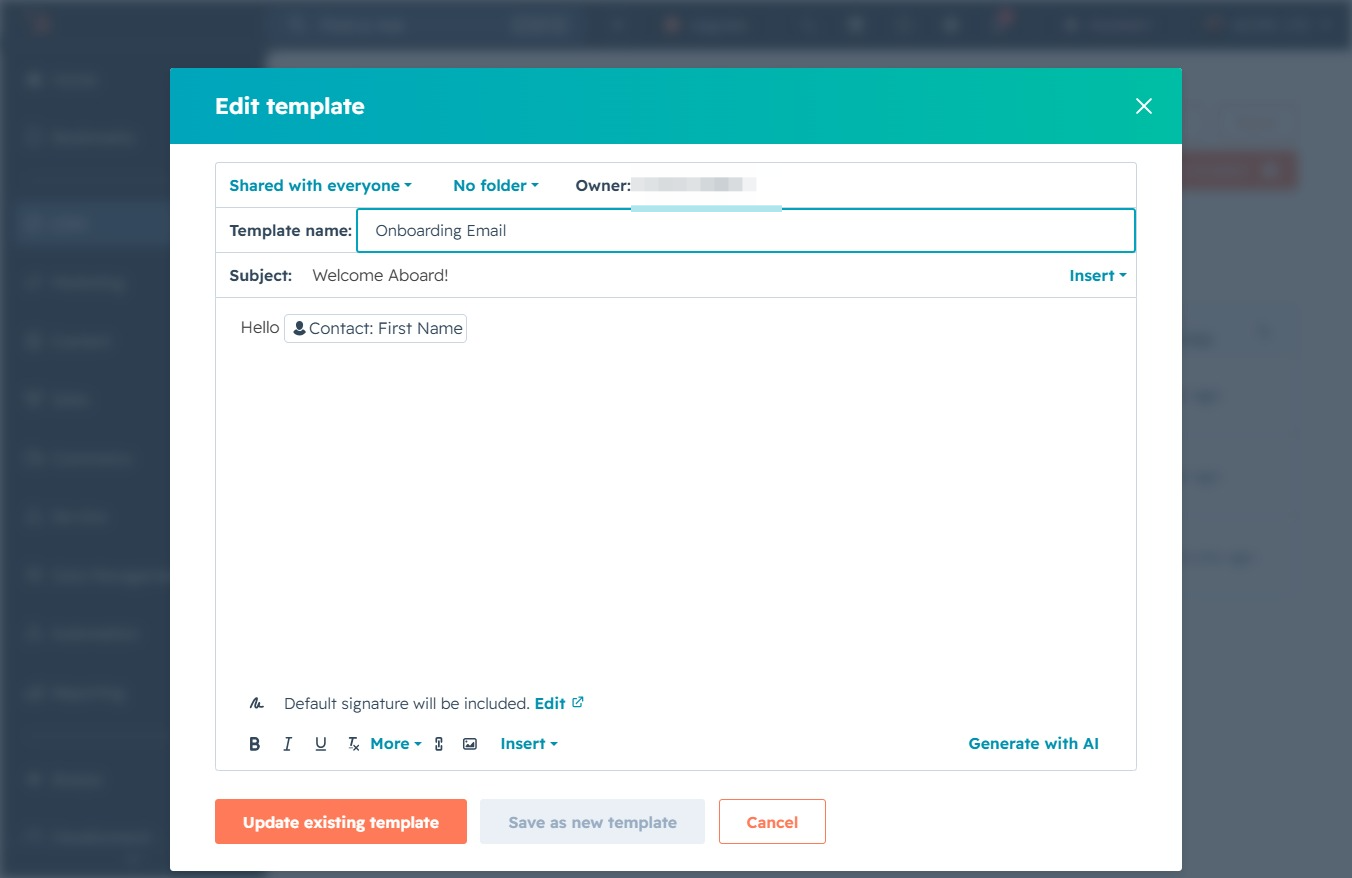
Personalize your Onboarding Email template by inserting contact and deal tokens, which enables tailored communication based on individual recipient information and specific deal…
 viktoria
Personalize your Onboarding Email template by inserting contact and deal tokens, which enables tailored communication based on individual recipient information and specific deal details.
This will open the Customer Relationship Management section, where you can manage your contacts, deals, and interactions with customers.
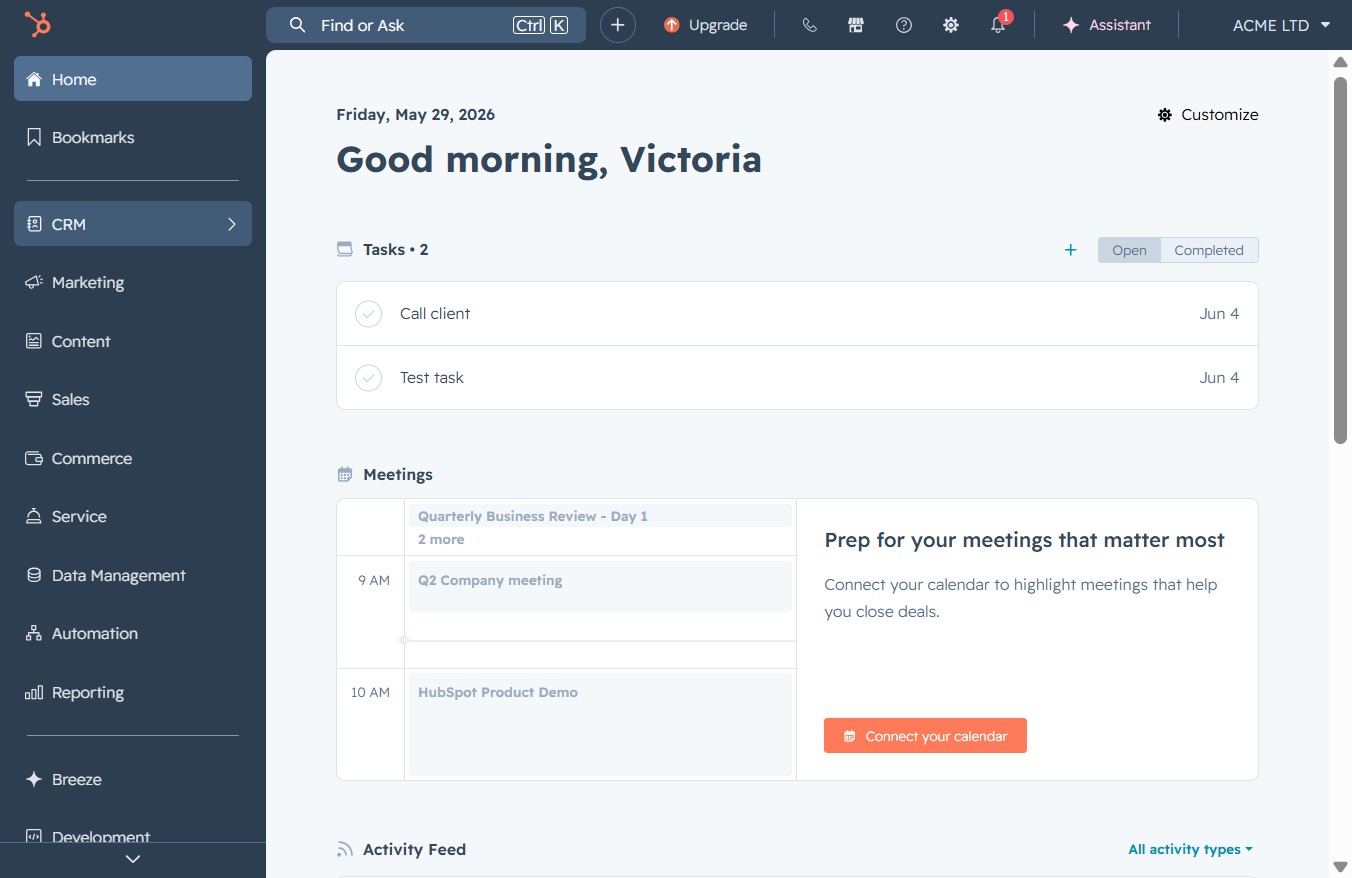
Selecting 'Message Templates' will take you to the section where you can create, edit, and manage your predefined message templates for efficient communication.

This action opens the settings for the Onboarding Email template, allowing you to edit or view its details and configurations.
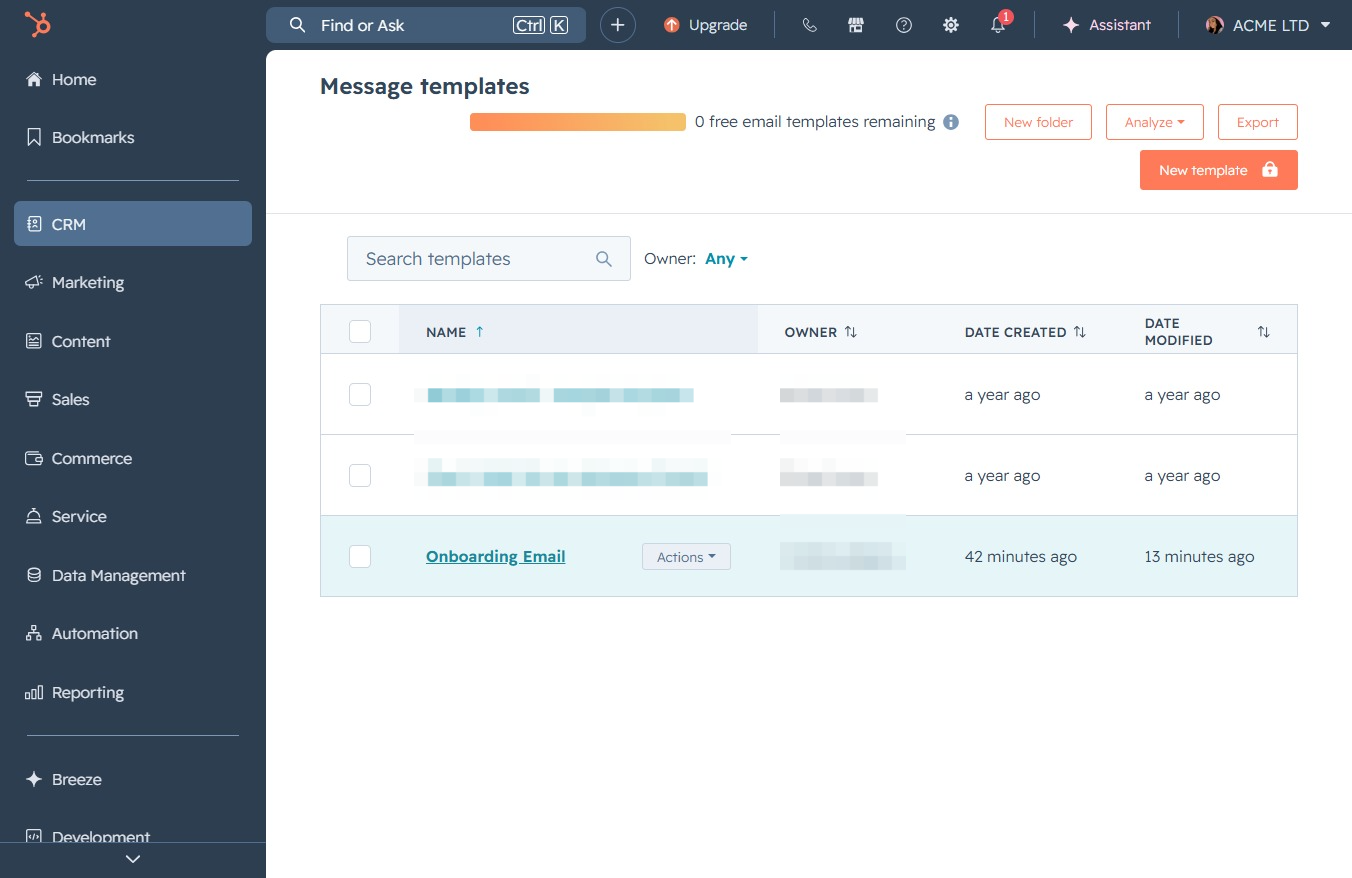
This allows you to input or edit the first name of the contact in the email template. After clicking, you can type the desired name to personalize your message.
Clicking the 'Insert' button will allow you to add dynamic content or placeholders to your email template, enhancing personalization for your recipients.
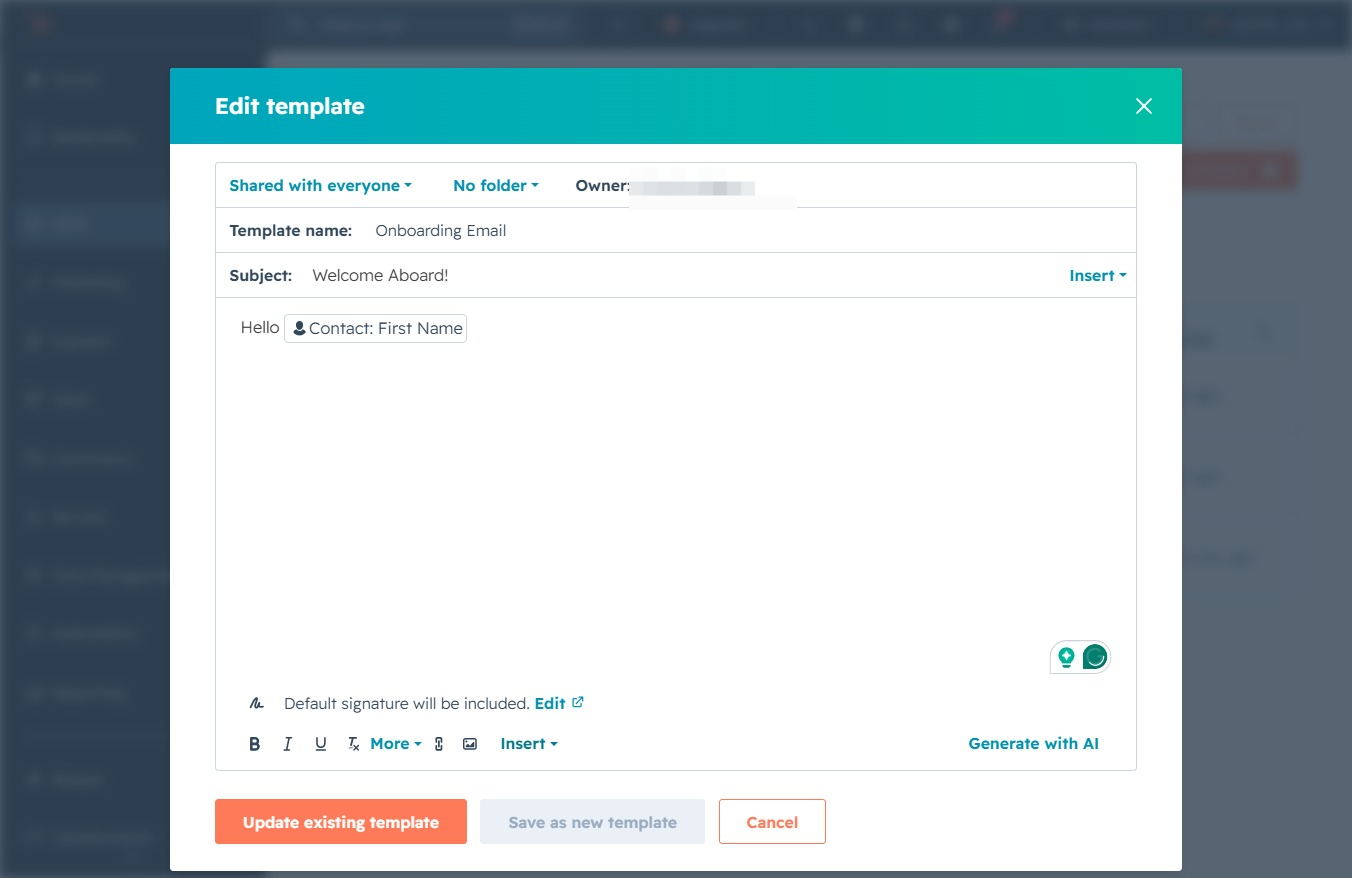
This action opens a dropdown menu where you can select various personalization tokens to insert into your email template. Use these tokens to customize your message for individual contacts.
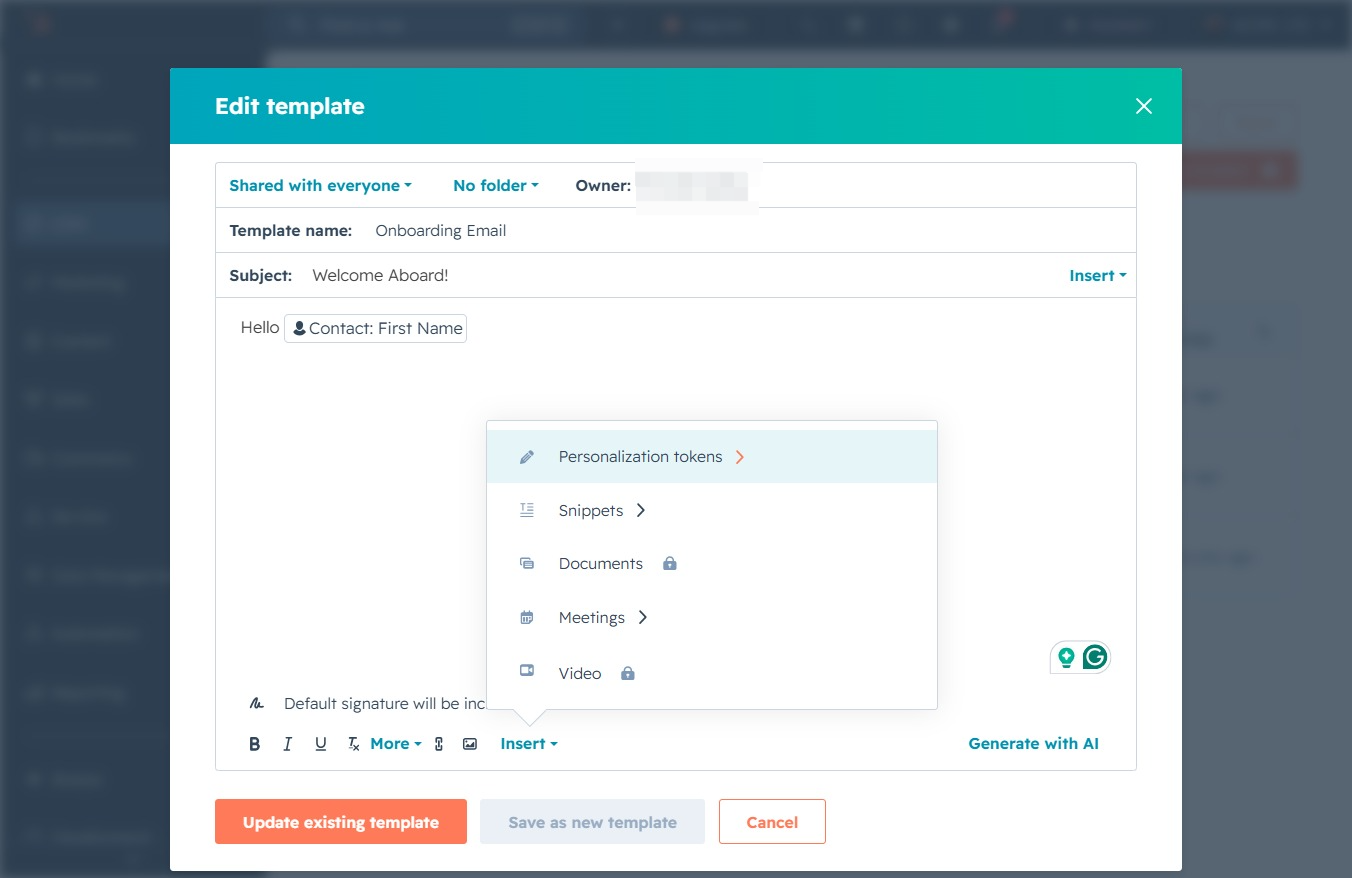
Selecting the 'Contact' token will allow you to personalize your email template by inserting specific contact information. This facilitates tailoring messages to individual recipients.

Selecting the 'Deal' option will insert a personalization token for deal-related information into your email template. This allows you to dynamically reference deal details when sending emails.
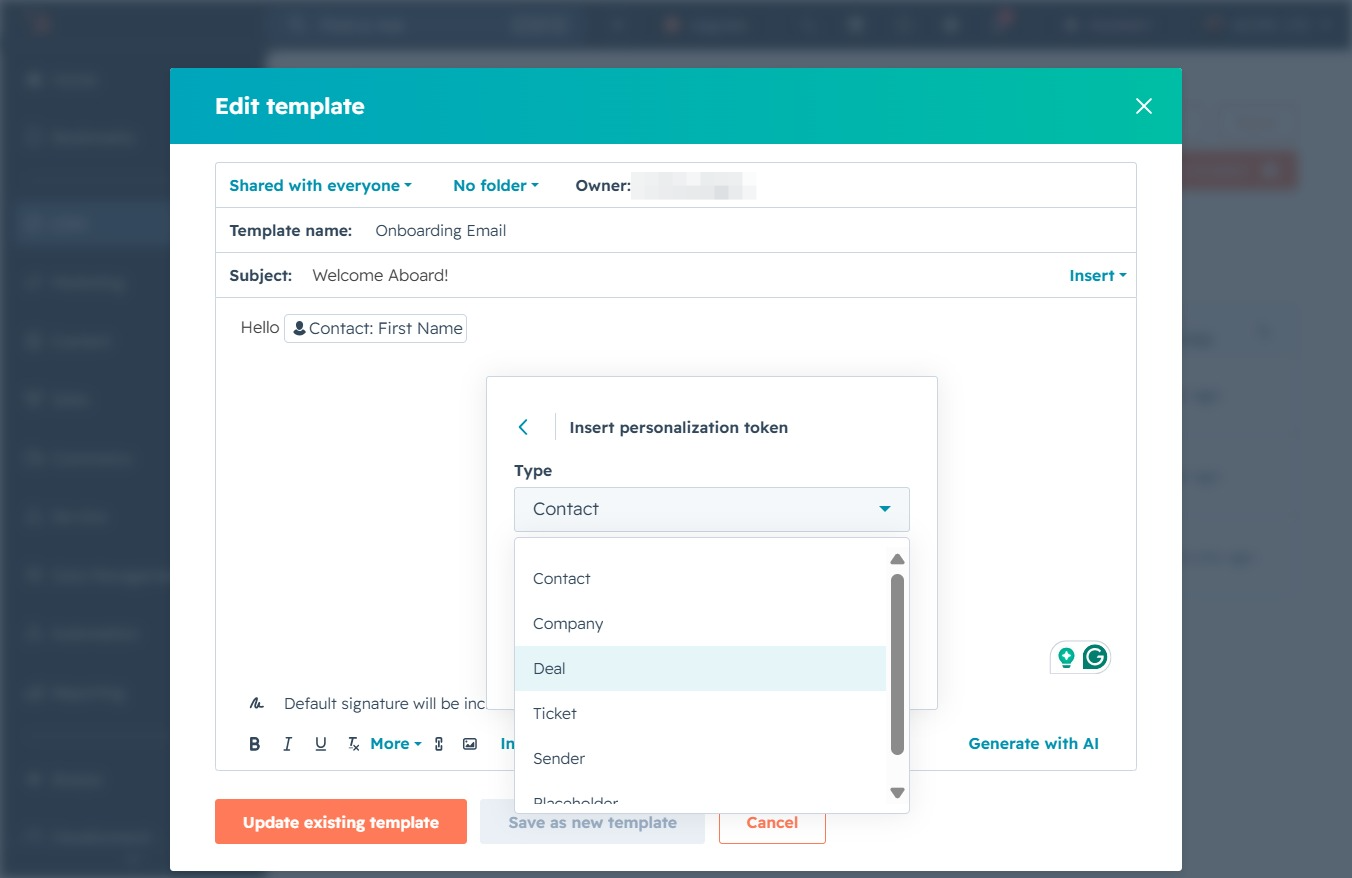
This opens a dropdown menu allowing you to search for specific deal tokens to personalize your email template. You can select a token from the available options to insert it into the message.
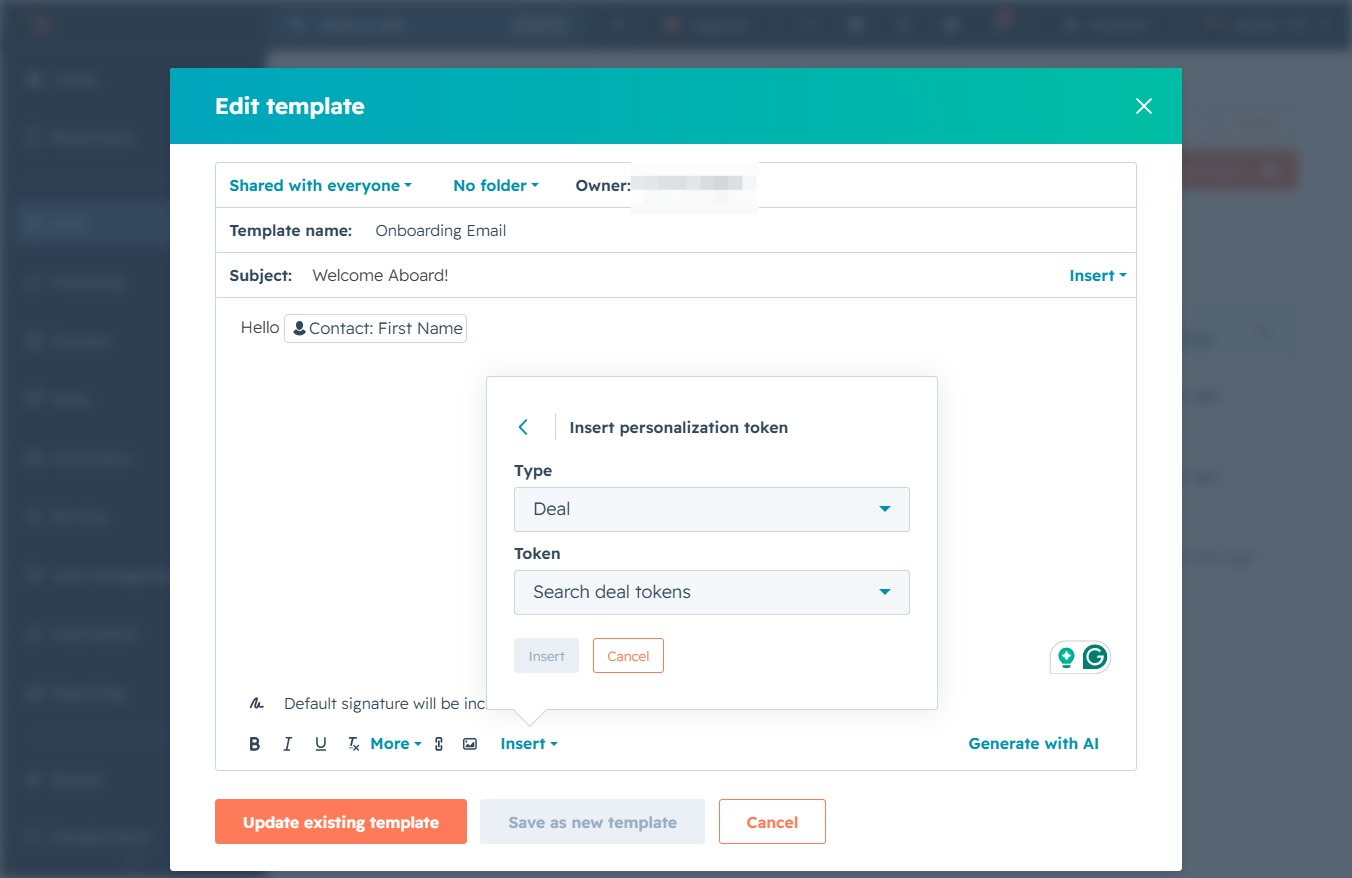
This action allows you to select or enter a deal name for the template. You can choose from existing deals or create a new one as needed.
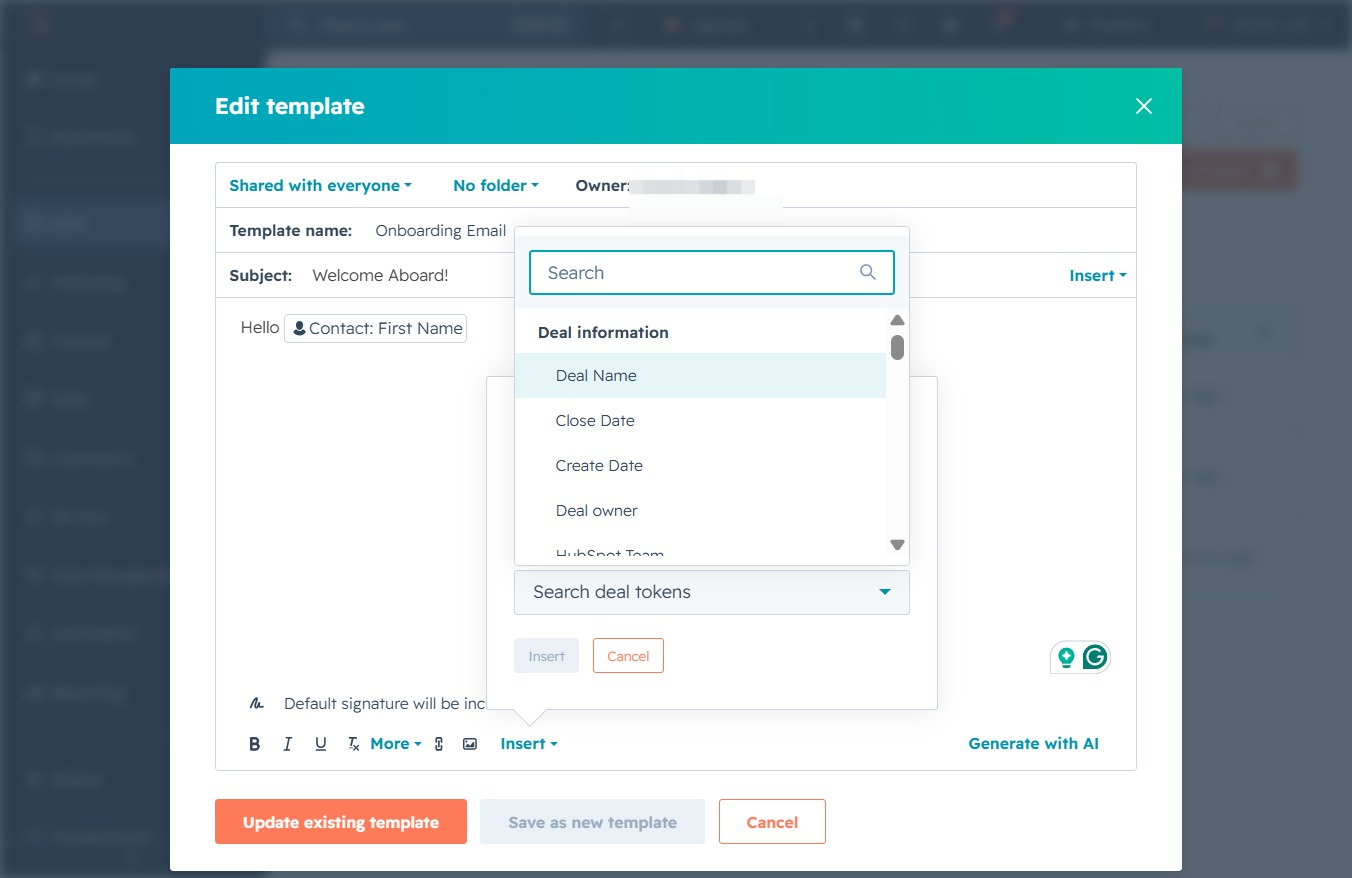
Clicking the Insert button allows you to add personalization tokens to your email template, enhancing the customization of your messages with relevant data such as deal information.

This action saves the modifications made to the current email template, 'Onboarding Email'. You will see a confirmation message indicating that the template has been successfully updated.