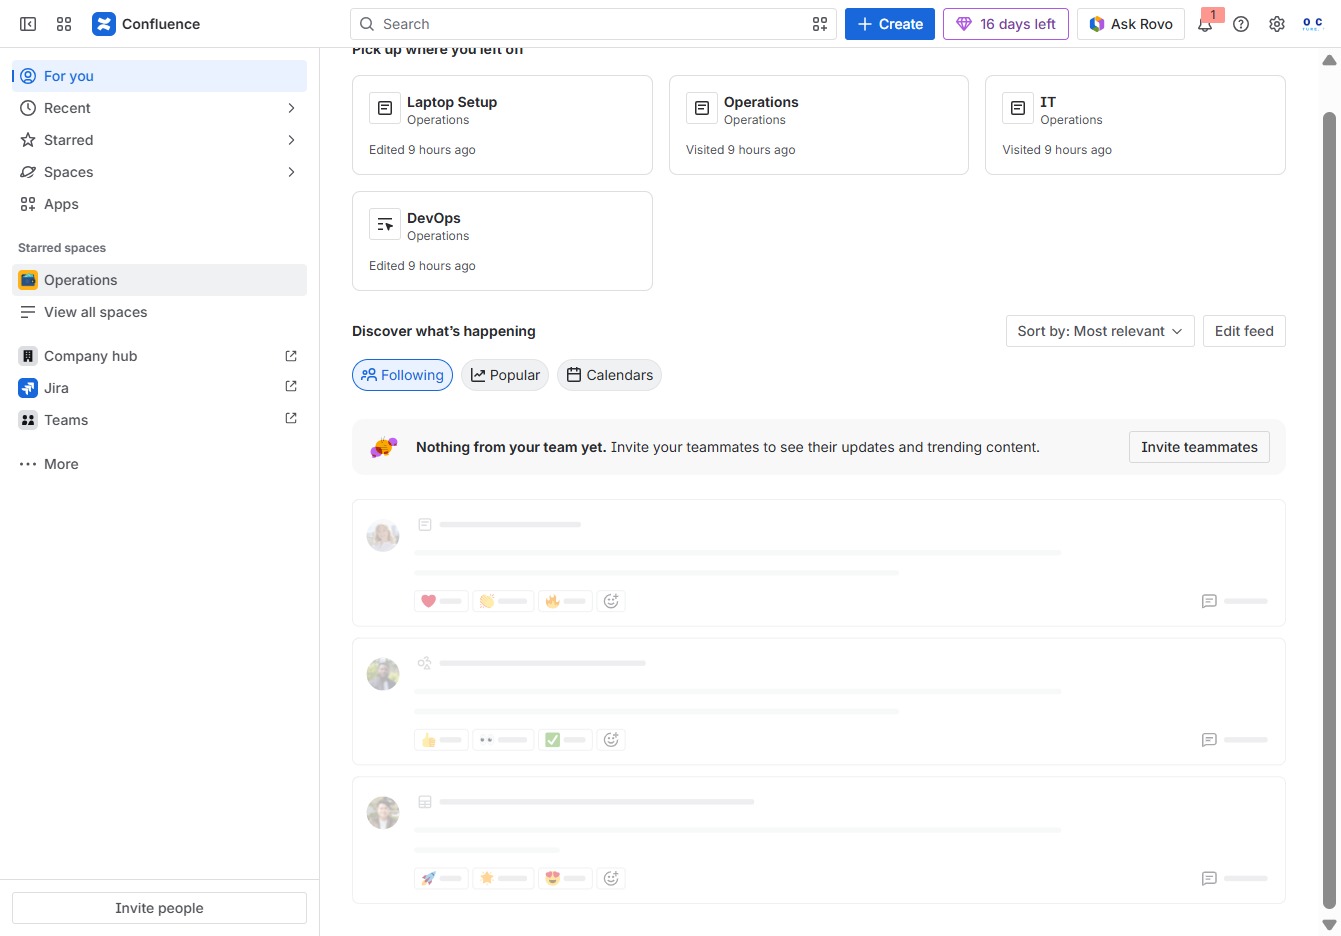
Click the Operations section
Clicking the Operations section will take you to the corresponding page where you can view and manage operational tasks and updates.
Loading screenshot…
100%
This how-to guide demonstrates the process of using page layouts in Confluence, including navigating the Operations section, editing documents, adding new content, and utilizing…
 viktoria
This how-to guide demonstrates the process of using page layouts in Confluence, including navigating the Operations section, editing documents, adding new content, and utilizing layout options for better organization. Follow the steps to enhance your documentation and streamline collaboration with team members.
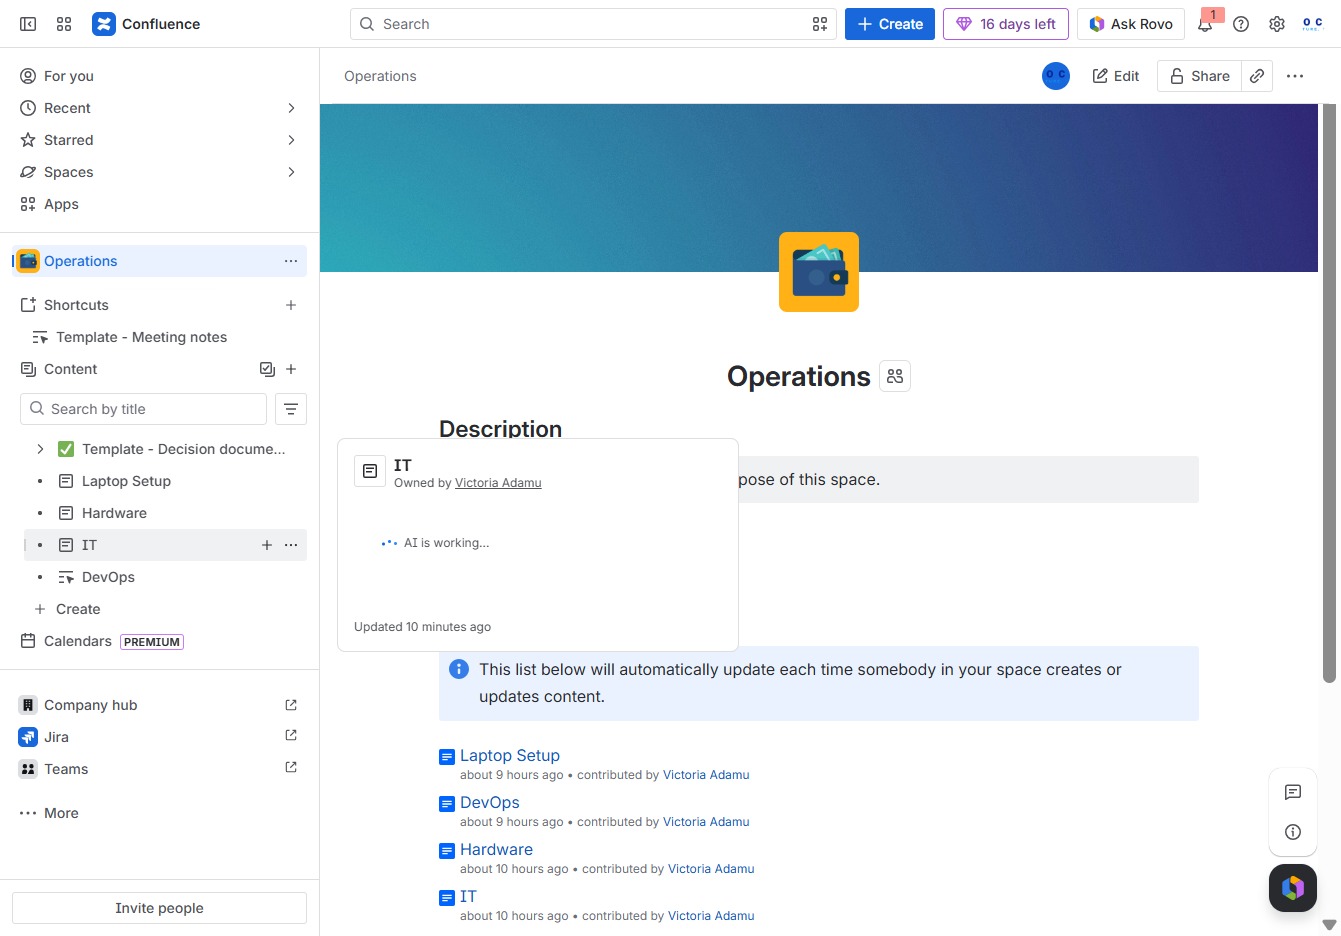
Clicking the Operations section will take you to the corresponding page where you can view and manage operational tasks and updates.
This action will allow you to add new child pages or content under the IT section, enhancing the organization and structure of your documentation.
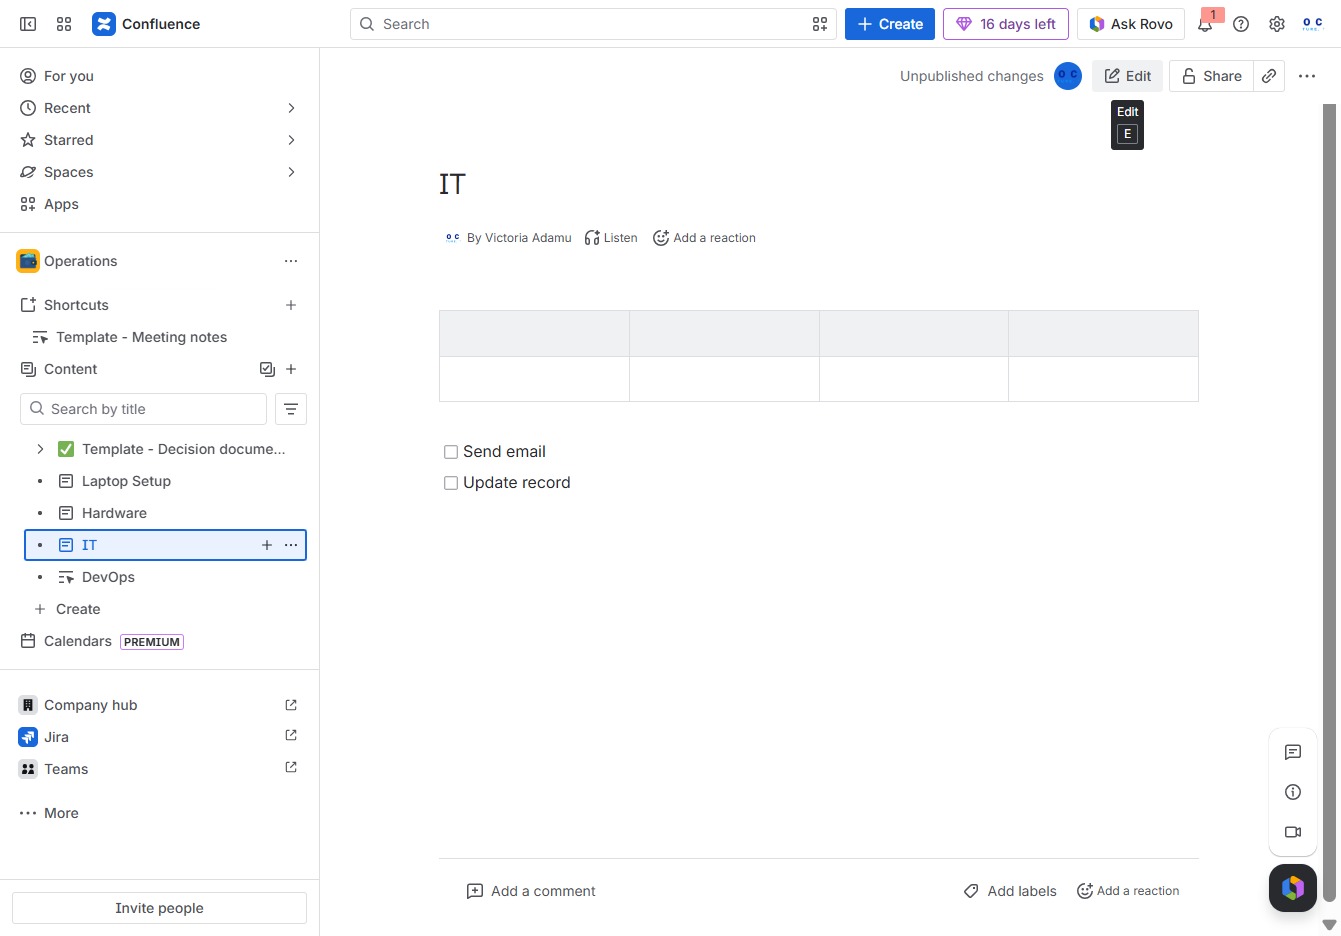
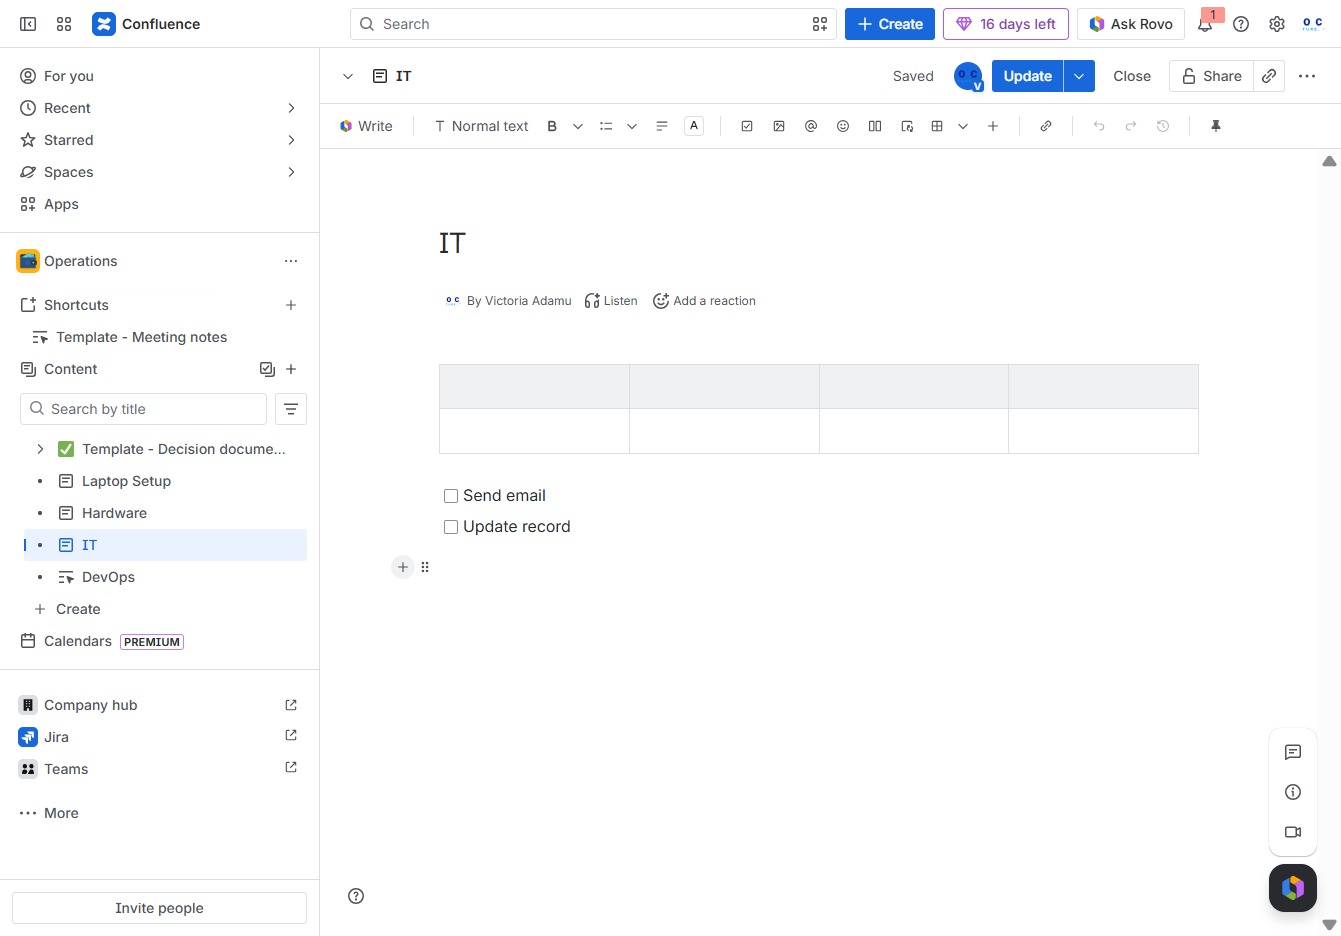
Clicking the Edit button allows you to modify the current document, enabling you to make changes to the text and table contents.
Clicking the Add button allows you to insert new content or options into the current section, enabling further customization of your document.
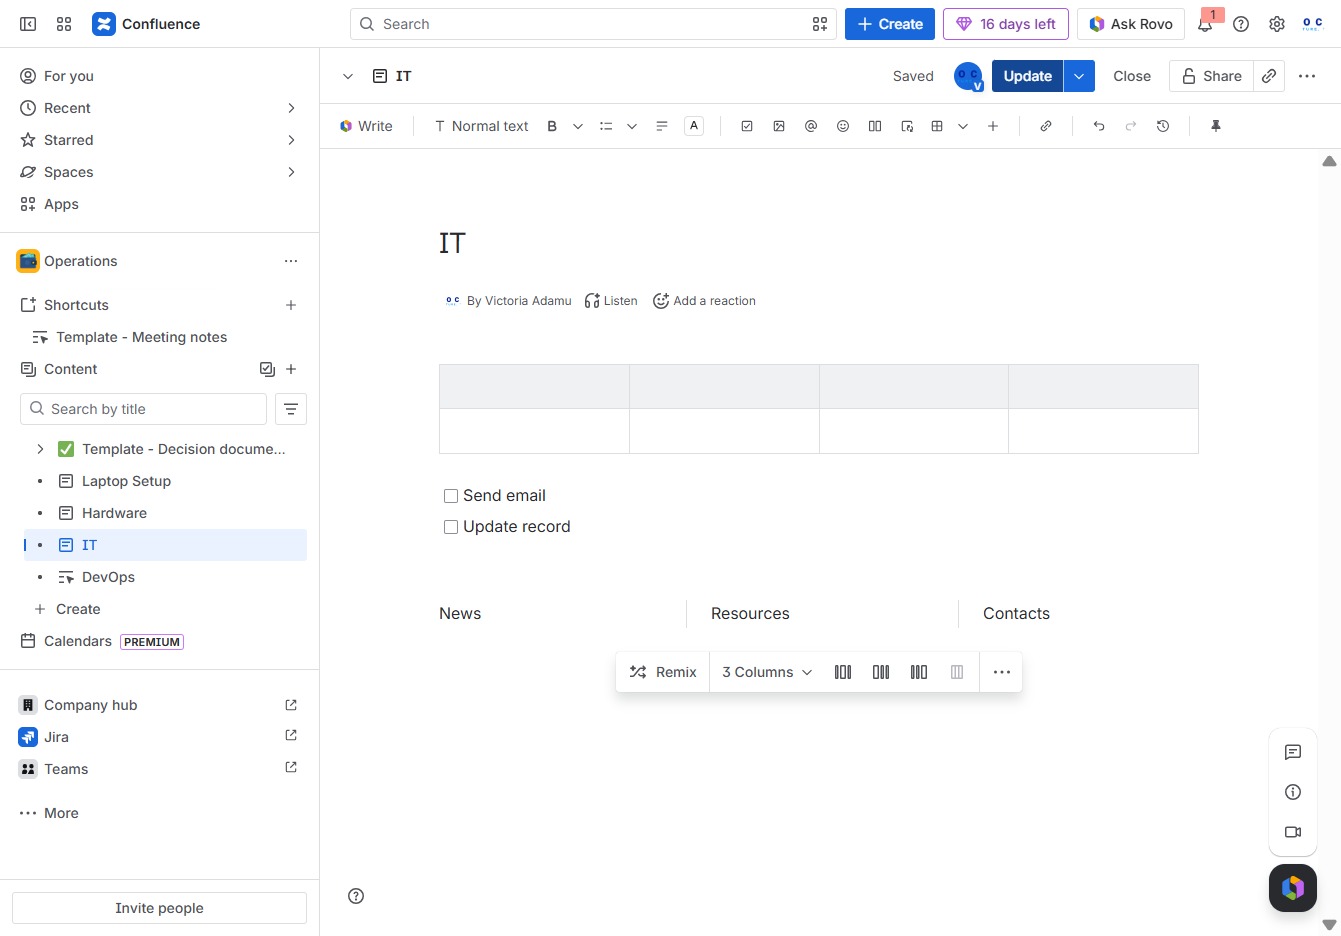
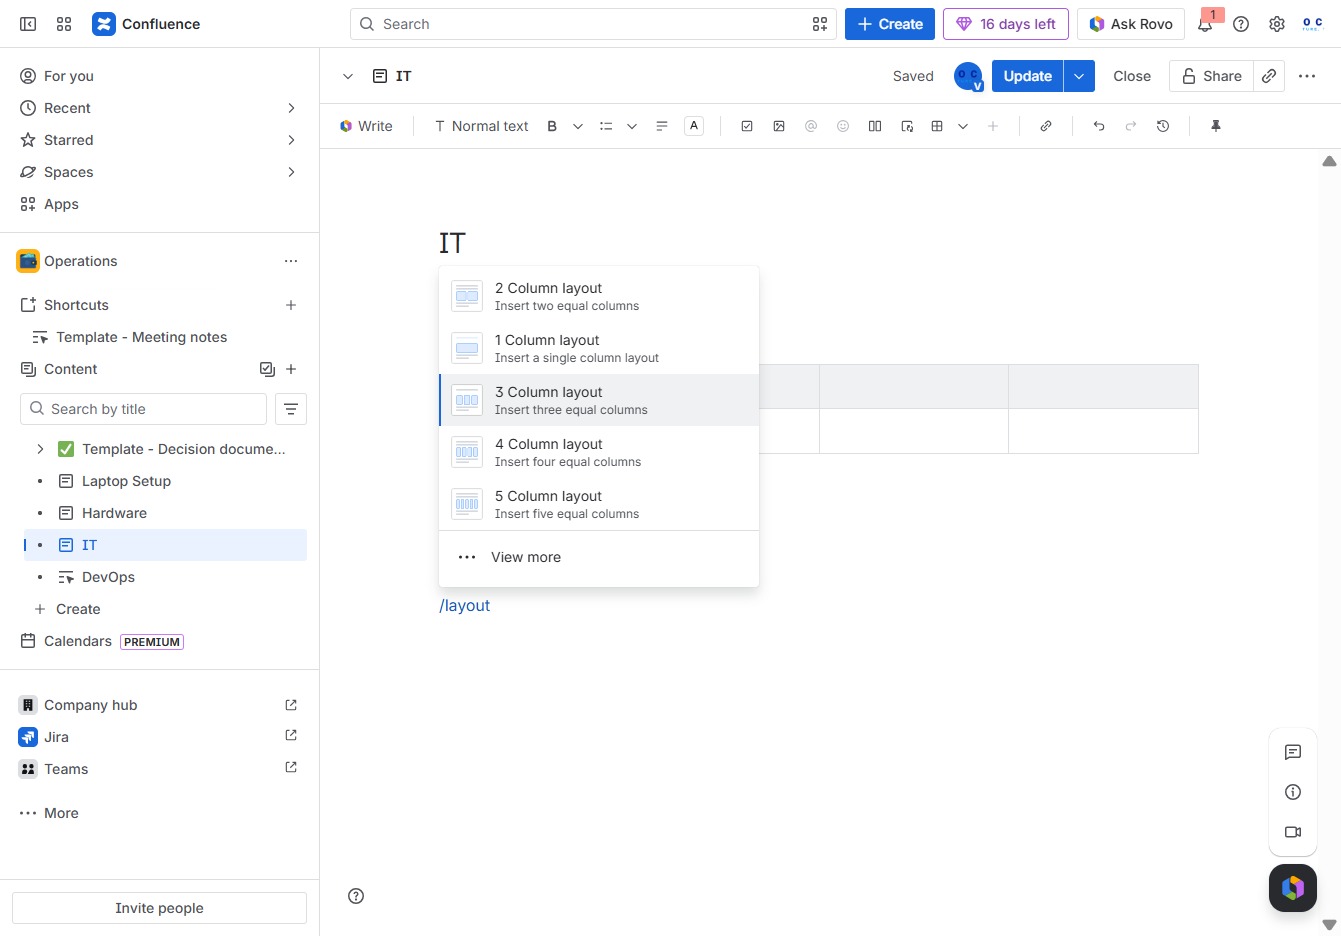
Entering 'layout' in the text editor triggers a dropdown with various layout options you can select for your document. This allows you to choose different column formats for better content organization.

This action will insert three equal columns into your Confluence page, allowing you to organize your content more effectively.
By clicking this button, you can quickly express your feelings or feedback regarding the content in the IT section, enhancing your collaboration with team members.

This will open a menu for you to select an emoji or reaction to engage with the content. Your reaction will be displayed next to the message, prompting interaction with other users.
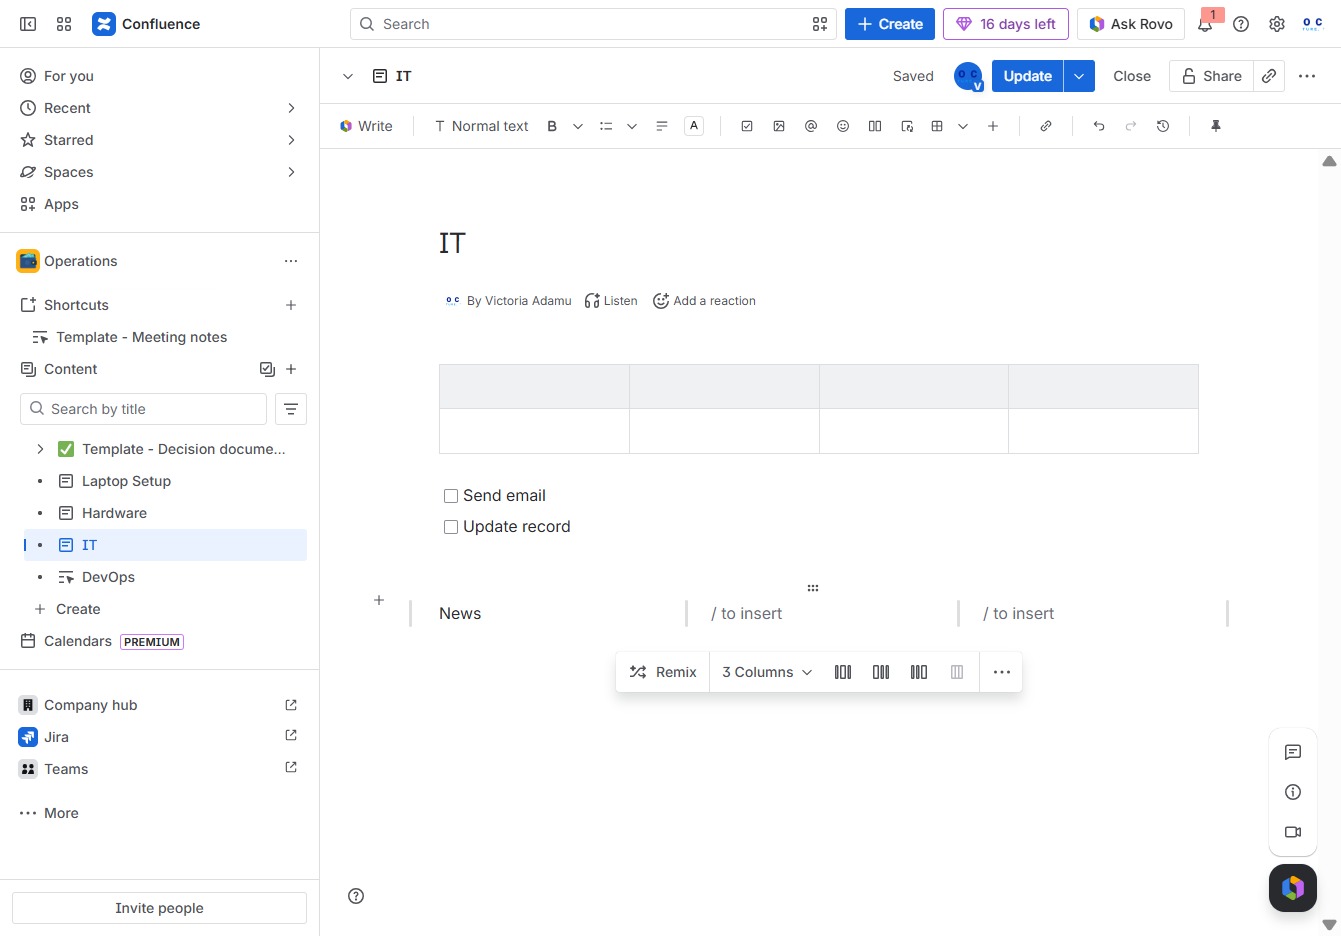
Enter your specific action in the Ak editor textarea. You can use '@' to assign the action to someone, enabling collaboration and task delegation.

This action allows you to add an emoji reaction to the current status or message. The reaction will be visible to other users in the conversation, enhancing engagement.
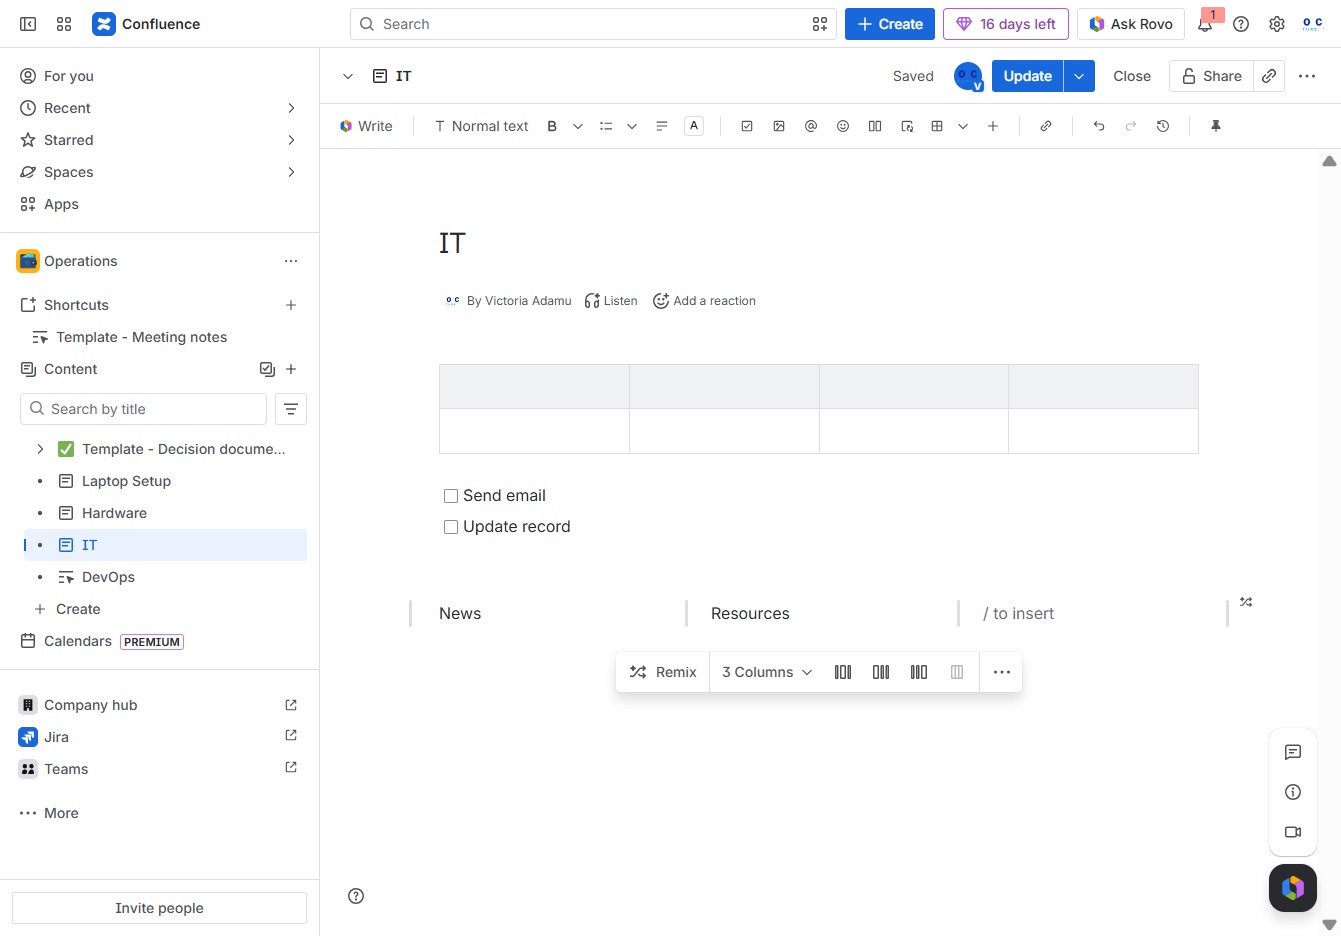
In the Ak editor textarea, enter your desired action. Use '@' to mention or assign tasks to someone, enhancing collaboration and task management.
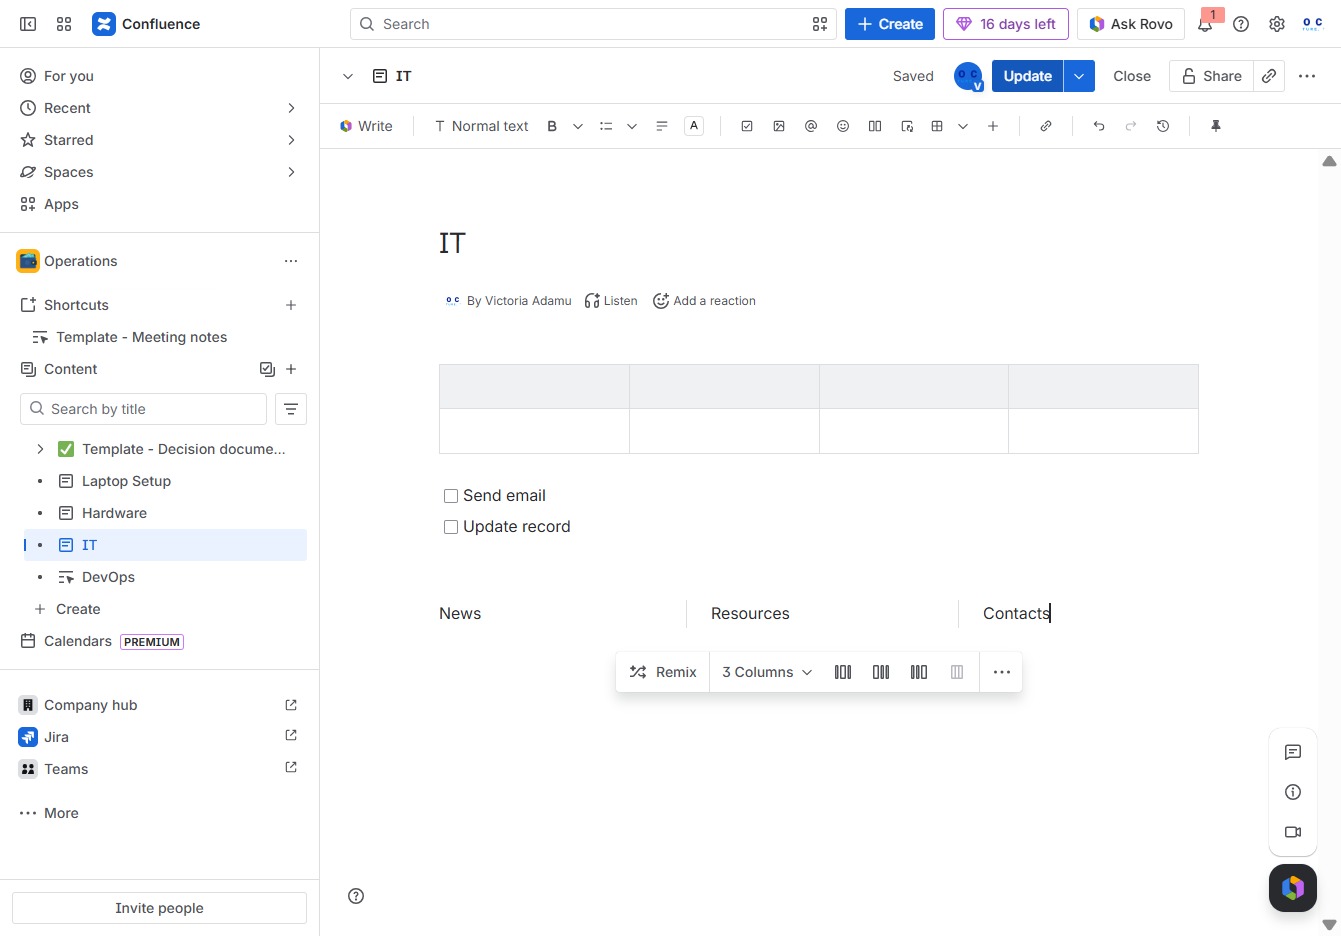
Clicking the Update button will save any changes made to the content in the current document. Ensure that all edits are finalized before performing this action.