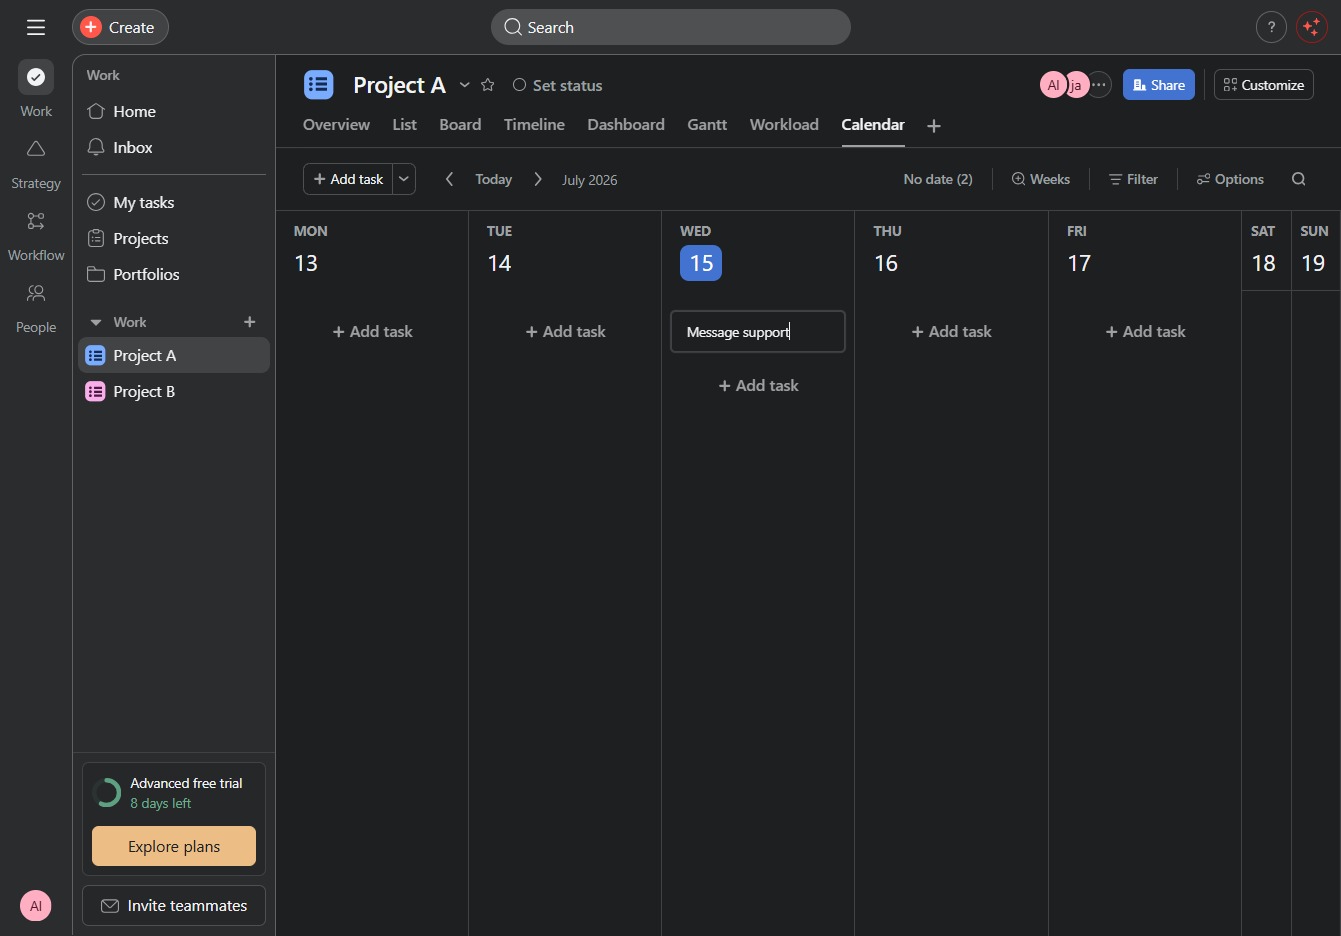
Click Project A
This action opens the details and tasks related to Project A, allowing you to manage and track progress within the project.
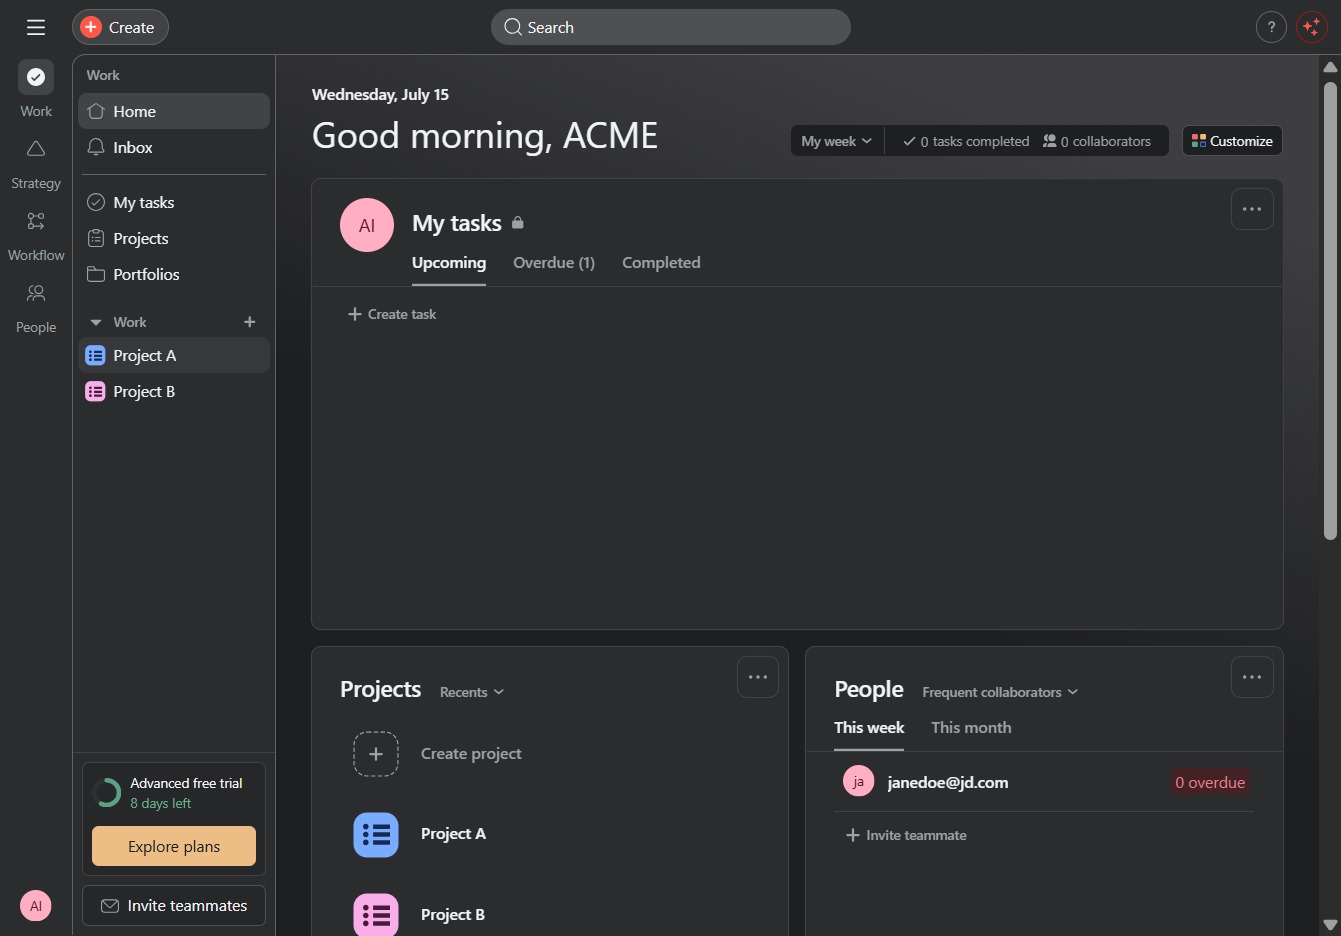
Loading screenshot…
100%
In this how-to guide, you'll learn how to effectively use the Calendar view for managing your project tasks.
 viktoria
In this how-to guide, you'll learn how to effectively use the Calendar view for managing your project tasks. Follow the steps to track progress, create new tasks, and plan your work schedule efficiently, ensuring you stay organized and on track.
This action opens the details and tasks related to Project A, allowing you to manage and track progress within the project.
Clicking this link will open a panel to create a new task for your project, allowing you to enter details such as the task name, assignee, and due date.

This will open the Calendar section where you can plan weekly or monthly work for your project.

This action opens a dialog where you can enter details for a new task in the project calendar. Fill in the necessary task information to create and schedule your new task.
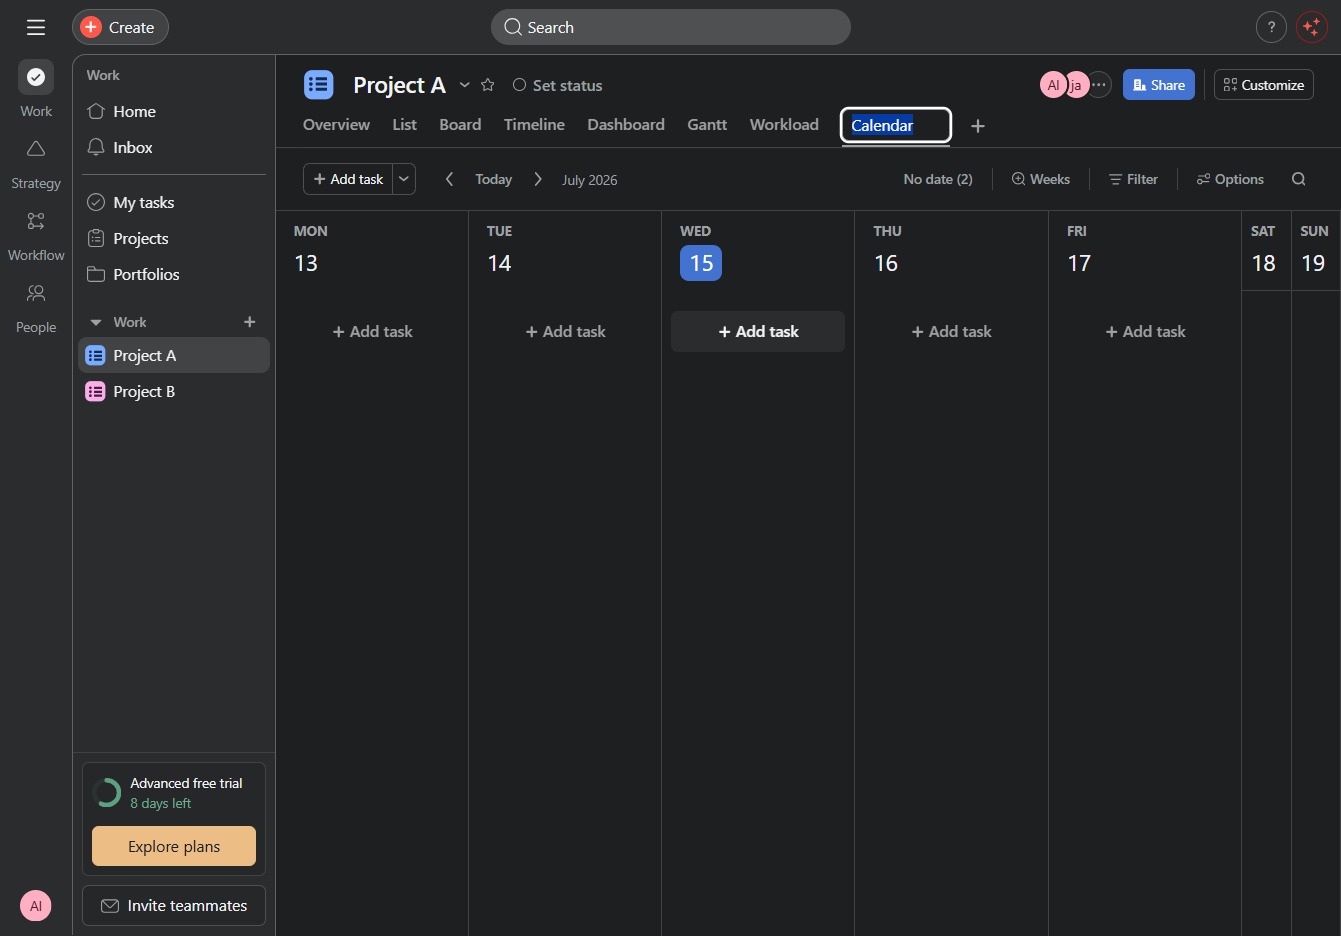
Enter 'Message support' in the provided Textarea to specify your inquiry or request. This message will be submitted for further assistance regarding your project.