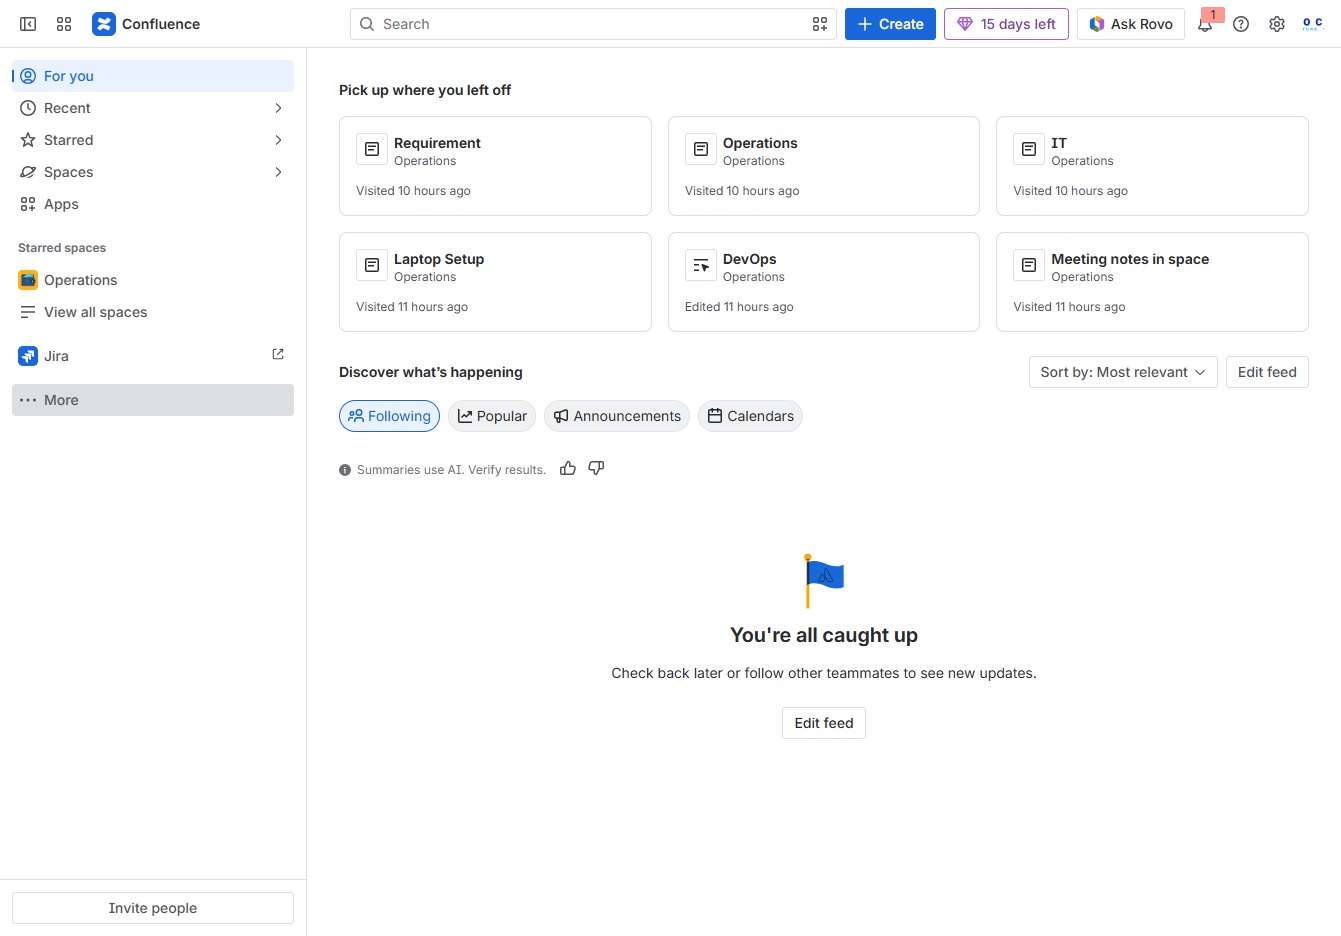
Click the More option
Selecting the 'More' option expands additional features and settings related to your workspace in Confluence.
Loading screenshot…
100%
This how-to guide walks you through the process of using Confluence's built-in templates, specifically focusing on the 'Sprint planning meeting' template.
 viktoria
This how-to guide walks you through the process of using Confluence's built-in templates, specifically focusing on the 'Sprint planning meeting' template. Learn to navigate through the platform to select templates, document meeting notes, and assign action items, streamlining your sprint planning and enhancing team collaboration.
Selecting the 'More' option expands additional features and settings related to your workspace in Confluence.
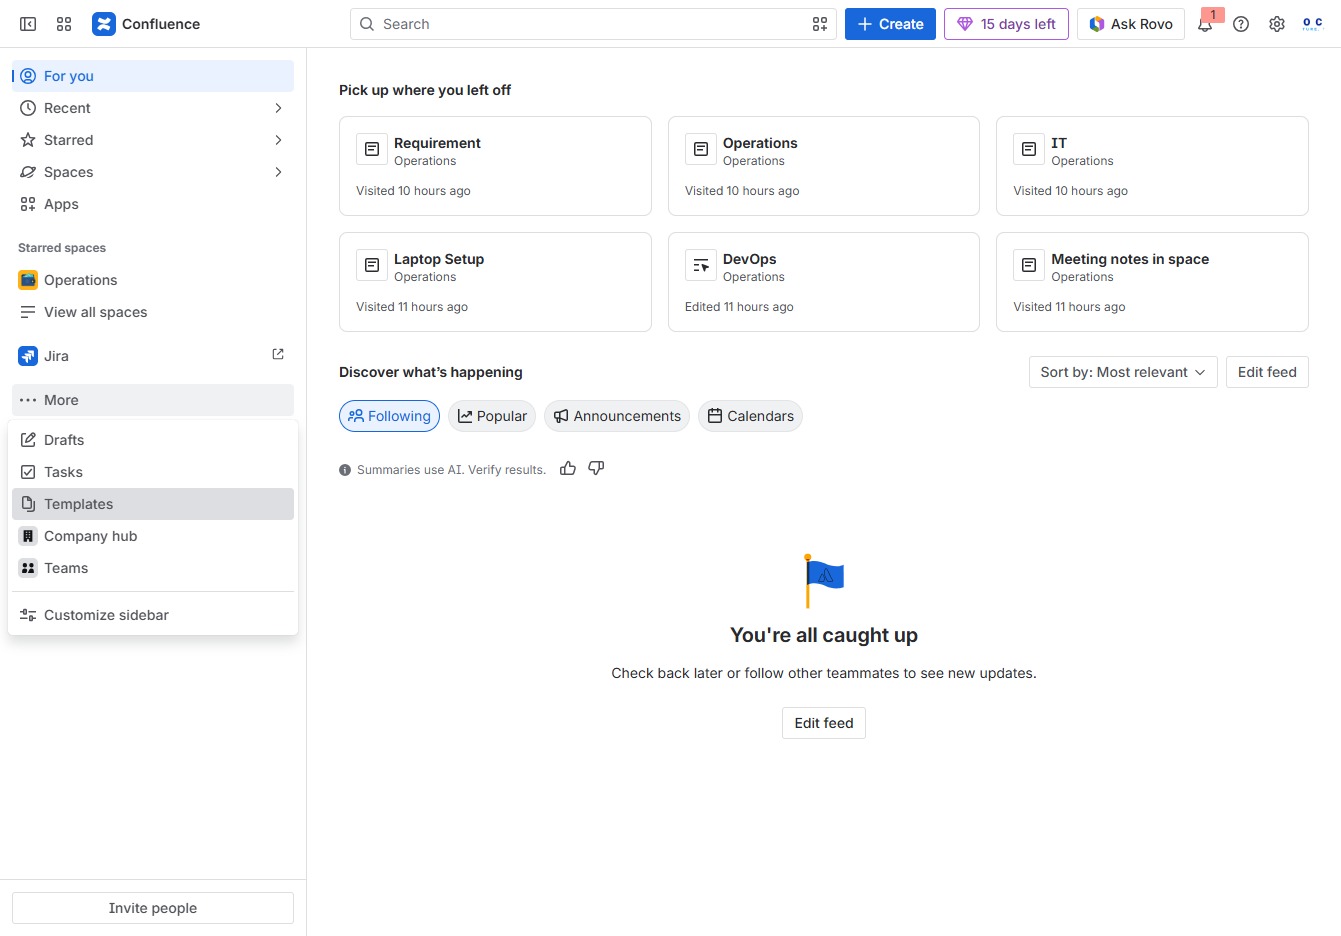
This action opens the Templates section, where you can access various pre-defined templates to streamline your documentation process.
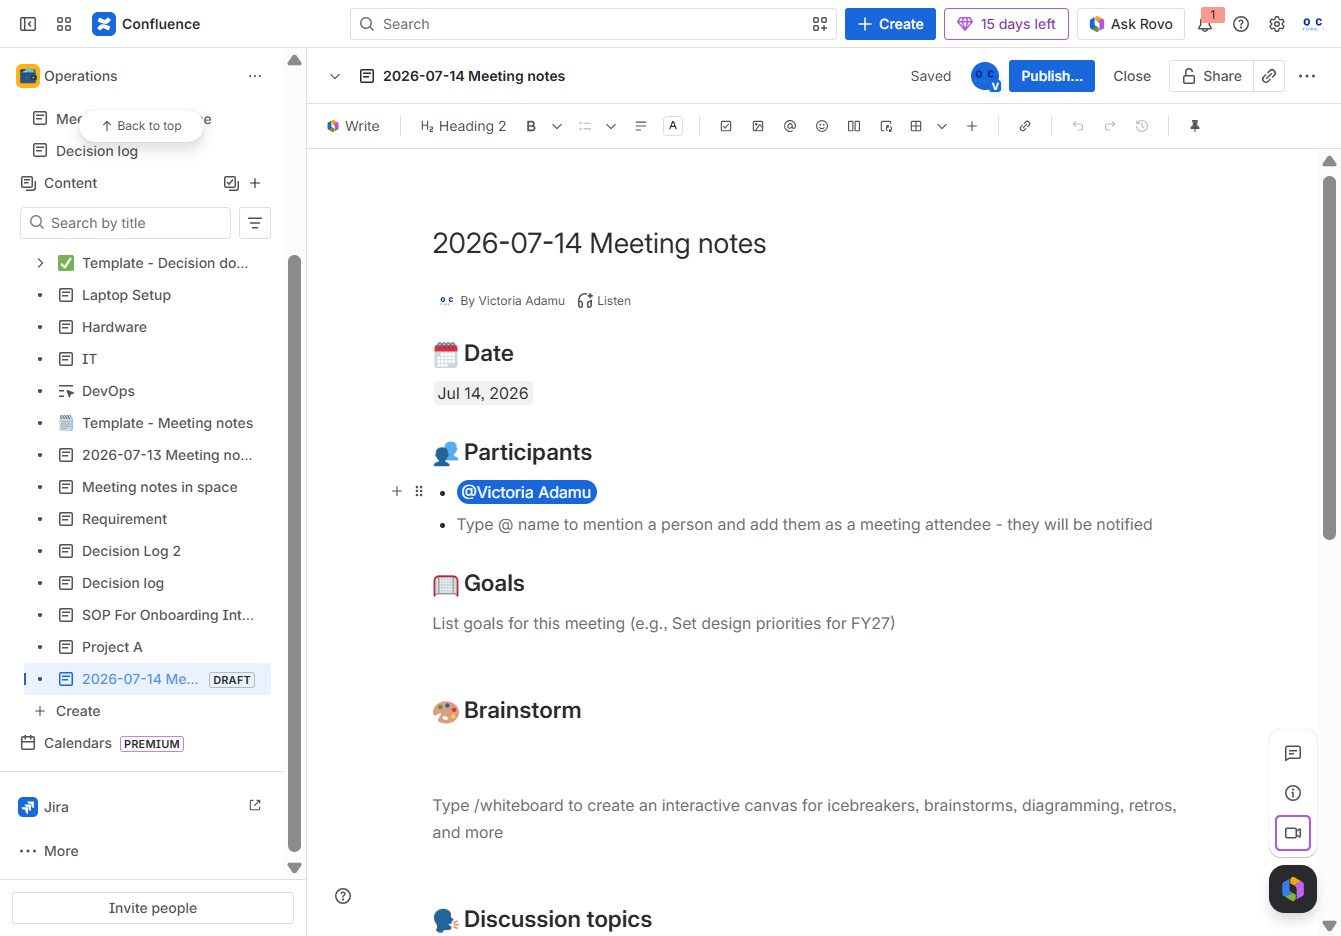
This action will apply the selected 'Sprint planning meeting' template, allowing you to organize and manage your sprint planning meetings effectively.

This action allows you to create a new page within the current meeting notes. You can start documenting additional ideas or agendas related to the meeting.
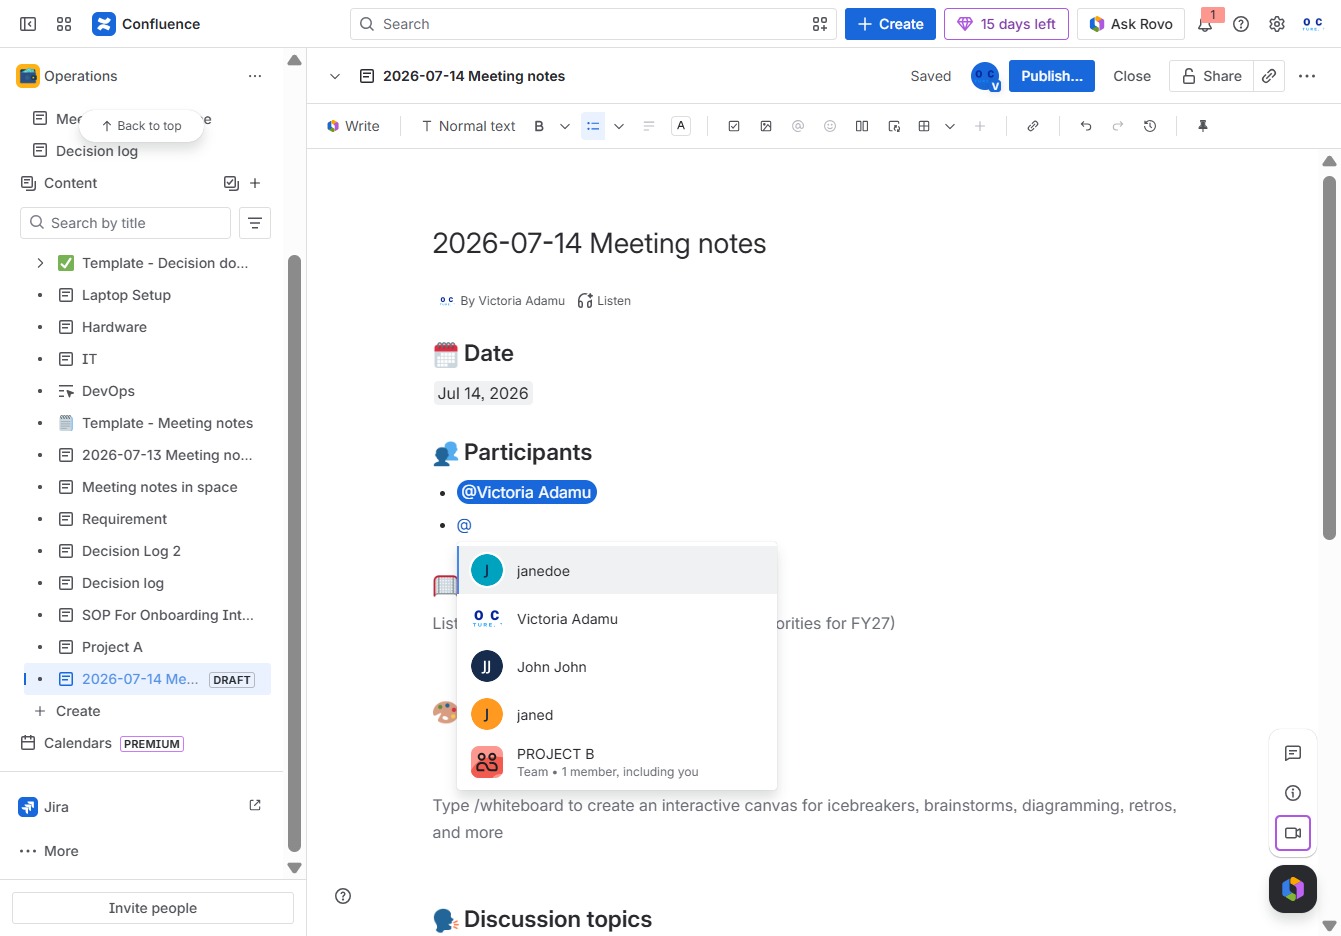
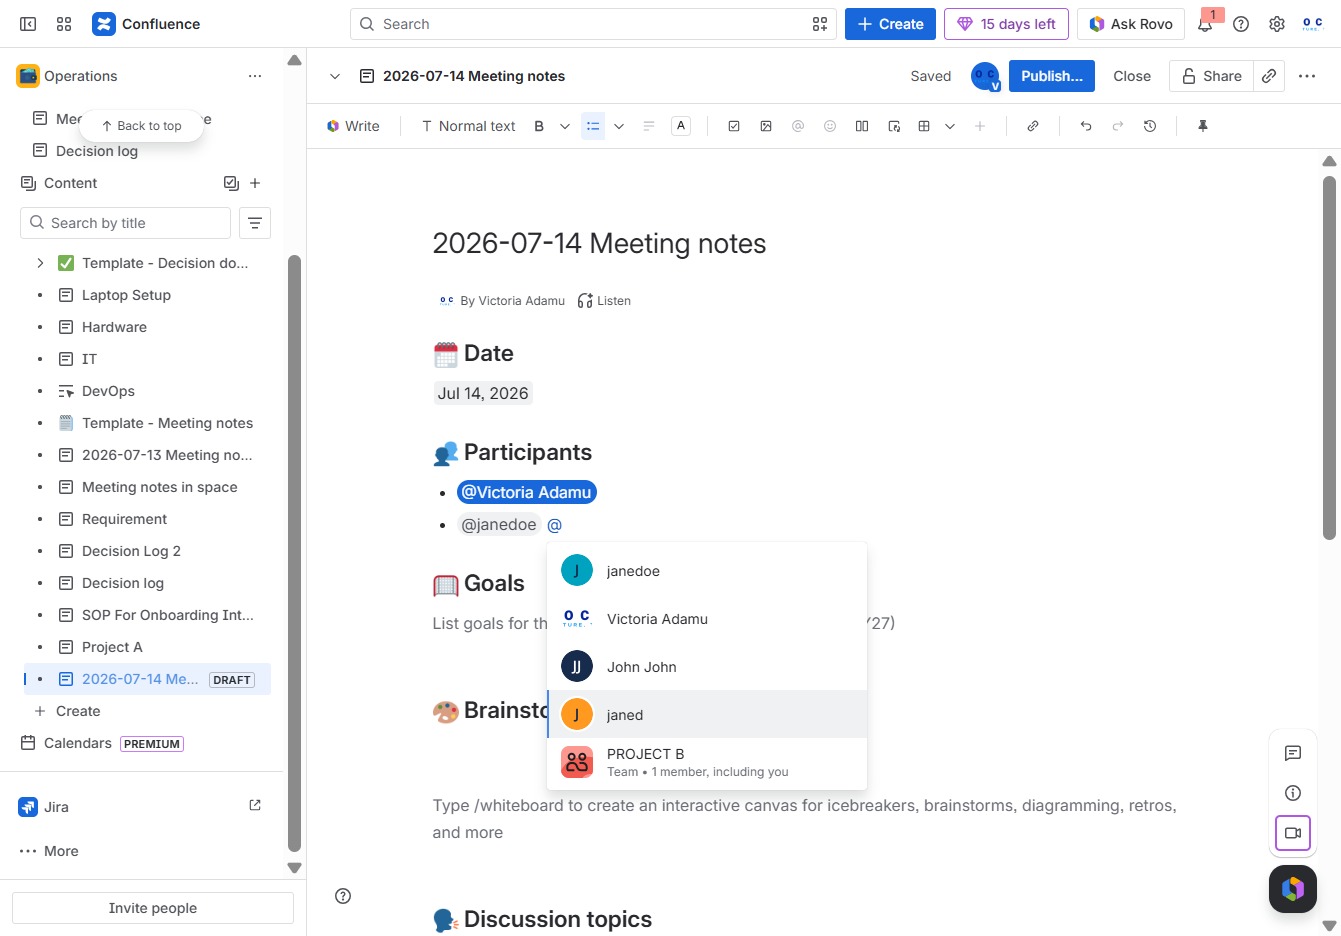
This action selects 'janedoe' to be added to the meeting participants list. You will see 'janedoe' included in the list of participants once selected.
Enter the date and participants for the meeting in the Ak editor textarea, ensuring all necessary information is captured for documentation.
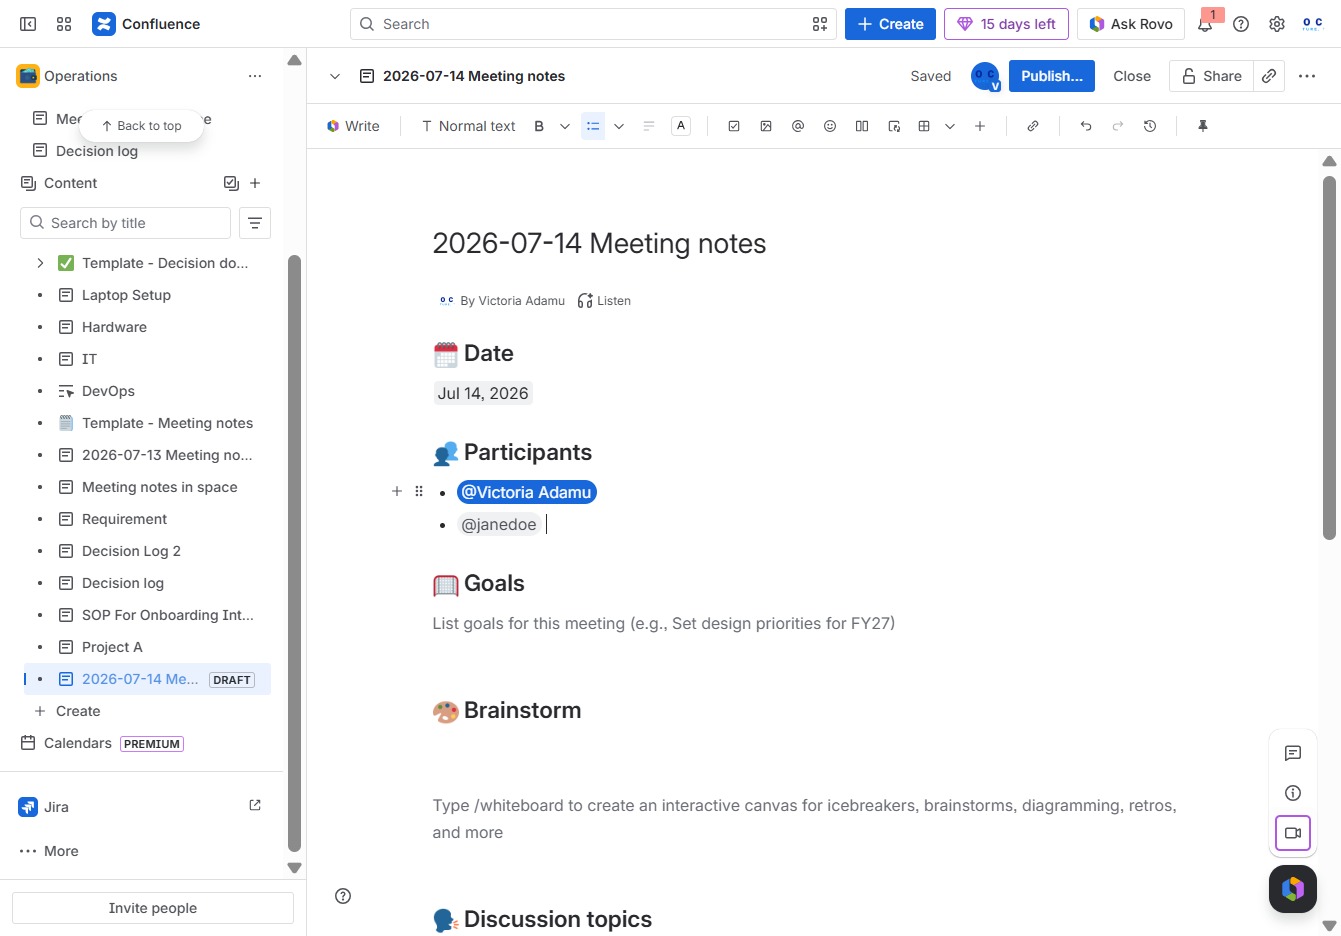
Select the 'janed' entry from the suggestions to add it as a participant in the meeting notes.
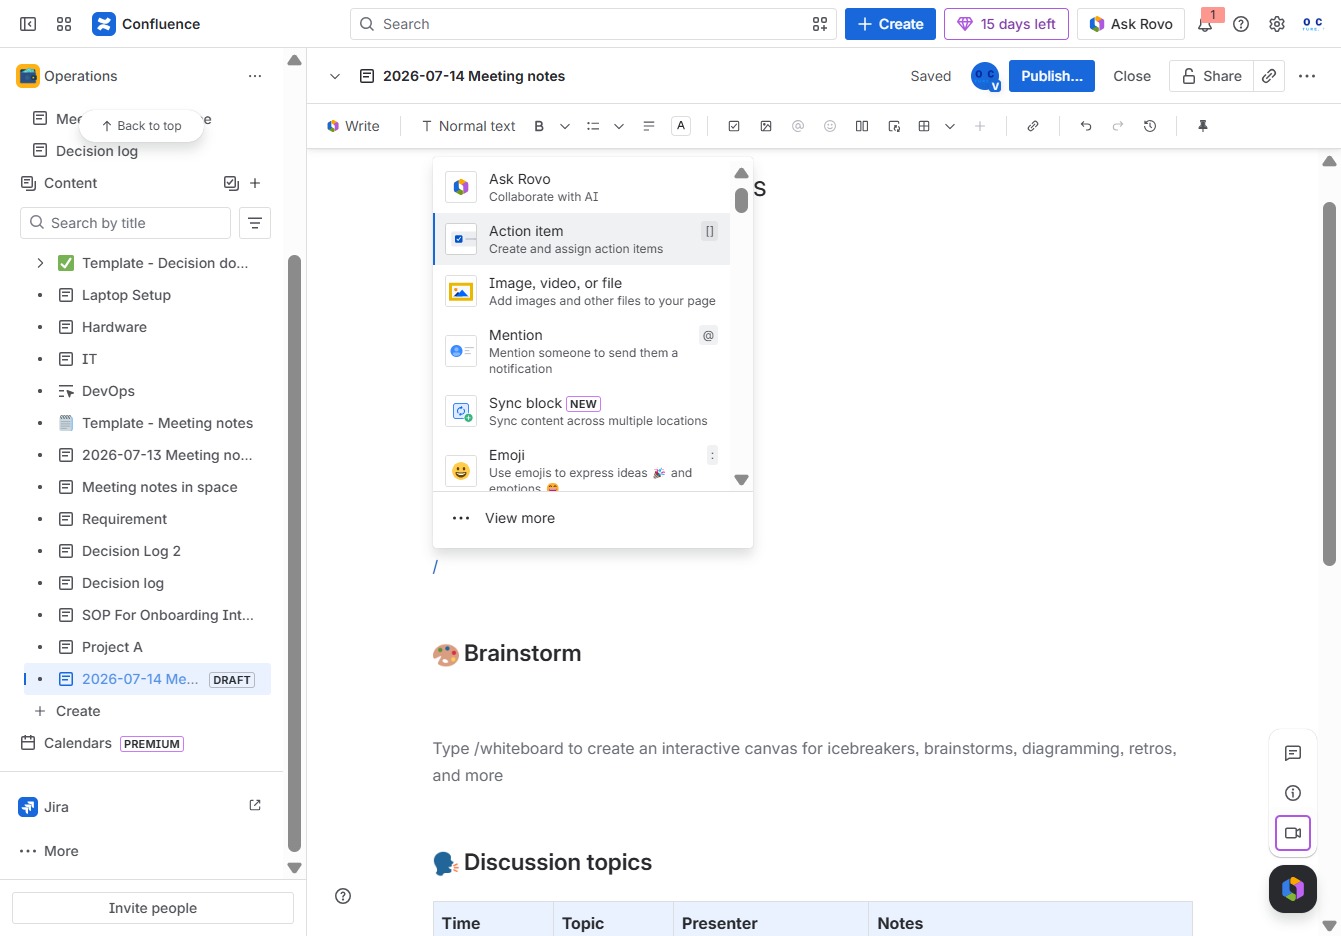
Clicking the 'Add' button will allow you to integrate new content into the document, such as participants or goals, enhancing your meeting notes.

This action allows you to create new action items and assign them to team members within your Confluence space, facilitating task management and accountability.
This action creates a new page in your meeting notes, allowing you to organize your content more effectively. Once clicked, you can start editing and adding information to the new page.
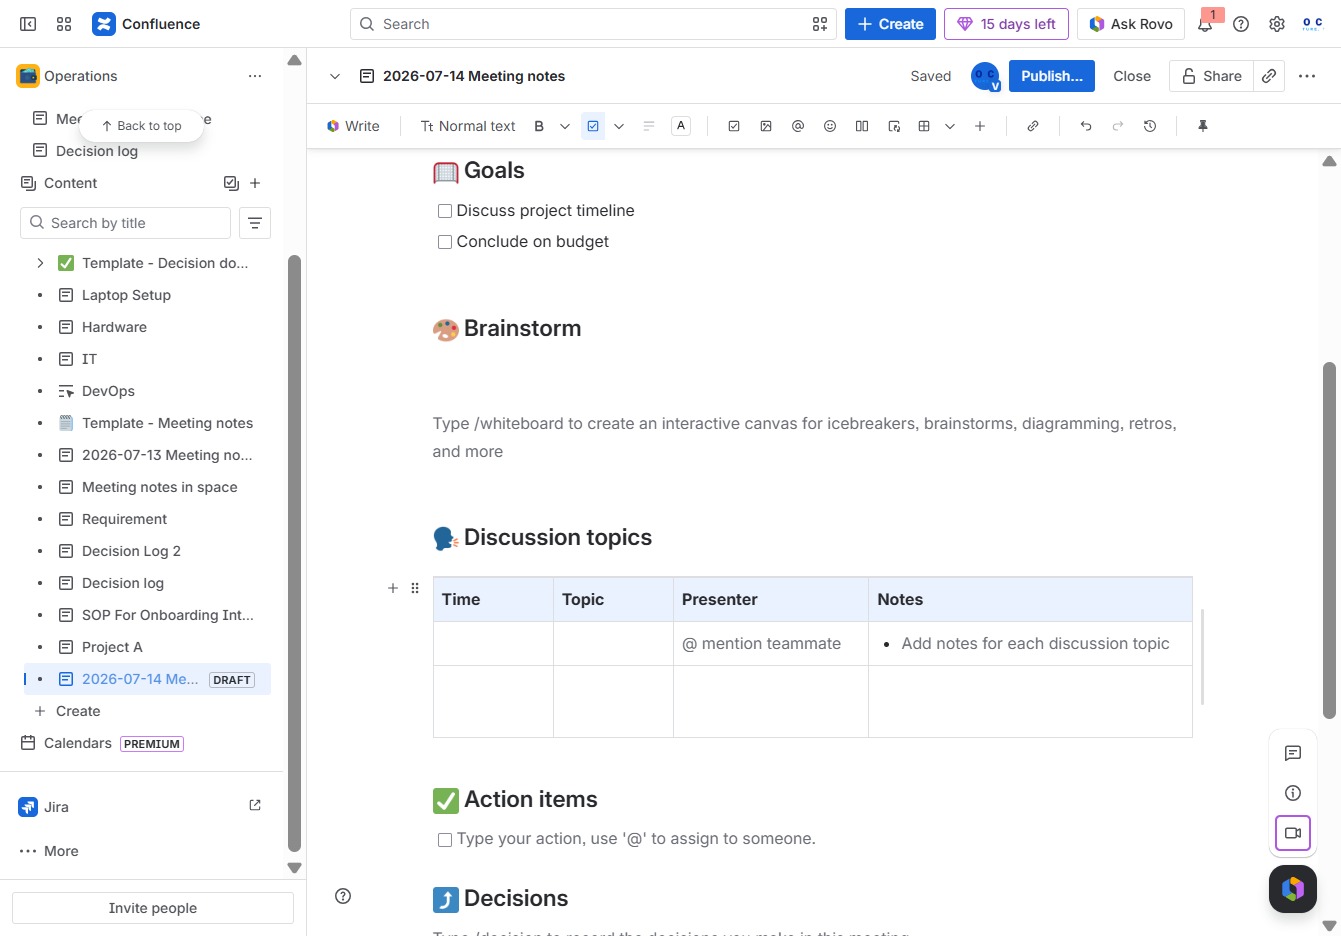
This action allows you to add a new page to the current meeting notes, enabling you to organize additional content or topics related to the meeting.
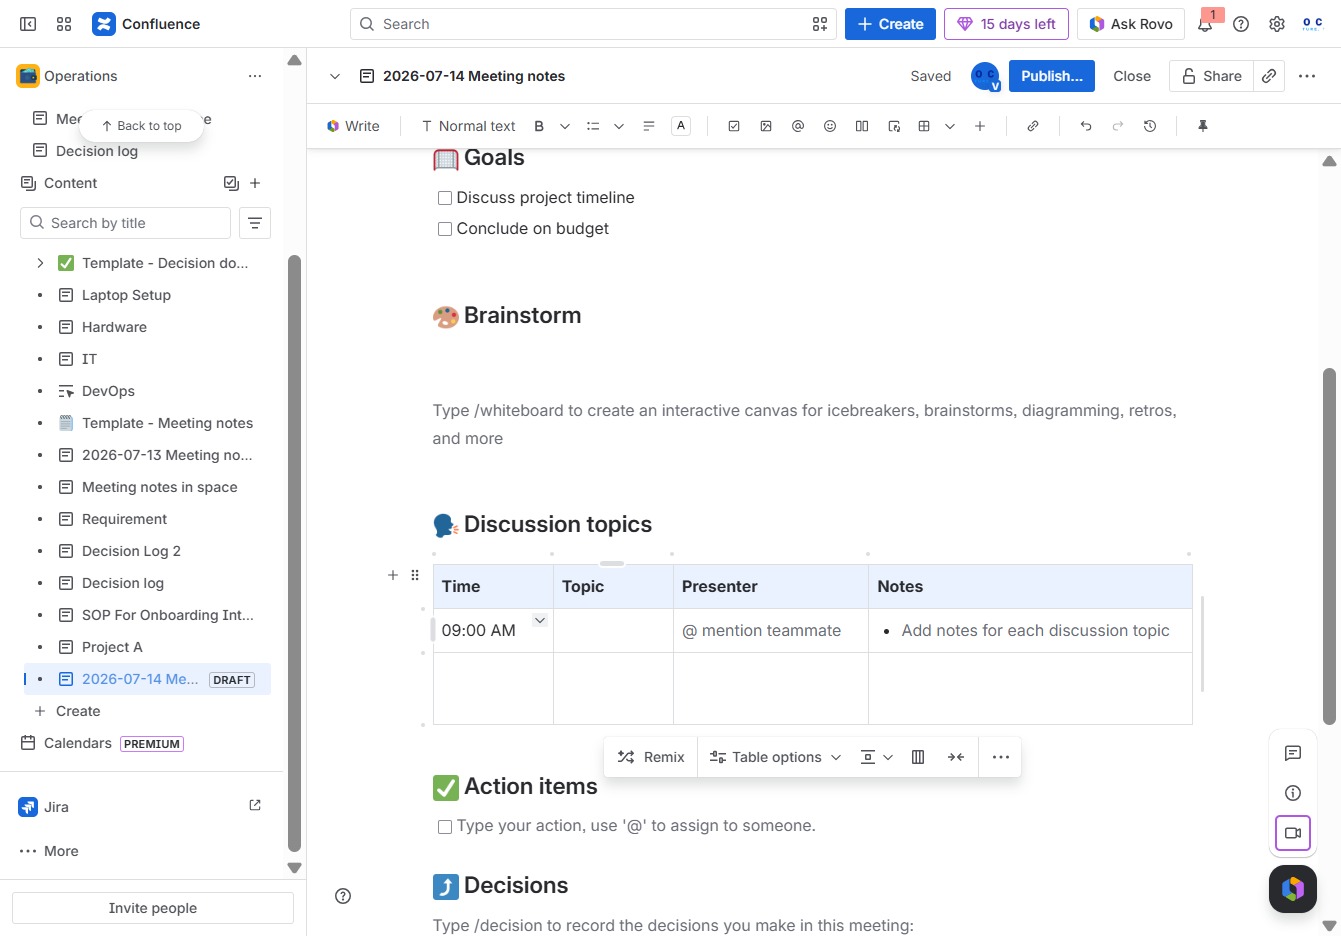
This will prompt the system to generate a suggested title for your meeting notes based on the content you've entered. You can then modify the suggested title to suit your needs.
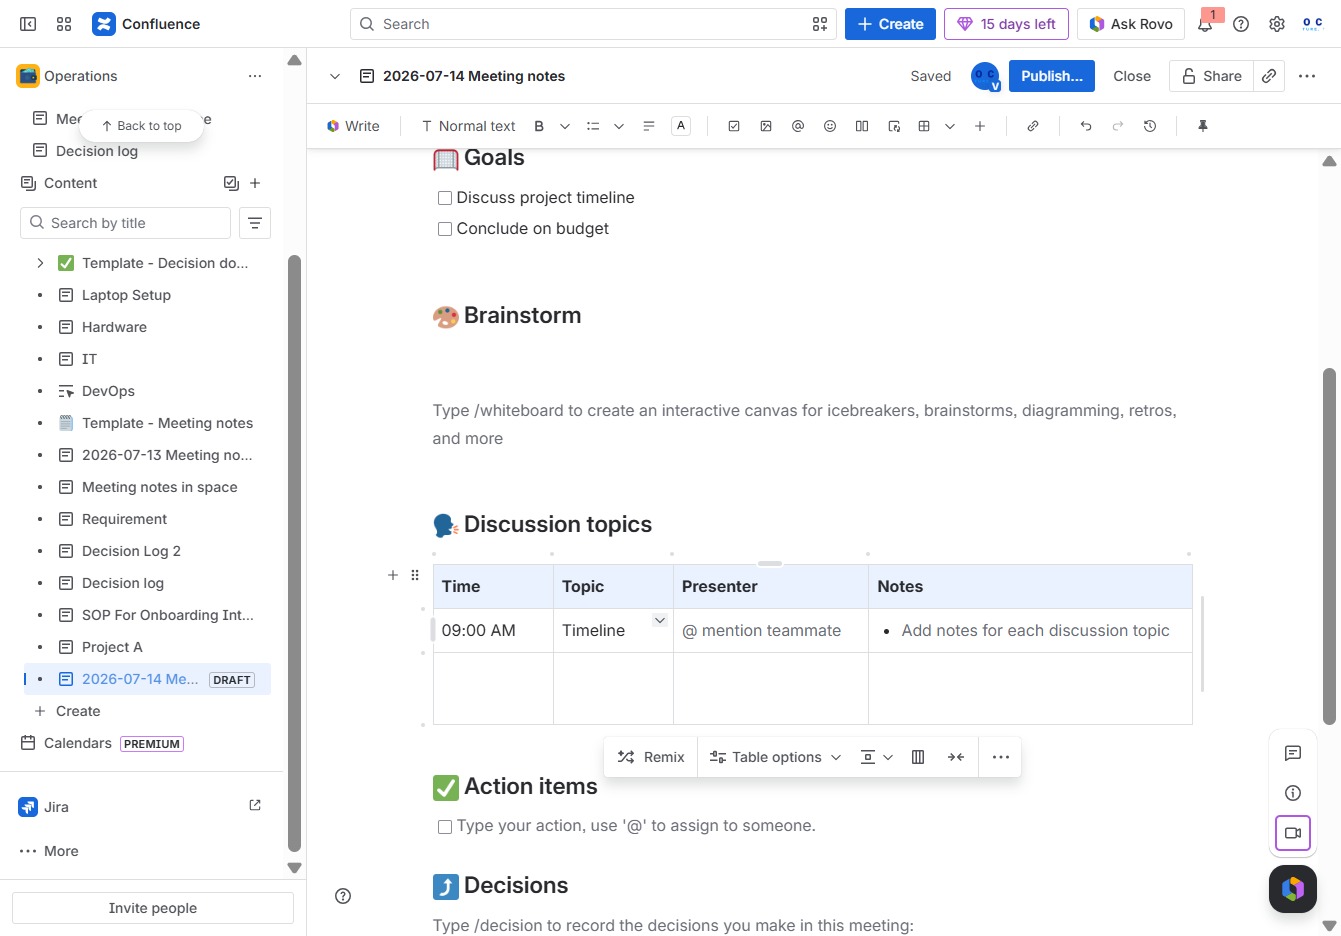
Enter the date, participants, and relevant notes in the Ak editor textarea to document the meeting context and discussions. This information will help keep track of meeting outcomes and participants.

Select the 'janedoe' option to assign this participant to a discussion topic or action item within the meeting notes.
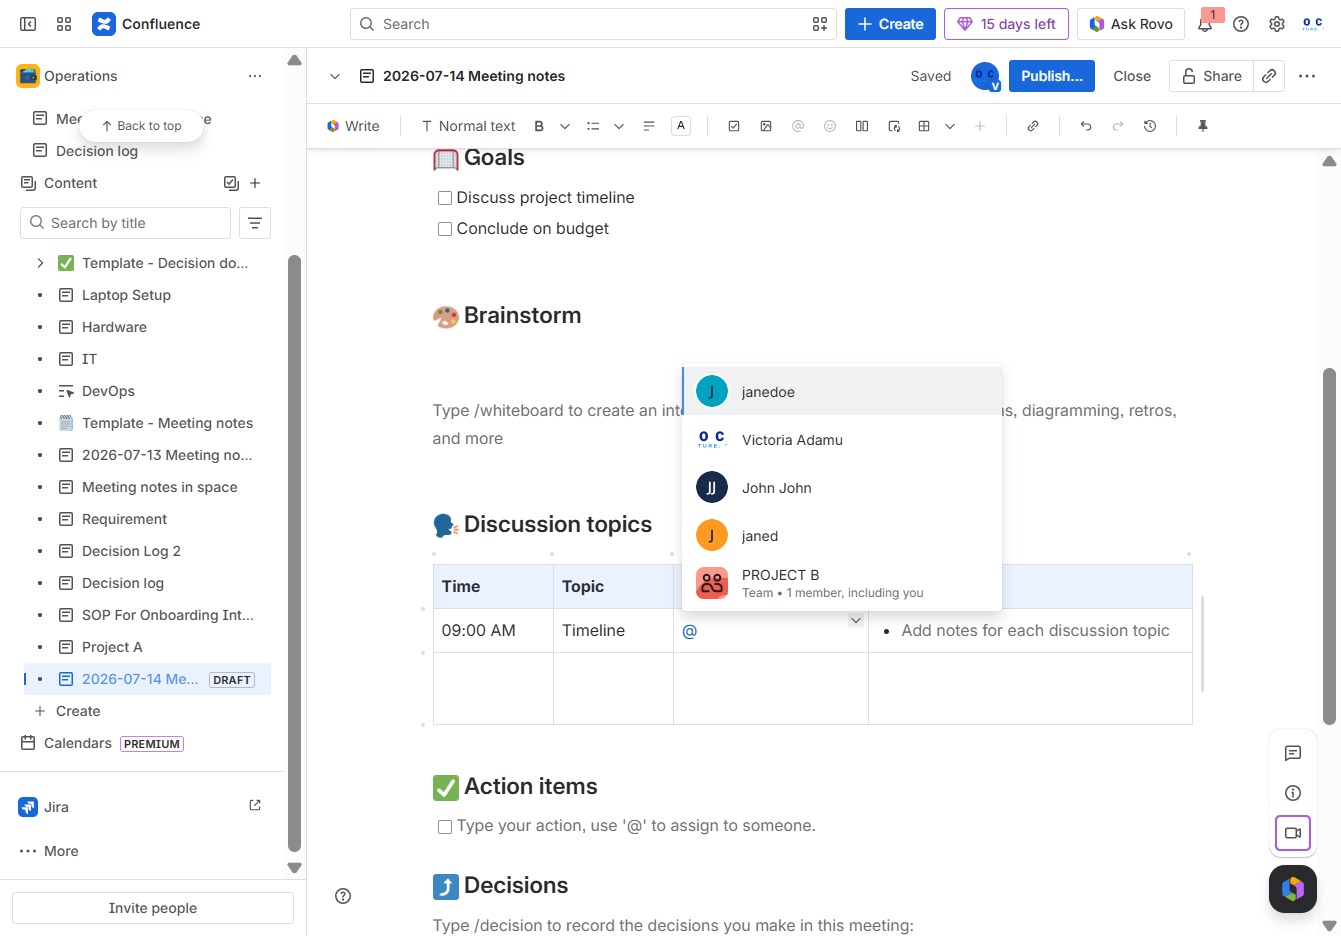
Clicking the 'Publish...' button will save and share your meeting notes with the team in Confluence, making them accessible for future reference.
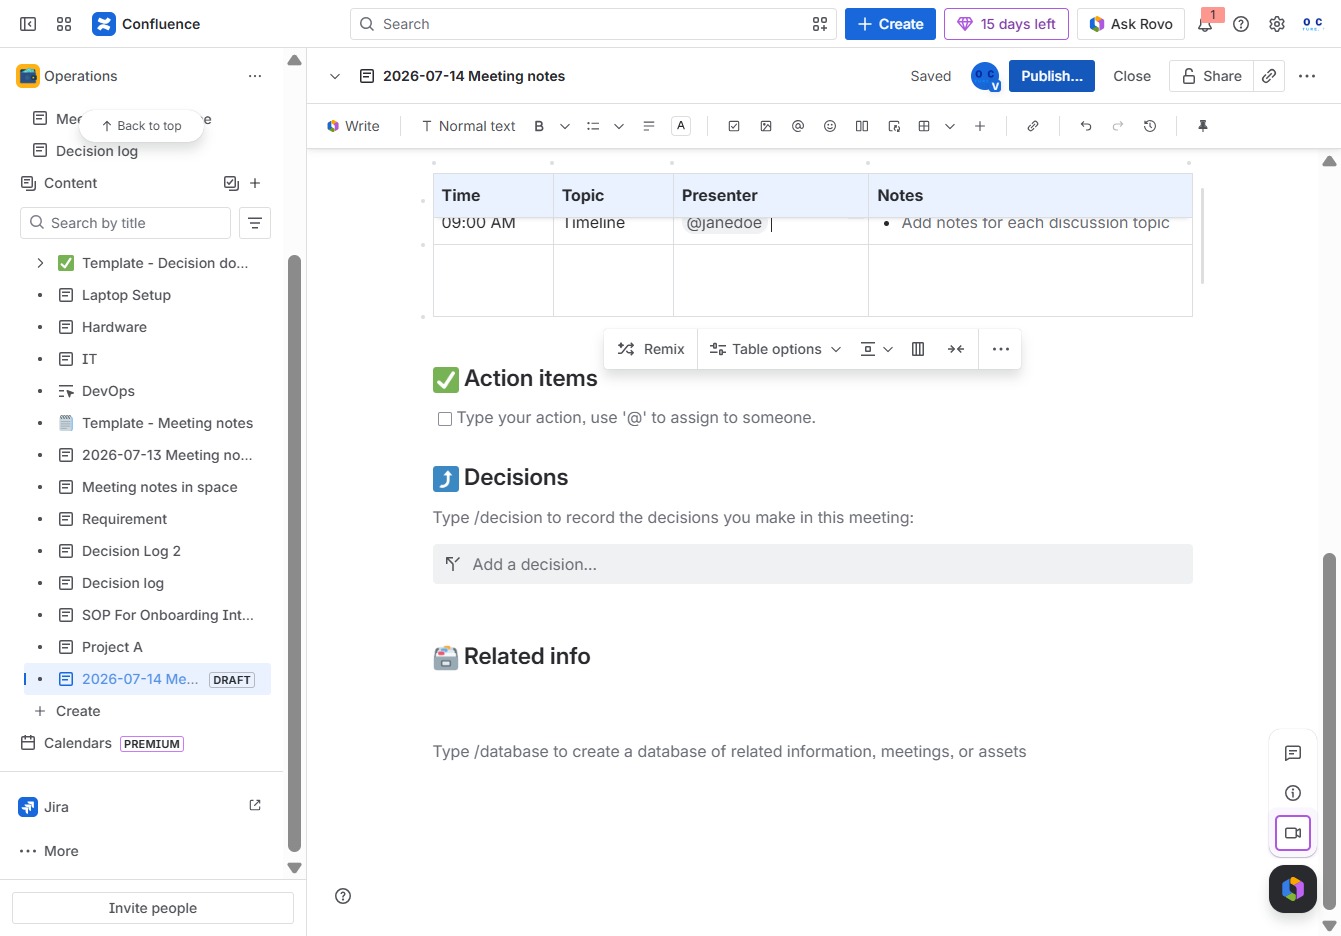
Clicking the Publish button will save and share your current page with the specified location and access settings, making it available for others to view or edit.
