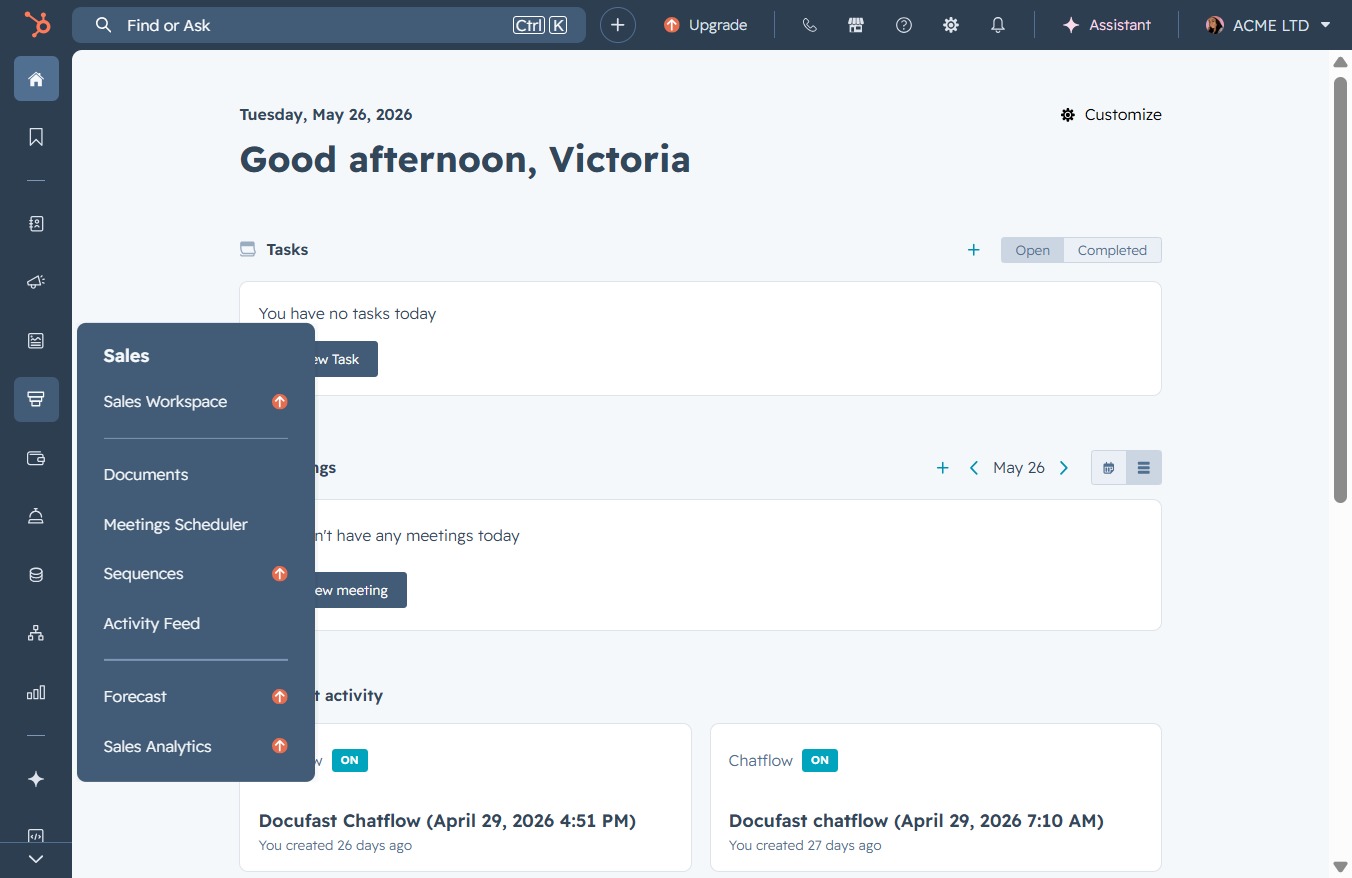
Click here to view options
Clicking this link opens a menu with various options related to Sales, such as Sales Workspace, Documents, and Meetings Scheduler.
Loading screenshot…
100%
Create a meeting scheduling link in the Meetings Scheduler to customize your meeting's details, set durations, and share the link seamlessly with participants.
 viktoria
Create a meeting scheduling link in the Meetings Scheduler to customize your meeting's details, set durations, and share the link seamlessly with participants.
Clicking this link opens a menu with various options related to Sales, such as Sales Workspace, Documents, and Meetings Scheduler.
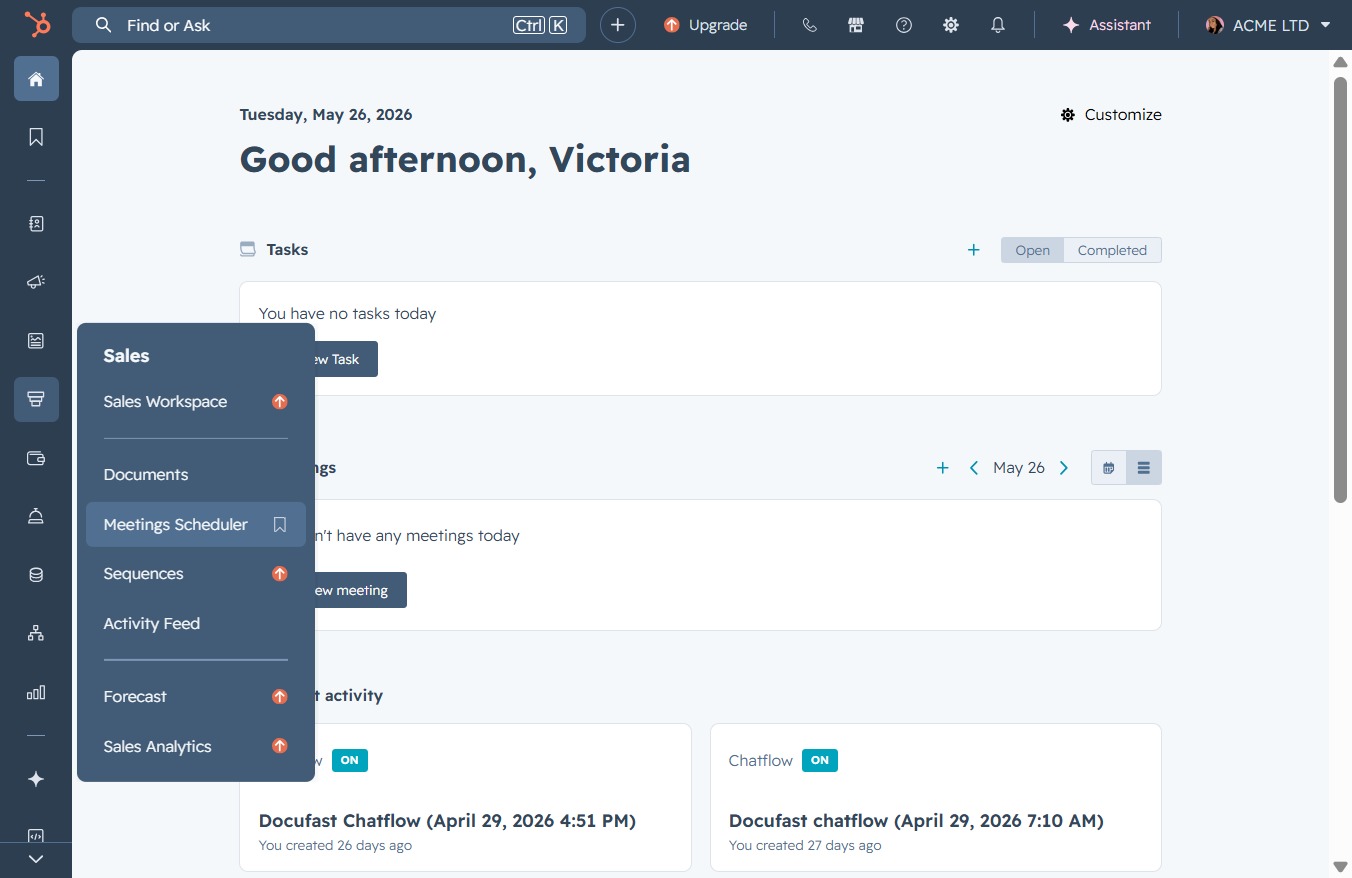
Clicking on the Meetings Scheduler will take you to the scheduling interface, where you can view upcoming meetings and create new ones.
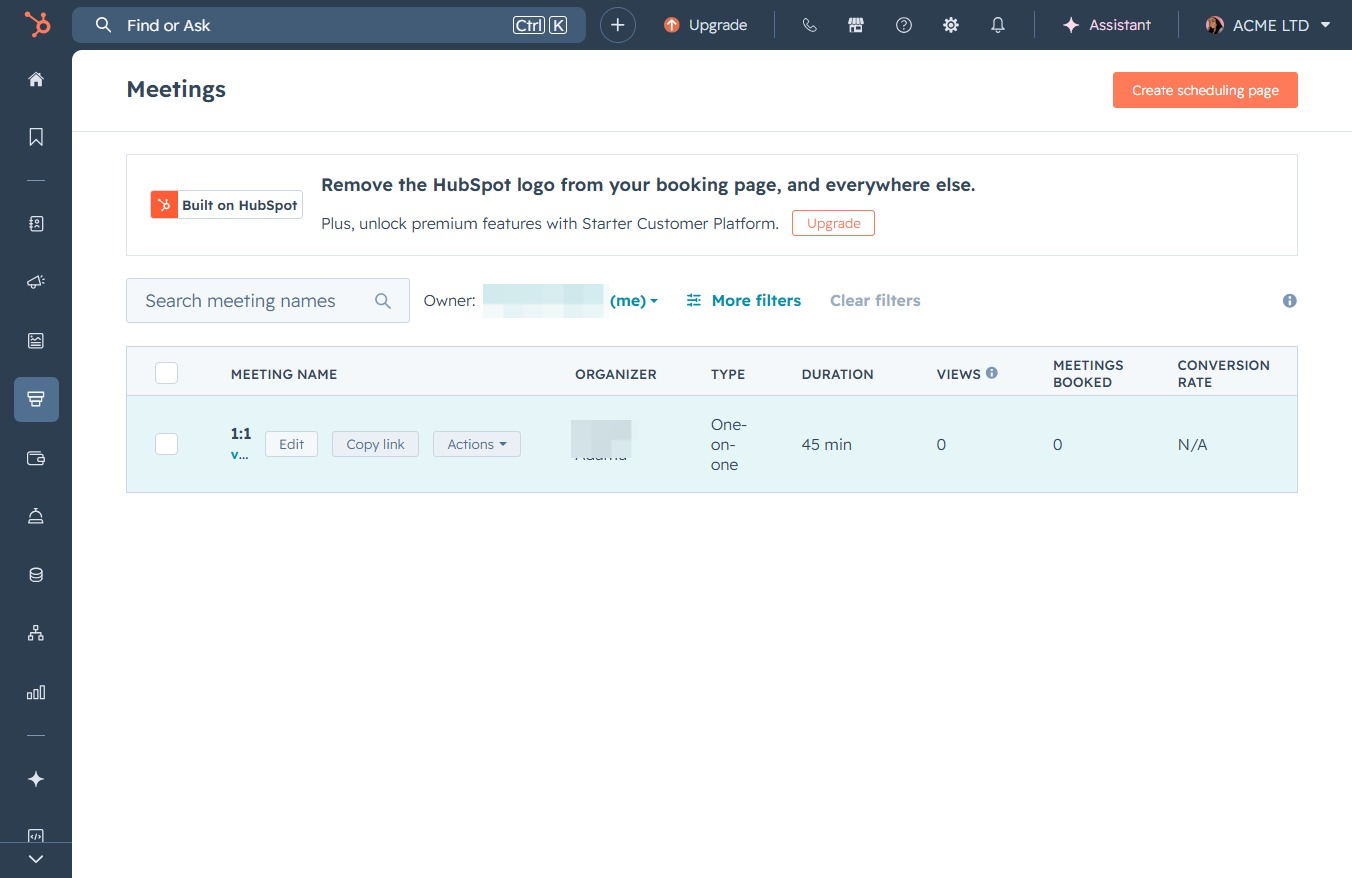
Selecting the Edit button will open a panel where you can update the meeting's name, organizer, duration, and other settings.
This action allows you to modify the internal name for the meeting, helping to customize how it's identified in your organization.

This allows you to enter a name for the event, providing a clear identification for participants.
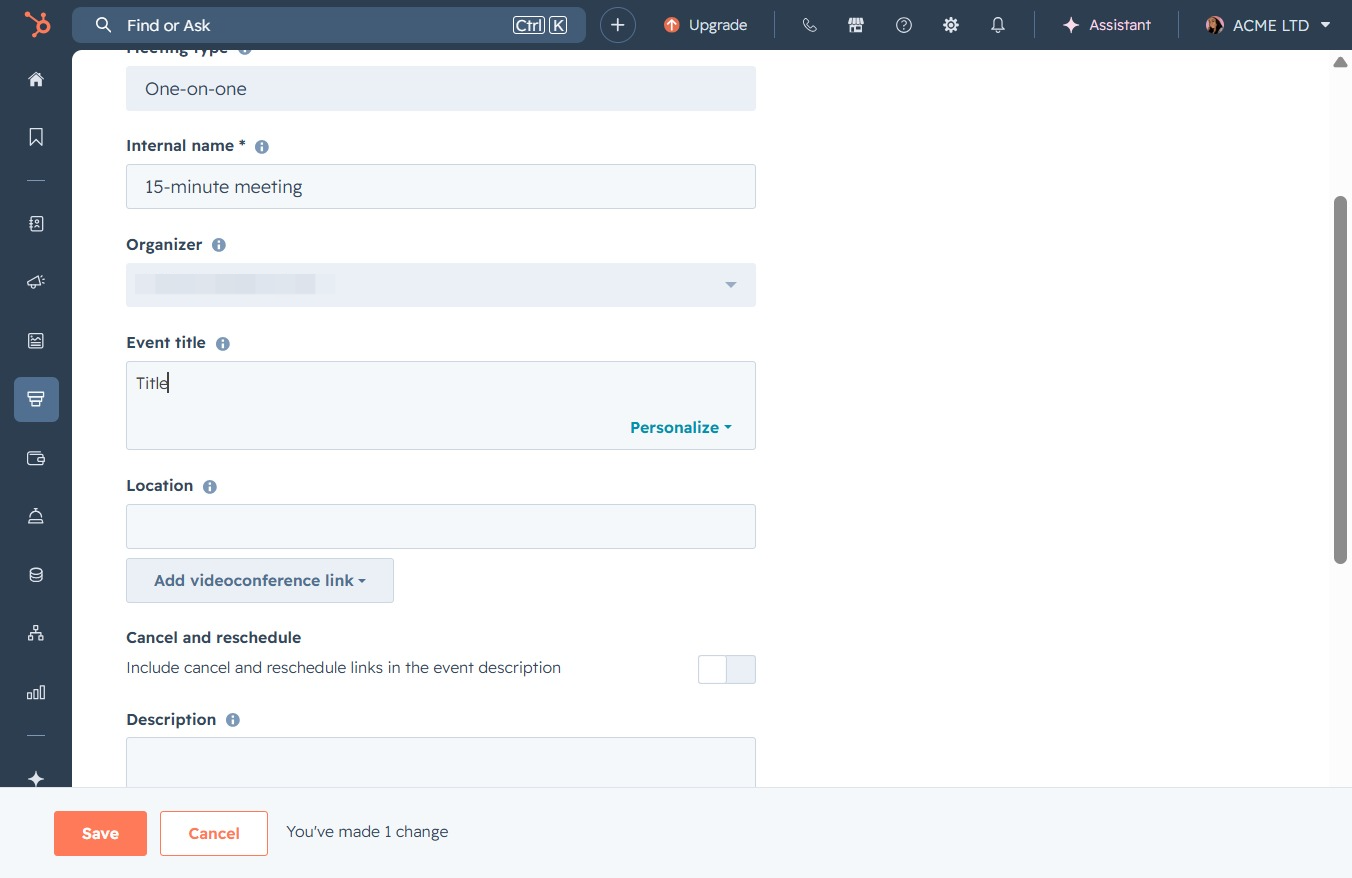
Enter a descriptive title for your meeting in the Event title field to clarify the meeting's purpose for participants.
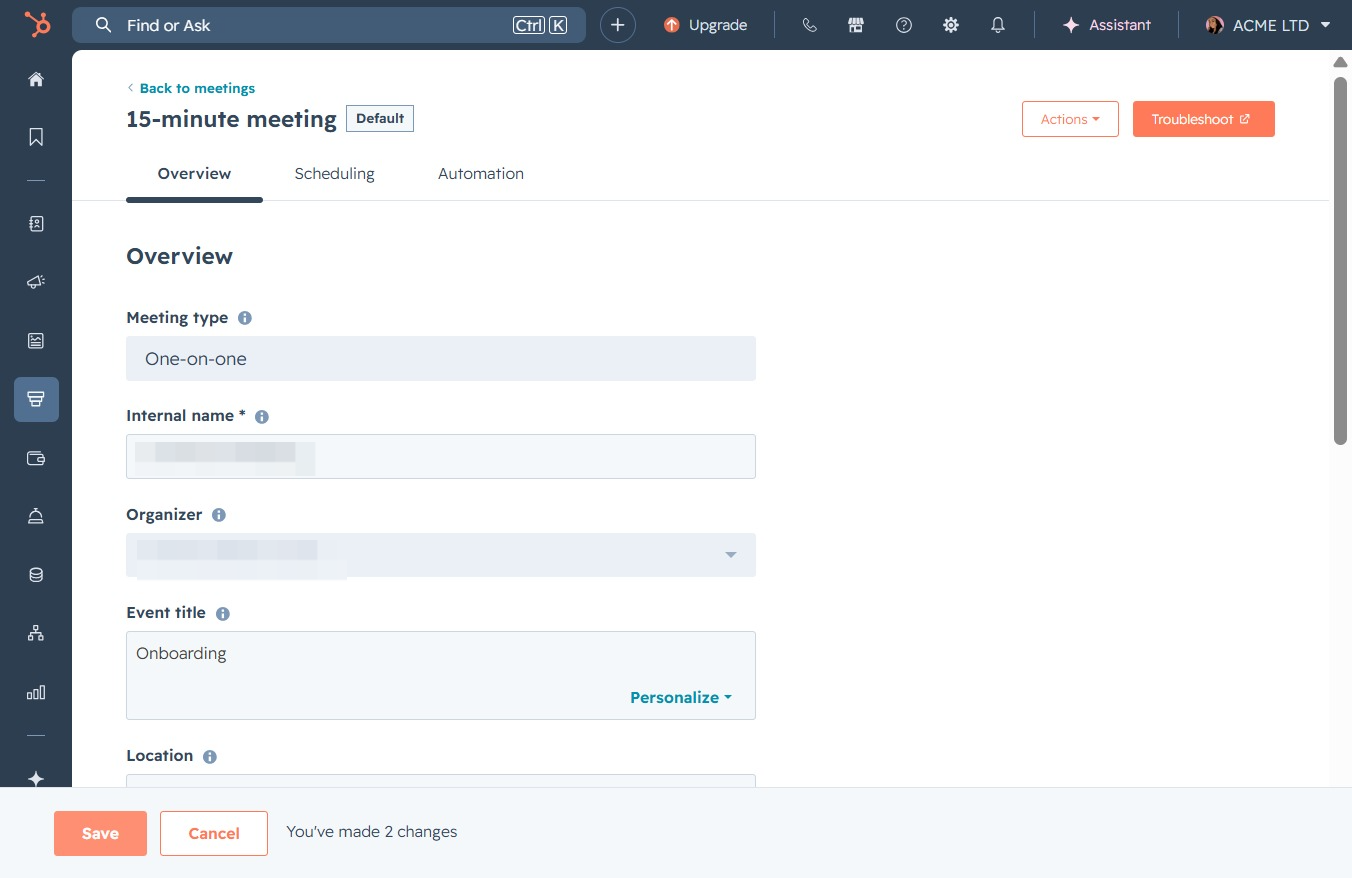
This action saves the changes made to the meeting details, such as the meeting type, internal name, and other settings for the 15-minute meeting.
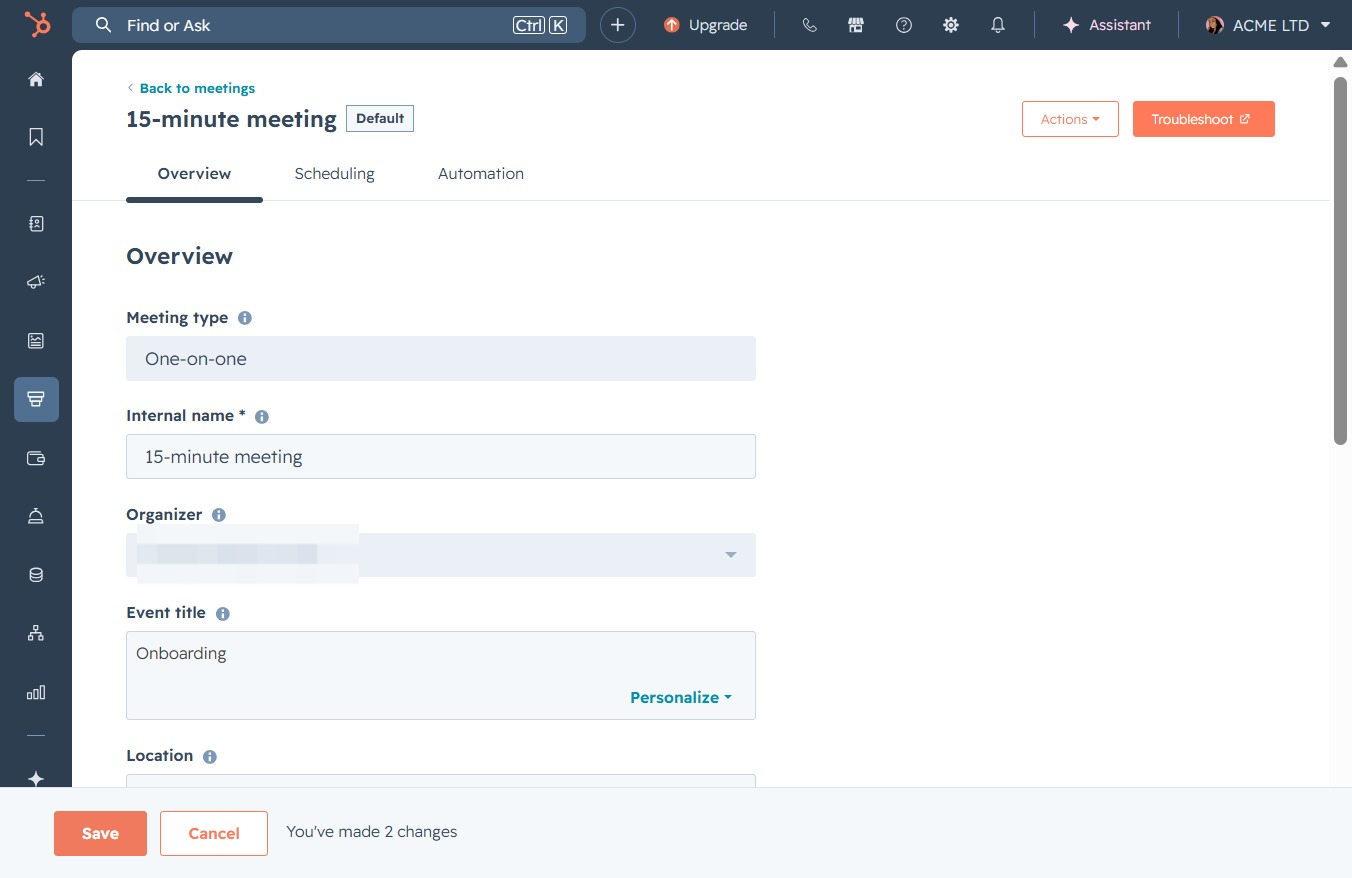
This will take you to the scheduling settings where you can configure meeting types, times, and other related details.

This action will close the scheduling options window, returning you to the previous page or interface.

Select this option to choose the duration for the meeting from the available settings. This will help attendees understand how long the meeting will last.

Selecting this option allows you to choose a duration for the meeting, offering various time slots such as 15 min, 30 min, and more. This is crucial for scheduling attendee availability.

Clicking the Save button will apply your changes to the working hours, ensuring that users are only booked for meetings during designated times.
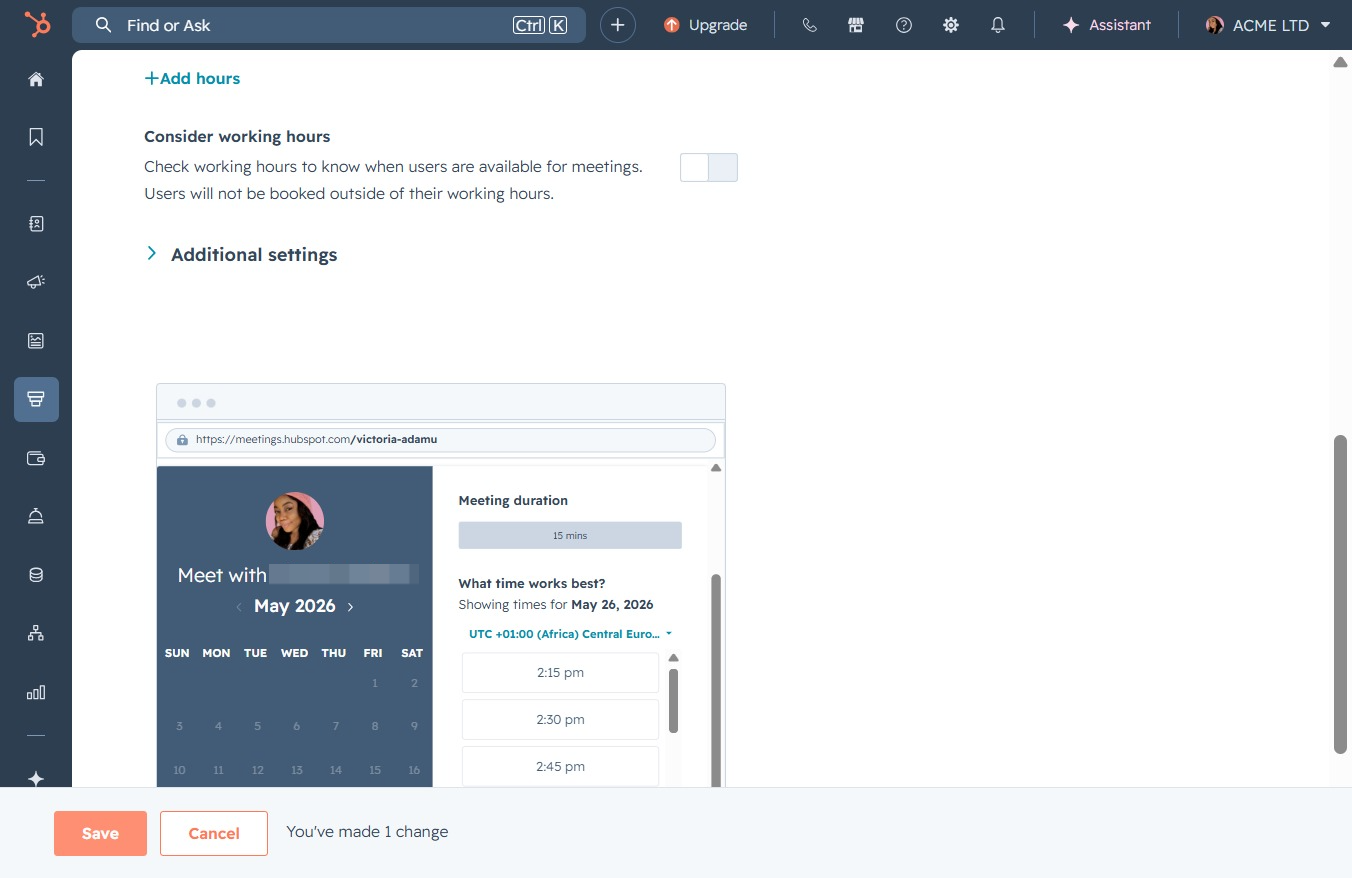
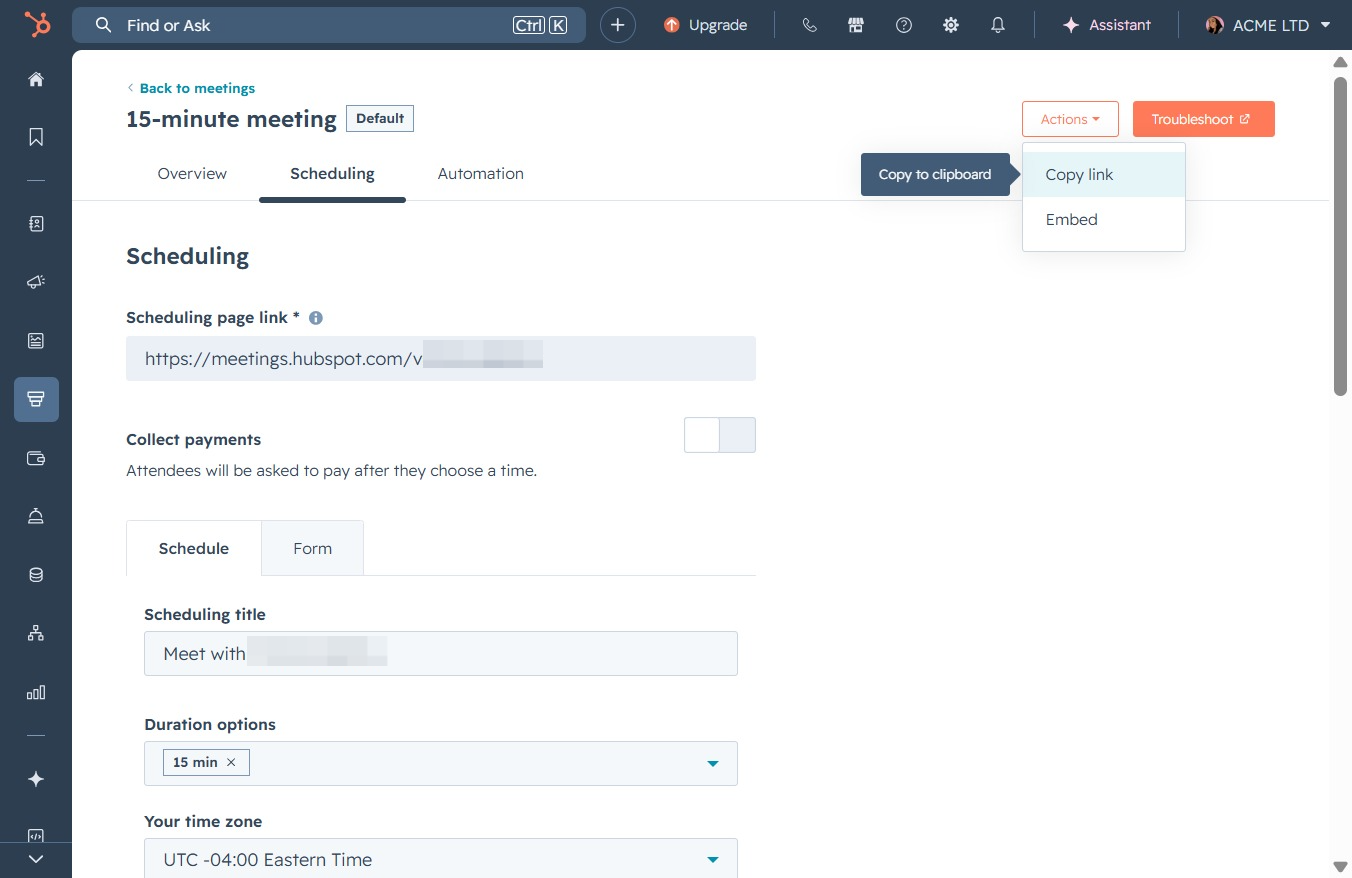
This opens a dropdown where you can find options related to scheduling meetings, such as editing details or managing settings.

This action copies the scheduling page link to your clipboard, allowing you to easily share it with attendees.