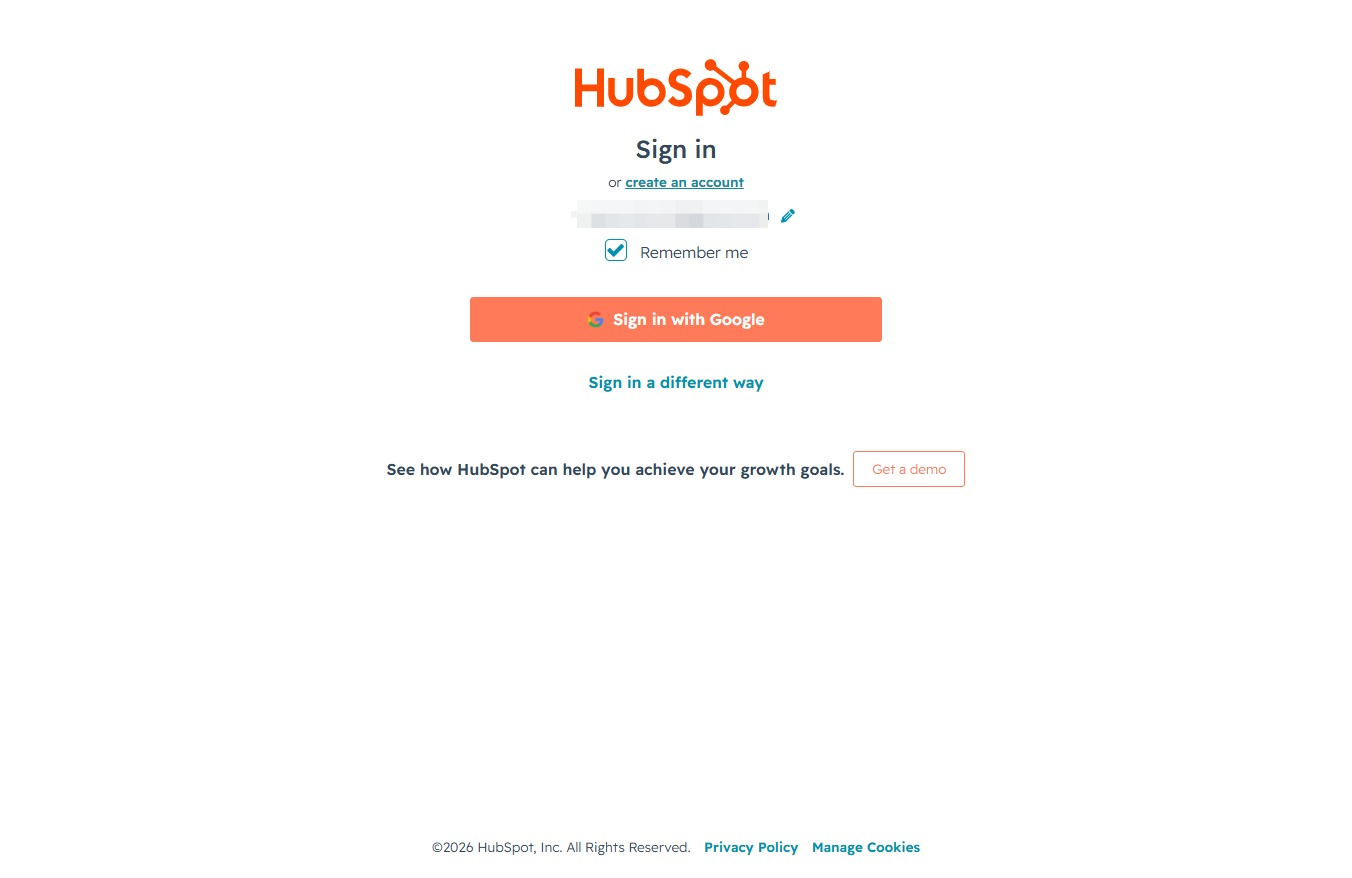
Click the Log in link
Clicking the 'Log in' link will direct you to the login page, where you can enter your credentials to access your HubSpot account.

Loading screenshot…
100%
Create a HubSpot account to access CRM features by entering your email, verifying it, and completing your profile setup with personal and company information.
 viktoria
Create a HubSpot account to access CRM features by entering your email, verifying it, and completing your profile setup with personal and company information.
Clicking the 'Log in' link will direct you to the login page, where you can enter your credentials to access your HubSpot account.
This will redirect you to the account registration page where you can sign up for a new HubSpot account.
After clicking this button, you will be prompted to enter your email address to create your HubSpot account.
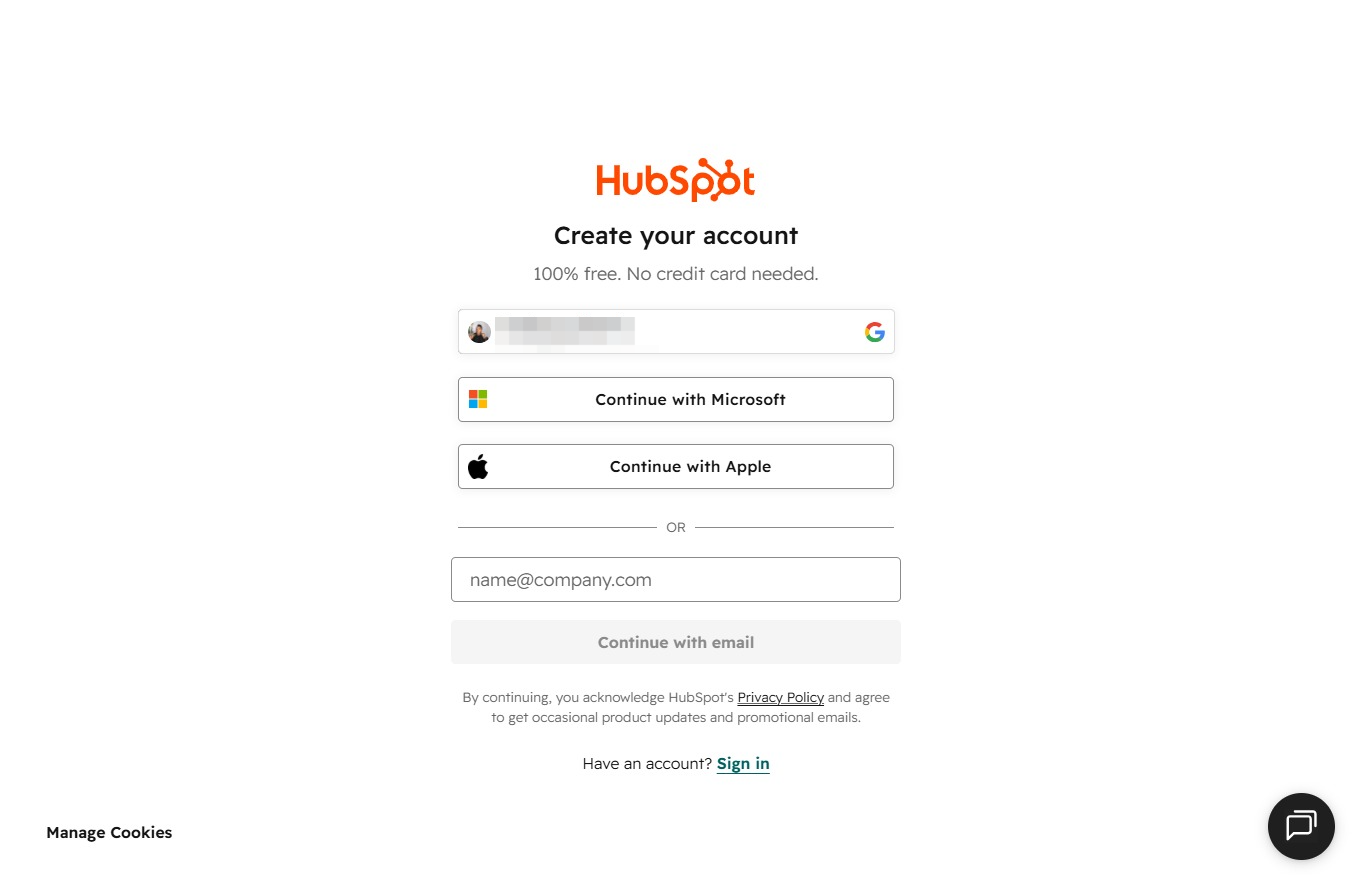
In the sign-up form, type your email address to create your HubSpot account. This is where you'll receive important notifications and updates related to your account.

To start creating your HubSpot account, click the 'Continue with email' button. This option allows you to enter your email address for the signup process.

This action initiates the verification process by allowing you to enter the verification code sent to your email.
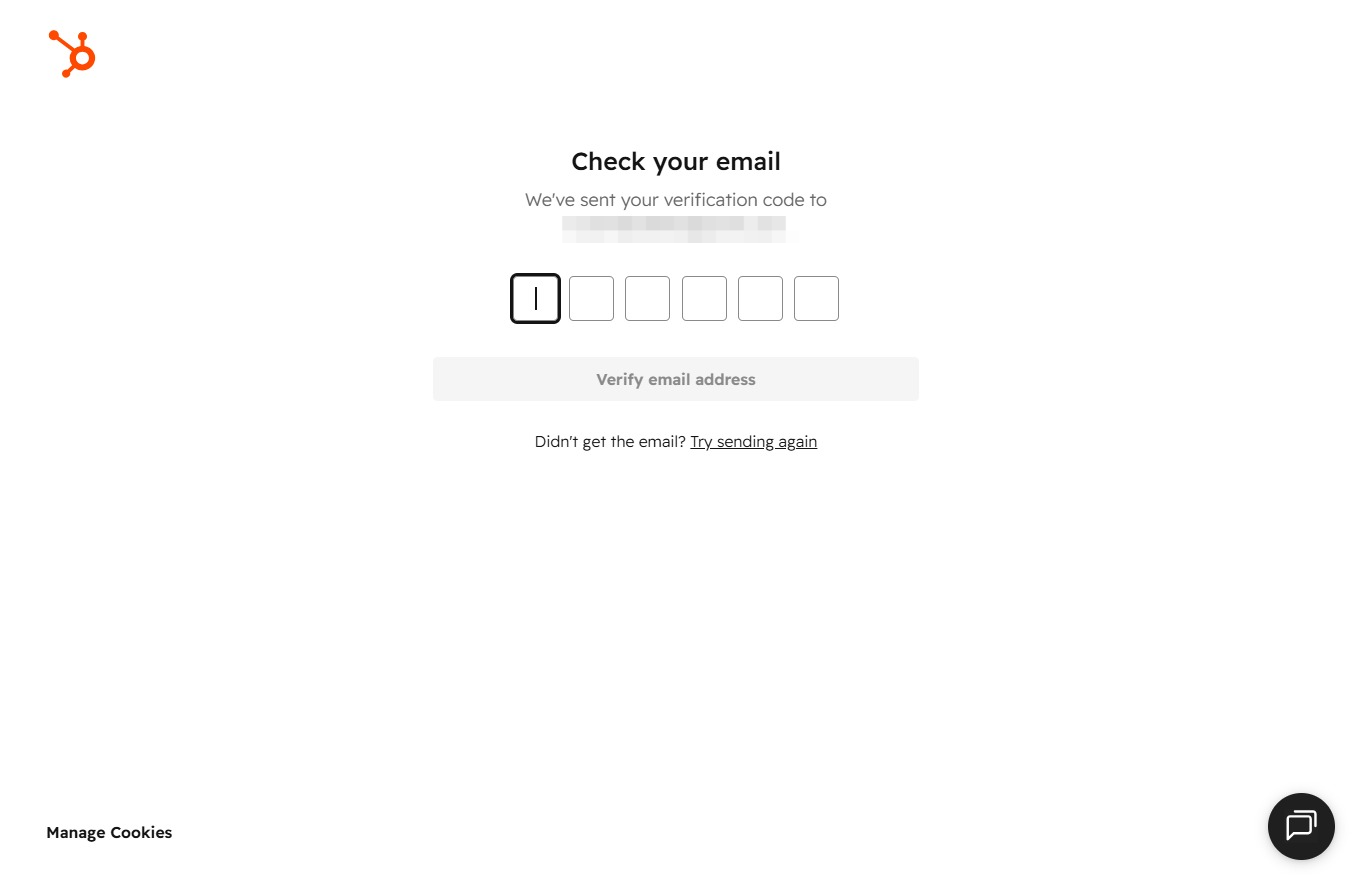
Input the verification code sent to your email in the provided fields. Once entered, click the 'Verify email address' button to confirm your email.

This action confirms your email address and allows you to proceed with the verification process. Ensure you have received the verification code in your email before clicking.

By clicking this button, you will proceed to the next step in the password creation process, where you may finalize your authentication setup.
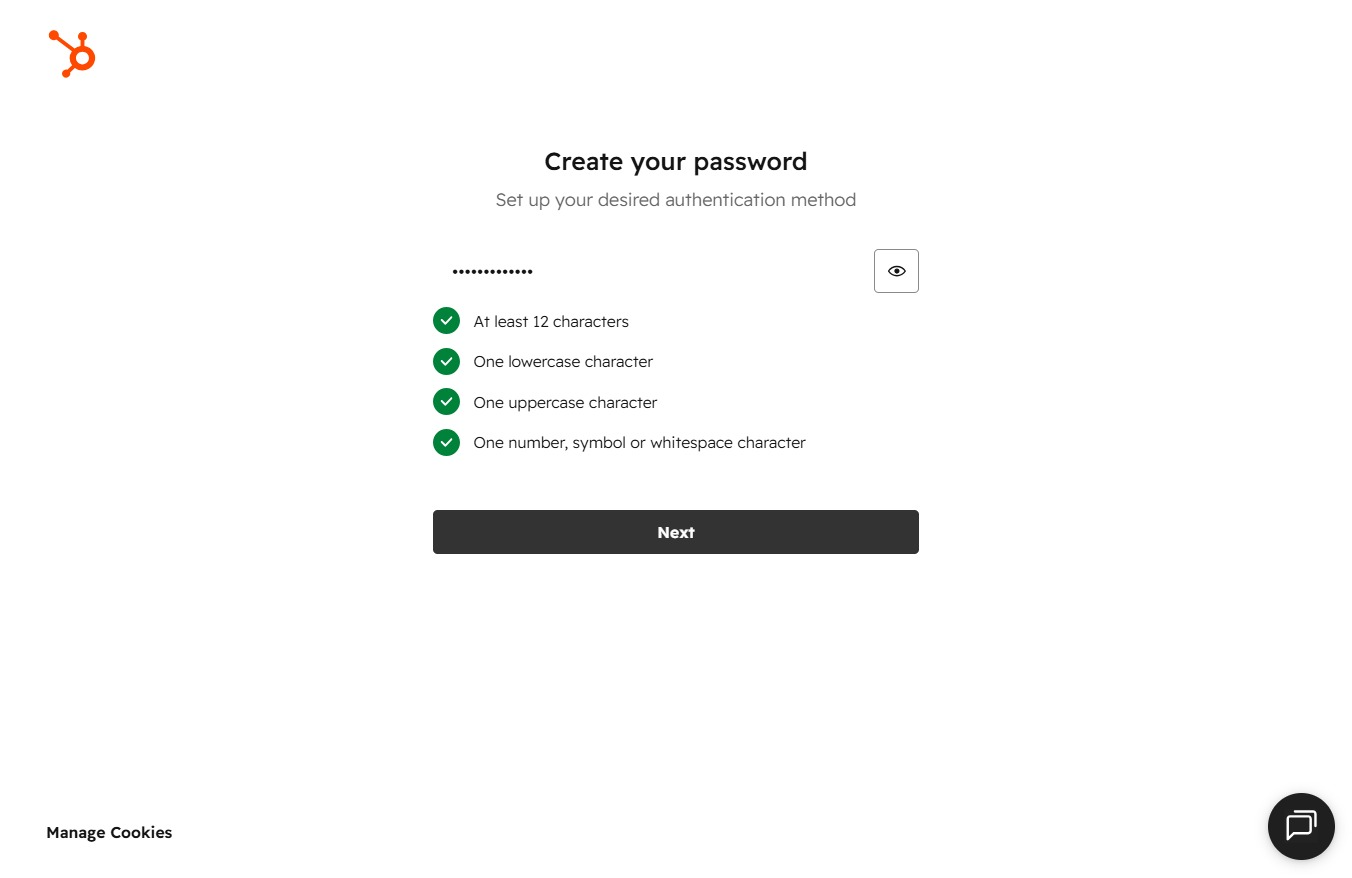
This will take you to the next step in providing your name for personalization.
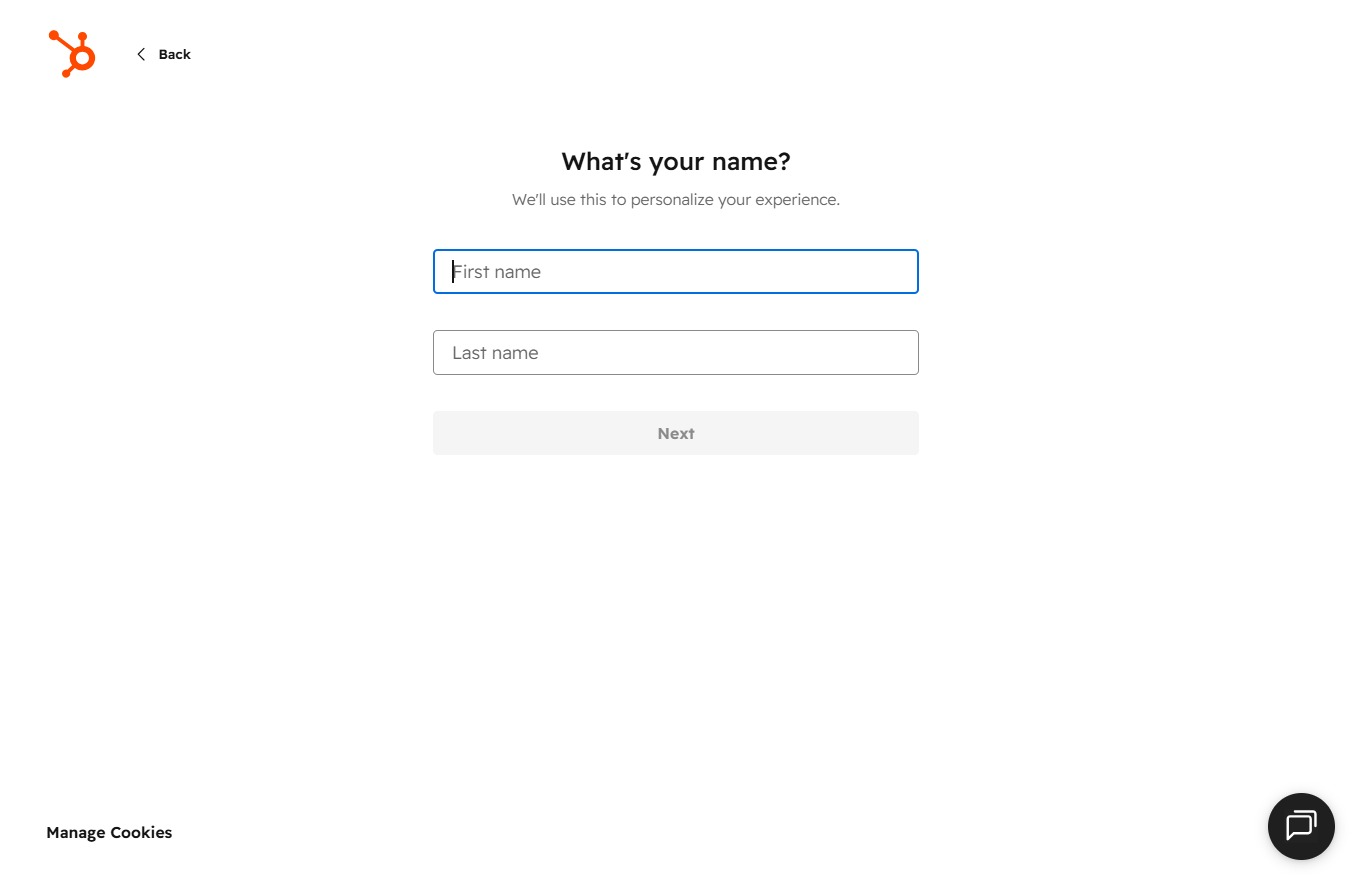
Enter your last name in the designated field to personalize your experience. Once completed, click 'Next' to proceed to the next step.
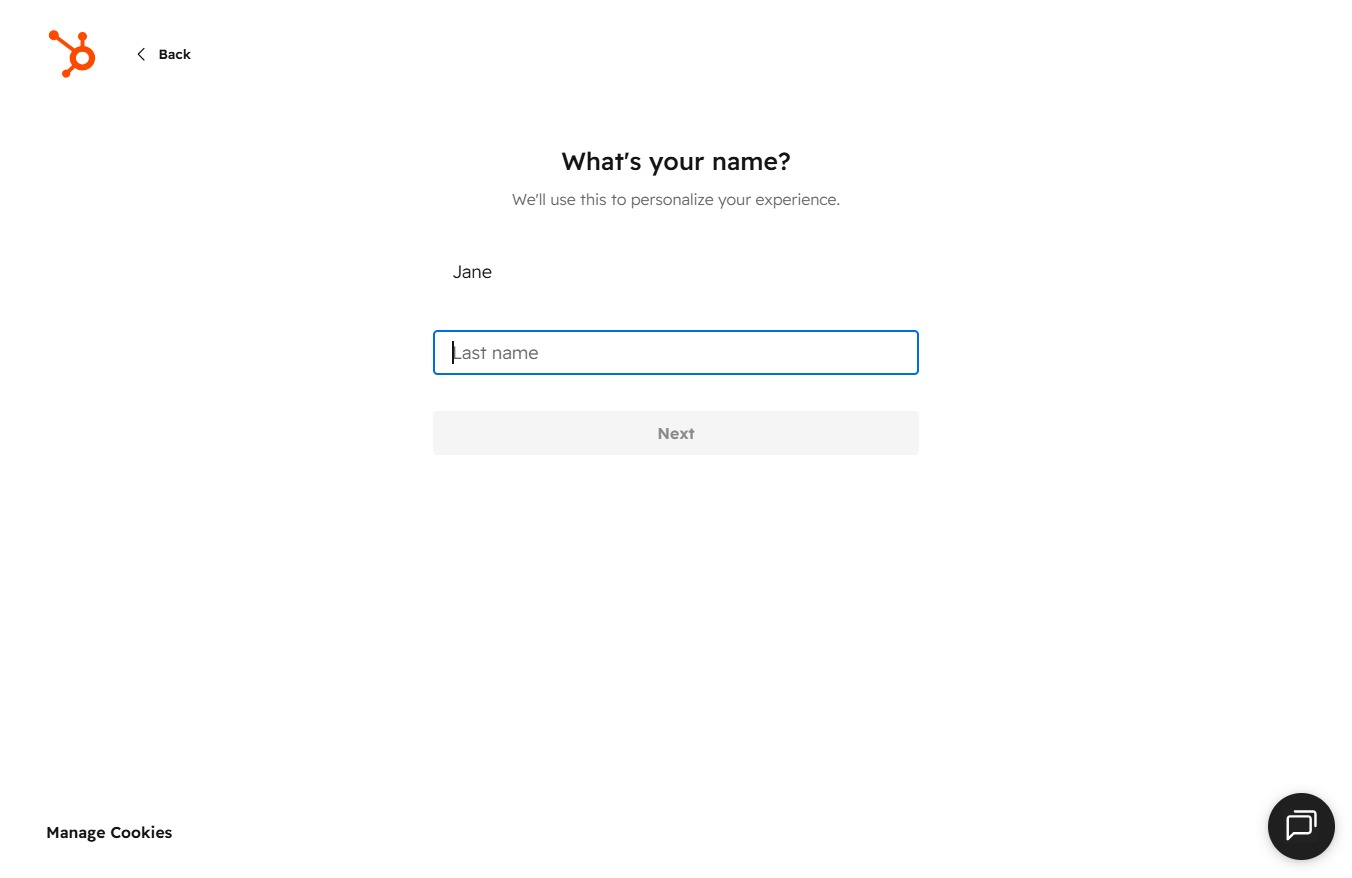
Clicking 'Next' will proceed to the next step in the setup process, allowing you to continue customizing your experience.
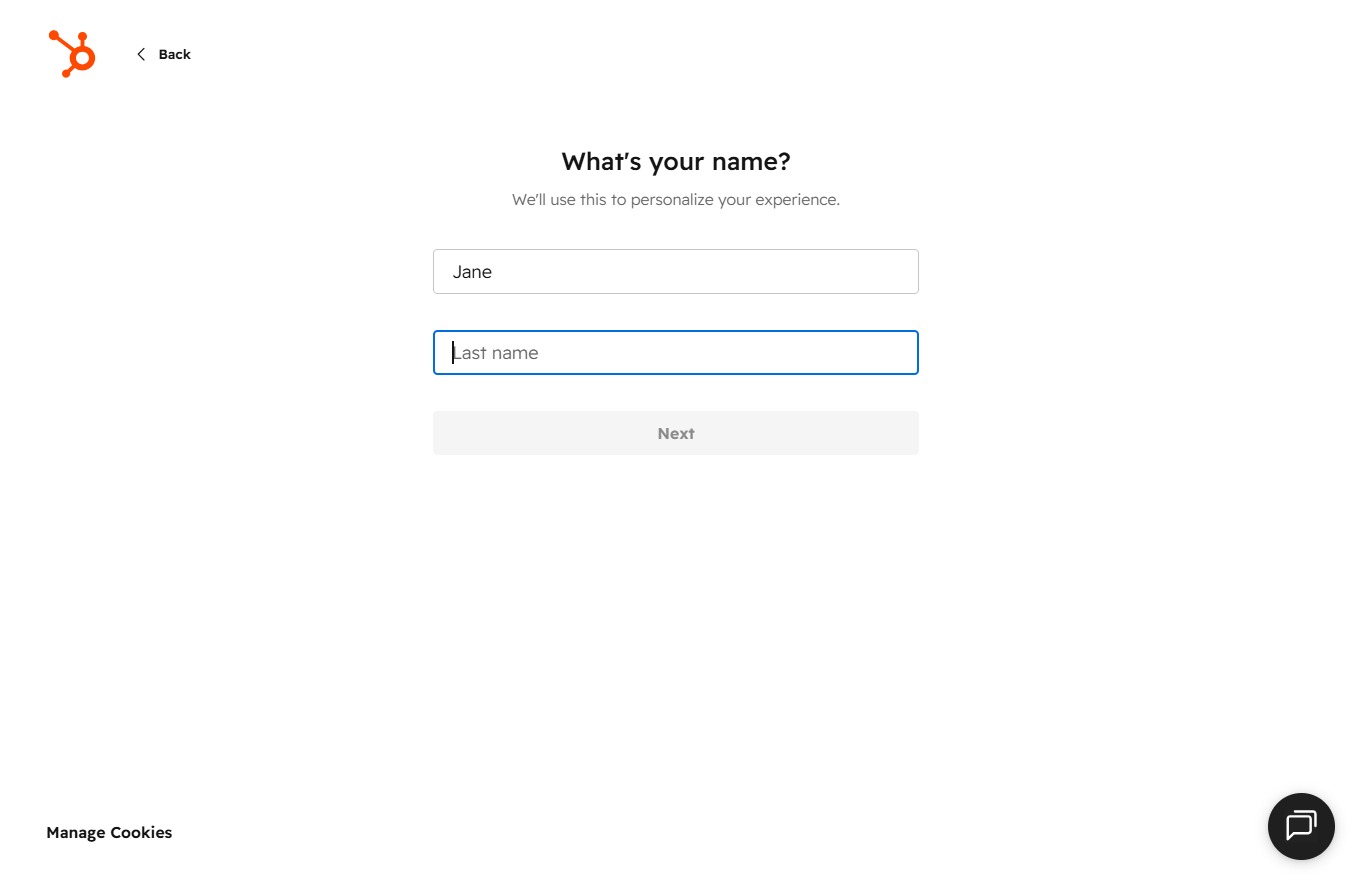
Fill in your first and last name in the provided text fields to personalize your experience with the application. Once complete, click 'Next' to proceed to the following step.
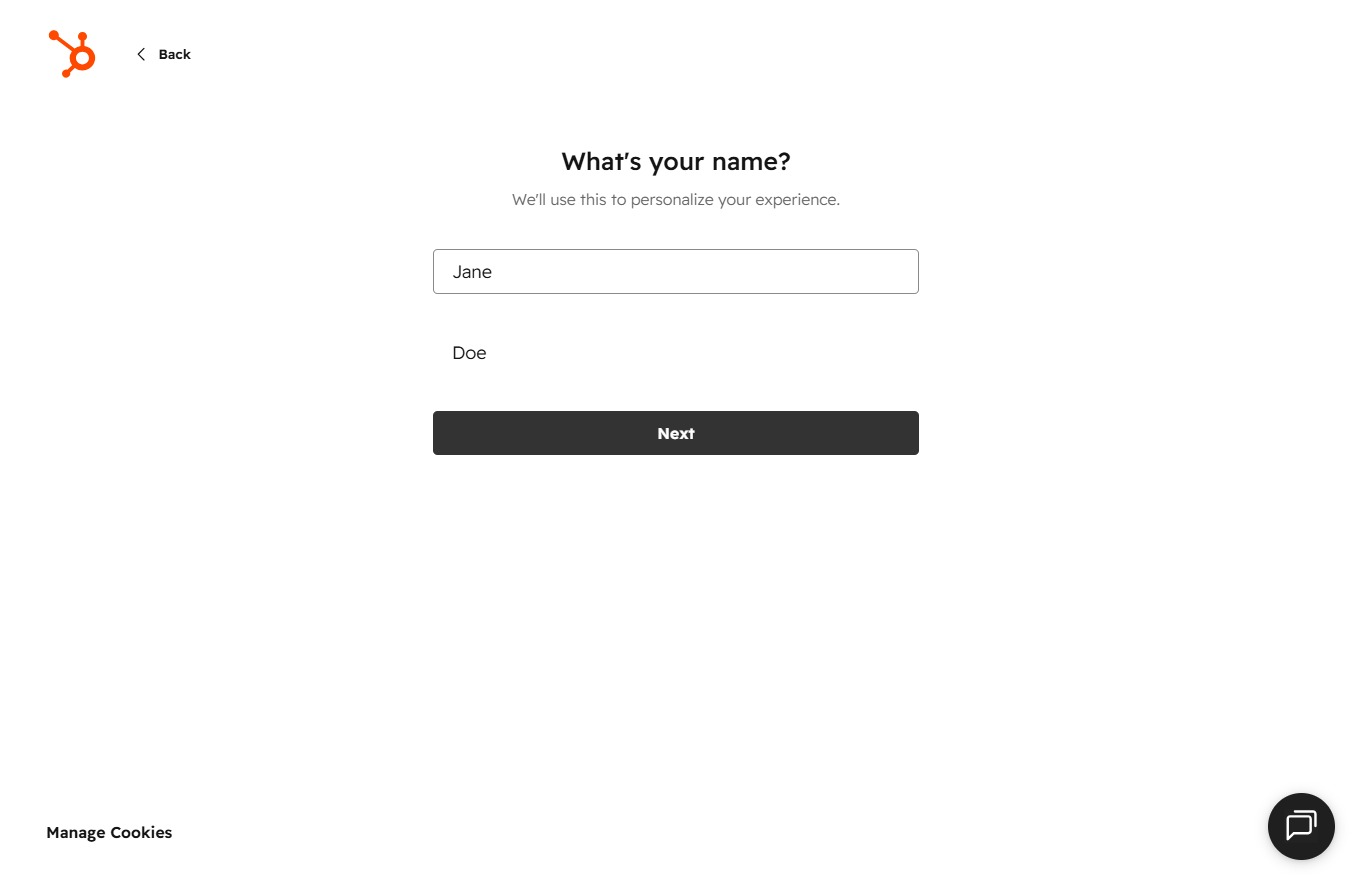
This will take you to the next step in the onboarding process, where you will provide additional information to personalize your experience.
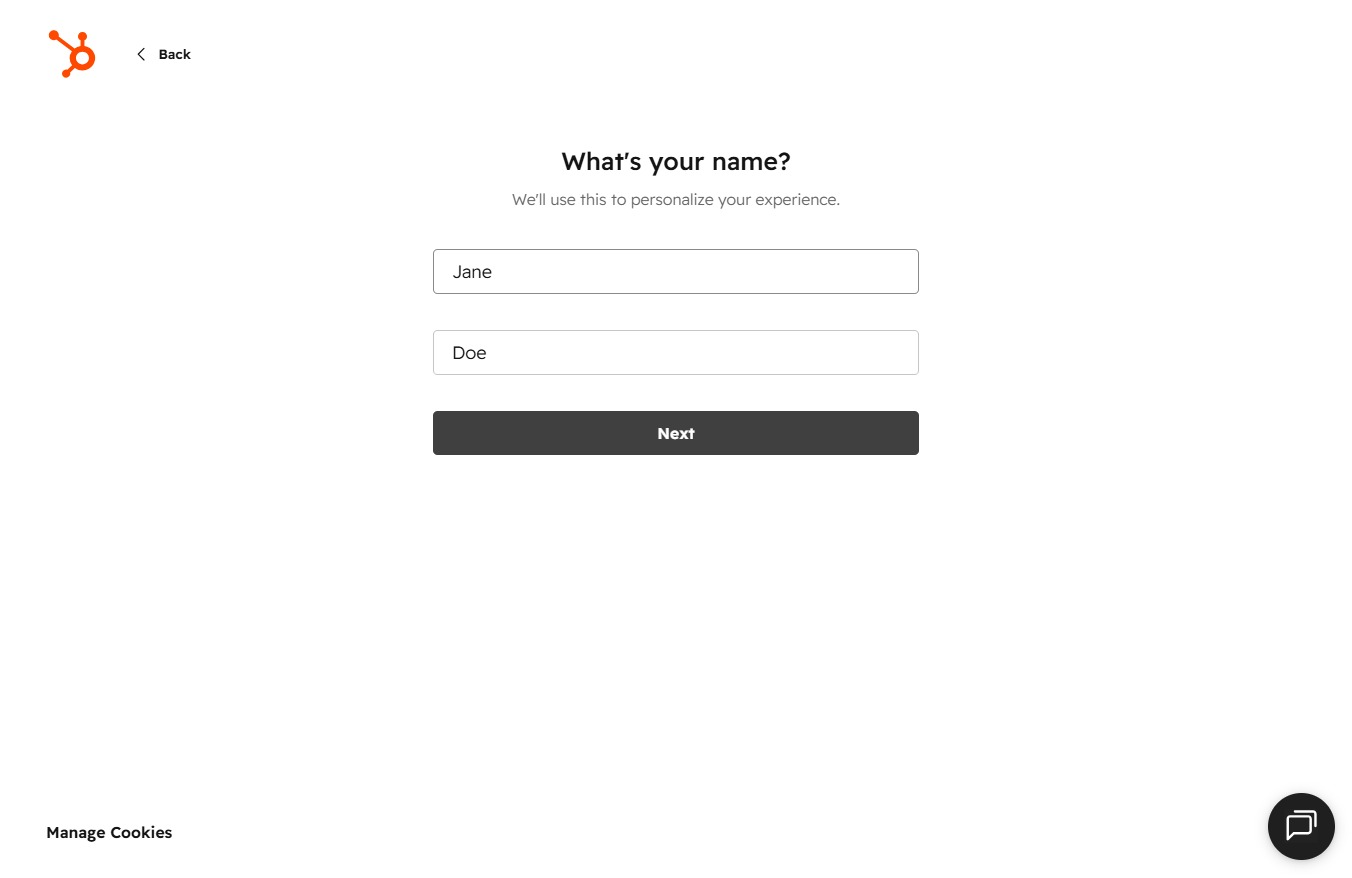
Selecting 'Owner' allows you to identify your role, enabling the platform to tailor resources and recommendations specific to your position.

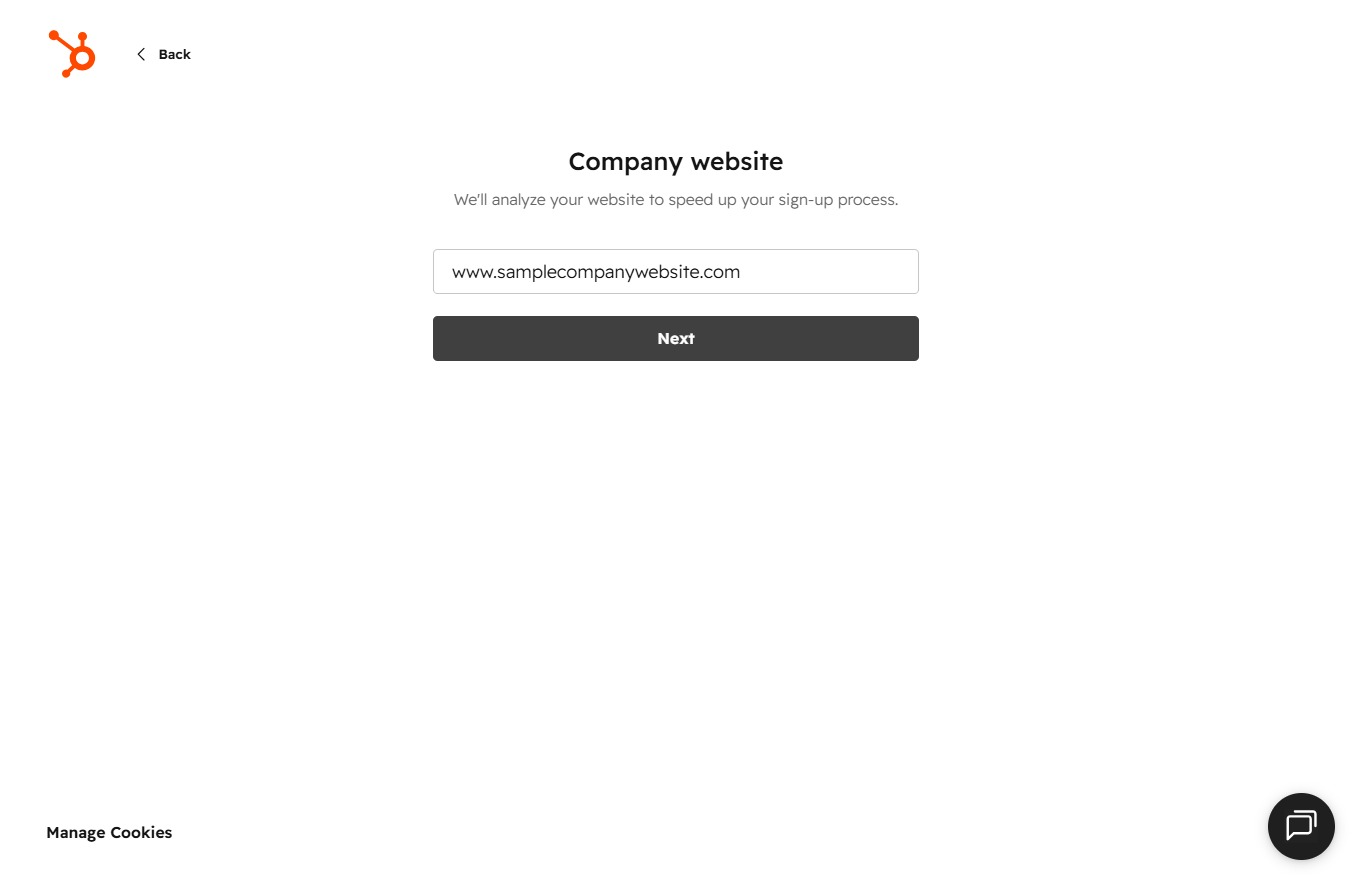
This will proceed to the next step in the sign-up process after the company website has been analyzed.
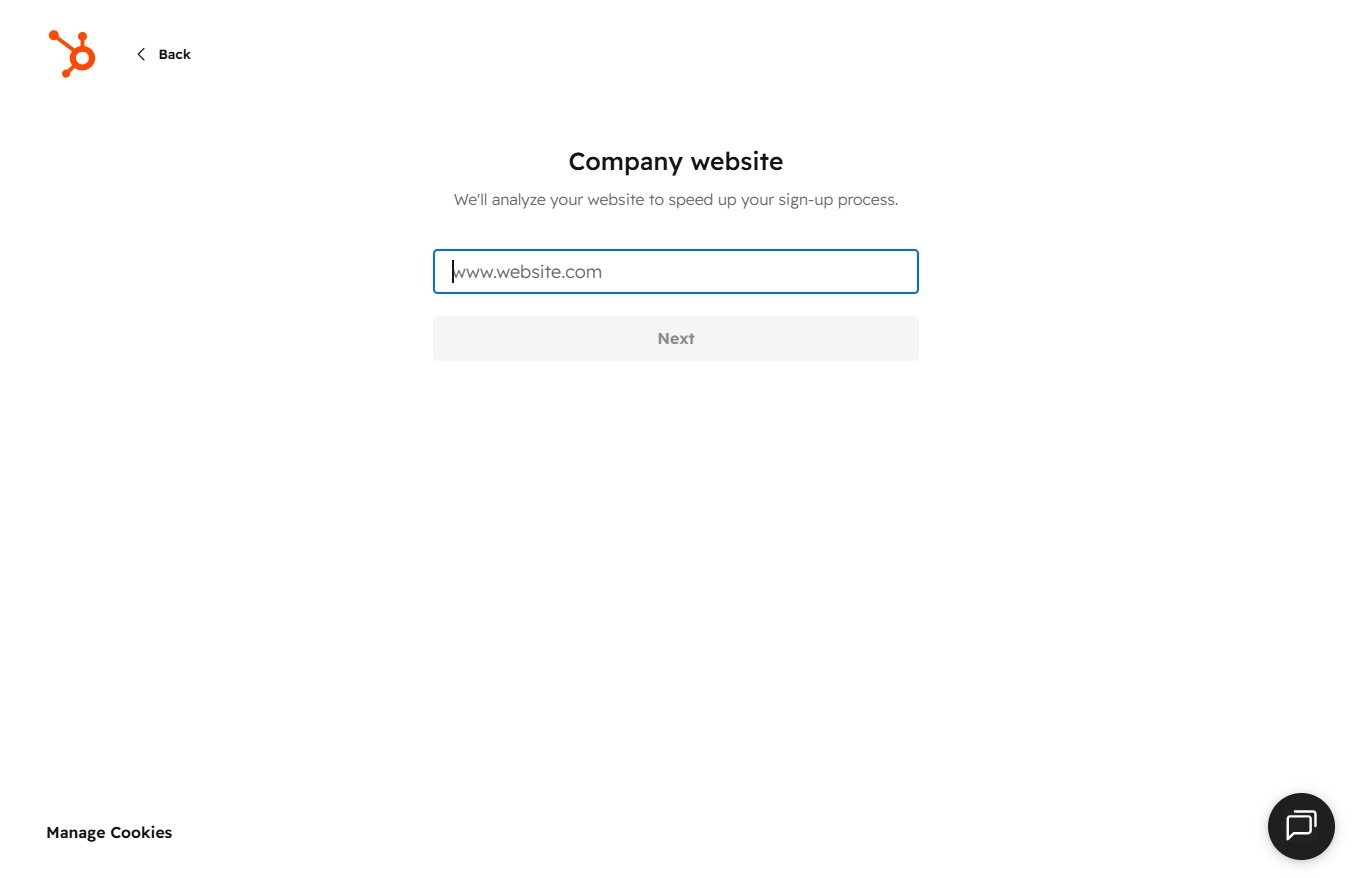
Enter "www.samplecompanywebsite.com" in the provided field. This will initiate an analysis of your website to optimize your sign-up process.
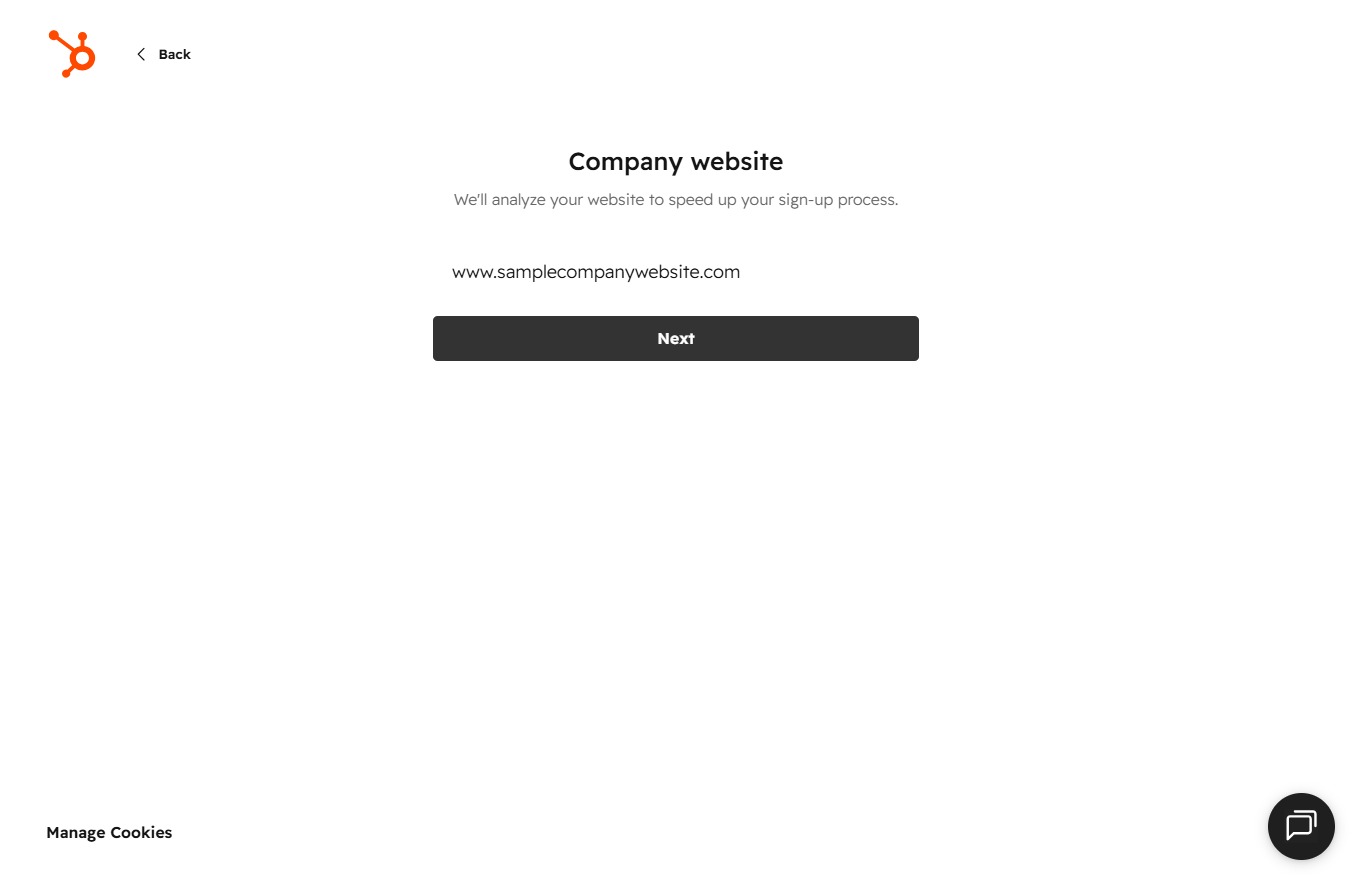
This action will proceed to the next step in the sign-up process after analyzing your website to enhance the registration experience.
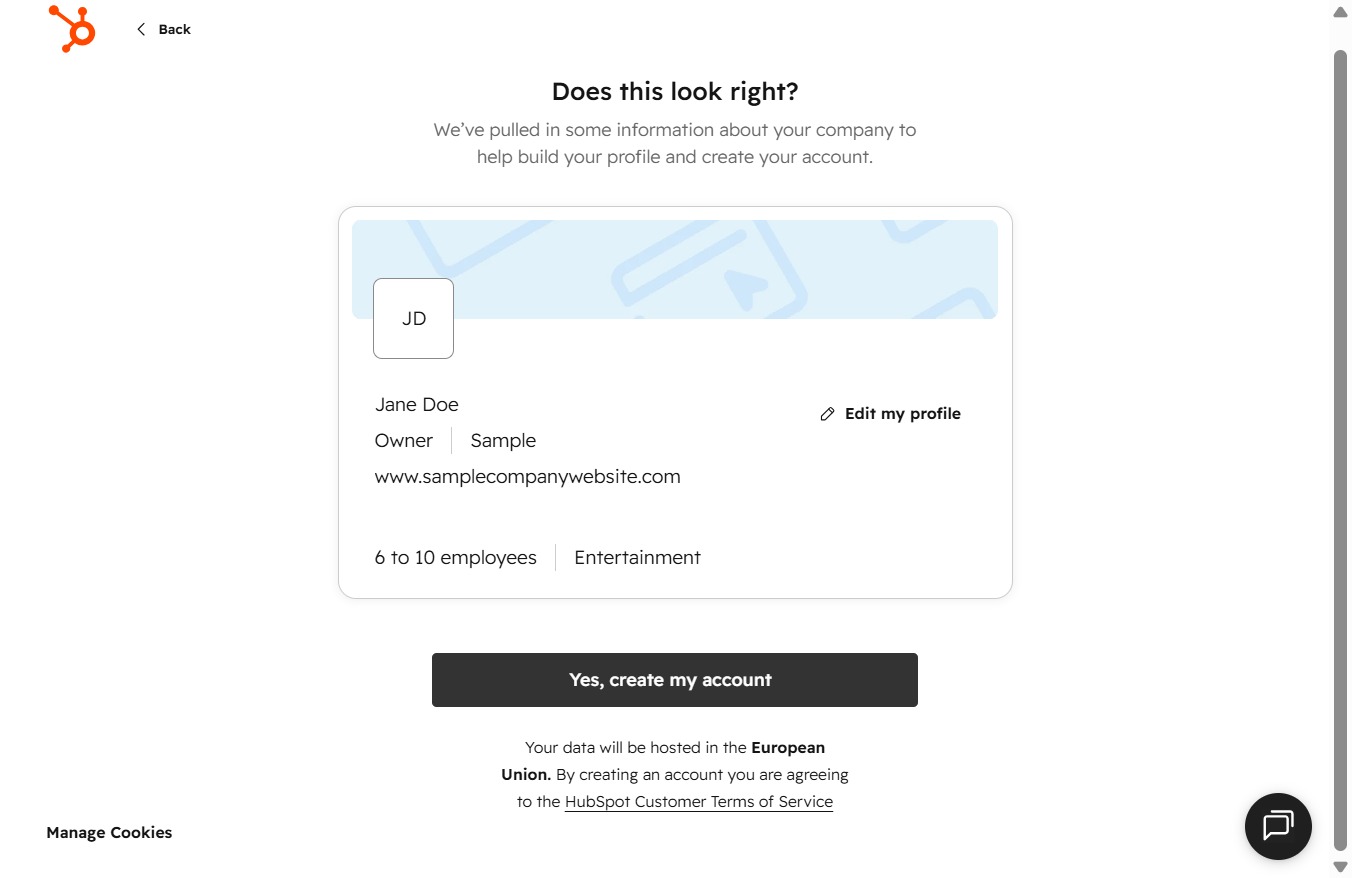
By clicking this button, you will finalize your account creation and proceed to the next step in setting up your profile with the provided company information.