Shared guide

How to set up custom pipelines for different teams

This how-to guide walks you through the process of setting up custom pipelines tailored for different teams, specifically detailing each step from initiating the pipeline to…

victoriaworkflowsvictoriaworkflows
·21 steps·121 views·Published

This how-to guide walks you through the process of setting up custom pipelines tailored for different teams, specifically detailing each step from initiating the pipeline to finalizing specific stages such as "Sales team pipeline" and various key milestones. Follow the clear instructions to streamline your team's workflow effectively.

Step-by-step Guide21 steps
  1. Click on "Click here."
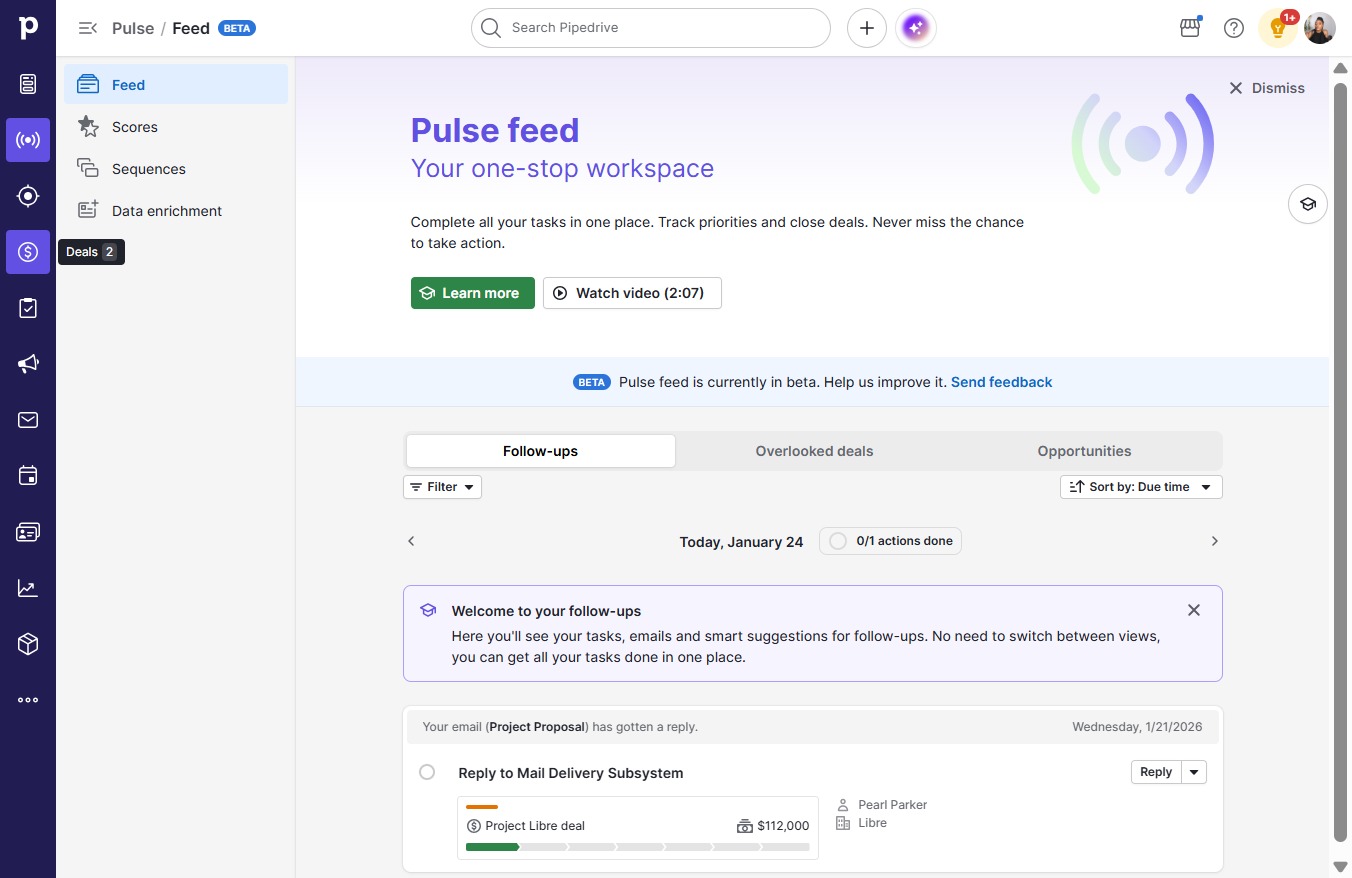
    Click on "Click here."
    Loading screenshot…
    100%
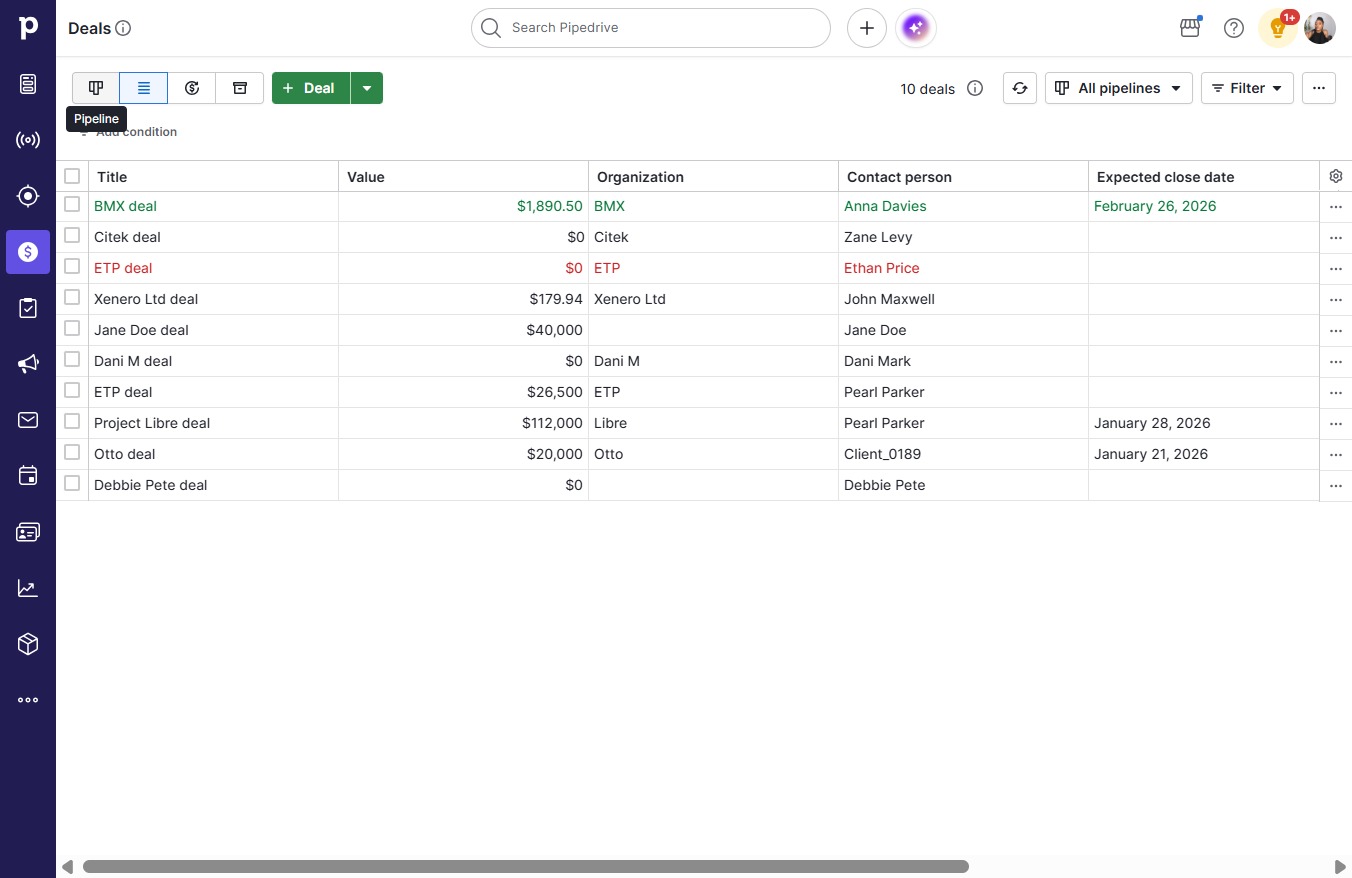
  2. Click Pipeline

    Click Pipeline
    Loading screenshot…
    100%
  3. Click on "Click here."

    Click on "Click here."
    Loading screenshot…
    100%
  4. Click New pipeline

    Click New pipeline
    Loading screenshot…
    100%
  5. Click on "Click here."

    Click on "Click here."
    Loading screenshot…
    100%
  6. Type "Sales team pipeline"

  7. Click Save changes

    Click Save changes
    Loading screenshot…
    100%
  8. Click on "Click here."

    Click on "Click here."
    Loading screenshot…
    100%
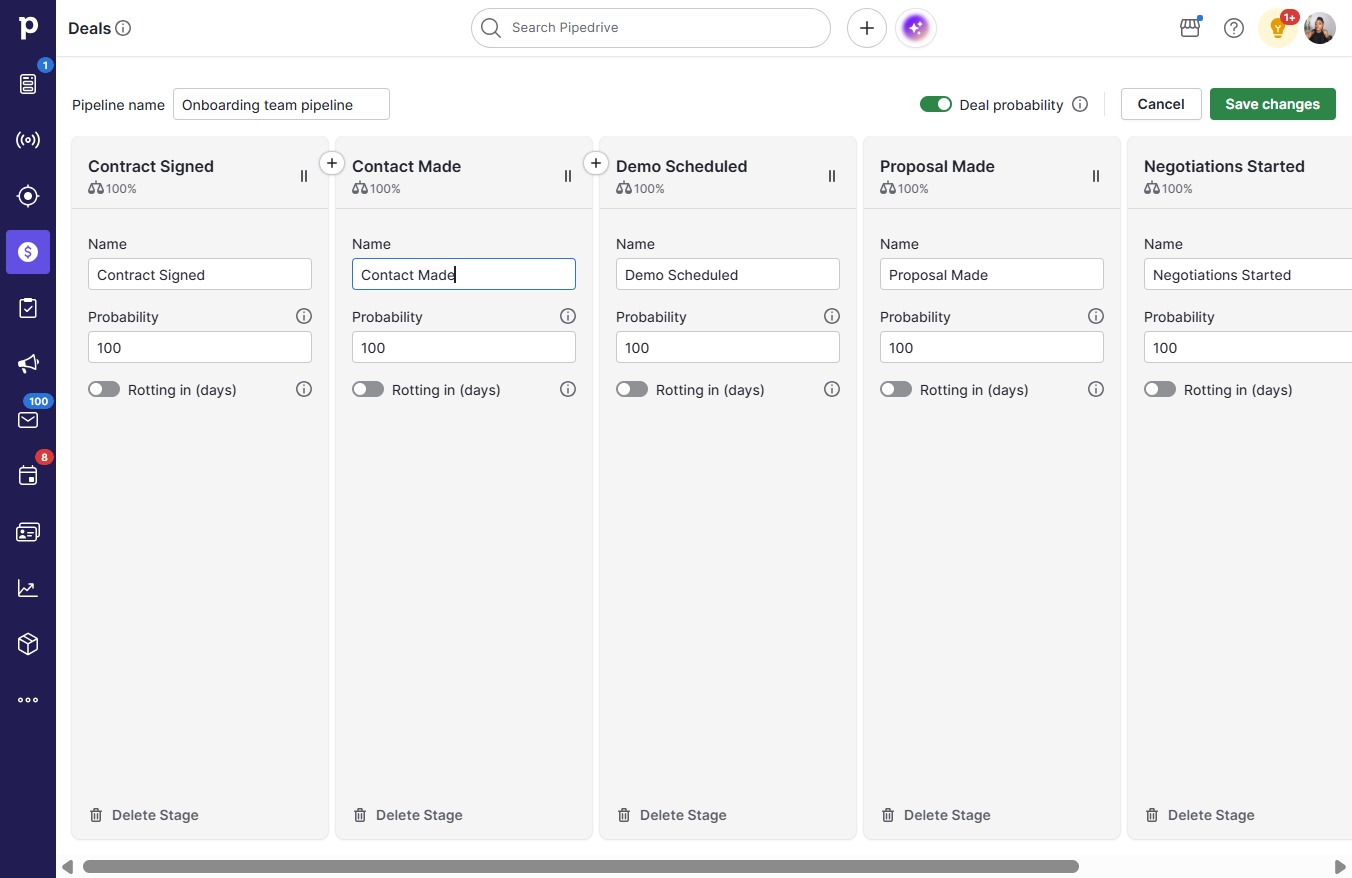
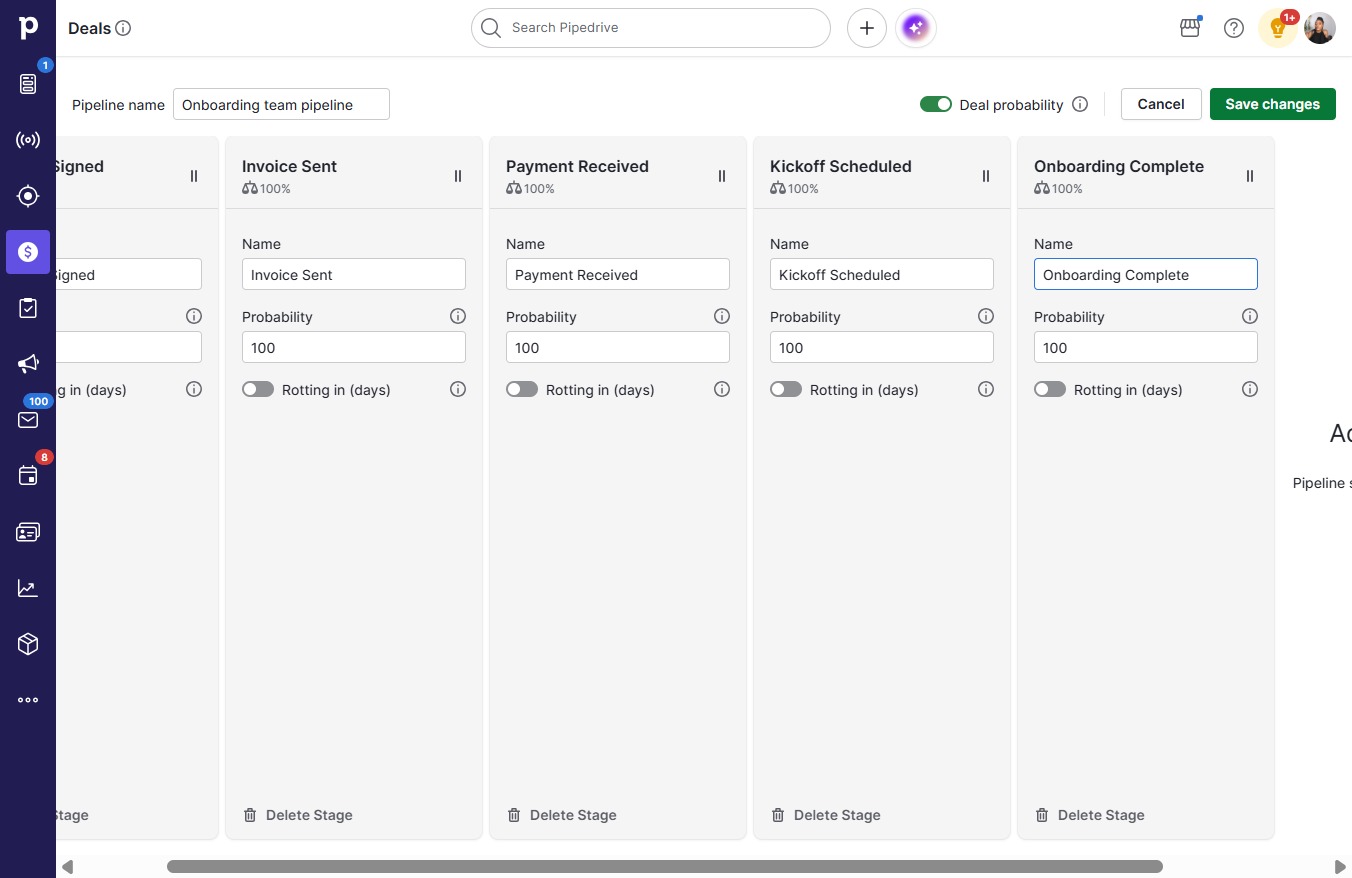
  9. Type "Contract Signed"

  10. Click on "Click here."

    Click on "Click here."
    Loading screenshot…
    100%
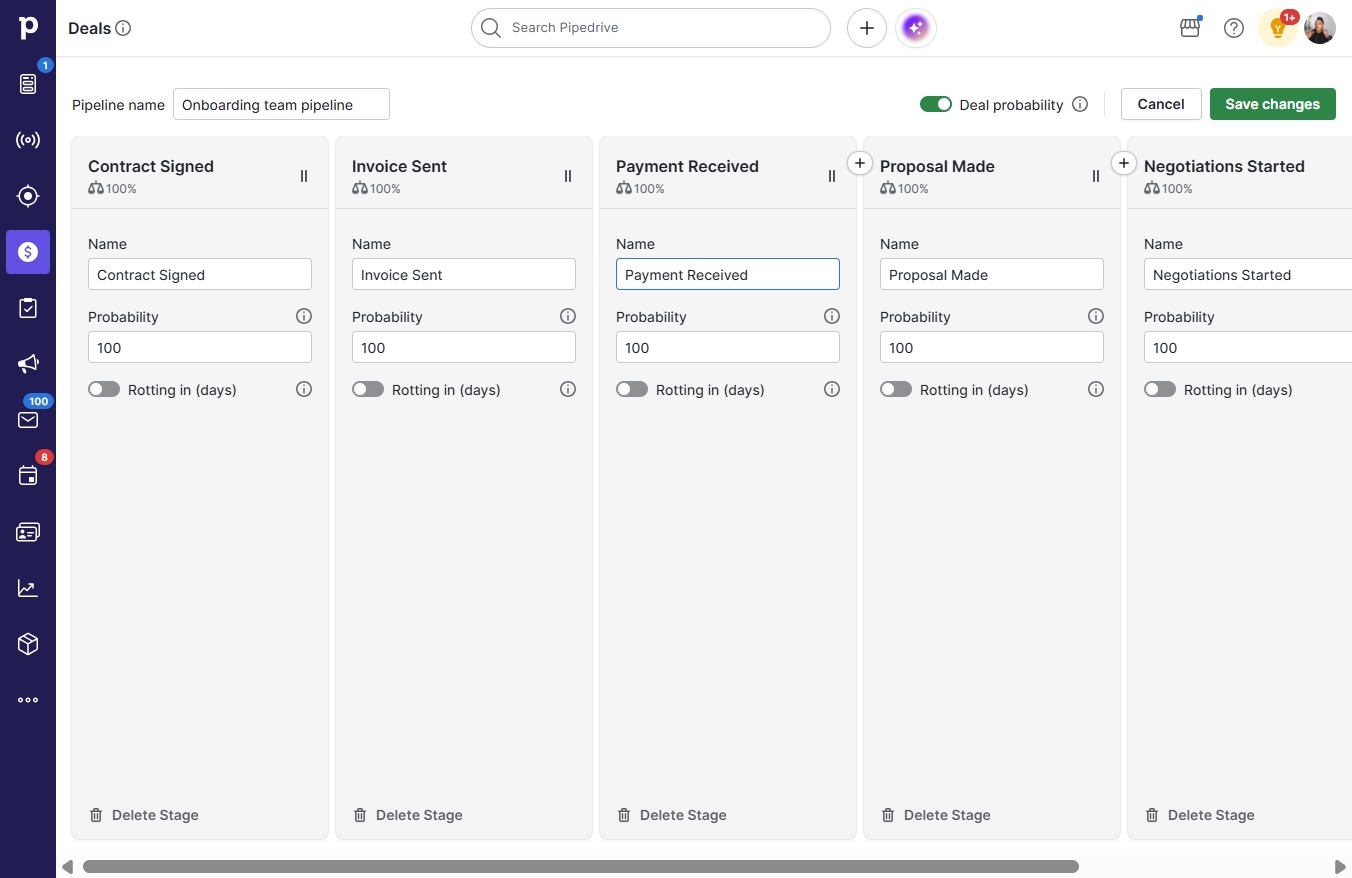
  11. Type "Invoice Sent"

  12. Click on "Click here."

    Click on "Click here."
    Loading screenshot…
    100%
  13. Press a

  14. Type "Payment Received"

  15. Press a

  16. Click on "Click here."

    Click on "Click here."
    Loading screenshot…
    100%
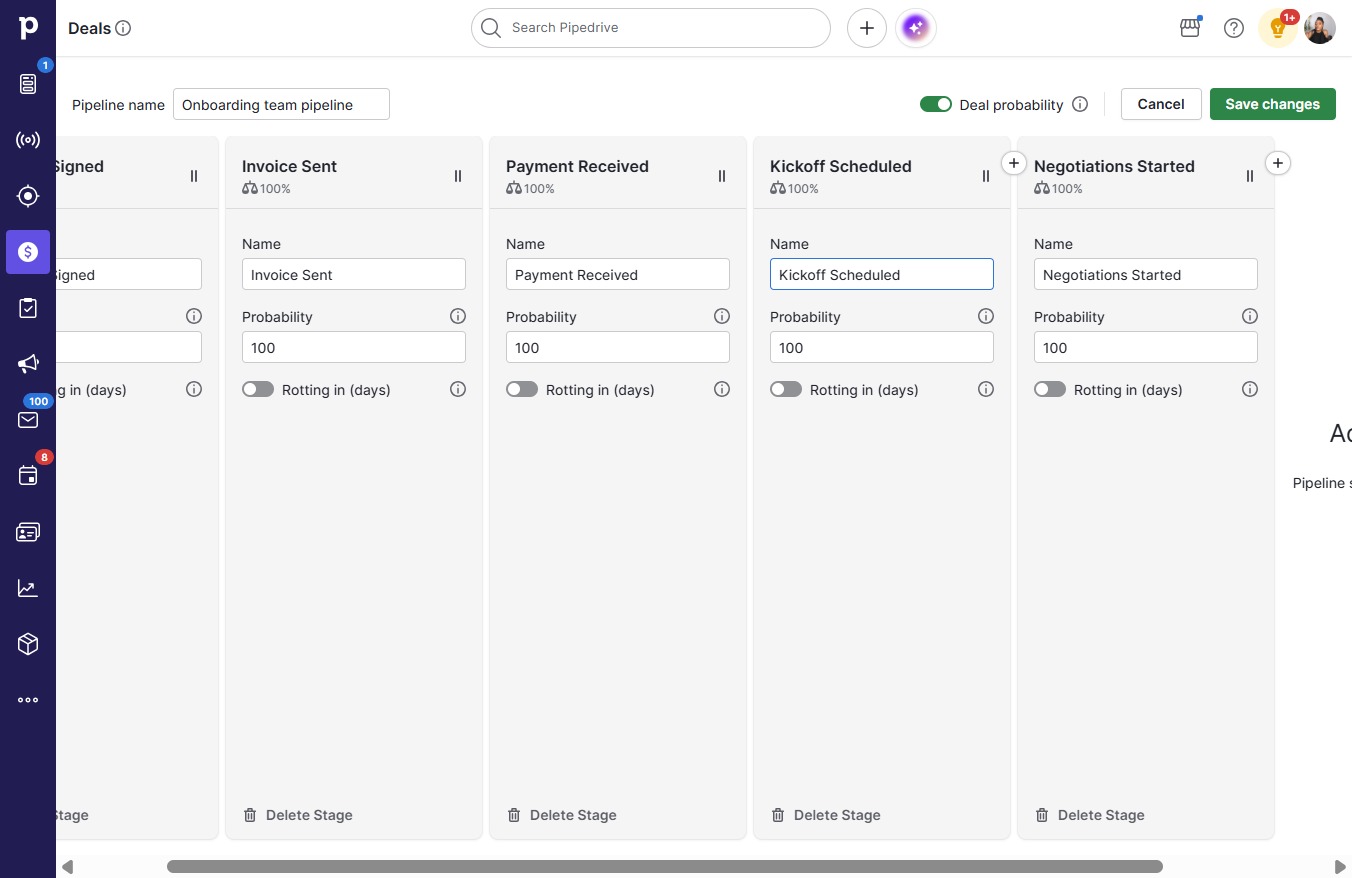
  17. Type "Kickoff Scheduled"

  18. Press a

  19. Click on "Click here."

    Click on "Click here."
    Loading screenshot…
    100%
  20. Type "Onboarding Complete"

  21. Click Save changes

    Click Save changes
    Loading screenshot…
    100%