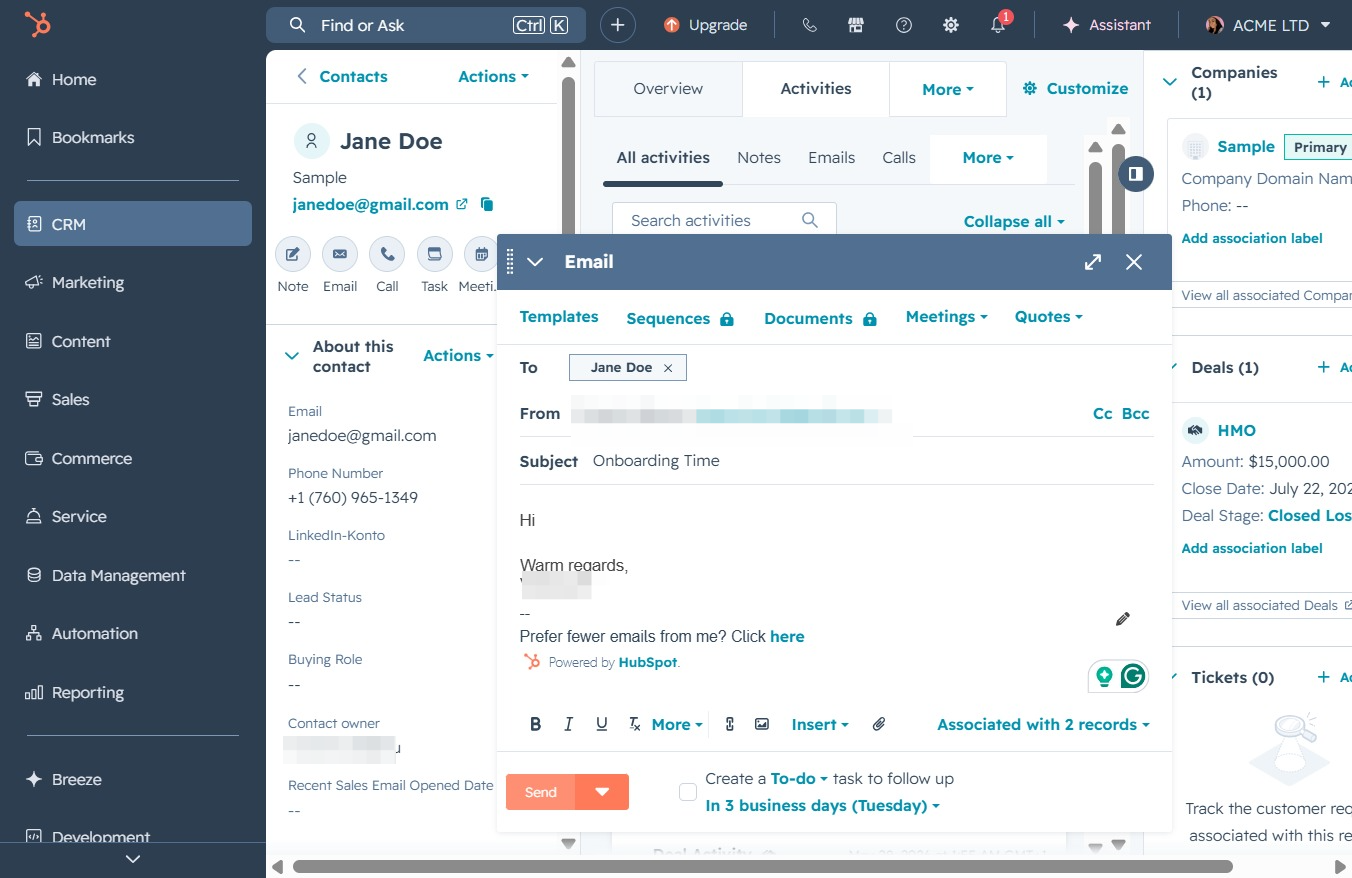
Click the CRM menu option
Clicking the 'CRM' option takes you to the customer relationship management section, where you can view and manage records related to meetings, sales, and customer interactions.

Loading screenshot…
100%
Send an email directly from a contact record in CRM by navigating to the contact's detailed view, composing your message, and customizing email preferences for better…
 viktoria
Send an email directly from a contact record in CRM by navigating to the contact's detailed view, composing your message, and customizing email preferences for better communication.
Clicking the 'CRM' option takes you to the customer relationship management section, where you can view and manage records related to meetings, sales, and customer interactions.
This action opens the Contacts area where you can manage your contacts and view additional details related to your CRM functionalities.
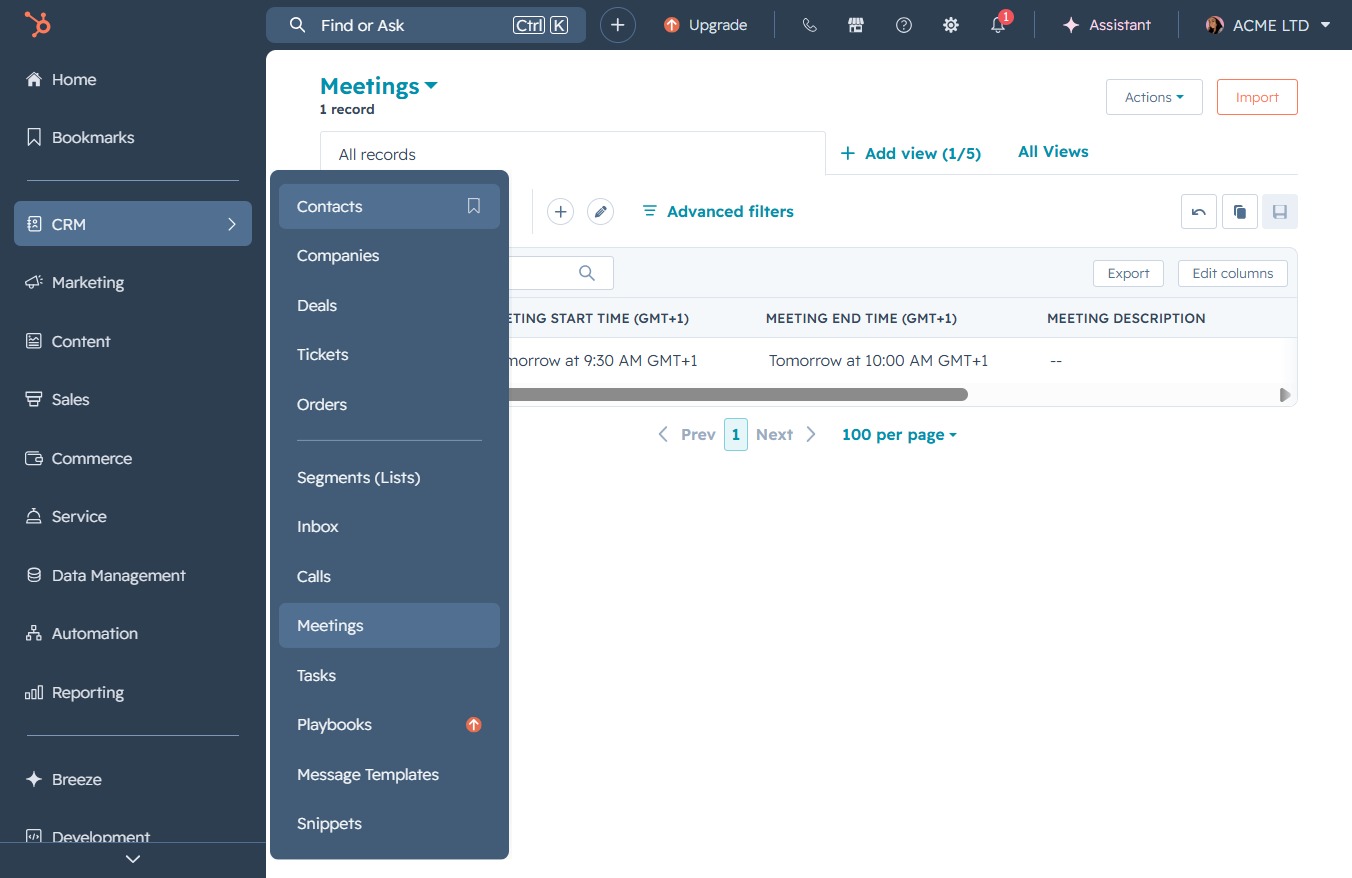
This will open the detailed view for Jane Doe's contact information, allowing you to edit or review her details.

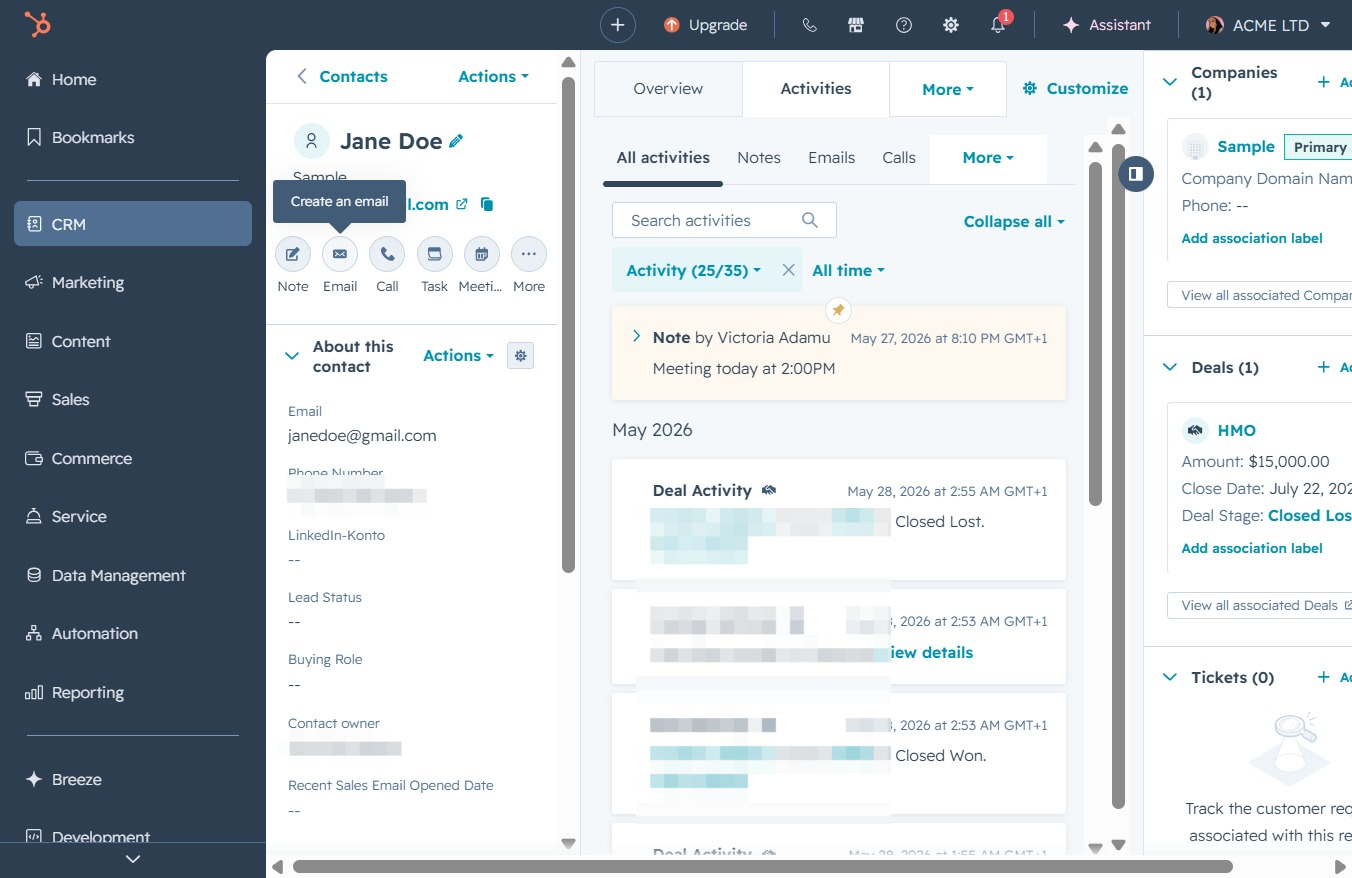
This opens a new email composition window, allowing you to draft and send an email to the contact.
This action allows you to customize your email preferences to receive fewer emails from this contact. After clicking, you'll be redirected to the appropriate settings to make these adjustments.

Enter the email topic in the Subject field to ensure the recipient understands the purpose of your message. This field is essential for organizing and identifying emails related to specific conversations.

Clicking this link allows you to specify your preference for receiving emails from this contact. This action helps ensure better email communication tailored to your needs.
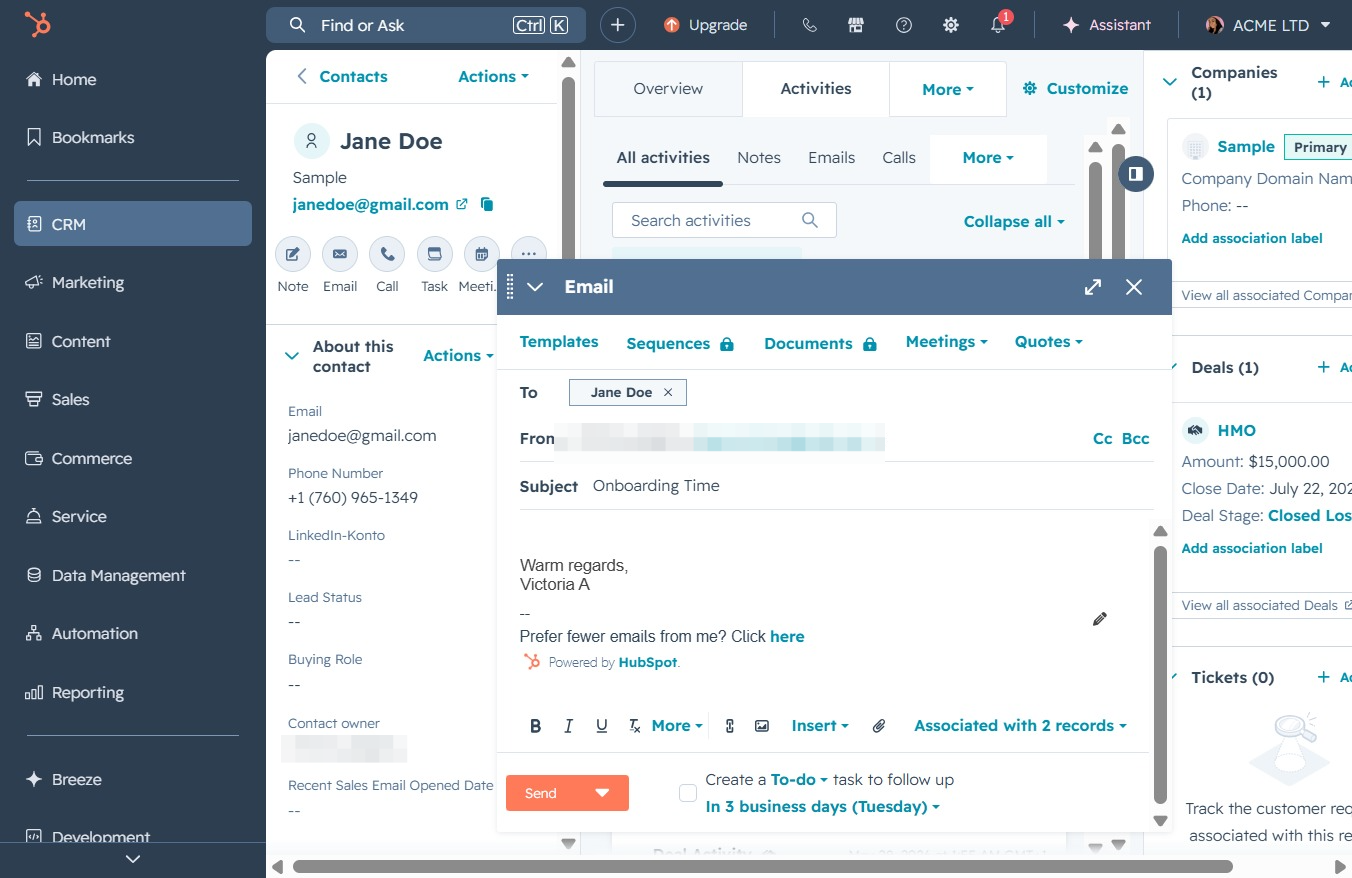
Enter your email address in the 'From' field to ensure the recipient recognizes the sender. This is essential for personalizing the email communication with Jane Doe.
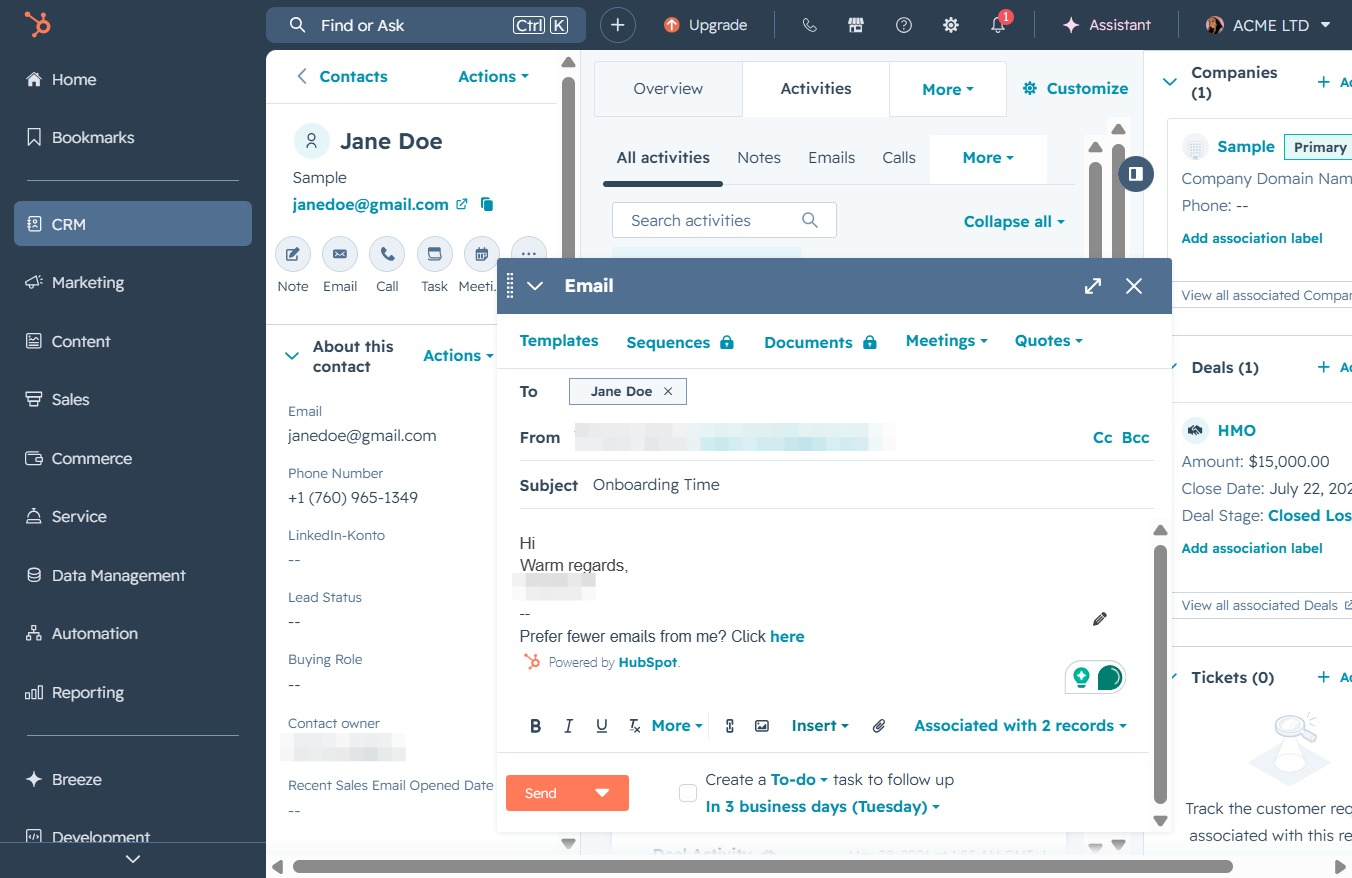
Clicking the Send button will deliver your email to the specified recipient, Jane Doe, as part of your CRM email communication.