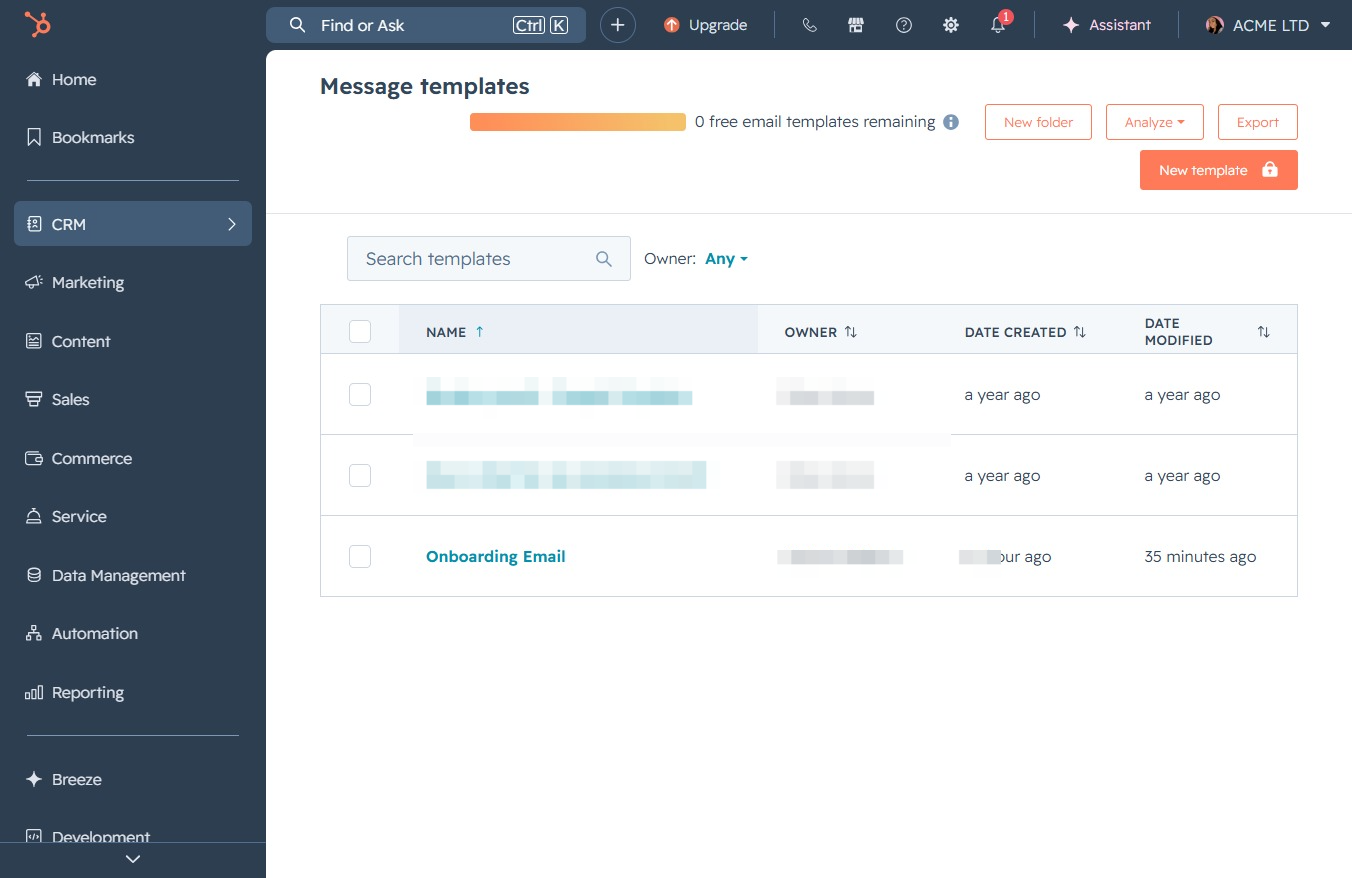
Click the CRM section
This will take you to the CRM management interface where you can view and manage your message templates and other CRM-related tools.
Loading screenshot…
100%
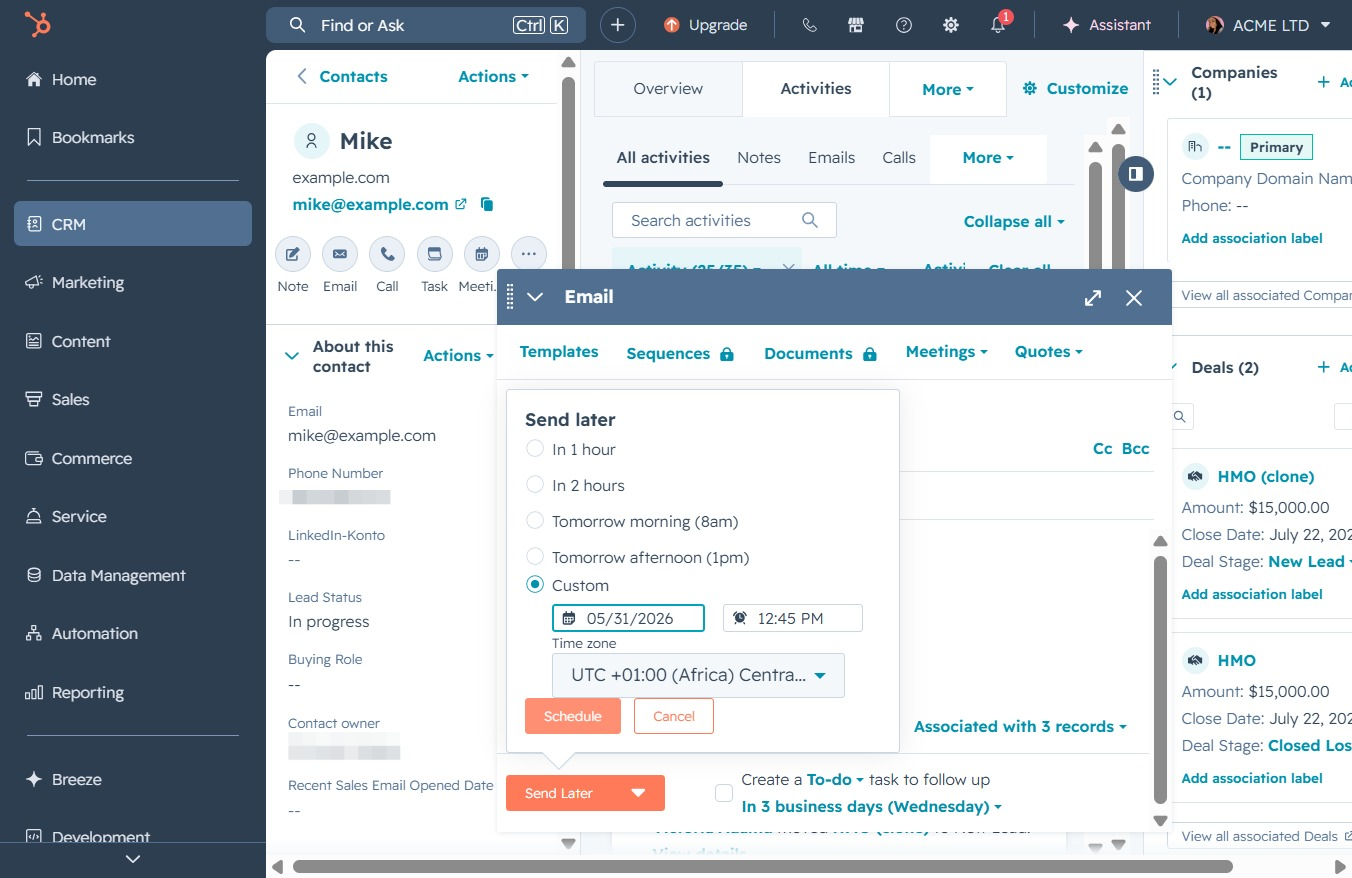
Schedule an email in the CRM system by filling out the recipient's details and choosing a specific date and time for future delivery, ensuring timely communication.
 viktoria
Schedule an email in the CRM system by filling out the recipient's details and choosing a specific date and time for future delivery, ensuring timely communication.
This will take you to the CRM management interface where you can view and manage your message templates and other CRM-related tools.
This will expand the Contacts section, allowing you to access Companies, Deals, Tickets, and other related CRM features.

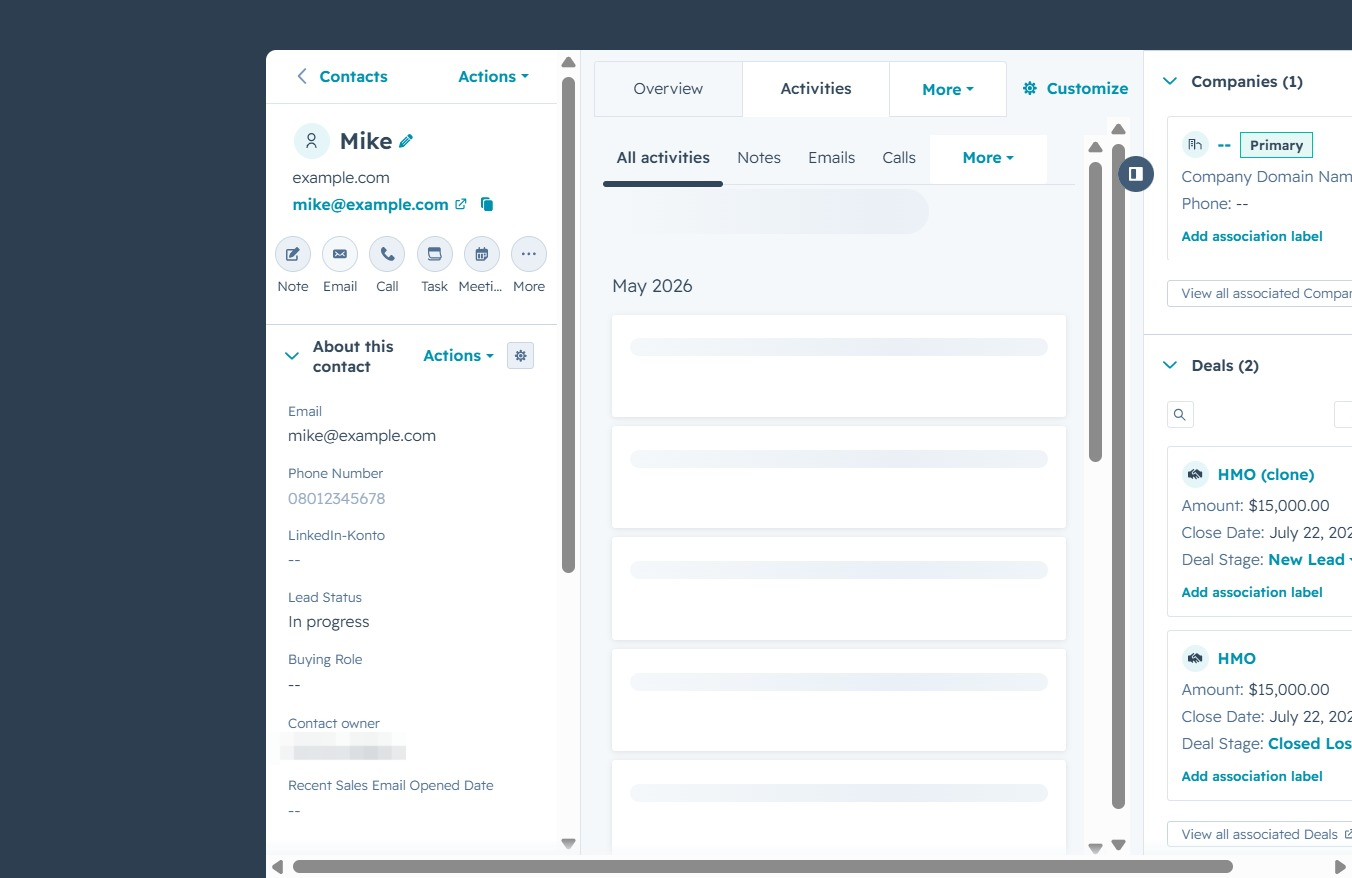
This action opens the detailed view of the contact 'Mike' where you can view and edit relevant information.

This action opens the Activities section, allowing you to see an overview of all interactions and engagements related to this contact. It's where you can track notes, emails, calls, and other activities associated with the contact.
By clicking this link, you will initiate the process to send an email to the contact 'Mike'. Fill in the necessary details like 'To', 'From', and 'Subject' to complete the email.
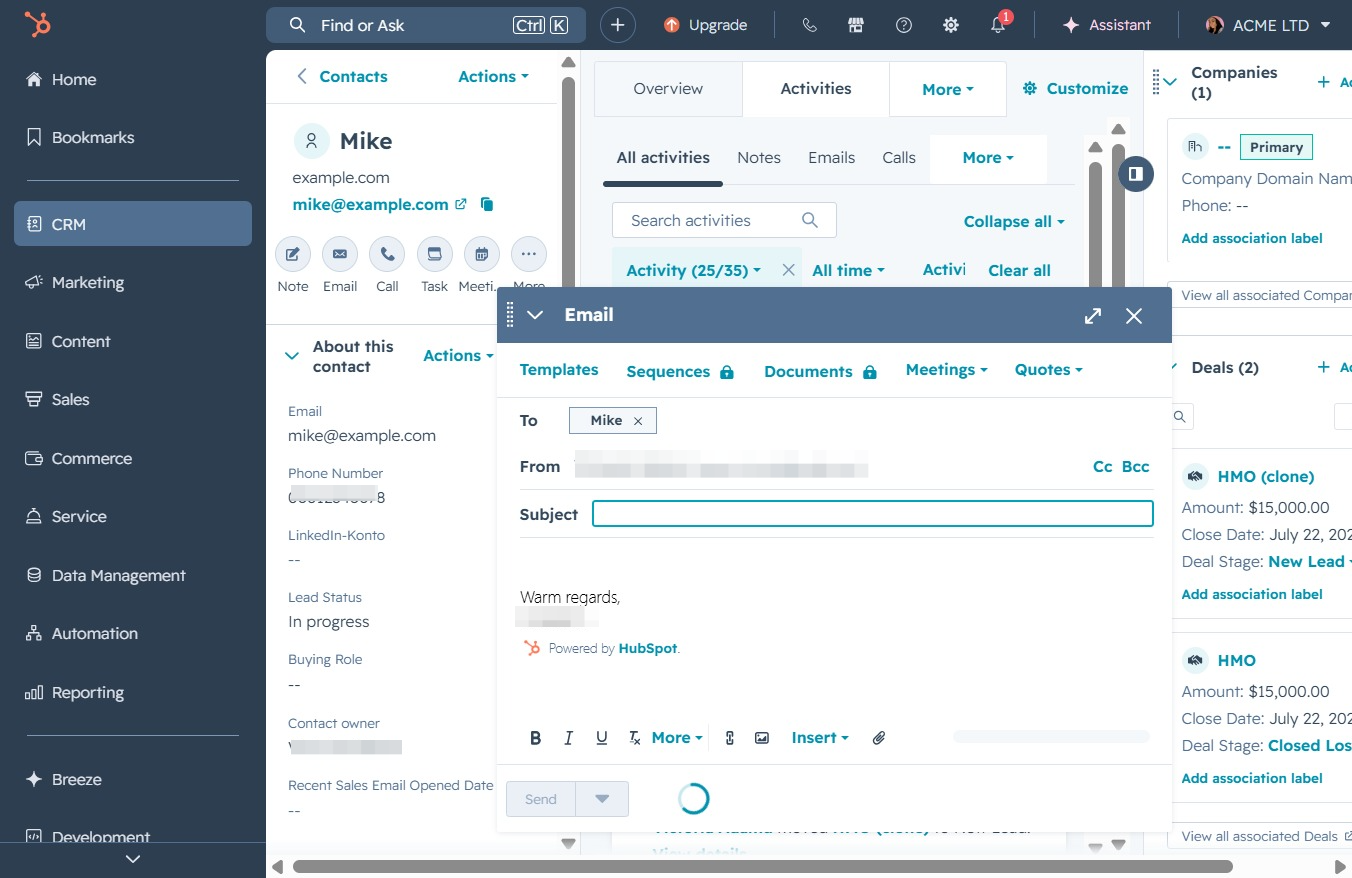
Enter the email address of the contact you wish to send the invoice to in the 'To' field of the email window. This ensures the message reaches the correct recipient for efficient communication.
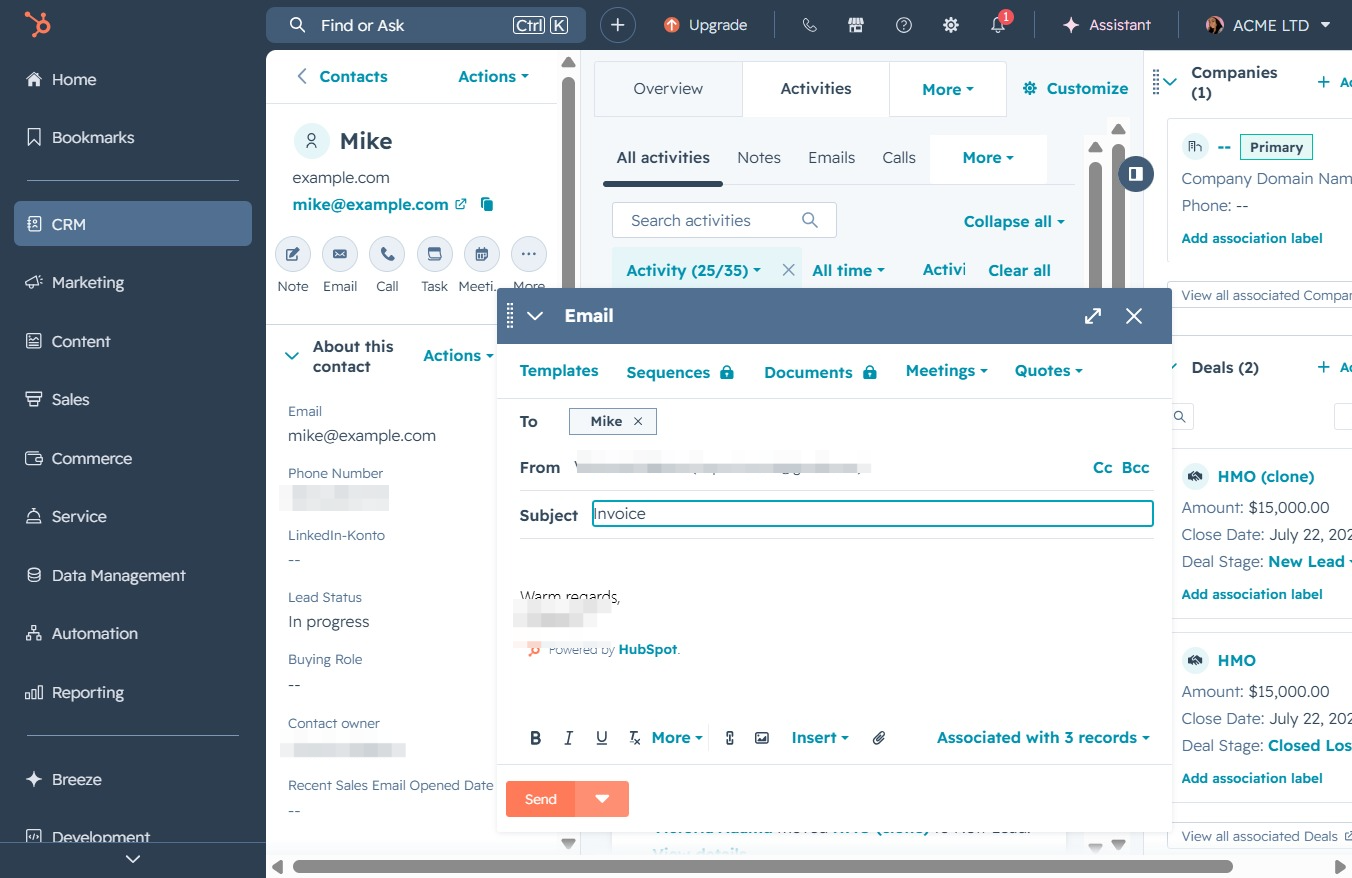
Clicking this link will finalize and send your email to the recipient specified in the 'To' field, allowing you to communicate directly with your contact within the CRM.
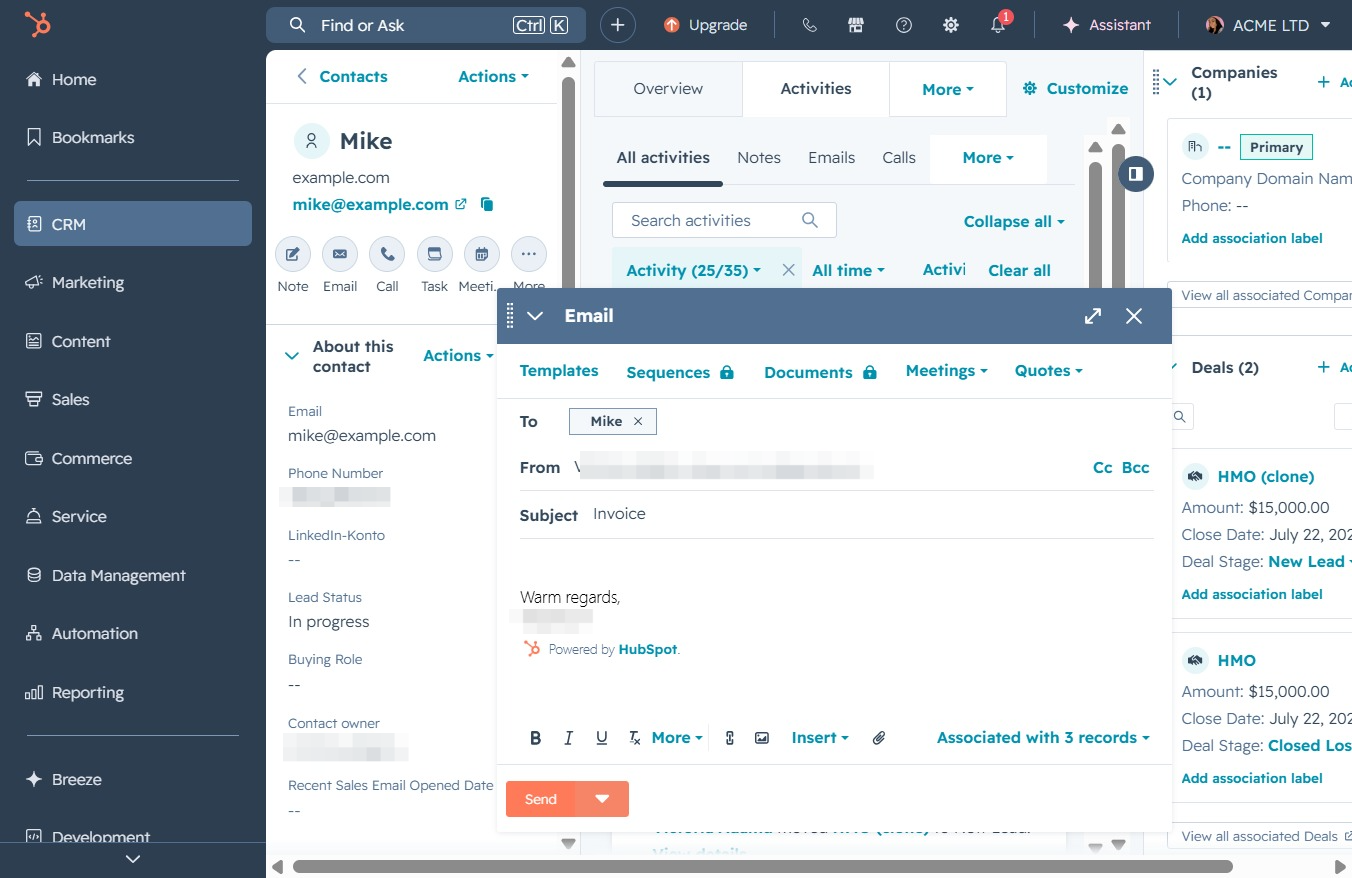
Clicking 'Send Later' allows you to schedule the email for a future date and time instead of sending it immediately, giving you control over when your message is delivered.

Select the 'Send Later' option to schedule your email for a future date and time. This allows you to send follow-up messages conveniently without immediate delivery.

Clicking this link allows you to set a specific time for sending your email, offering options like 'In 1 hour', 'Tomorrow morning', or a custom schedule.
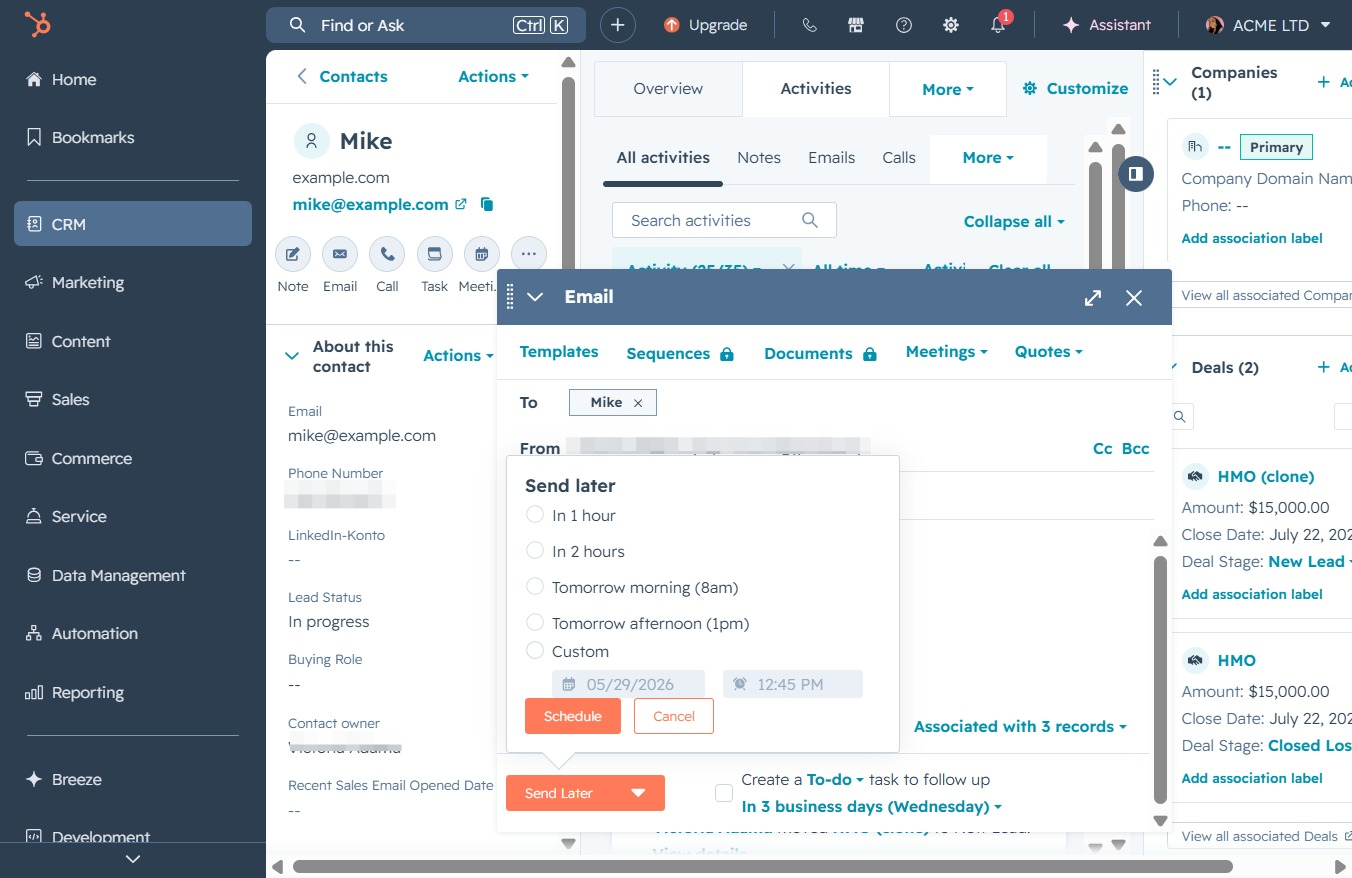
This action will allow you to choose a date and time for the email to be sent, along with options for scheduling it immediately or selecting a custom time.
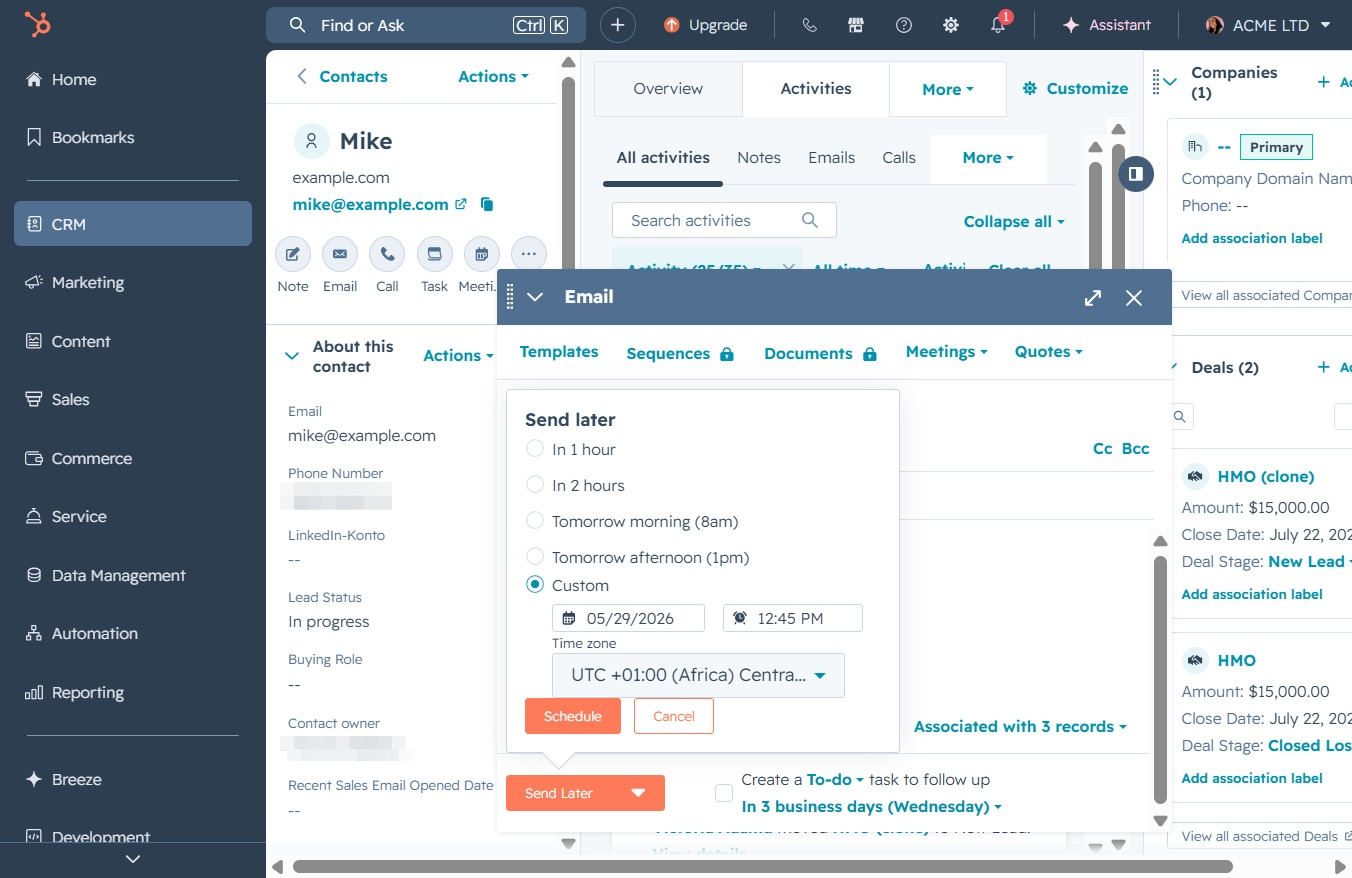
Selecting the 31st day will set this date for your to-do or scheduling tasks. This action allows you to efficiently manage your activities in the CRM.
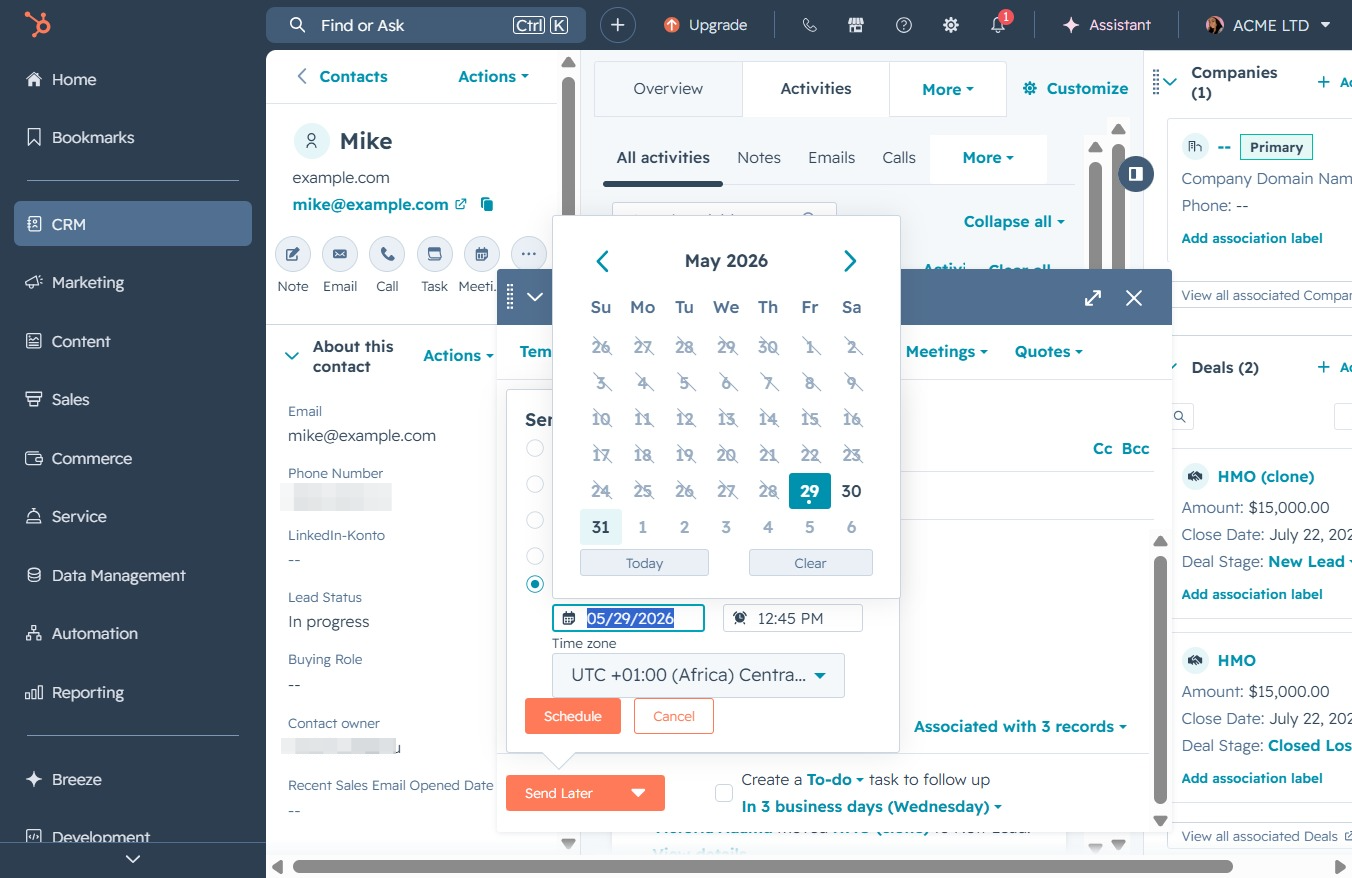
Clicking this option allows you to schedule when the email will be sent, giving you the flexibility to choose a specific date and time.