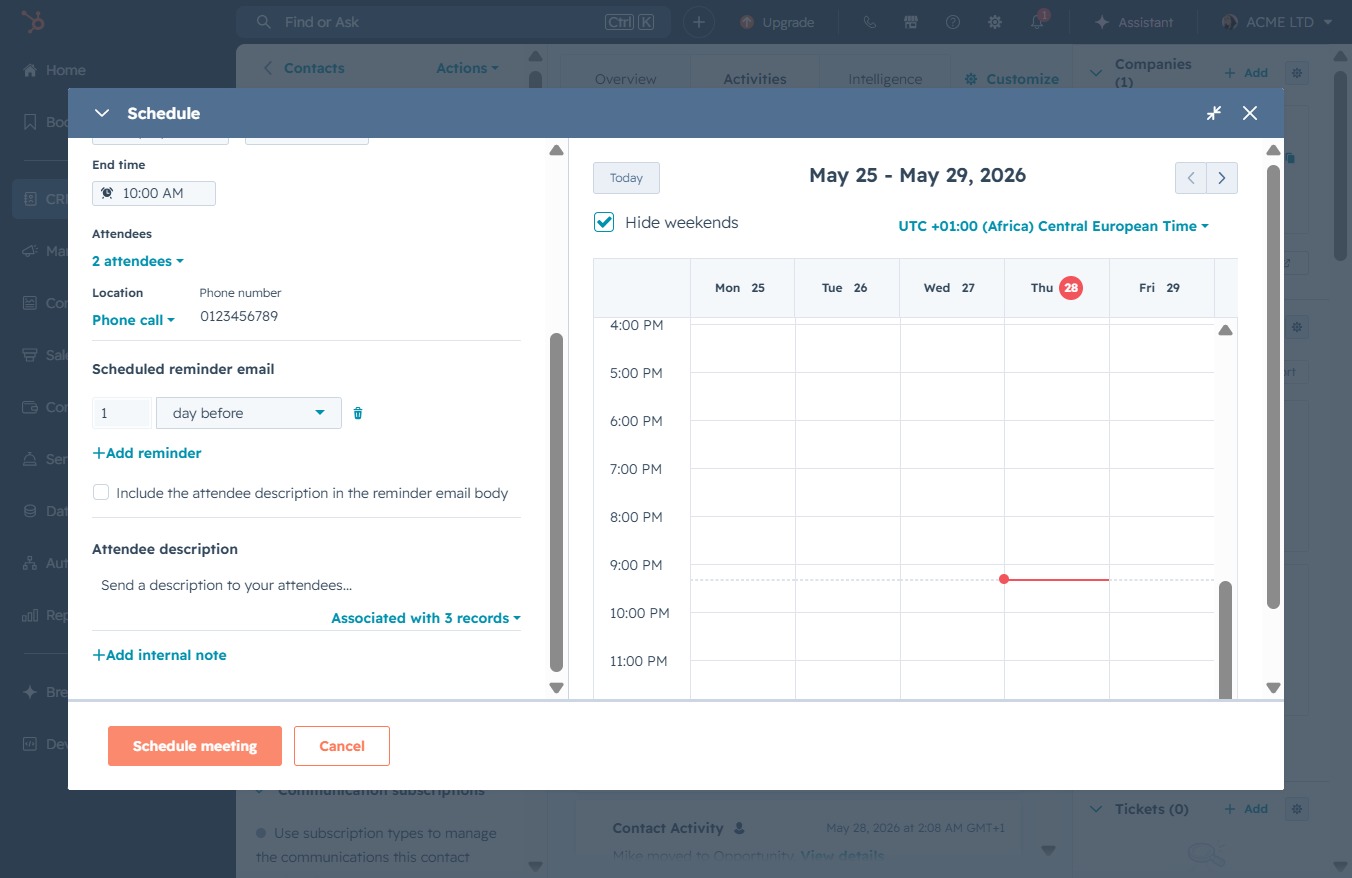
Click the CRM section
This action opens the Customer Relationship Management section, allowing you to manage tasks, contacts, and associated companies effectively.

Loading screenshot…
100%
Schedule a meeting with a contact in the CRM, allowing you to set the meeting details, including title, date, time, and attendee information, ensuring effective communication.
 viktoria
Schedule a meeting with a contact in the CRM, allowing you to set the meeting details, including title, date, time, and attendee information, ensuring effective communication.
This action opens the Customer Relationship Management section, allowing you to manage tasks, contacts, and associated companies effectively.
This action will navigate you to the Contacts section, where you can view and manage all your contacts within the CRM.
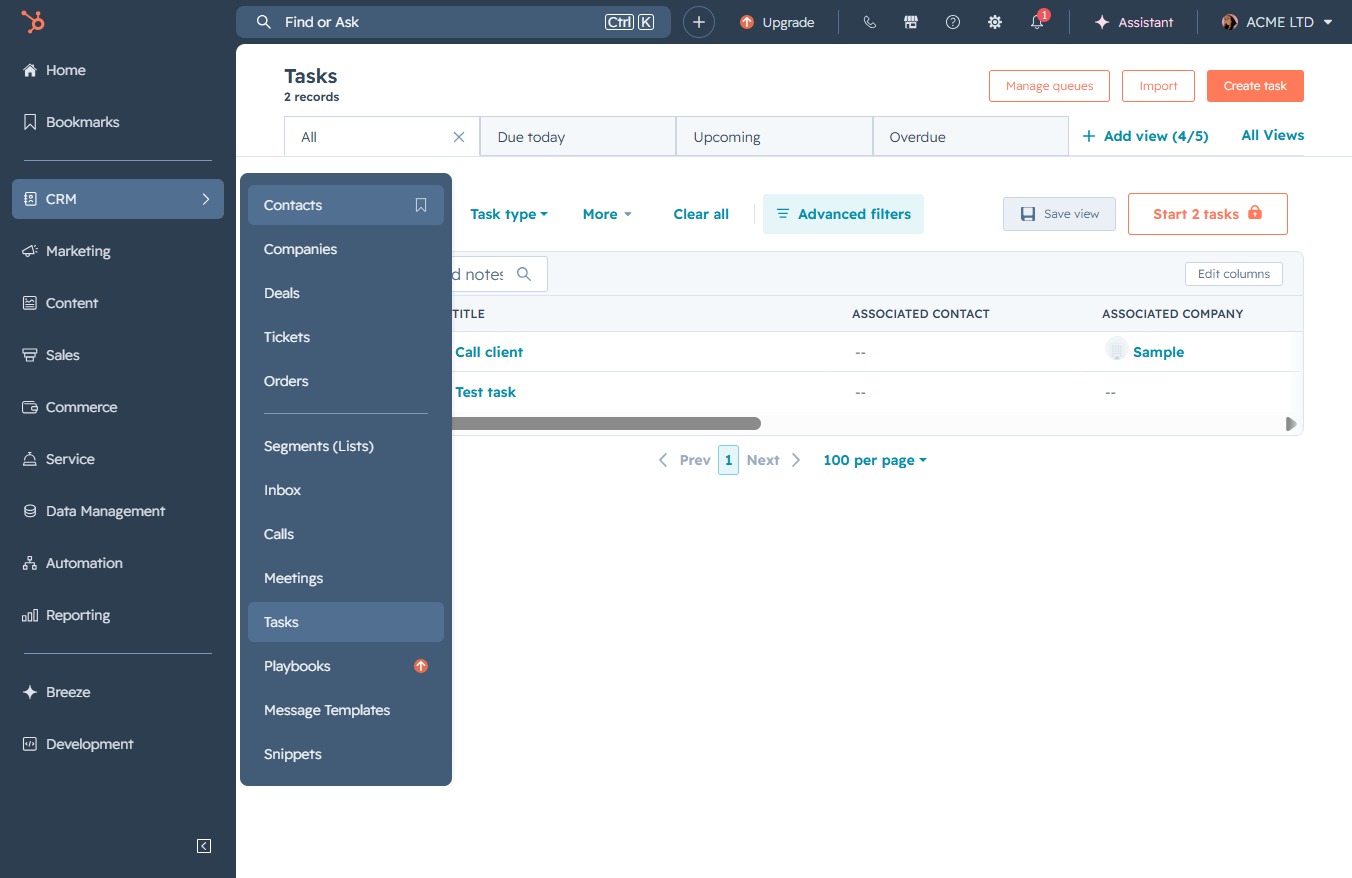
This action will select Mike's contact profile, allowing you to view or edit details such as email or phone number.
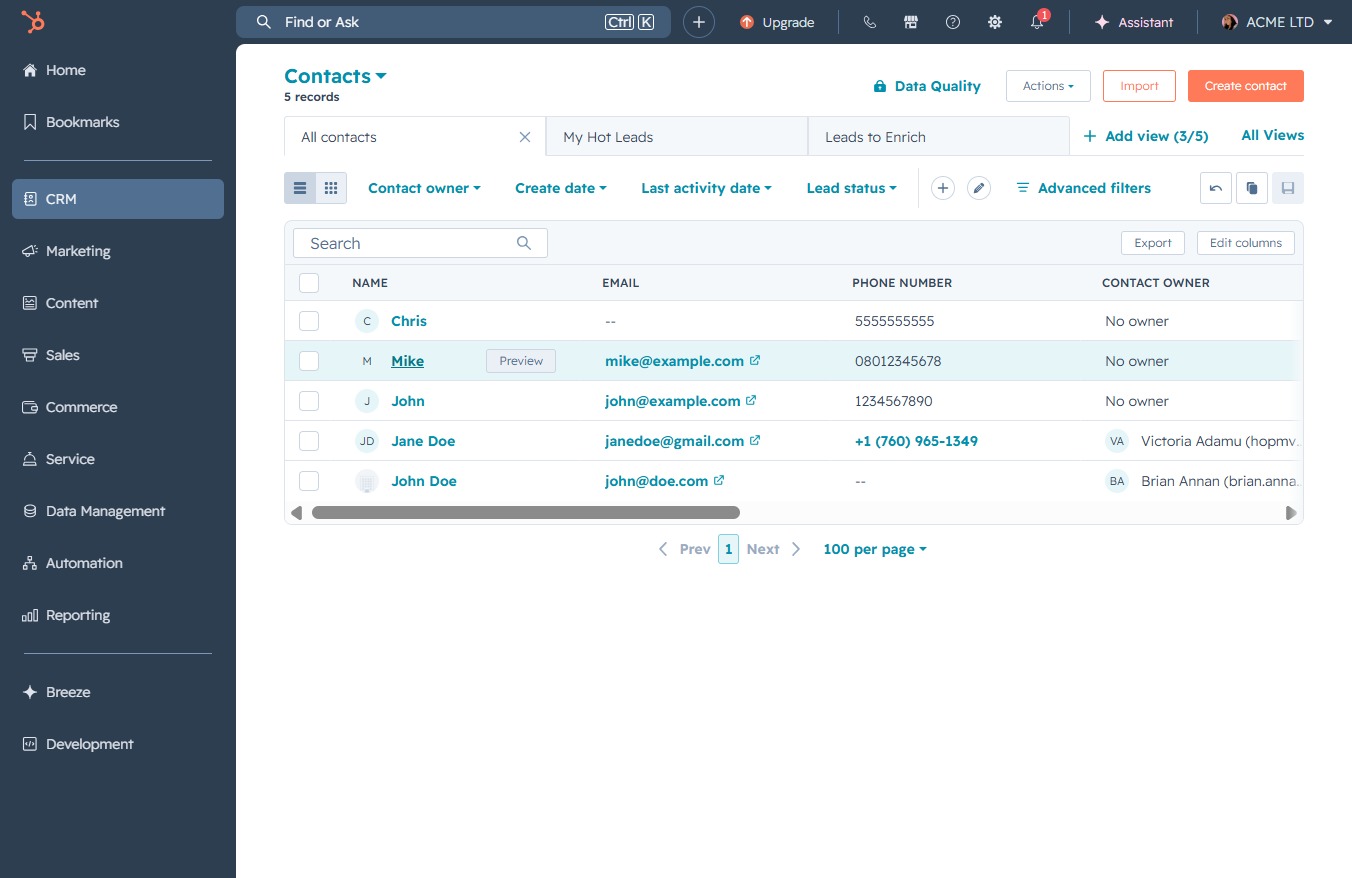
By clicking this button, you will initiate the process to create a new meeting with the selected contact, allowing you to set the date, time, and other details.
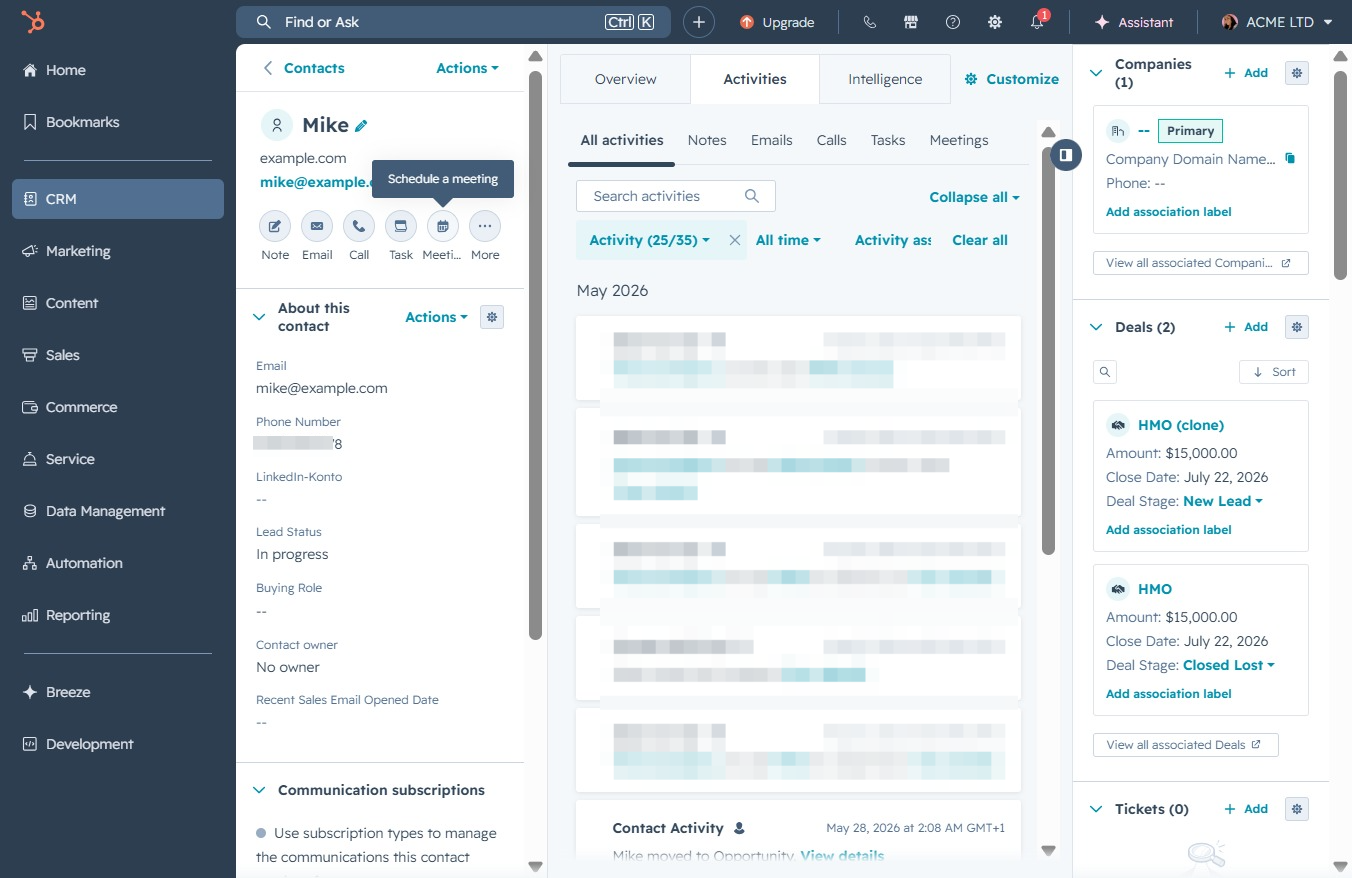
By clicking here, you will initiate the scheduling process for a new meeting, allowing you to set the title, date, time, and other details.
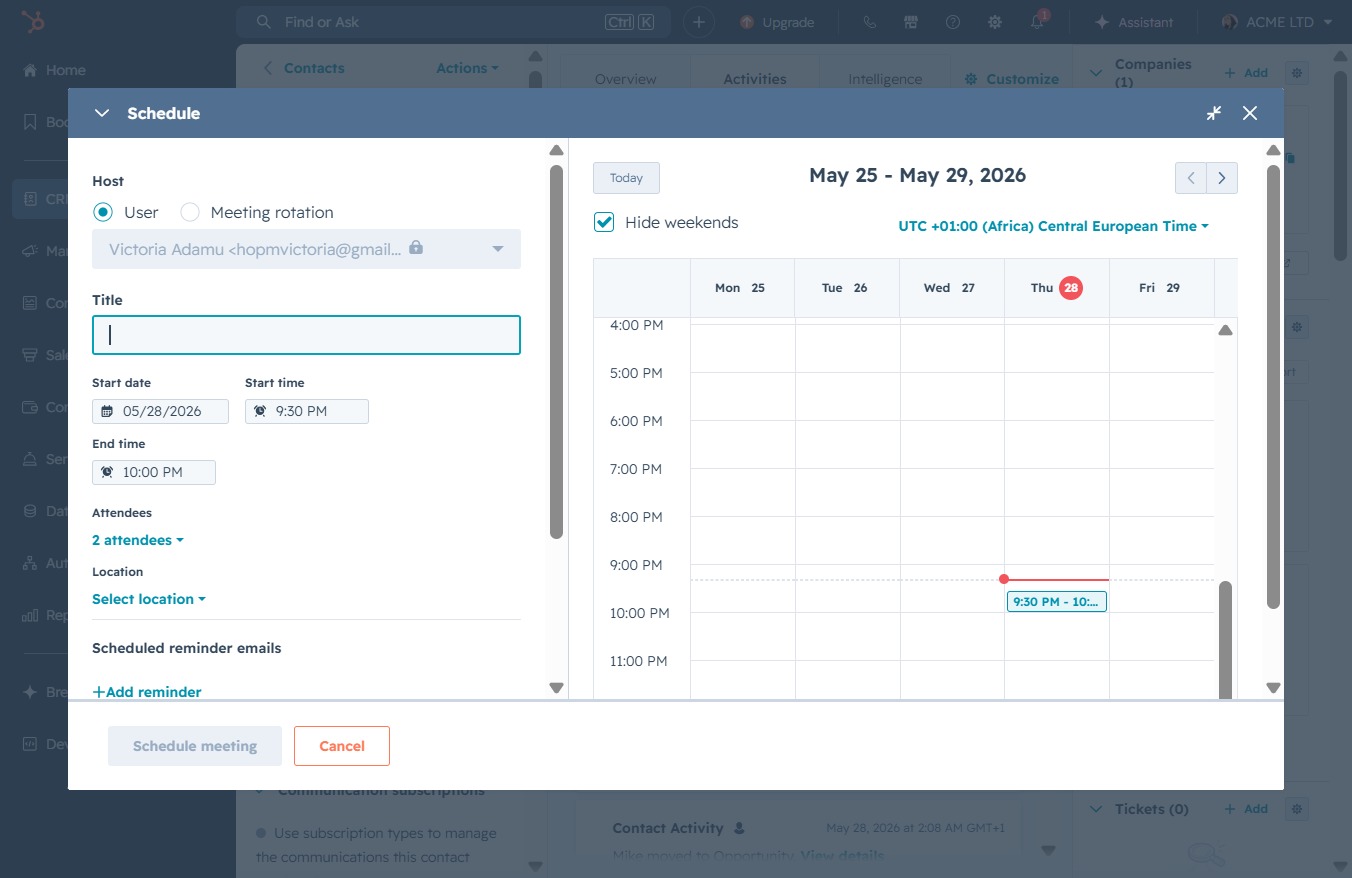
Enter 'Onboarding Meeting' in the title field to specify the meeting subject. This will help attendees understand the purpose of the scheduled meeting.
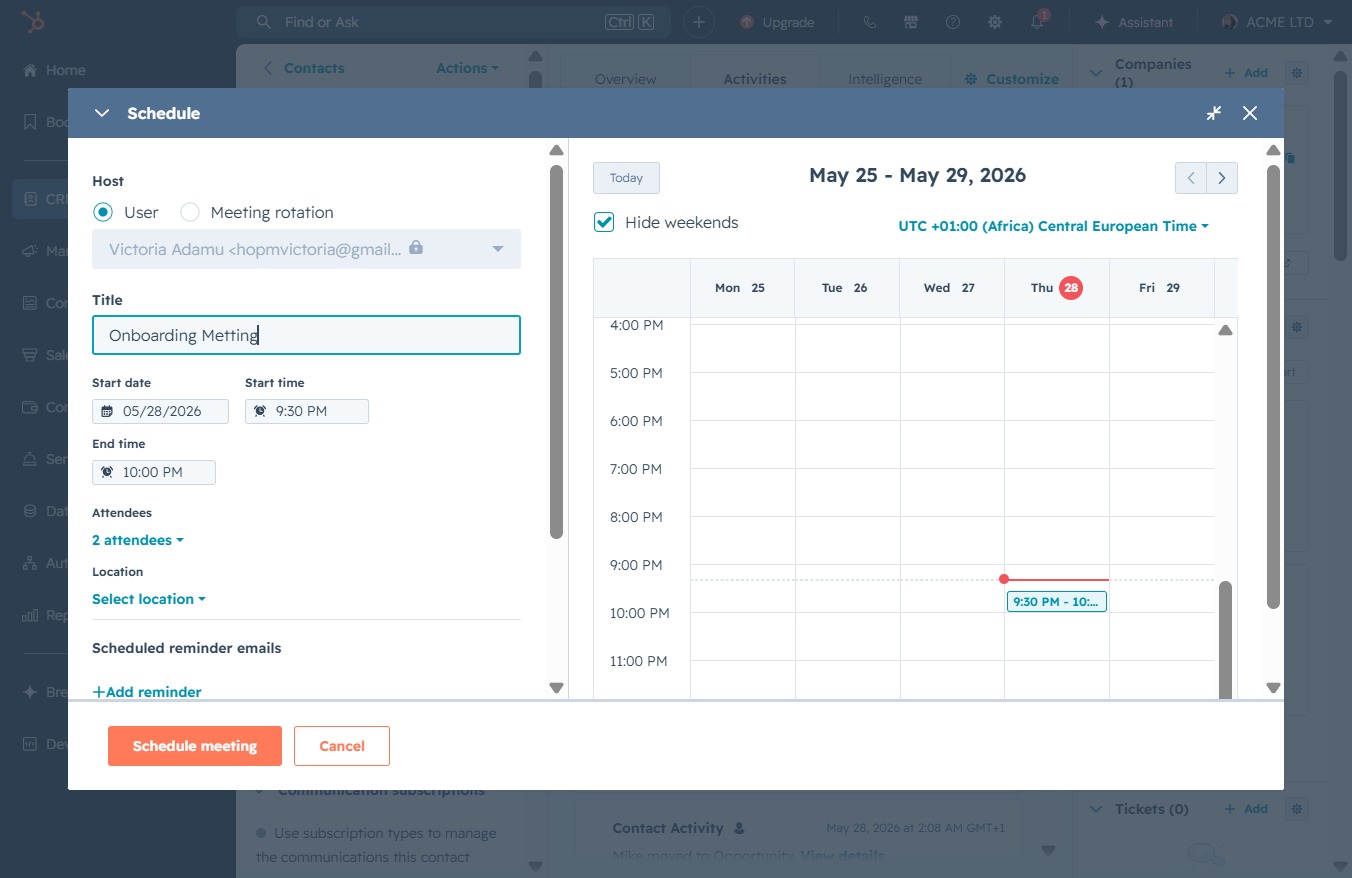
By clicking this option, you can finalize the start time for your Disbanding Meeting event, ensuring it is scheduled accurately in the calendar.

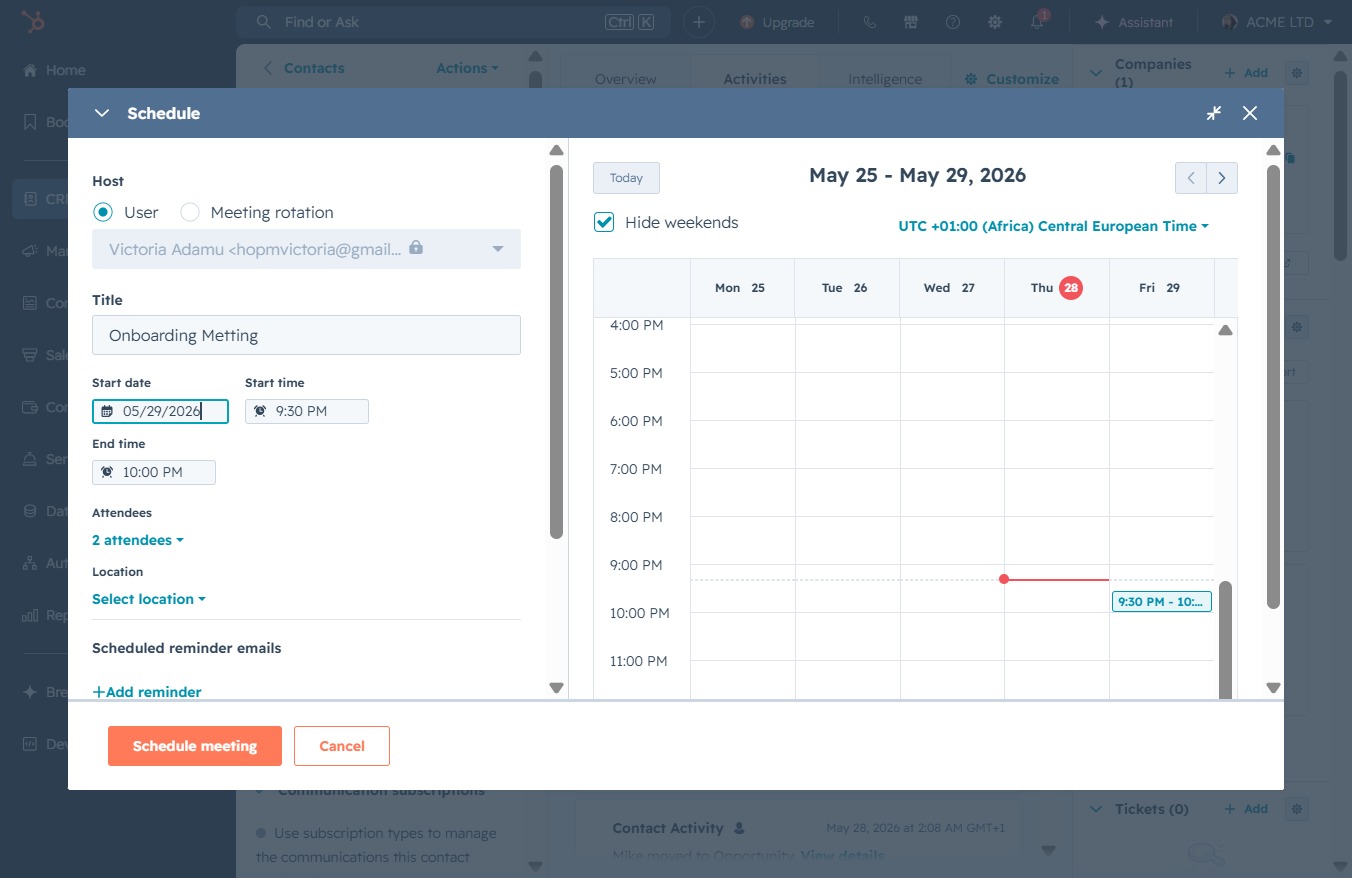
This action selects the date '29' for scheduling the meeting. You can then set the start time and other details for the event.

Clicking this button will save the details of your meeting and add it to your calendar. Make sure all fields are filled out correctly before scheduling.
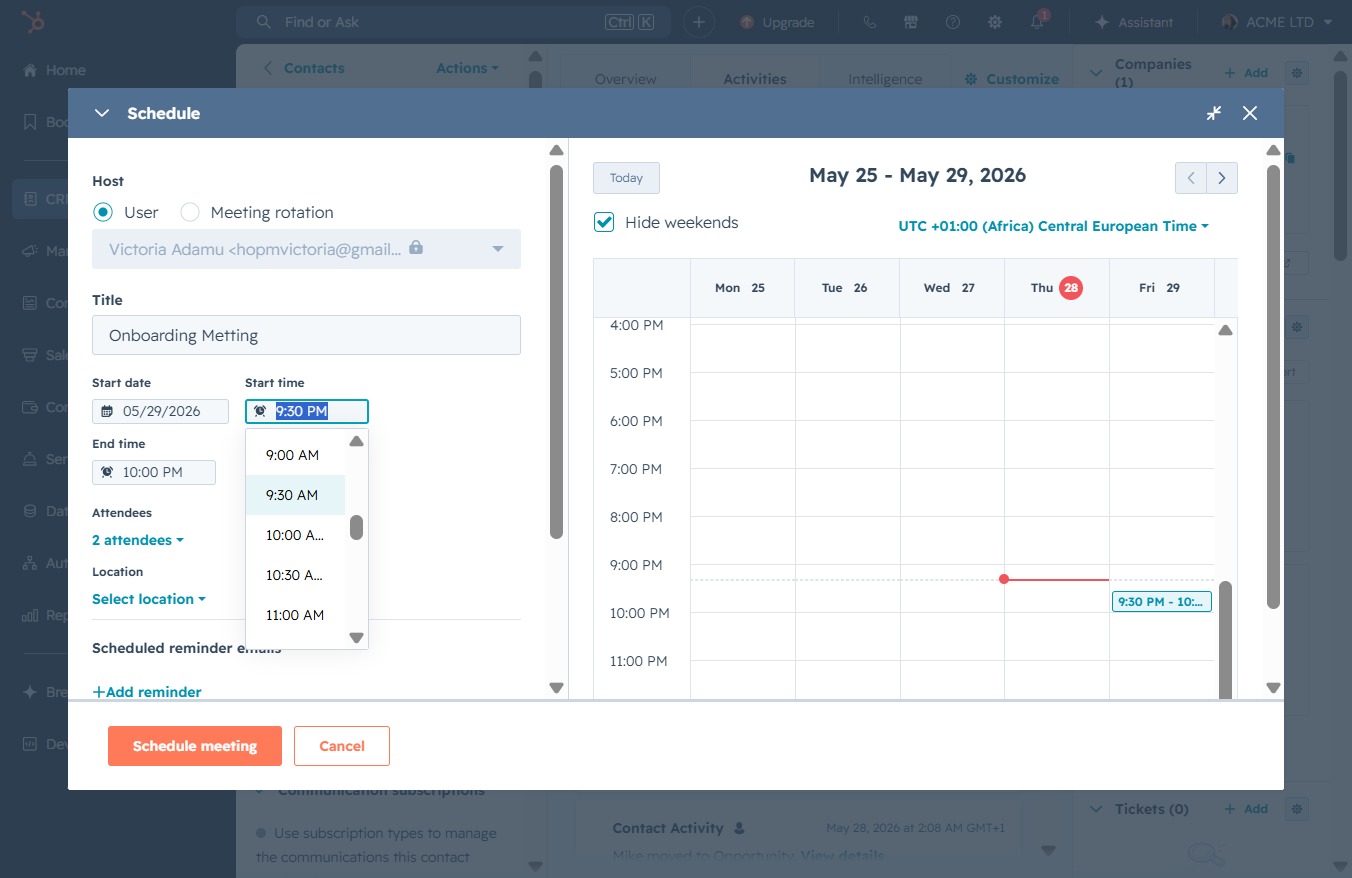
Select '9:30 AM' from the dropdown menu to set the start time for your meeting. This will update the meeting schedule accordingly.
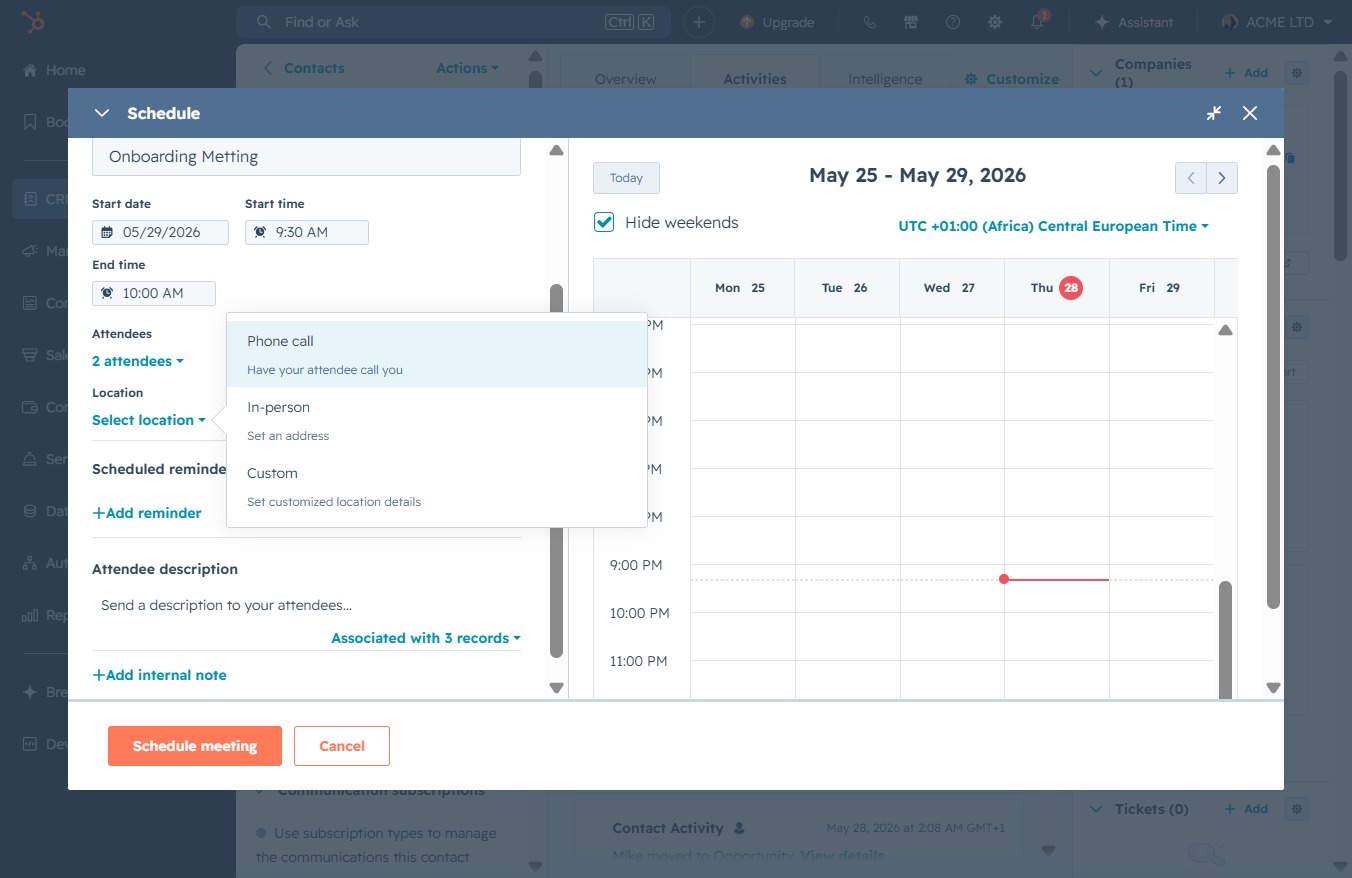
After clicking, you'll be able to choose from available locations for the meeting, allowing you to specify where the attendees will gather.
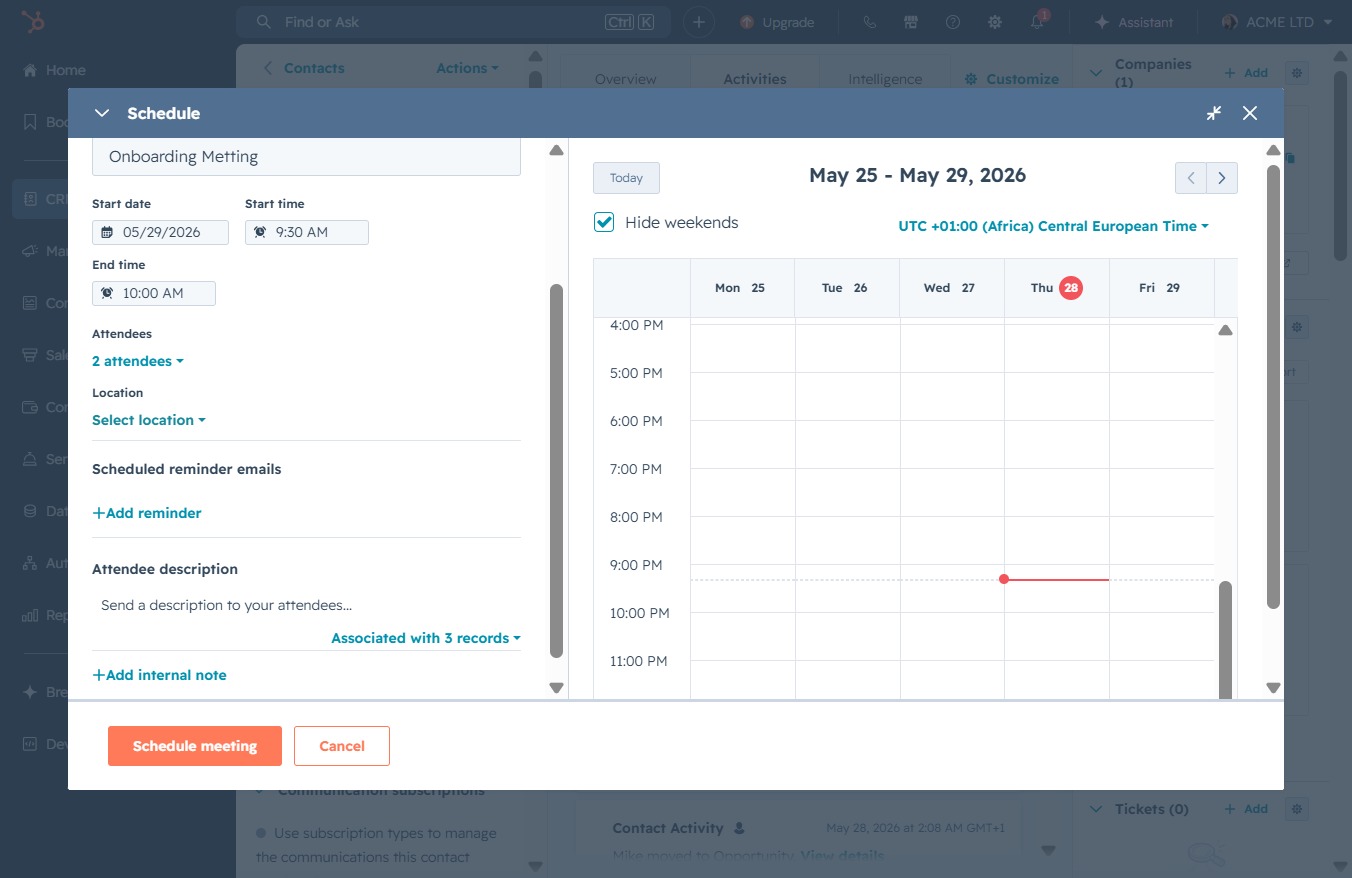
Select this option to allow your attendee to call you for the scheduled meeting. This will initiate a phone call setup on the meeting details.
Clicking this input will initiate the process of scheduling your meeting, allowing you to set the date, time, and attendees for the onboarding session.
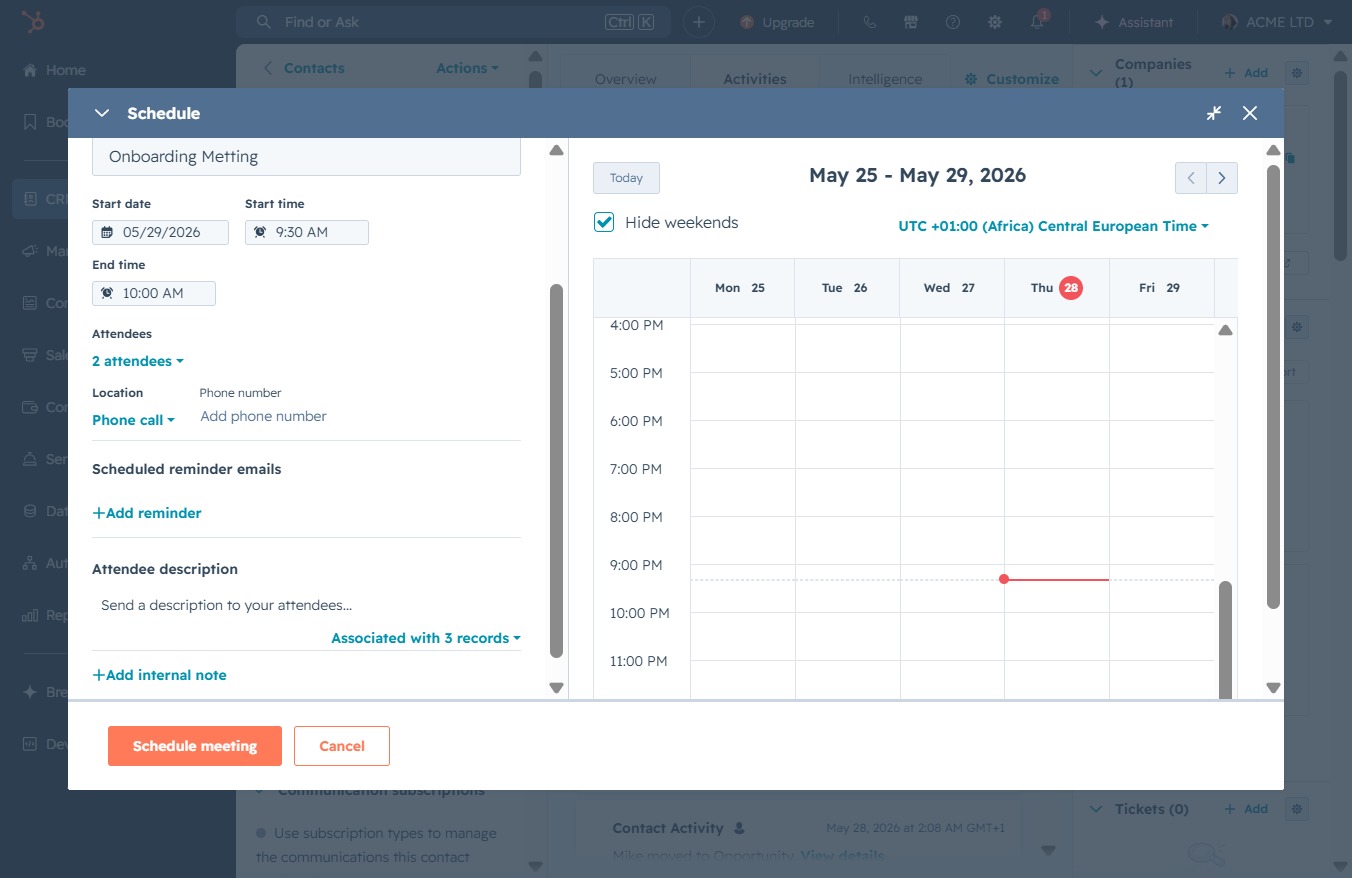
In the 'Add phone number' section, enter '0123456789' to provide contact information for the meeting attendees.
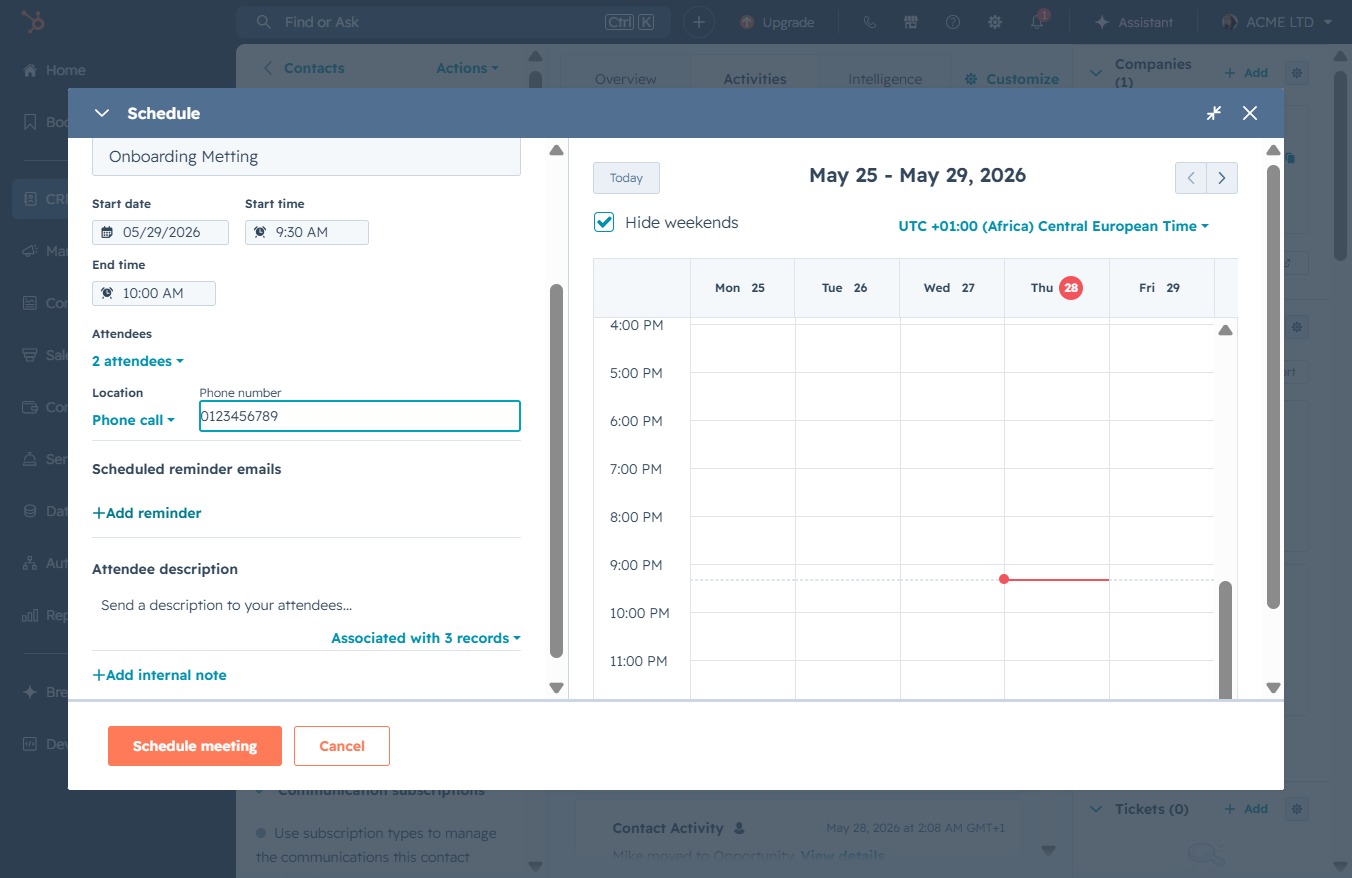
This action will open a new section where you can specify the details of the reminder for the scheduled meeting.
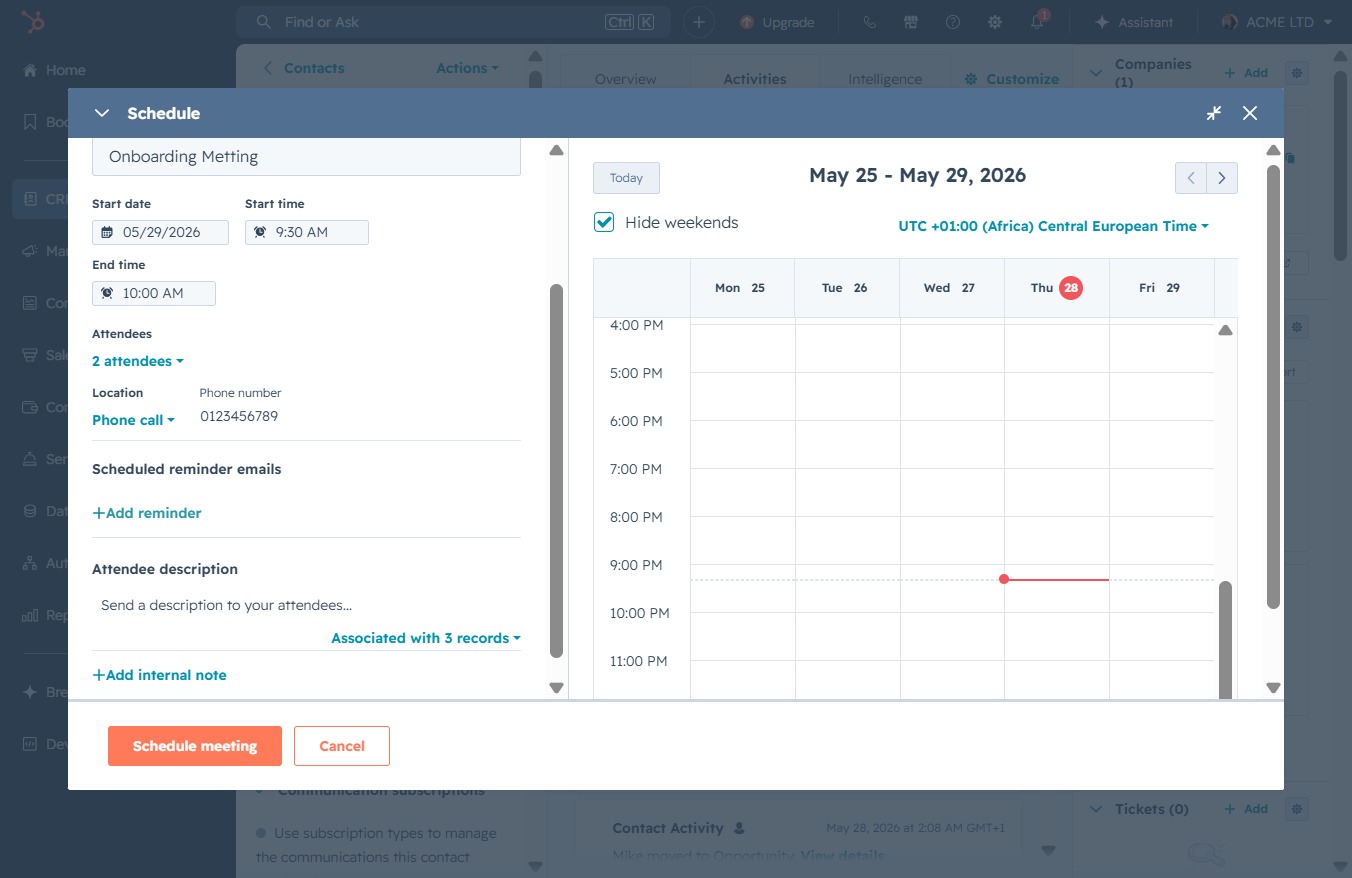
Specify the number of days before the meeting when a reminder should be sent to attendees. This setting will help ensure participants receive timely notifications.

Enter '1' in the Attendee description field to associate your meeting with the specified number of attendees. This information is crucial for managing participation in your scheduled meetings.
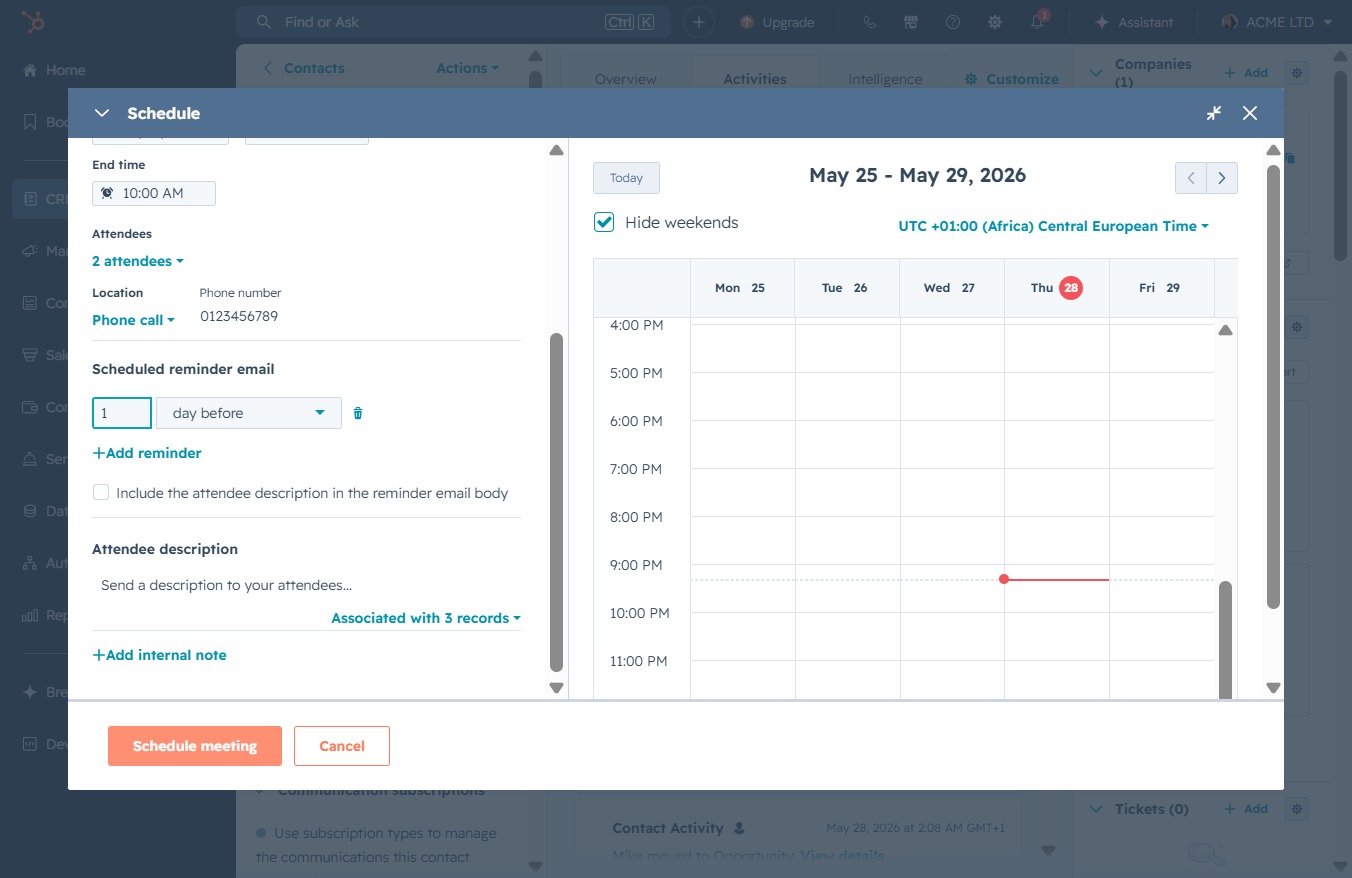
This will finalize the scheduling of your meeting and send out invitations to the selected attendees. You will then be taken back to the calendar view where you can see your newly scheduled meeting.