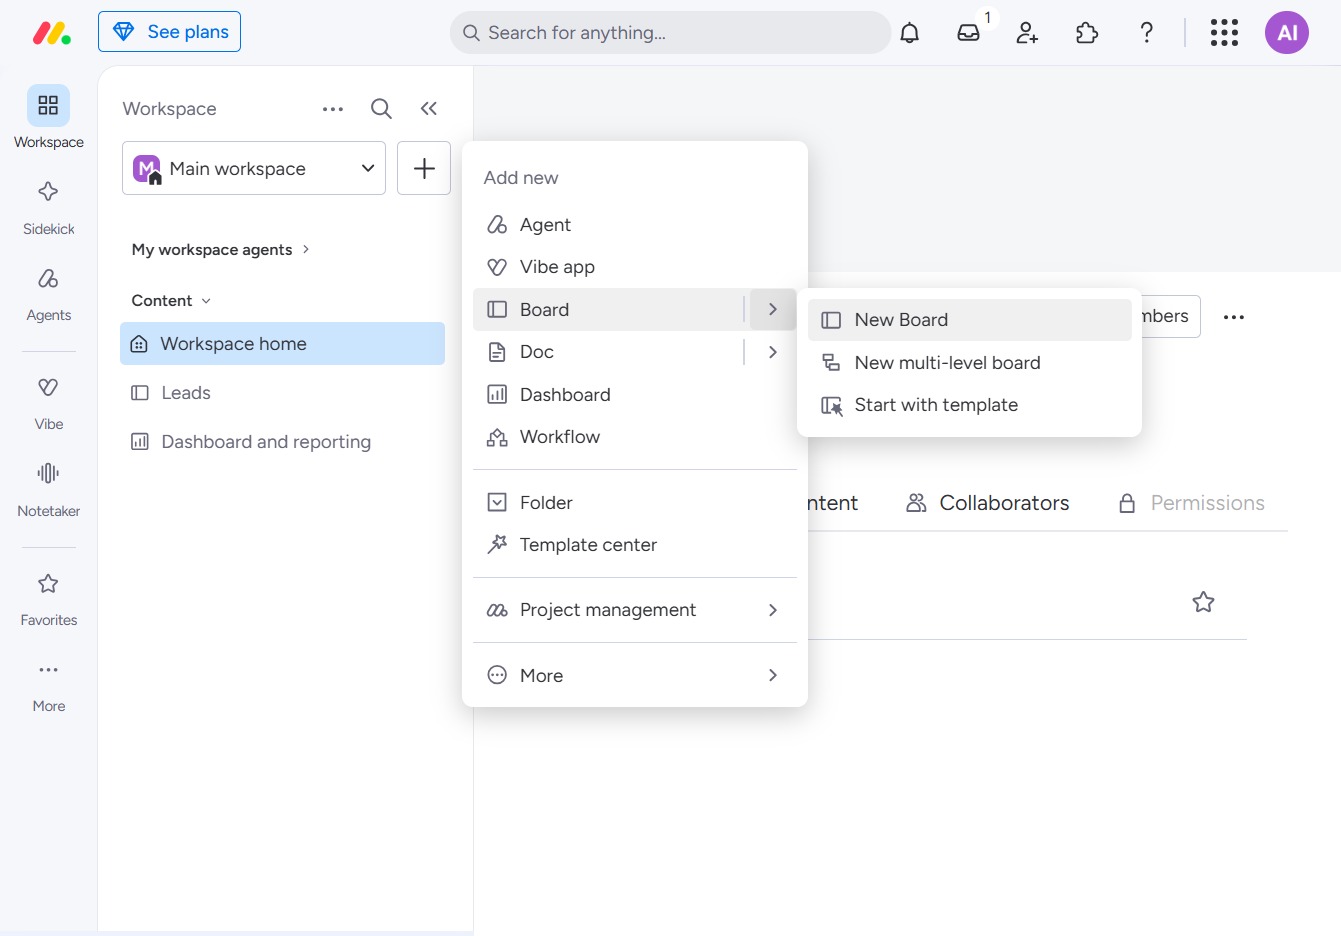
Click 'Add item to workspace'
This action opens a menu where you can select items to add to your current workspace, enhancing your project management capabilities.

Loading screenshot…
100%
This how-to guide provides step-by-step instructions for saving a board as a template in your workspace.
 viktoria
This how-to guide provides step-by-step instructions for saving a board as a template in your workspace. You will learn how to navigate the platform, create a customized board for project management, and save configurations as reusable templates to enhance your workflow in customer relationship management.
This action opens a menu where you can select items to add to your current workspace, enhancing your project management capabilities.
Selecting 'New Board' allows you to create a new board within your workspace. You can customize this board to fit your project needs and organization.
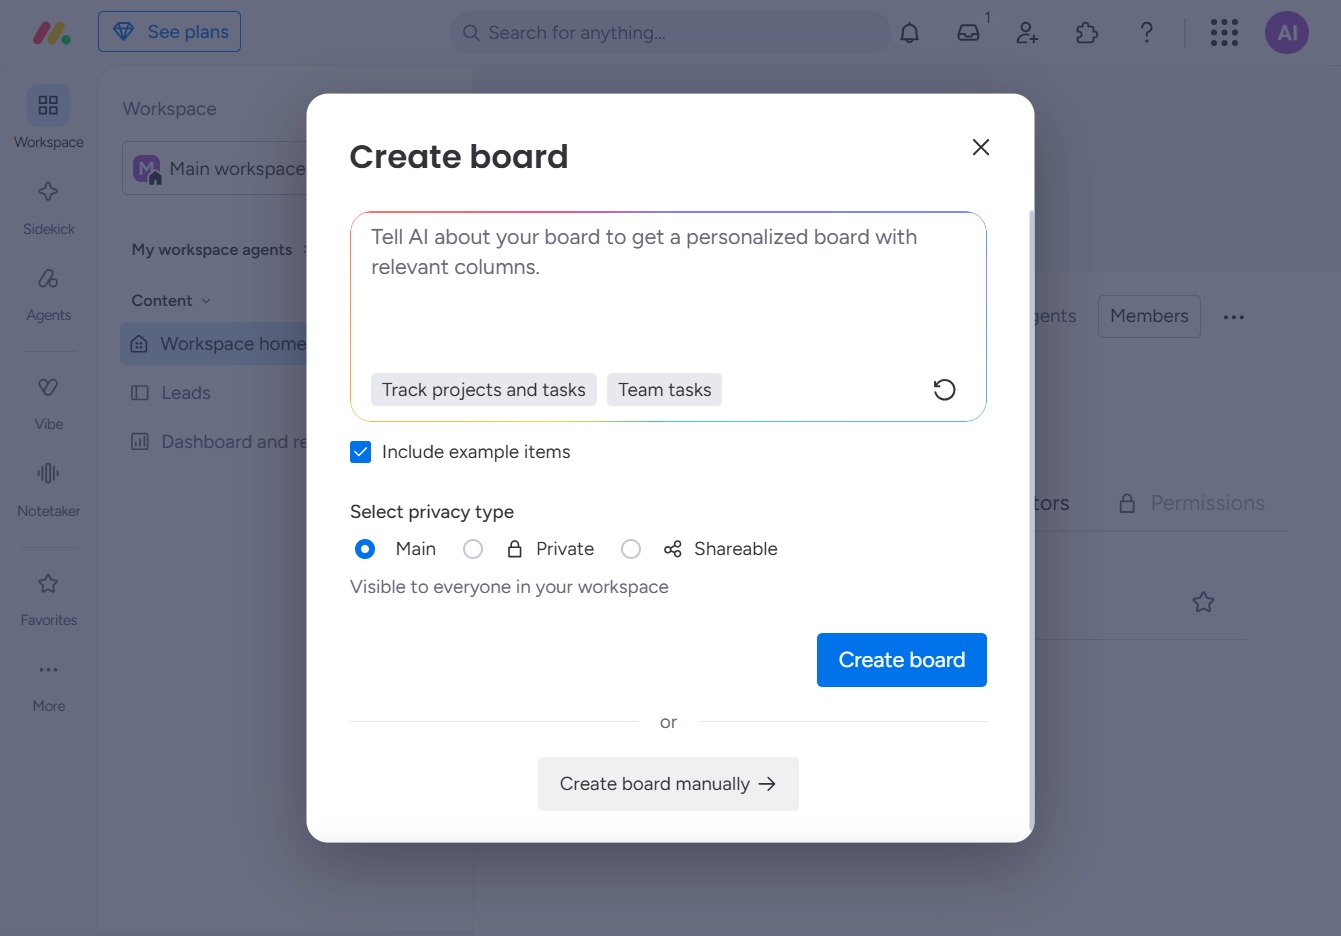
Selecting this option allows you to set up a new board without using the AI suggestions, giving you complete control over the customization and setup process.
Enter 'CRM' in the specified field to set the name of your new board. This action will help you organize and manage items related to customer relationship management.
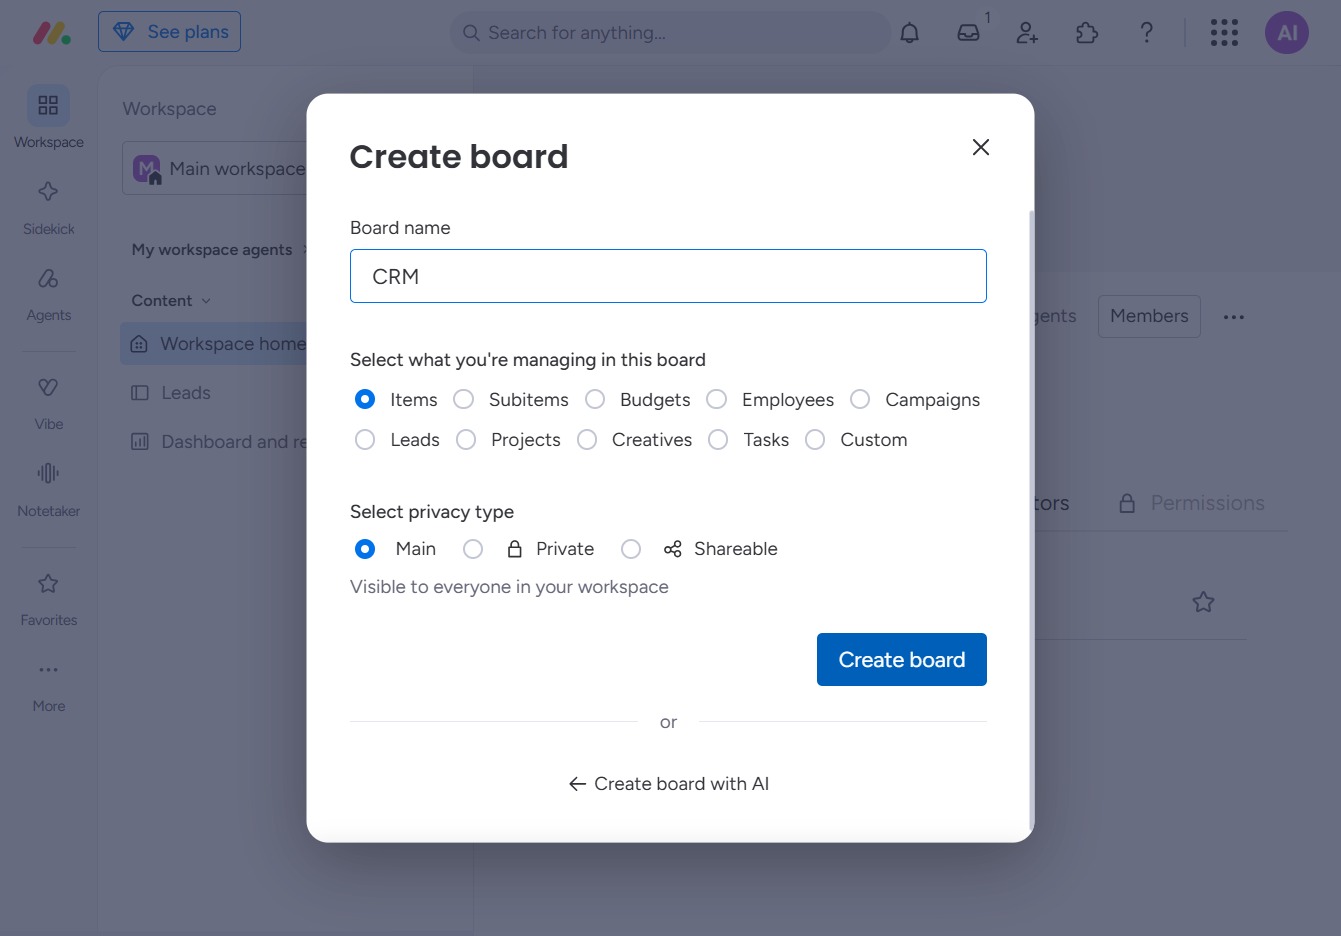
After clicking this button, a new interface will open where you can enter the name of the board, select the types of items you will manage, and set the privacy options for the board.
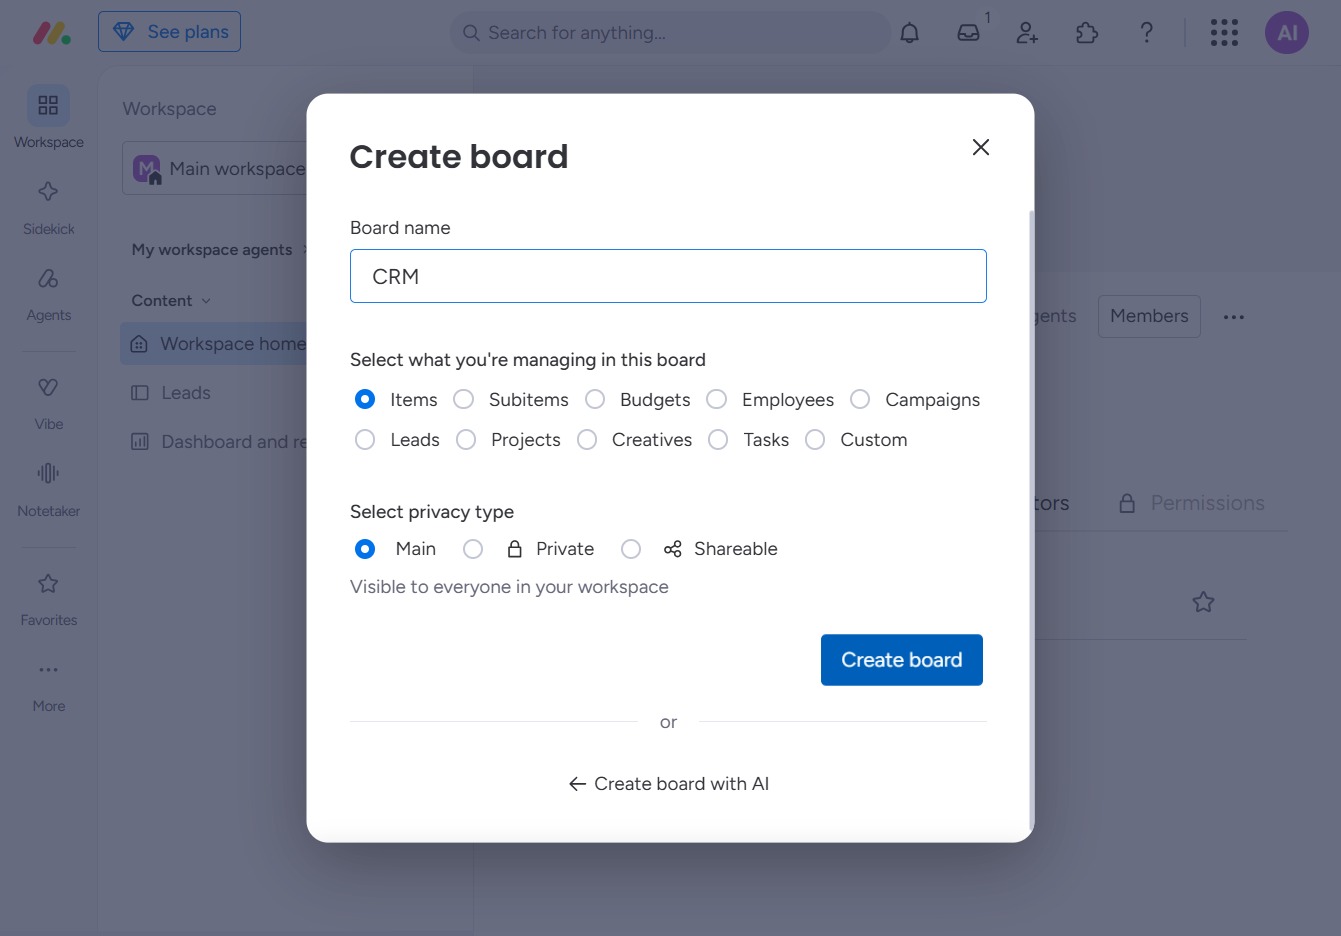
By clicking this link, you will initiate the process to add a new item to your CRM, allowing you to input details and assign it to a person.

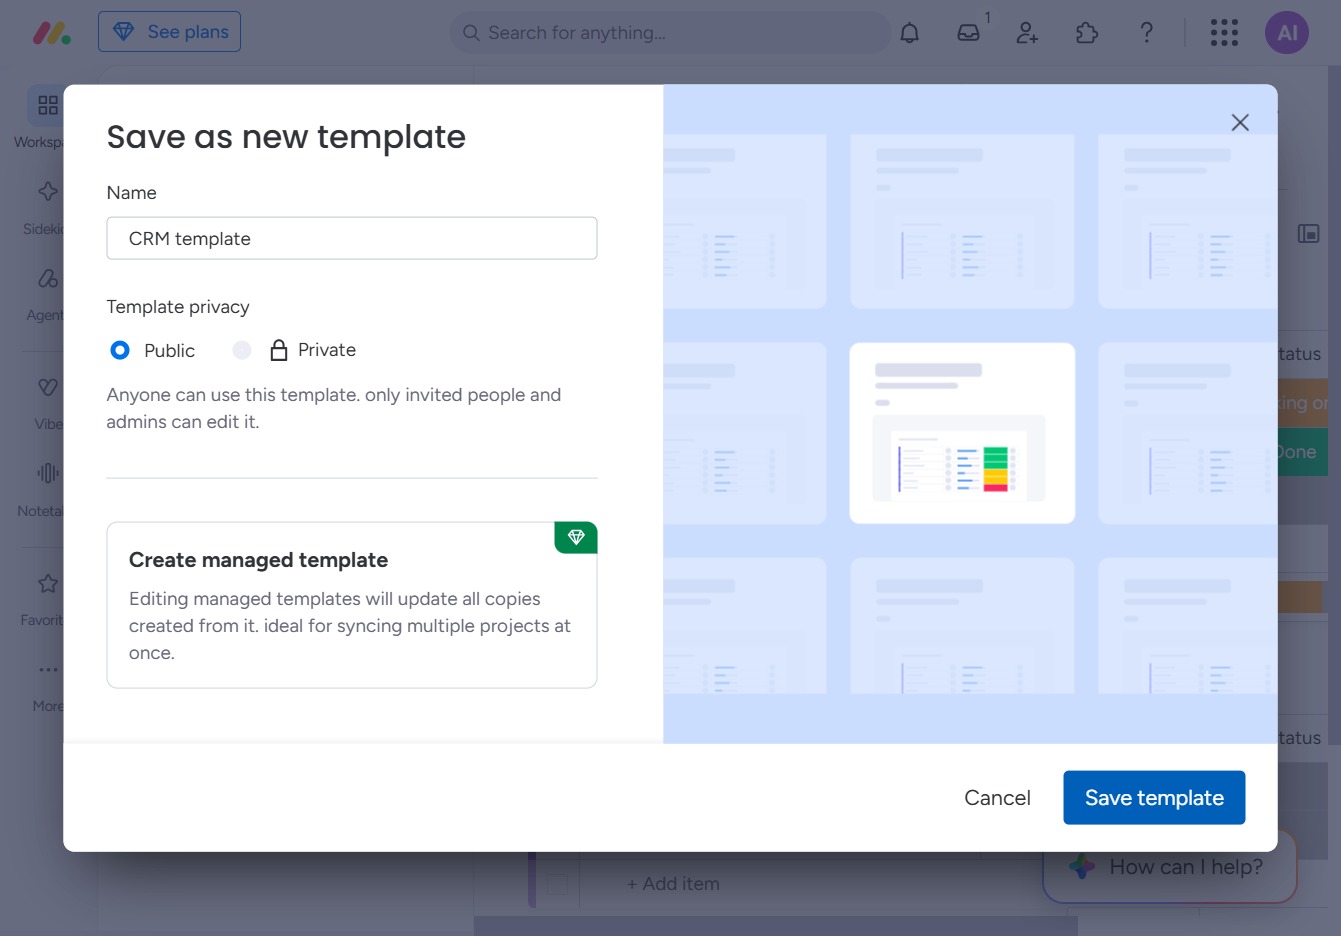
Selecting this option allows you to save the current item configuration as a reusable template for future use, streamlining your workflow in the CRM.
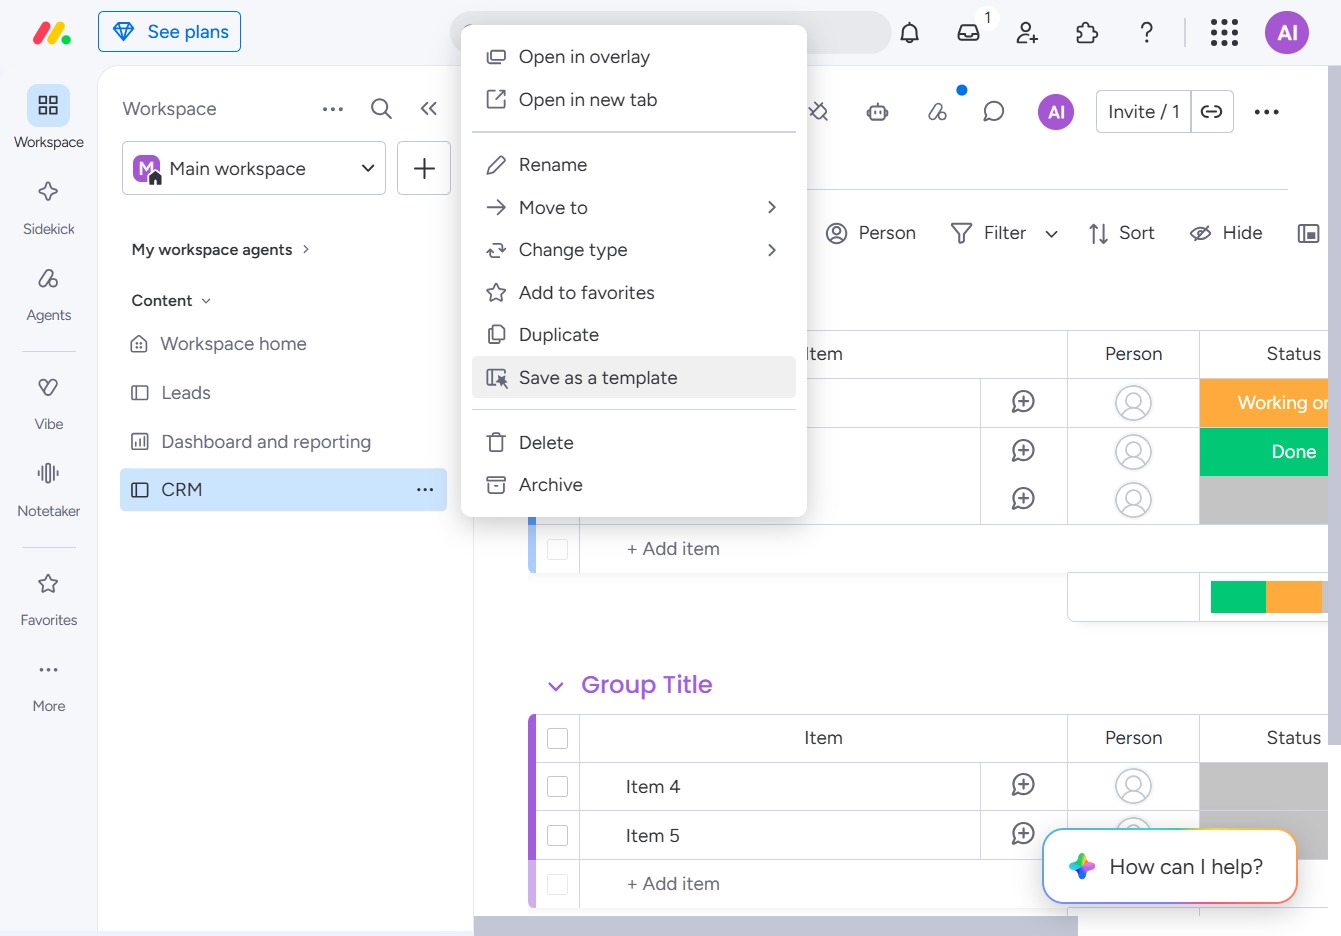
This action will save your current template settings and preferences. Ensure that you have named your template and selected the desired privacy option before saving.