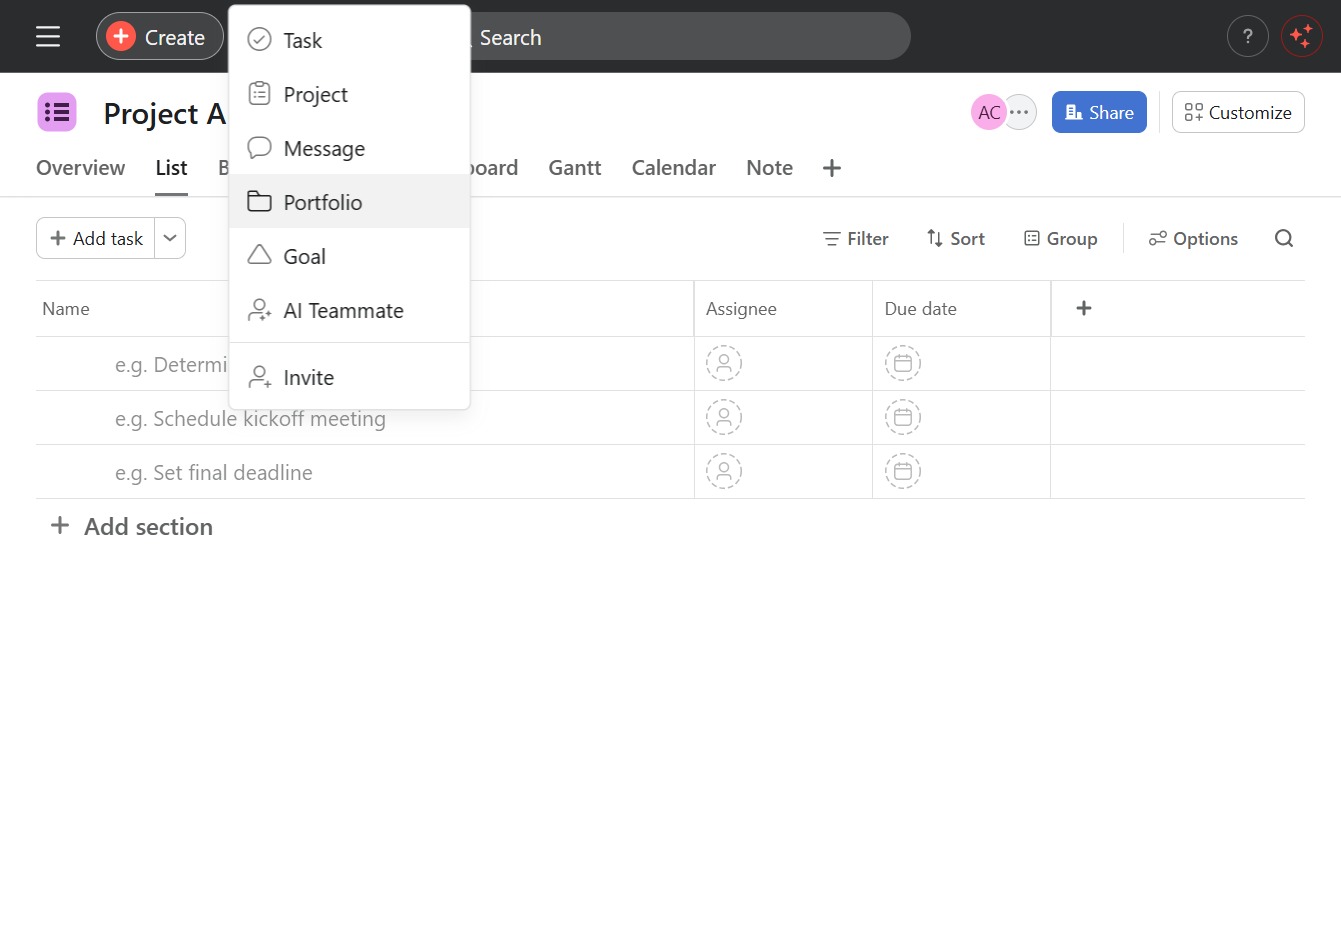
Click the Create button
This action opens a prompt to add a new task or section to your project, allowing you to define its details.

Loading screenshot…
100%
In this how-to guide, you'll learn to effectively organize your project tasks into portfolios using a project management tool.
 viktoria
In this how-to guide, you'll learn to effectively organize your project tasks into portfolios using a project management tool. Follow the steps to create and name a new portfolio, manage resources, and track progress, ensuring efficient categorization of your projects for better visibility and collaboration.
This action opens a prompt to add a new task or section to your project, allowing you to define its details.
Selecting the Portfolio option will provide an overview of all projects and tasks within the portfolio, allowing you to manage resources and track progress effectively.
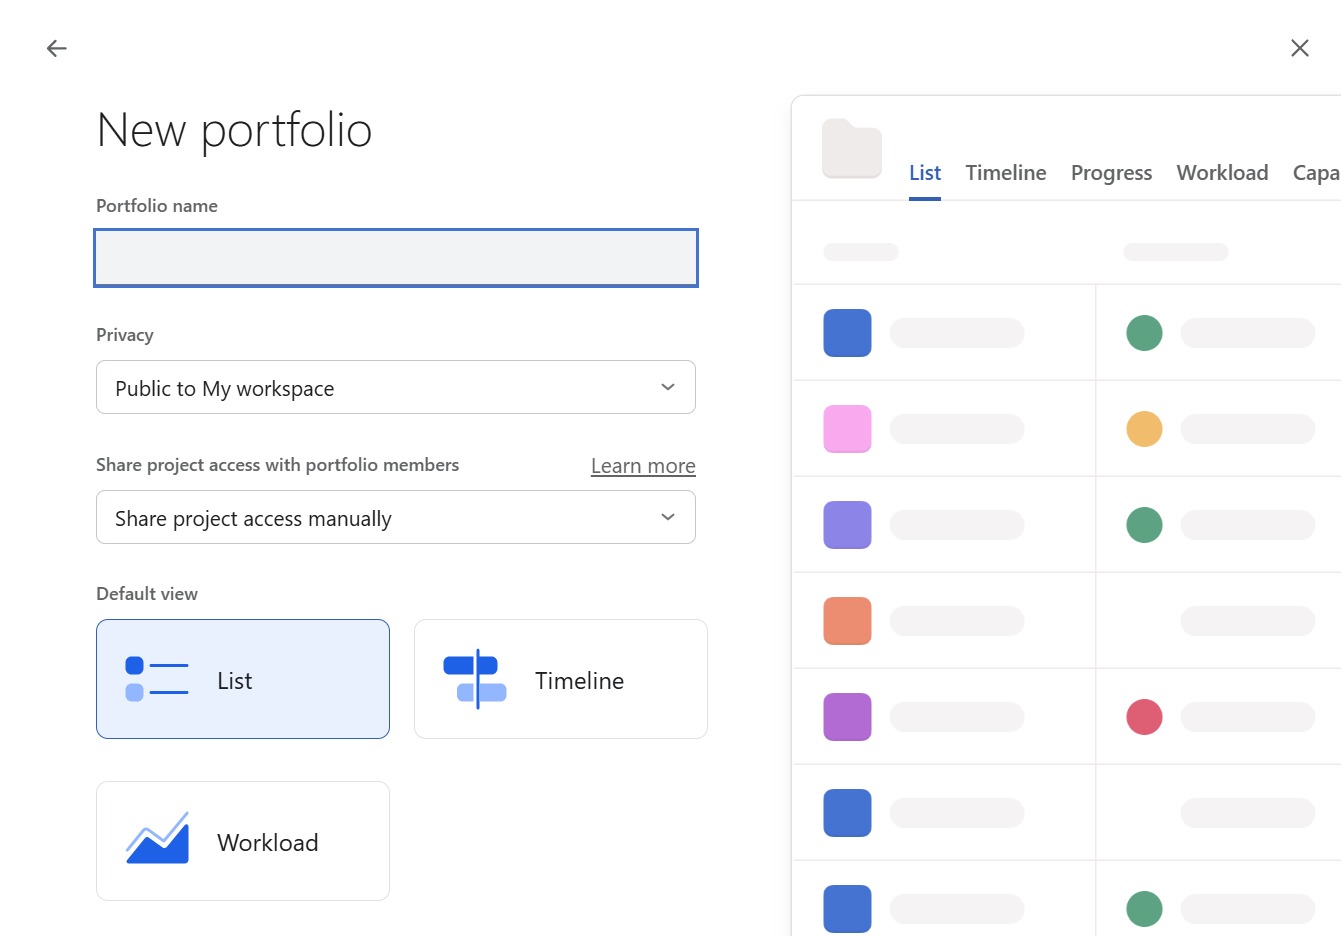
This action allows you to enter the name of your new portfolio. Make sure to choose a clear and descriptive title for easy identification.
Enter the name of your portfolio as 'Team 1' to identify it within the project management tool. This helps to organize and categorize your projects effectively.
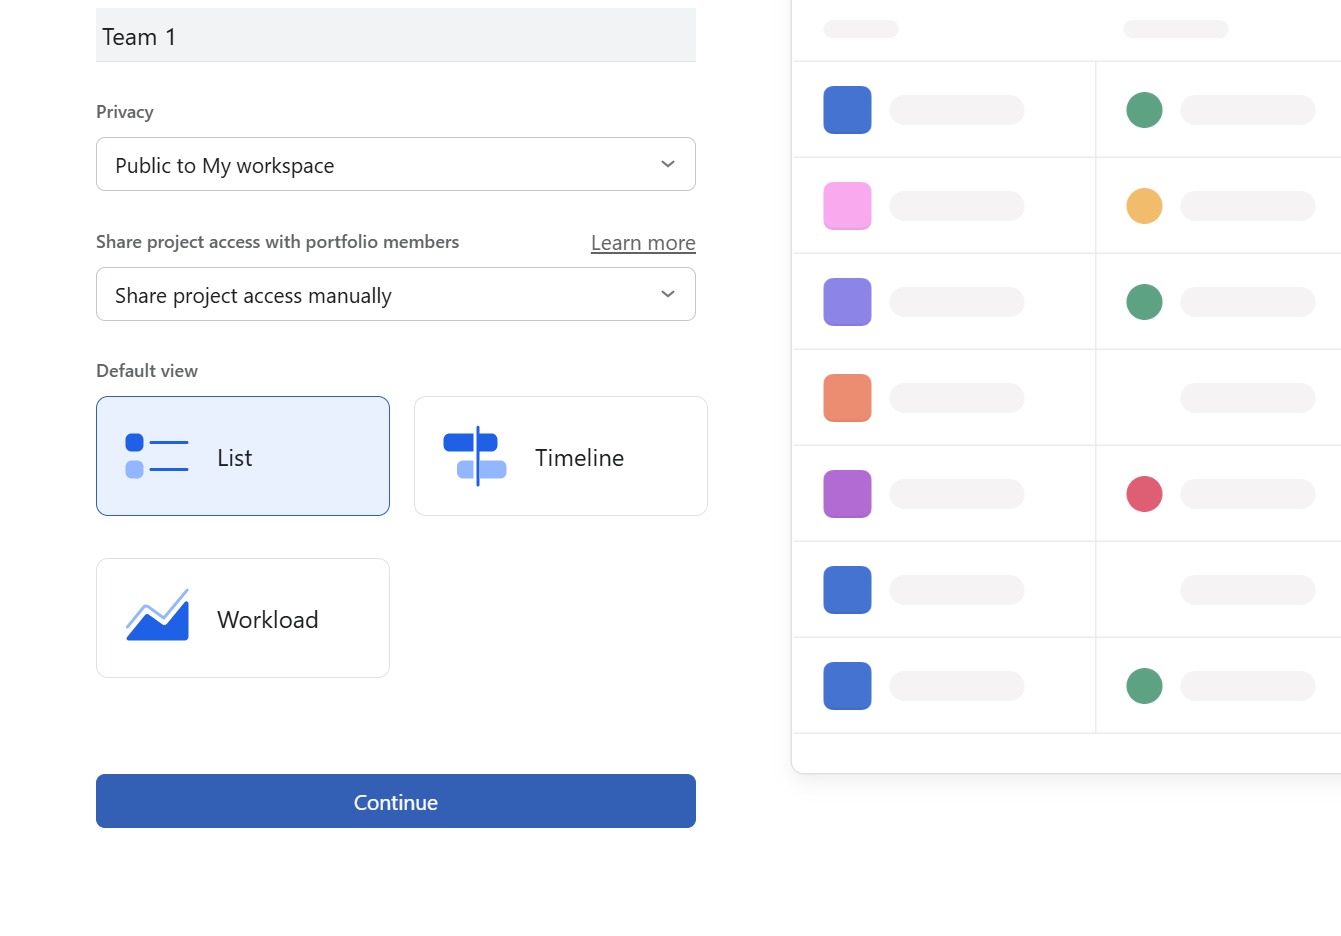
By clicking the Continue button, you will proceed to the next step in your project setup, allowing you to finalize the selected settings and move forward.
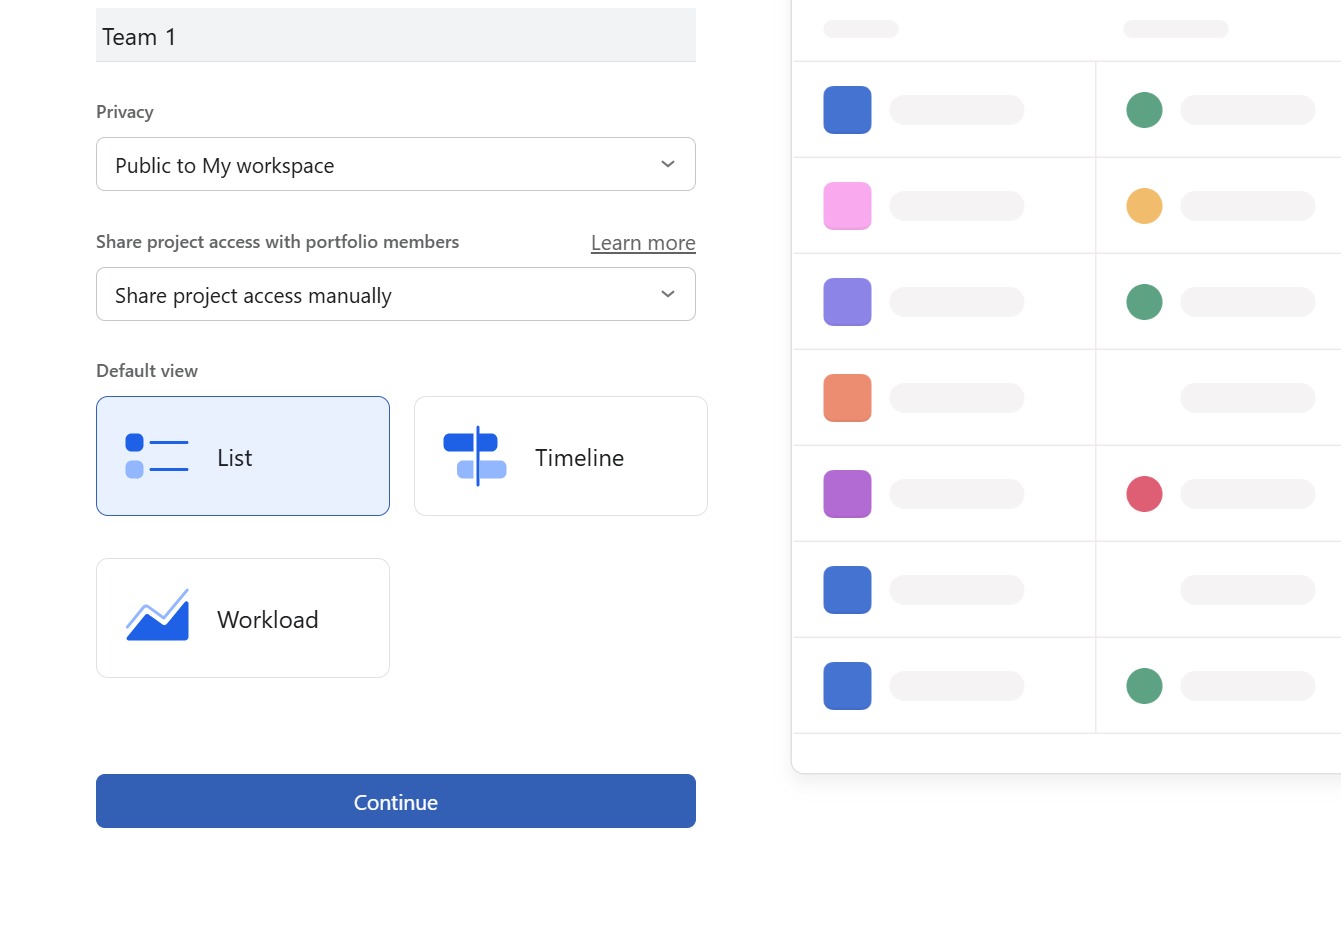
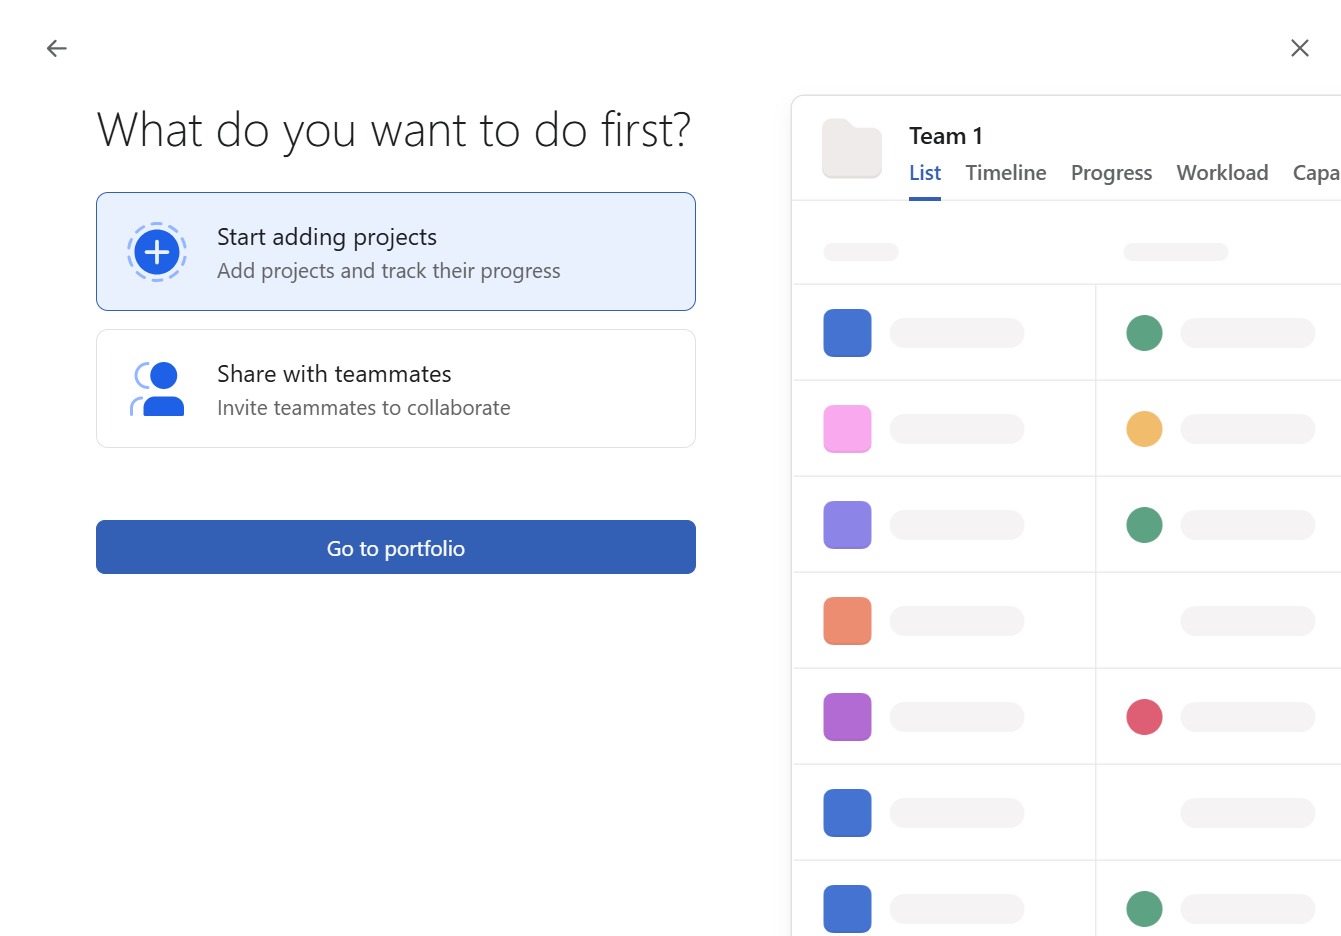
This action takes you to the portfolio section, where you can view and manage your existing projects and track their overall progress.
This action opens a prompt where you can create a new project or portfolio, allowing you to input relevant details and add it to your list.

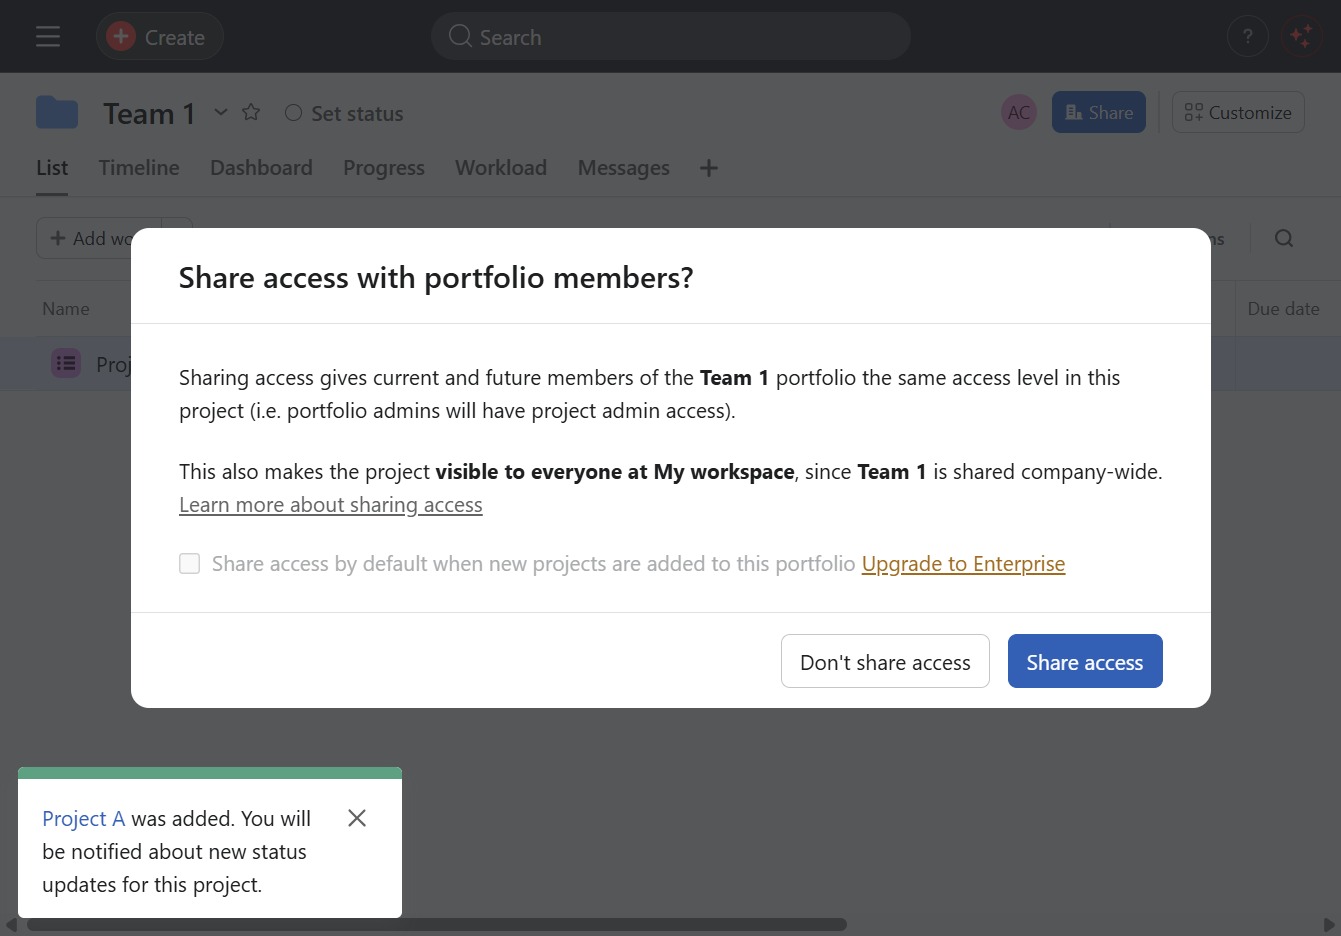
Selecting 'Project A' will open the details for this specific project, allowing you to view and manage tasks associated with it.
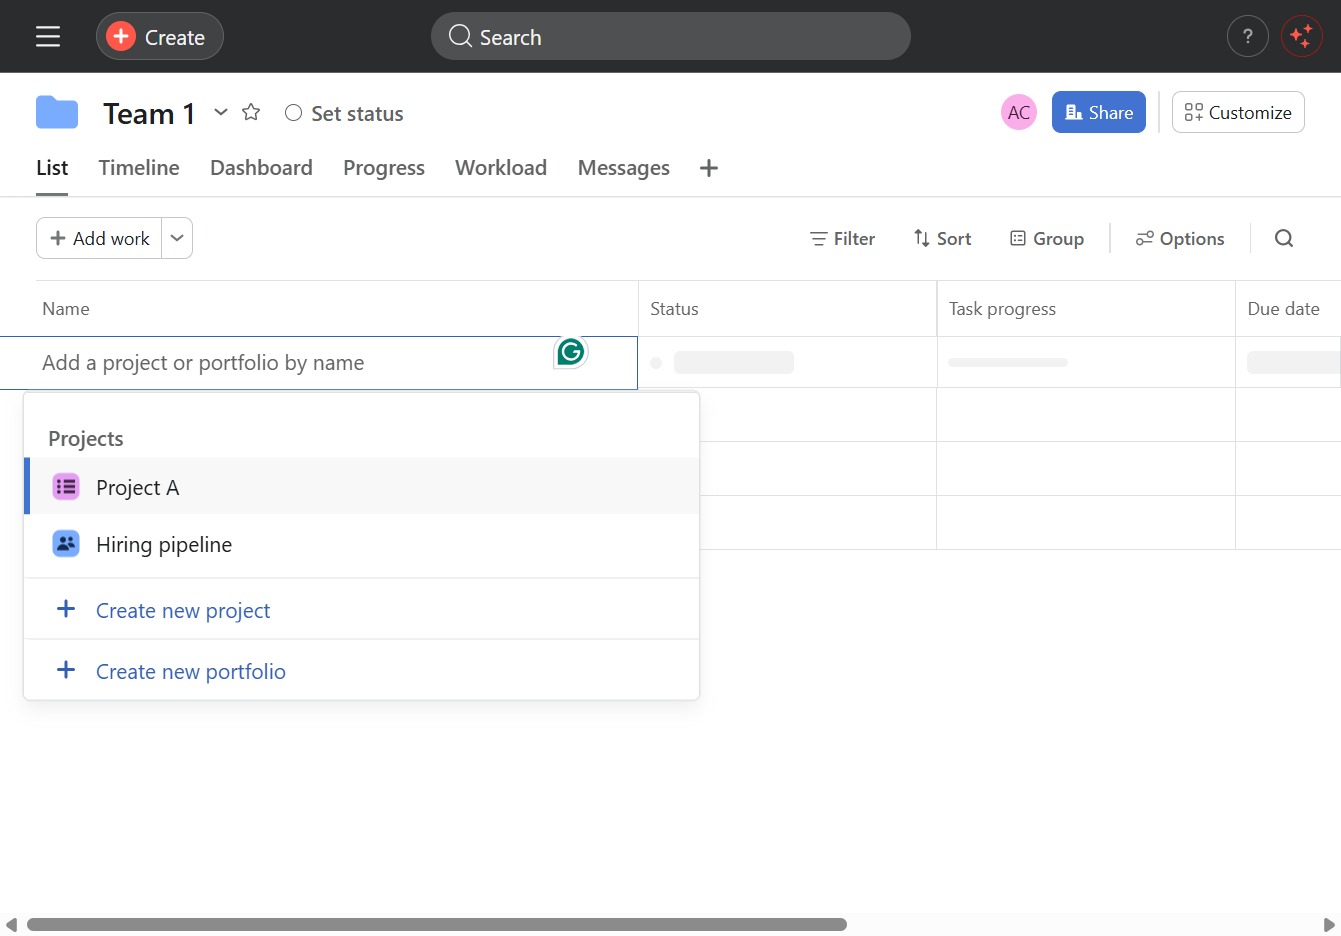
Clicking this button grants current and future members of the Team 1 portfolio the same access level in this project. This action also makes the project visible to everyone at your workspace.