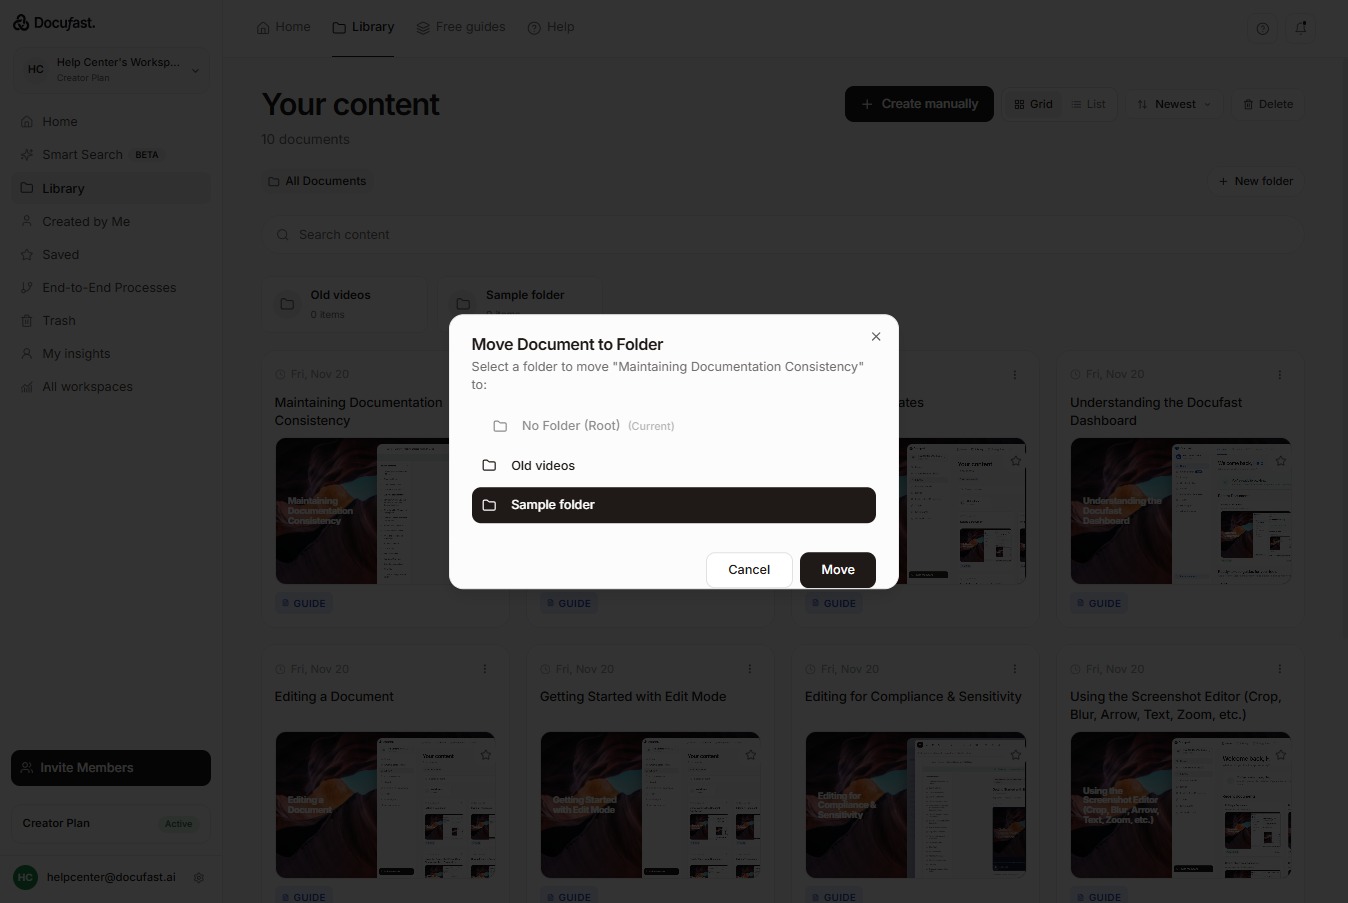
Click Library
Go to Library on the left-hand side of your dashboard
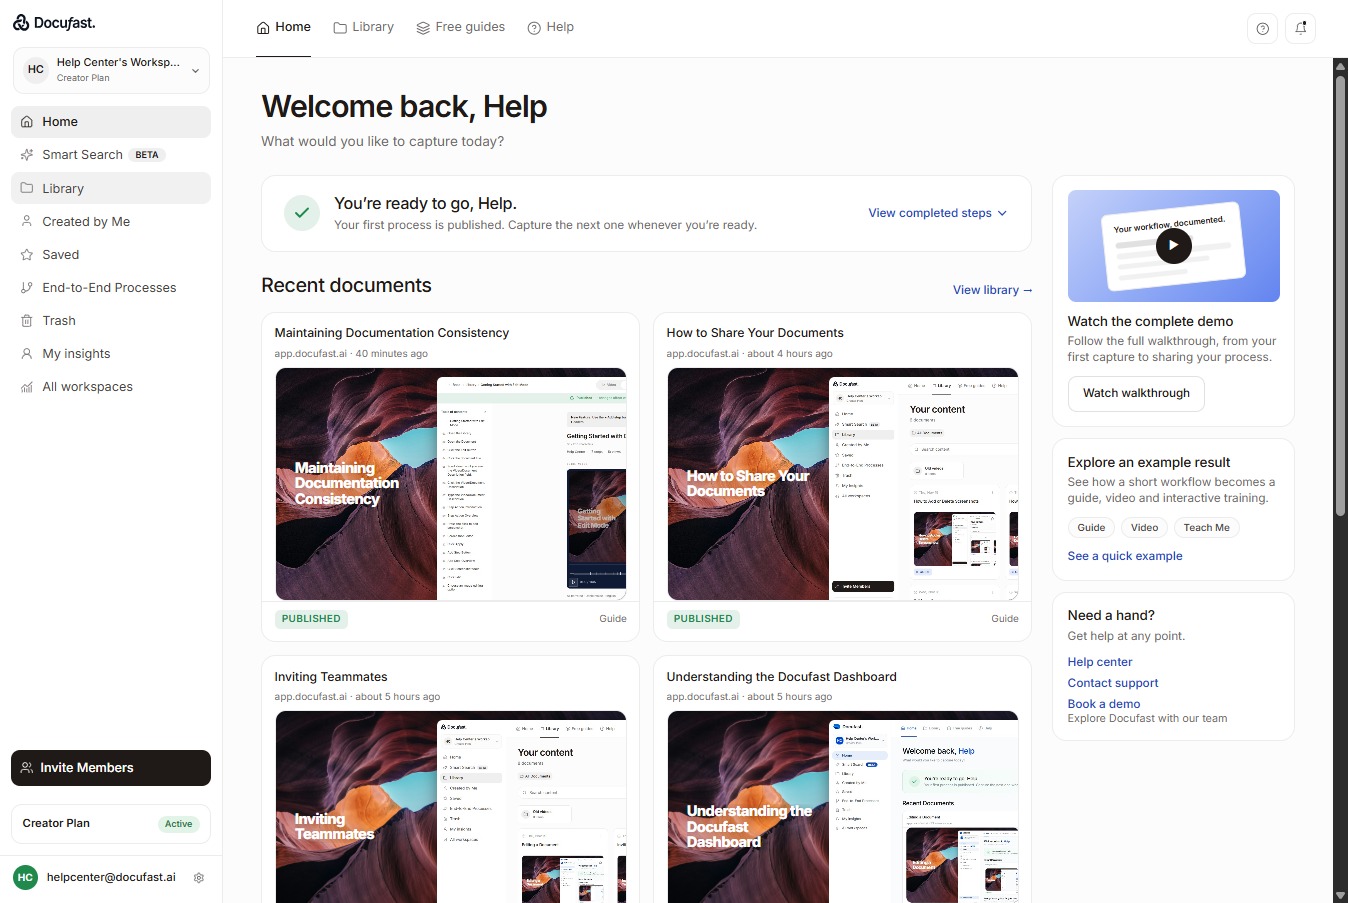
Loading screenshot…
100%
As you create more guides, keeping everything in one list can quickly become overwhelming.
As you create more guides, keeping everything in one list can quickly become overwhelming. Organizing documents into folders helps you stay organized, edit faster, and avoid duplicate or misplaced guides.
Go to Library on the left-hand side of your dashboard
Click new folder to add a folder to your library.
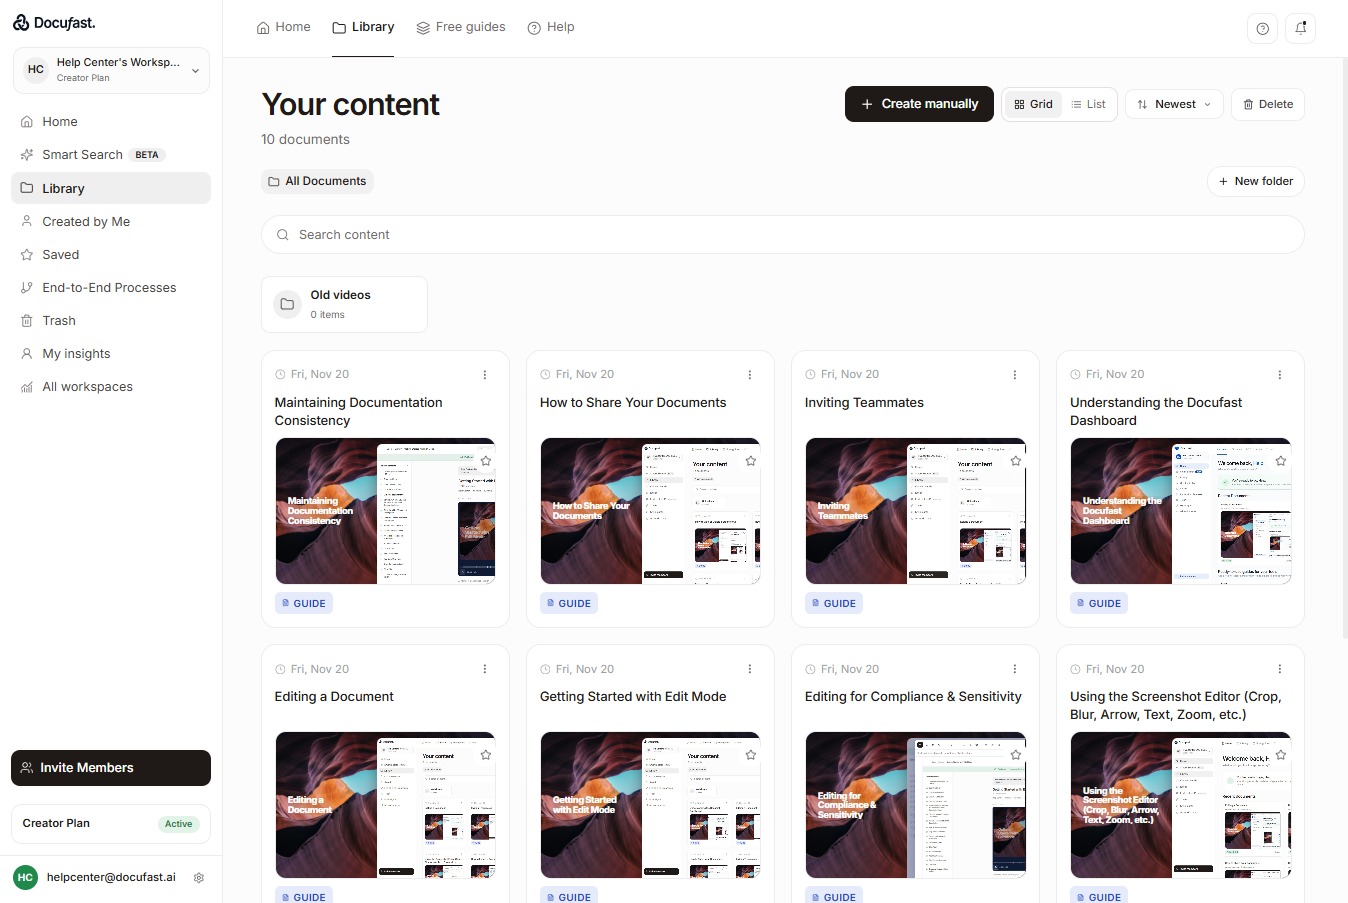
Enter the folder name in the "New folder in All Document" field.
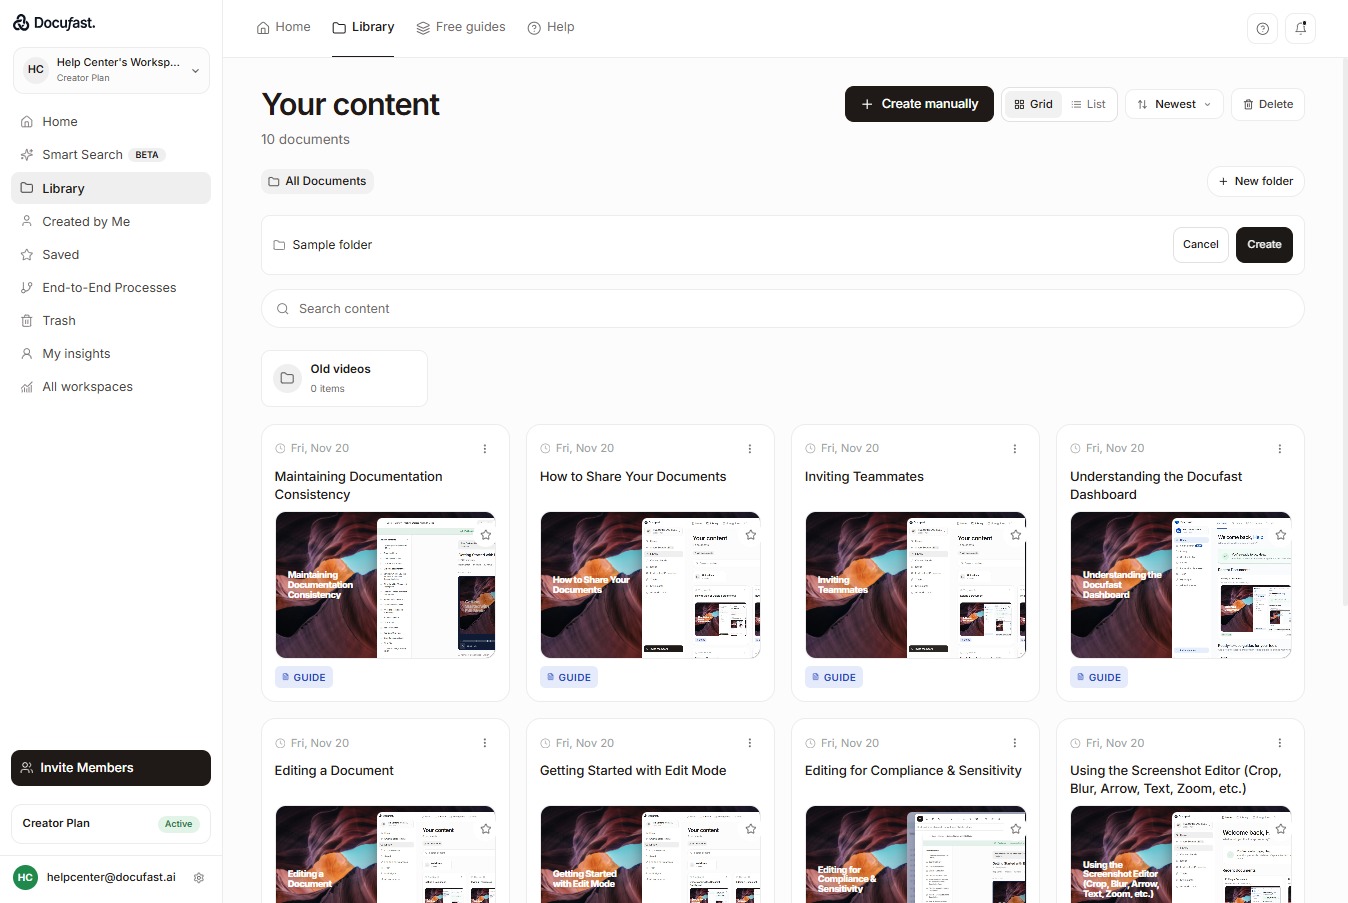
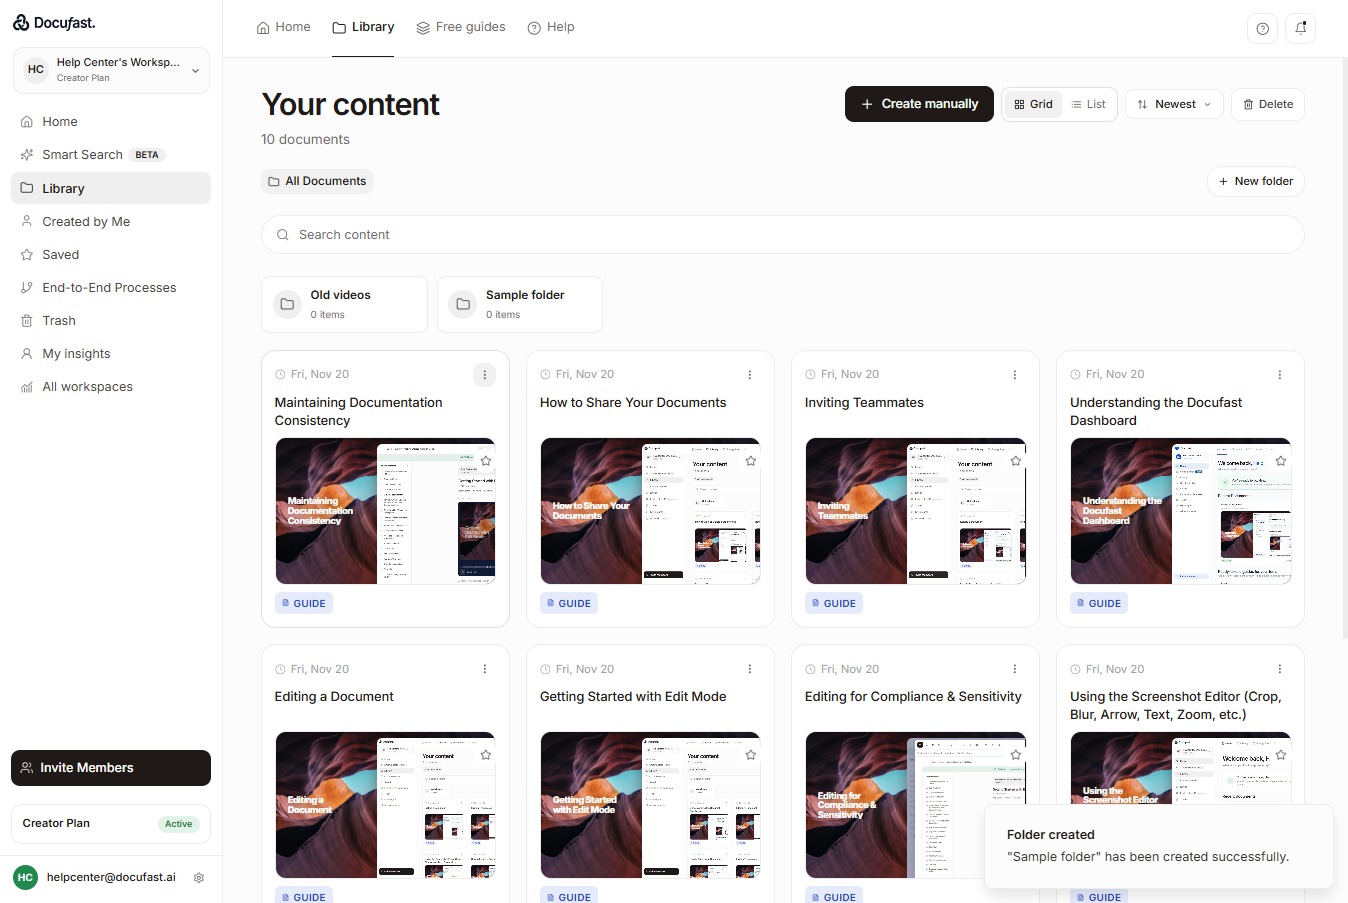
Click Create to add the folder to your workspace.
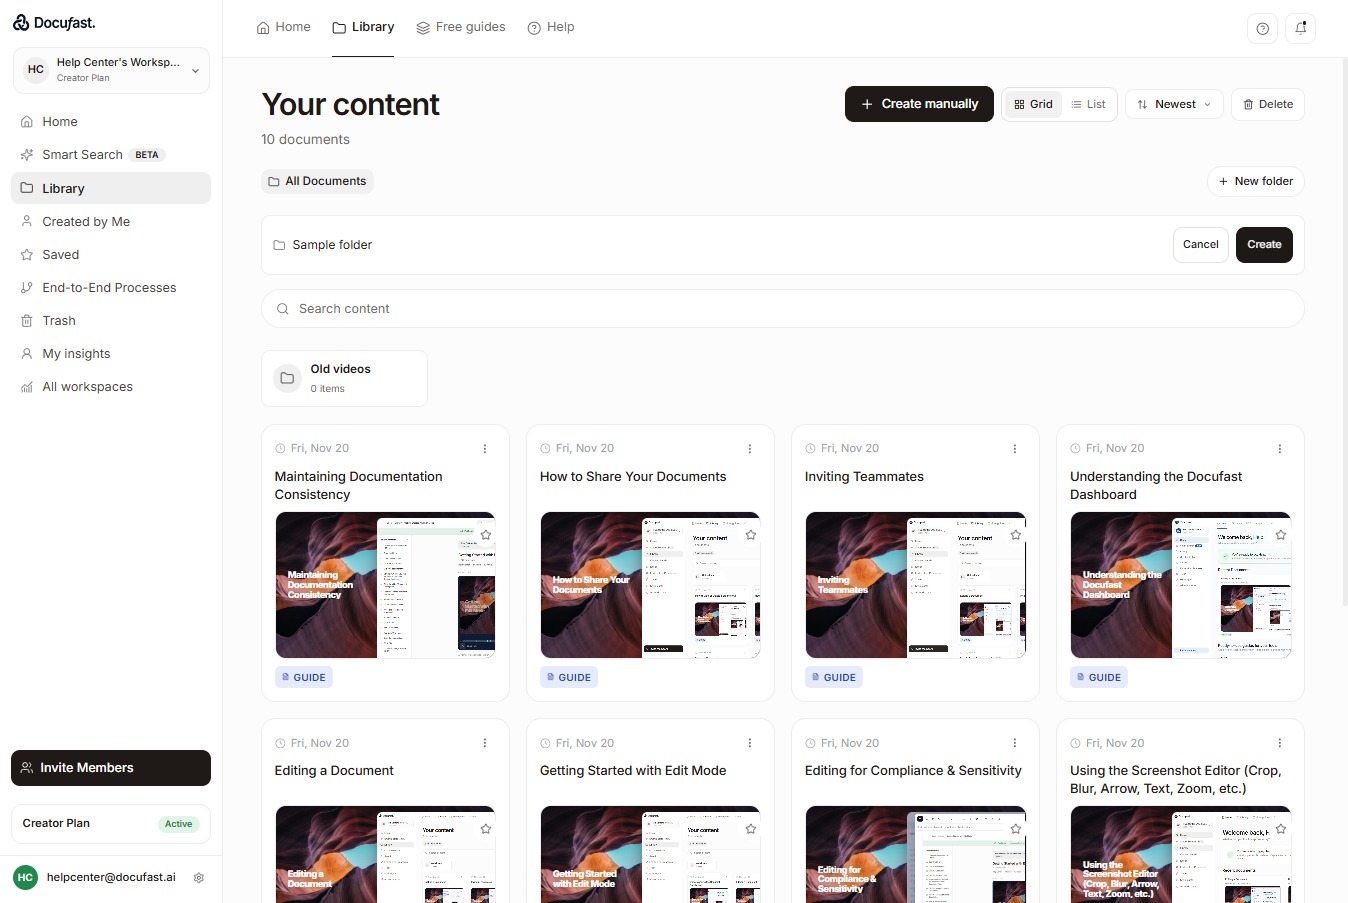
Now, the new folder will appear immediately and is ready to store documents.
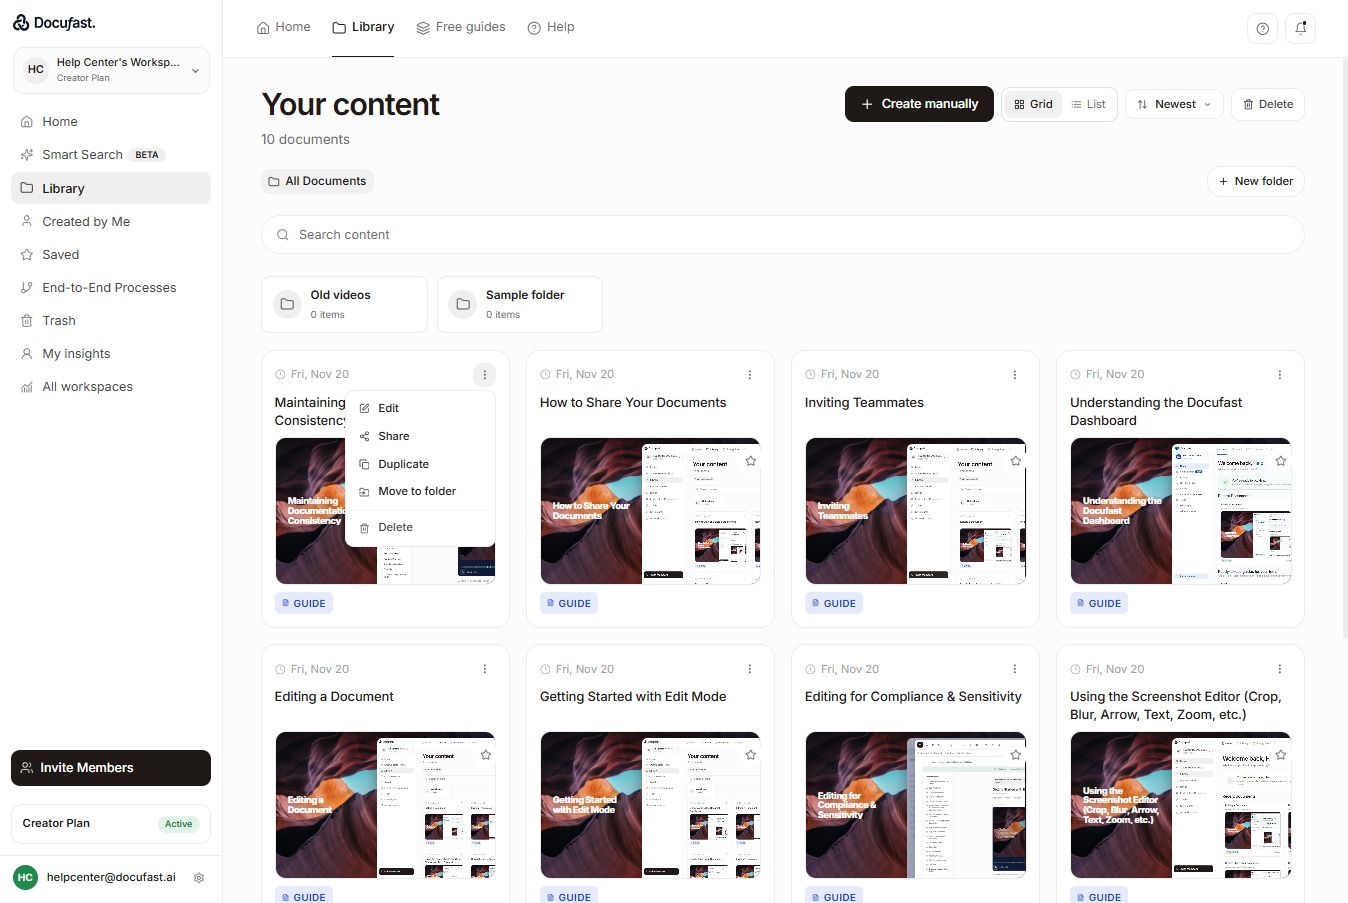
Hover over or click the three dots next to the document to reveal the actions menu. From here, you can edit, share, duplicate, move, or delete the document.
Select Move to folder from the document actions menu.
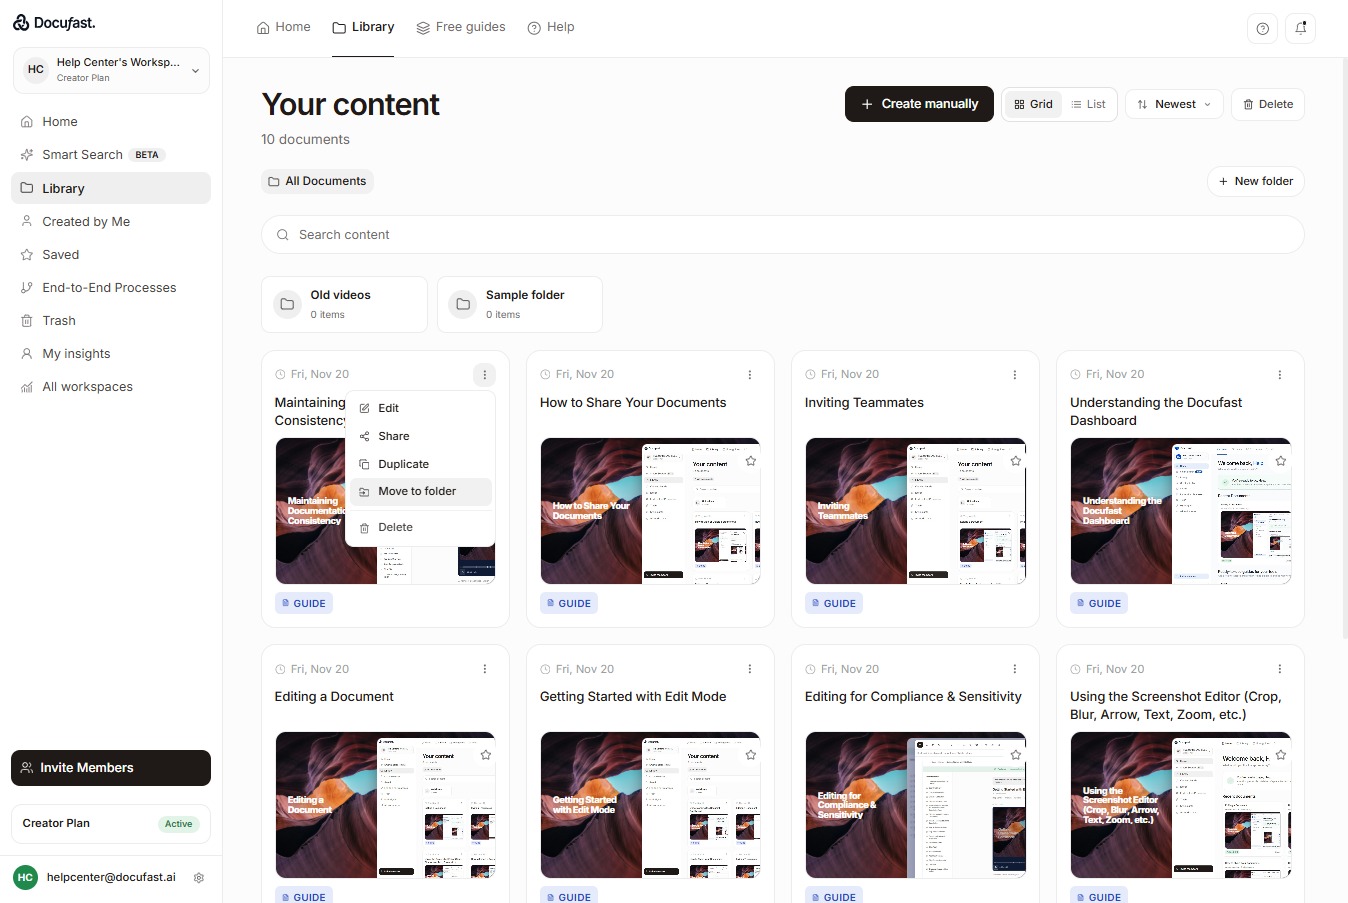
And, choose the folder you just created to move the document into it.
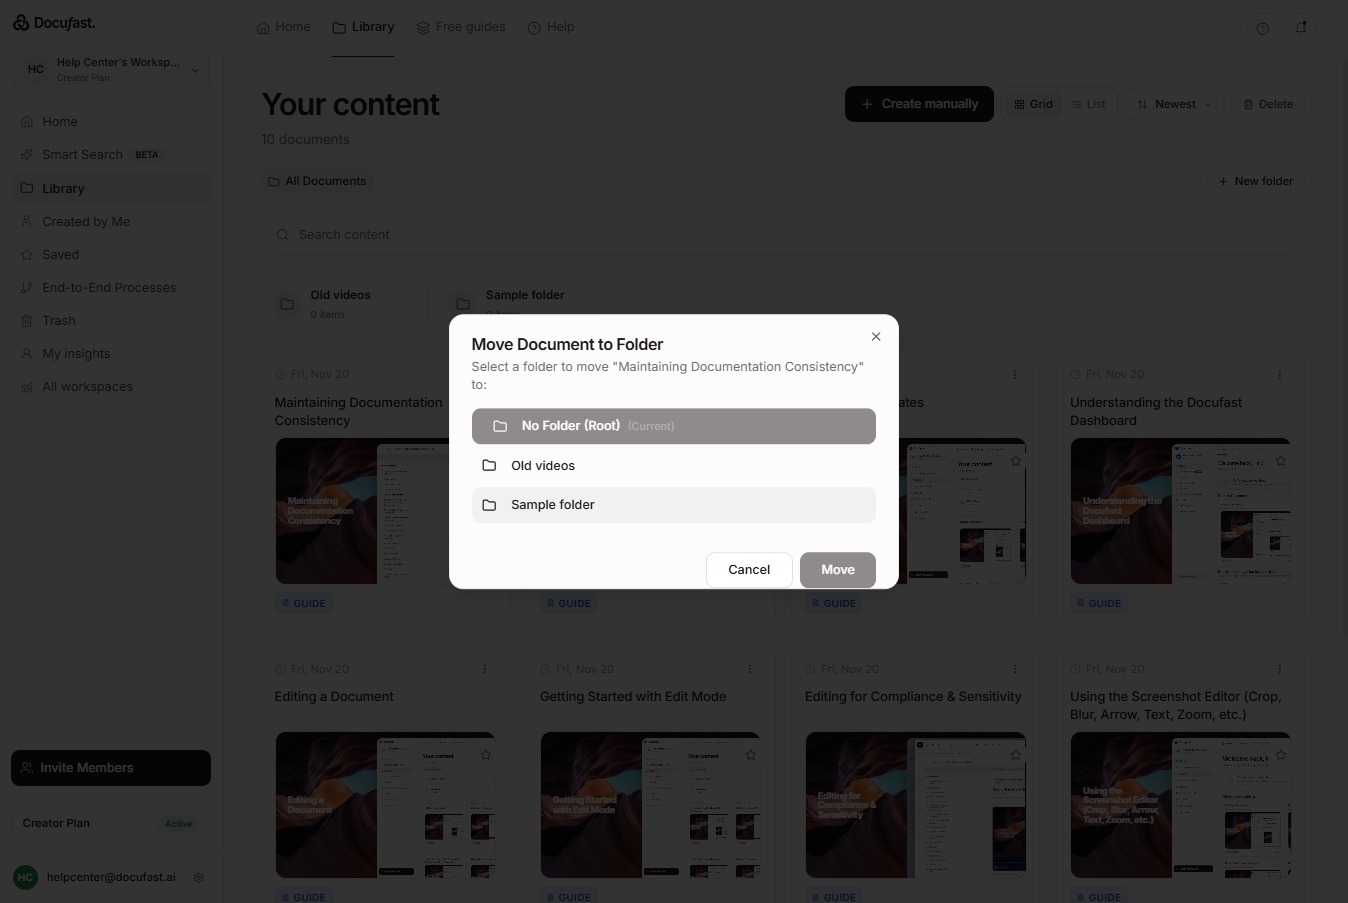
Select Move to finalize placing the document into the Sample folder.