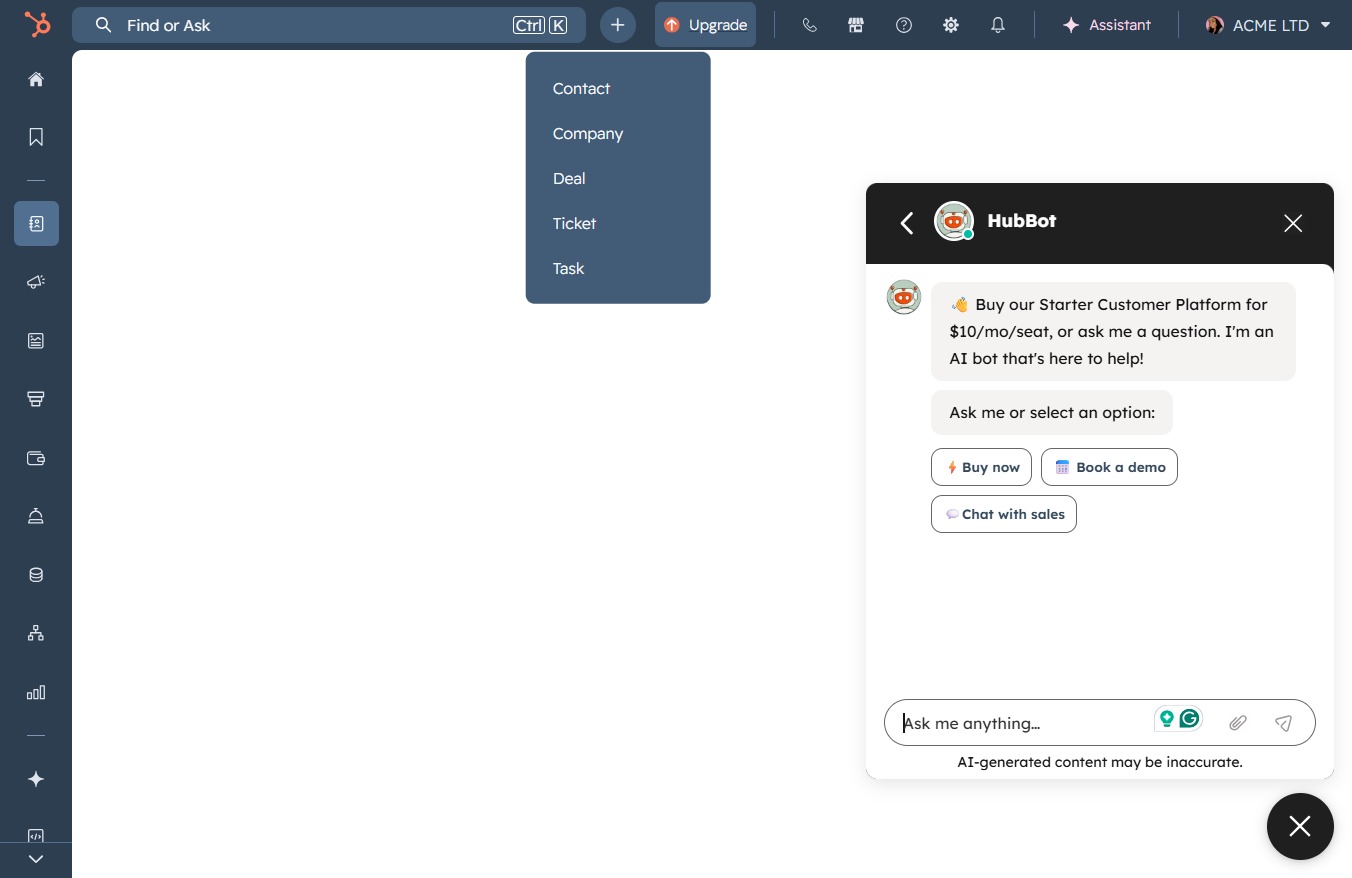
Click the New Task button
Clicking this button allows you to create and add a new task to your task list.
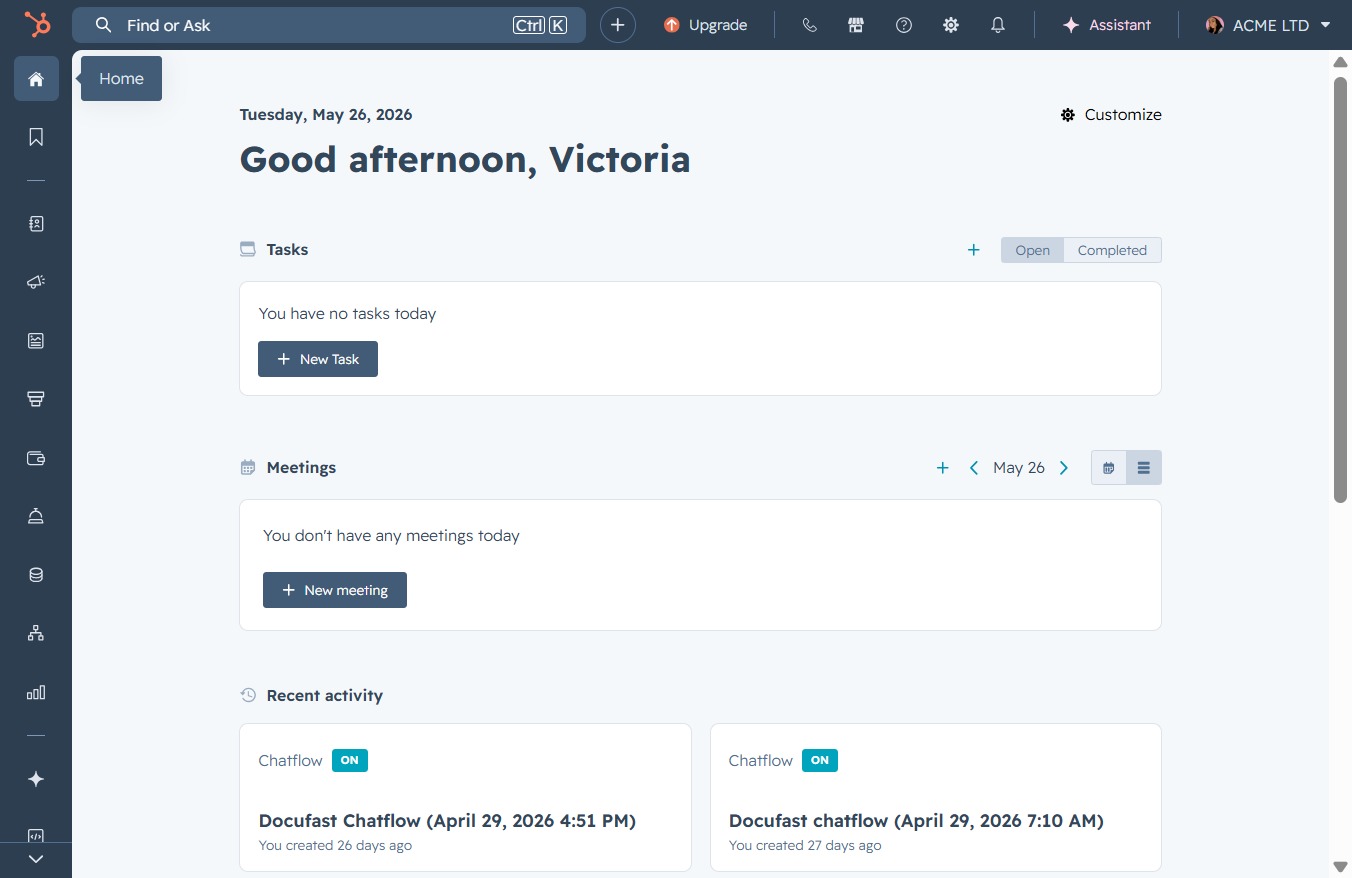
Loading screenshot…
100%
Create and customize tasks in HubSpot to effectively manage your workload, streamline your sales processes, and enhance customer interactions using the application's various…
 viktoria
Create and customize tasks in HubSpot to effectively manage your workload, streamline your sales processes, and enhance customer interactions using the application's various features.
Clicking this button allows you to create and add a new task to your task list.
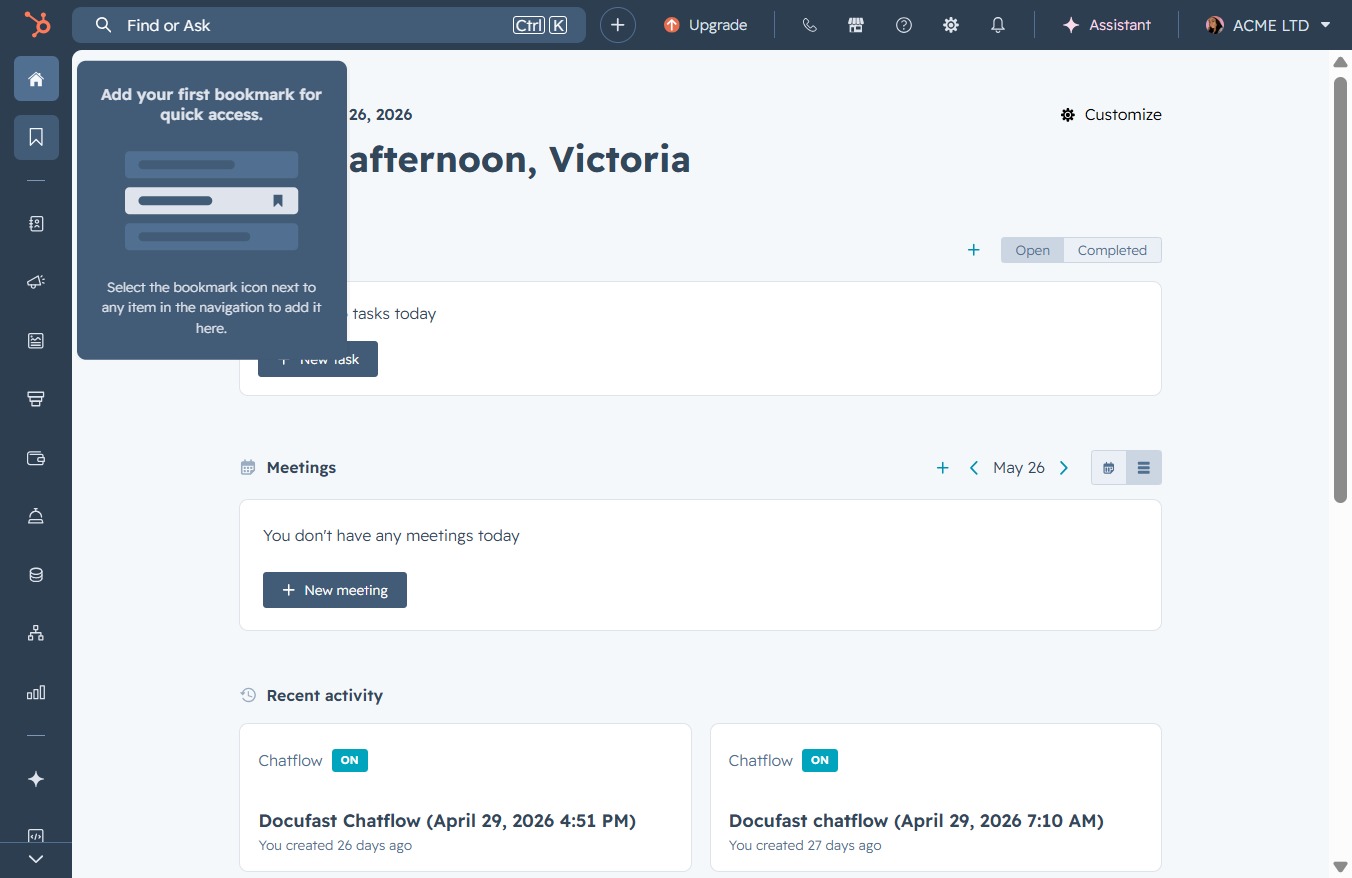
This action prompts the application to display options for adding your first bookmark, enabling quick access to important items.
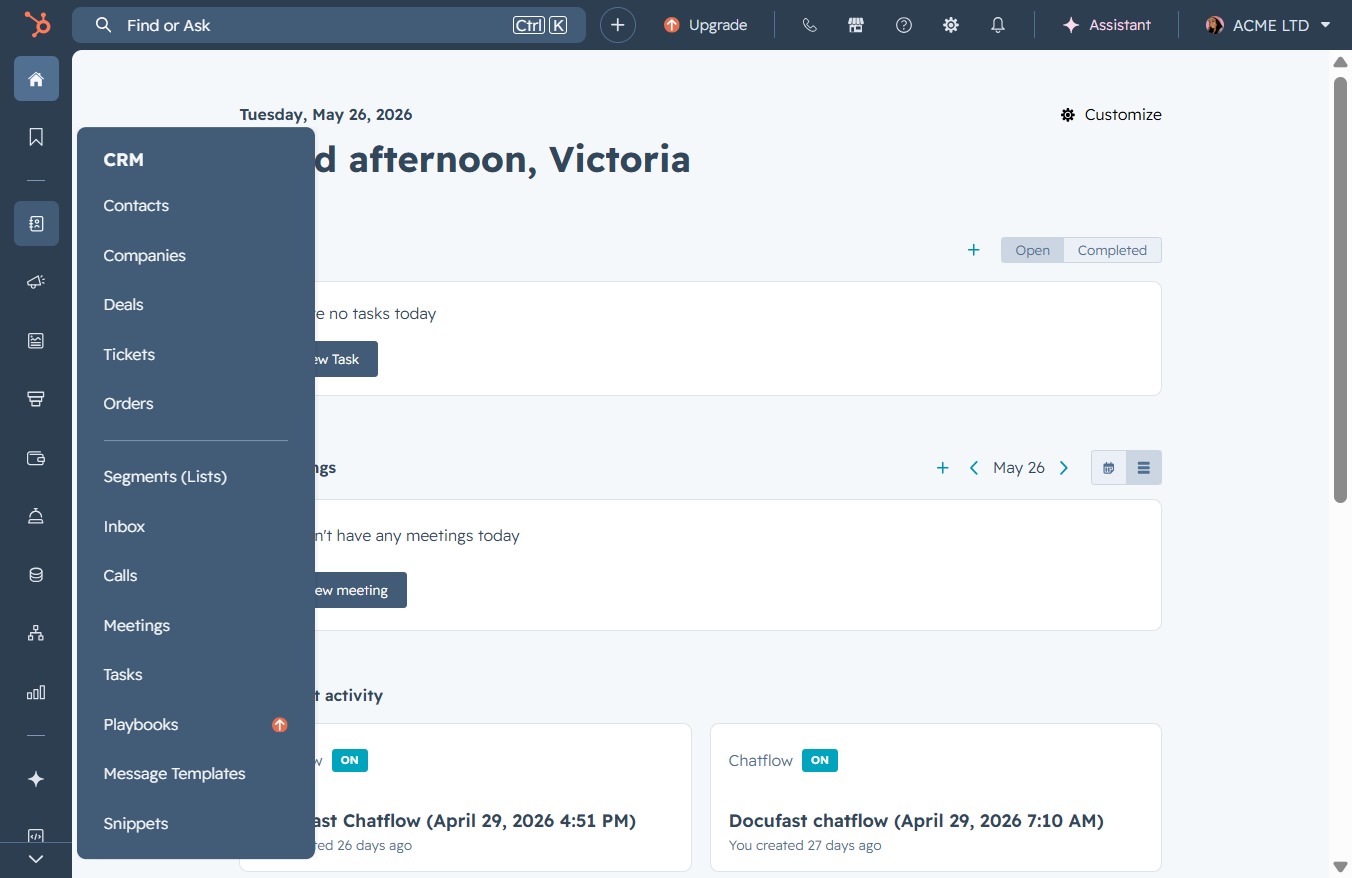
This action opens the menu where you can access various CRM features such as Contacts, Deals, and Tasks.
This will open the settings menu where you can adjust your user preferences and application settings.
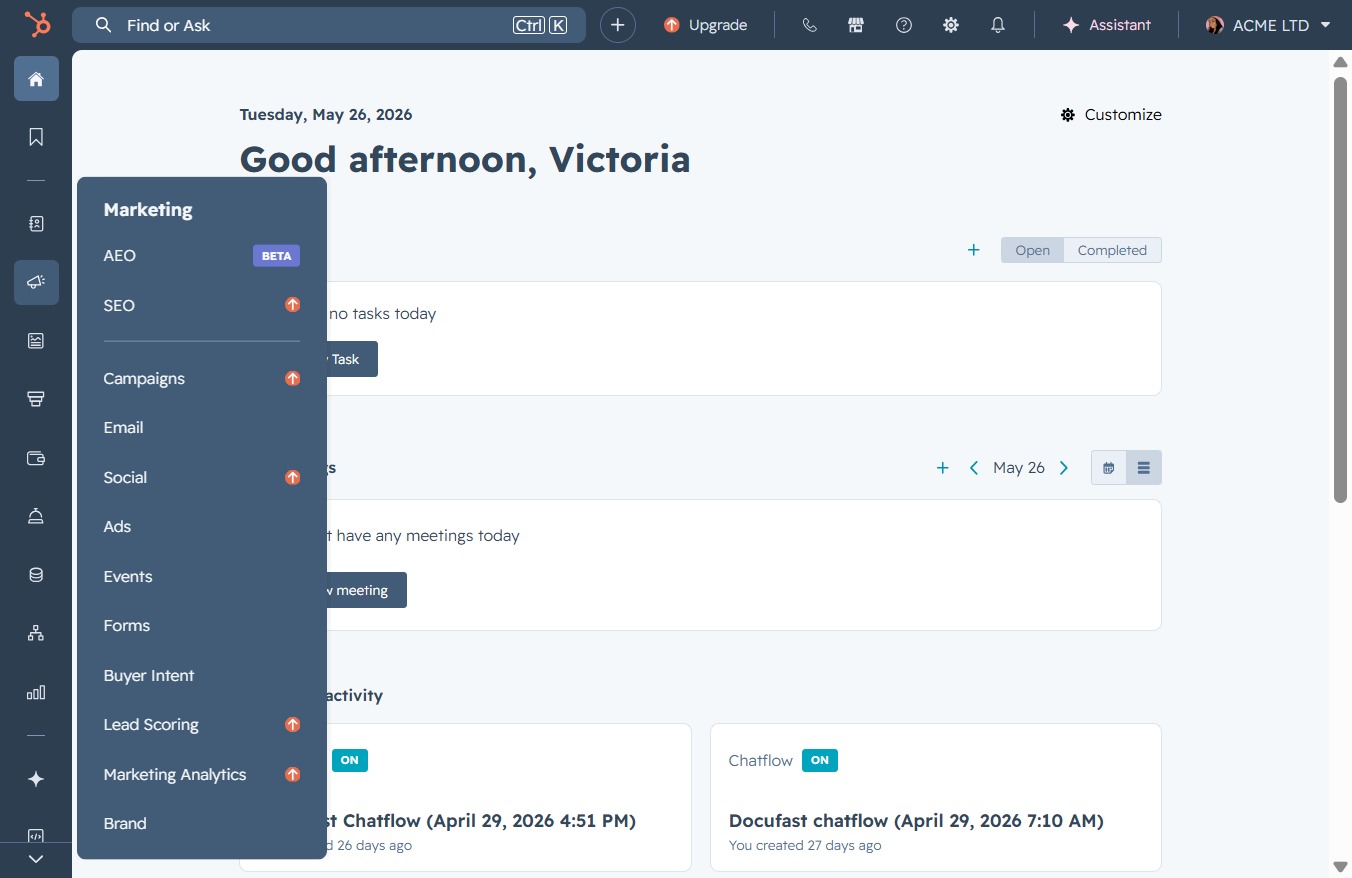
This will expand the Content menu where you can access options like Website Pages, Blog, and Videos to manage your content effectively.

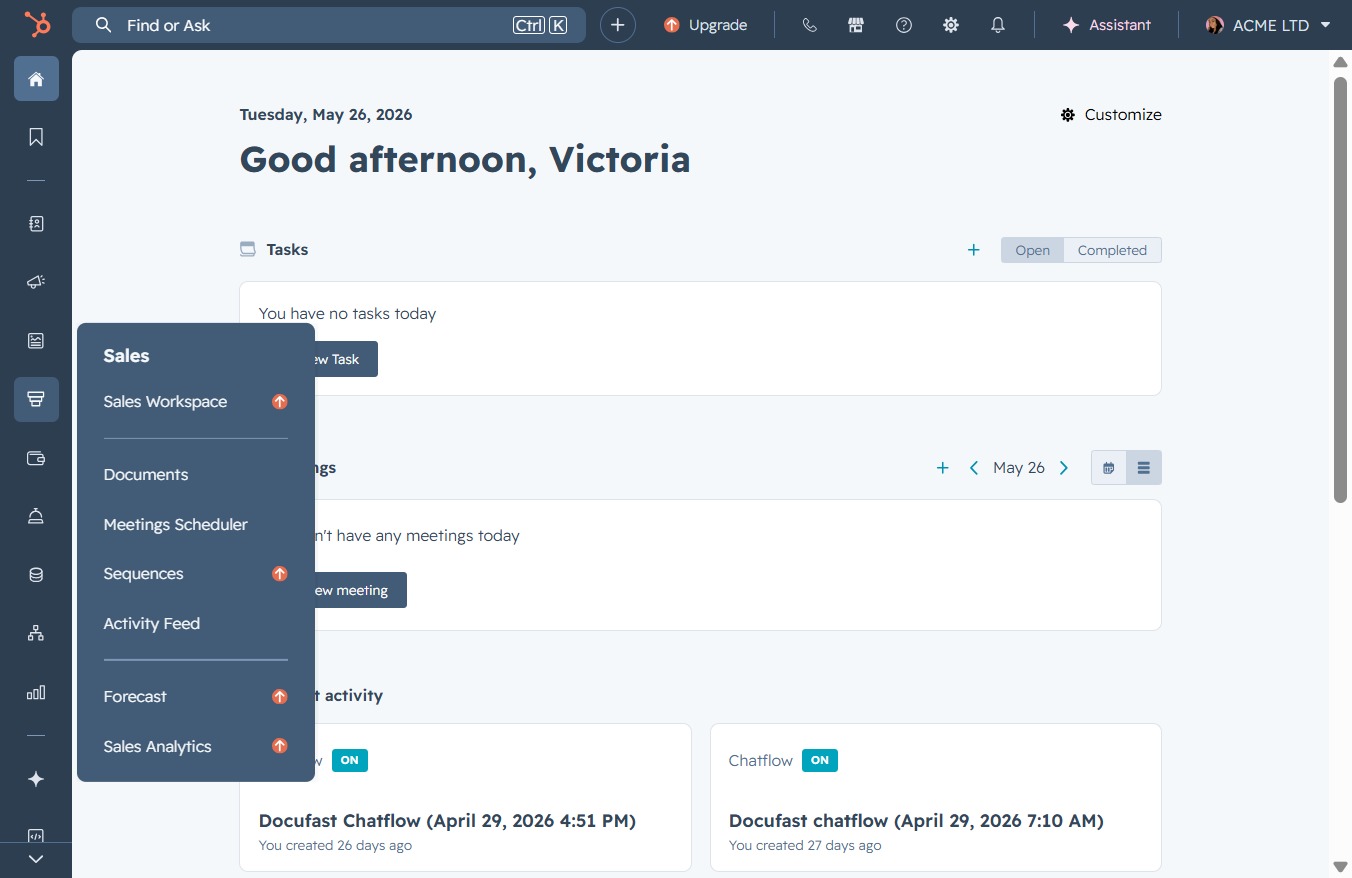
Clicking here opens a menu with additional options related to your sales tools, including access to documents, meetings scheduler, and activity feeds.
Clicking this icon will reveal additional options and settings related to your current tasks and activities. You can manage various features linked to task creation and organization from this menu.

Selecting this icon will display specific settings and features related to managing customer interactions and support tasks.

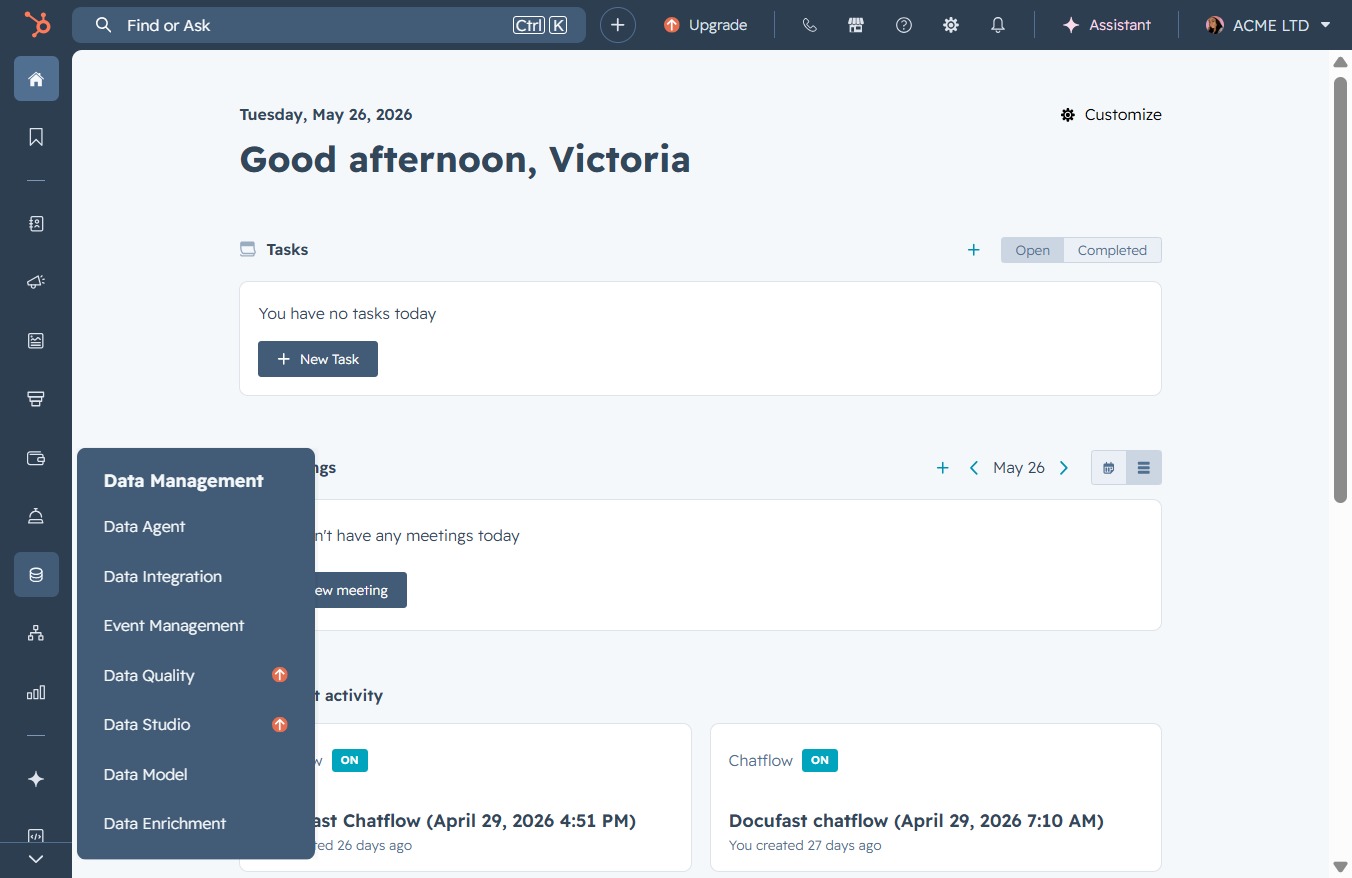
Clicking this link will reveal additional options related to Data Management, allowing you to navigate to specific management features and tools.
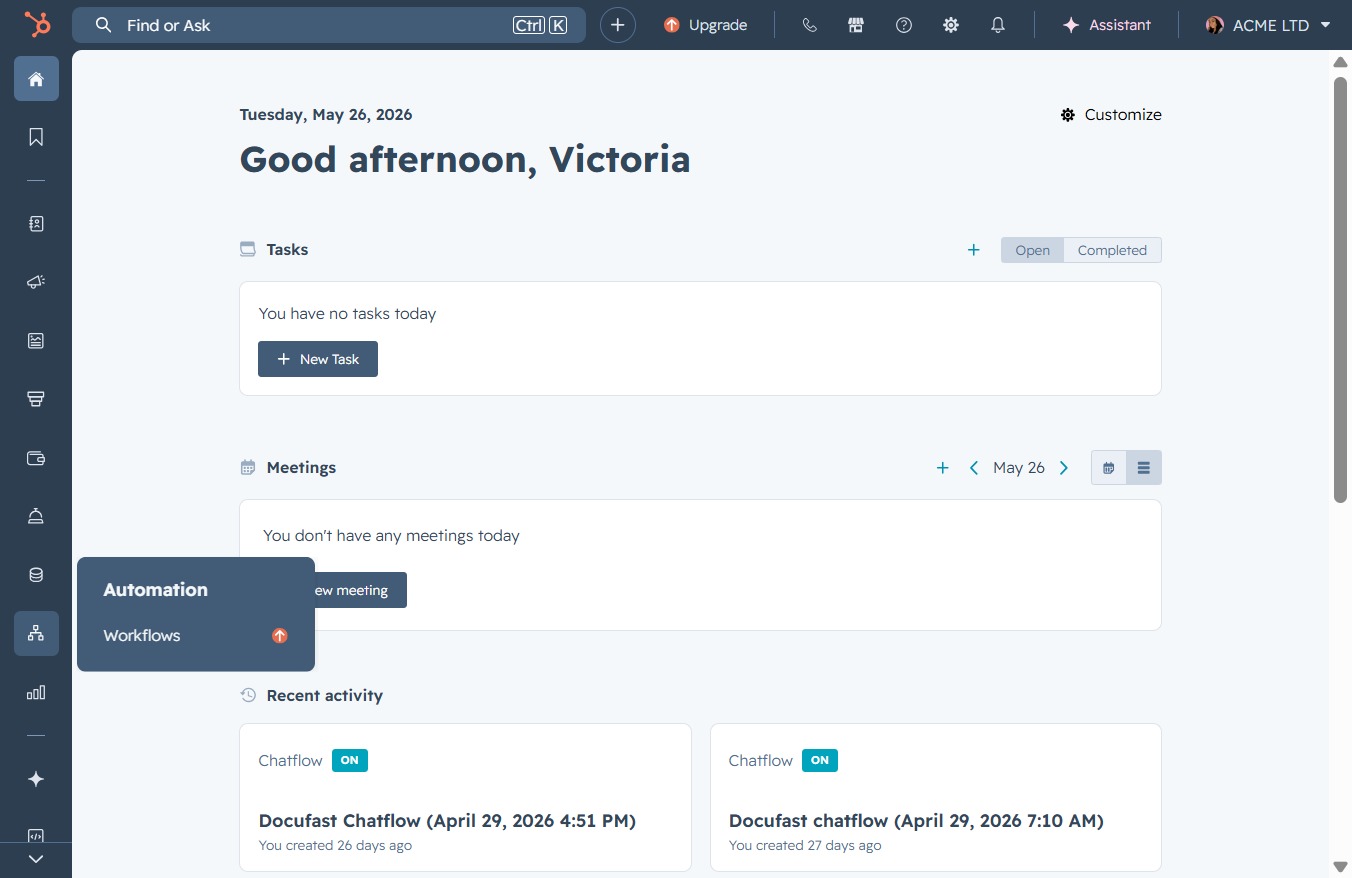
Clicking this option expands the Automation section, allowing you to access and manage your Workflows within the application.
This action opens the Reports menu, allowing you to access various reporting features like Dashboards and detailed reports.

Selecting this option opens the Breeze Marketplace, where you can explore additional tools and integrations available for your workflow.

This will allow you to create a new task to manage your workload effectively.
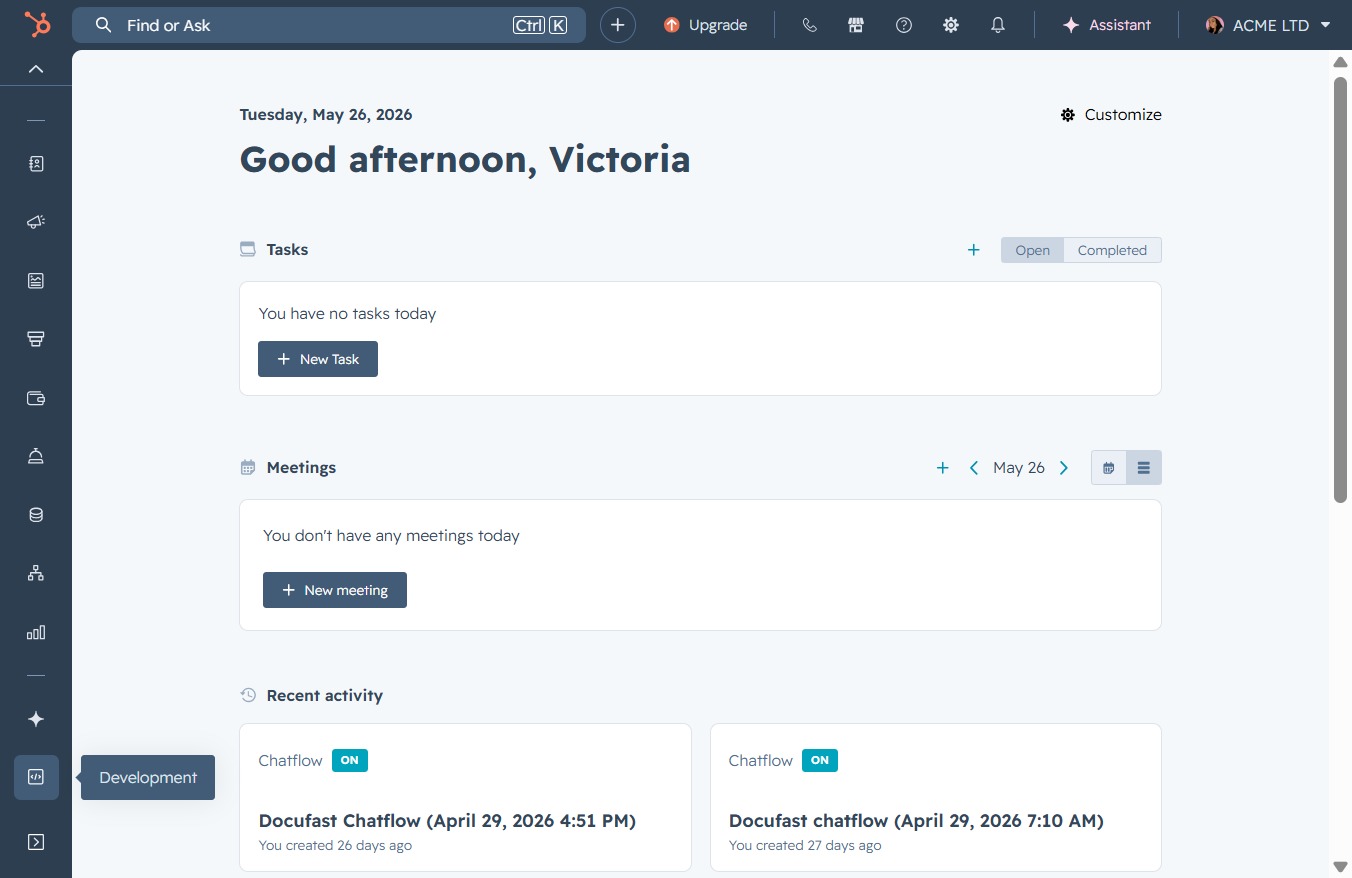
This will initiate an interactive tour of the new HubSpot Development features, guiding you through the updated interface and tools available.
Clicking the Close button will dismiss the current popup window, allowing you to return to the previous interface without making changes.
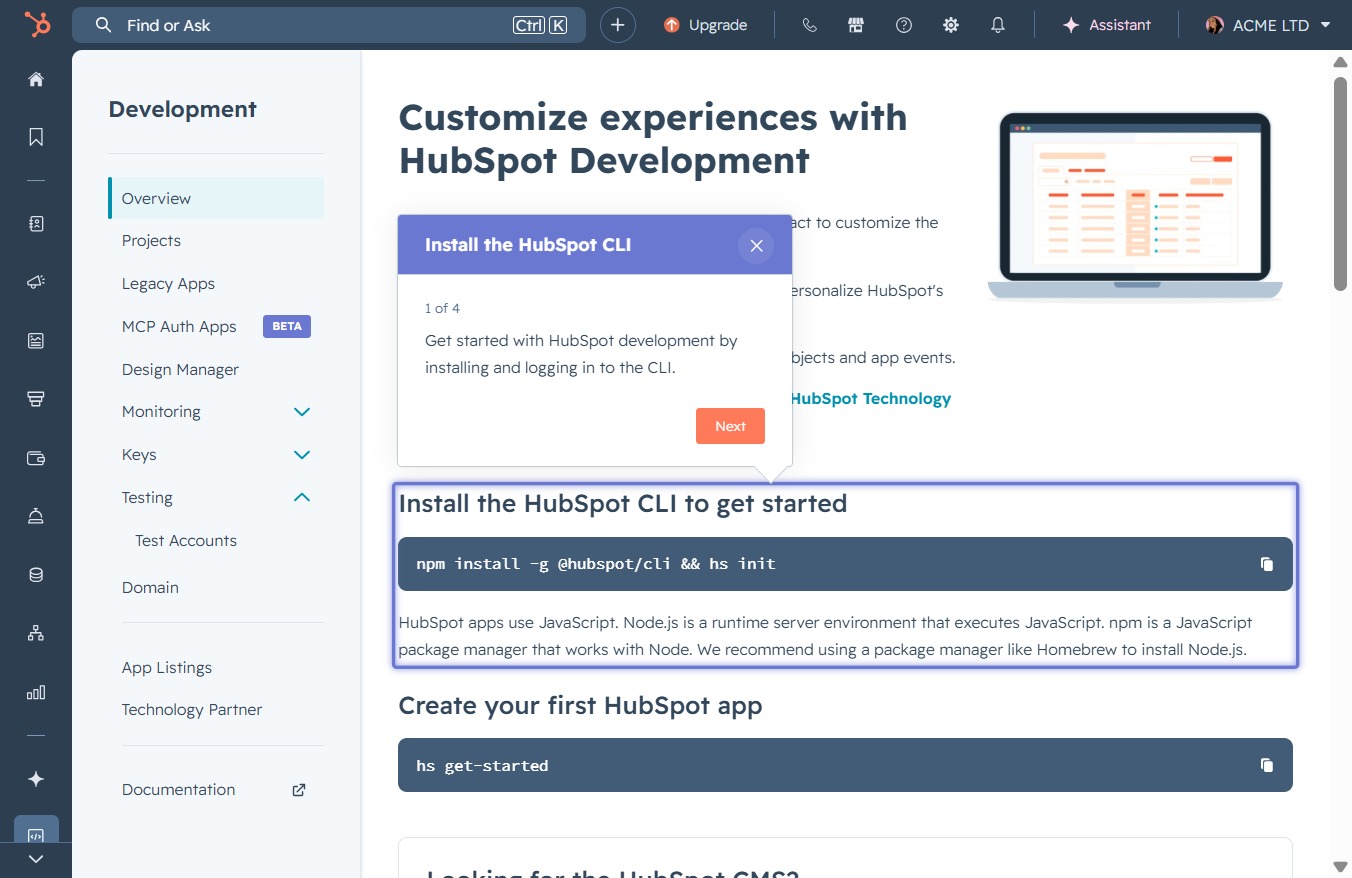
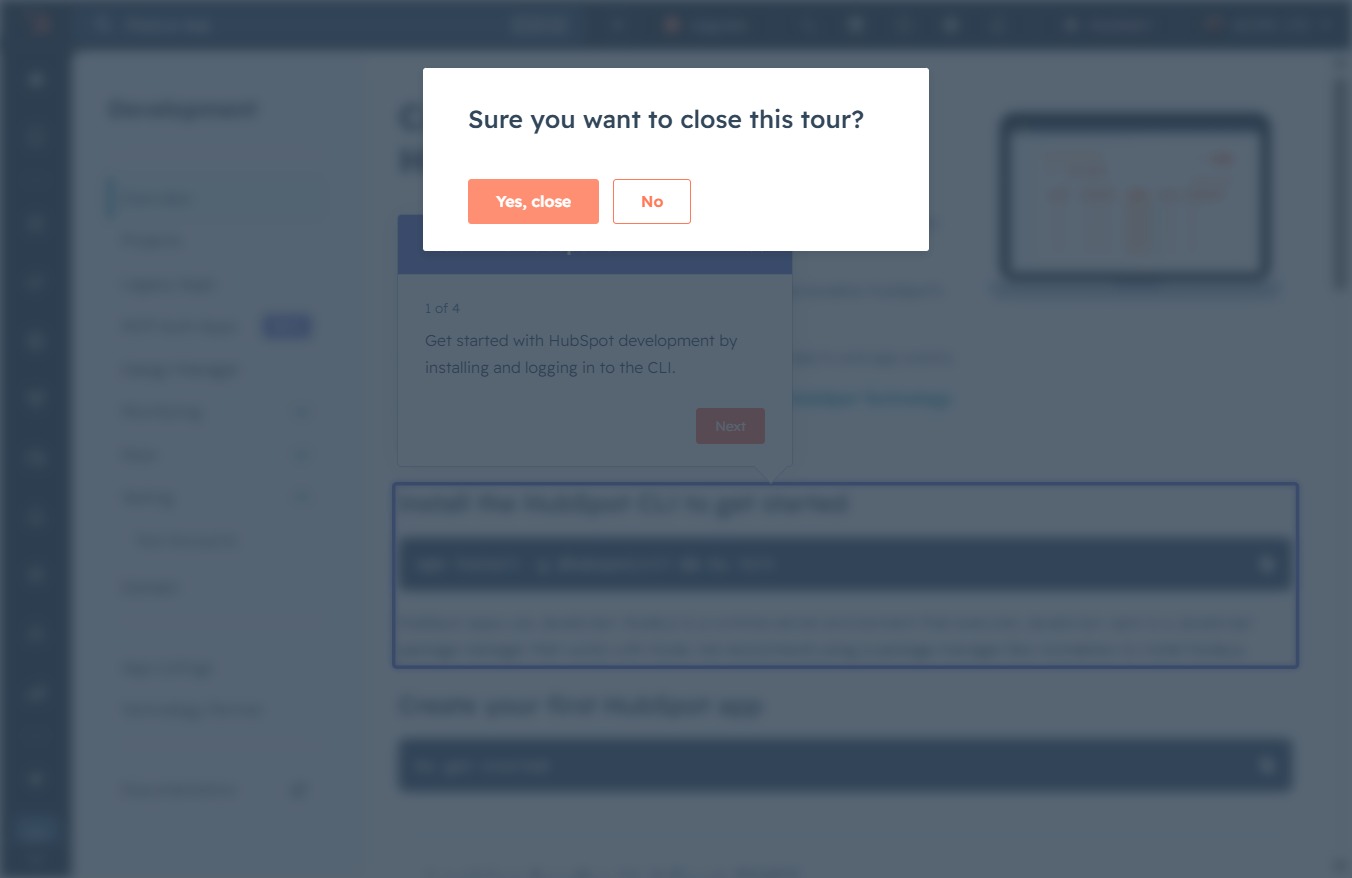
Confirm your decision to exit the tutorial by clicking this button. This will close the tour and allow you to continue using the application.
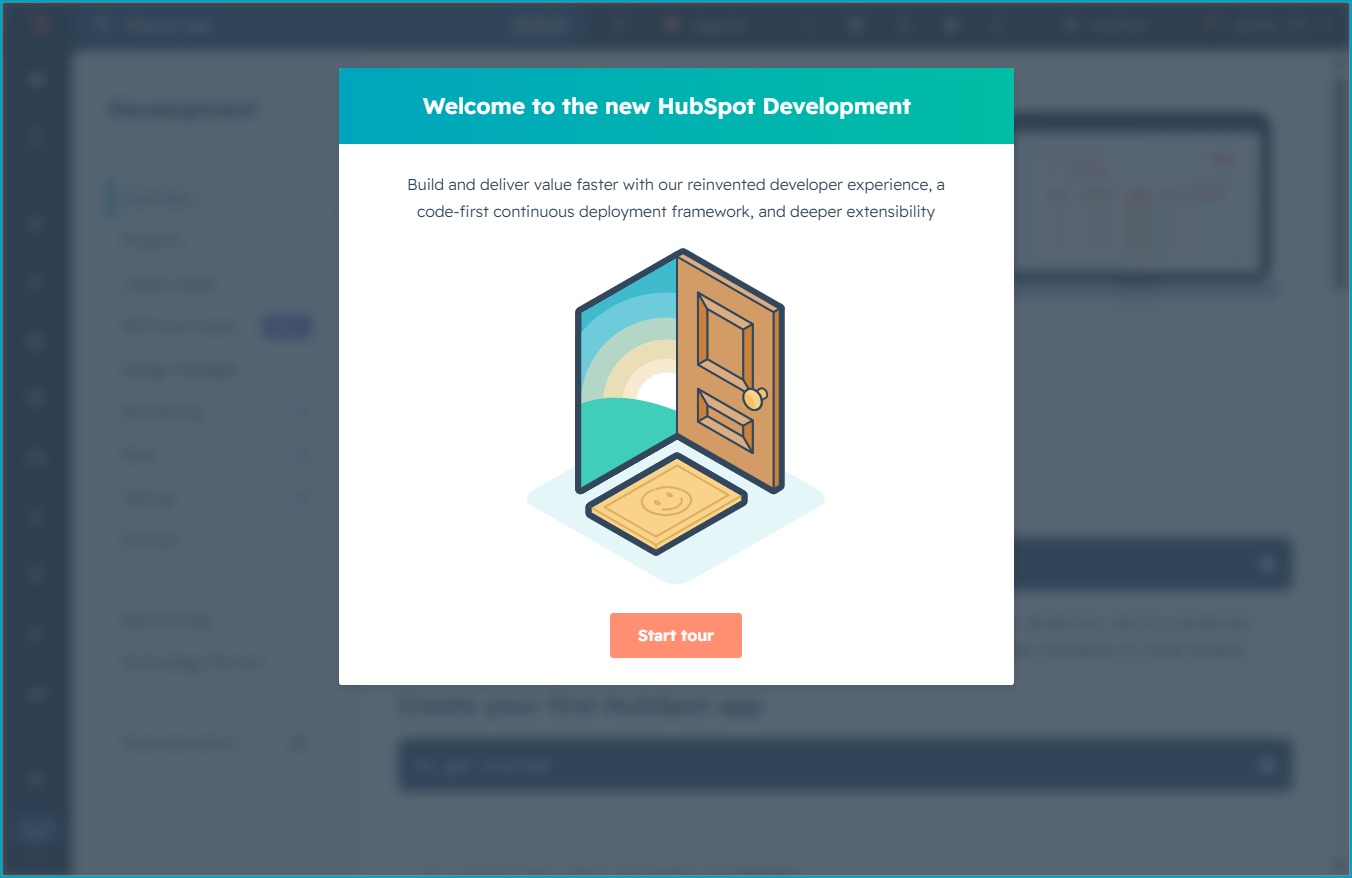
This action initiates the installation process for the HubSpot Command Line Interface (CLI), enabling you to manage your HubSpot development environment effectively.
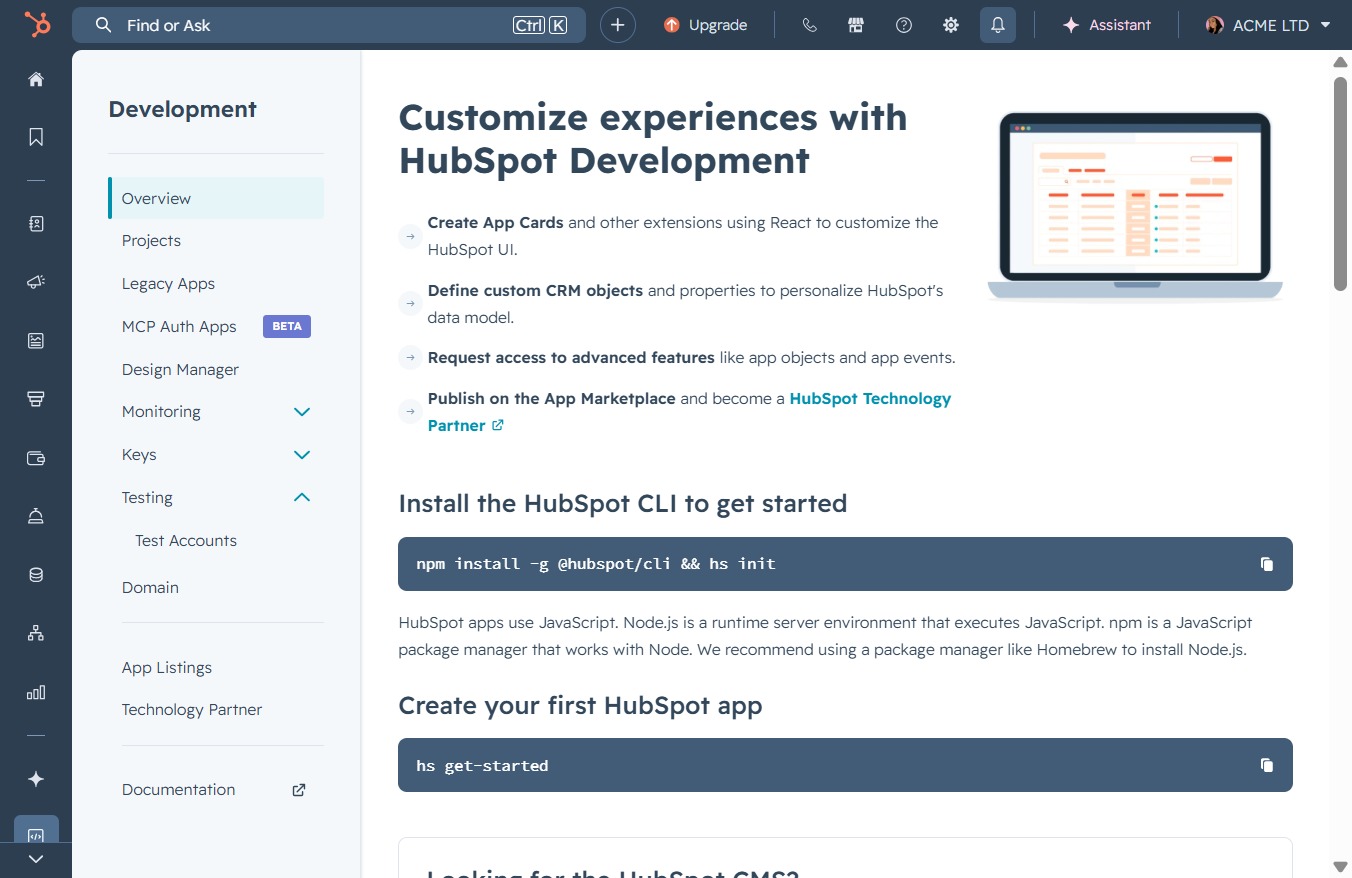
This action will dismiss the Notifications panel, allowing you to return to your main workspace in HubSpot Development.

This action will direct you to settings where you can create App Cards and define custom CRM objects for your HubSpot data model.
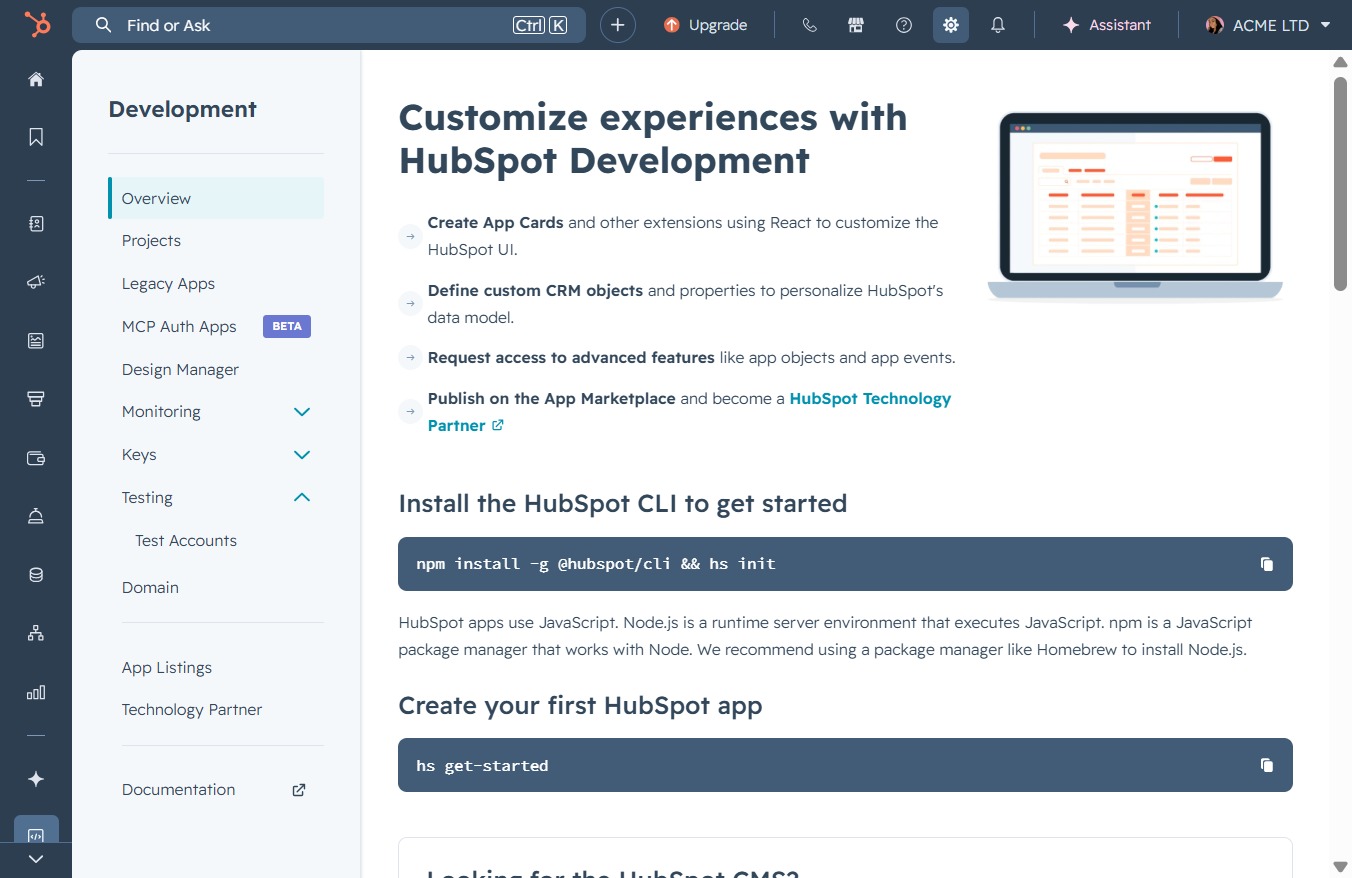
This action will open the Help section, providing you with resources and assistance related to your HubSpot account settings.
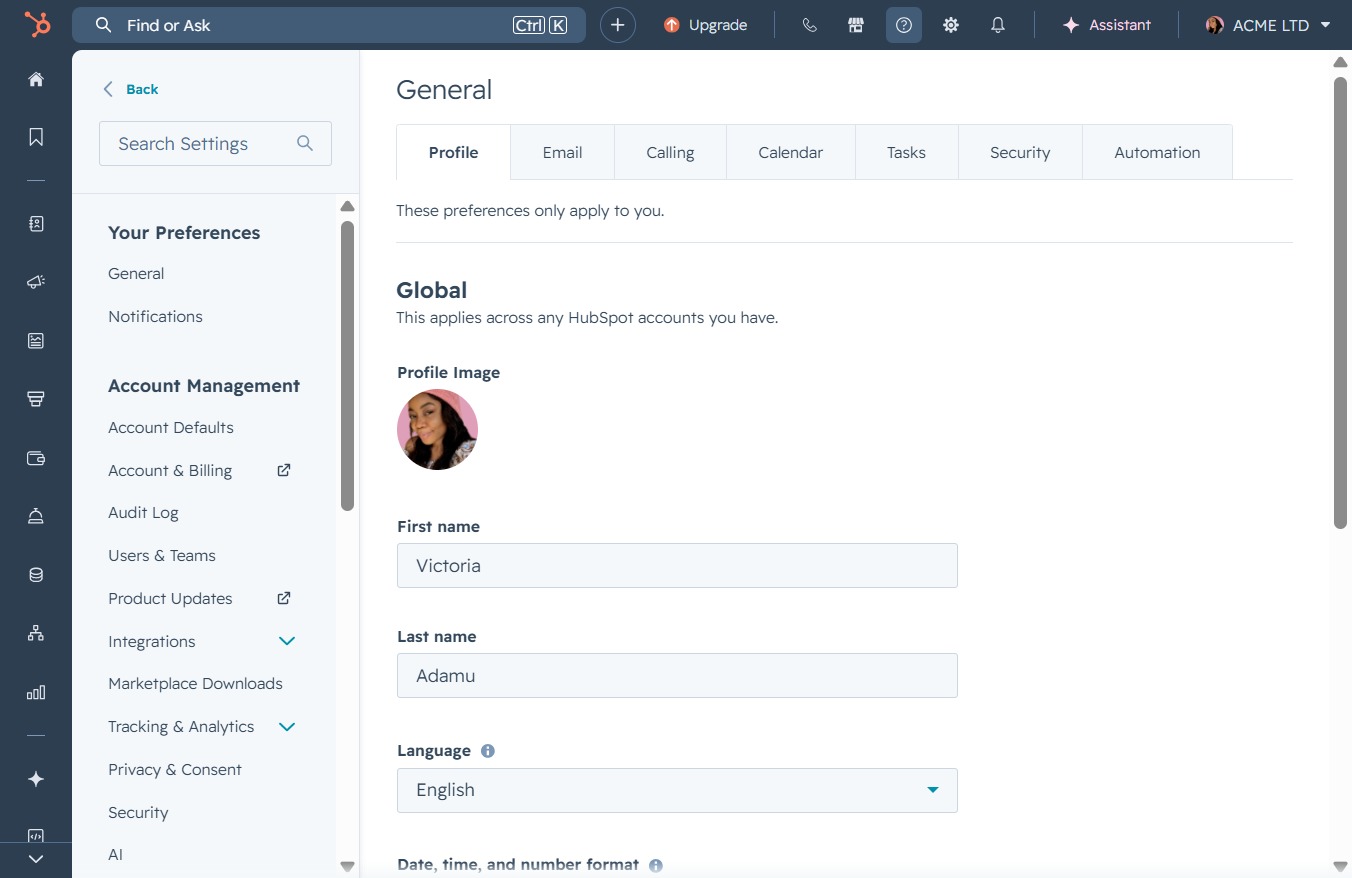
This action will dismiss the current chat or help window, returning you to the previous screen for Account Management.
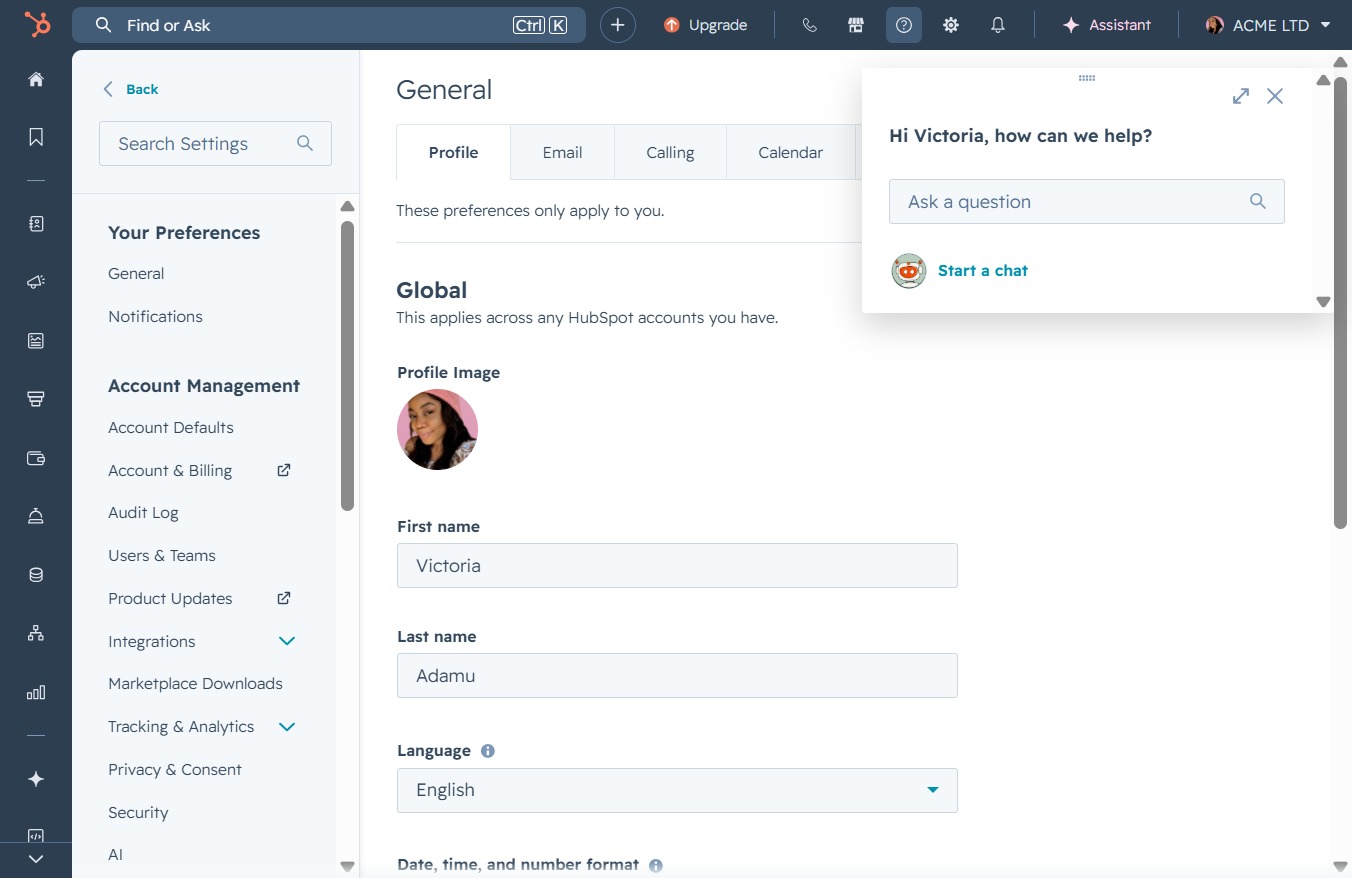
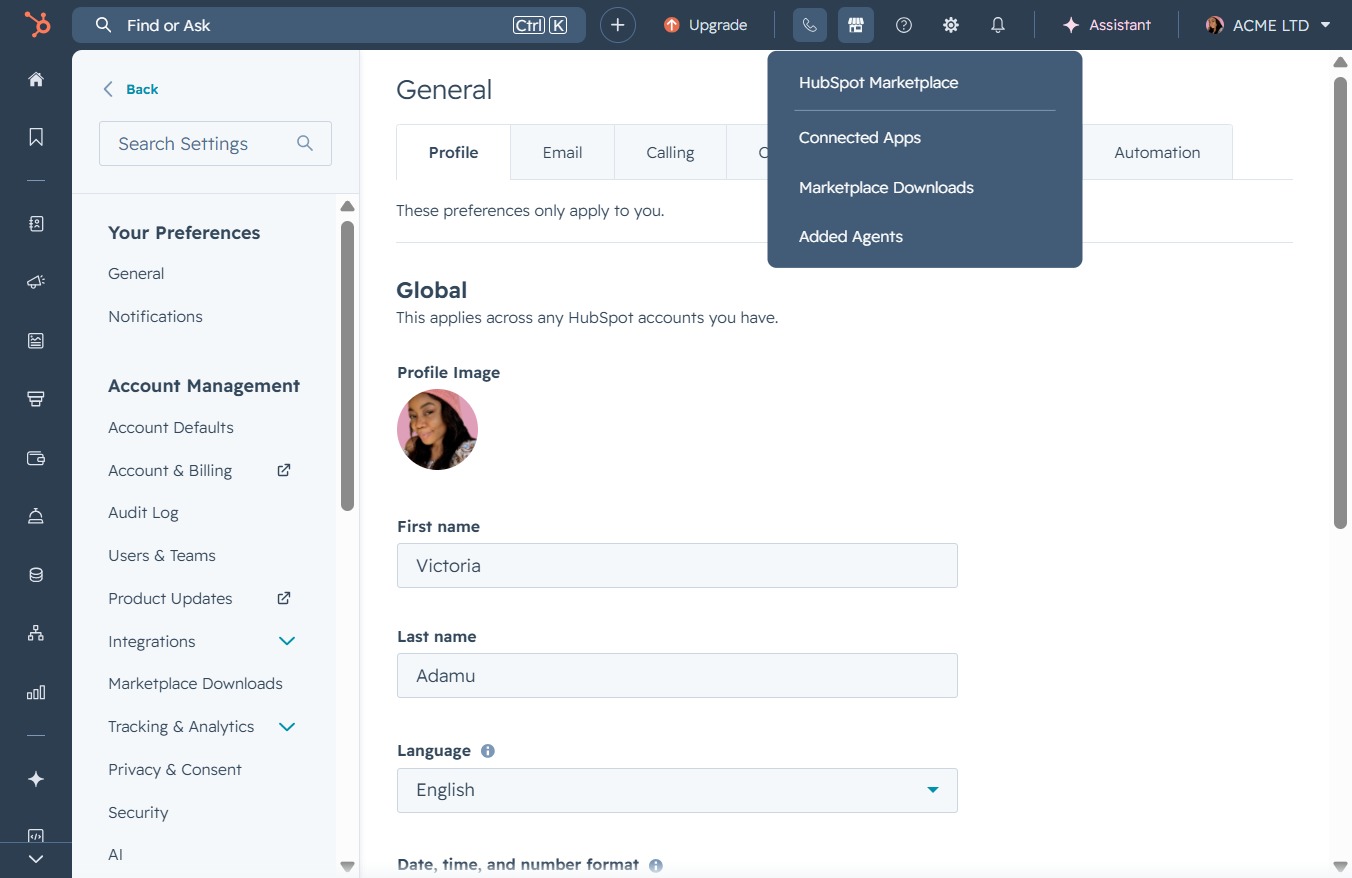
Selecting the Marketplace button opens the HubSpot Marketplace, where you can explore and install various integrations and applications to enhance your HubSpot experience.
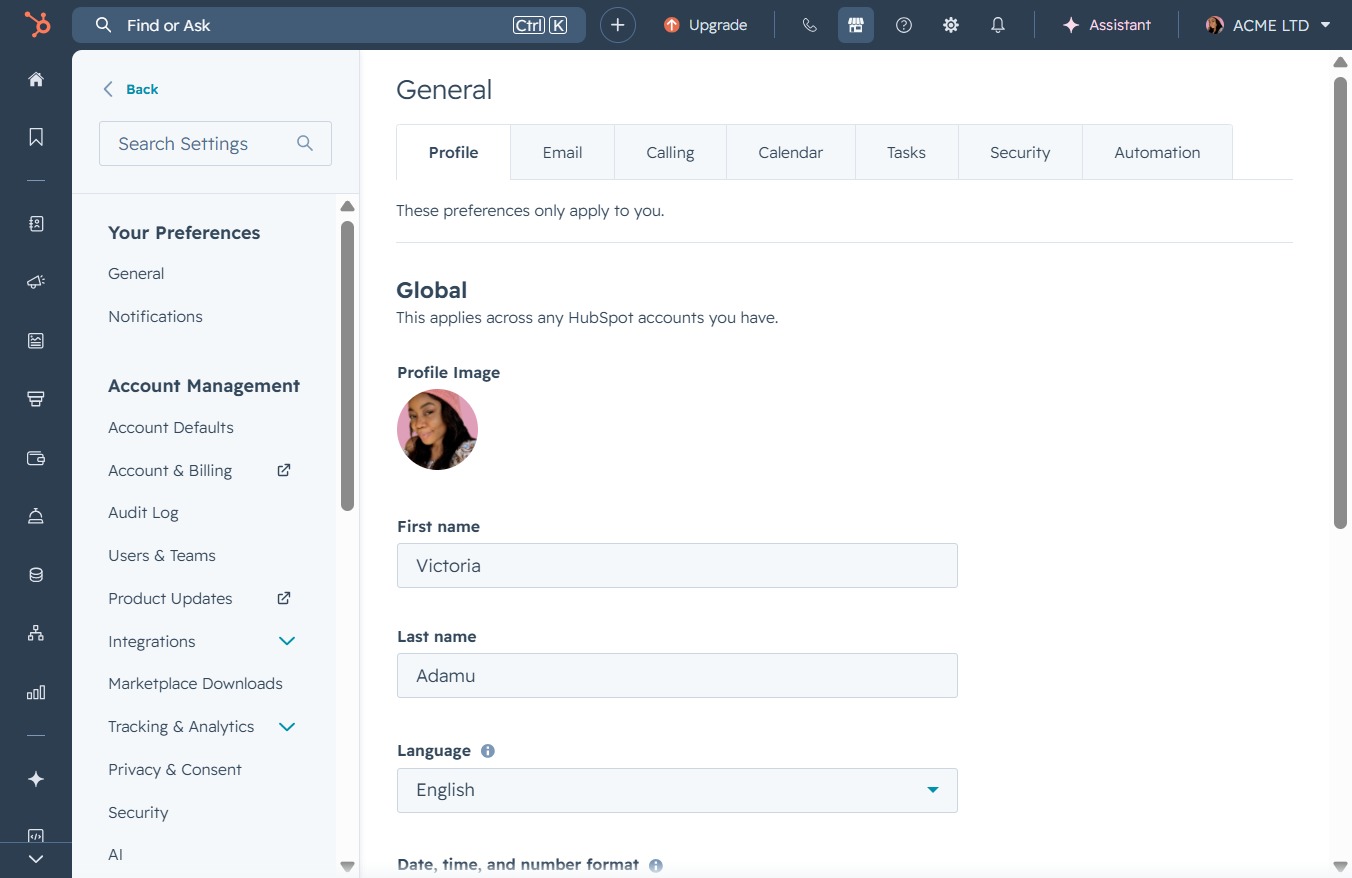
This will open the settings related to calling preferences, where you can manage and customize your calling options within HubSpot.
After clicking, a dialog will appear prompting you to select what you want to create, such as a new document or project.
Clicking the Upgrade button prompts you to explore different subscription plans or upgrade options available for your account.