Click the Inbox link
Clicking the Inbox link will take you to your messages and notifications, keeping you updated on important communications and tasks.

Loading screenshot…
100%
This how-to guide walks you through the Asana interface, detailing key navigation steps for accessing your Inbox, task lists, Projects, Portfolios, and Reporting sections.
 viktoria
This how-to guide walks you through the Asana interface, detailing key navigation steps for accessing your Inbox, task lists, Projects, Portfolios, and Reporting sections. By following these steps, you'll learn how to efficiently manage your assignments, track progress, and allocate resources to enhance team collaboration.
Clicking the Inbox link will take you to your messages and notifications, keeping you updated on important communications and tasks.
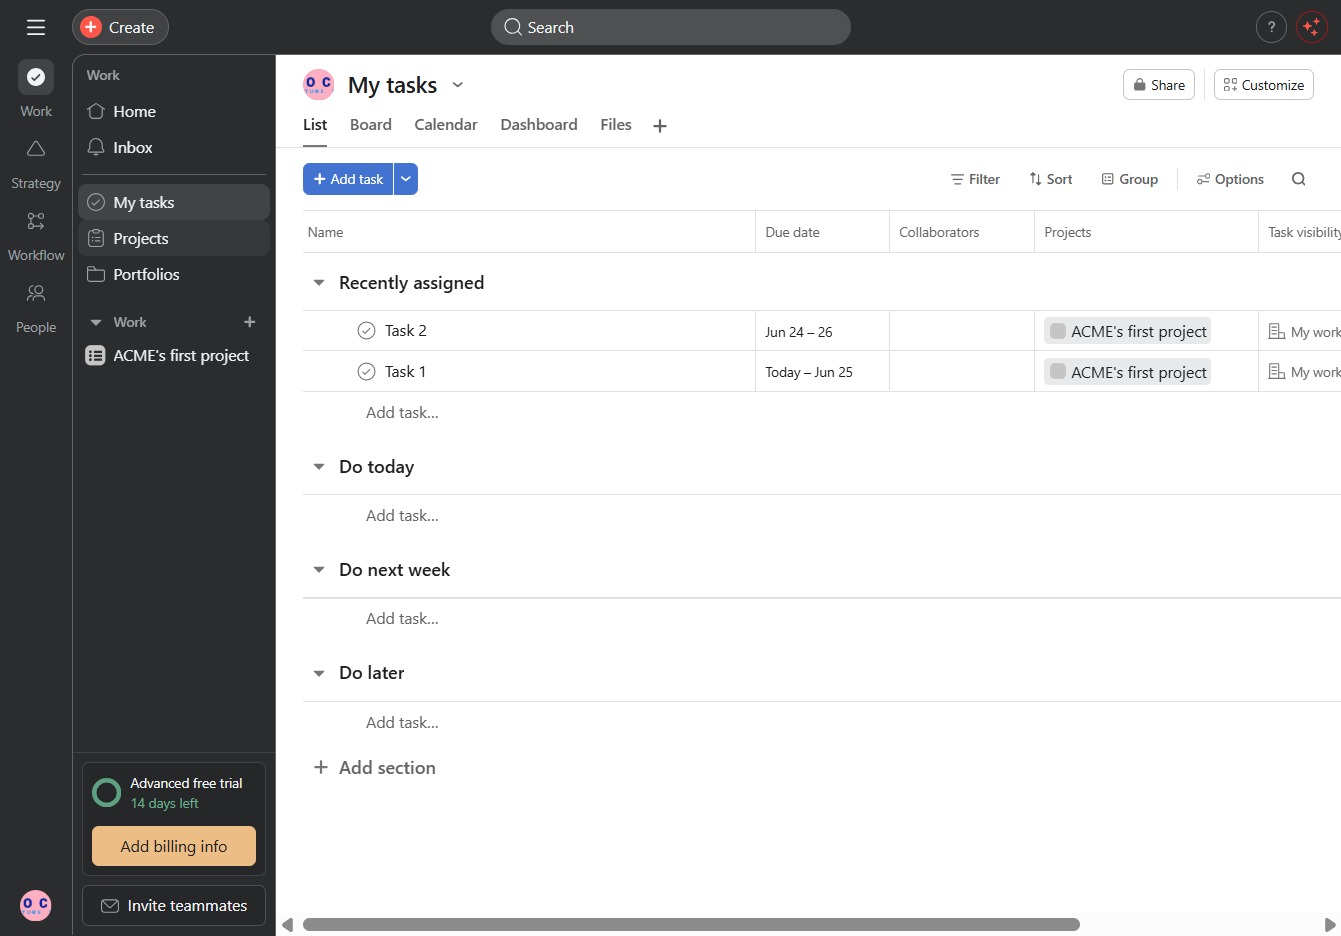
This action will take you to your task list, where you can view, manage, and track your assignments and deadlines.

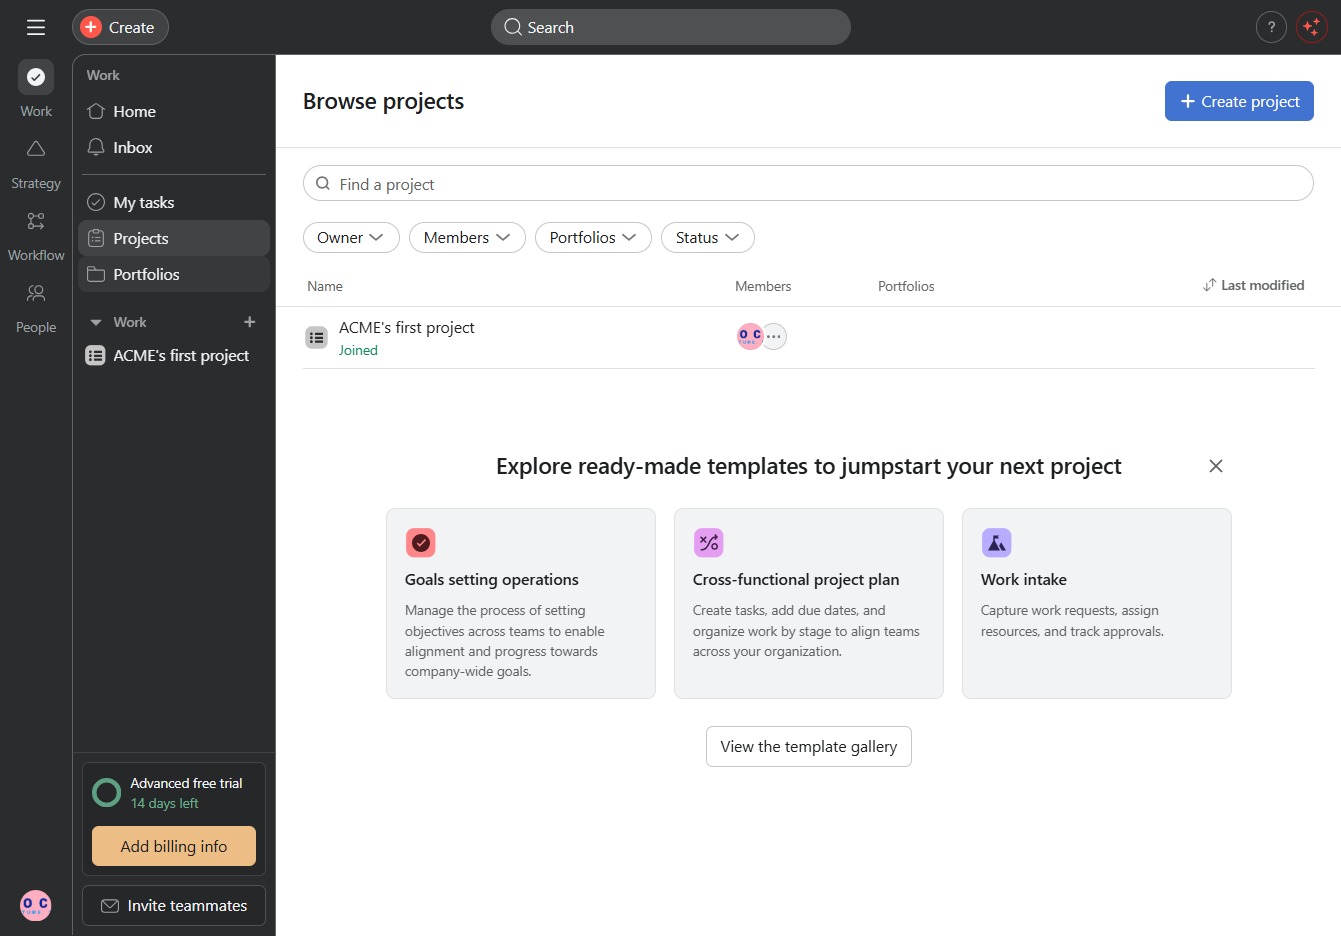
Clicking the Projects link will navigate you to the Projects section, where you can view and manage your ongoing projects.
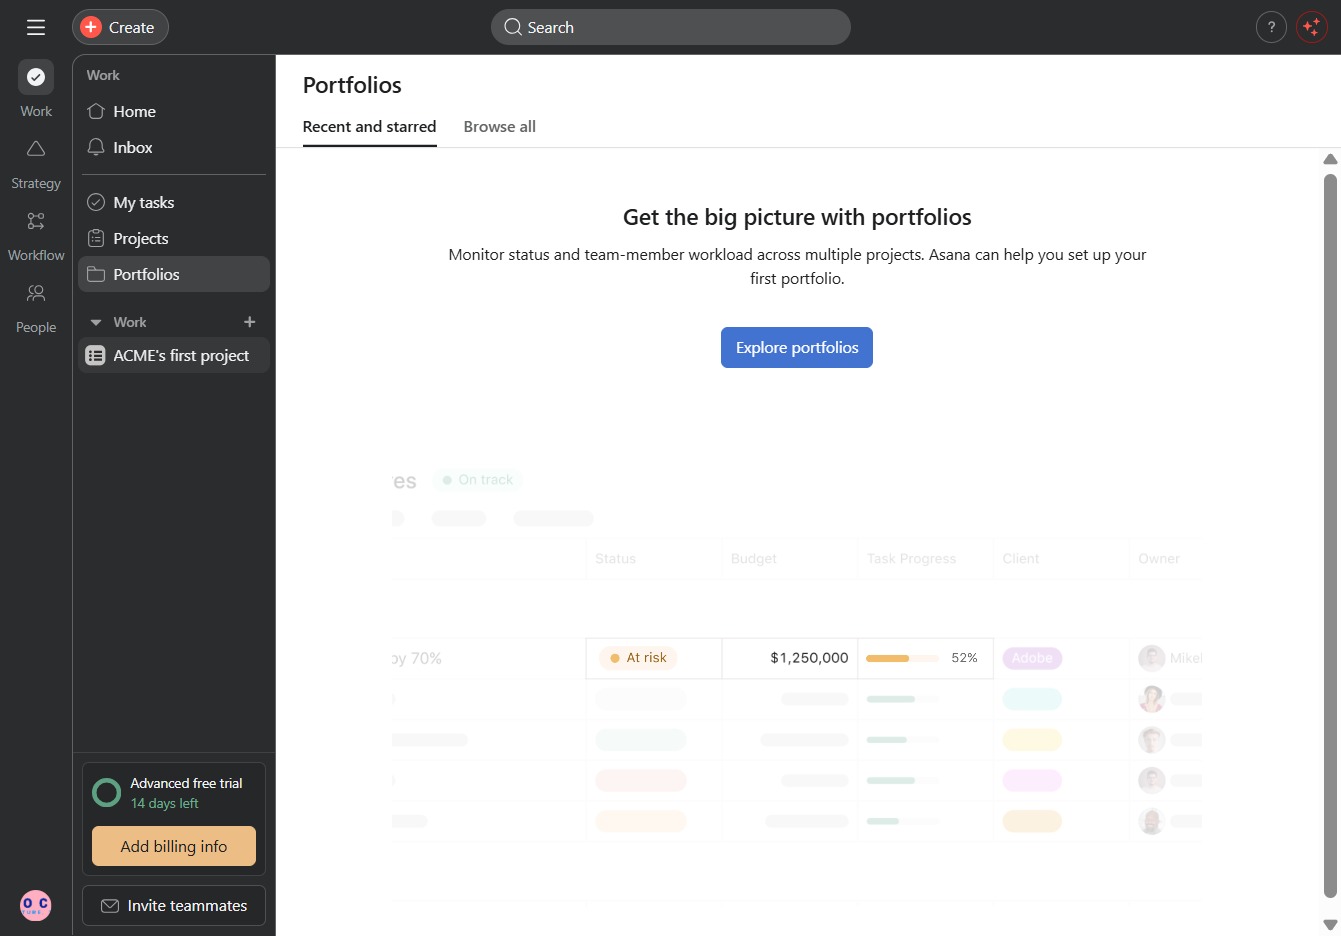
Clicking the Portfolios link will navigate you to the section where you can view and manage your portfolios, enabling efficient organization of your projects.
This action will open the details for ACME's first project, allowing you to view and manage its tasks and overall progress.
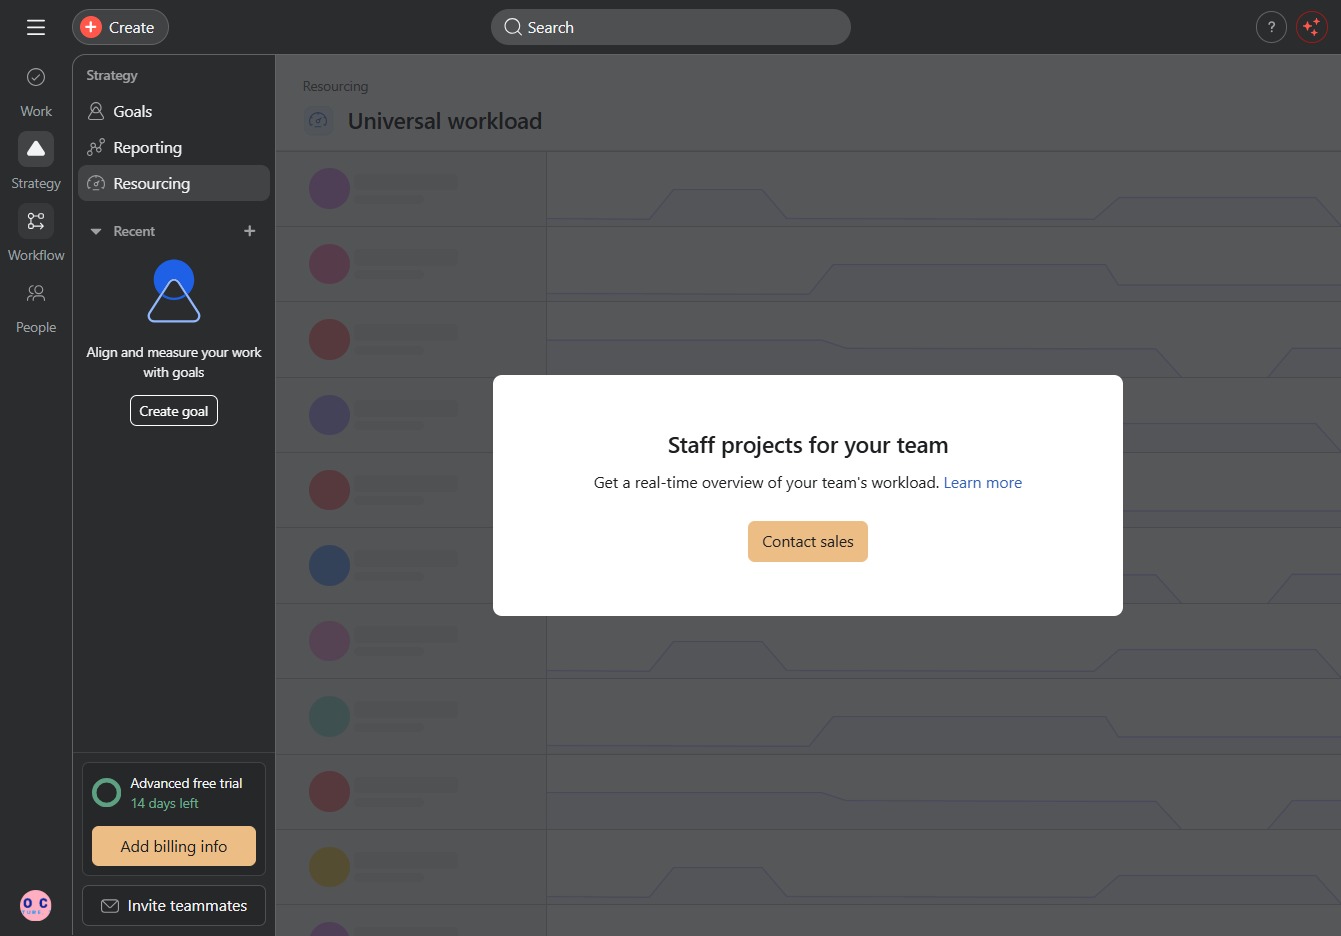
Clicking the 'Strategy' section will open the corresponding strategy details, allowing you to view and manage strategic components within your project.
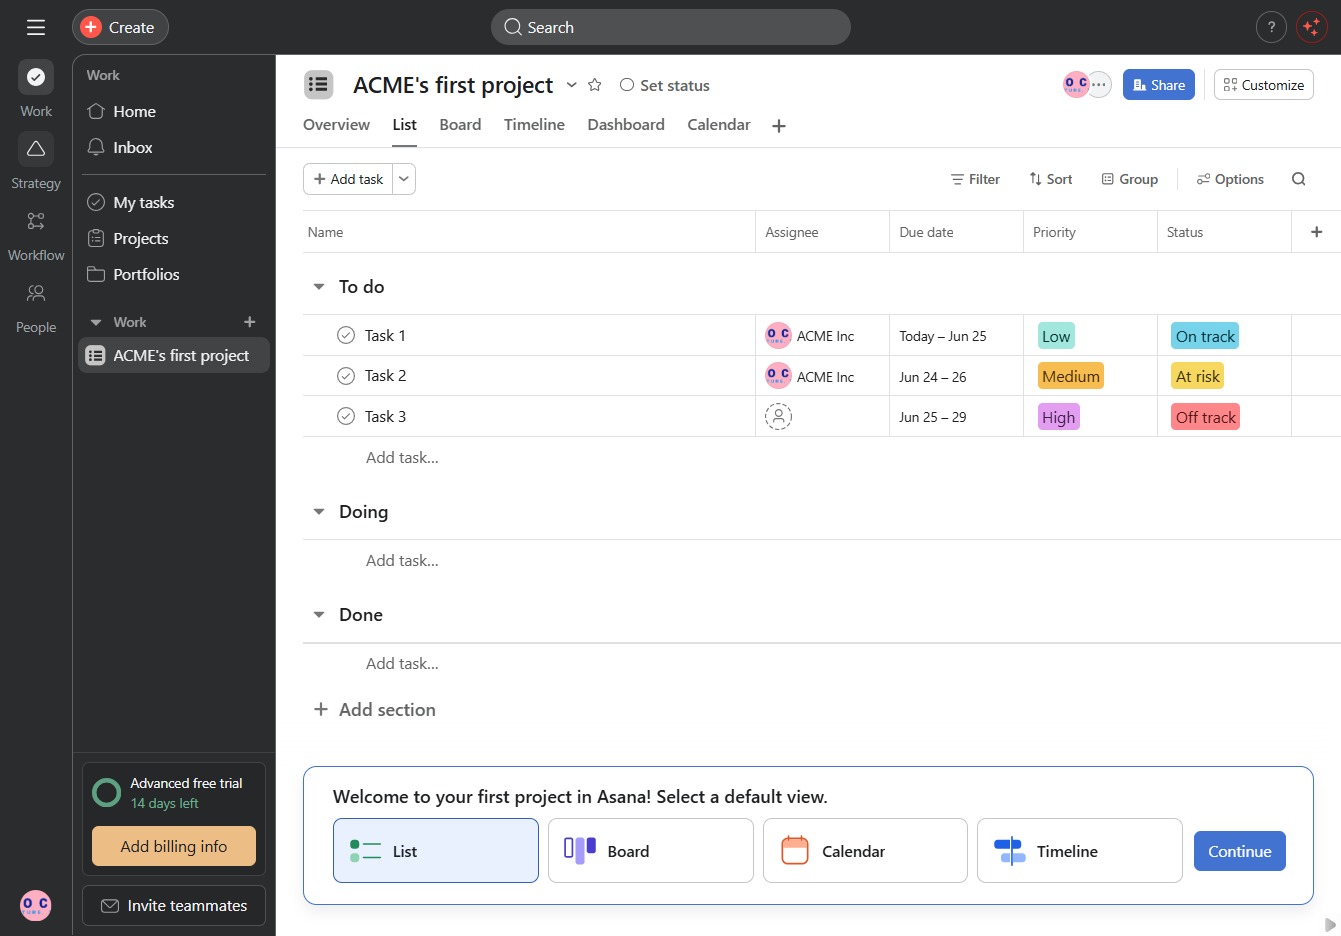
This will open the Reporting interface, allowing you to manage and view various reports related to your goals and progress.

Selecting the 'Resourcing' tab will allow you to manage and allocate resources effectively across your projects, helping ensure teams are properly supported.

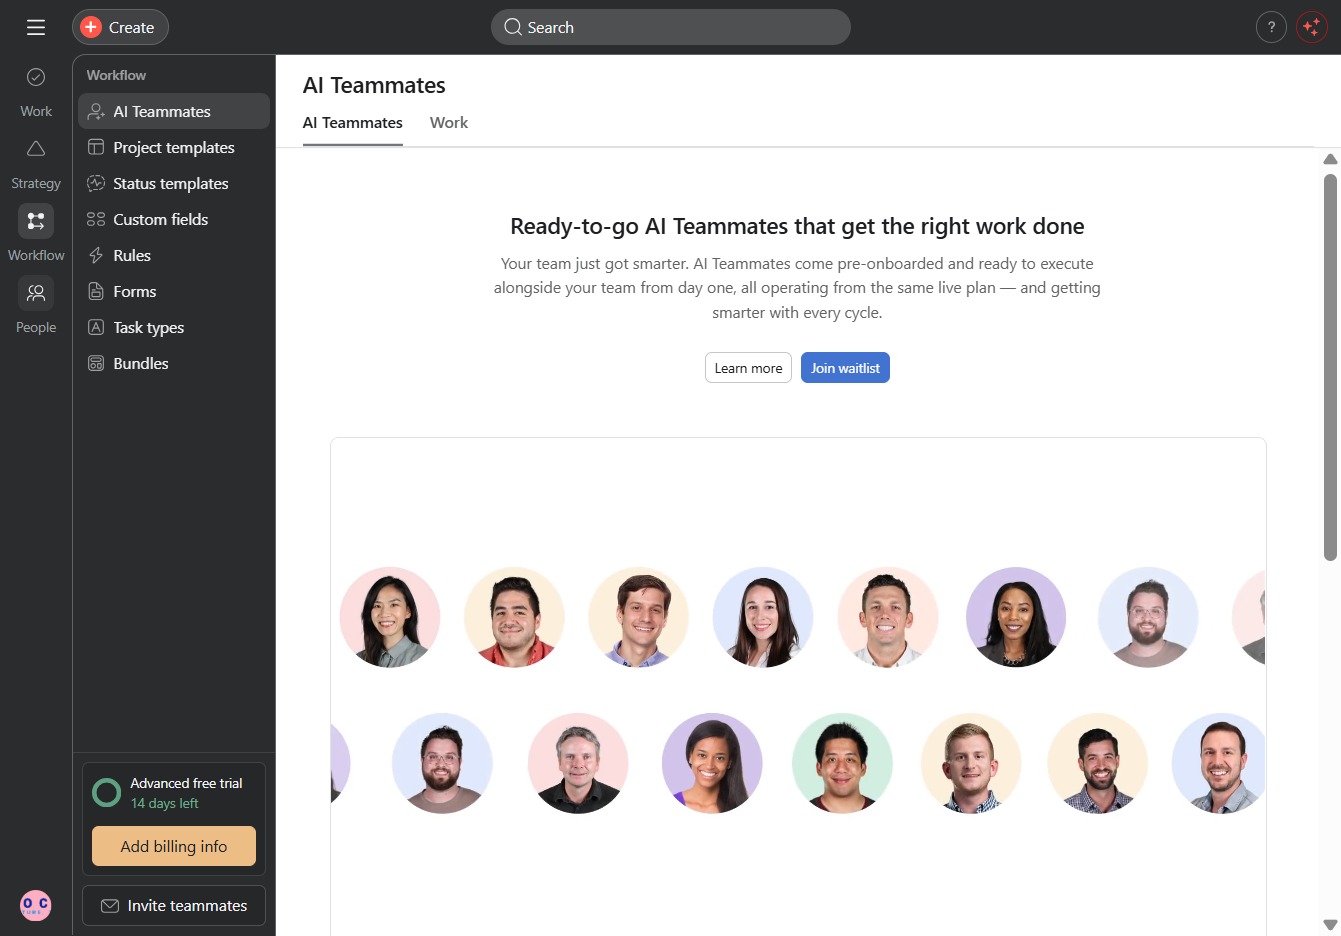
Clicking on the 'Workflow' section will take you to the area where you can manage and visualize your team's tasks and projects.
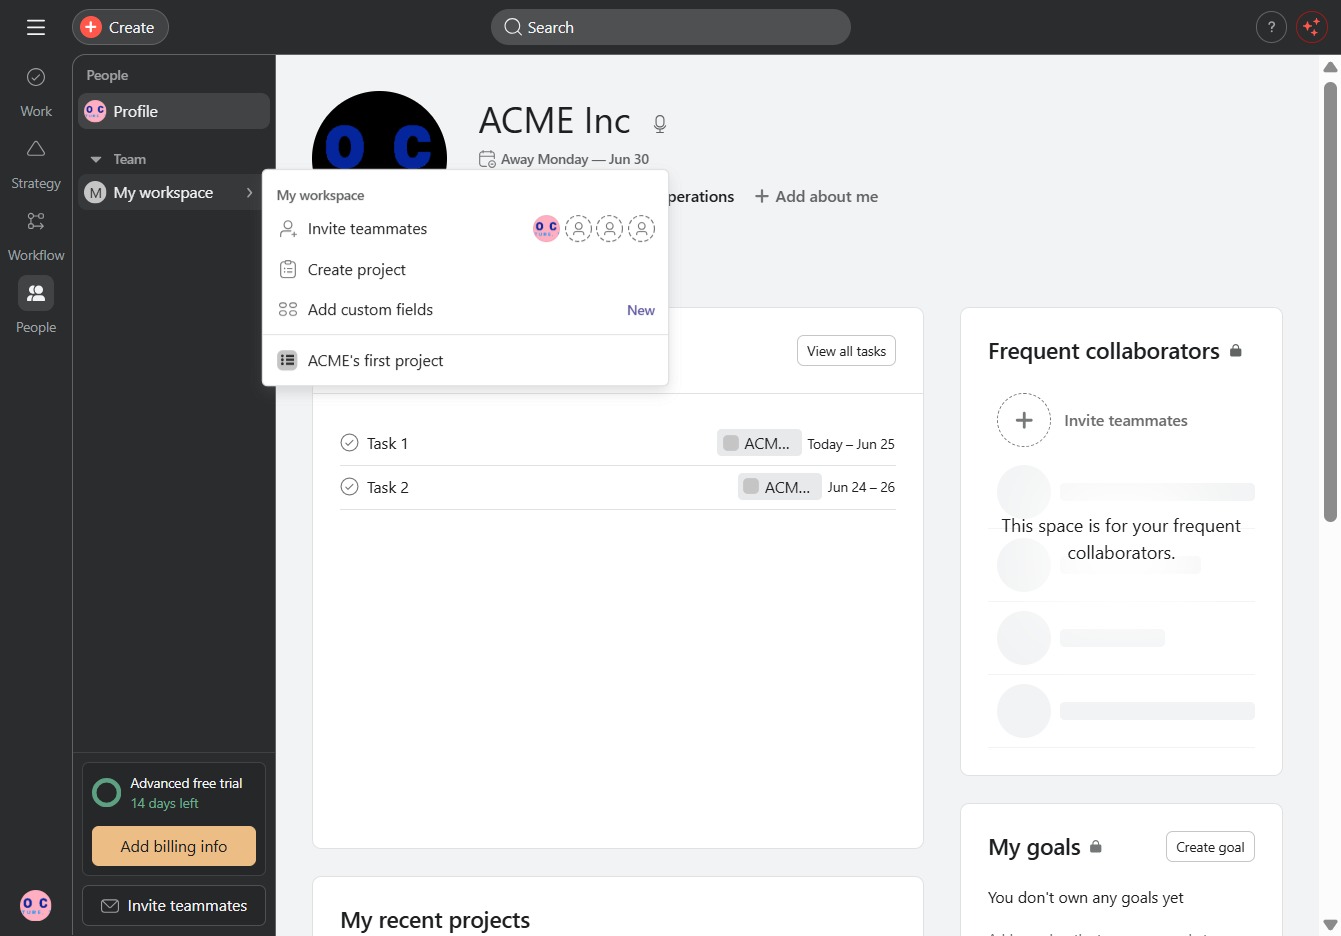
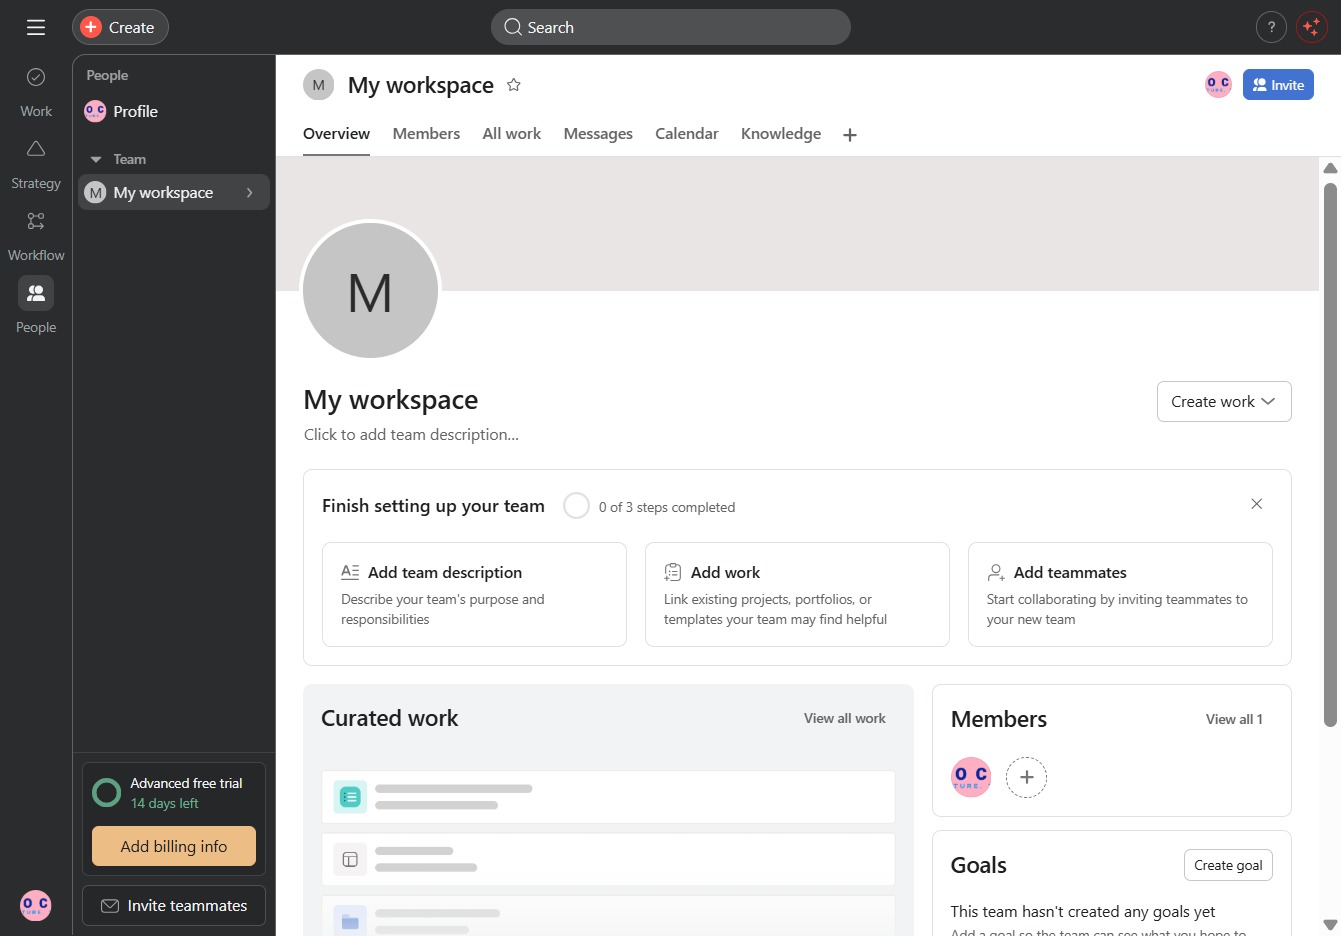
By clicking the People icon, you will access the section where you can manage team members and view their details within your workspace.
Clicking 'My workspace' opens a menu where you can invite teammates, create a project, or add custom fields to help organize your tasks and collaborations.
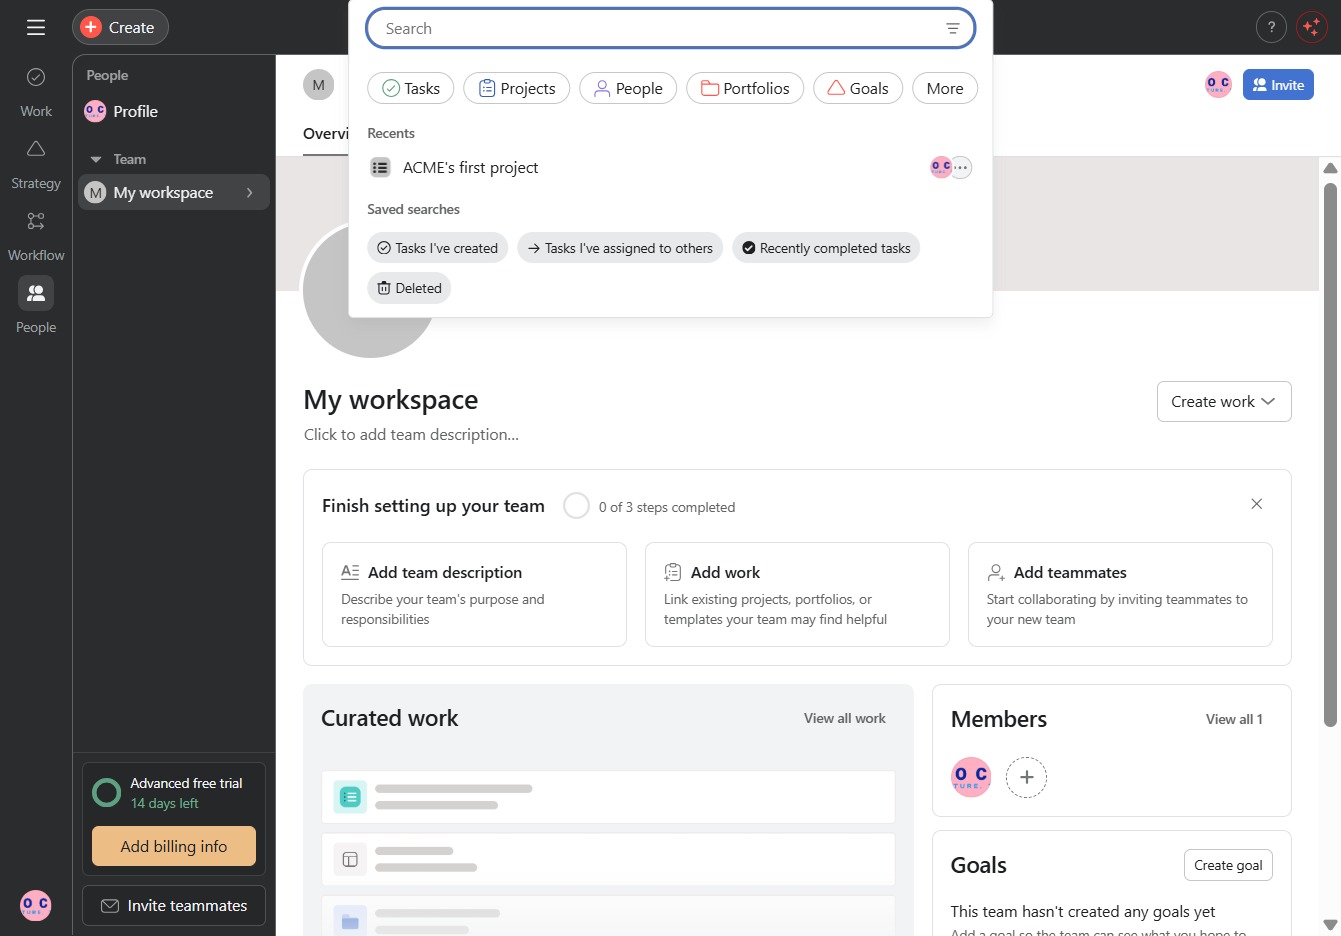
Clicking the Search option allows you to initiate a search for specific content within your workspace, helping you quickly locate projects, documents, or team members.
Clicking the 'Create' button initiates the process of setting up a new task or project in your workspace. You'll be prompted to fill in relevant details for the new item.