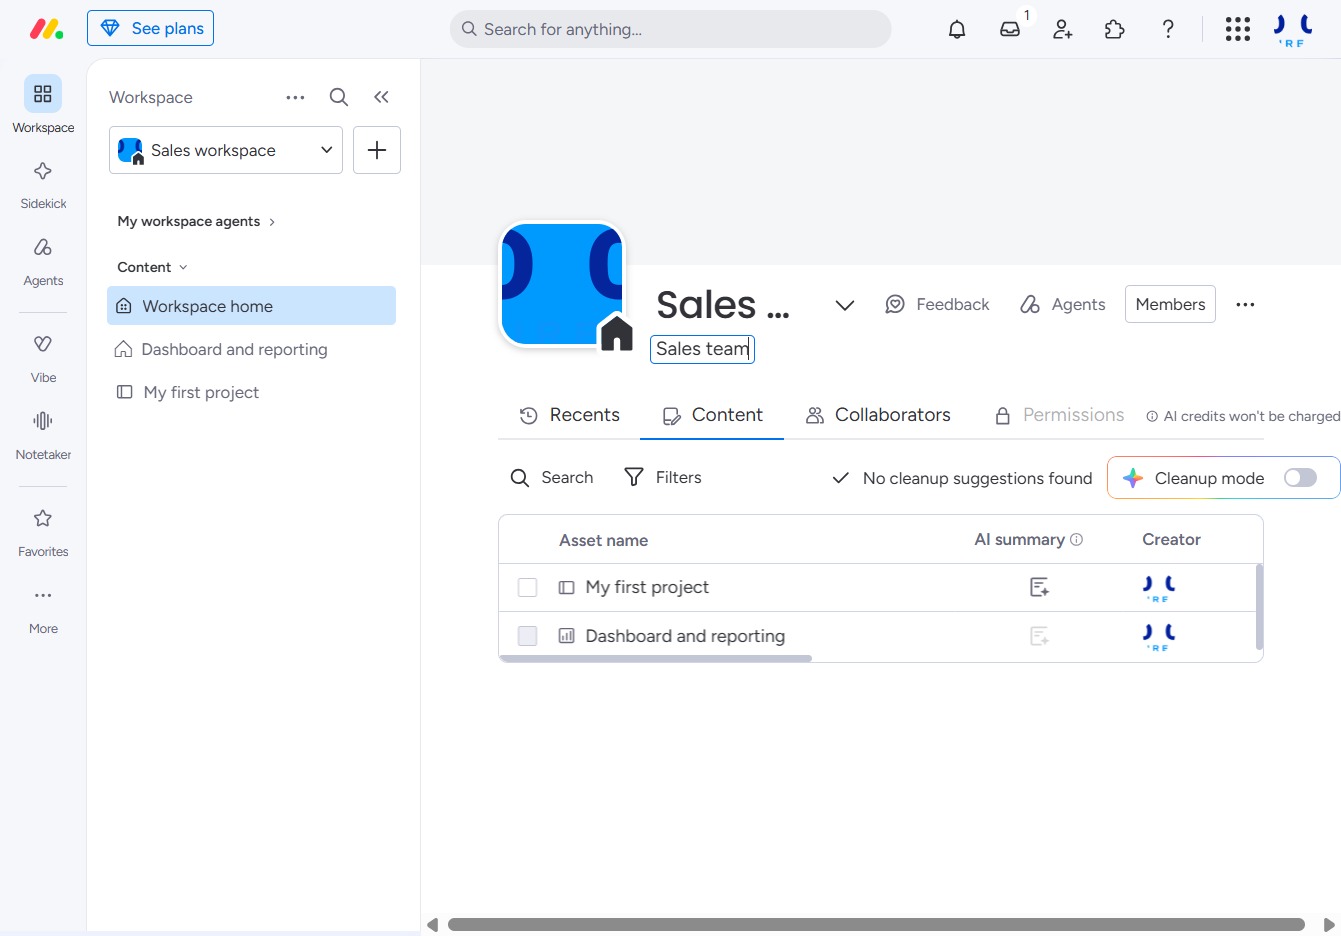
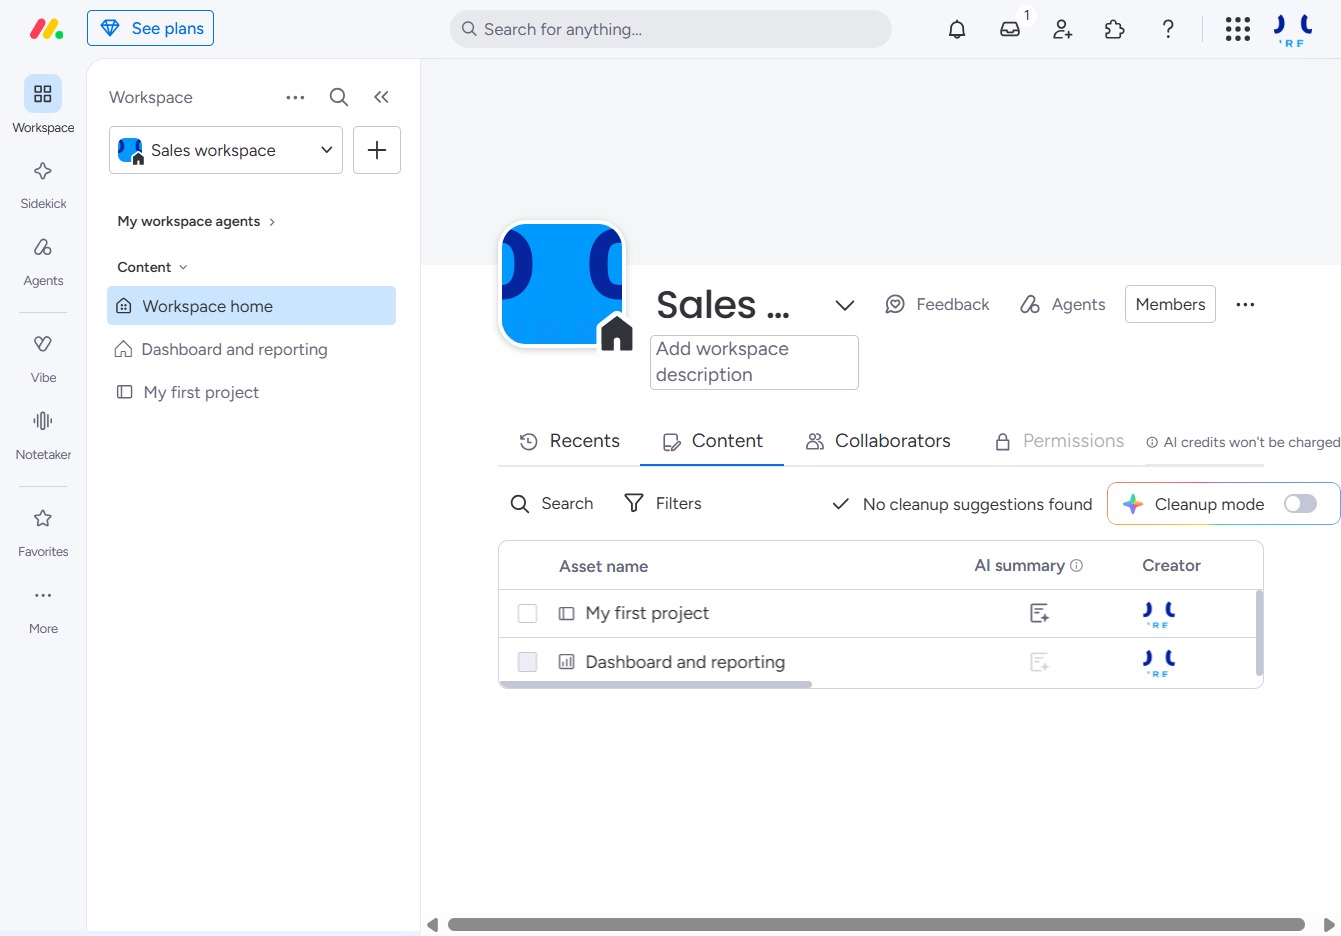
Click the Workspace home option
Selecting the 'Workspace home' option takes you back to your main workspace overview, where you can view and manage your projects and tasks.

Loading screenshot…
100%
Learn how to effectively manage your workspace settings by navigating to the main overview, customizing your workspace with a personal icon, and organizing projects through…
 viktoria
Learn how to effectively manage your workspace settings by navigating to the main overview, customizing your workspace with a personal icon, and organizing projects through tailored descriptions. This guide provides step-by-step instructions to enhance your workspace efficiency and clarity for your team.
Selecting the 'Workspace home' option takes you back to your main workspace overview, where you can view and manage your projects and tasks.
This action will trigger the associated functionality for the 'Click here' link in your workspace. Ensure you want to proceed before clicking, as it may lead to a specific task or page.

This action allows you to upload a custom icon for your workspace, personalizing its appearance. After clicking, a file selection dialog will open for you to choose your desired image.
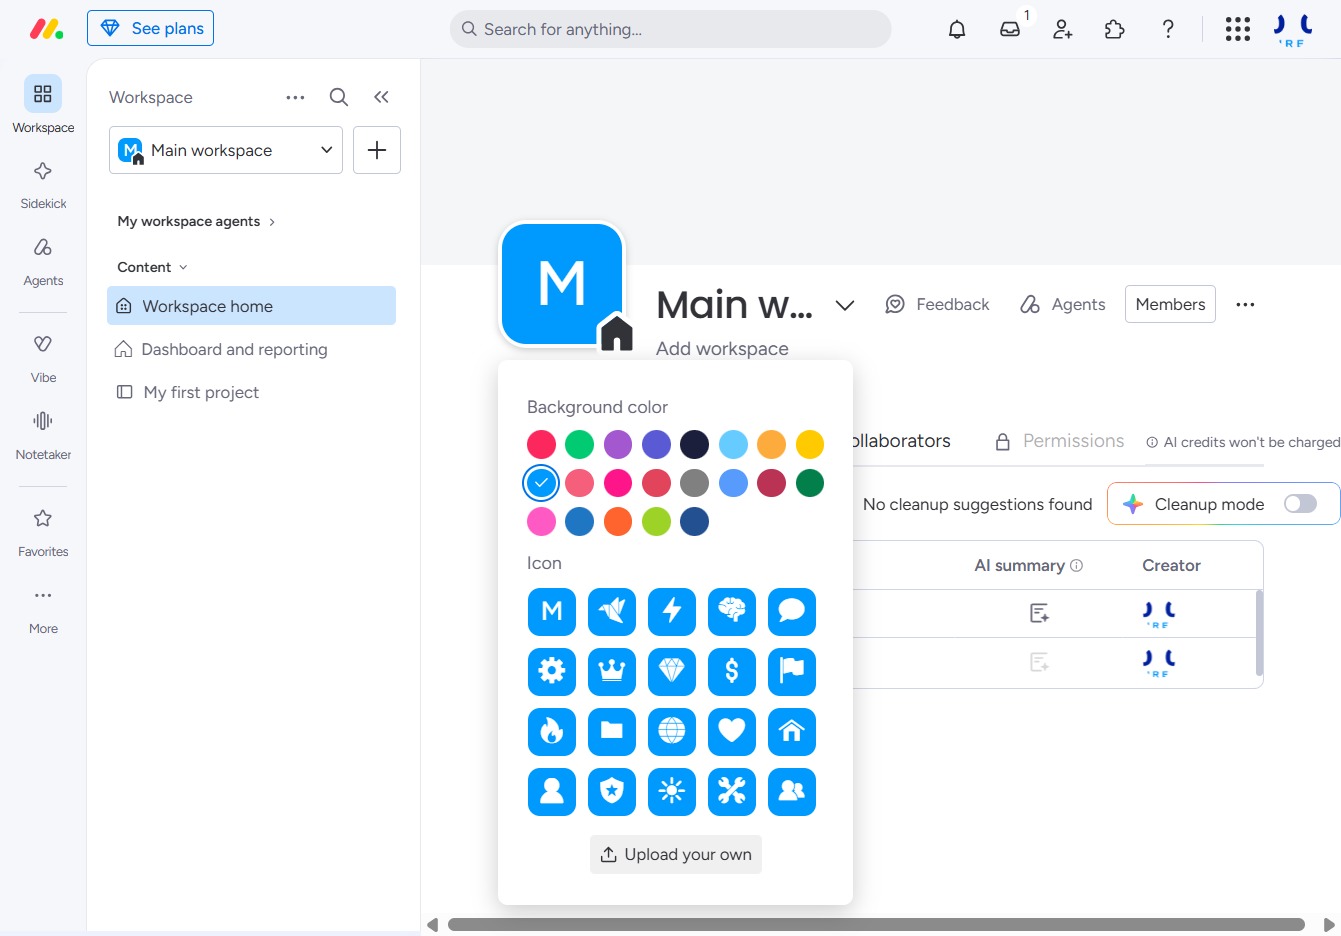
This action finalizes your cropping adjustments and saves the changes to your image. You will be returned to the previous screen with the updated image applied.

Clicking the 'Main workspace' header will expand your main project area, allowing you to access and manage your recent projects, content, and collaborators more efficiently.
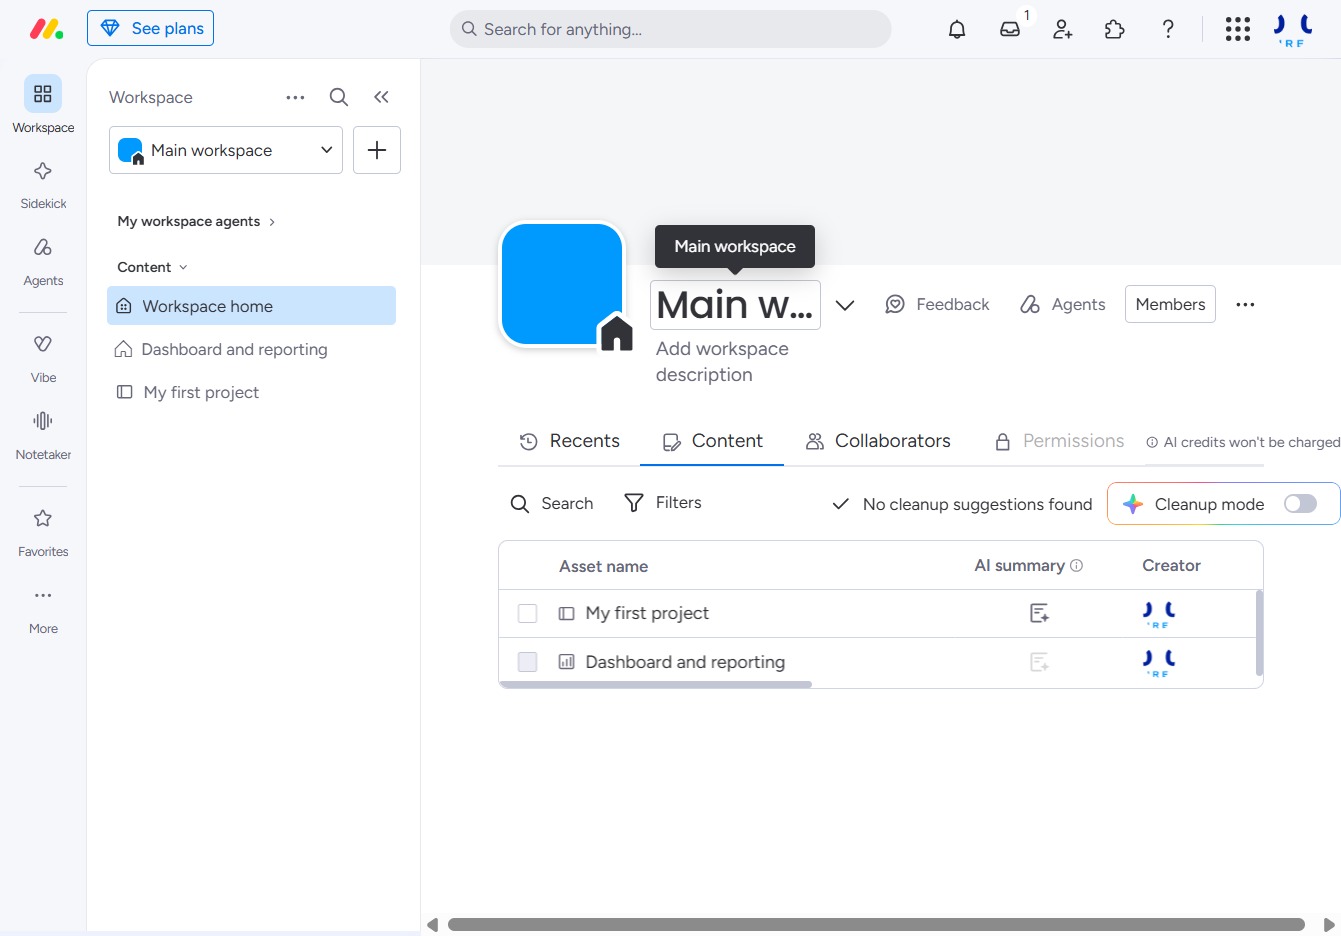
Enter 'Sales workspace' to filter and view relevant content in your workspace. This action helps you quickly locate projects or information associated with the 'Sales workspace' category.
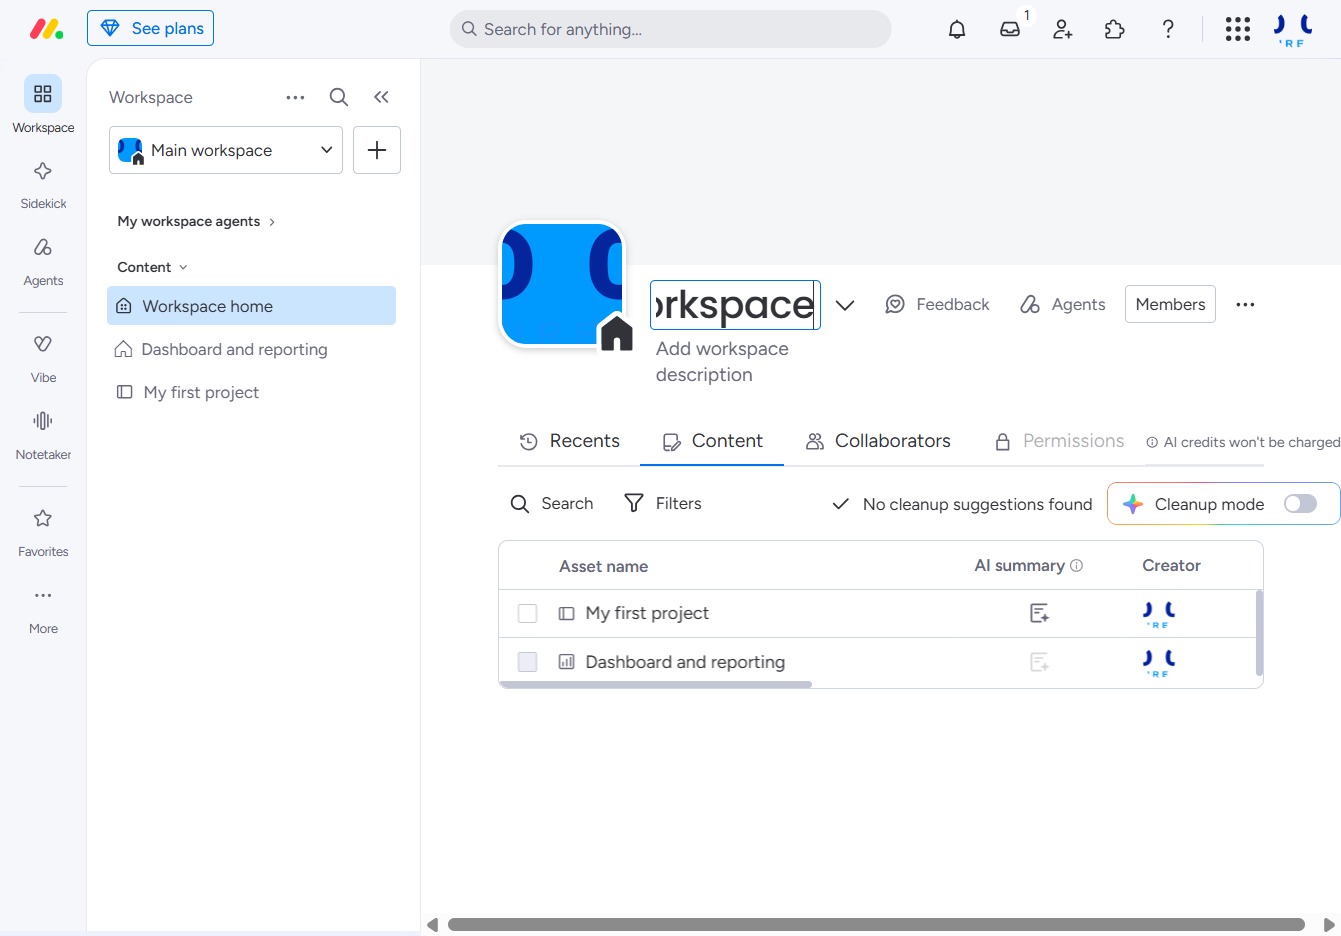
Clicking this field allows you to enter a description for your workspace, which can help clarify its purpose and improve organization for team members.
Enter 'Sales team' in the description field to identify the workspace purpose. This helps clarify the team associated with this workspace in your project management tool.