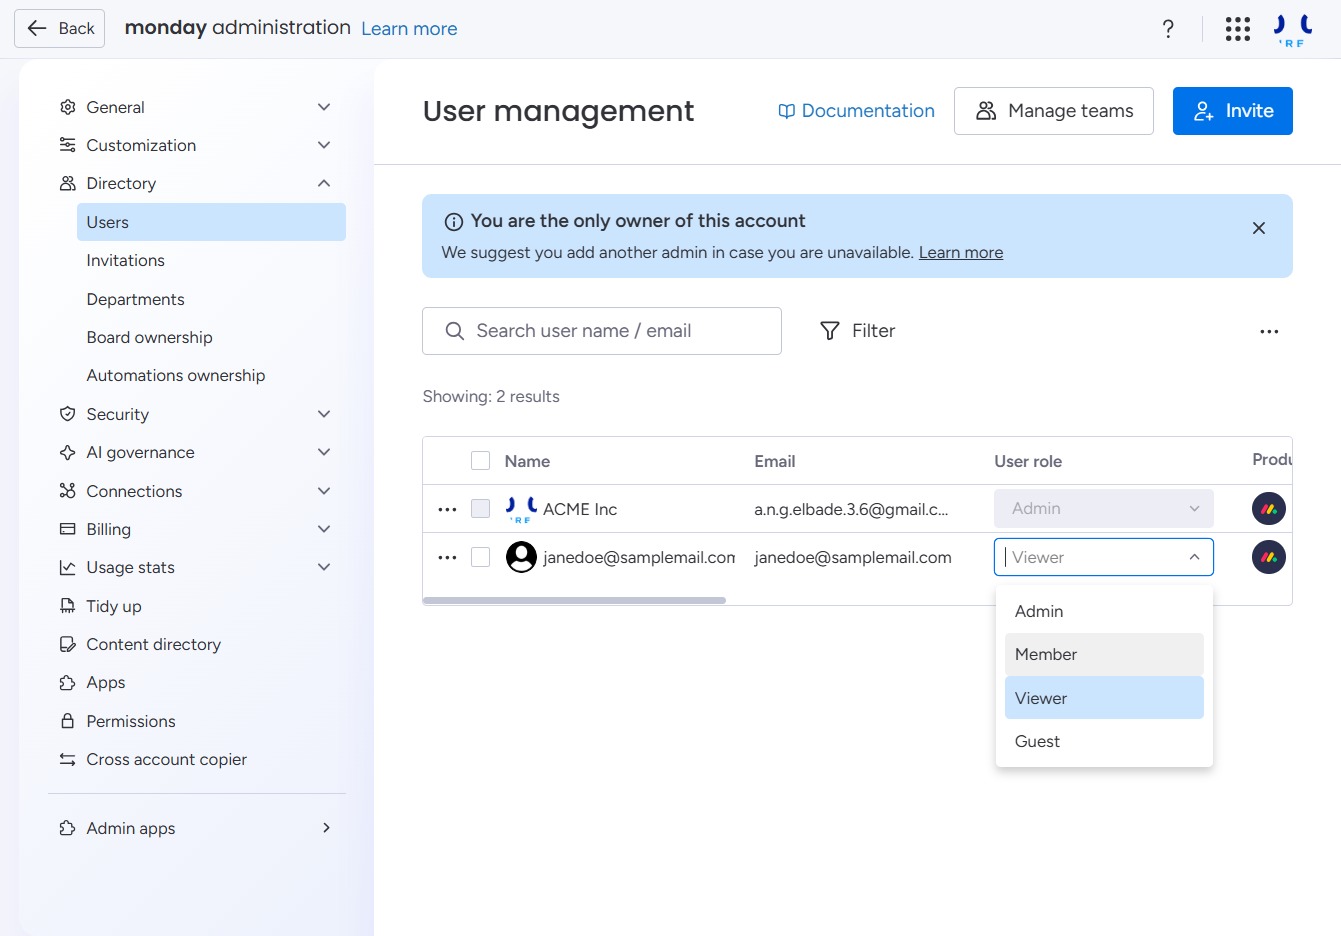
Click the Members button
This action will take you to the Members section, where you can manage team members associated with your workspace.
Loading screenshot…
100%
Learn how to effectively manage user roles in your workspace with this step-by-step guide.
 viktoria
Learn how to effectively manage user roles in your workspace with this step-by-step guide. From accessing the Members section to inviting new users and assigning roles, discover how to tailor user permissions and enhance team collaboration.
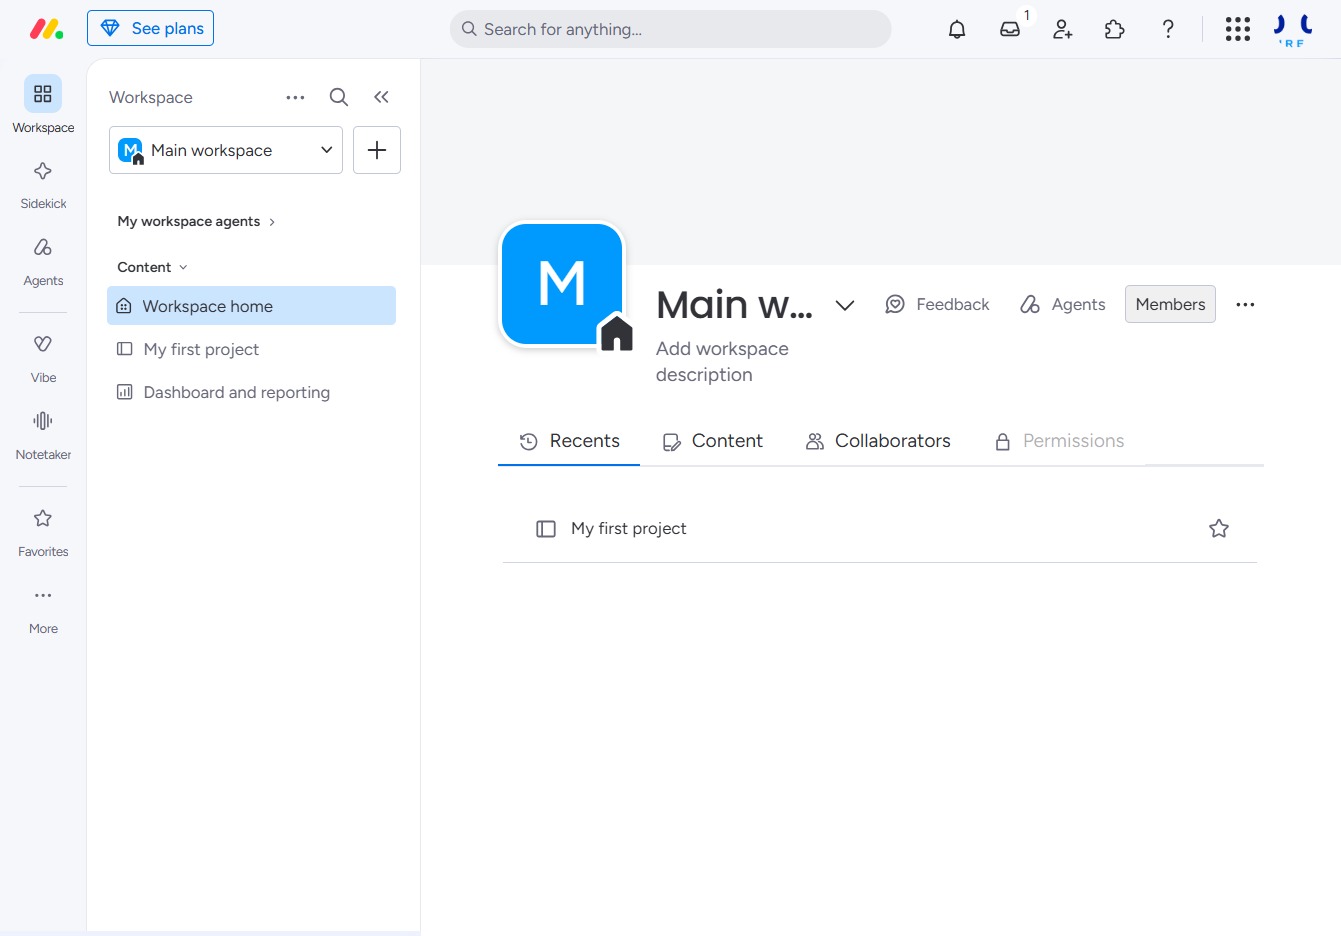
This action will take you to the Members section, where you can manage team members associated with your workspace.
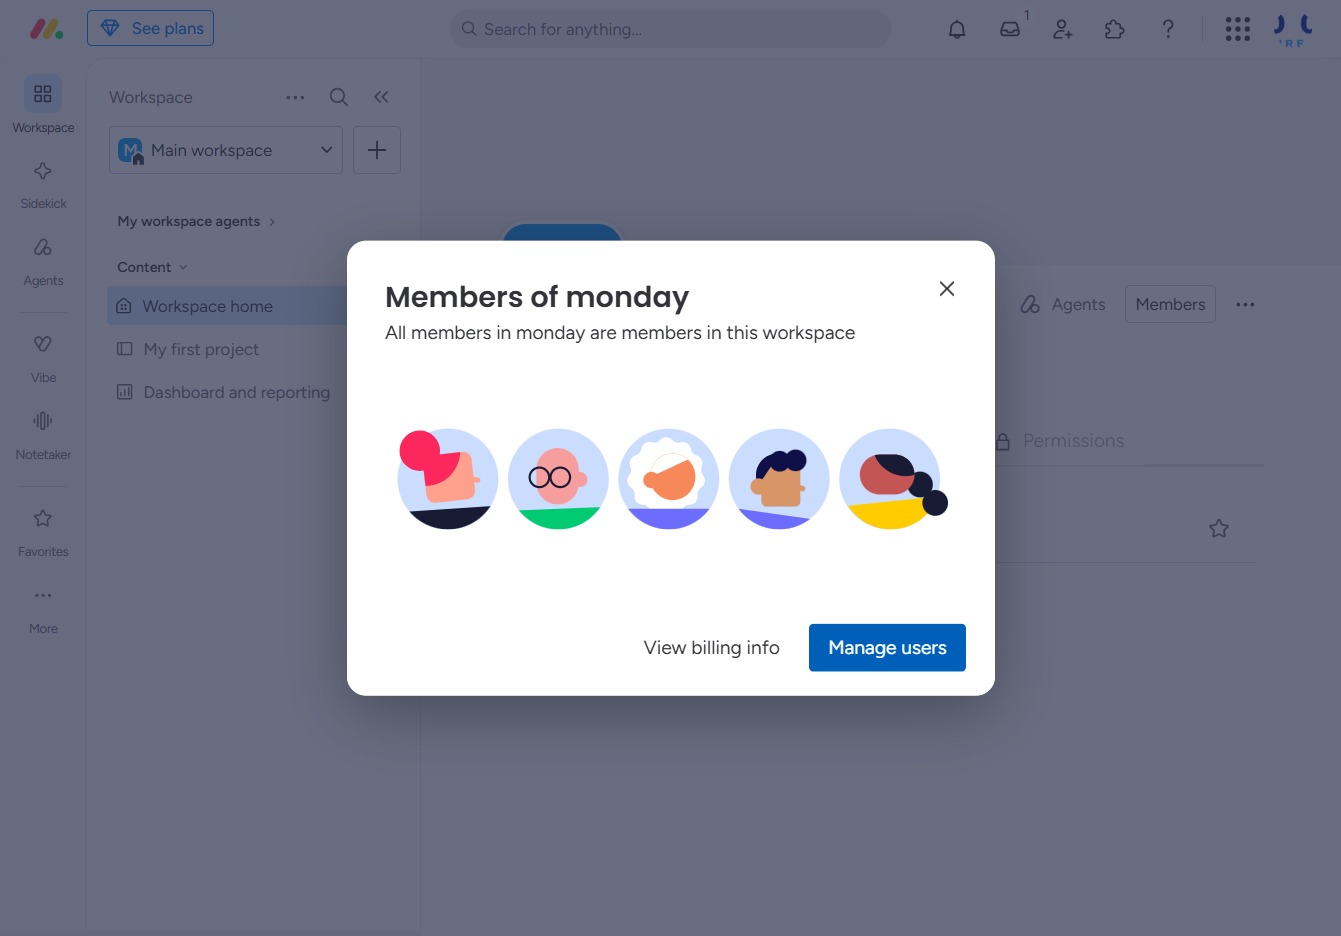
This action opens the user management interface, allowing you to add, remove, or modify user permissions within the workspace.
Clicking the Invite button allows you to add new users to your account. You can enter their details to send them an invitation to join your user management system.
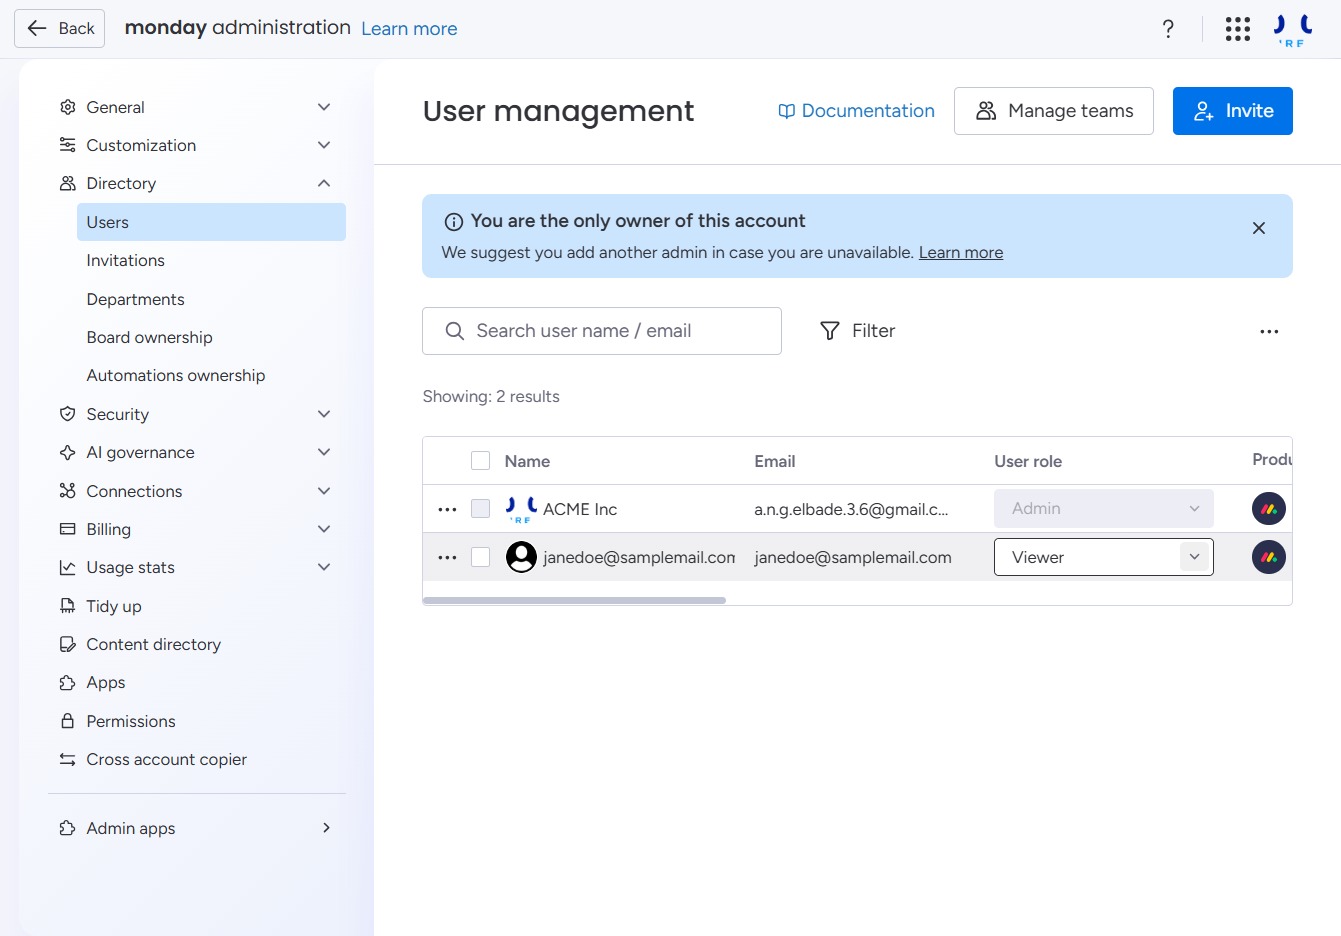
Select the 'Member' option from the role dropdown to assign this user as a member in the User Management settings.