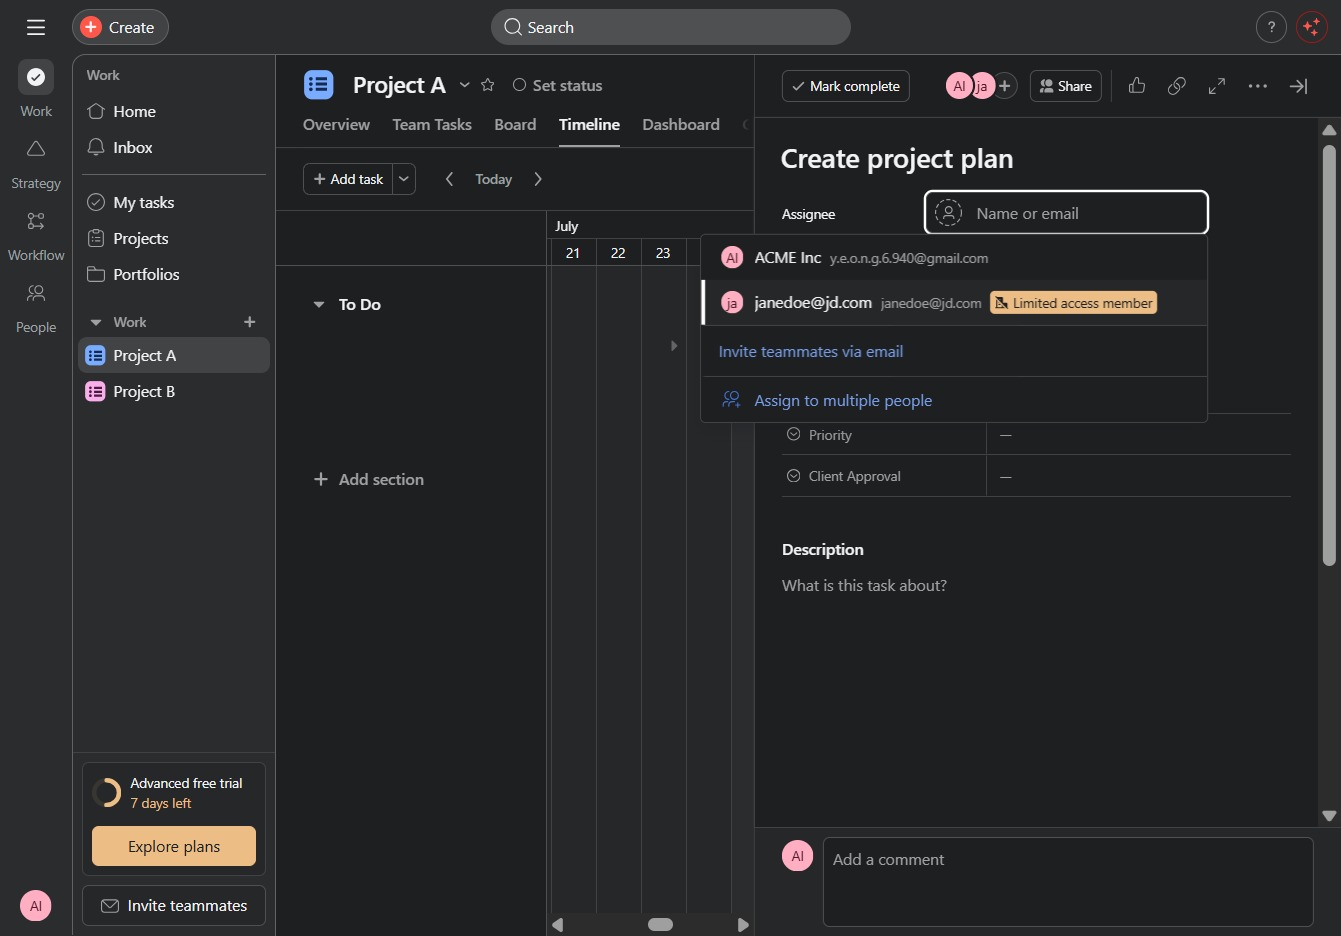
Click Project A
Selecting 'Project A' will open the detailed view of this specific project, allowing you to manage tasks and activities related to it.

Loading screenshot…
100%
In this guide, you'll learn how to effectively manage project timelines by navigating through detailed project views, accessing visual timelines, and creating tasks with specific…
 viktoria
In this guide, you'll learn how to effectively manage project timelines by navigating through detailed project views, accessing visual timelines, and creating tasks with specific deadlines. By following these steps, you can enhance your project's organization and ensure timely deliverables.
Selecting 'Project A' will open the detailed view of this specific project, allowing you to manage tasks and activities related to it.
By clicking the Timeline tab, you will access the visual representation of project tasks and their deadlines, allowing you to manage and track progress effectively.
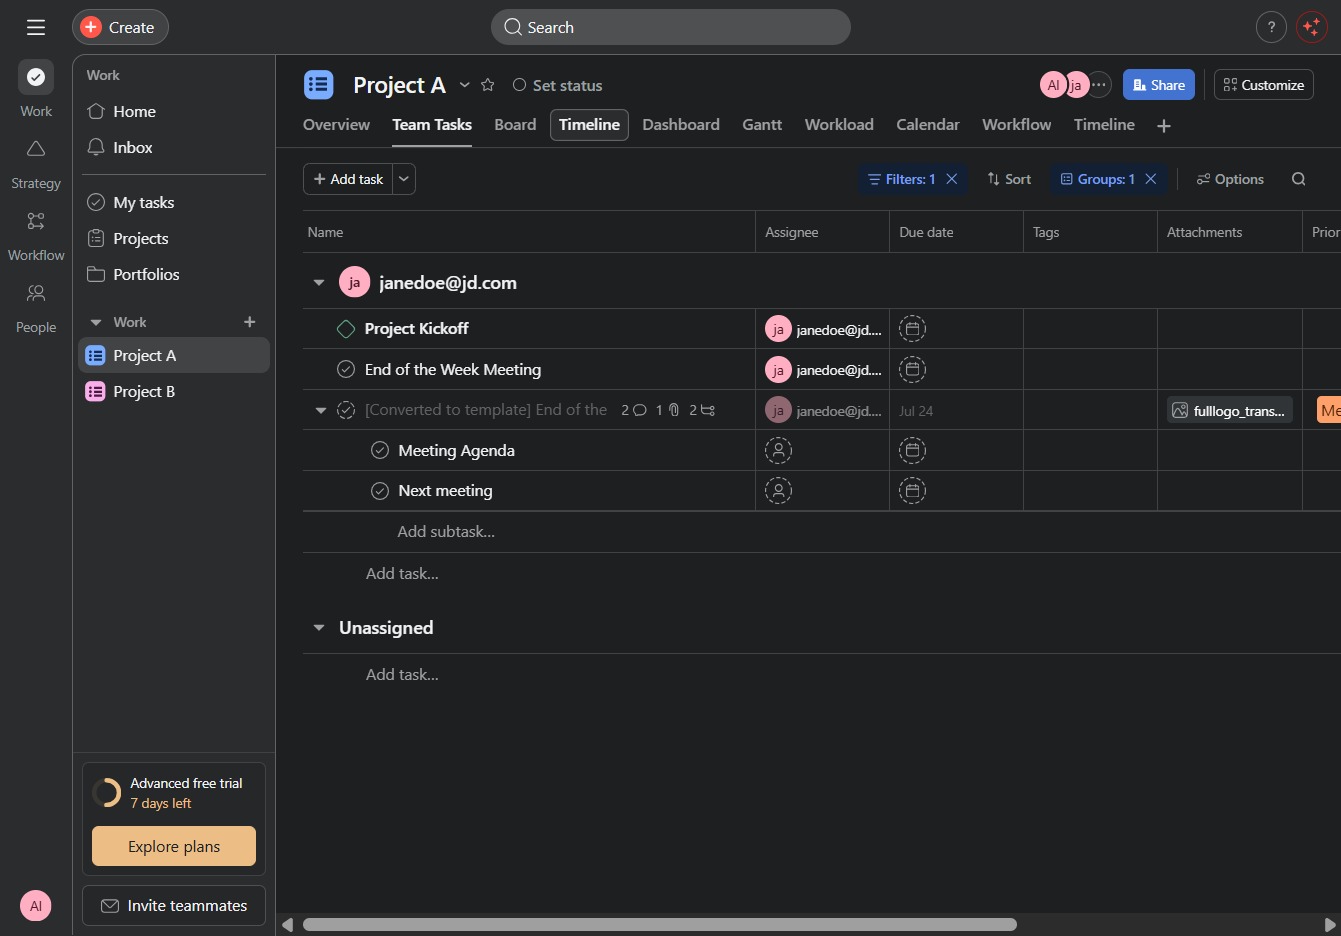
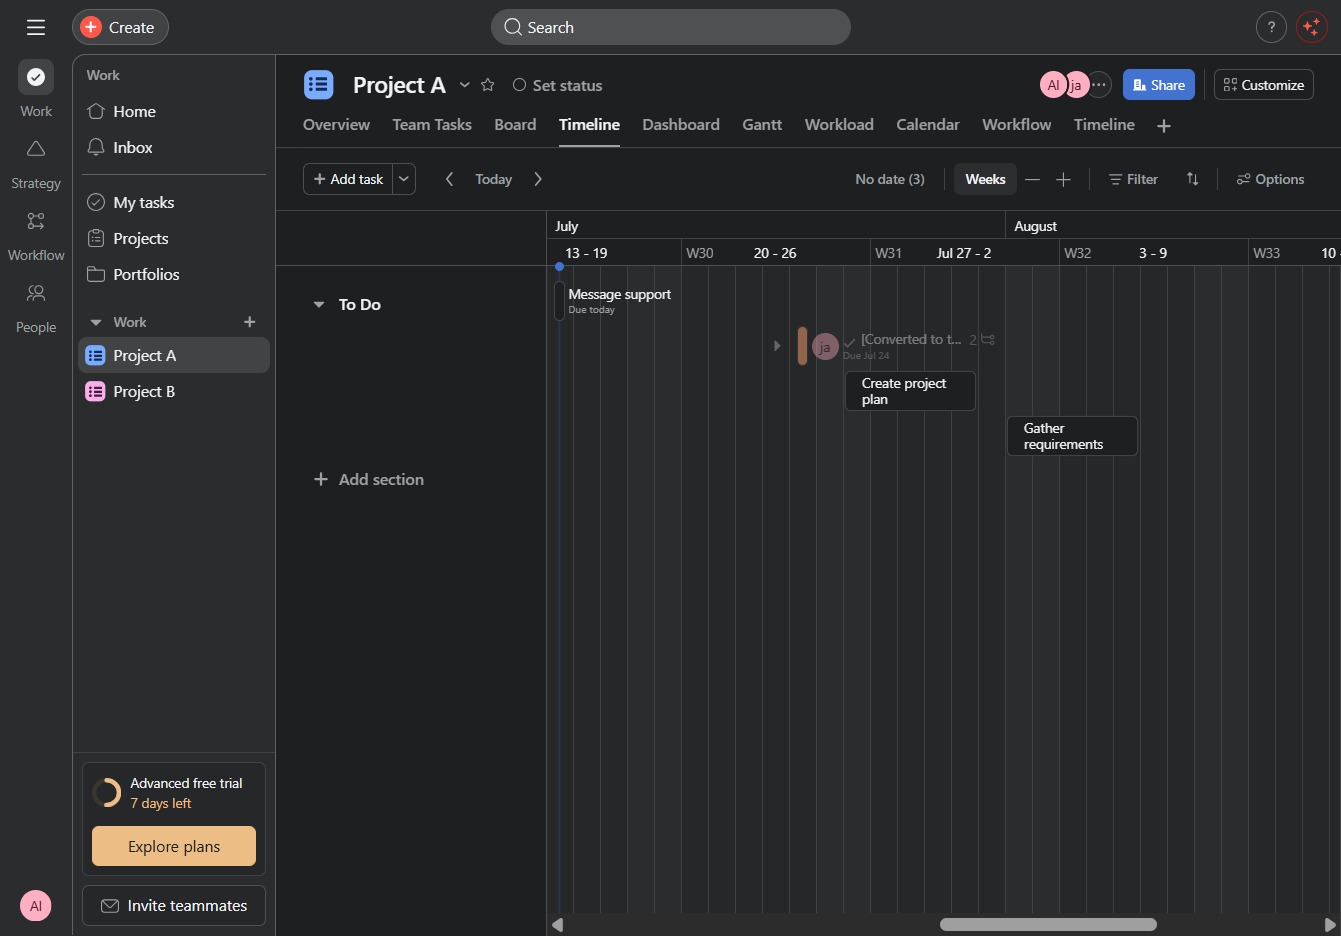
This will display the timeline for the selected project in weekly segments, allowing you to focus on specific tasks and deadlines within that timeframe.
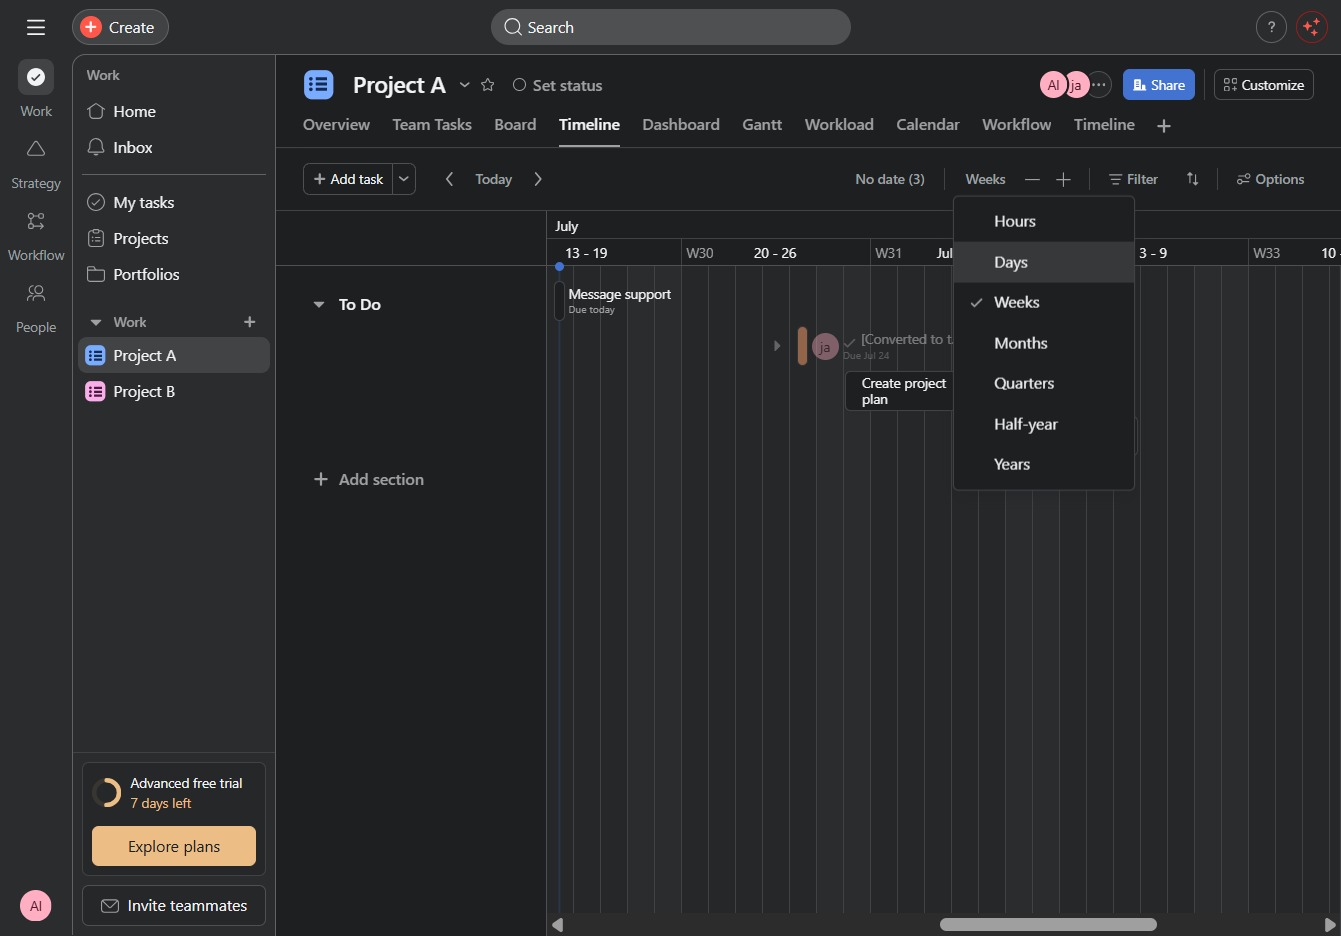
Selecting the 'Days' option will change the timeline view to display tasks organized by days, allowing for a more detailed schedule layout.
Clicking here opens a prompt to create a new task within the project timeline, allowing you to set important milestones and deadlines.

This action will initiate the process of setting up a new project plan, allowing you to define tasks, timelines, and resources for Project A.

Select the date range 'Jul 26 – 30' for the task, which will help set the timeline for this project's deliverables.
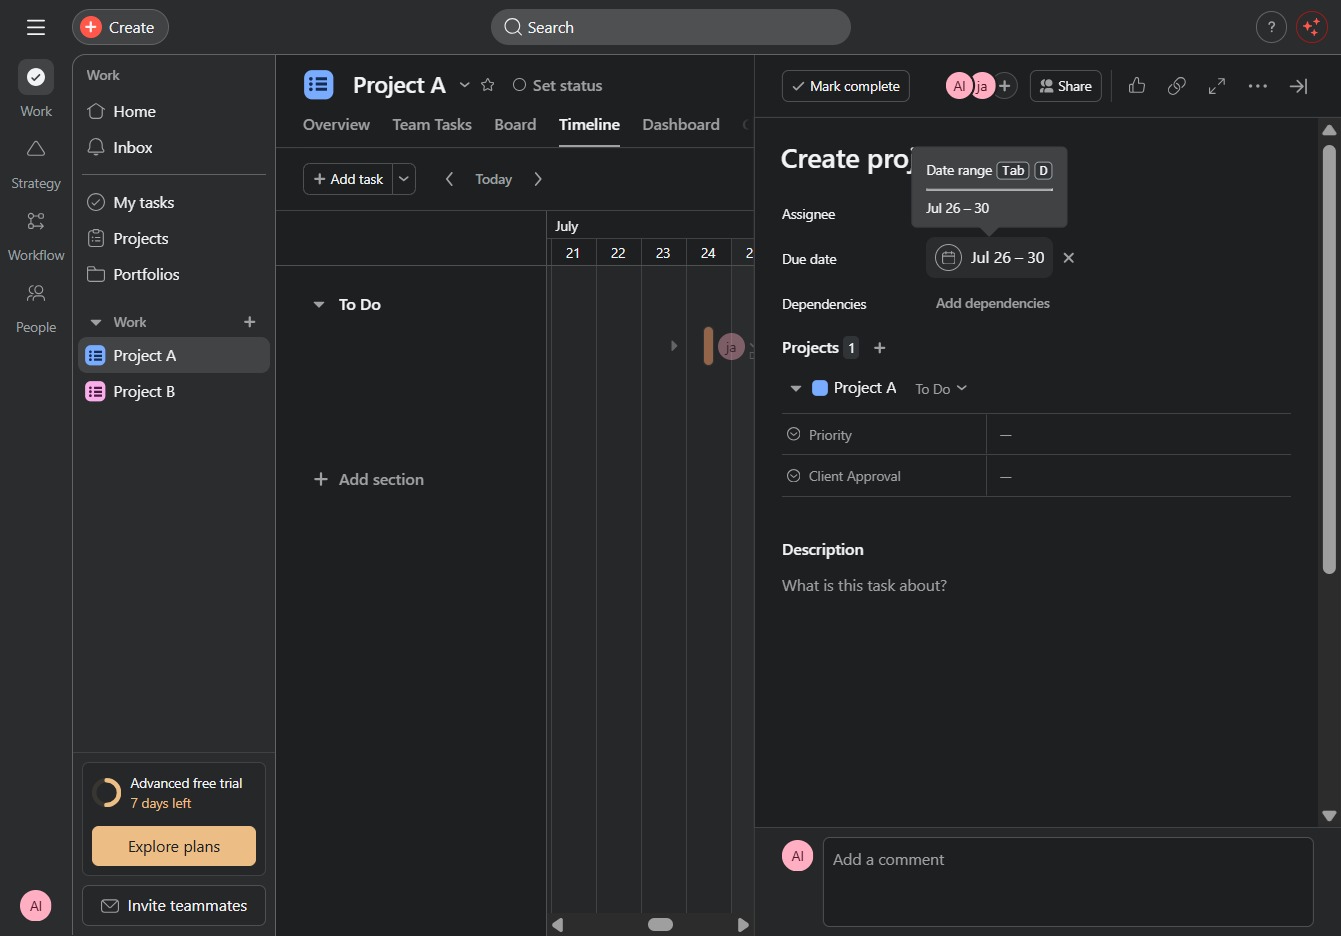
This action opens the calendar picker, allowing you to select a date for the dependencies associated with the project.

Selecting 'No assignee' allows you to manage task assignments within the project. This option is useful when no specific team member is designated to a task.

This action allows you to view details about the user with limited access. You can manage their permissions and access levels from the project plan settings.