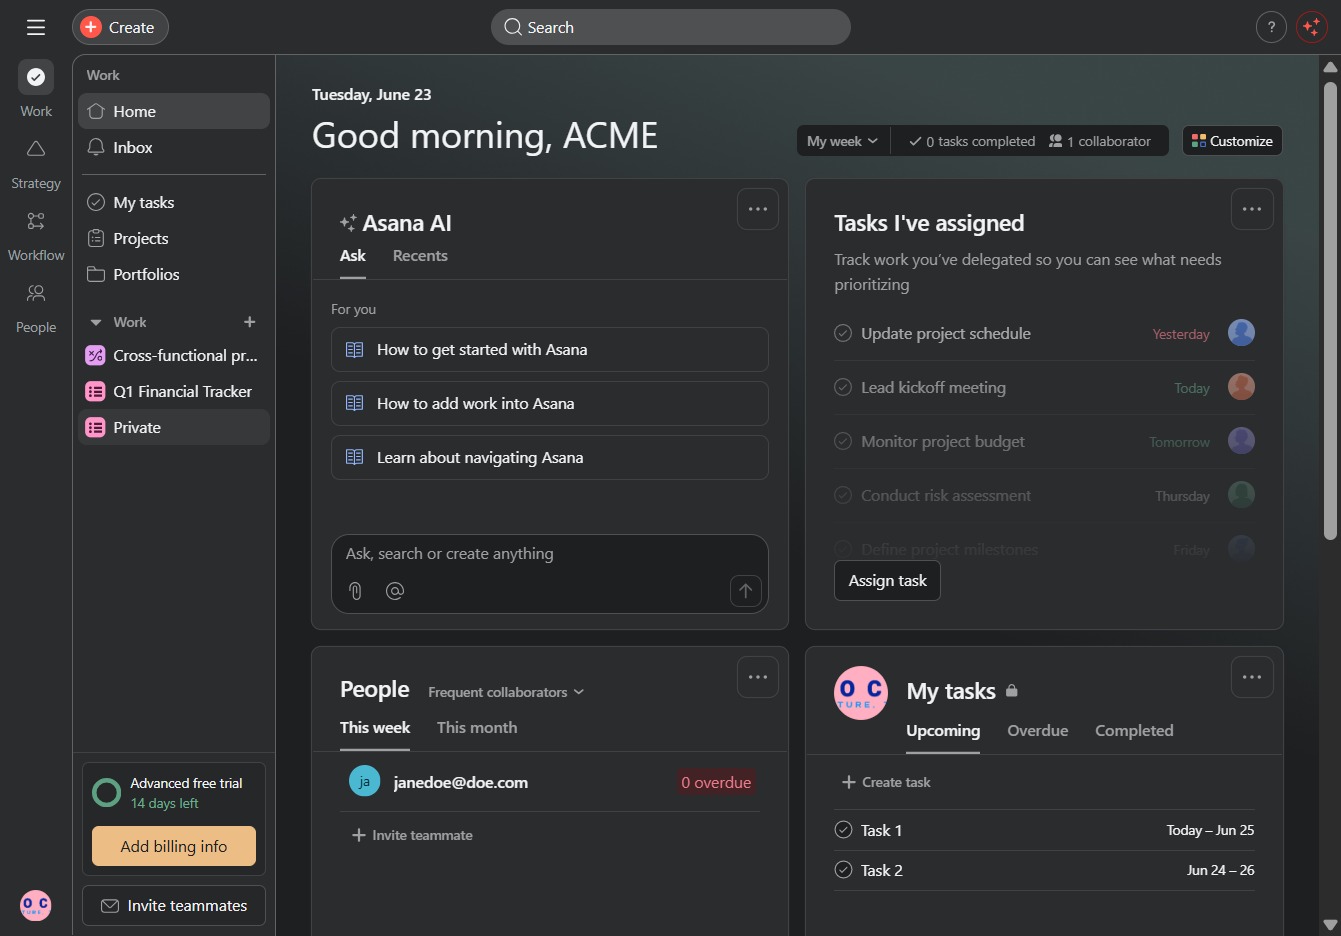
Click the Private, Project link
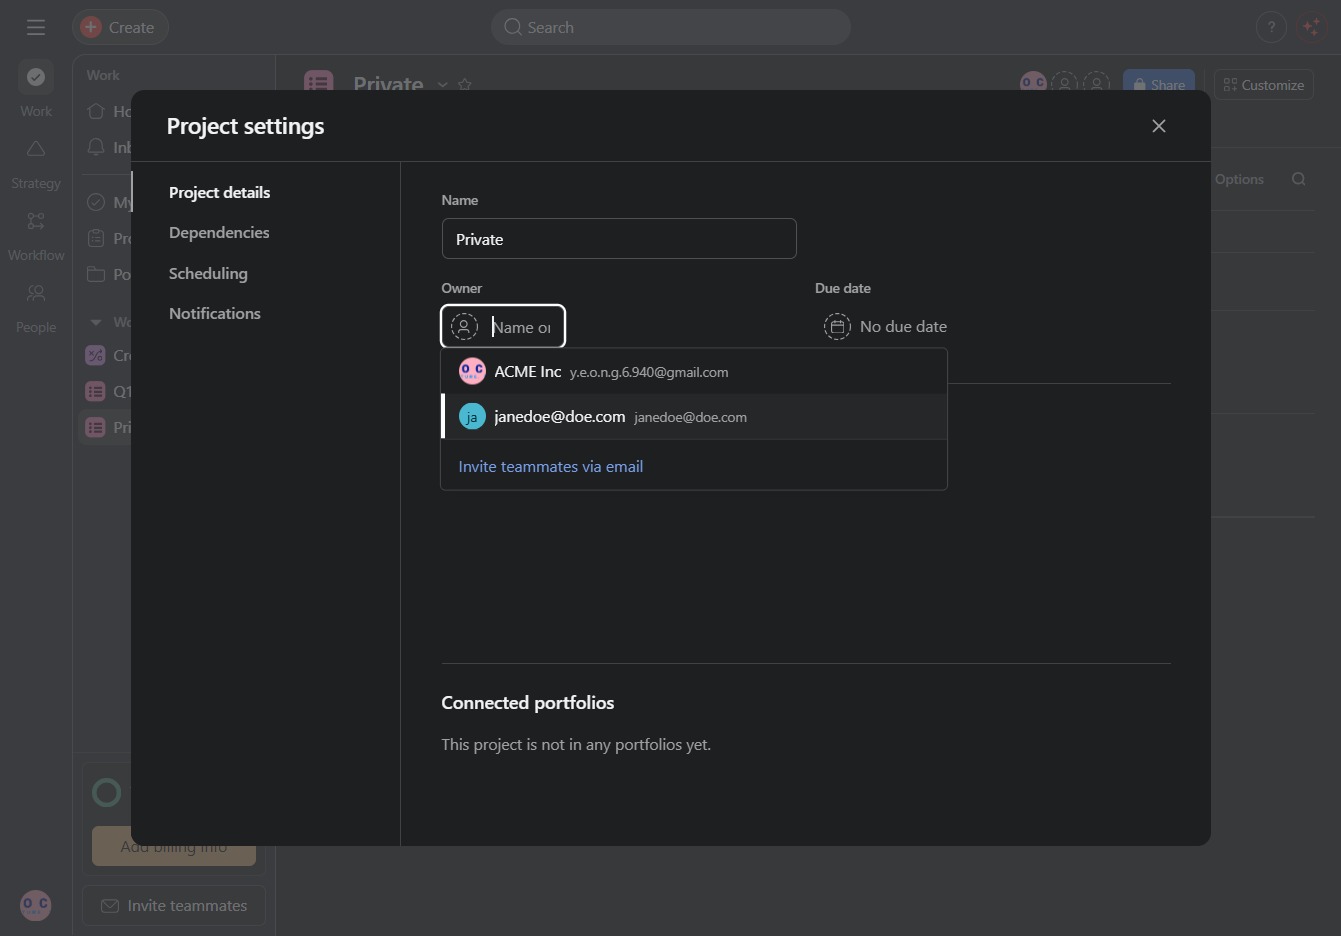
This action opens the Private Project settings, allowing you to manage project visibility and access permissions.
Loading screenshot…
100%
In this how-to guide, you'll learn how to effectively manage project owners by accessing project settings, creating tasks, and modifying visibility and permissions.
 viktoria
In this how-to guide, you'll learn how to effectively manage project owners by accessing project settings, creating tasks, and modifying visibility and permissions. Follow the outlined steps to streamline your workflow and ensure clear ownership within your projects.
This action opens the Private Project settings, allowing you to manage project visibility and access permissions.
Clicking this link will allow you to create a new task in the selected project. Fill in the details for the task to manage your workflow efficiently.
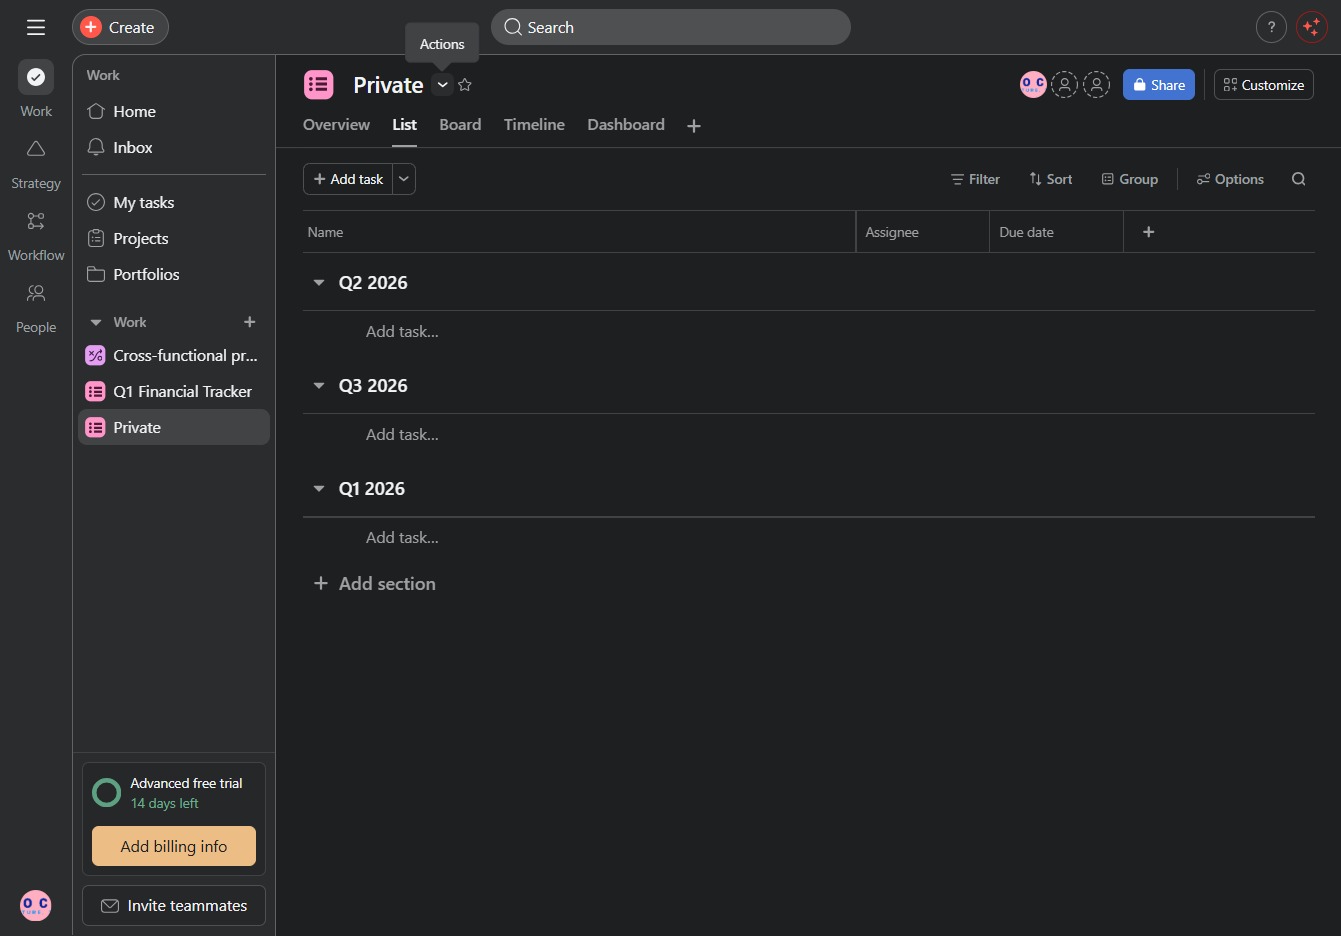
This opens the project settings menu where you can modify key details for the selected project, such as permissions and settings.
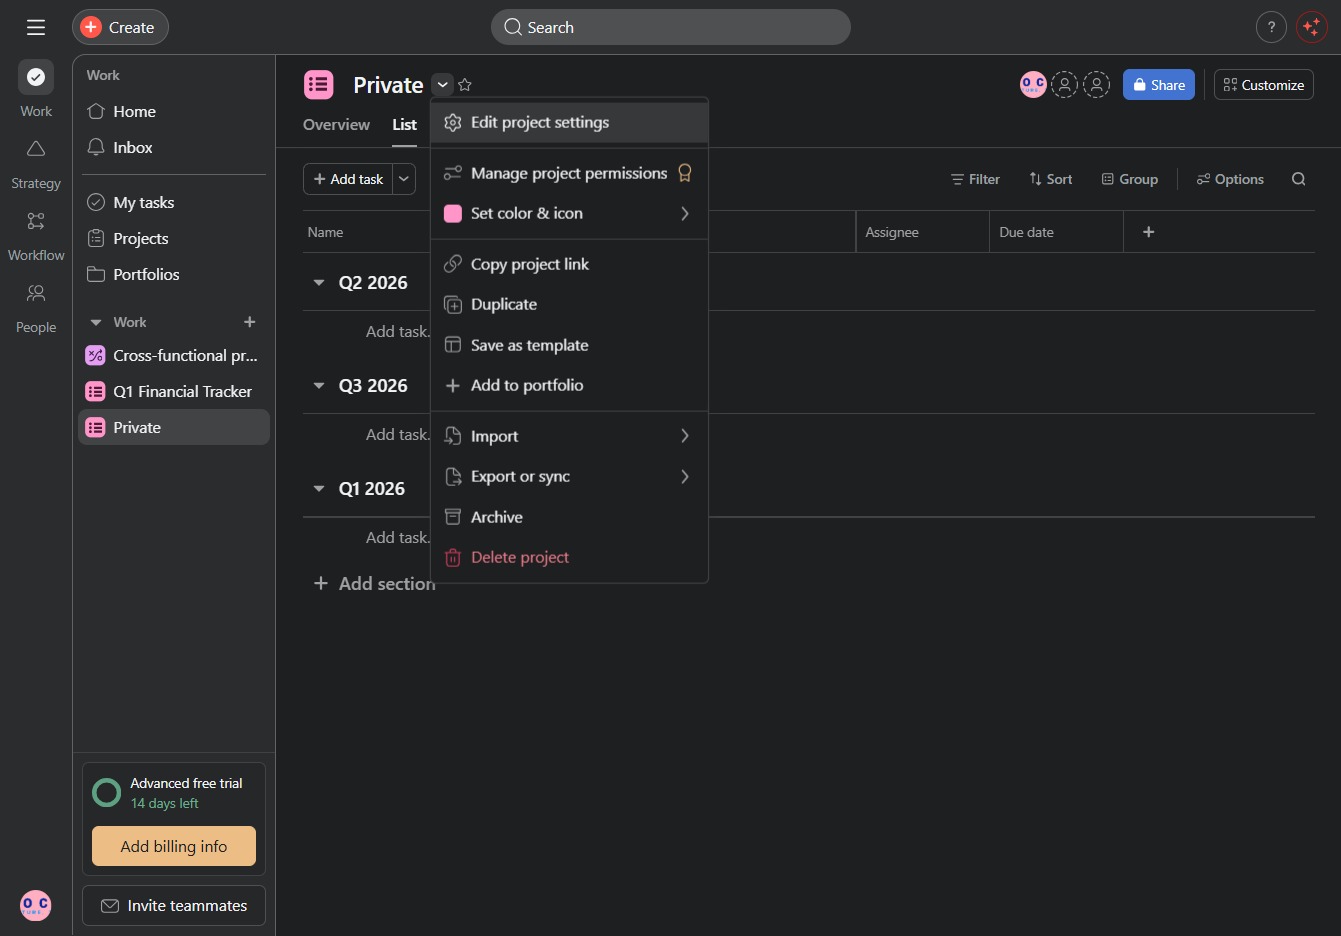
This action sets the project owner status to 'No owner', indicating that no team member is currently assigned to oversee this project.
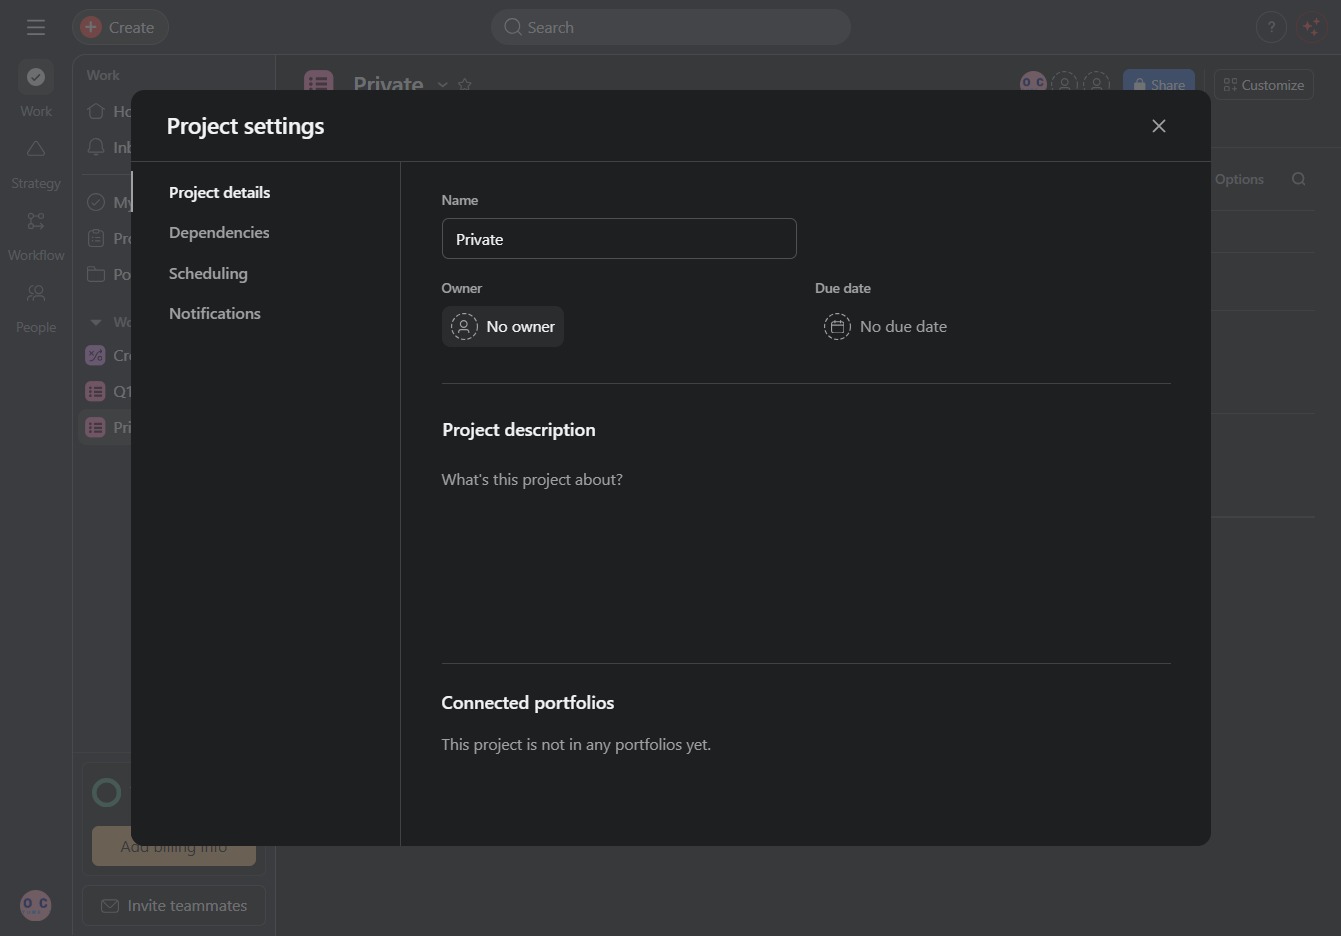
Clicking the email address will allow you to edit or change the contact information for the selected owner in the project settings.
This will initiate the next step in the project settings process, allowing you to continue configuring your project.
