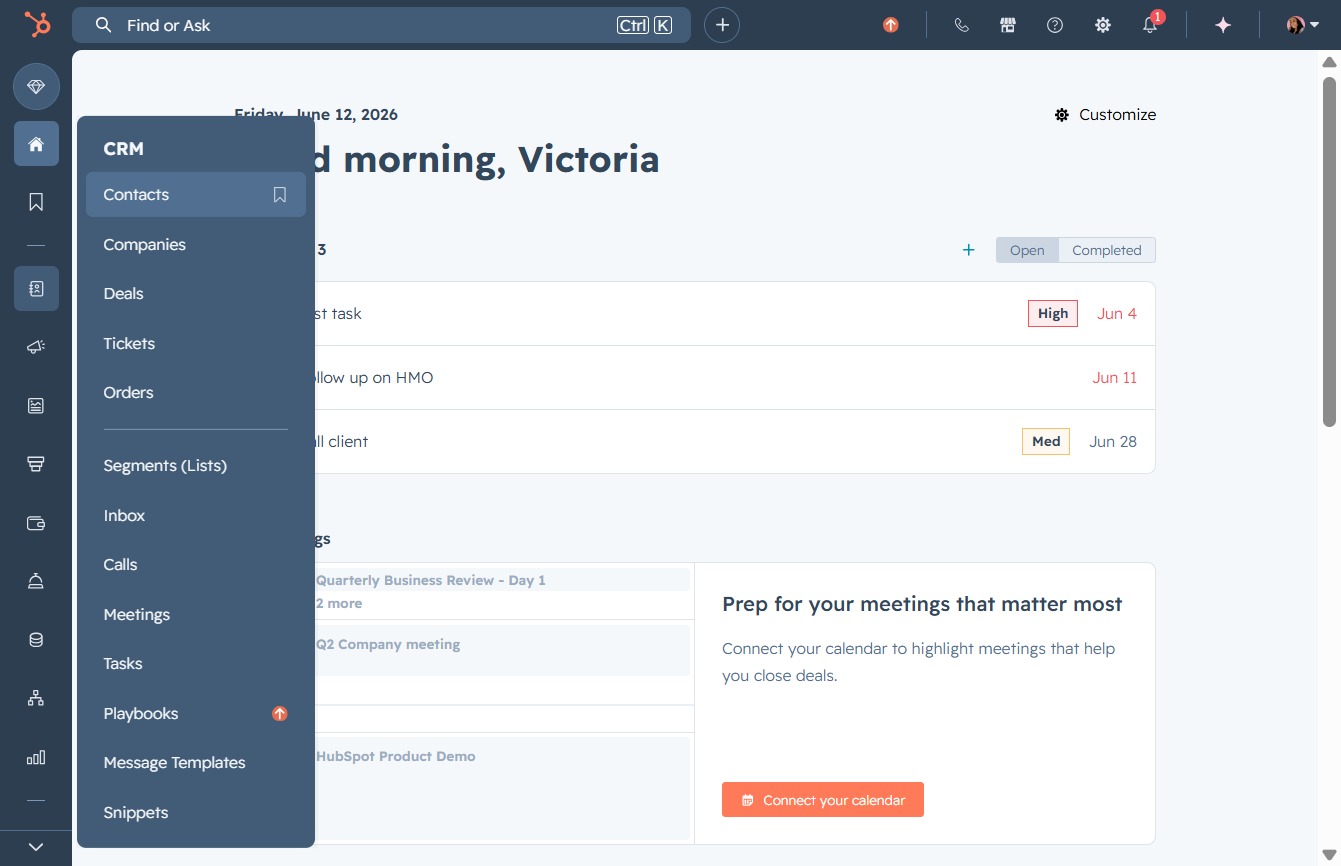
Click the Contacts option
Selecting the Contacts option will display your contacts list, allowing you to view and manage your stored contacts within the CRM.
Loading screenshot…
100%
Manage your CRM contacts by deleting unwanted entries and merging duplicate records, ensuring all relevant information is consolidated for better organization and efficiency.
 viktoria
Manage your CRM contacts by deleting unwanted entries and merging duplicate records, ensuring all relevant information is consolidated for better organization and efficiency.
Selecting the Contacts option will display your contacts list, allowing you to view and manage your stored contacts within the CRM.
Clicking this link will allow you to access options for managing your contacts, including actions such as editing or deleting contact information in the list.
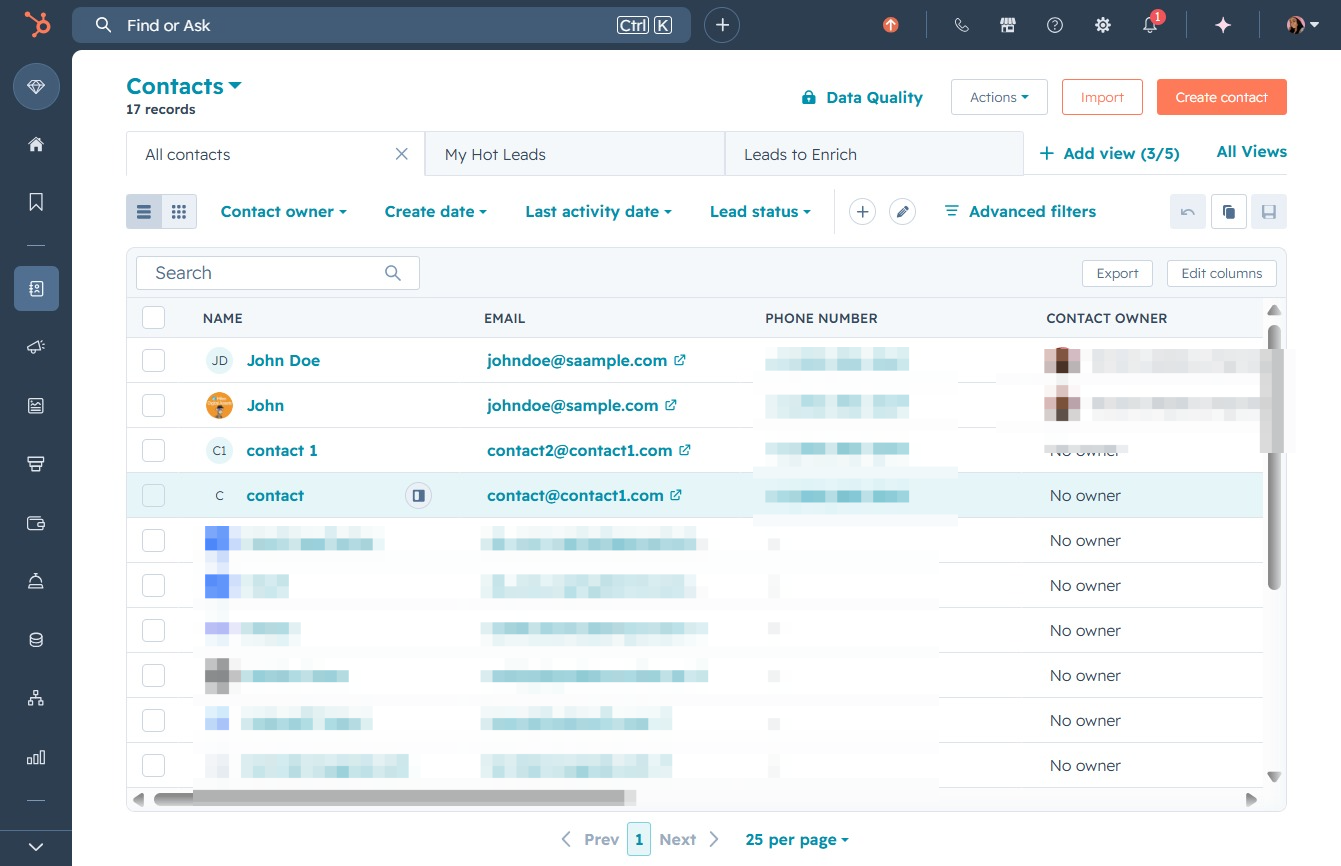
Clicking this link will allow you to access detailed information about the selected contact, including their email and phone number.

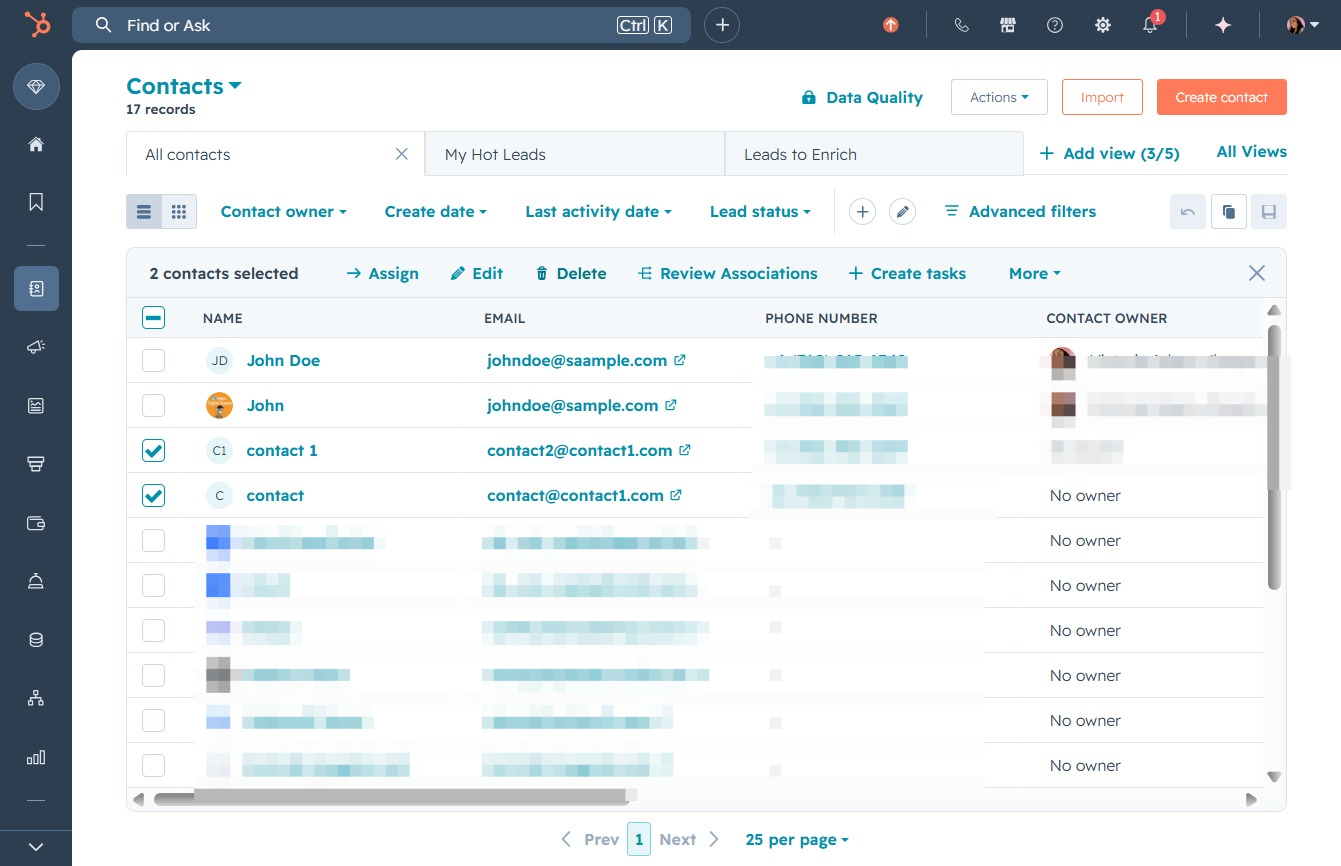
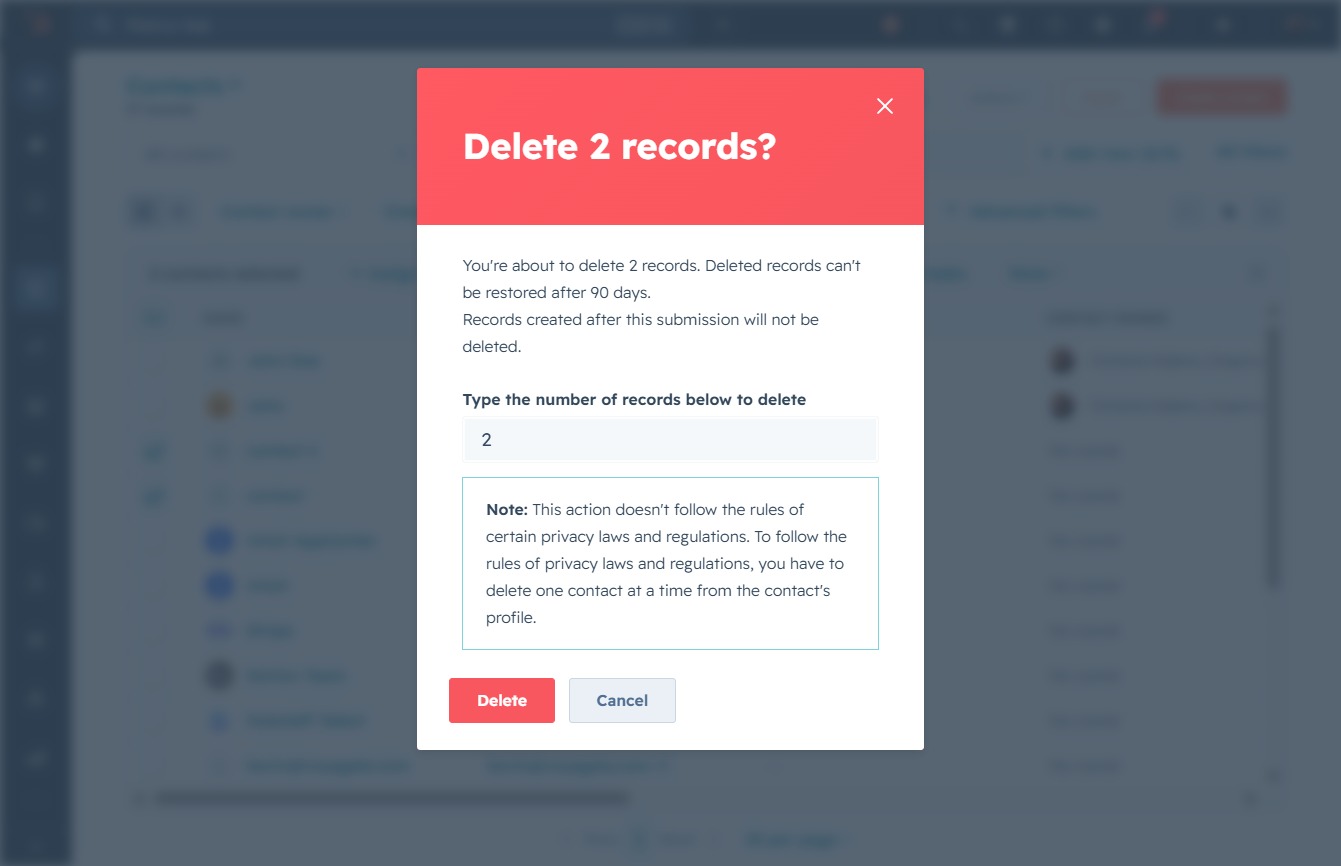
This action will remove the selected contacts from your list. Ensure you have chosen the correct entries, as deleted contacts cannot be recovered.
Enter the number of records you wish to delete in the textarea, and then click 'Delete' to proceed with the action.
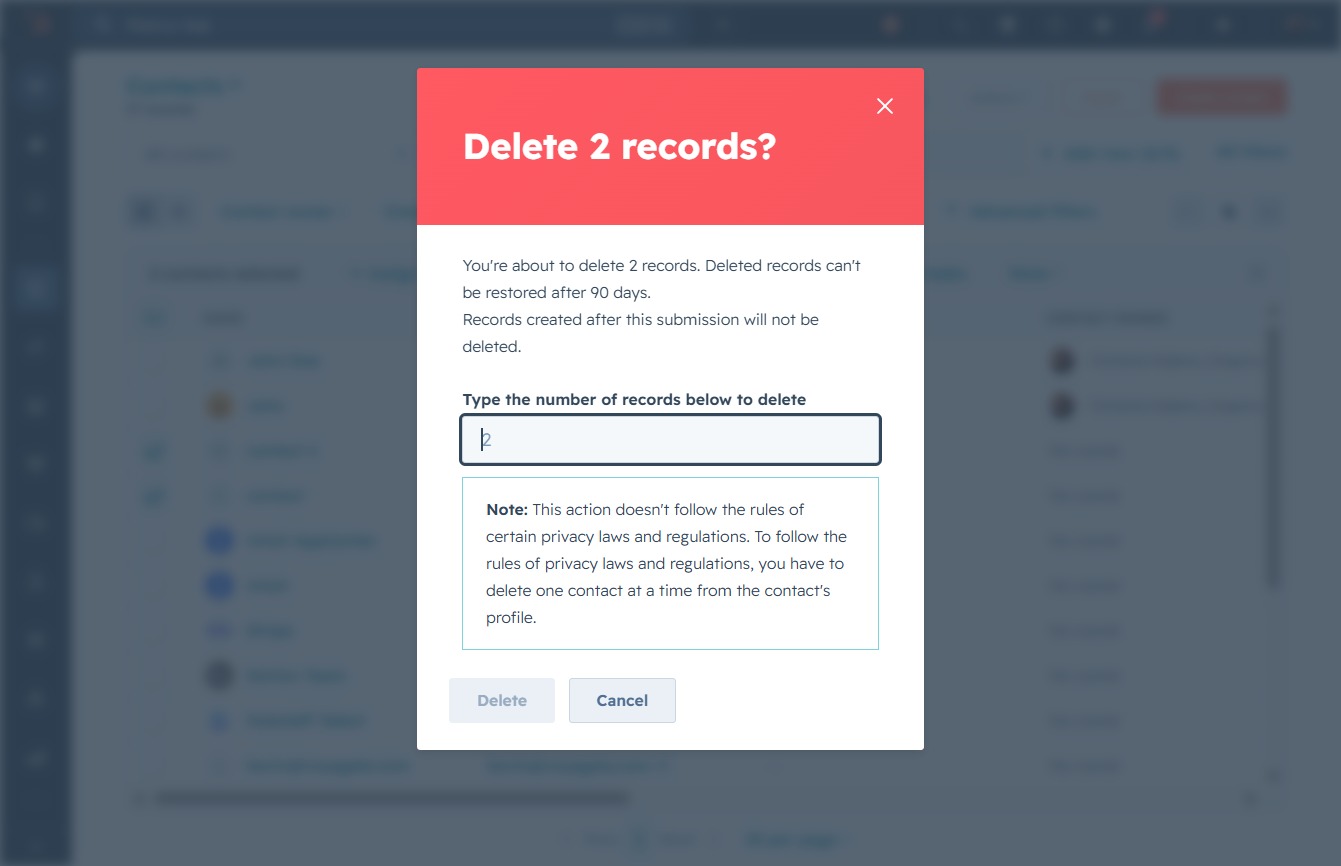
In the provided text area, enter '2' to specify the number of records you wish to delete. This action will prompt the system to delete the indicated records, which cannot be restored after 90 days.

Confirm the deletion of the specified number of records. Be aware that deleted records cannot be restored after 90 days.
Clicking on the 'John' contact row will open the detailed view of this contact, allowing you to edit or view more information about this individual.

This will open a dropdown menu with various options related to the contact, allowing you to manage communication settings, view subscriptions, and more.

Clicking 'Merge' will combine this contact's information with another selected contact, ensuring all relevant details are consolidated into a single record.

This action allows you to choose a record to merge with the selected record, enabling you to customize the merge process by selecting additional properties for review.

Enter 'john' in the Search field to locate and select the appropriate record for merging. This will filter the available duplicates, allowing you to choose the correct entry.

Clicking on the email link will open a detailed view of John's record, allowing you to review and edit his information as needed.

This action initiates the merging process for the selected contact records, consolidating their information into a single record.
