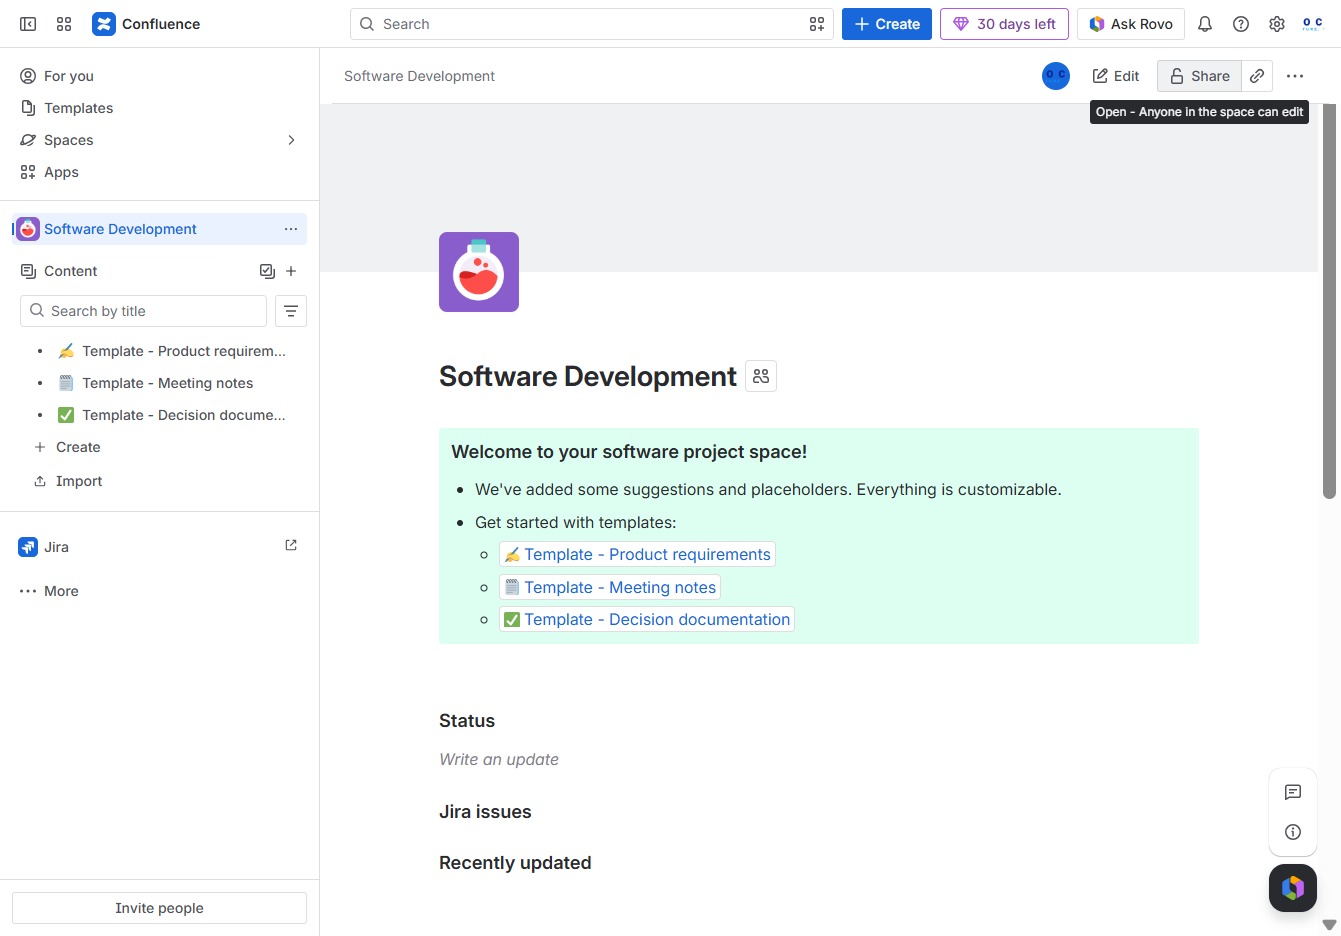
Click the Software Development section
Clicking this section will take you to the main content area for Software Development, where you can view and manage related documents and resources.
Loading screenshot…
100%
In this guide, you'll learn how to invite users to your Confluence documents by navigating to the sharing settings, entering email addresses, and setting permissions for each user.
 viktoria
In this guide, you'll learn how to invite users to your Confluence documents by navigating to the sharing settings, entering email addresses, and setting permissions for each user. Follow the step-by-step instructions to efficiently manage document access and collaboration within your team.
Clicking this section will take you to the main content area for Software Development, where you can view and manage related documents and resources.
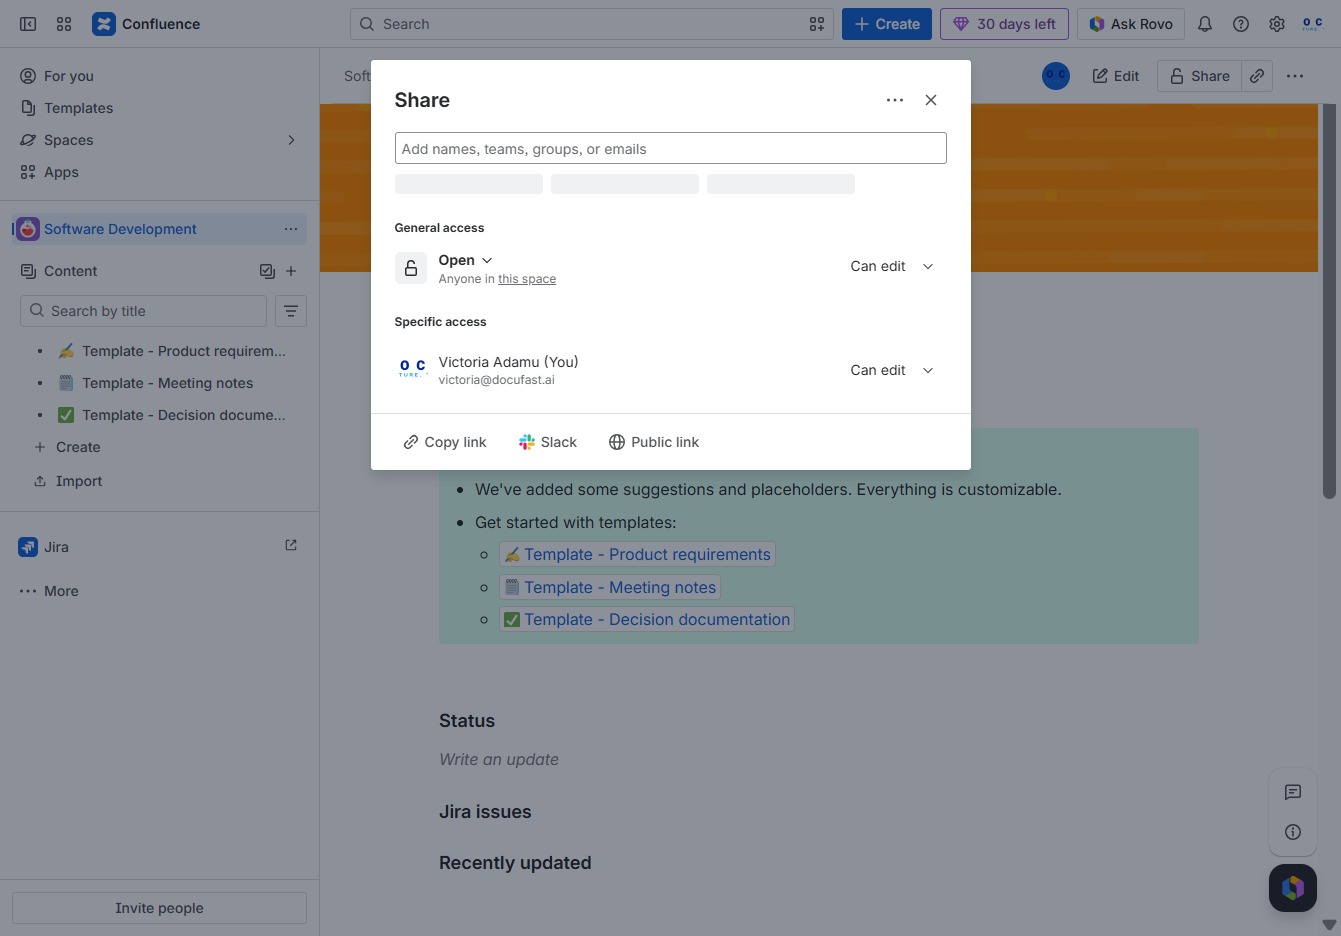
This action opens the sharing settings, allowing anyone in the space to edit the document.
In this field, you can enter the names, teams, groups, or email addresses of individuals you wish to invite or share access with. This action allows you to customize the specific users or groups who will have access to the document.
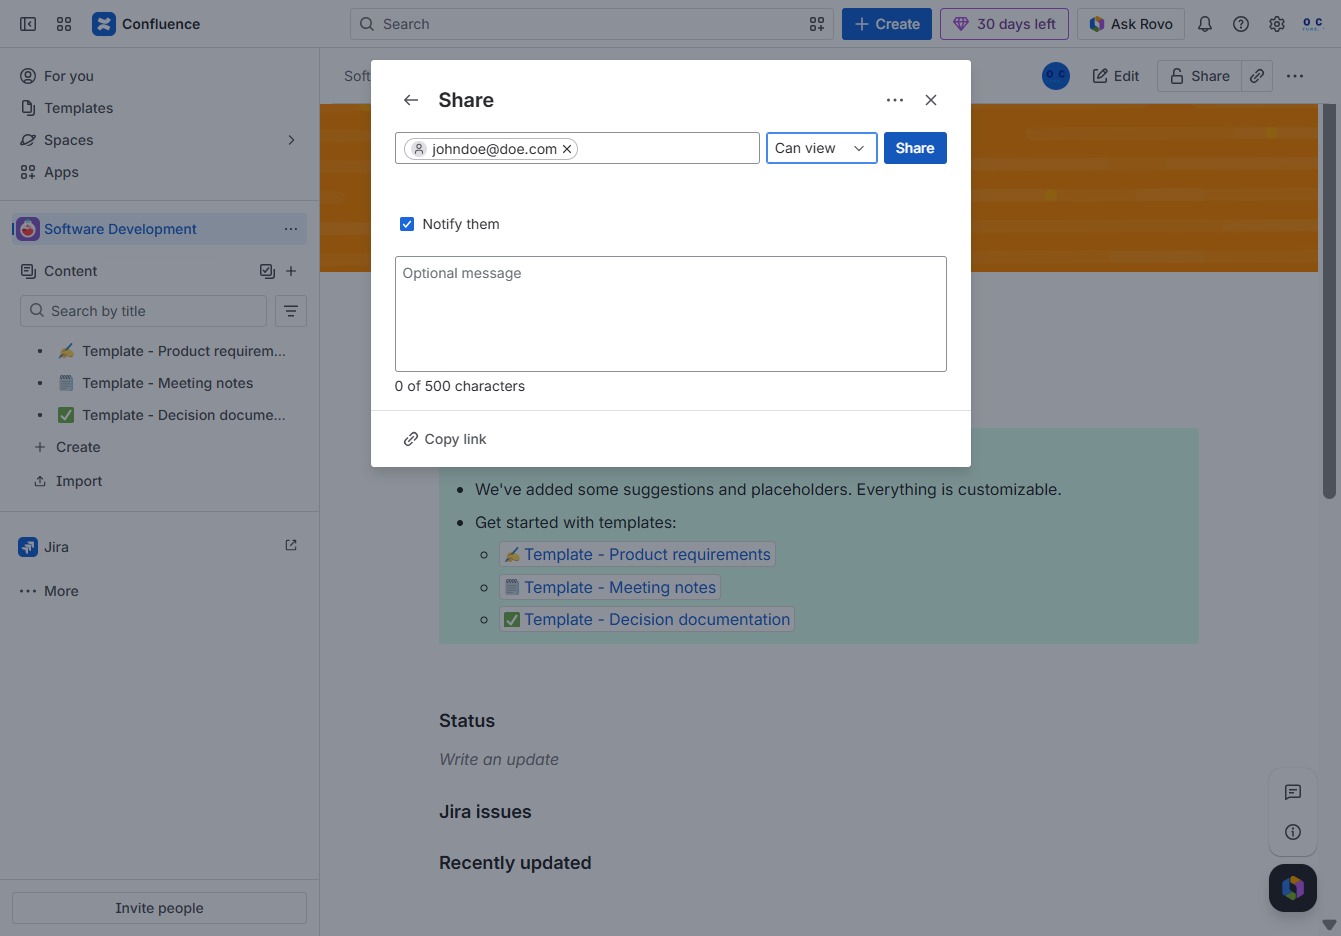
Enter "johndoe@doe.c" in the user picker field to specify the person you wish to share the document with. This action allows you to control access settings for the selected user.
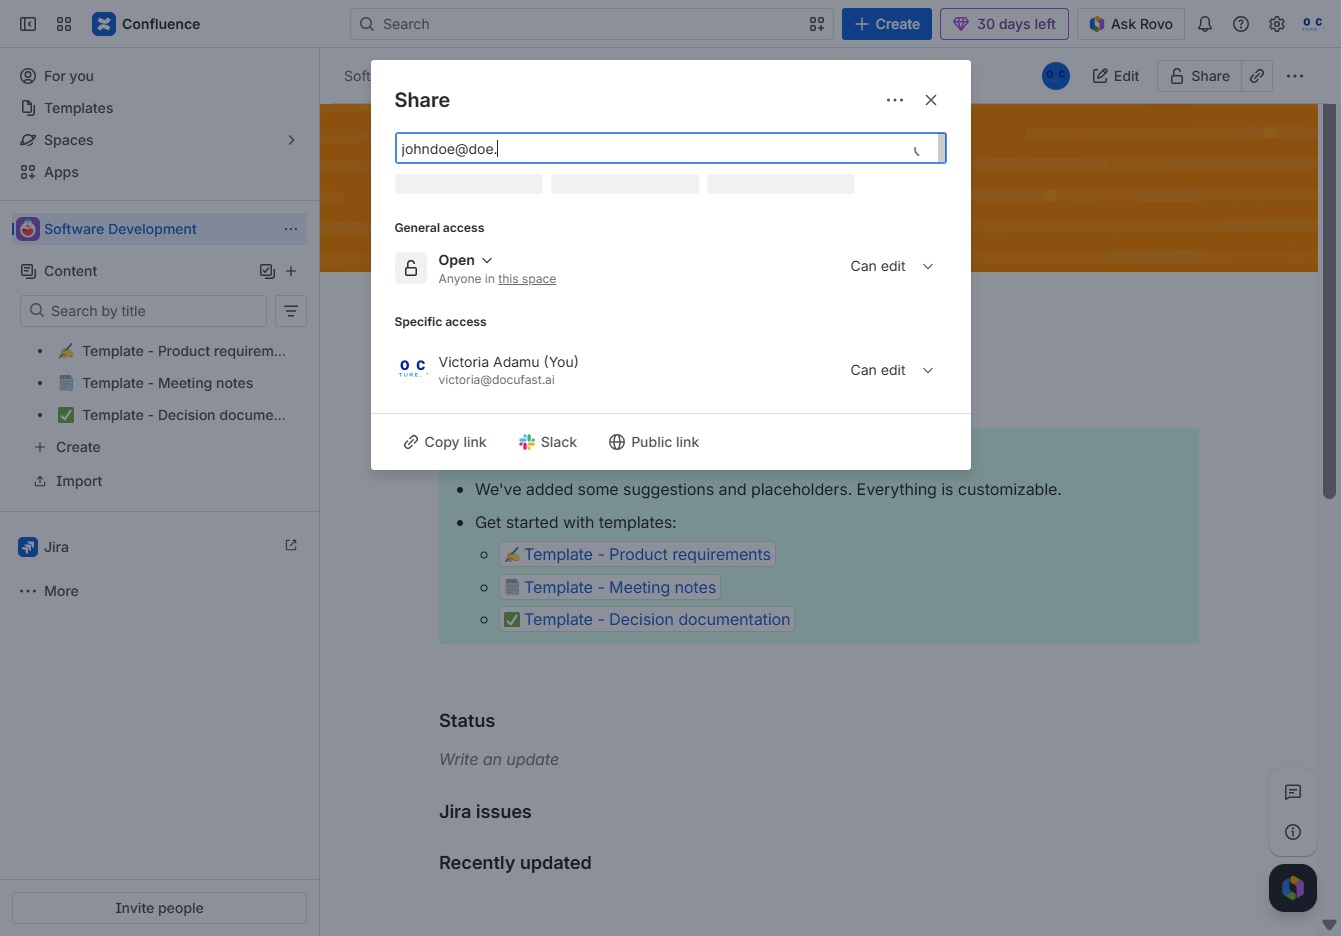
Enter 'johndoe@doe.com' in the Share and restrict dialog to specify the user you want to share the document with. This will allow you to set specific access permissions for that user.
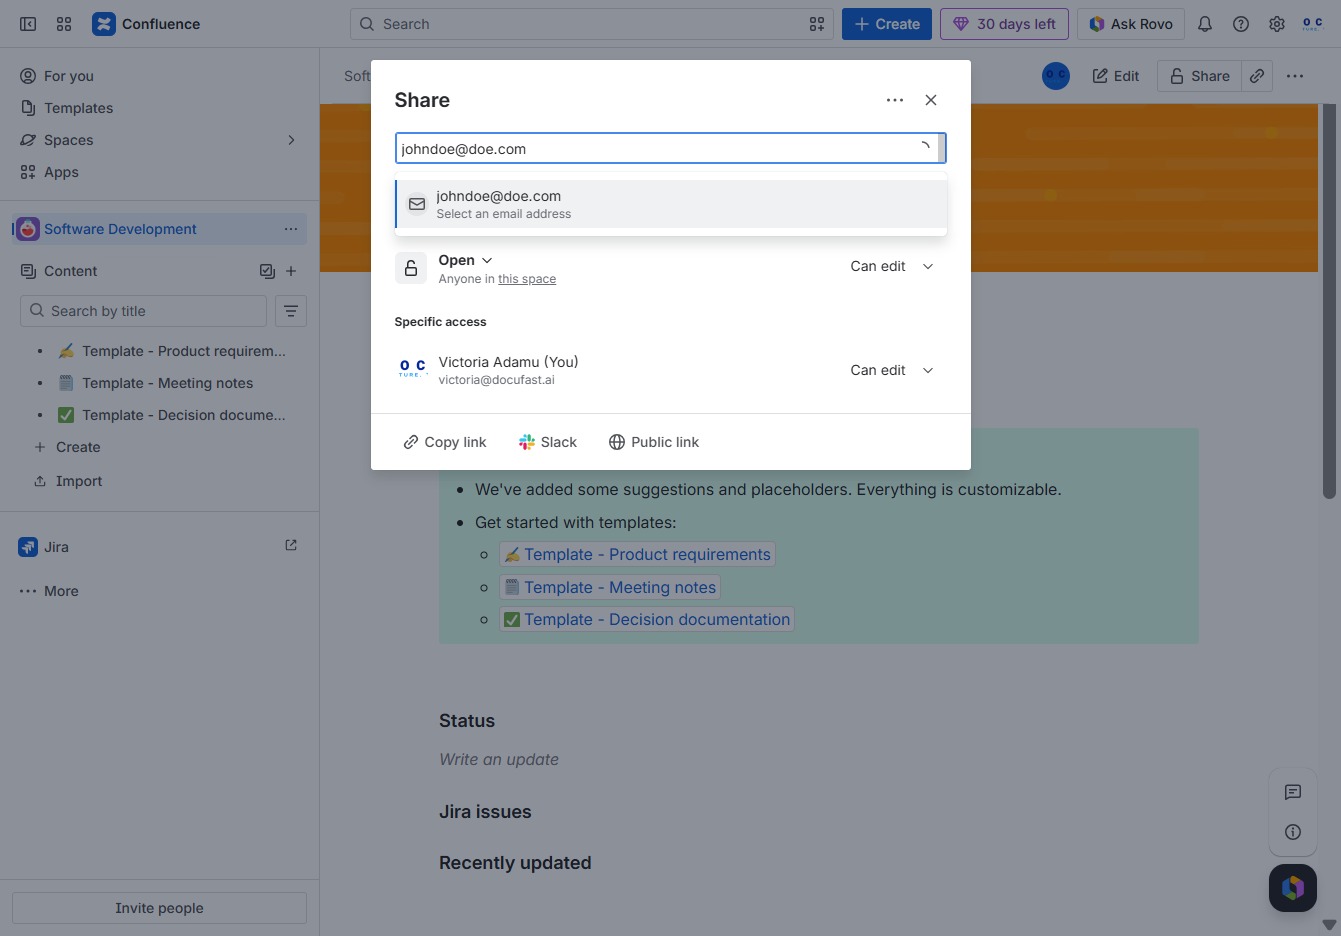
This allows you to enter the email addresses or names of individuals and groups with whom you want to share the document in Confluence. After adding the details, you can continue with the sharing process.

After clicking the Invite button, an email will be sent to the specified address, granting access to the Confluence page while allowing you to add an optional message.

This allows you to set the permissions for the invited user, enabling them to edit the shared document. Adjust this setting based on the level of access you want to provide.

Selecting 'Can view' sets the permissions for the user to only view the content shared, without edit access. This is part of the sharing settings in Confluence.
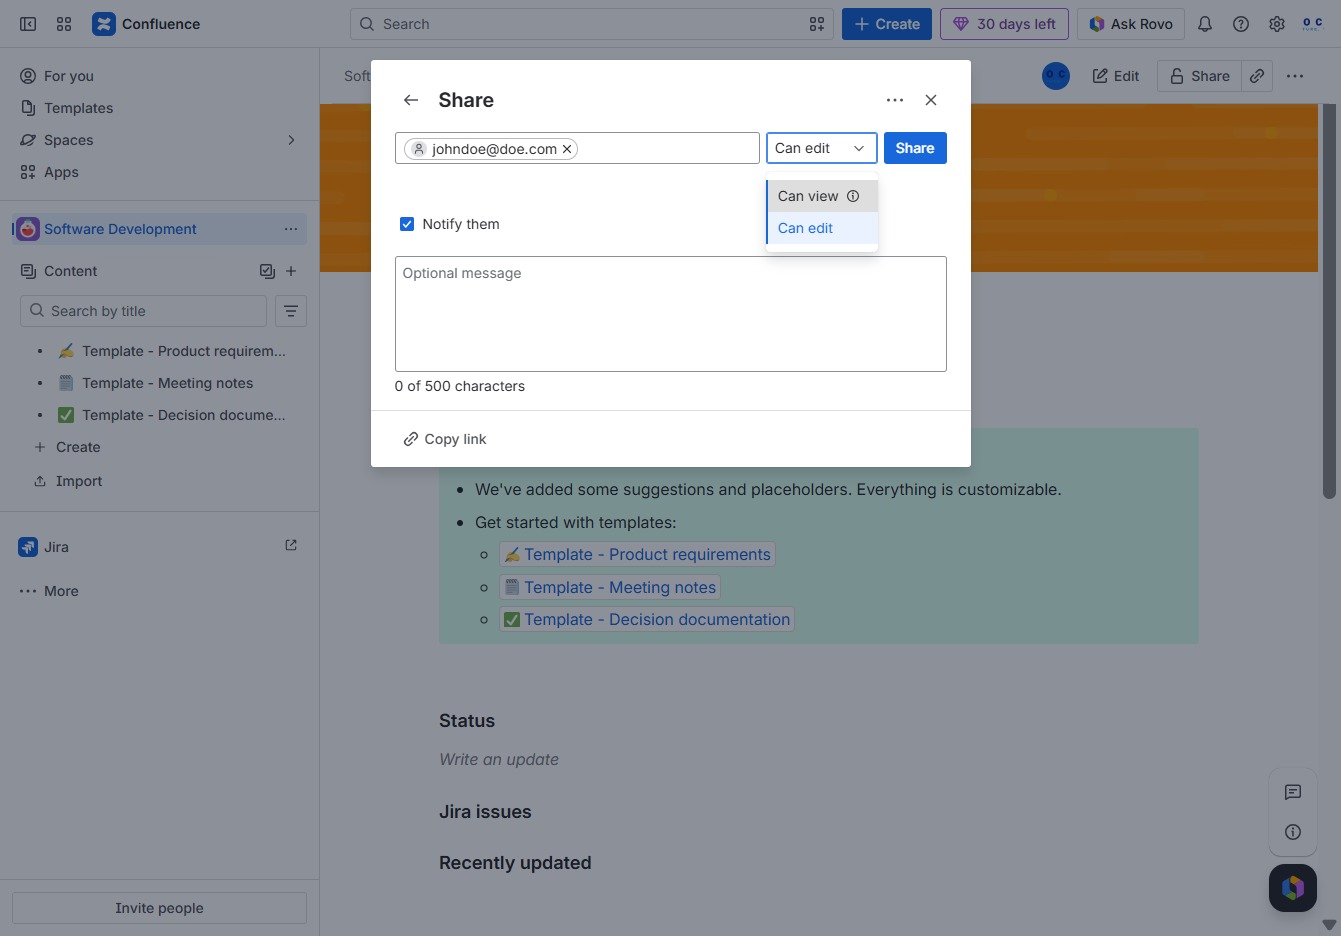
This action will open a dialog where you can enter email addresses to share the document with others, and optionally add a message to notify them.