Click the Spaces option
Clicking on 'Spaces' will take you to the section where you can manage and view all your collaborative spaces within Confluence. Here, you can access different projects and their associated documents.

Loading screenshot…
100%
This how-to guide walks you through the process of importing a space from Notion into Confluence, covering key steps from managing your collaborative spaces to finalizing user…
 viktoria
This how-to guide walks you through the process of importing a space from Notion into Confluence, covering key steps from managing your collaborative spaces to finalizing user permissions and initiating the data transfer. You'll learn how to select and upload your Notion content, ensuring a seamless integration into your Confluence workspace.
Clicking on 'Spaces' will take you to the section where you can manage and view all your collaborative spaces within Confluence. Here, you can access different projects and their associated documents.
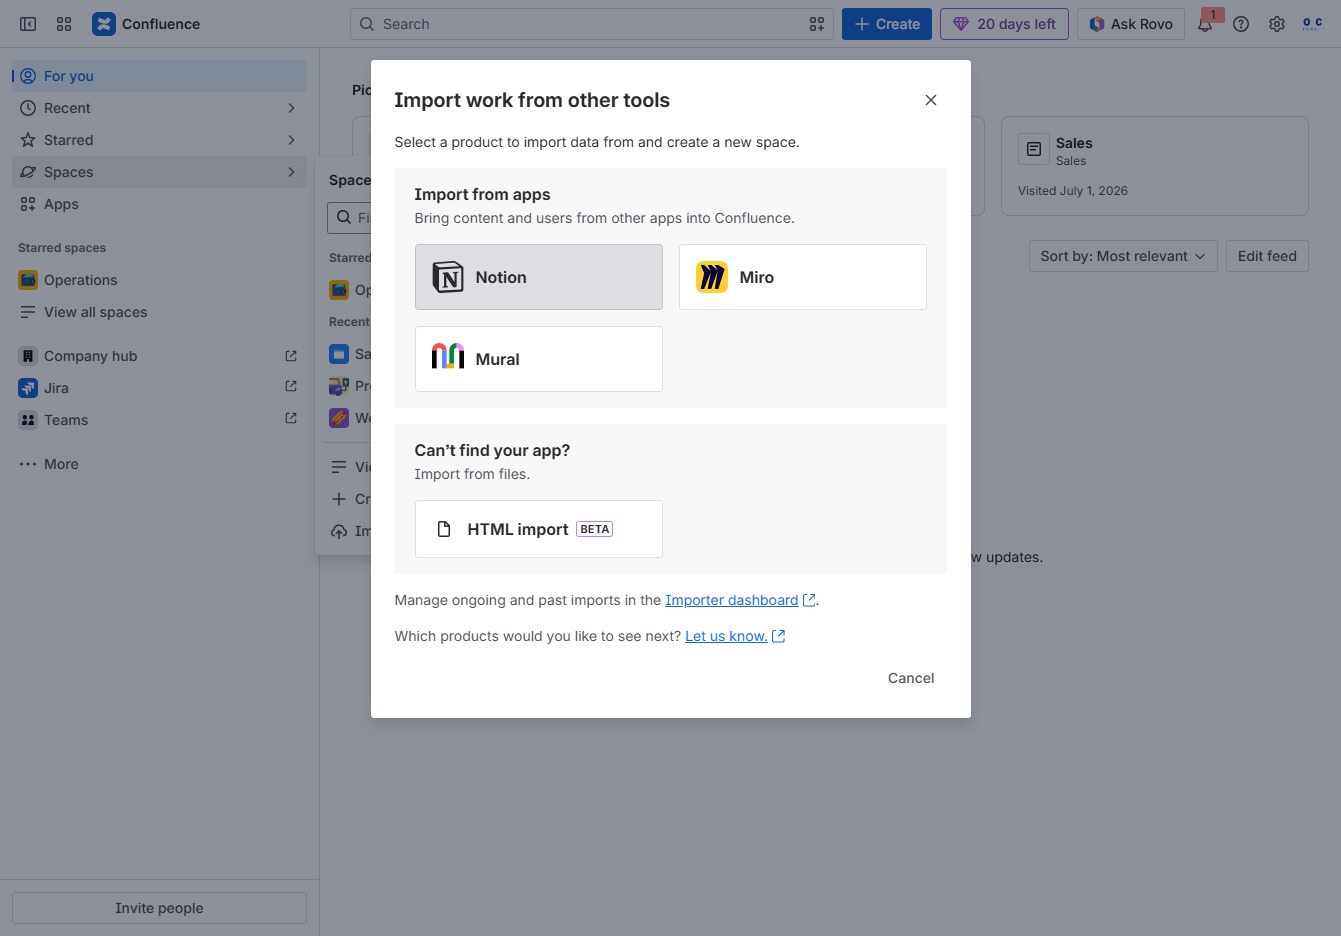
This action allows you to import content and data from various external tools into your Confluence workspace, streamlining your project setup.

This action selects Notion as the tool to import data from, allowing you to bring content and users from Notion into Confluence.
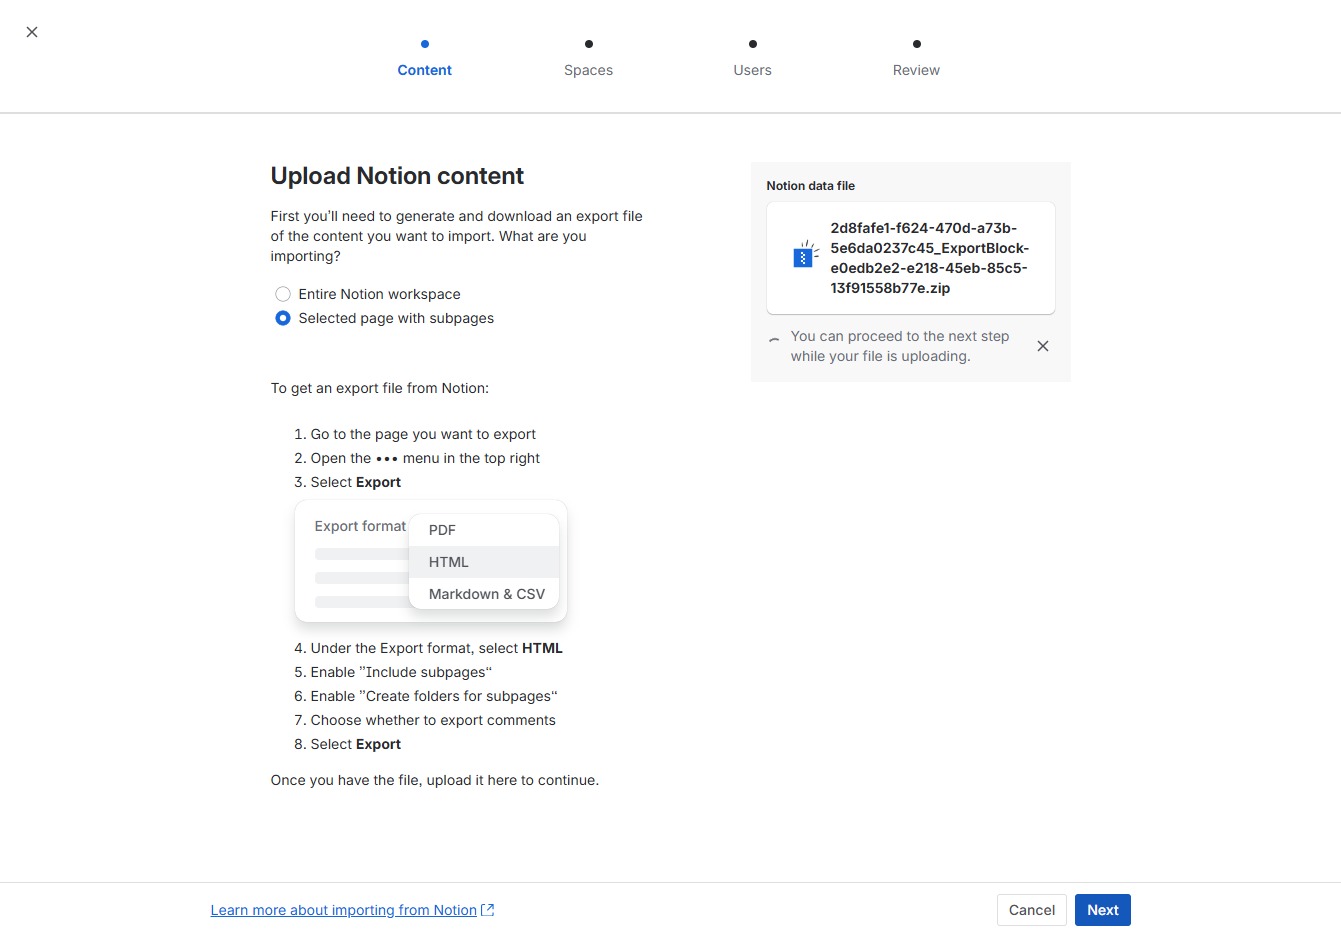
By clicking this option, you designate the specific page along with its subpages for export, allowing you to generate an export file tailored to your selected content.
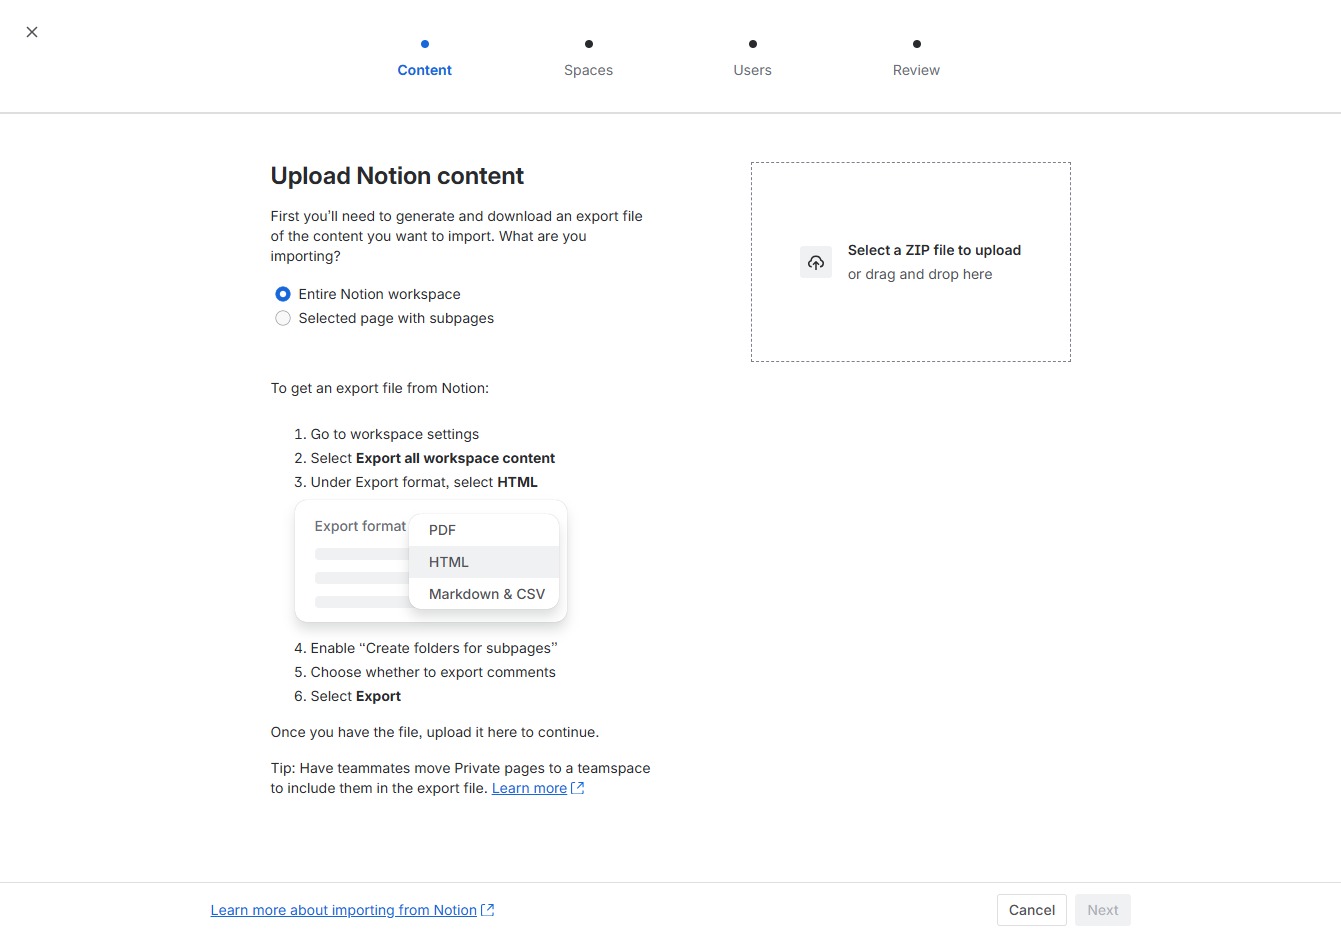
Select a ZIP file containing your Notion export to upload. You can either click the area to browse for the file or drag and drop it here.

After clicking 'Next', you will advance to the next step in the upload process where you can finalize your Notion content import settings.
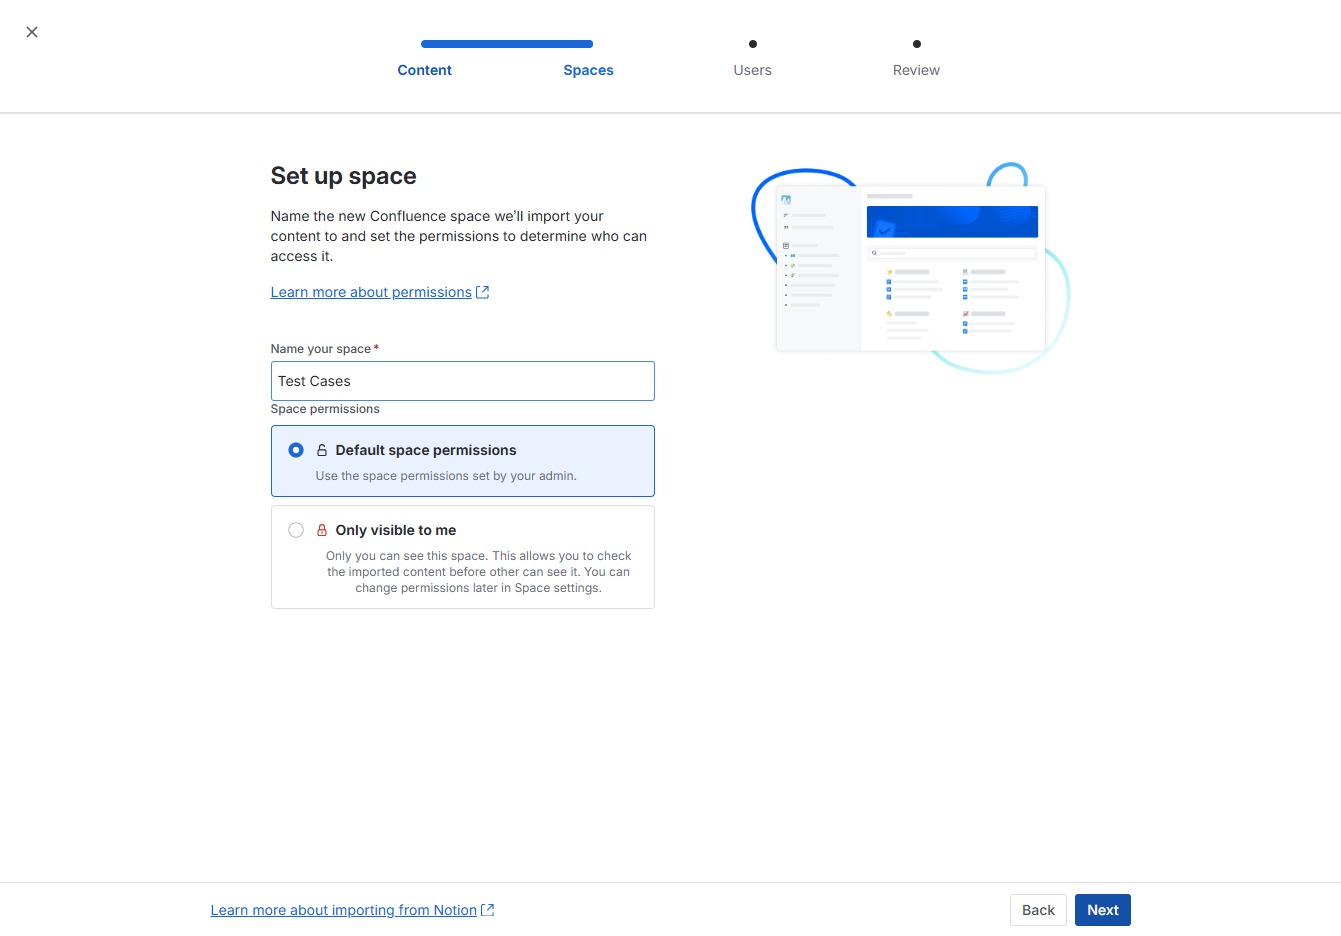
By clicking here, you can choose the default permissions for your Confluence space, ensuring that only the intended users have access.

Enter 'Test Cases' in the designated field to specify the name for your new Confluence space. This name will be used to identify the space and its contents when setting permissions and accessing it later.
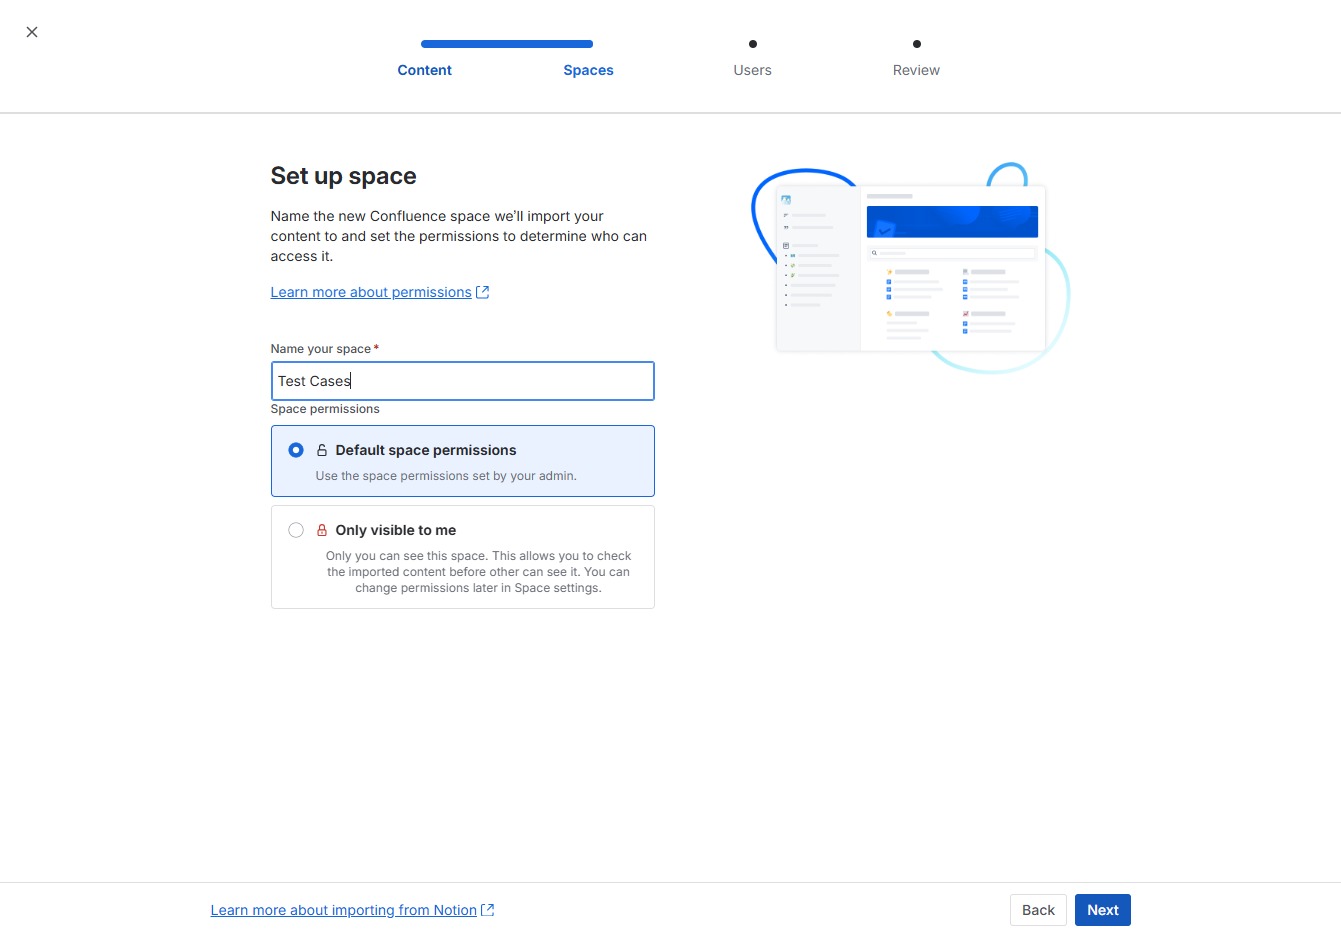
After clicking 'Next', your space setup will proceed to the next step where you can manage user permissions and finalize your Confluence space configuration.
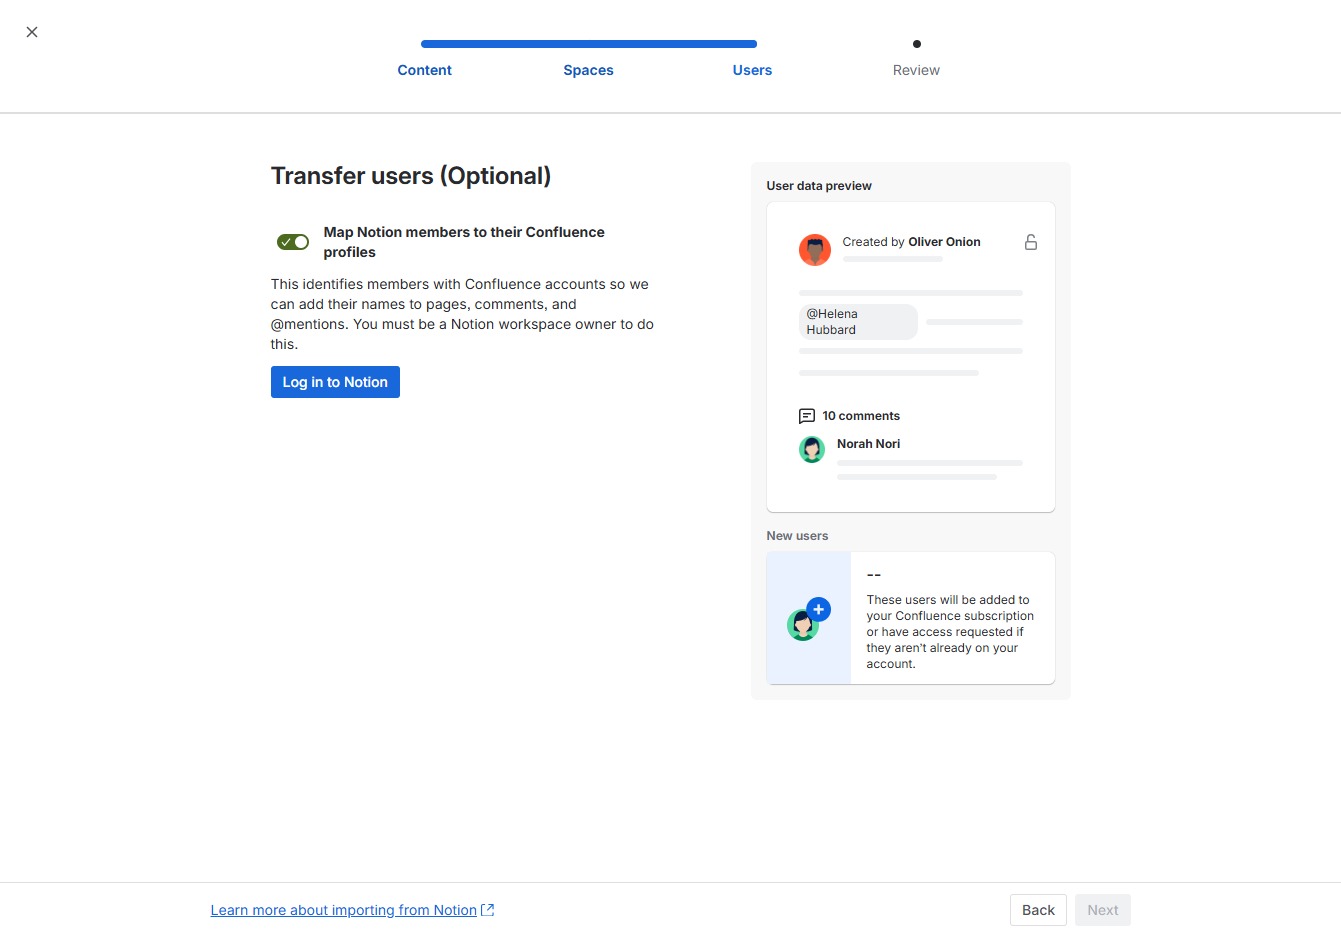
This action will redirect you to the Notion login page, where you can enter your credentials to connect your Notion and Confluence accounts.
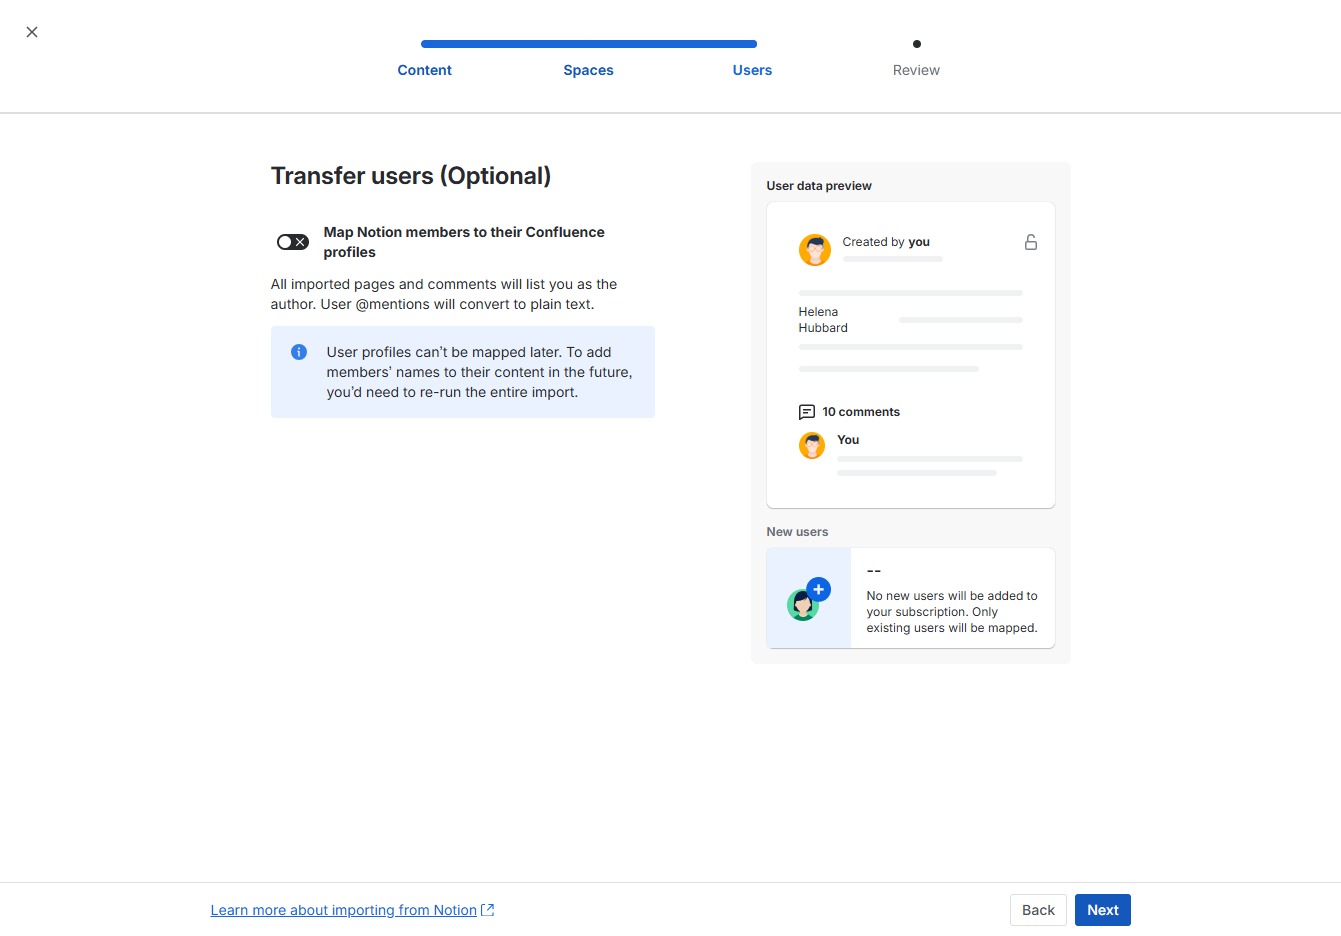
Clicking the 'Next' button will proceed to the next step in the user migration process, allowing you to continue mapping users from Notion to their Confluence profiles.
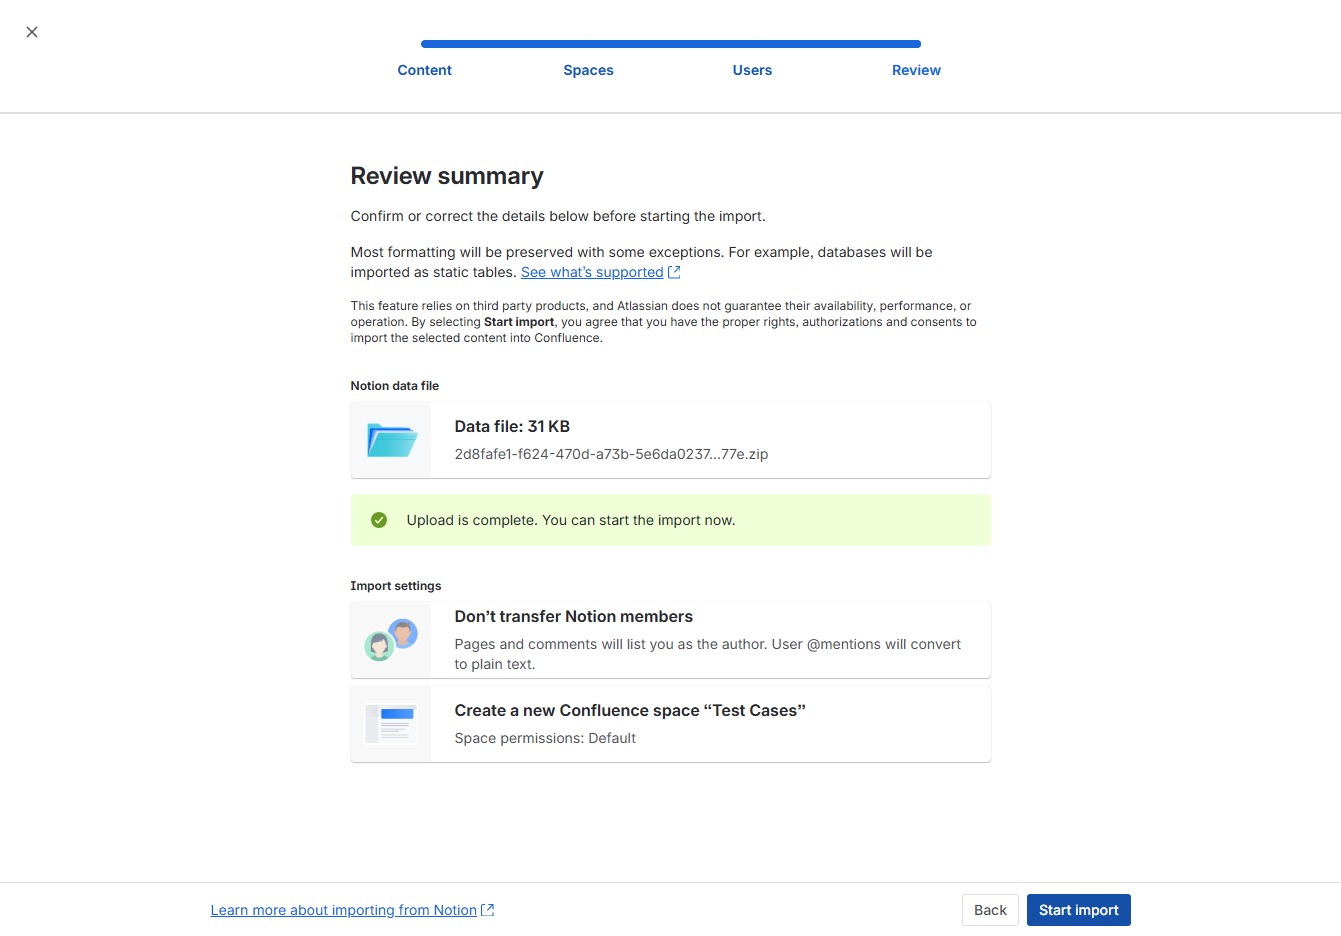
After clicking this button, the import process will begin, transferring your data into the selected Confluence space. Ensure that you have confirmed all details in the summary before proceeding.