Click Here
This option directs you to additional resources or actions within Docufast, helping you navigate seamlessly through your workspace. Select this to explore further options and tools available.

Loading screenshot…
100%
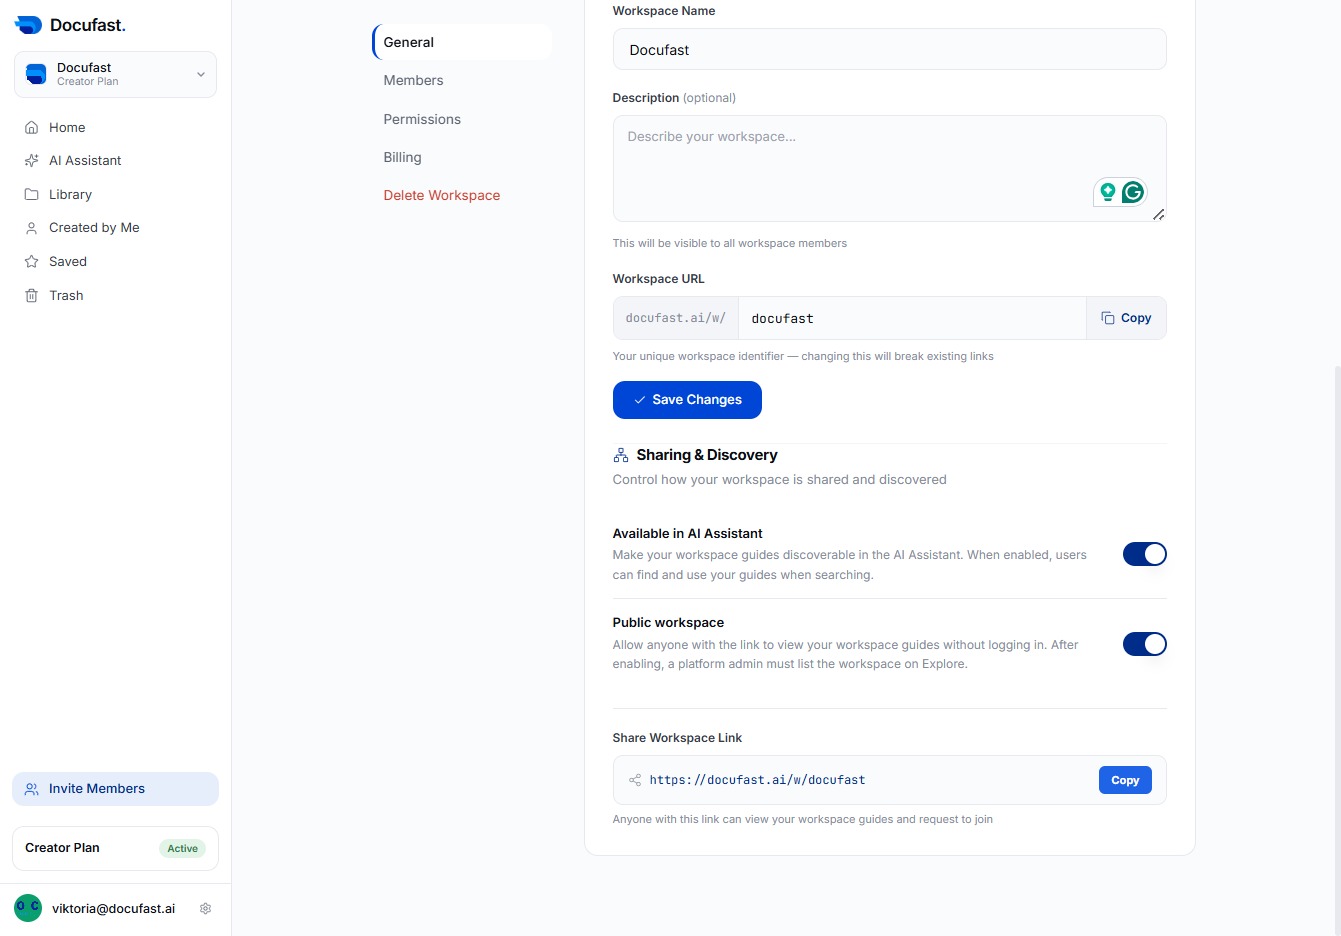
Customize your workspace in Docufast by updating the name, description, and URL, and enhancing its identity with a thumbnail image for better organization and navigation.
 viktoria
Customize your workspace in Docufast by updating the name, description, and URL, and enhancing its identity with a thumbnail image for better organization and navigation.
This option directs you to additional resources or actions within Docufast, helping you navigate seamlessly through your workspace. Select this to explore further options and tools available.
In your Docufast dashboard, access the Workspace Settings to customize your workspace preferences, ensuring it meets your needs for efficiency and organization.

You're now in the General section of the Workspace Settings. Here you can manage important settings related to your workspace identity and general preferences.
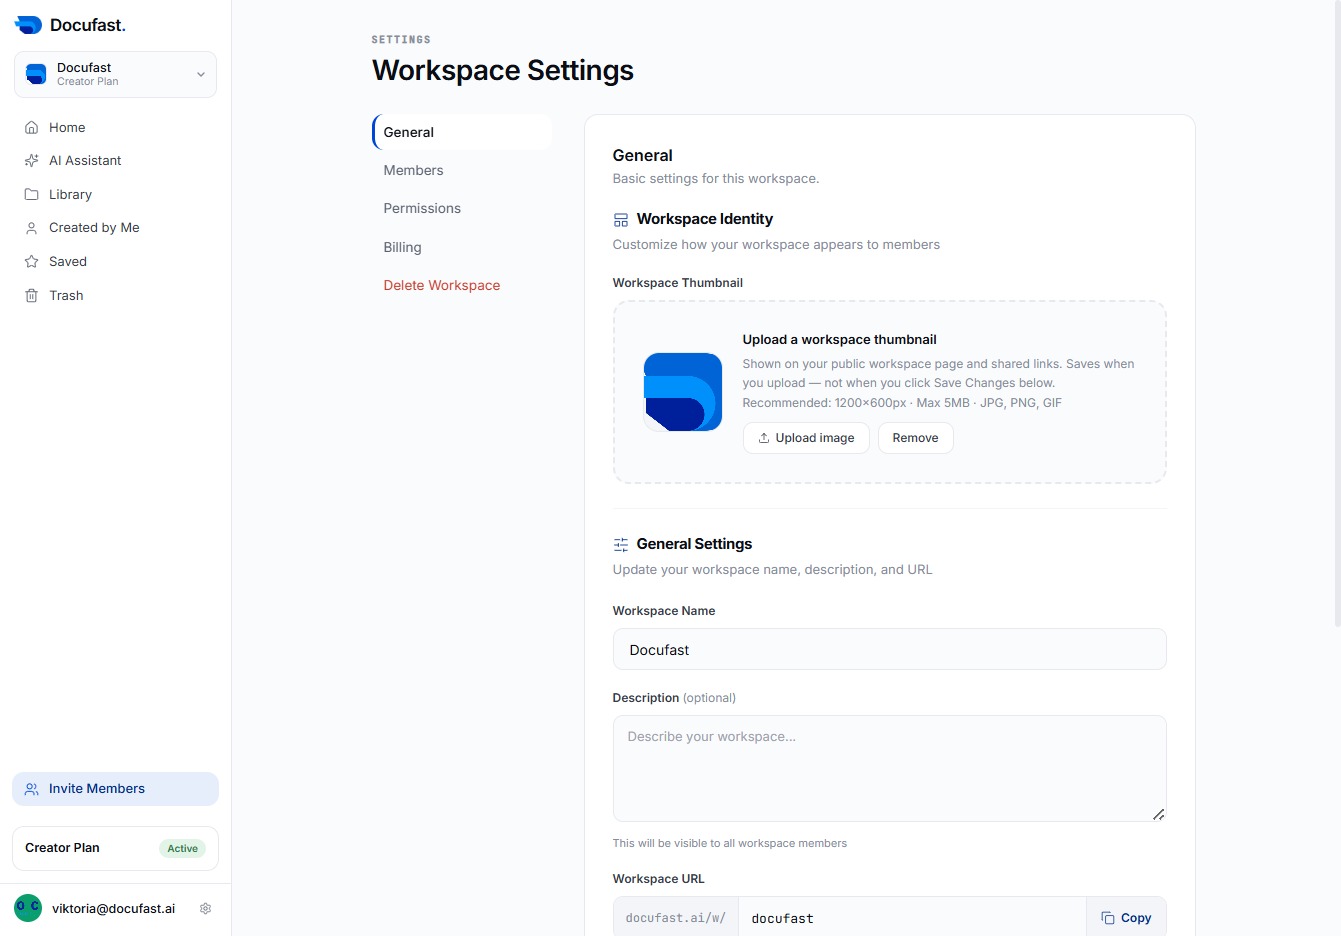
To personalize your workspace, click the 'Upload image' button. This allows you to select an image file, which will serve as your workspace thumbnail, enhancing its visual identity.

You'll need to input a name for your workspace here. This name helps identify your workspace, so choose something that reflects its purpose.
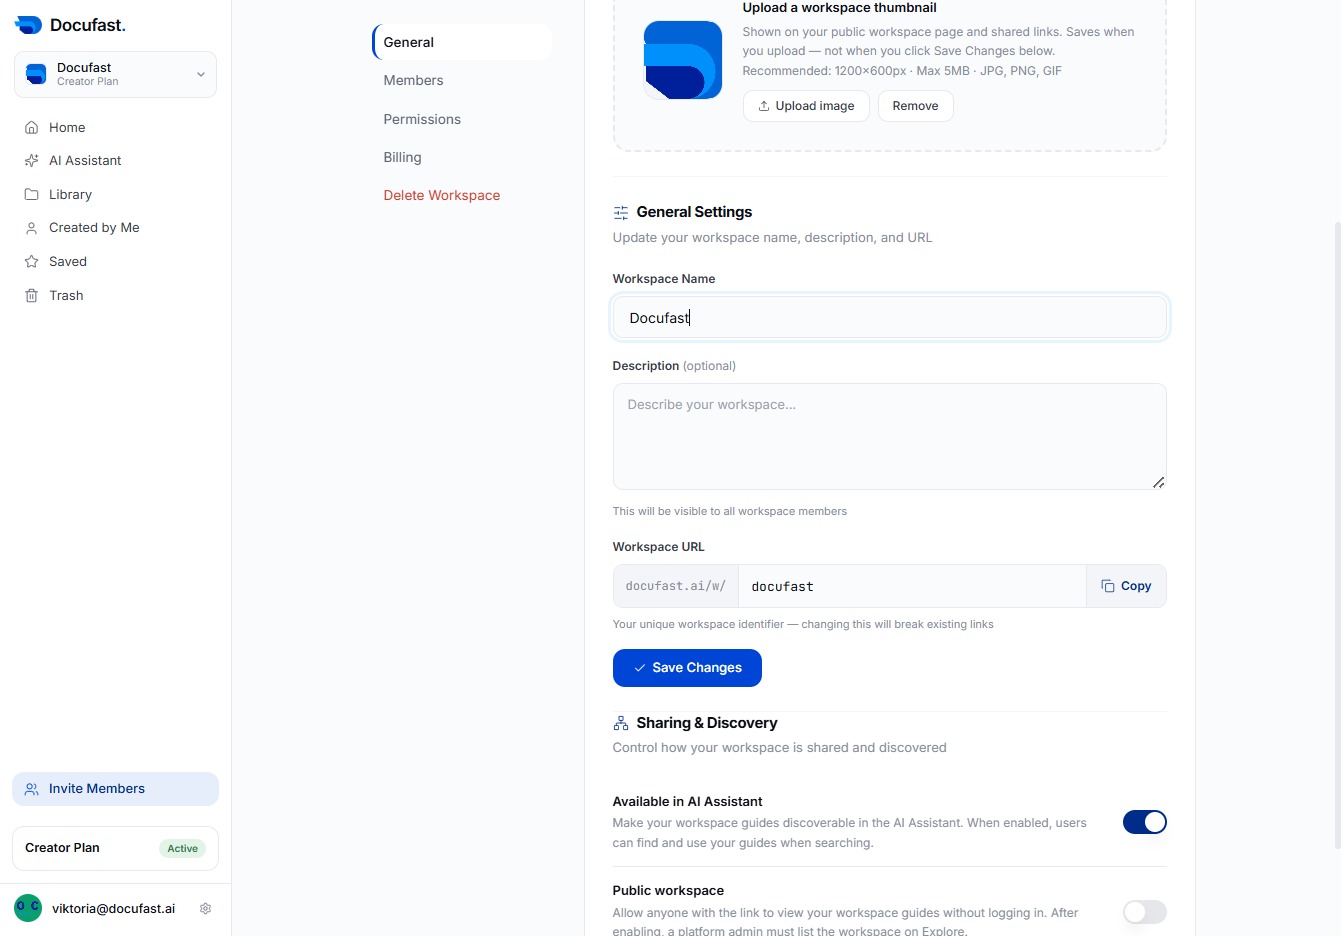
Now, you'll enter a brief description of your workspace in the designated text area. This helps others understand what your workspace is about and its purpose.
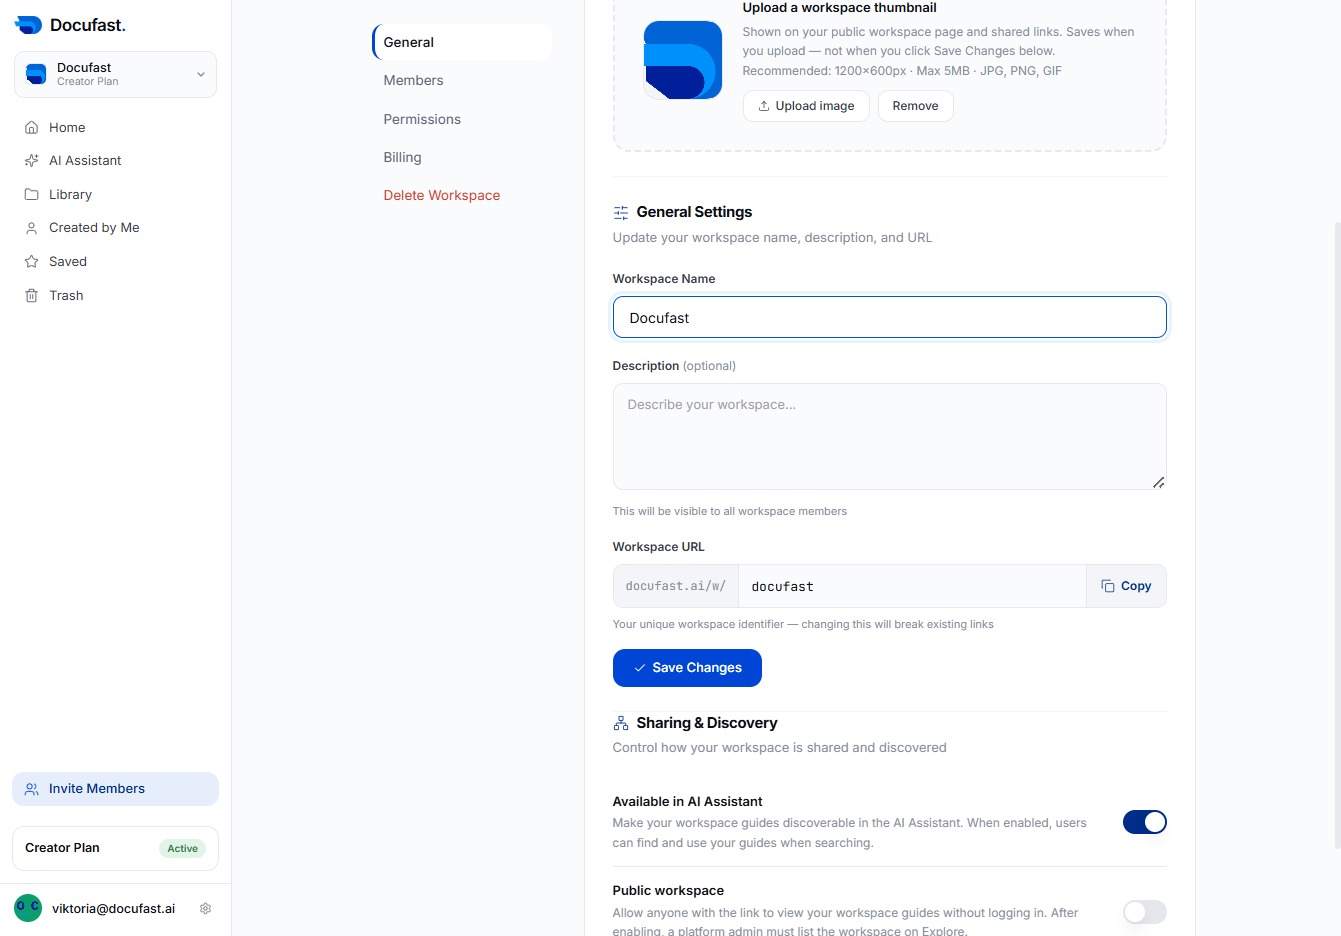
In the General Settings section, you can specify the Workspace URL. This URL serves as a unique identifier for your workspace and can be used for easy access and reference.
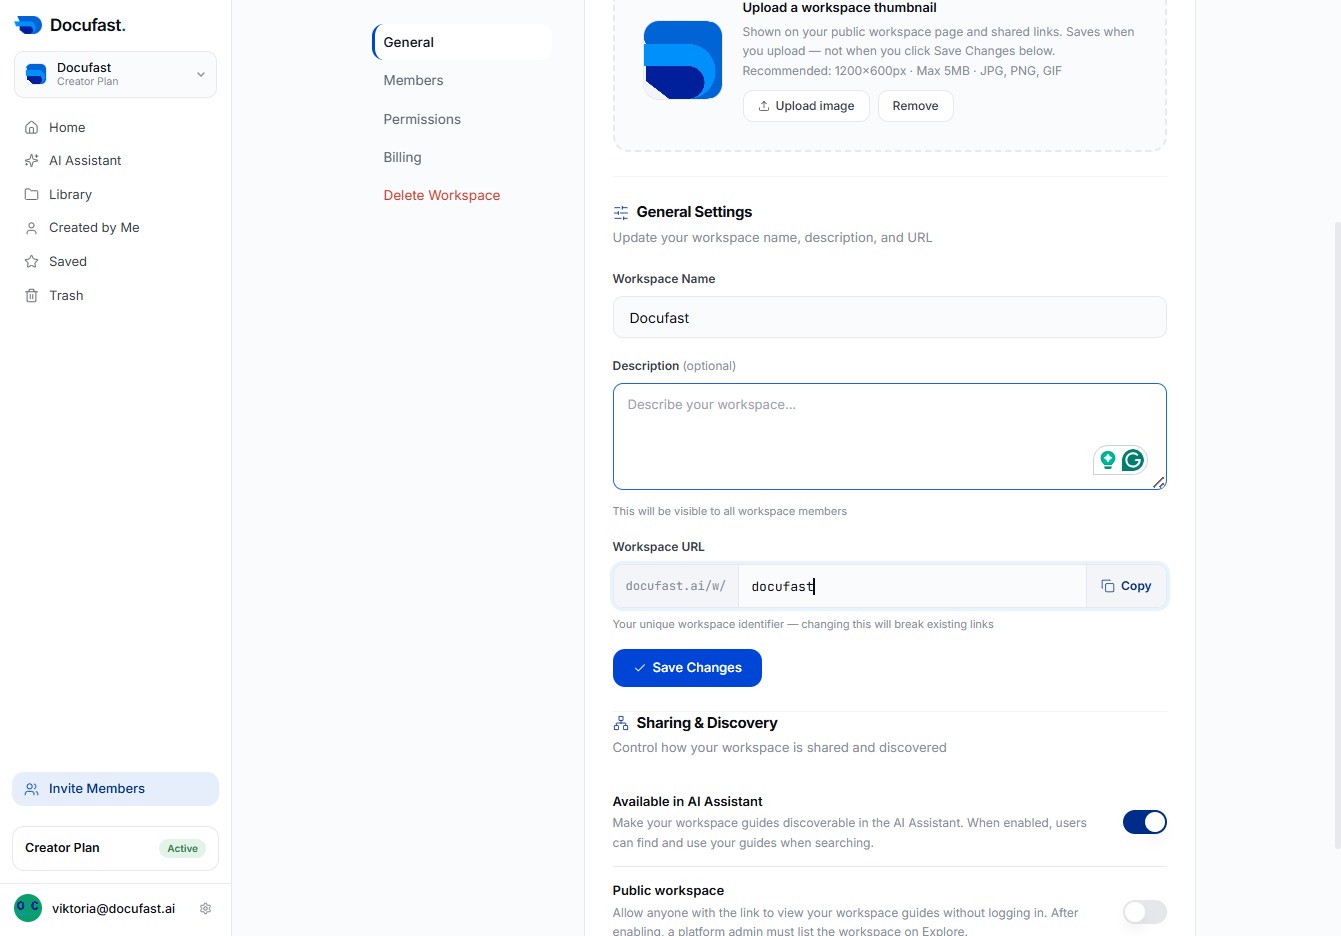
After updating your workspace details, you'll want to click the 'Save Changes' button. This ensures all your modifications are recorded and your workspace settings are up-to-date.

Here, you'll confirm your updates by clicking Save Changes, ensuring that any modifications made to your workspace settings are applied effectively.
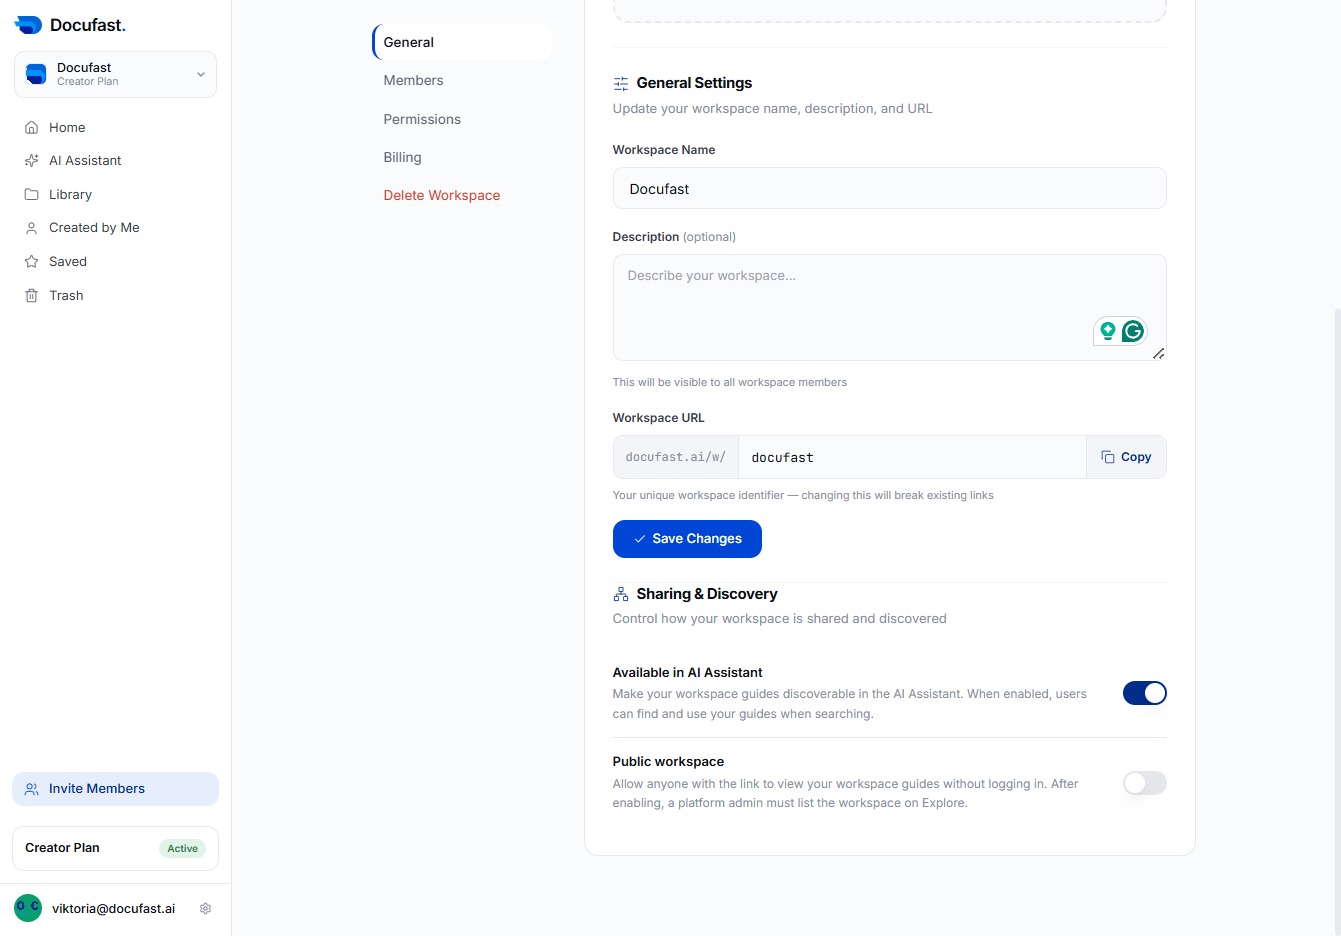
When you want to duplicate the workspace URL for sharing, simply click the Copy button. This action allows you to easily transfer the link to your clipboard.