Click the Sales menu item
Selecting the Sales option will navigate you to the sales management section, where you can view and manage your sales operations and deals.

Loading screenshot…
100%
Navigate to the Meetings Scheduler in Sales to customize your meeting settings, including notifications, attendee information forms, and personalization tokens for inviting…
 viktoria
Navigate to the Meetings Scheduler in Sales to customize your meeting settings, including notifications, attendee information forms, and personalization tokens for inviting contacts.
Selecting the Sales option will navigate you to the sales management section, where you can view and manage your sales operations and deals.
This action will take you to the Meetings Scheduler section where you can manage your appointments and schedule meetings.

Clicking the 'Edit' button allows you to modify details of the selected meeting, including changing the meeting name, organizer, type, and duration.

This will open a customization options menu for your meeting settings, allowing you to adjust details such as notification preferences and meeting appearance.

After clicking, a dropdown will appear allowing you to select or insert a personalization token for the meeting details.
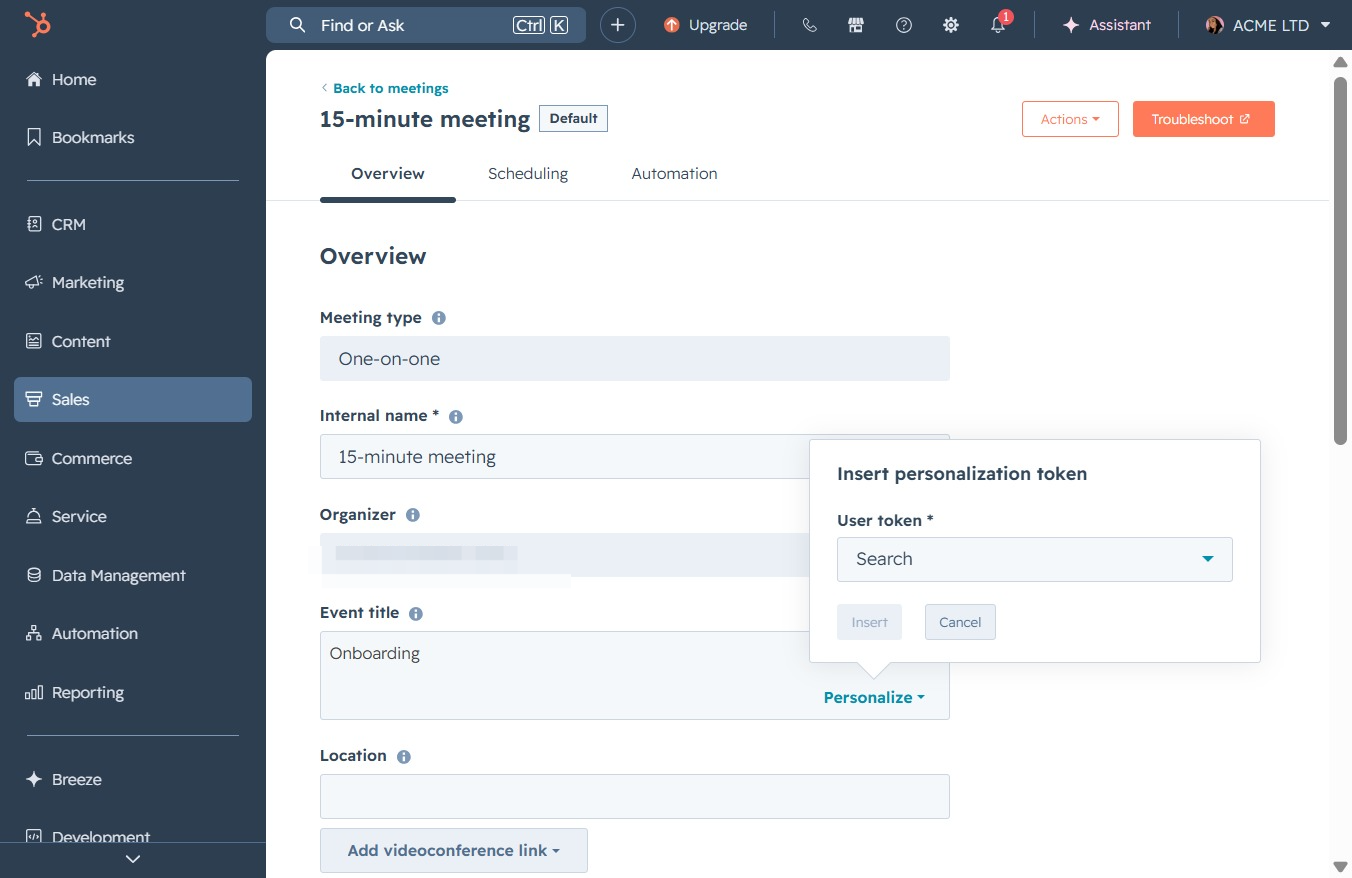
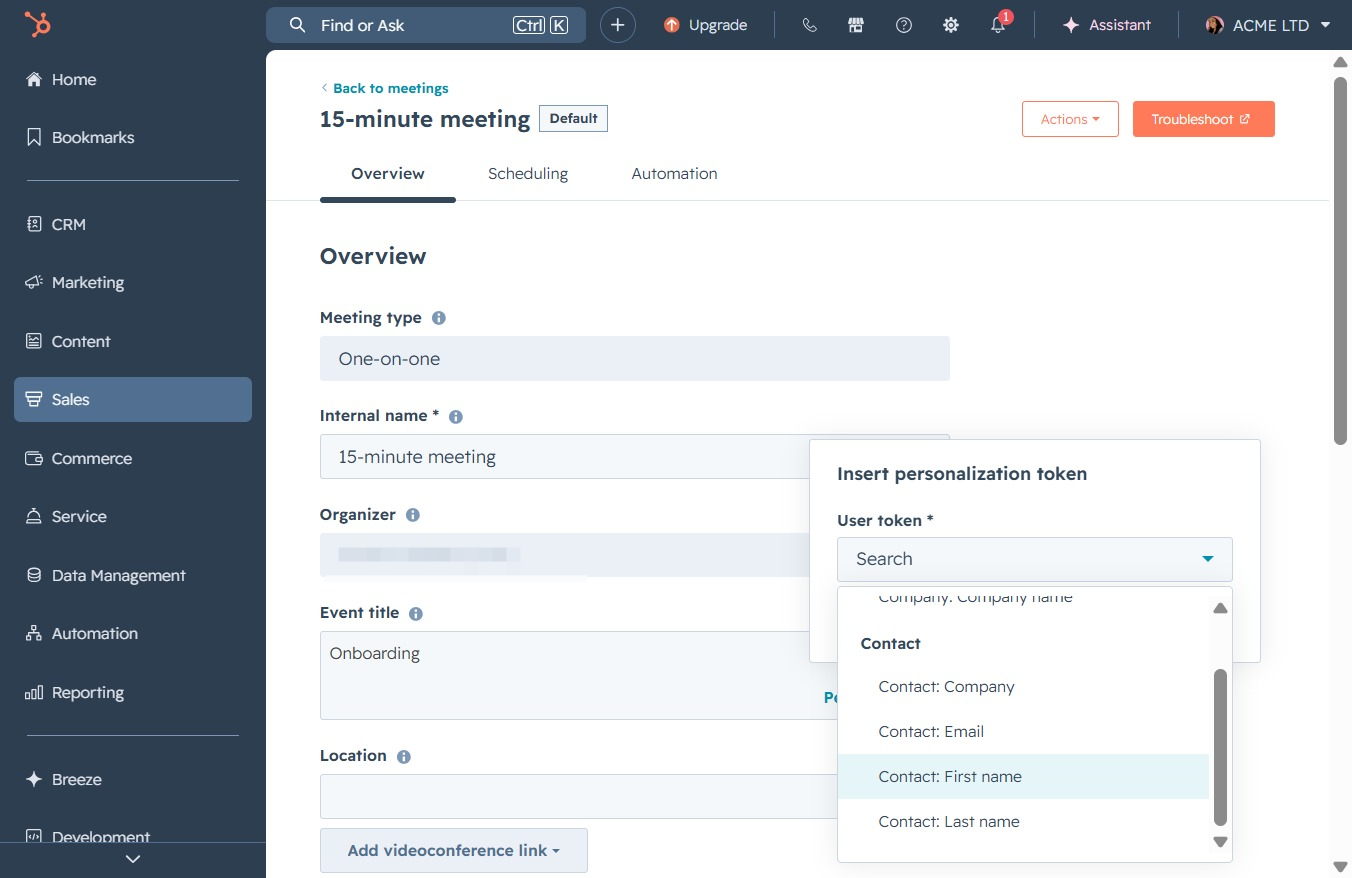
This allows you to personalize your meeting by inserting the first name of a contact. Once clicked, you can select or type the desired contact's first name for your meeting invitation.
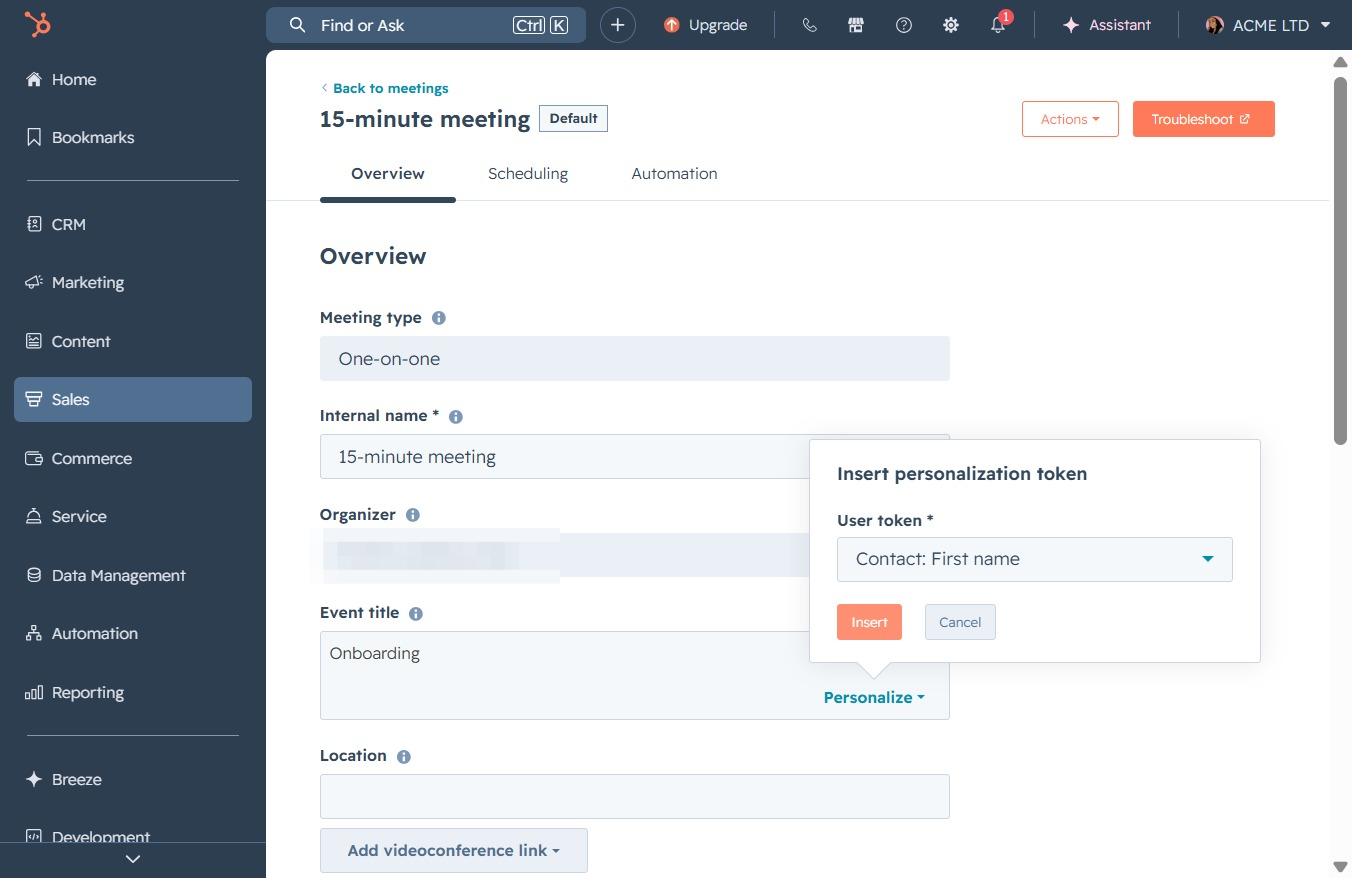
Clicking the 'Insert' button allows you to add personalization tokens to your meeting details, enhancing customization by inserting information like the contact's first name.
Clicking this button will save your changes to the event details you have modified in the onboarding section, ensuring that all updates are stored.

This action switches the selected feature on or off, enabling or disabling specific functionalities related to the event settings.

This will take you to the scheduling options for the selected meeting, allowing you to set specific dates and times.
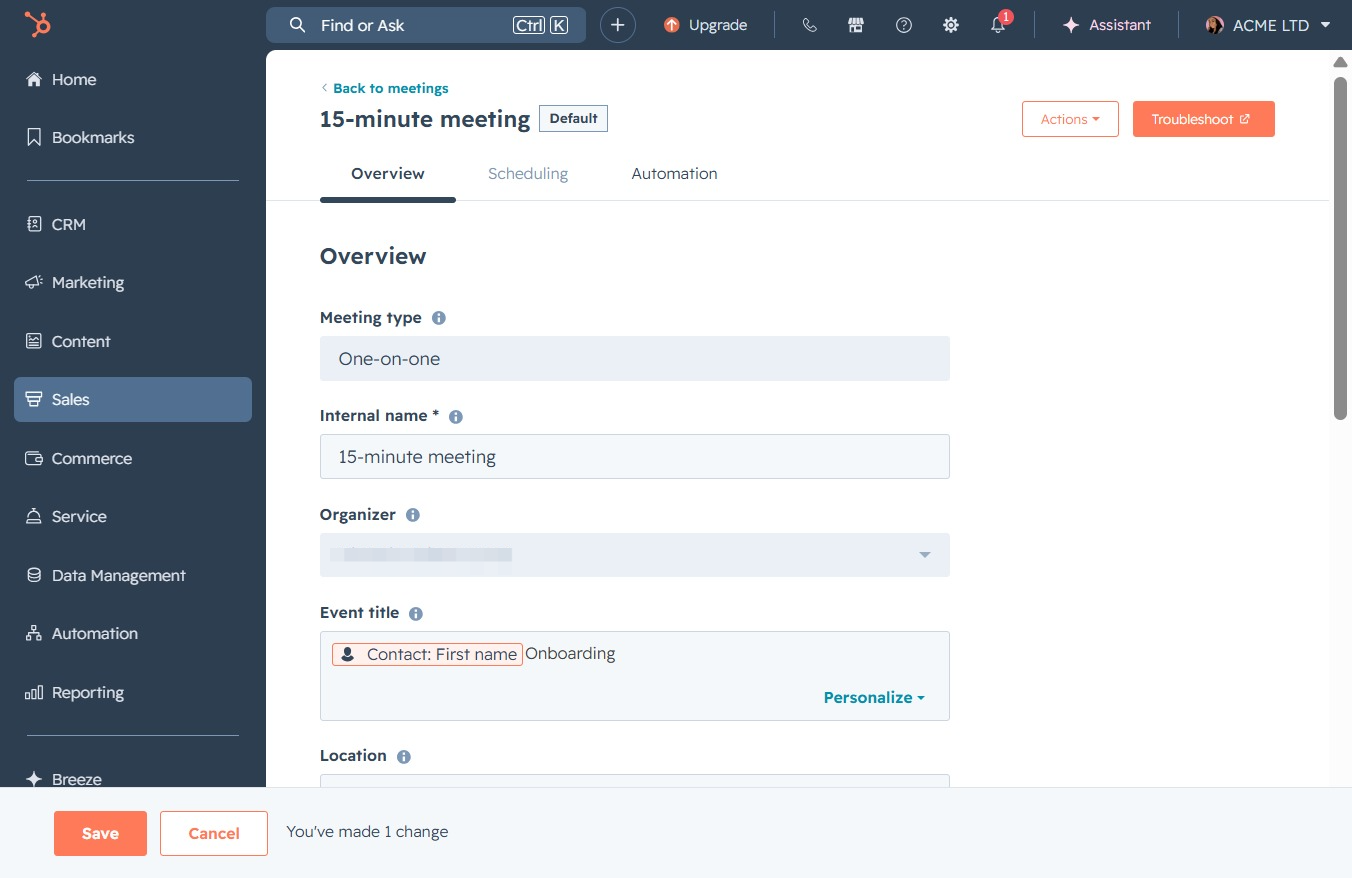
This will open the form settings for collecting attendee information when scheduling meetings.
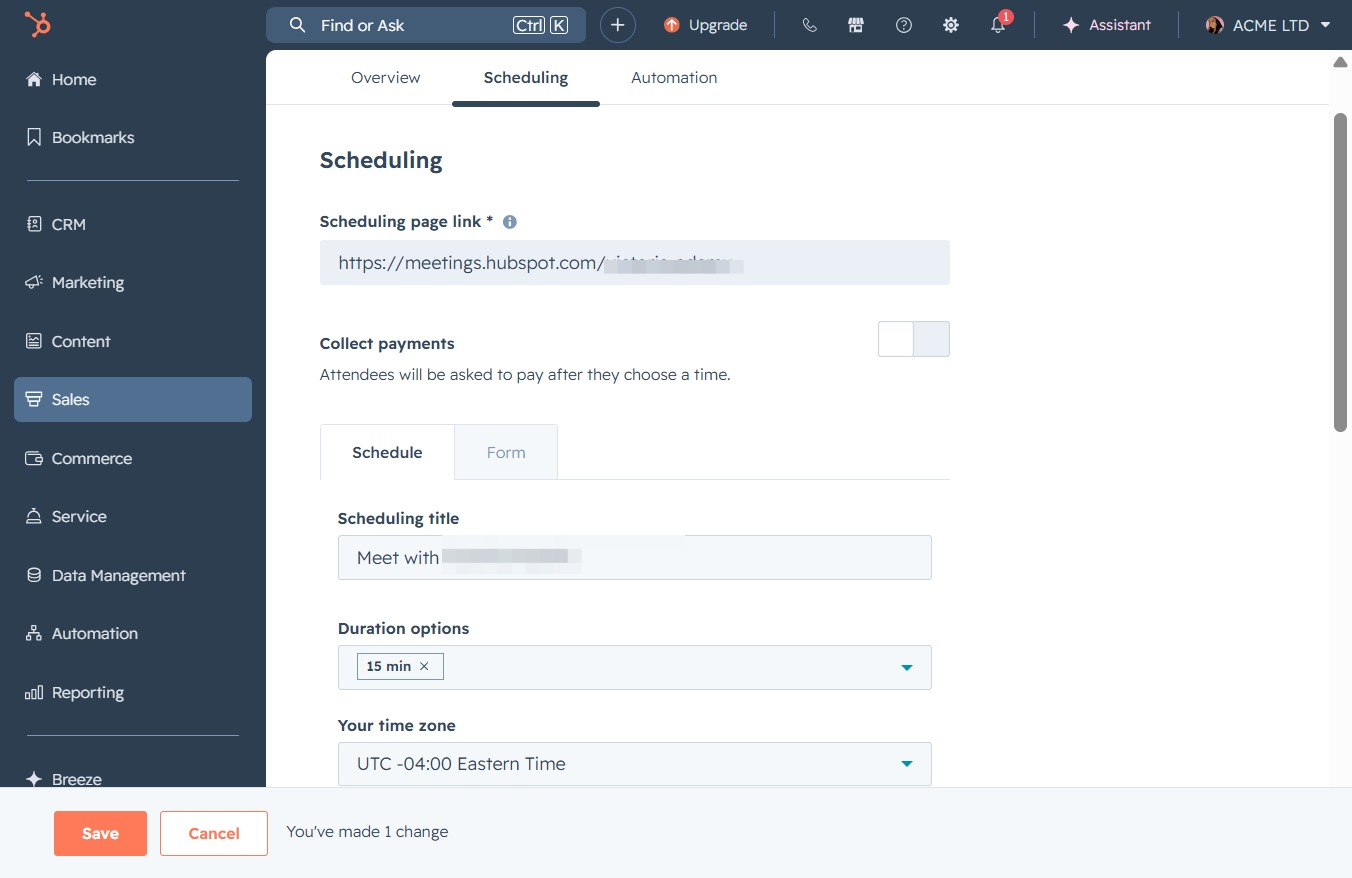
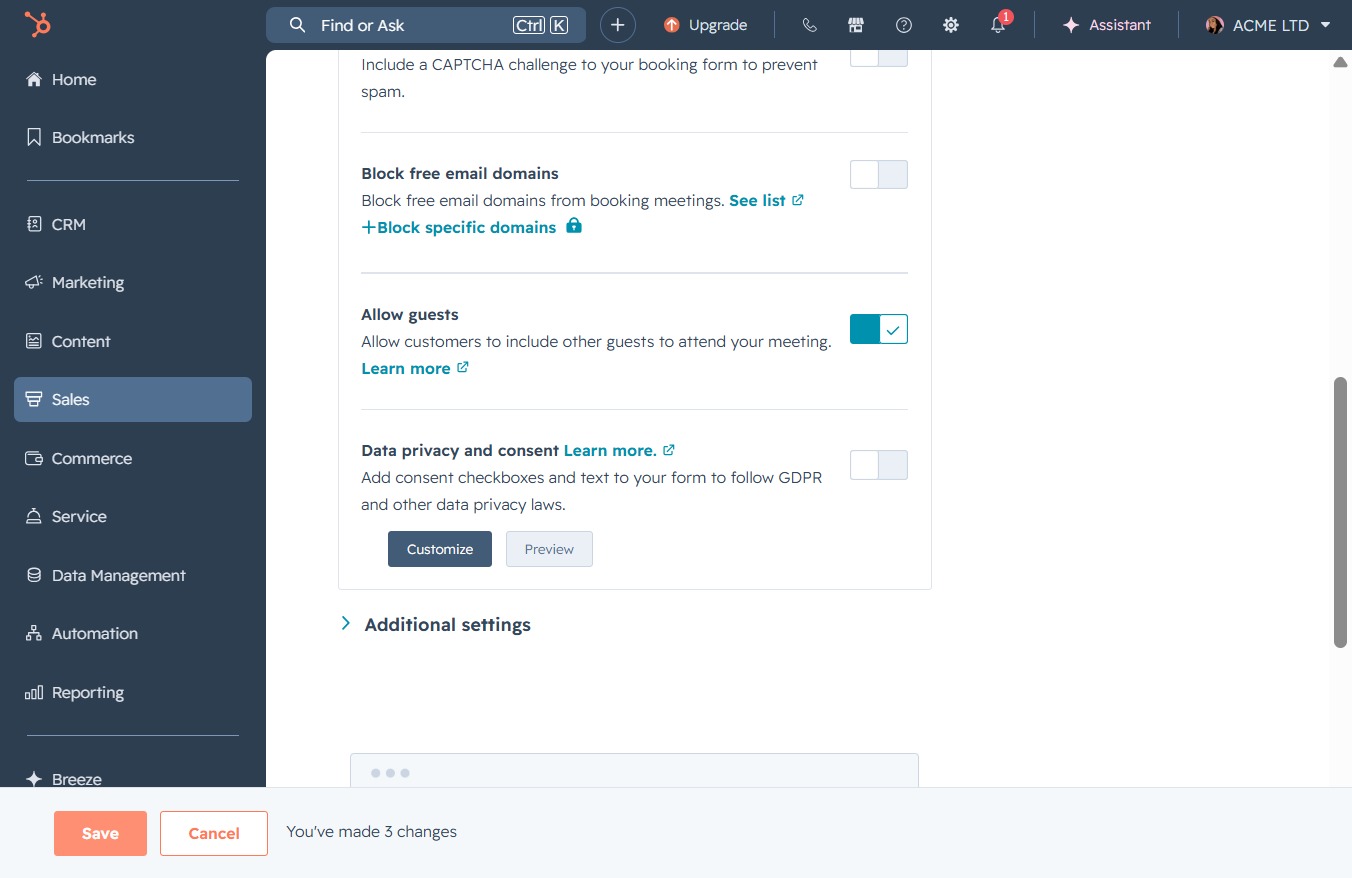
Clicking this link will allow you to adjust various settings related to your booking form, including blocking specific email domains and modifying CAPTCHA options.
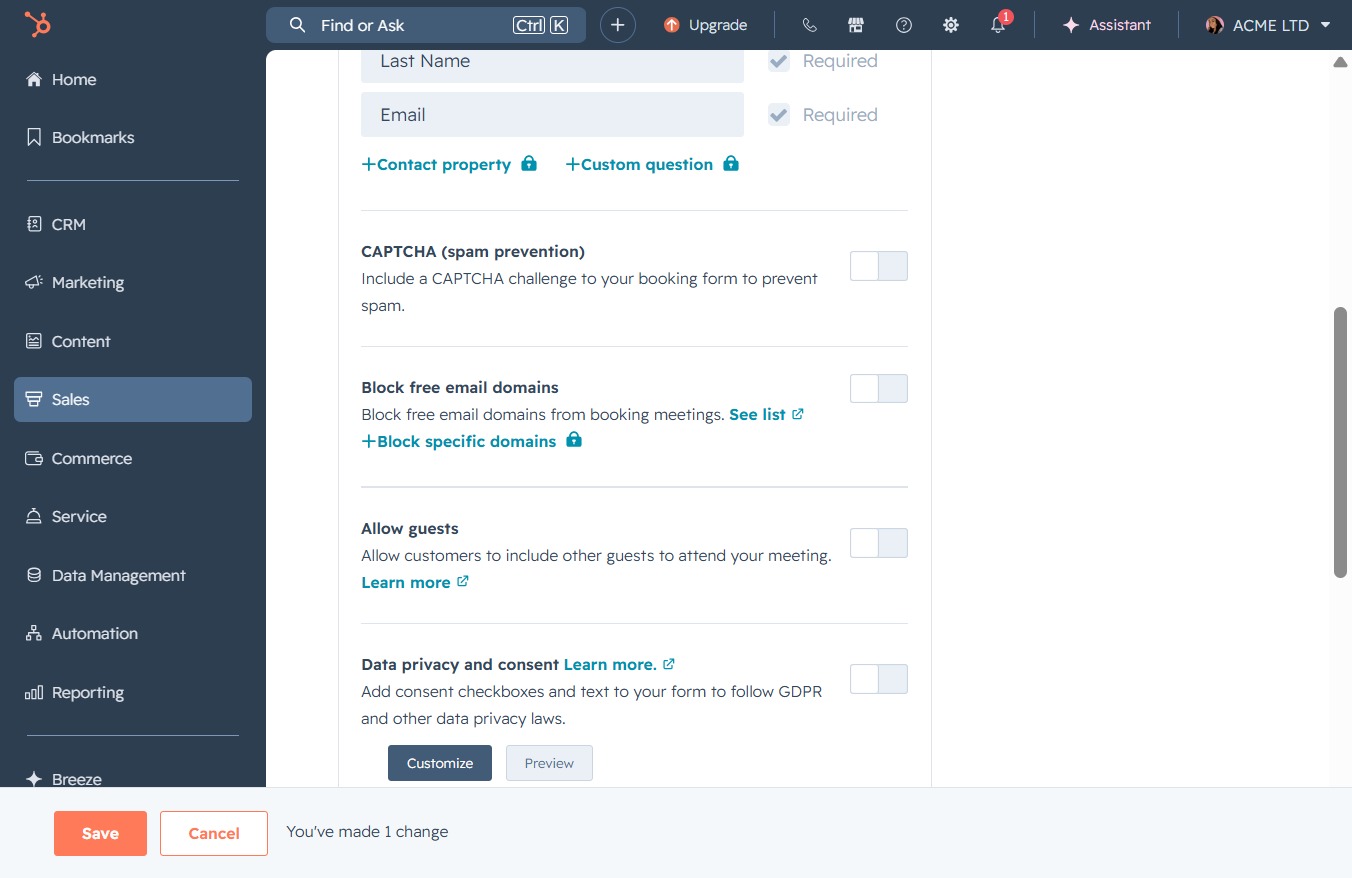
This action will save your changes to the meeting settings, including any modifications made to guest permissions and data privacy options.