Click Project A
This action opens the details for Project A, allowing you to view and manage tasks associated with this project.

Loading screenshot…
100%
This how-to guide walks you through customizing project views, from managing tasks in a structured format to organizing them by specific criteria.
 viktoria
This how-to guide walks you through customizing project views, from managing tasks in a structured format to organizing them by specific criteria. Learn to rename projects, filter tasks by team members, and save your custom layout for efficient task management tailored to your workflow.
This action opens the details for Project A, allowing you to view and manage tasks associated with this project.
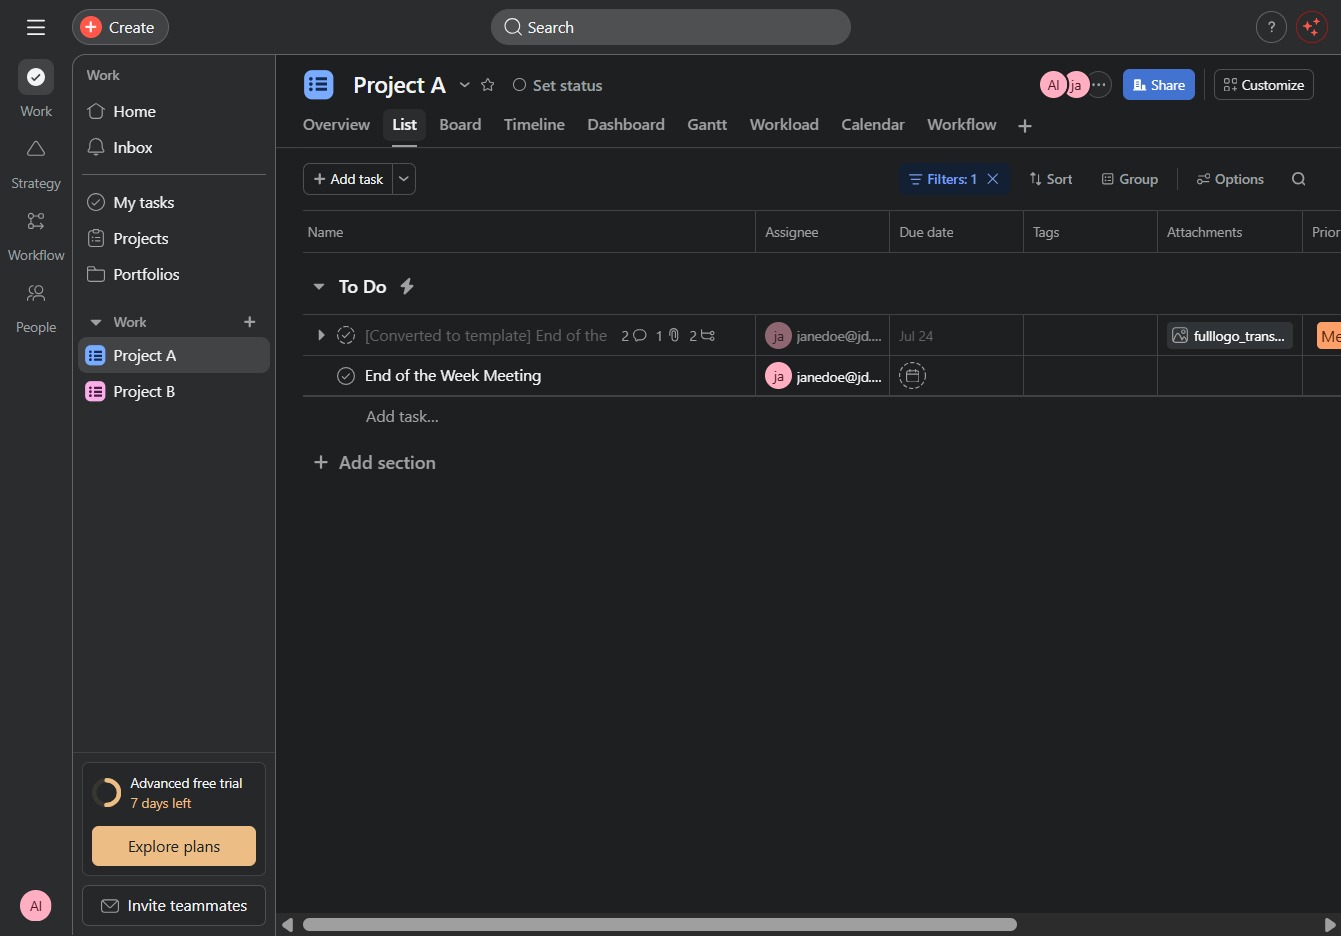
Selecting the 'List' view allows you to manage tasks in a structured format, displaying all your current tasks and their details for better organization.
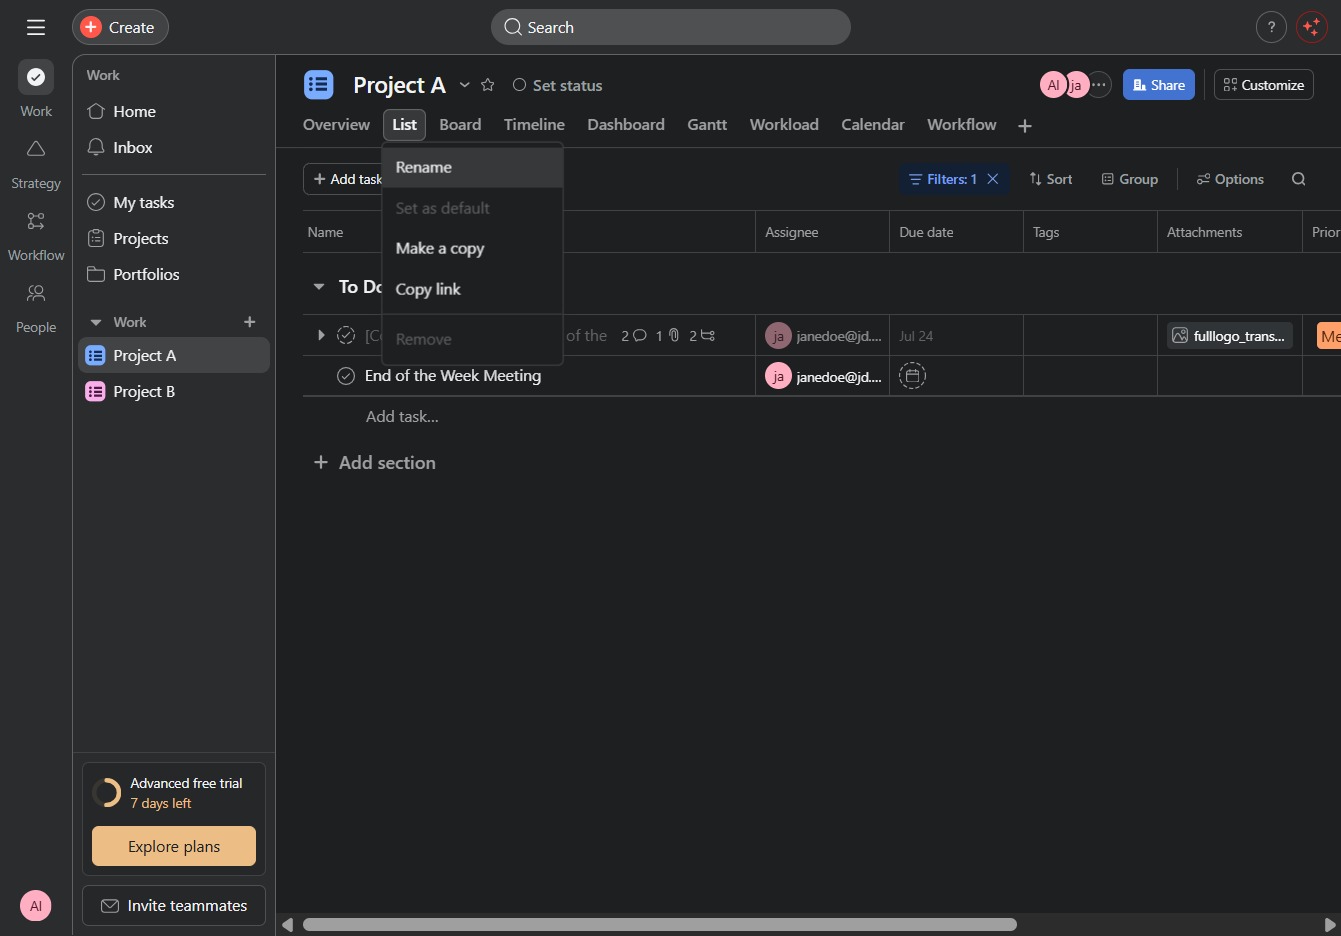
Selecting the 'Rename' option allows you to change the name of the current project or task. This will prompt an input field where you can enter the new name.
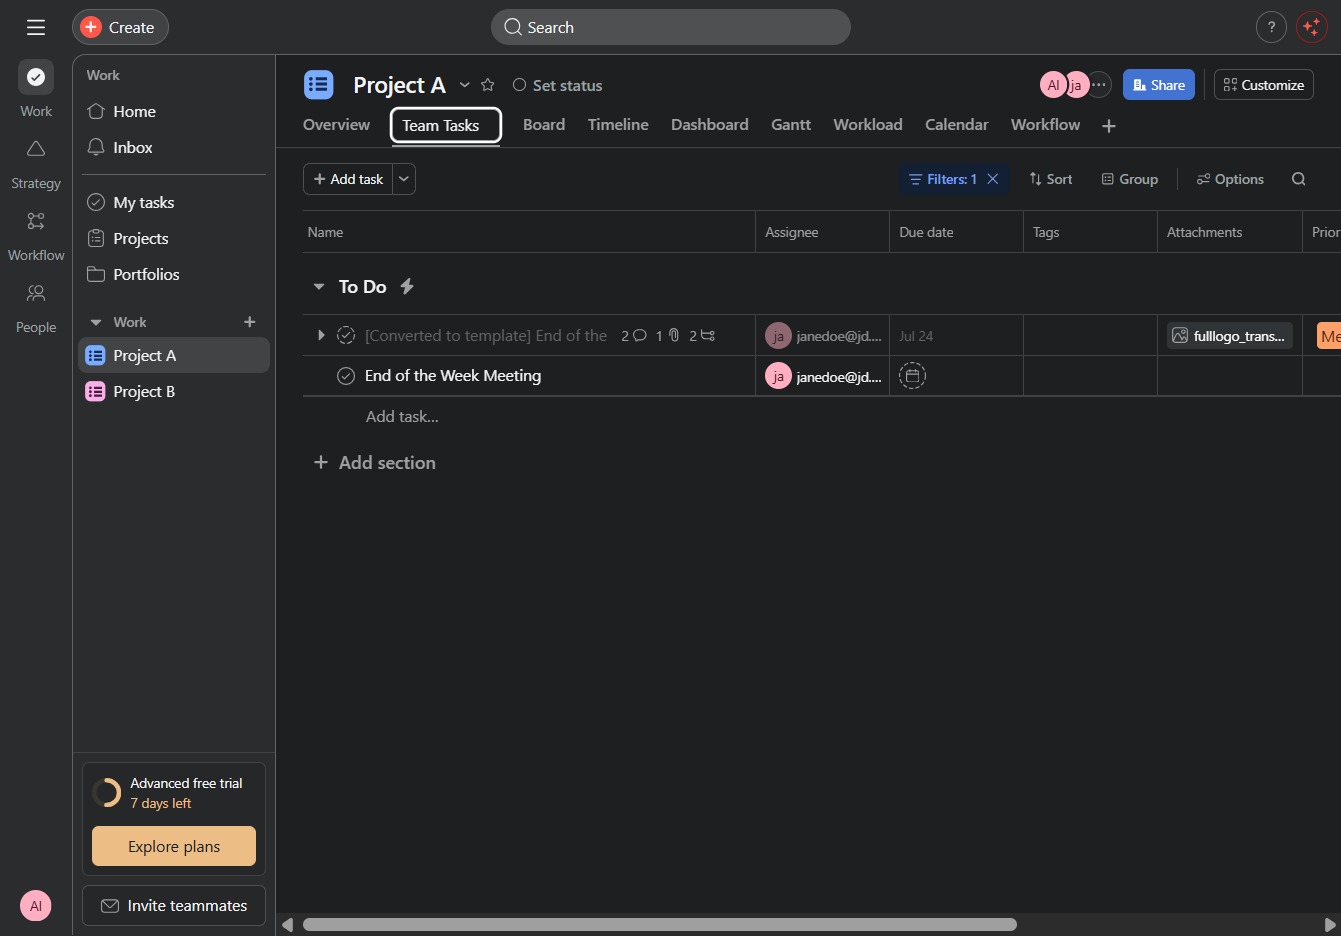
In the 'Team Tasks' section, input 'Team Tasks' to filter or organize your project tasks accordingly. This action allows you to focus on team-specific tasks within the overview.
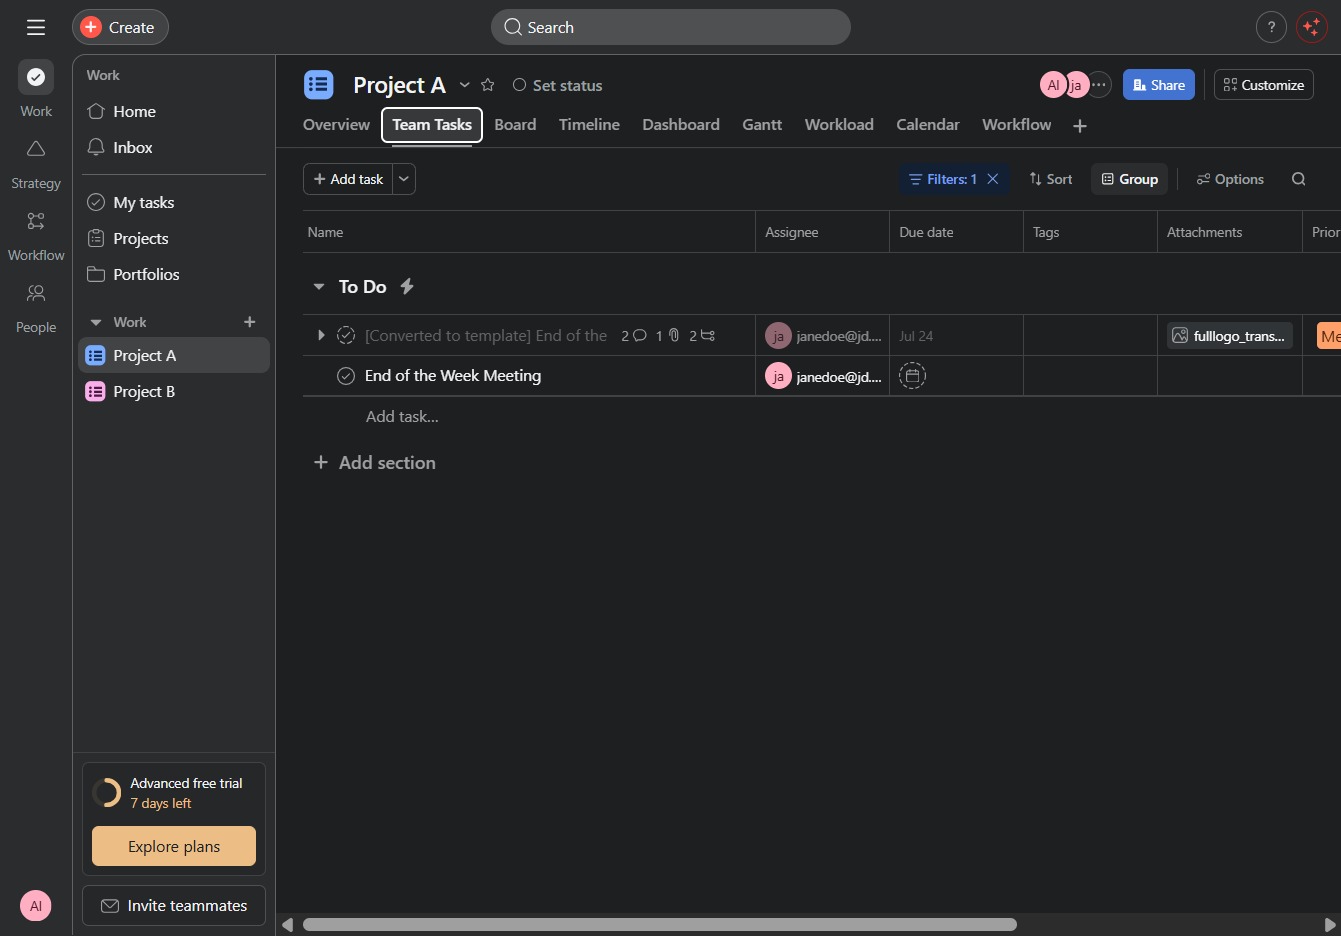
Clicking the 'Group' option will allow you to organize tasks in the project according to specific categories or criteria, enhancing task management within the 'Team Tasks' section.
This action will display the available sections for organizing tasks within your project. You can choose or manage the sections as needed to streamline your workflow.

Selecting the 'Assignee' option allows you to filter tasks by team member, helping you to view assignments and manage workloads effectively.

This action saves the current configuration of your task view, including any applied filters or sorting preferences, ensuring that you can access your customized layout in future sessions.
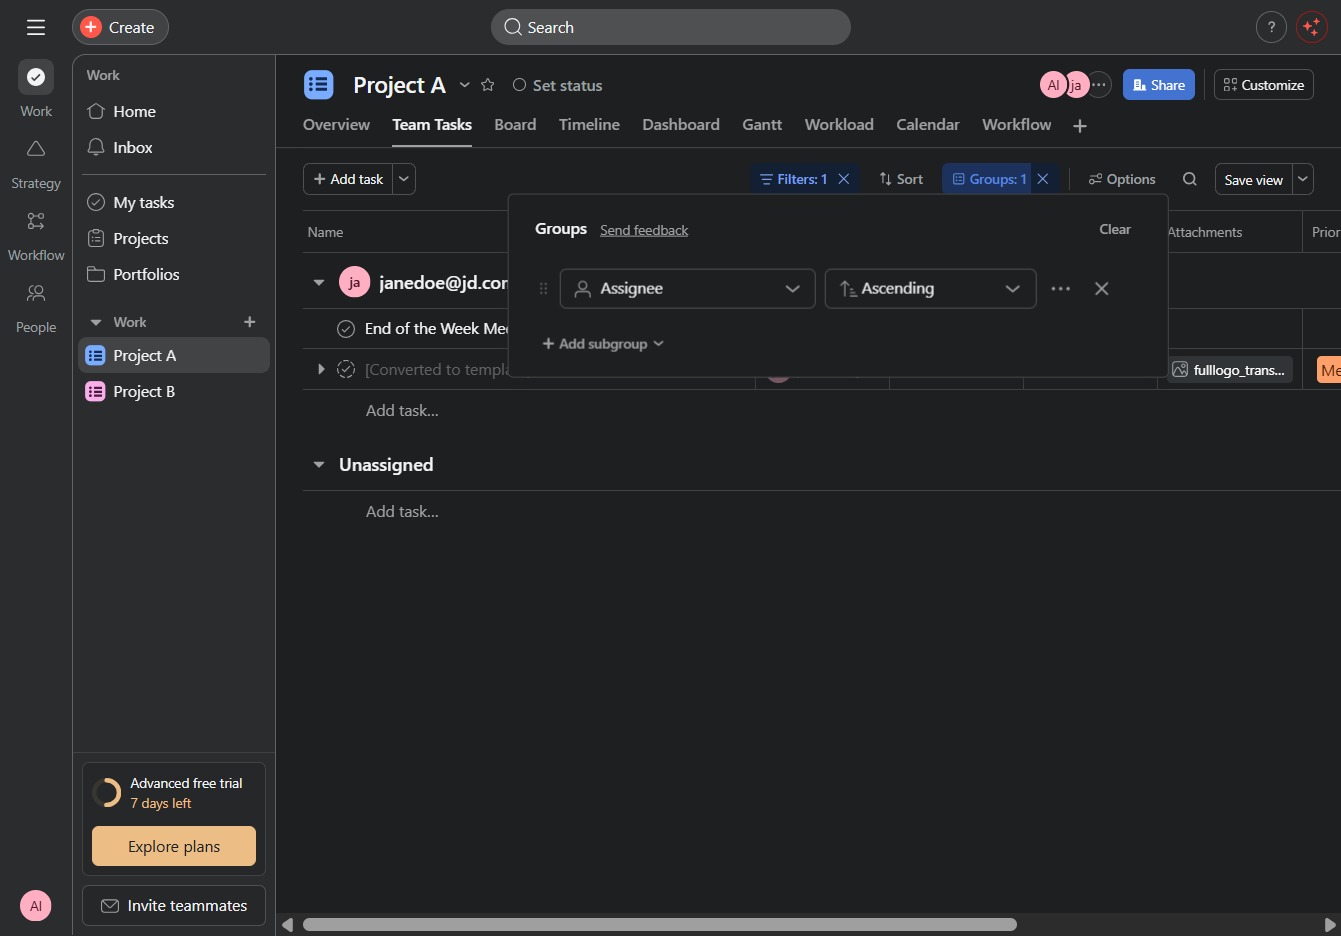
Clicking the Options menu will reveal additional settings and configurations related to the Team Tasks functionality, allowing you to customize your task management experience.
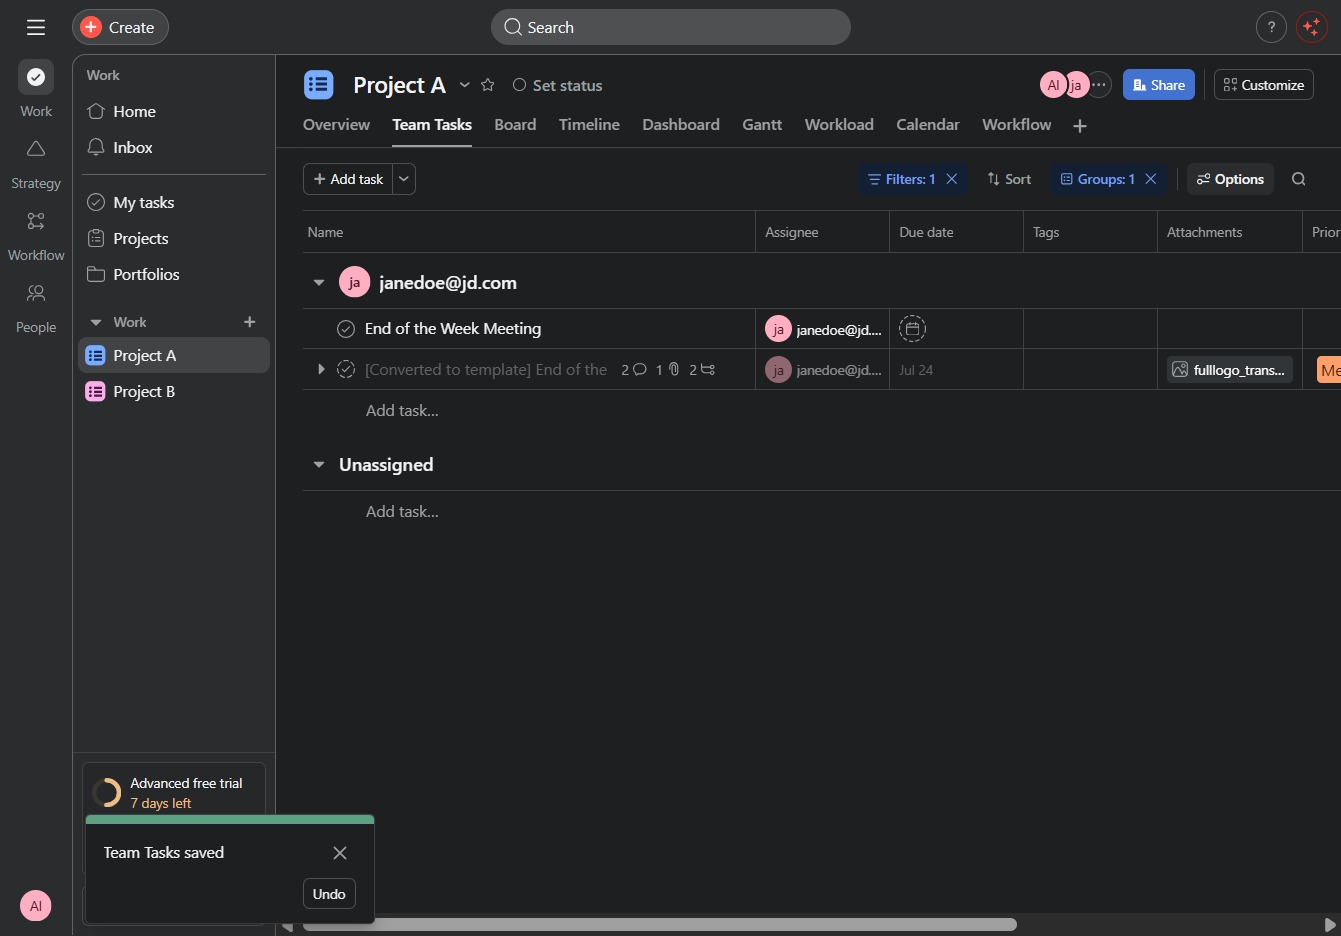
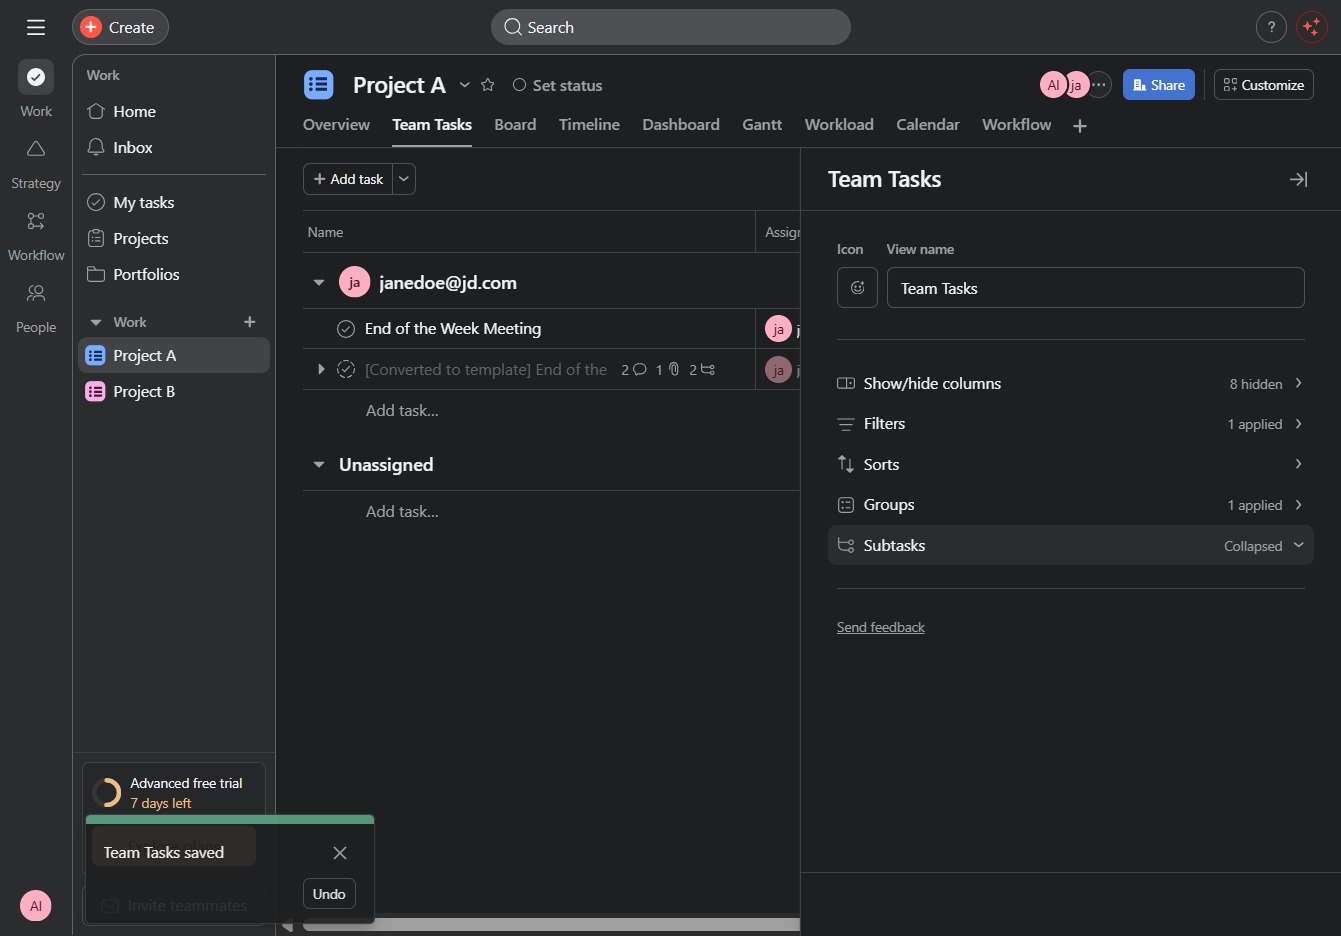
Clicking the Subtasks control will expand or collapse the list of subtasks for the selected Team Task, allowing you to view or hide additional task details.
Clicking the 'Expanded' option will increase the visibility of additional details in the Team Tasks section, allowing you to see more information about each task.
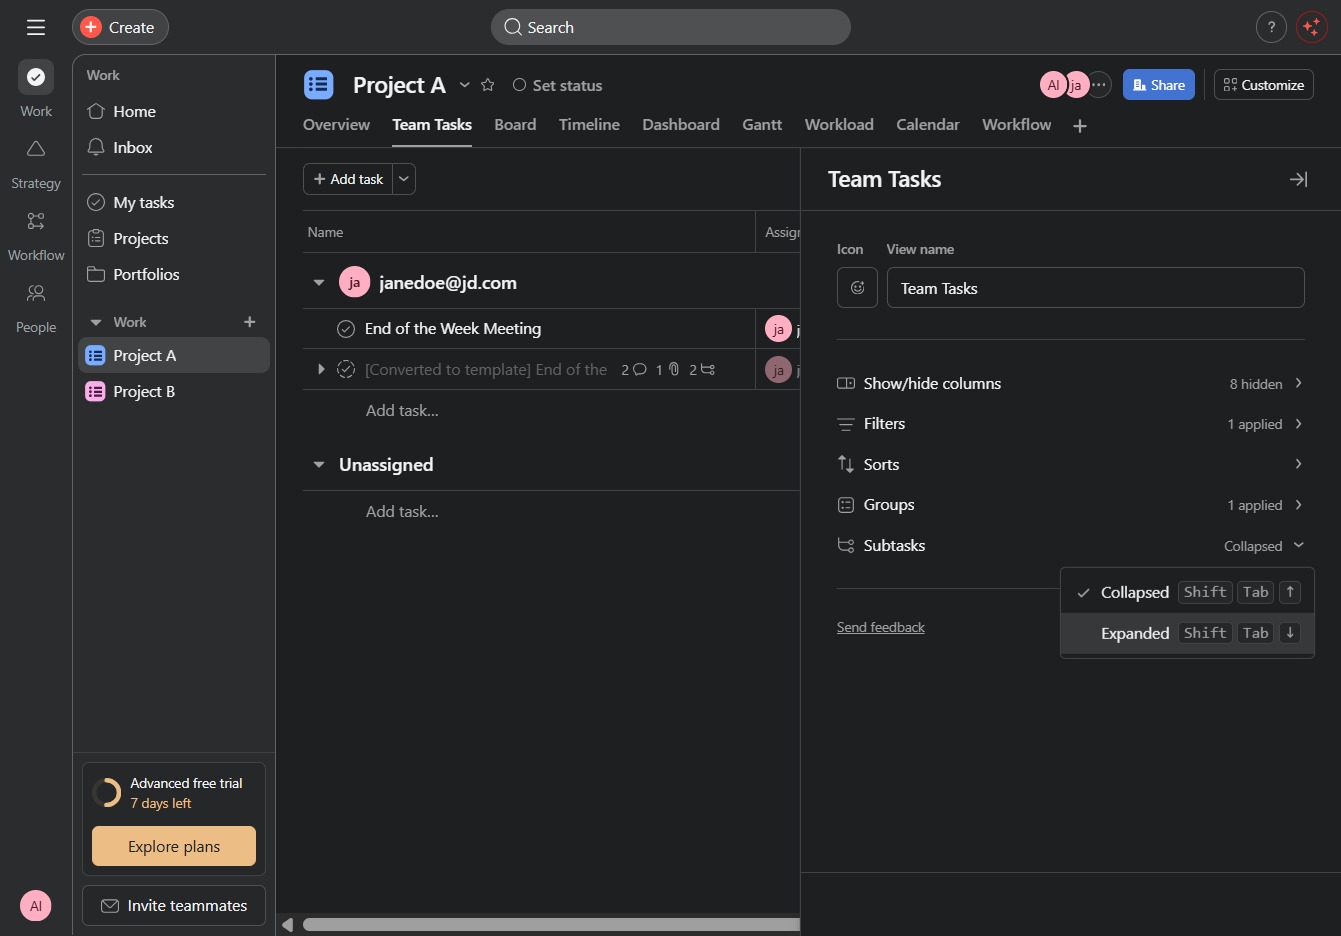
This action will save your current view settings for the Team Tasks section, allowing you to easily return to this layout in future sessions.
