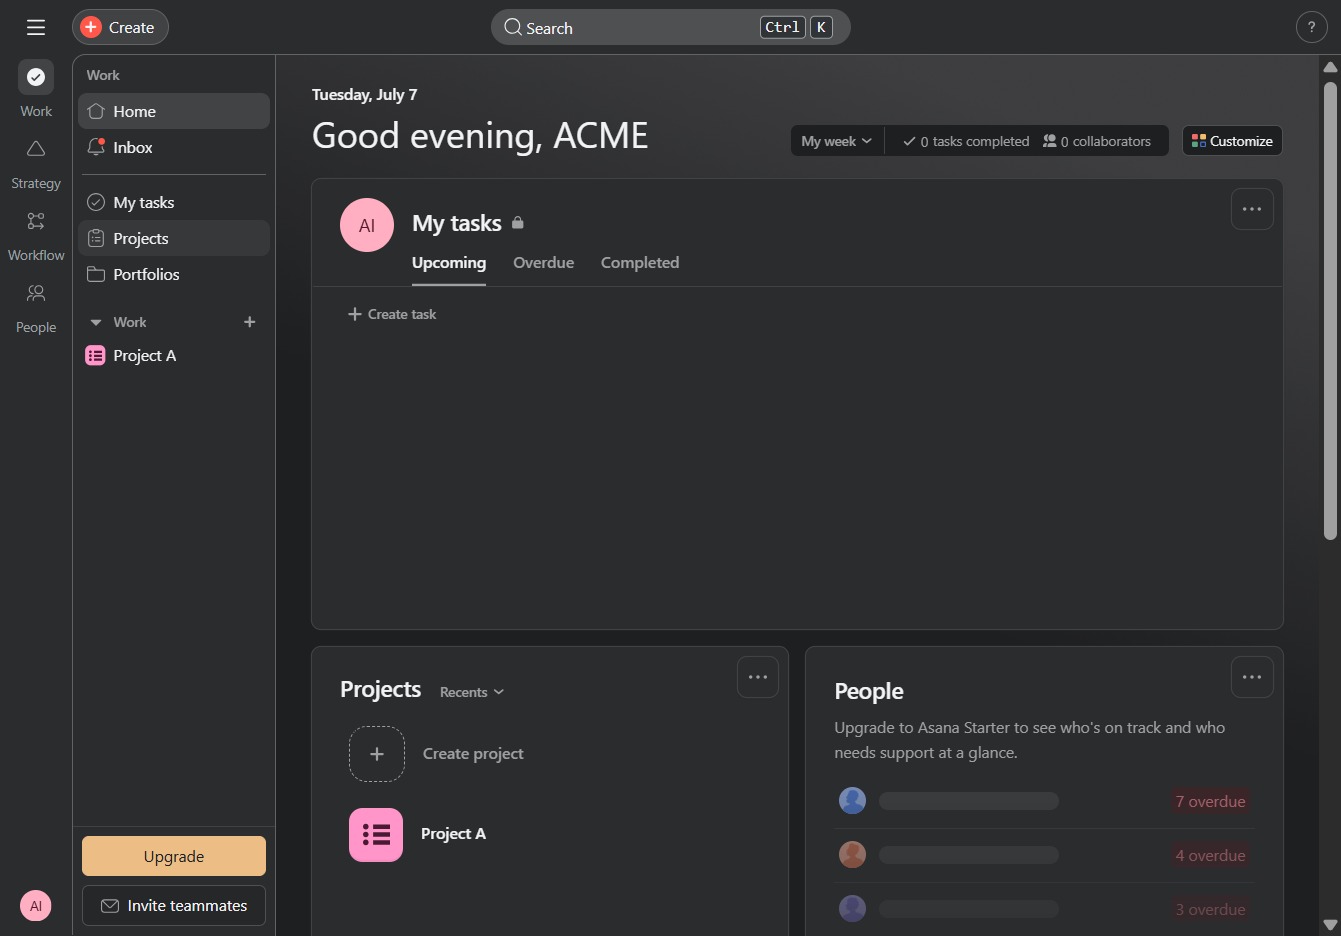
Click the Projects link
This will take you to the Projects section where you can view and manage all your current projects, including creating new ones and tracking progress.
Loading screenshot…
100%
Learn how to effectively customize project colors and icons to enhance your project management experience.
 viktoria
Learn how to effectively customize project colors and icons to enhance your project management experience. This guide walks you through accessing your projects, creating tasks, and selecting unique colors and icons for better organization and visual appeal.
This will take you to the Projects section where you can view and manage all your current projects, including creating new ones and tracking progress.
You will be taken to the details page for Project A, where you can view project information and access associated templates.
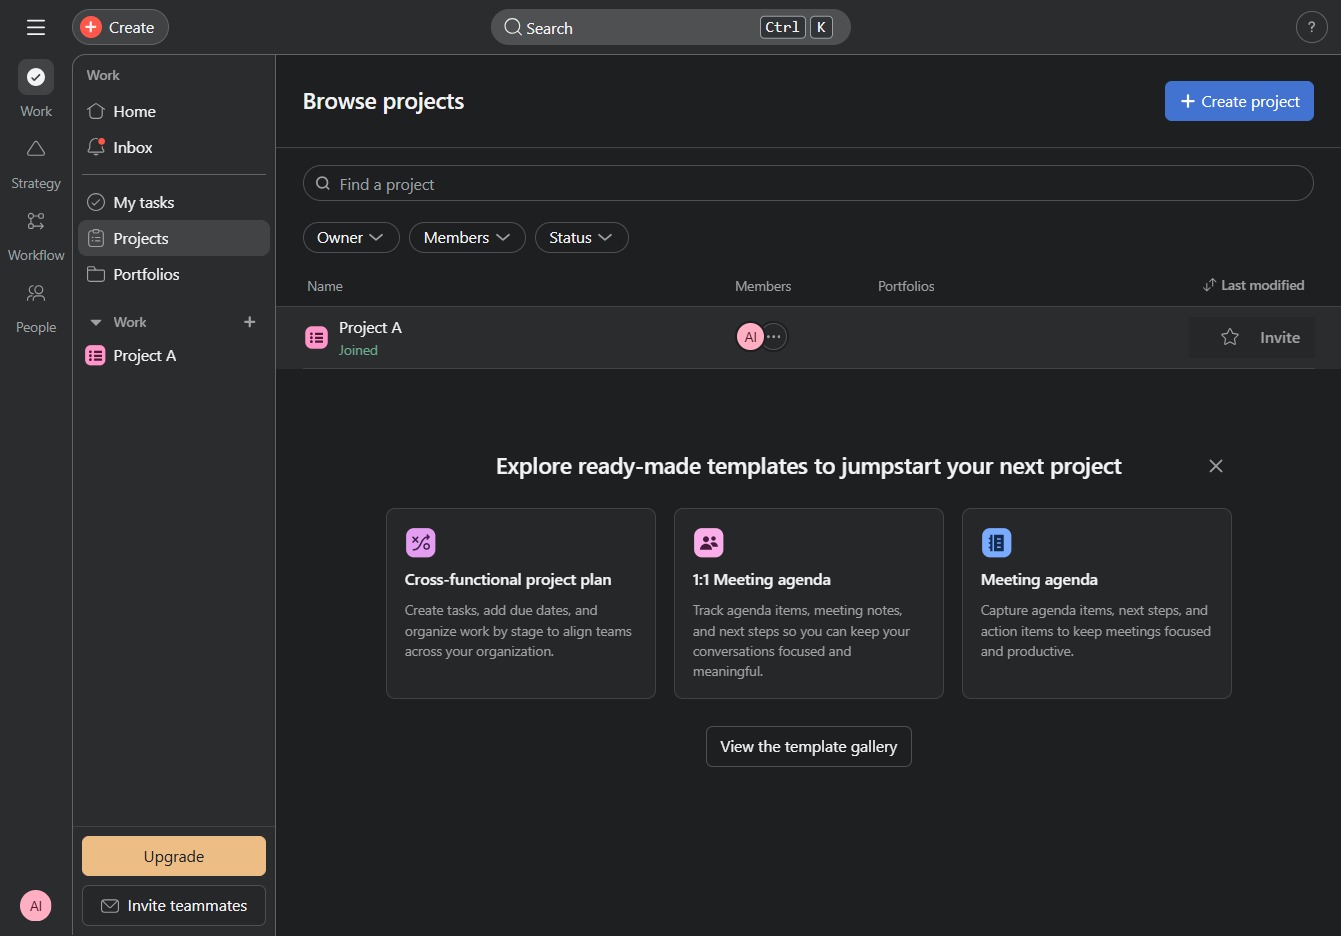
Clicking this button allows you to create a new task within the Project A list, where you can assign it to team members and set due dates.

Select 'Set color & icon' to customize the color and icon for your project. This will open a panel where you can choose your preferred color and upload an icon.
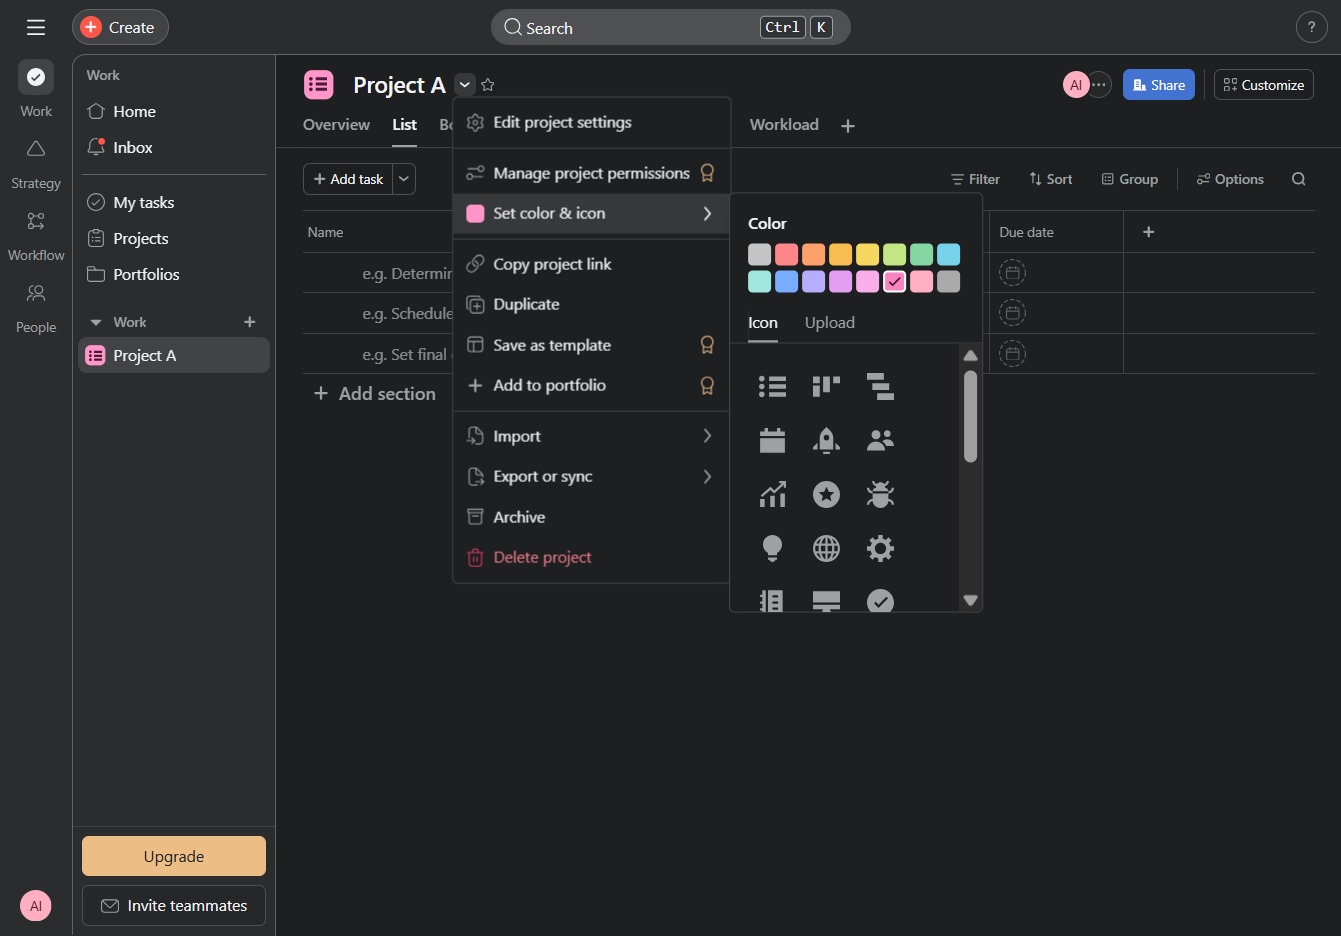
This action allows you to set or change the color associated with the project. A color palette will appear for you to choose your preferred hue.
