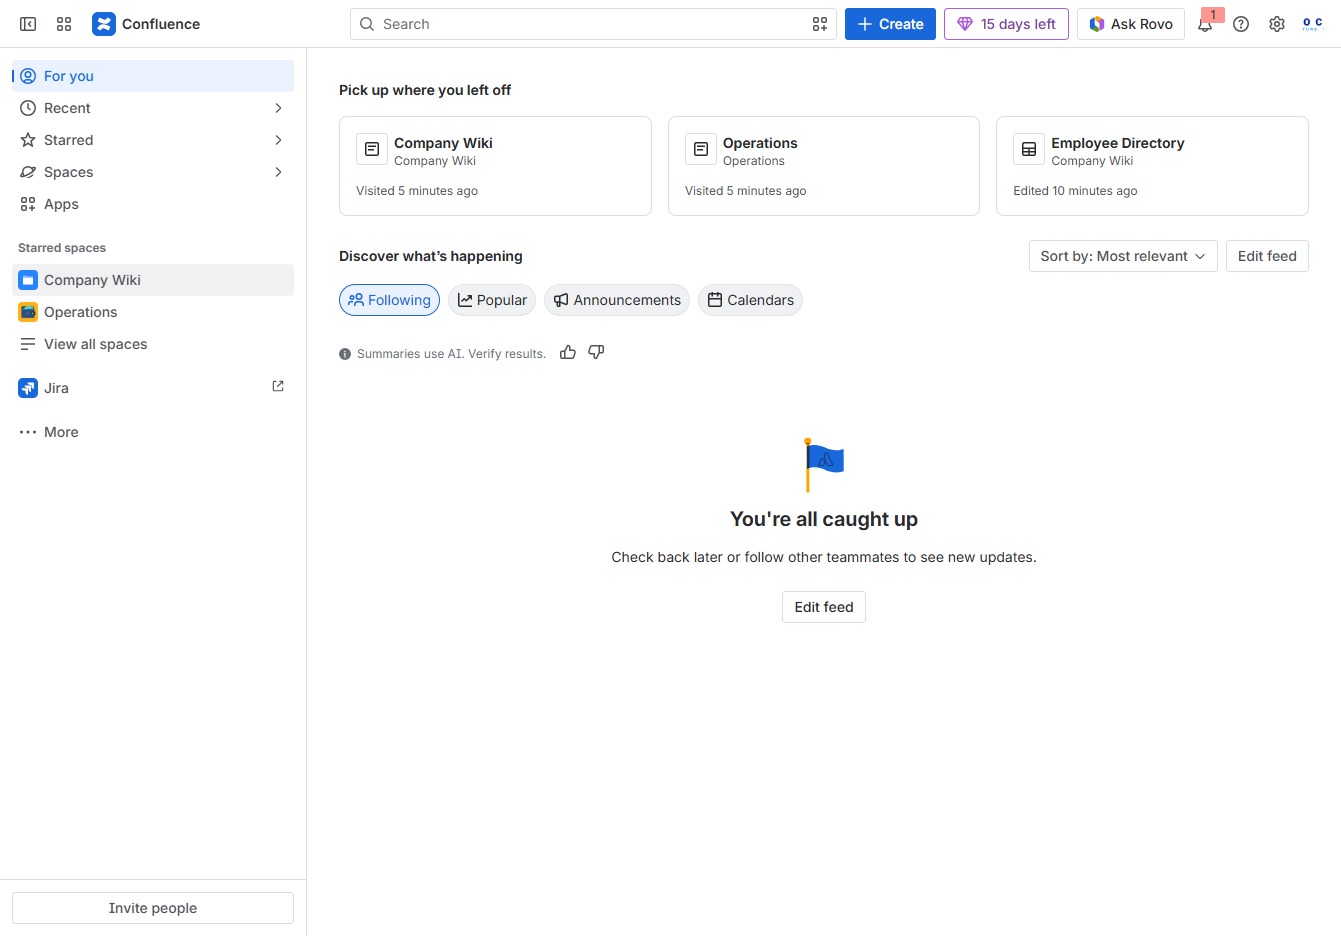
Click the Company Wiki section
This will open the Company Wiki, allowing you to access and view documentation and resources related to your organization.
Loading screenshot…
100%
In this guide, you'll learn how to customize database fields in your Employee Directory by adding relevant data points like text fields and specific labels.
 viktoria
In this guide, you'll learn how to customize database fields in your Employee Directory by adding relevant data points like text fields and specific labels. Follow the step-by-step instructions to manage employee information, ensuring your records are tailored to meet your organizational needs.
This will open the Company Wiki, allowing you to access and view documentation and resources related to your organization.
This action opens the Employee Directory page, allowing you to manage and view employee-related content. From here, you can create child content specifically for the Employee Directory.

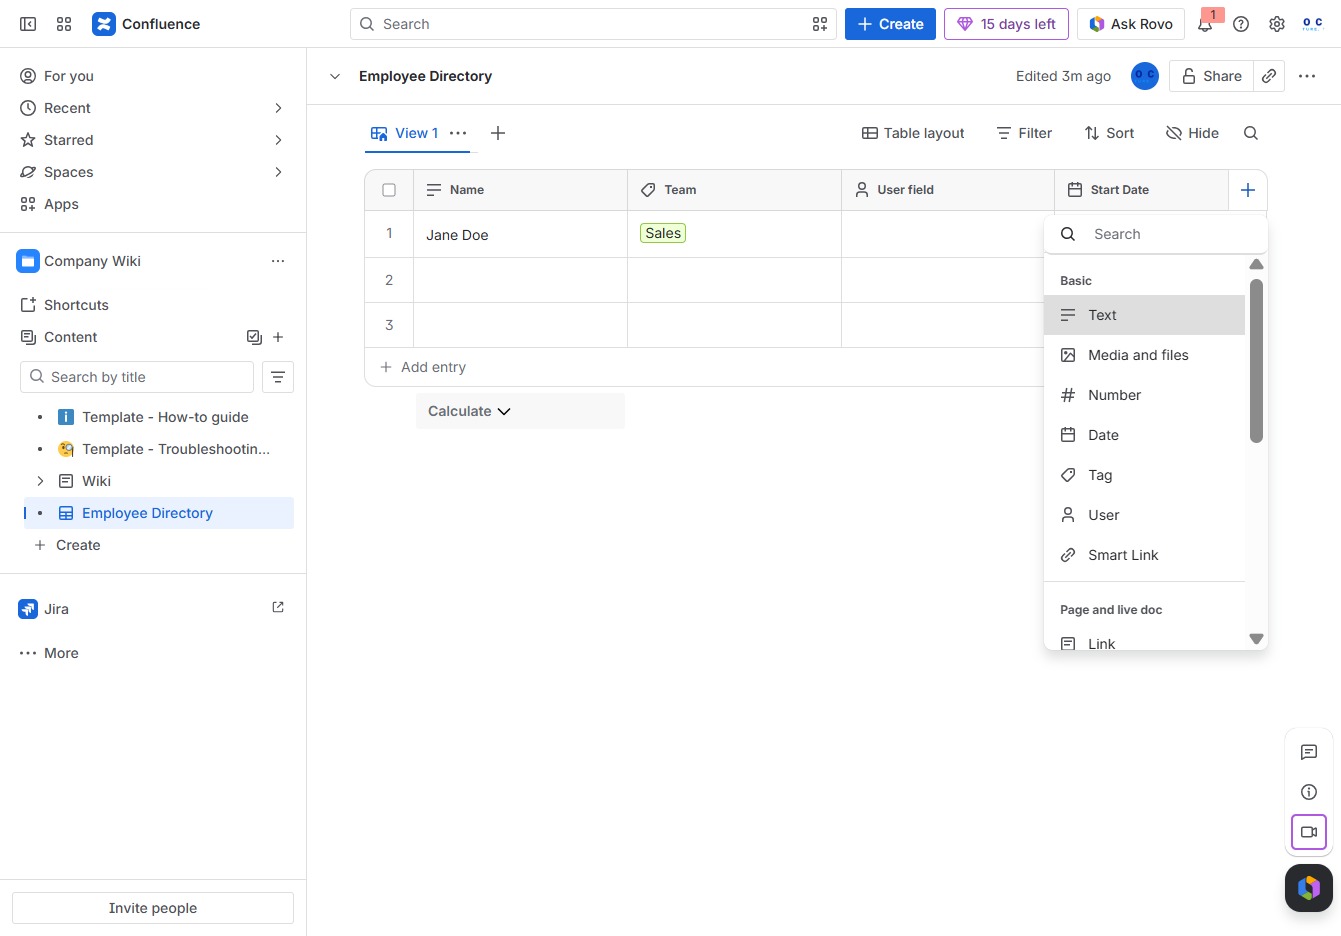
This will allow you to add a new data field to the Employee Directory, enabling you to customize the information displayed for each employee.

Selecting the 'Text' option will allow you to add a text field to the Employee Directory for inputting relevant information.
This action allows you to enter or edit information in the designated Text field for the Employee Directory. Make sure to input the relevant details as required.
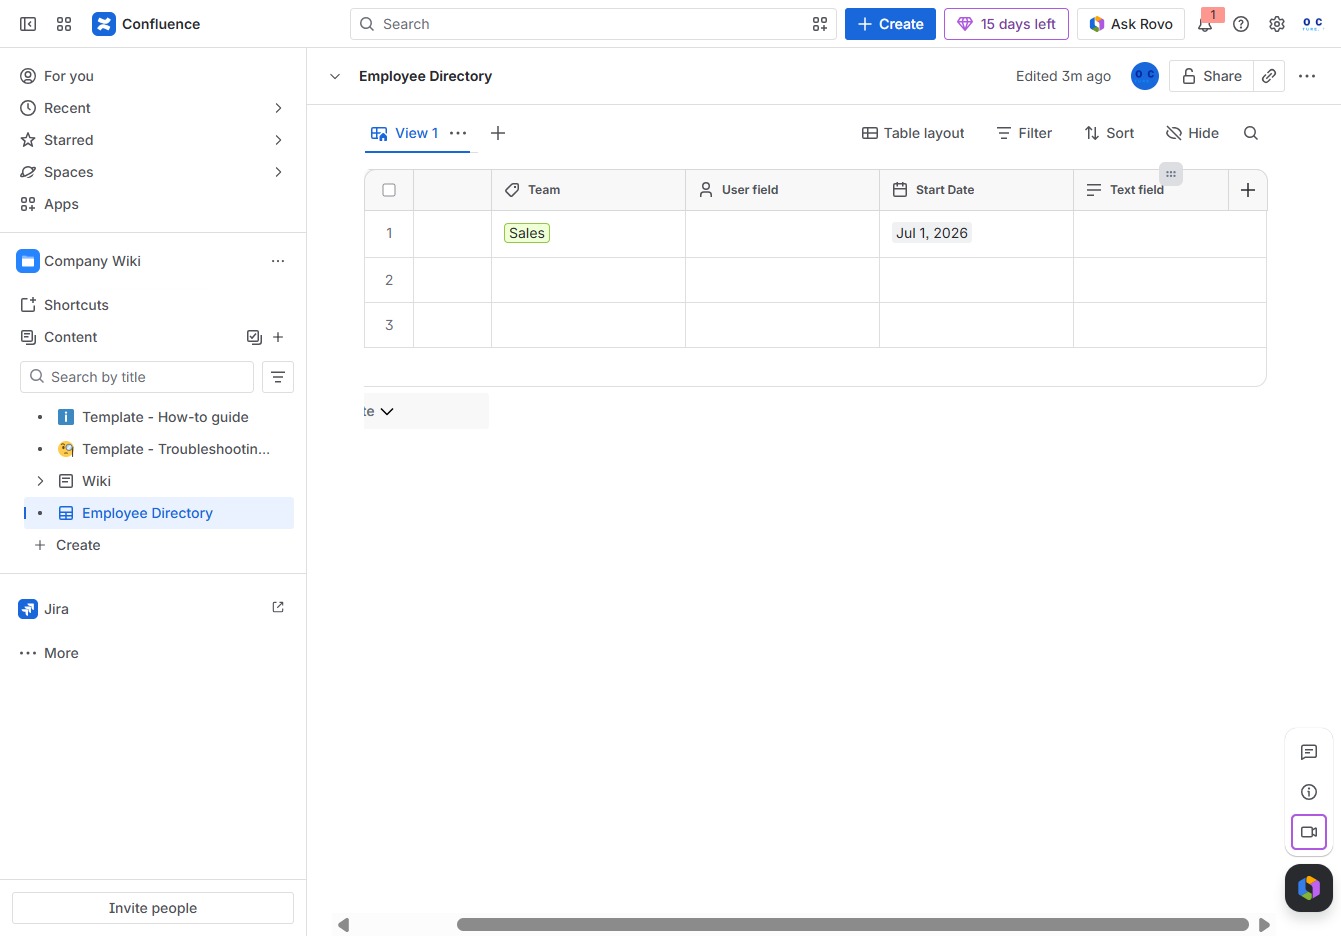
Enter 'Rate' in the Field Name to define the label for this input field in your employee directory settings. This will help in categorizing the information related to the rate within the table.
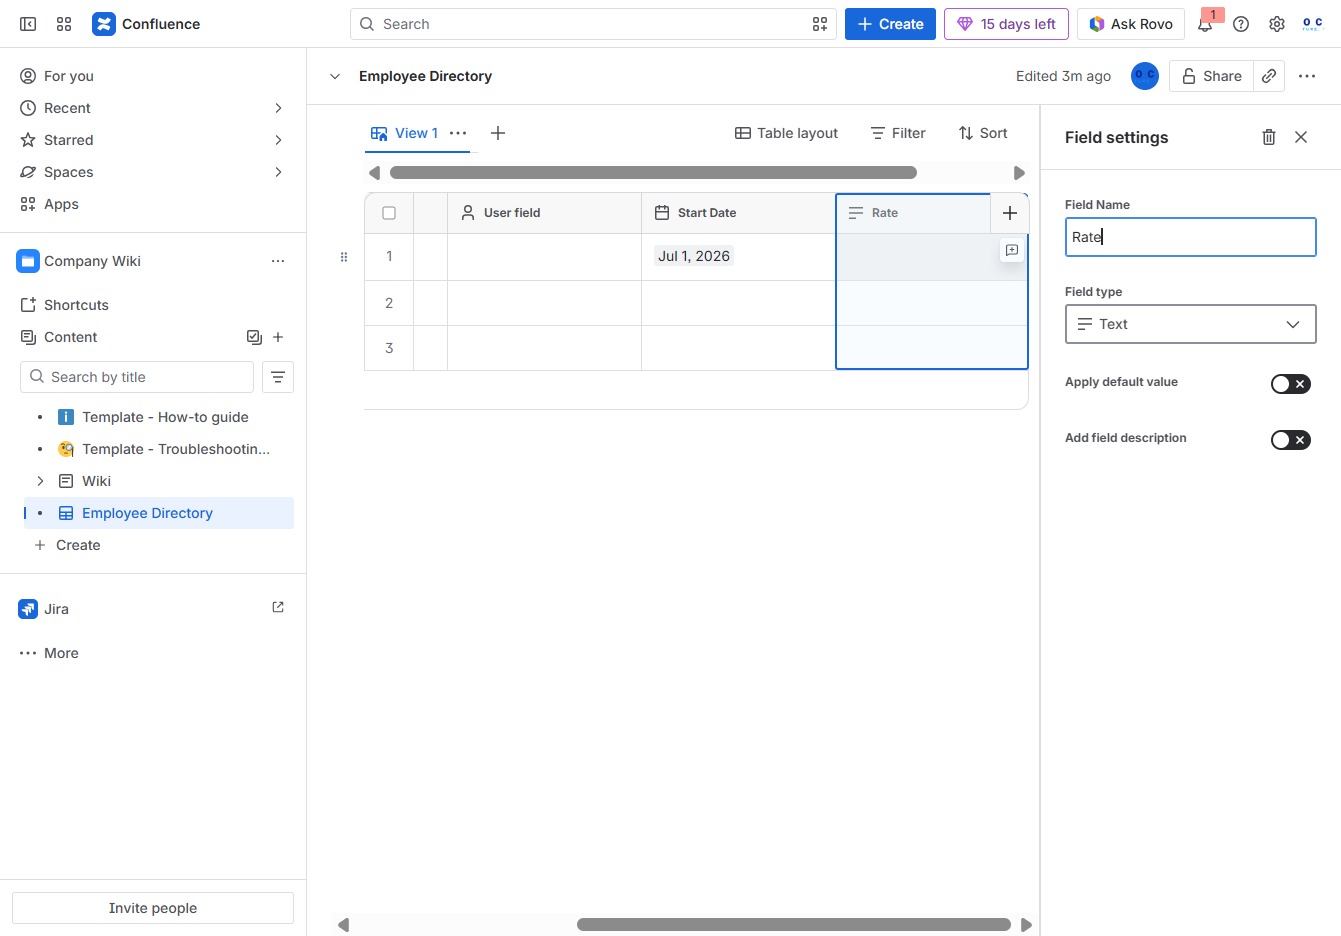
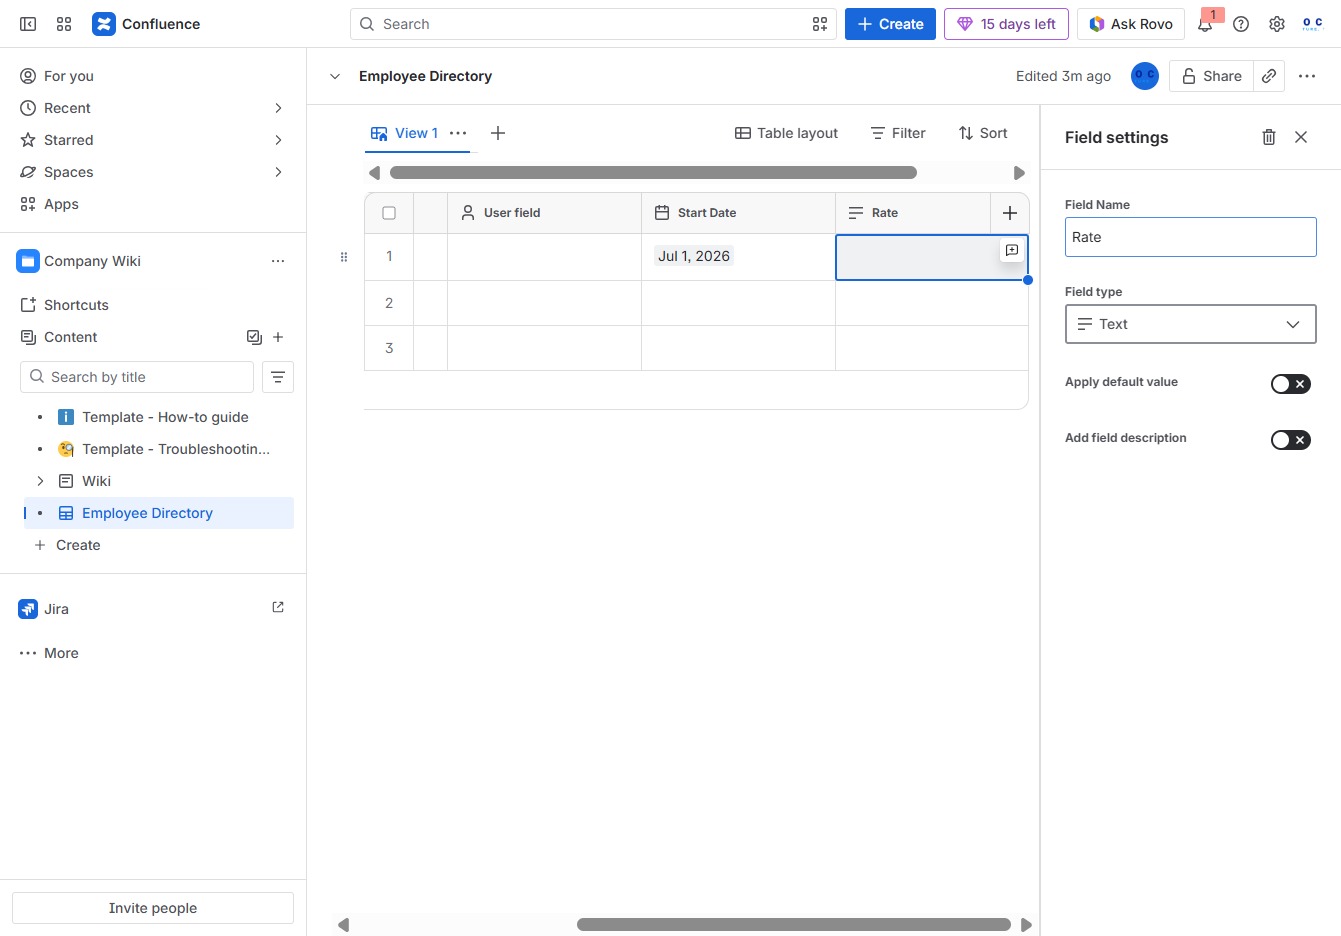
This action will allow you to create a new entry in the Employee Directory, enabling you to customize the user fields as per your requirements.
Enter "$15/hr" in the Rate textarea to specify the hourly wage for the employee. This value will be saved in the Employee Directory for reference and calculations.
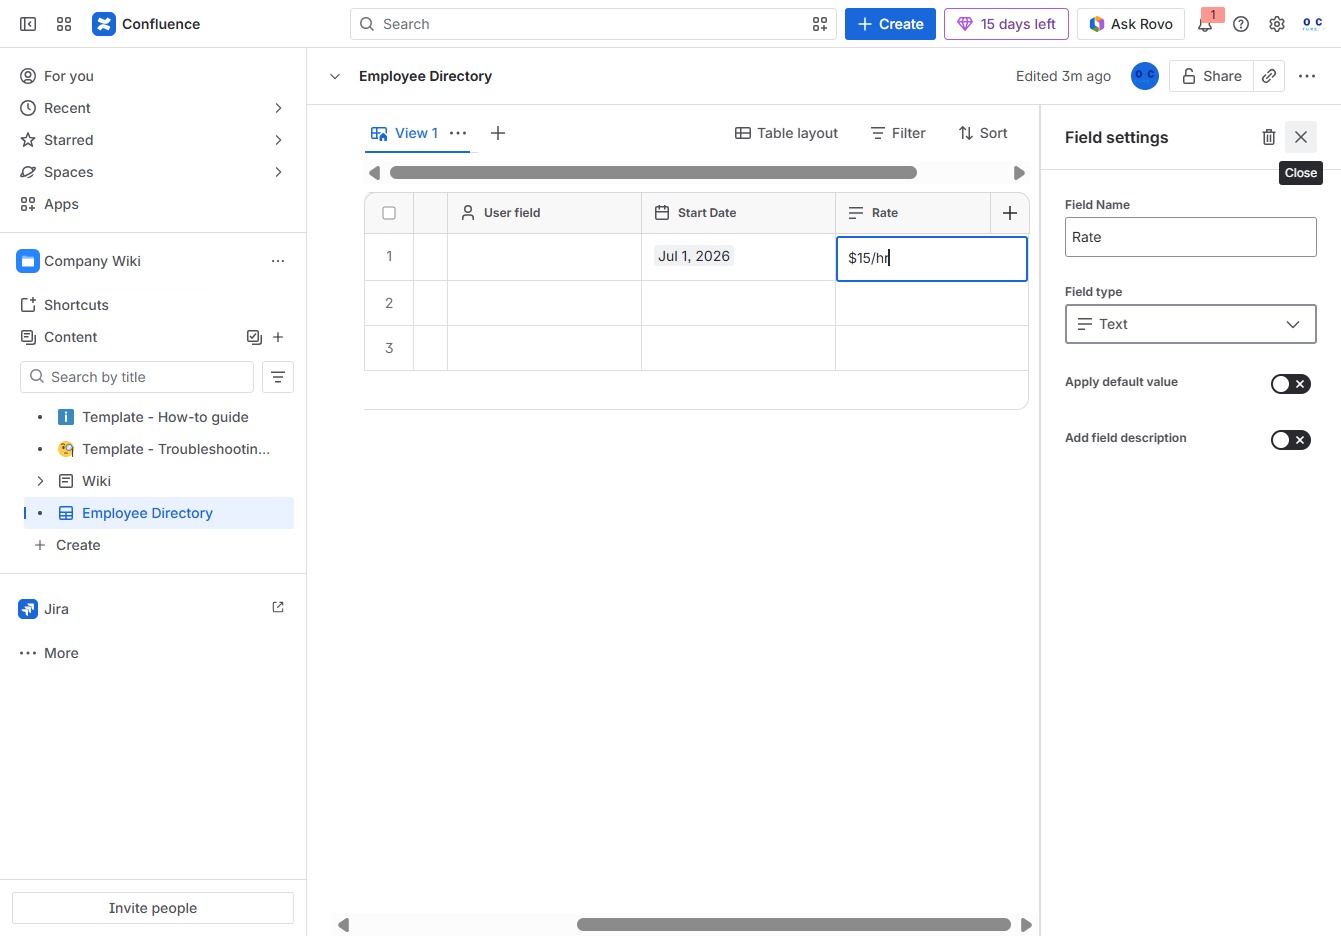
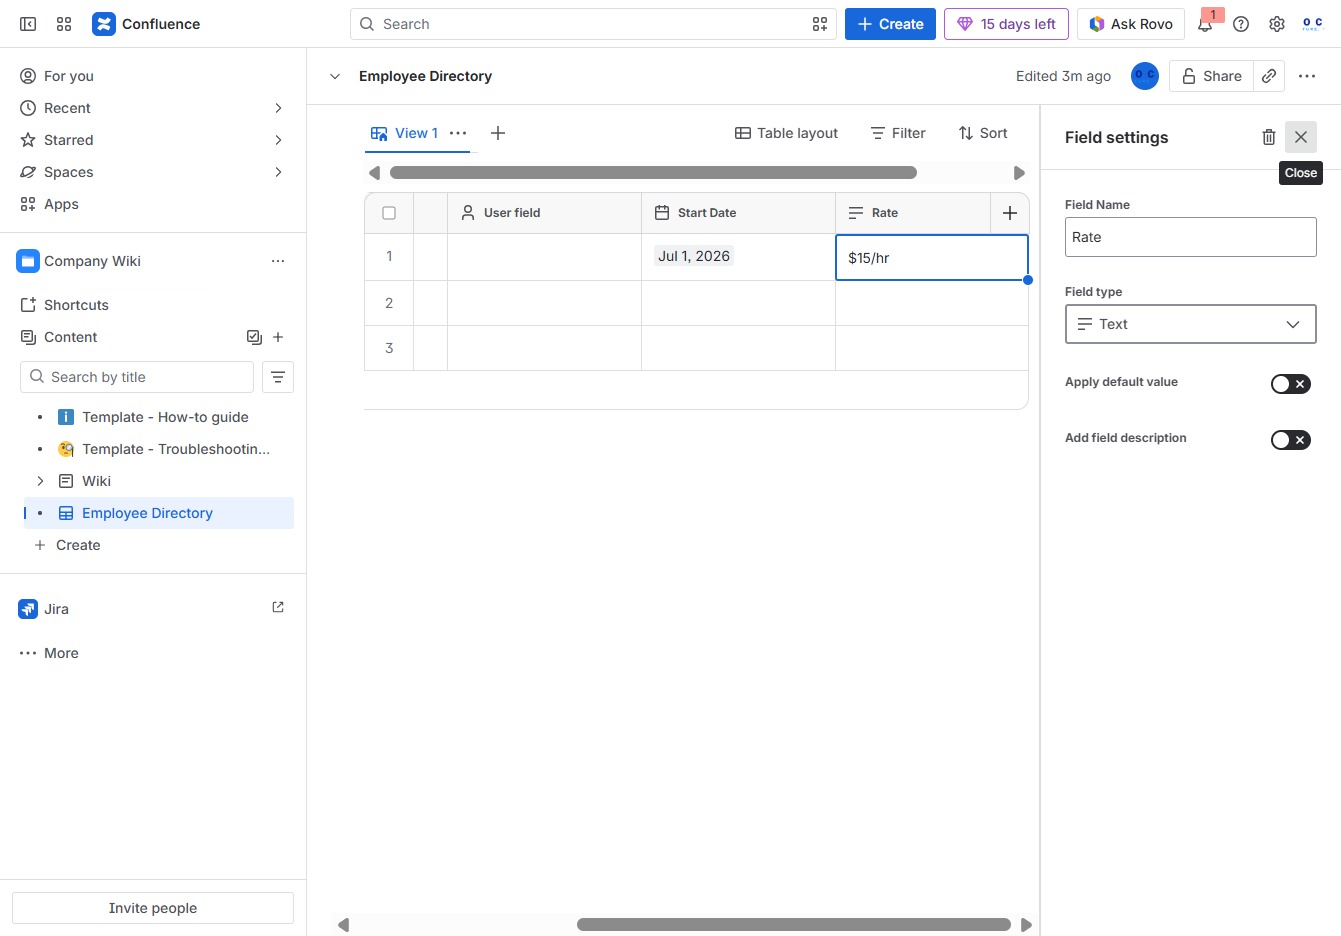
This action will close the 'Field settings' panel, allowing you to return to the main view of the Employee Directory.