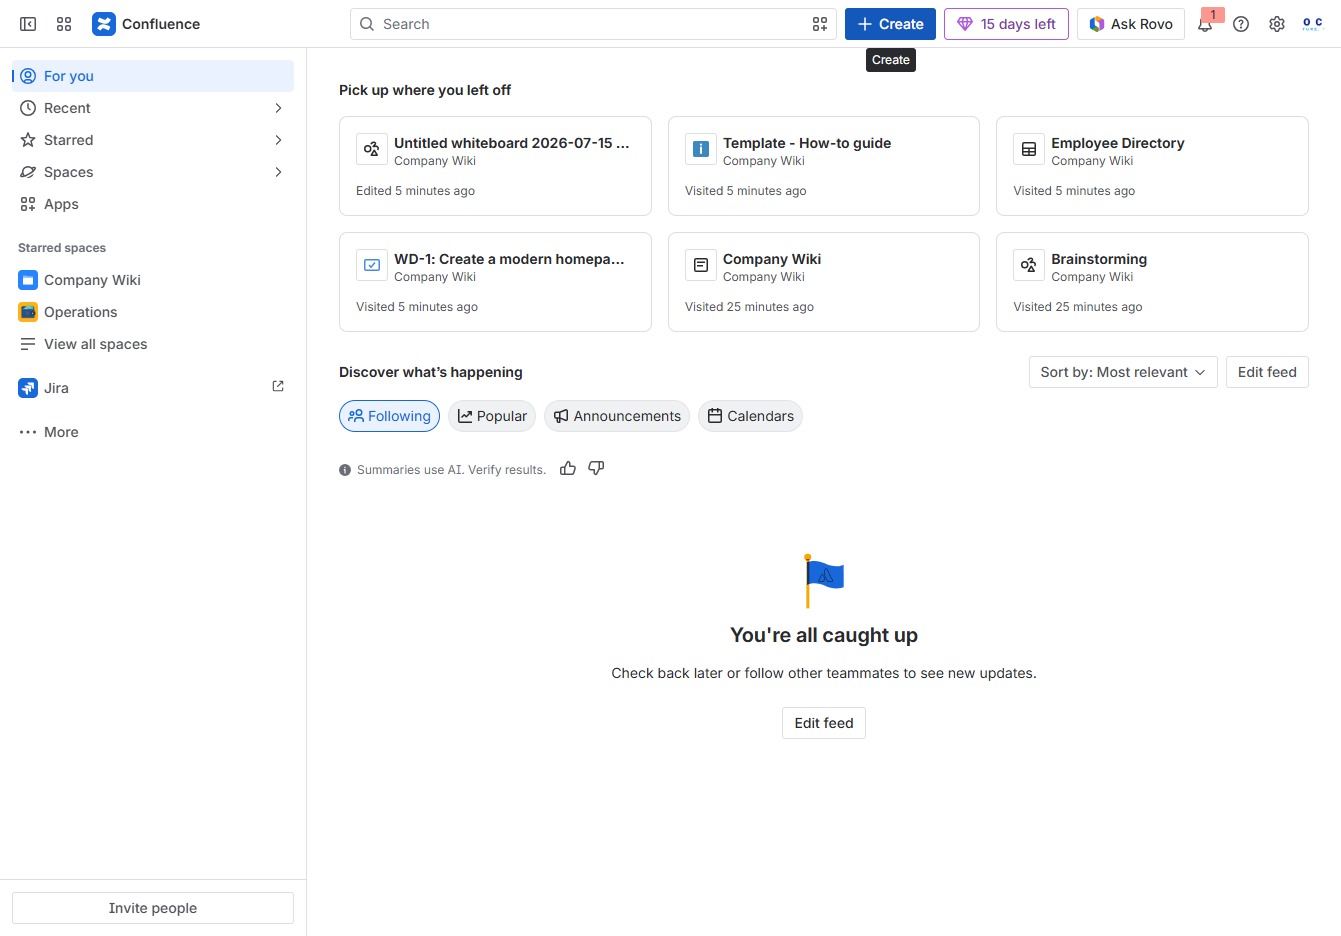
Click the Create button
This action initiates the process to create a new page or item in Confluence, allowing you to start adding content or documents.
Loading screenshot…
100%
This how-to guide demonstrates the steps to create effective visual project plans using Confluence's Whiteboard feature.
 viktoria
This how-to guide demonstrates the steps to create effective visual project plans using Confluence's Whiteboard feature. Learn how to navigate the platform, select templates, manage styles, and organize your project content for seamless collaboration with your team.
This action initiates the process to create a new page or item in Confluence, allowing you to start adding content or documents.
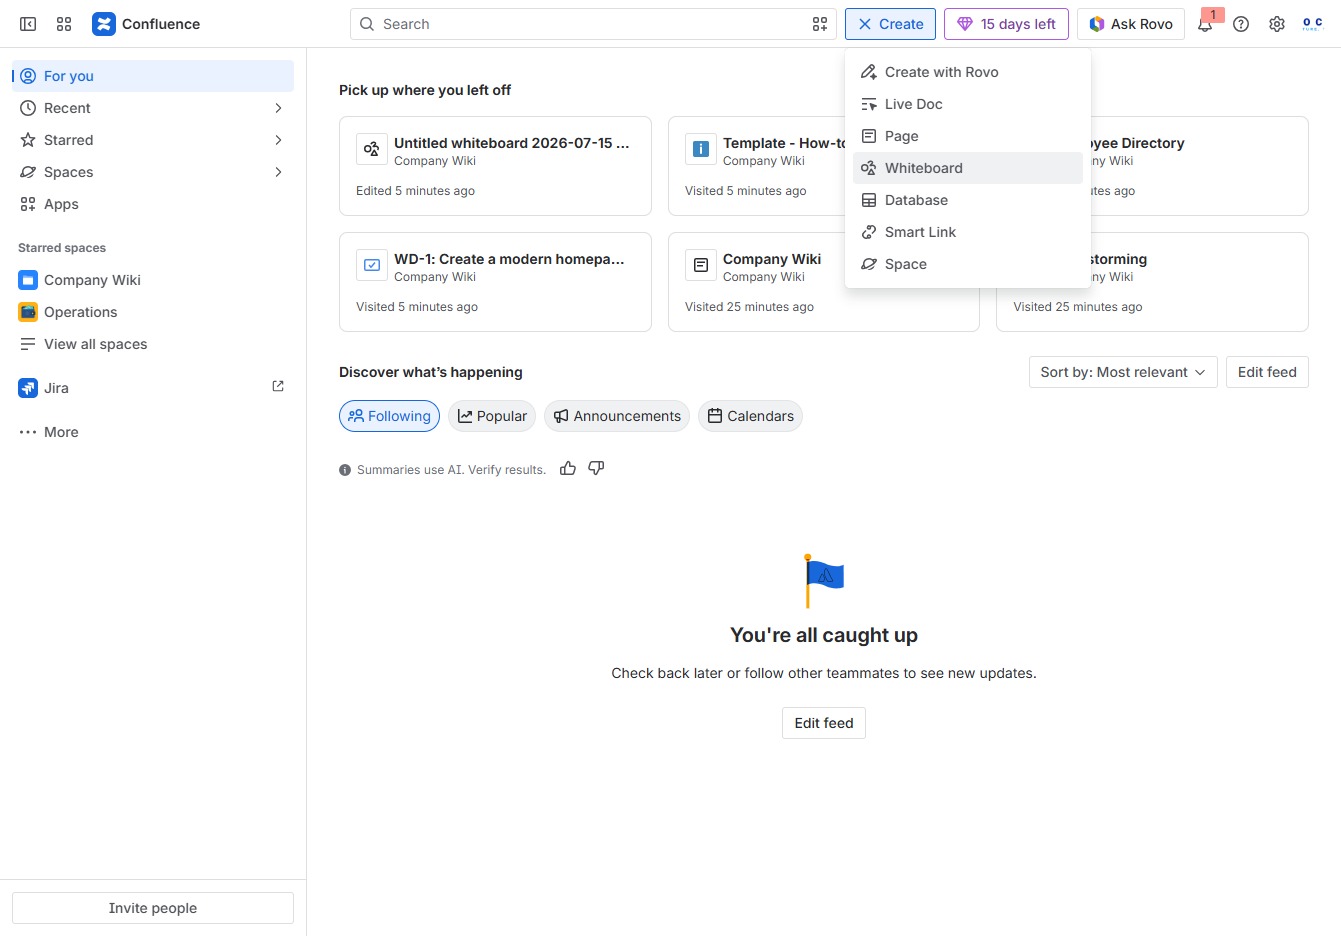
Selecting the Whiteboard option will open a new collaborative space where you can brainstorm, sketch, and share ideas visually with your team.
Clicking this input field will allow you to enter or select a specific template from the available options for your project.
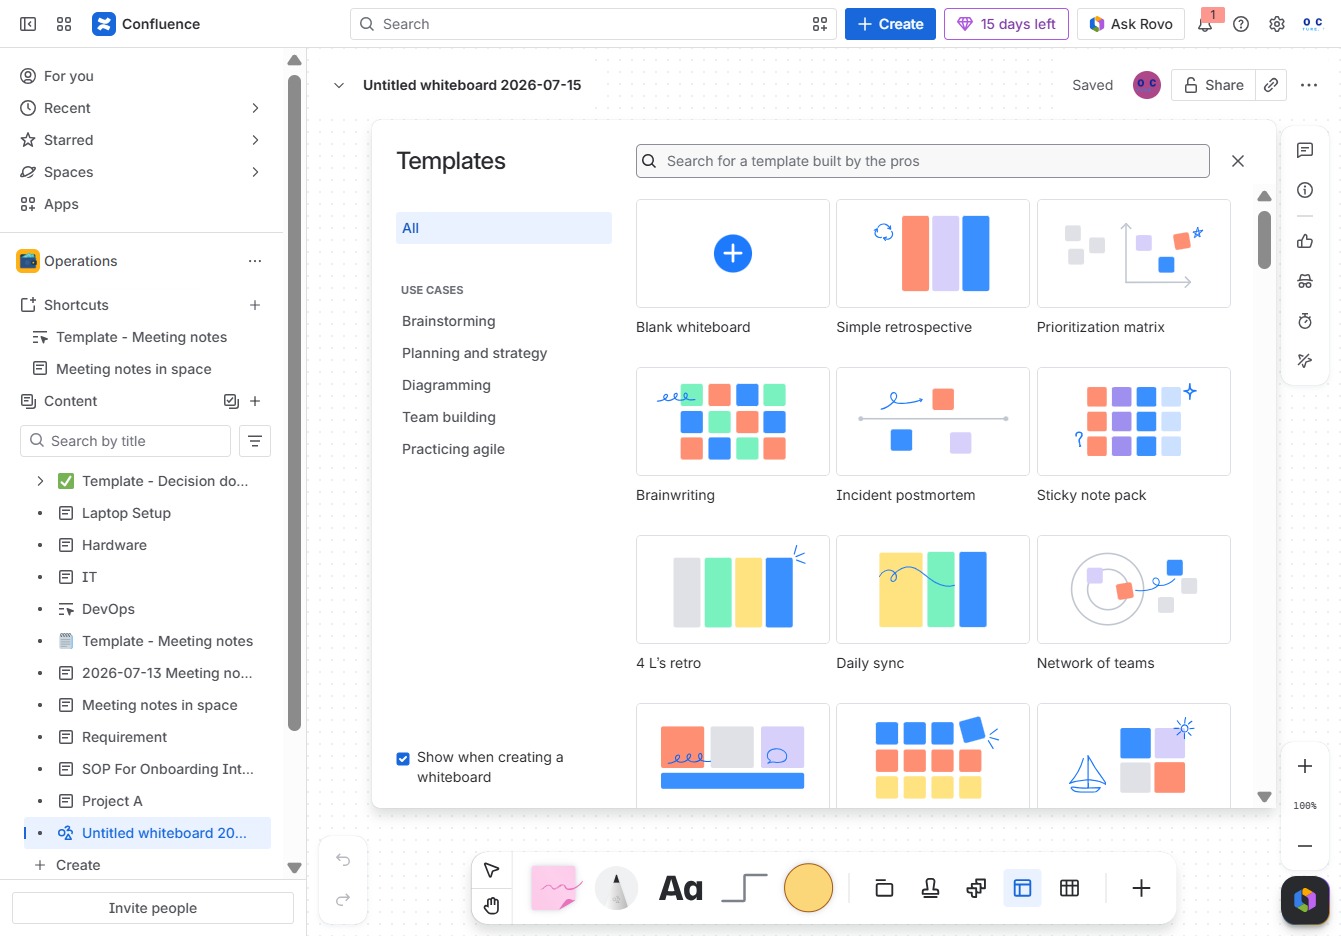
This action will filter the available templates, displaying options related to planning. You can then select a template that meets your needs from the filtered results.
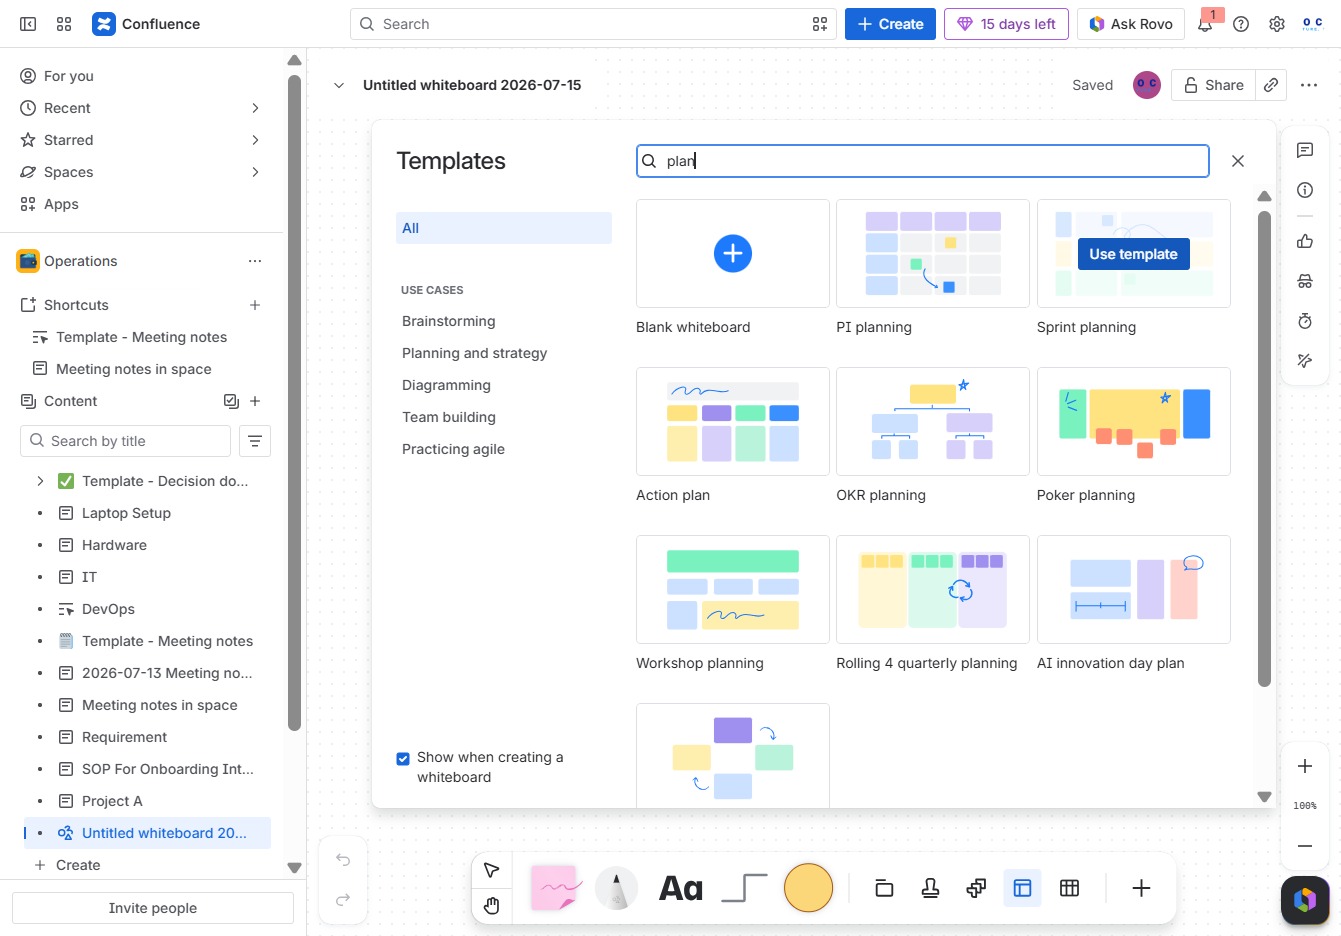
This action selects the template for your current project, allowing you to utilize the pre-defined structure and content for better planning and organization.
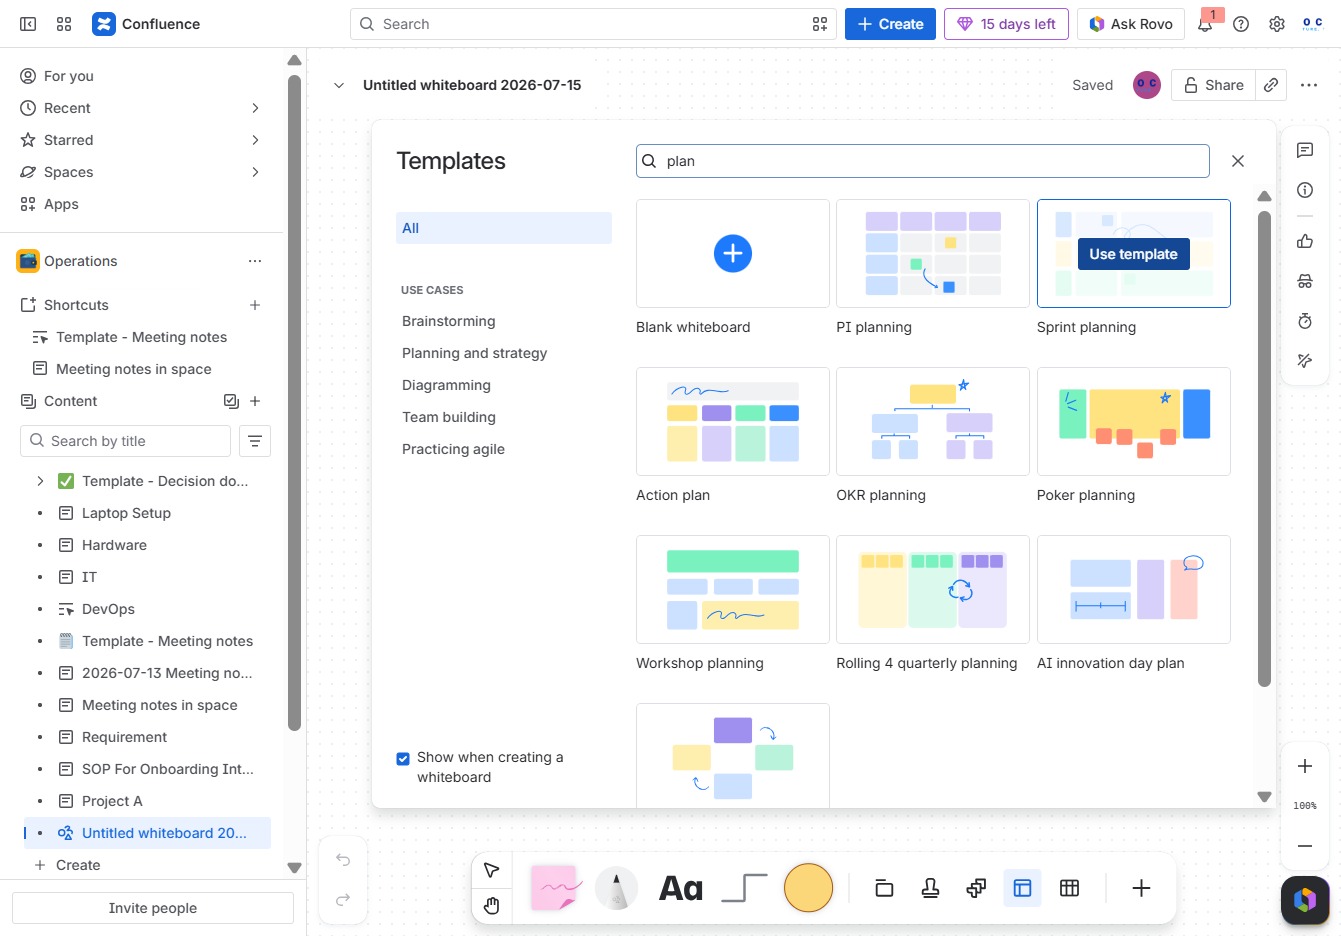
Clicking this button will trigger the functionality related to the 'Following Stop75%' feature, allowing you to manage styles in your project.
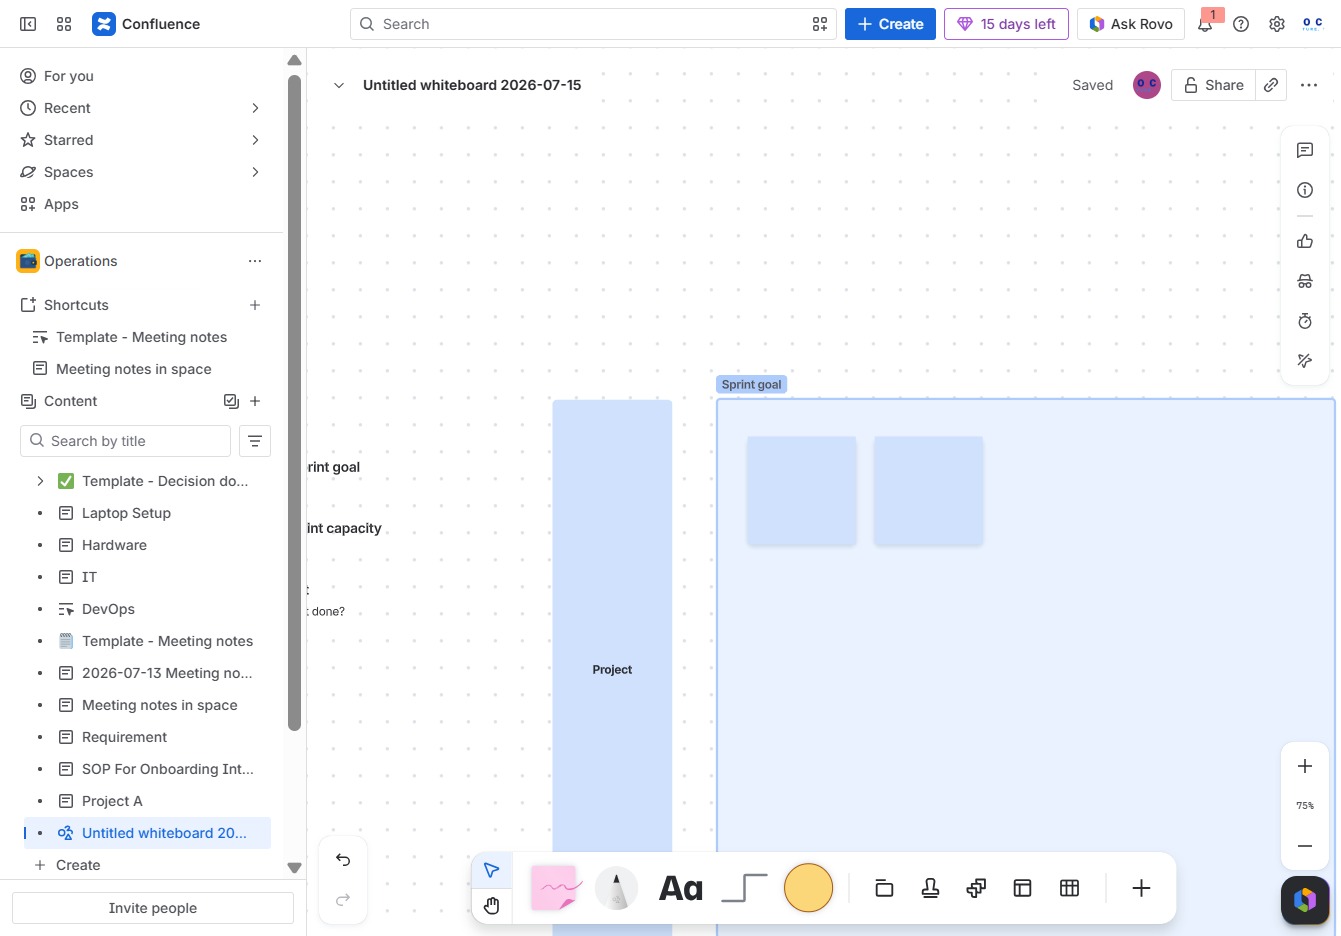
By clicking the Rovo Button, you will access a list of known styles, such as 'grid' and 'dotted', which can be applied to your current project.
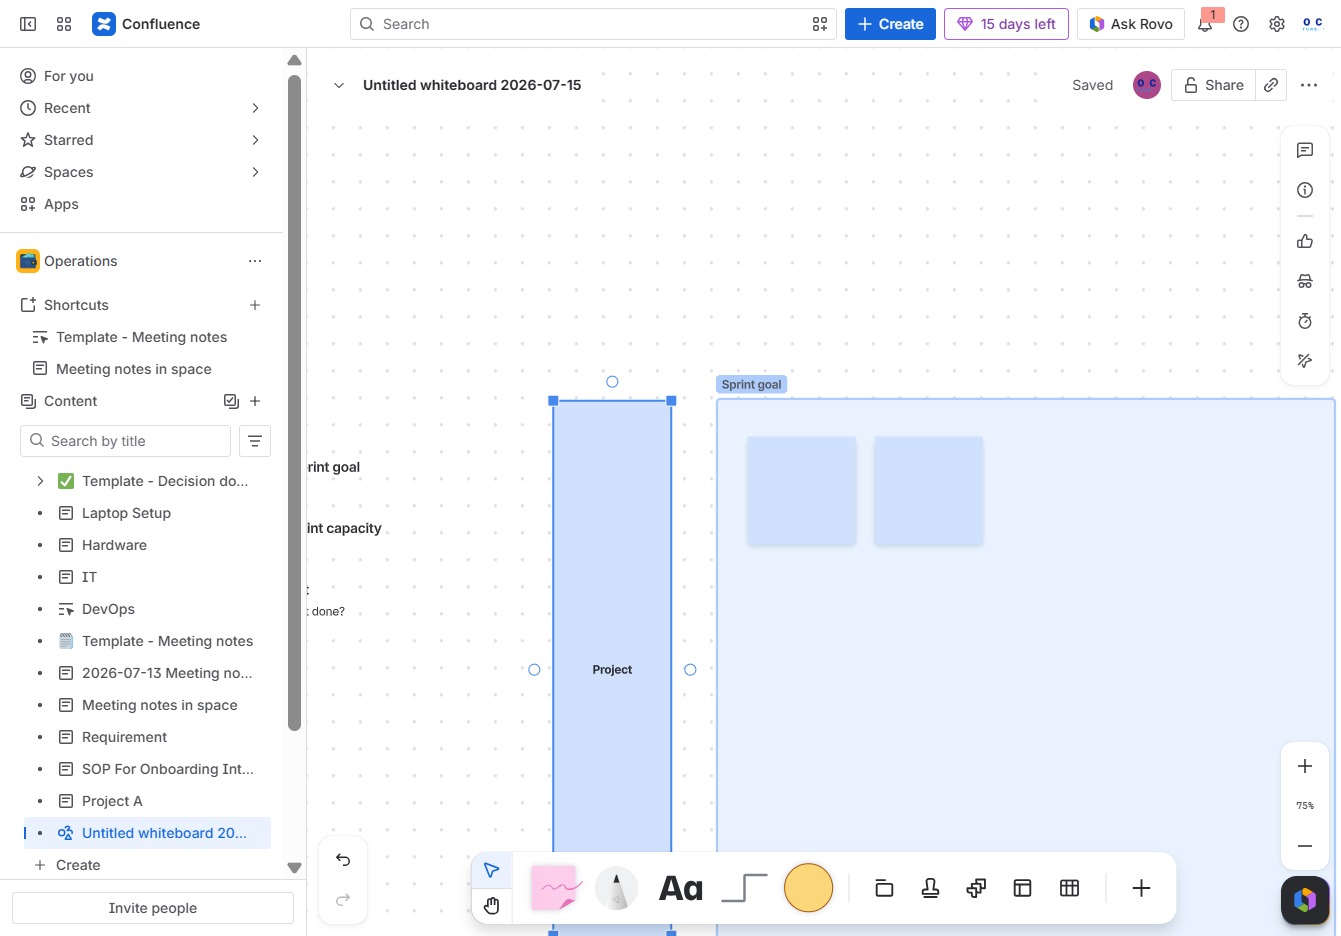
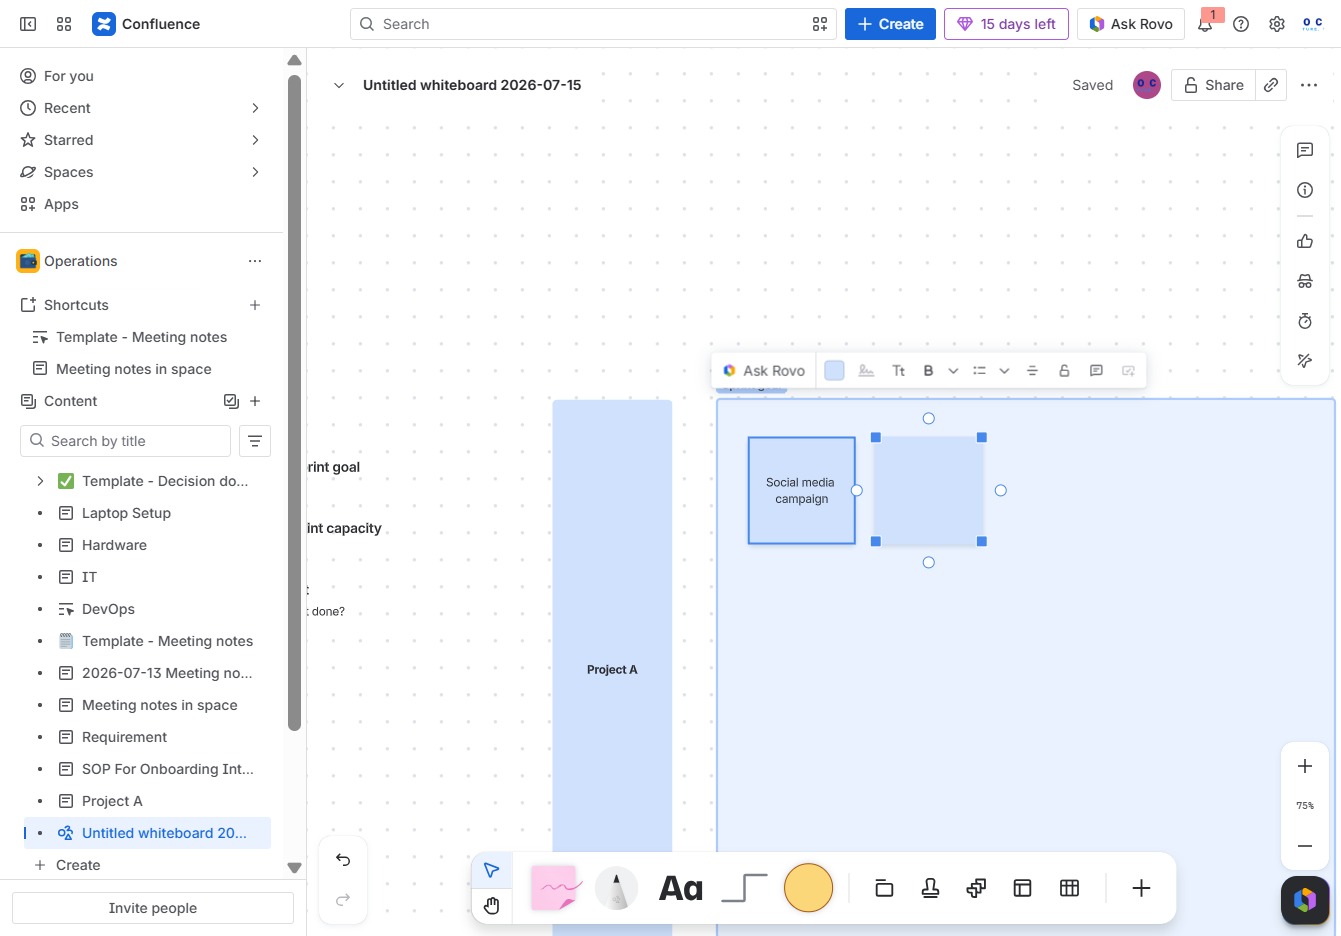
Enter 'Project A' in the Ak editor textarea to label your project. This will help you organize and identify your work on the whiteboard.
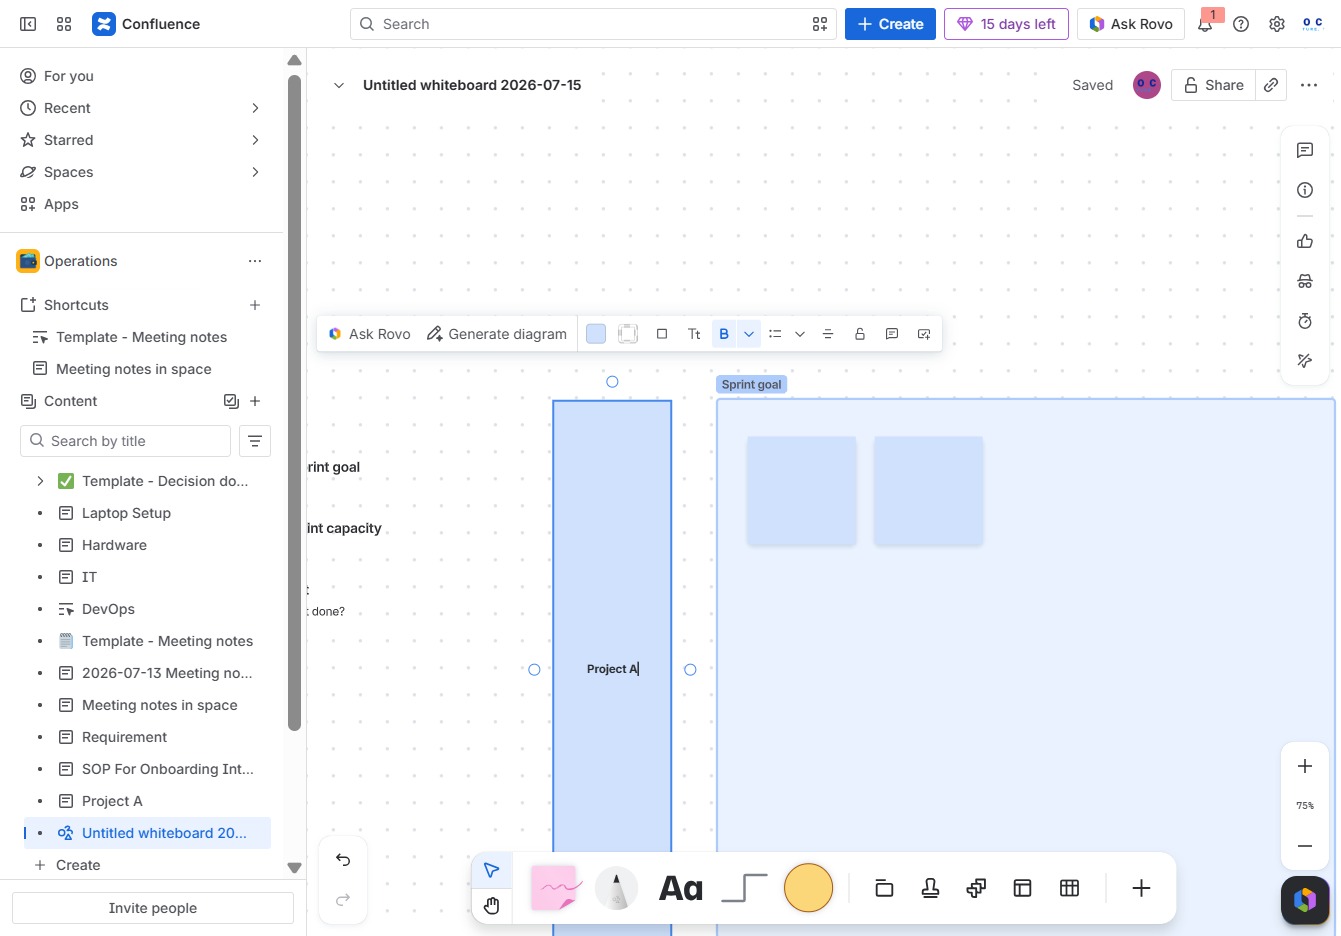
This action activates the Rovo interface, allowing you to create a Jira work item based on the current project context.
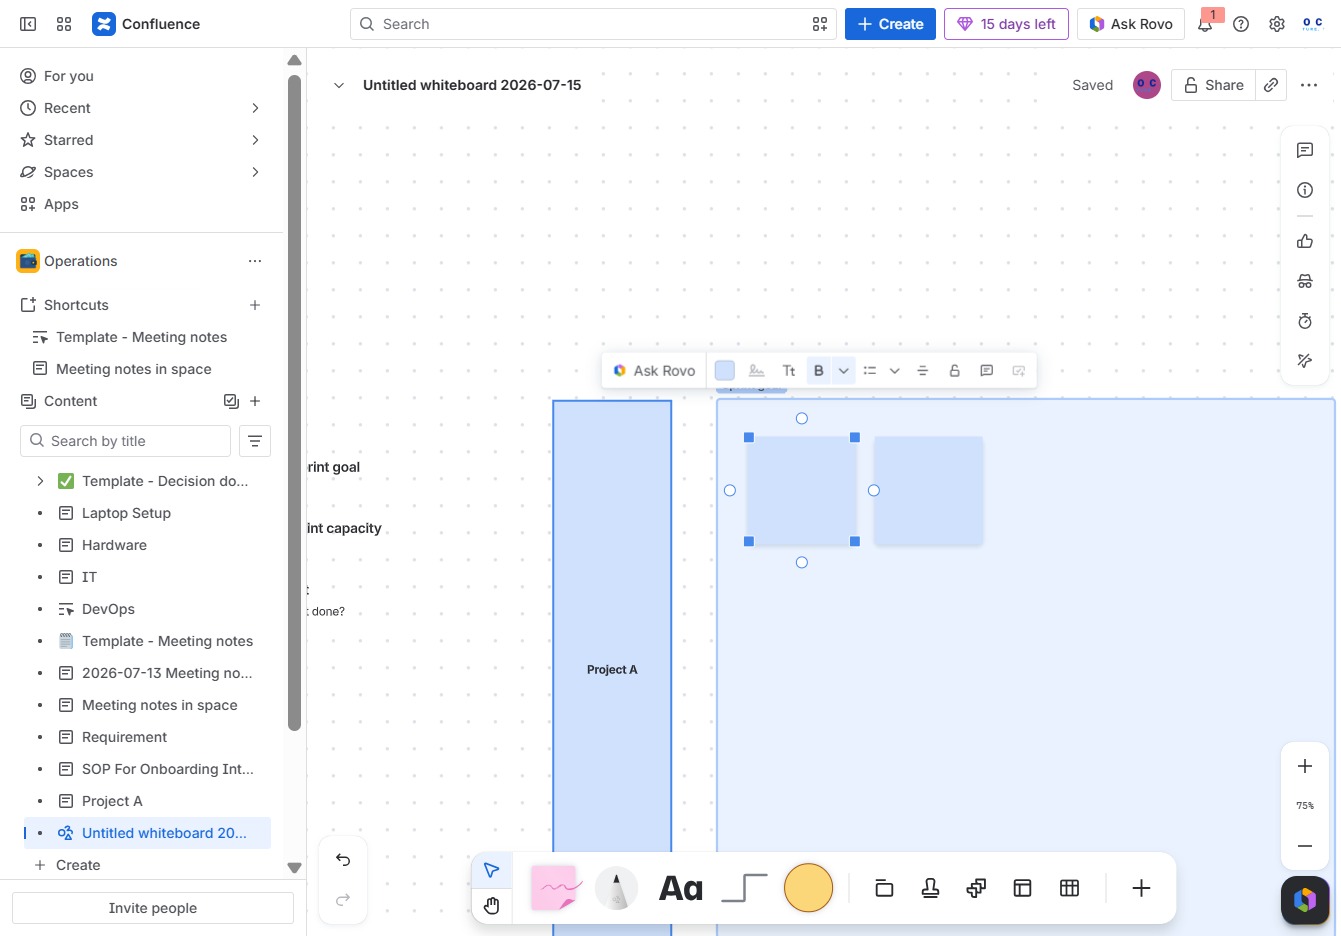
Clicking this link allows you to insert new content into the current whiteboard. This is essential for updating your project with notes, diagrams, or other elements.
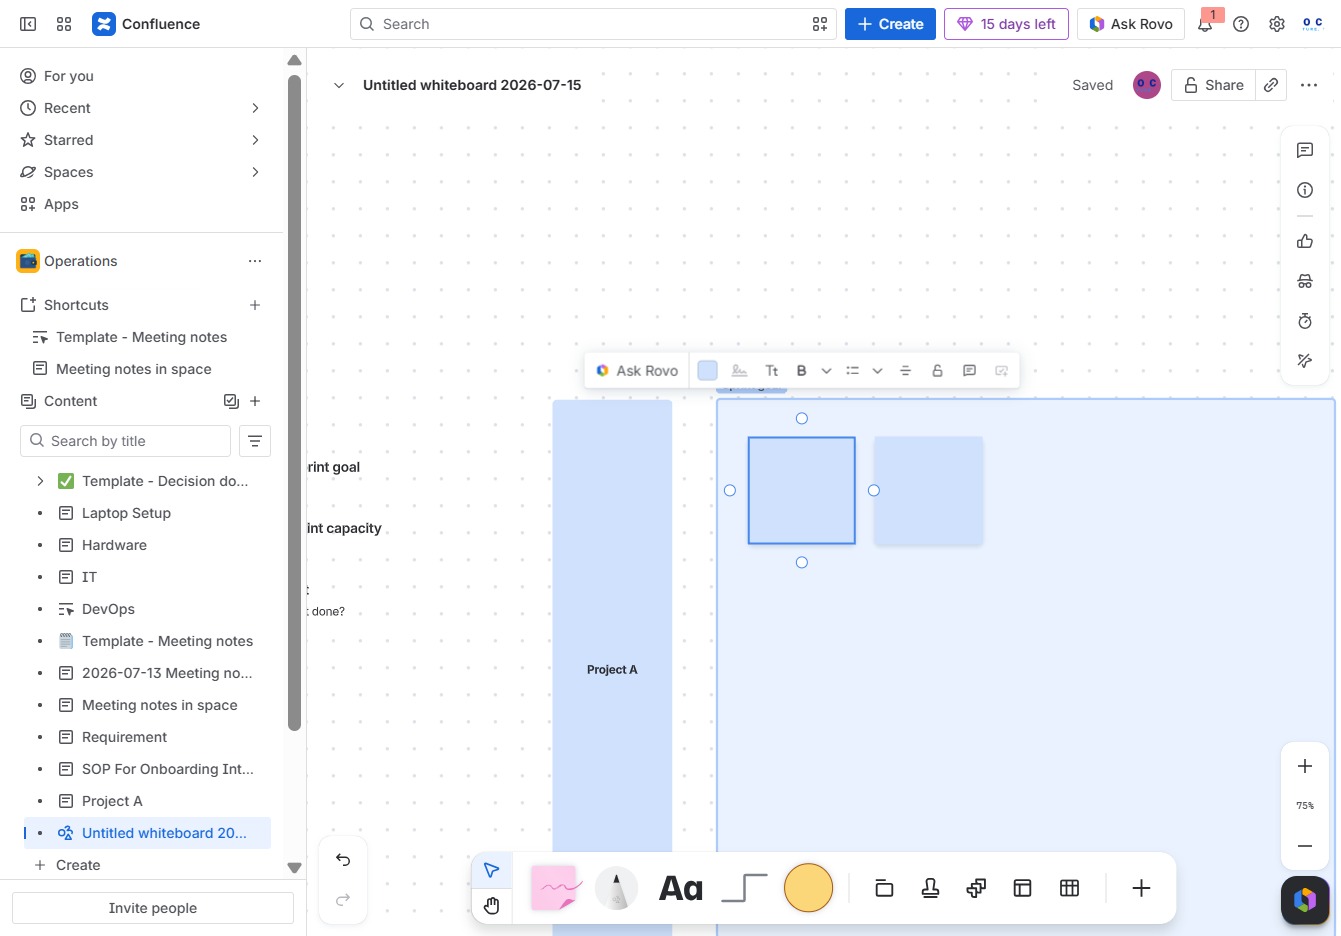
Enter the phrase 'Social media campaign' in the Ak editor textarea to define the focus of your content within the whiteboard.

Clicking the 'Randomize' button will generate a random selection or outcome based on the current project parameters in your Jira work item.