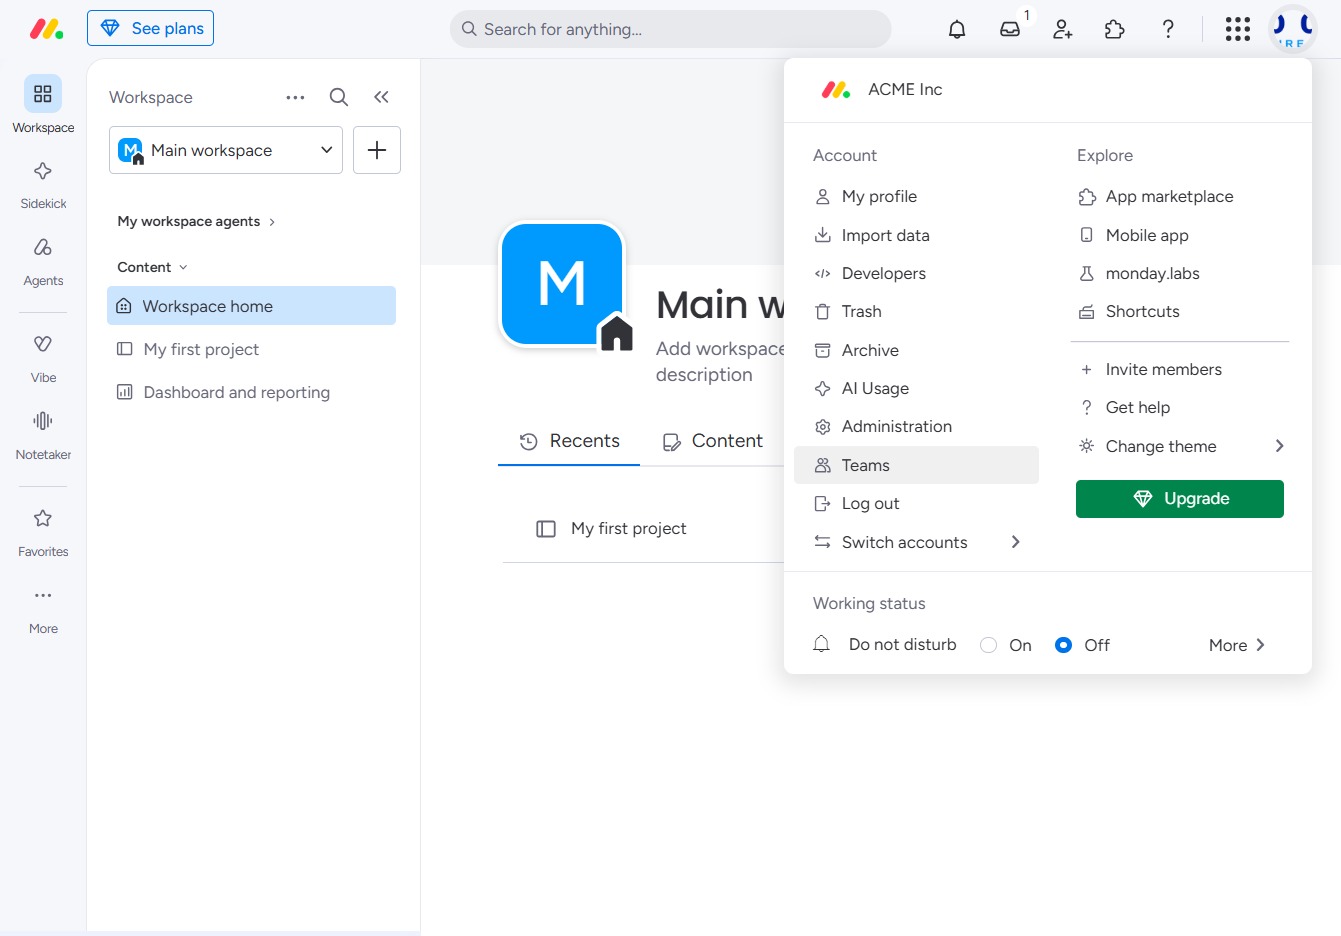
Click the ACME Inc logo
Clicking the ACME Inc logo will navigate you to the company's main dashboard, where you can view and manage various workspace settings and projects.

Loading screenshot…
100%
In this how-to guide, learn how to create and manage teams within your workspace on the ACME Inc platform.
 viktoria
In this how-to guide, learn how to create and manage teams within your workspace on the ACME Inc platform. Follow simple steps to set up your team, designate members, assign tasks, and enhance your team's identity, ensuring a streamlined collaboration experience.
Clicking the ACME Inc logo will navigate you to the company's main dashboard, where you can view and manage various workspace settings and projects.
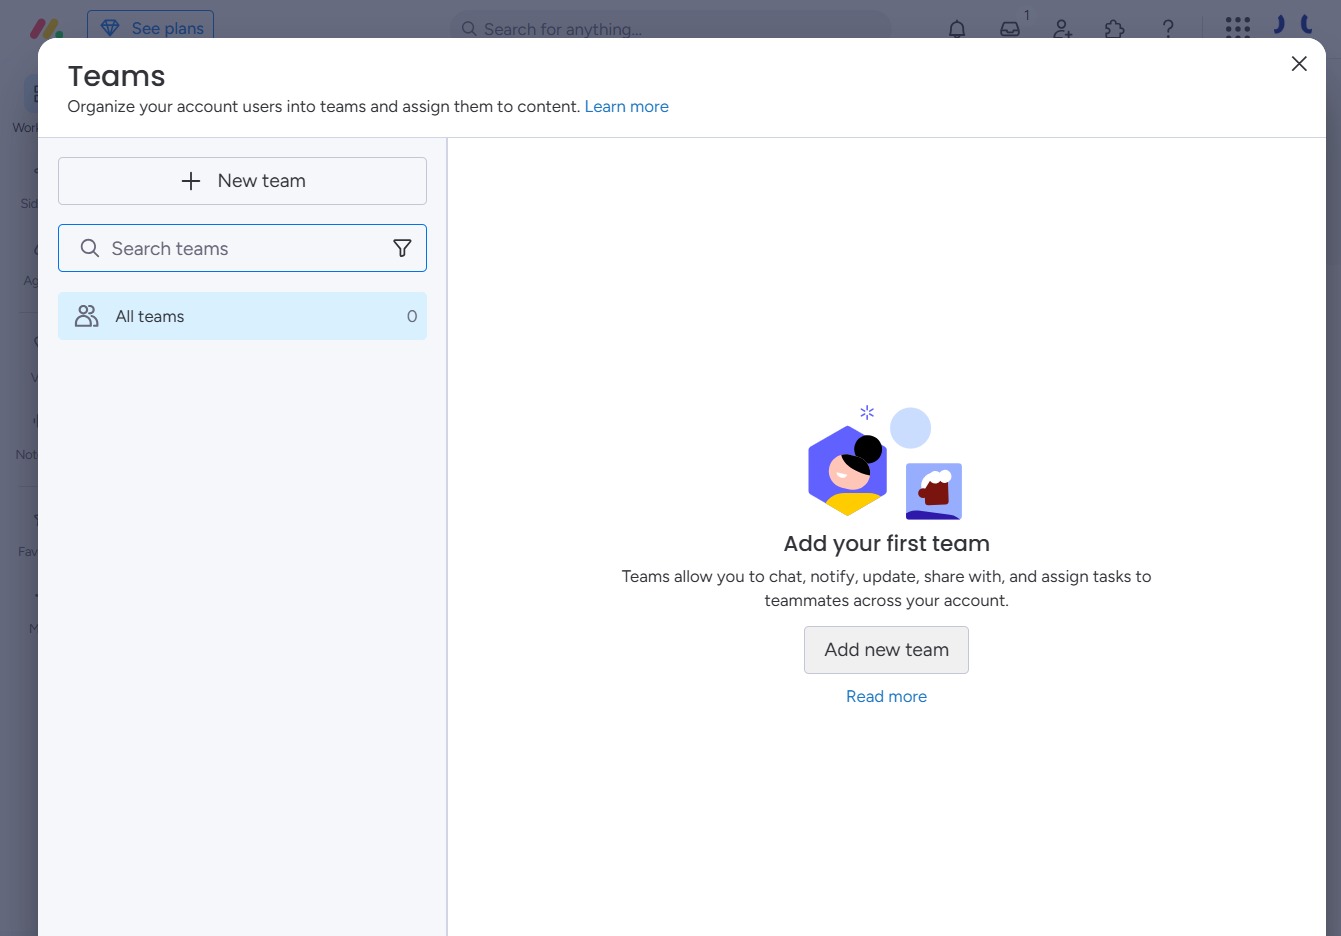
Selecting the 'Teams' option will take you to the teams management section, where you can view, create, or edit your workspace teams.
This action opens a dialog for creating a new team, allowing you to set up team members and assign tasks within your account.
Input 'Sales' to designate the name of the new team you are creating. This name will help identify your team within the platform.
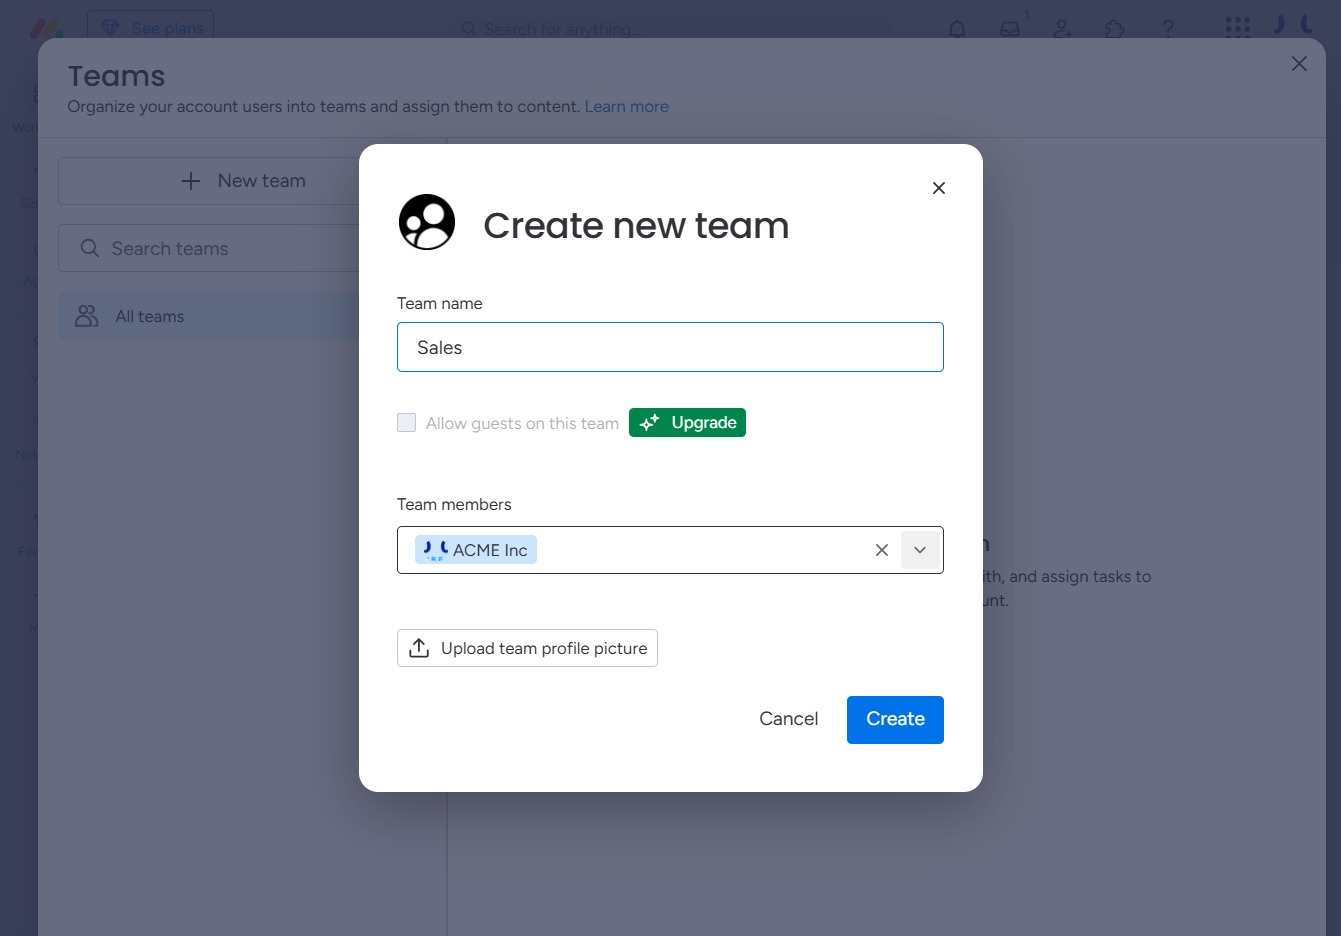
Clicking this option will allow you to upgrade your team features, granting access to additional functionalities and permissions for team members.
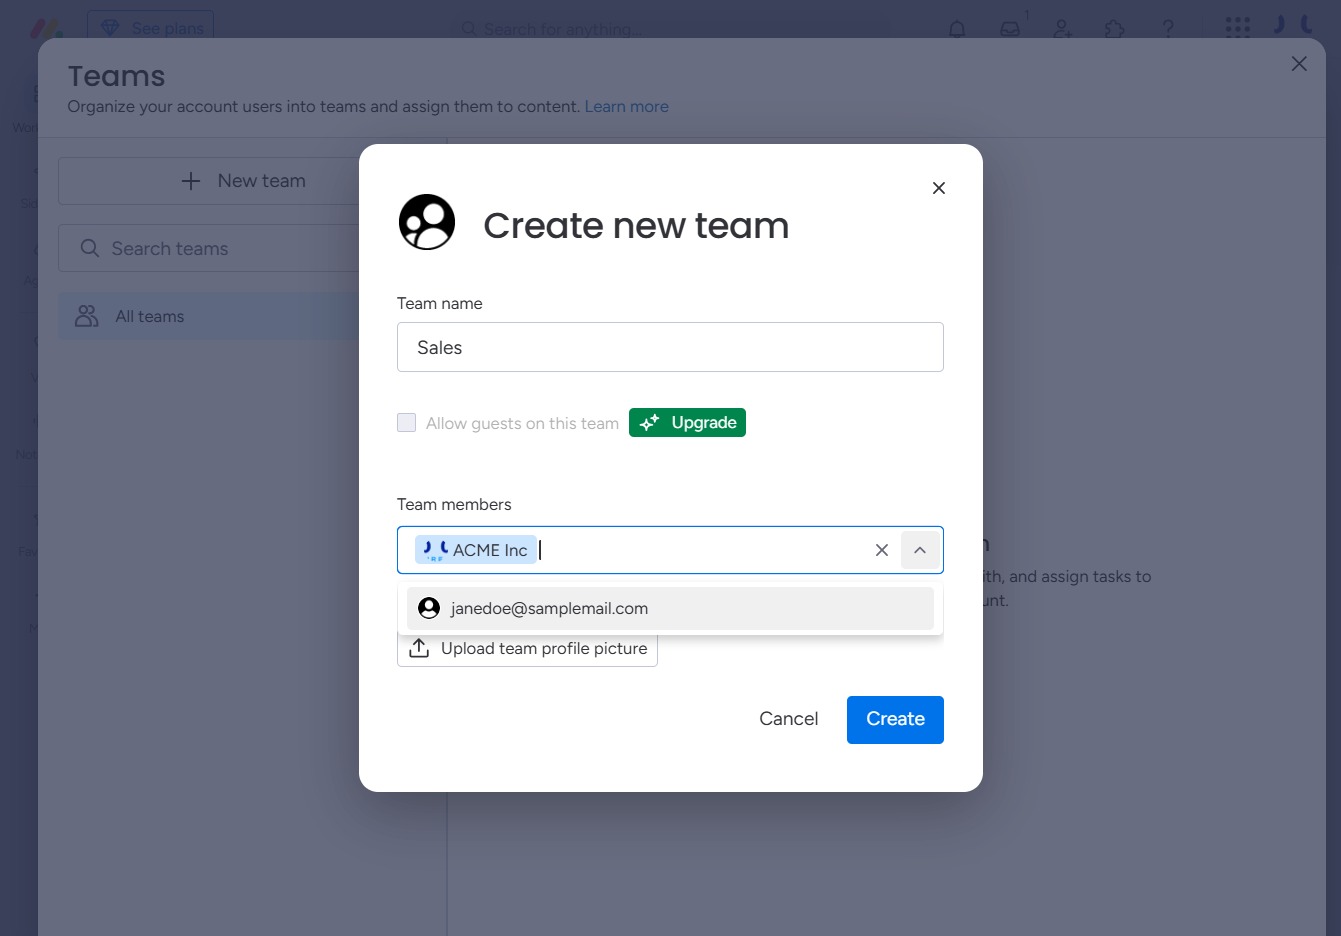
Select the email field to specify the contact 'janedoe@samplemail.com' as a member of the new team. This allows you to add this user to the list of team members for the 'Sales' team.

This allows you to select and upload an image to set as the profile picture for your team, enhancing your team's visual identity.
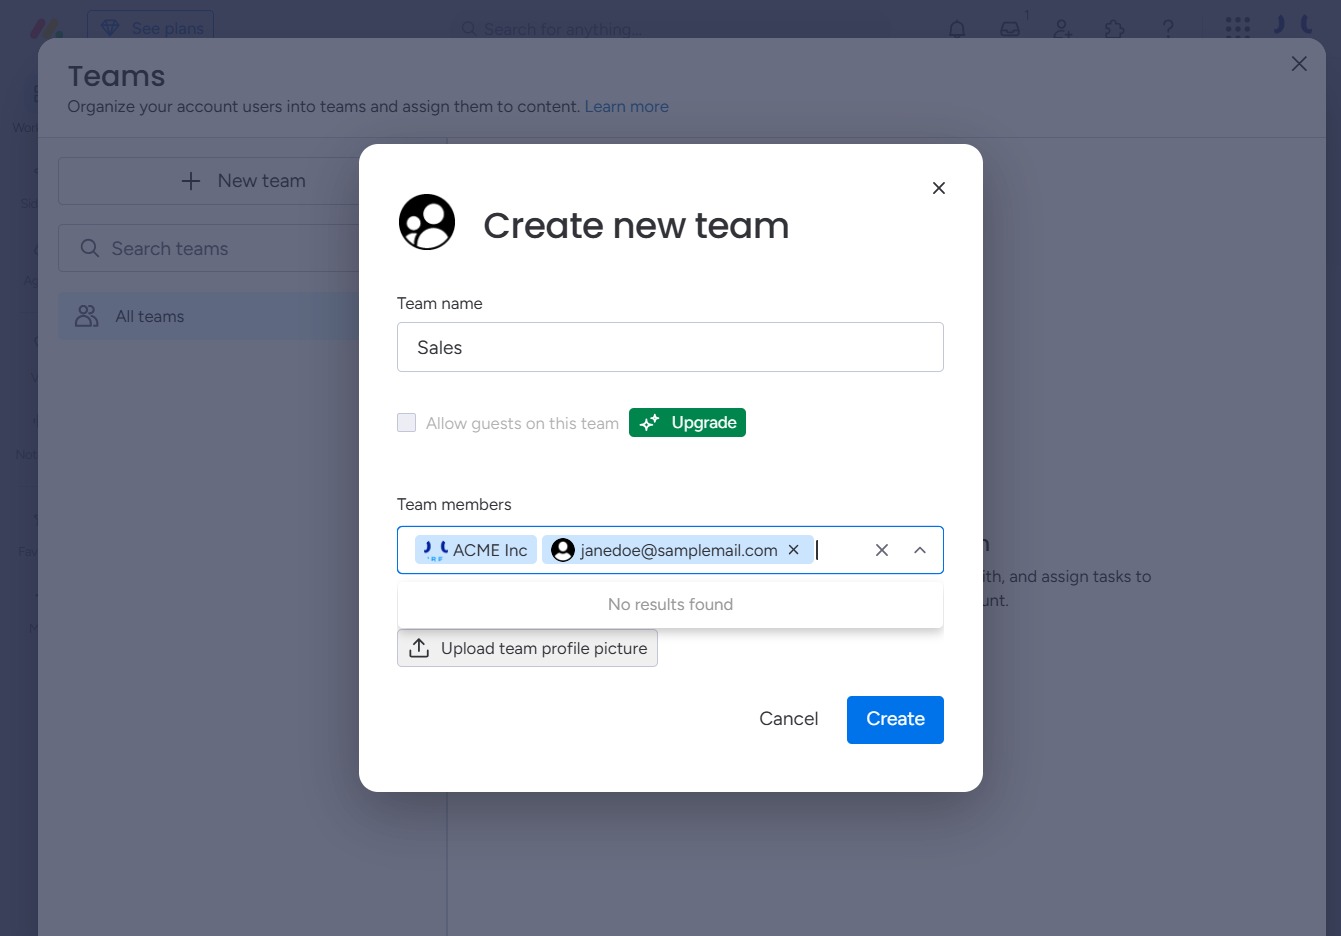
This action will finalize the creation of a new team with the provided name and members. Ensure all required fields are filled before clicking to successfully set up the team.
