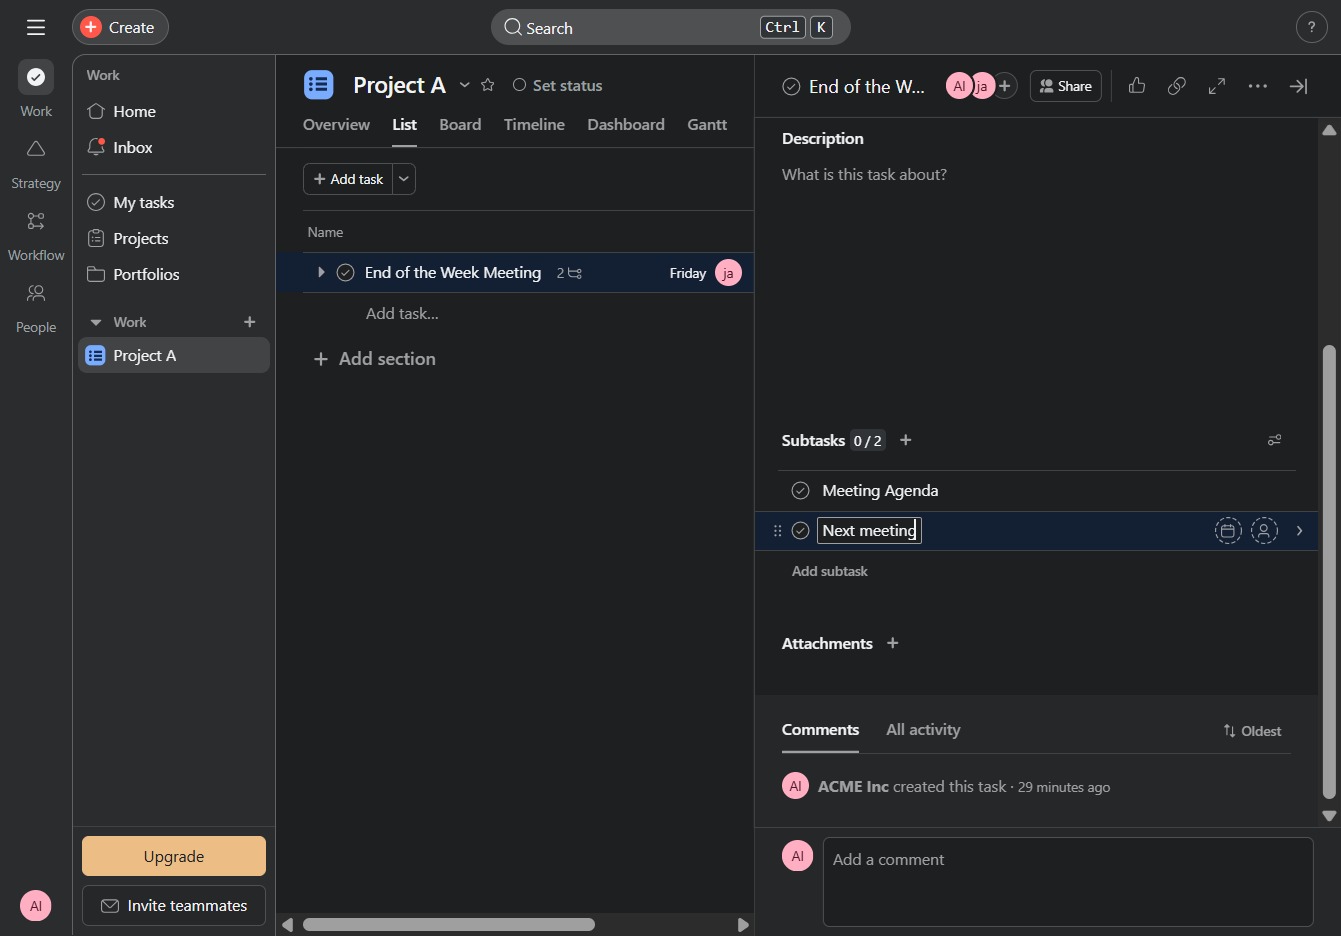
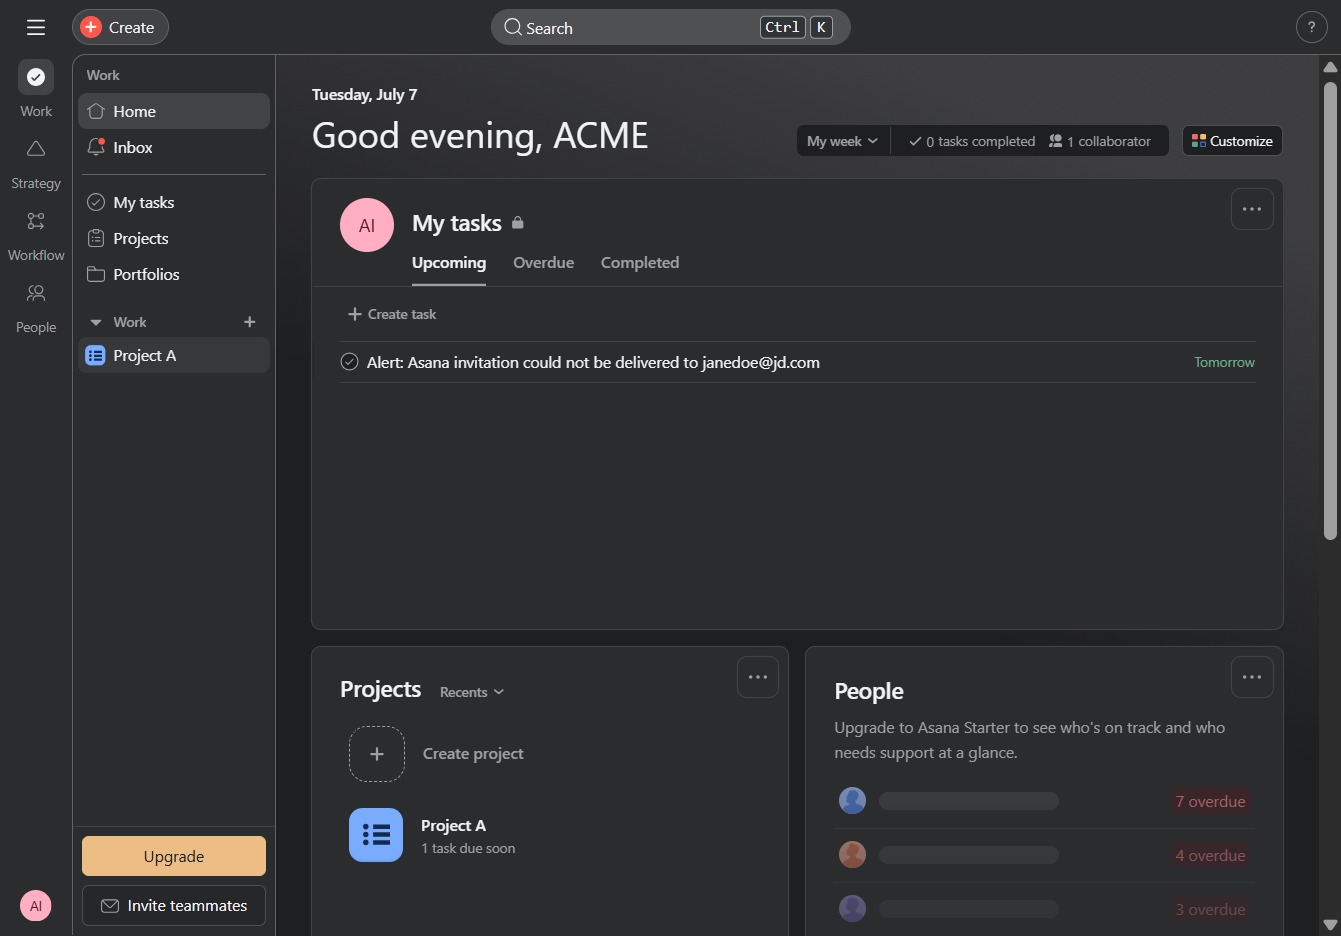
Click Project A to view details
Clicking on 'Project A' opens the project's detailed view, allowing you to manage tasks, track progress, and update project information.
Loading screenshot…
100%
This how-to guide walks you through the process of creating subtasks in your project management tool.
 viktoria
This how-to guide walks you through the process of creating subtasks in your project management tool. By following the provided steps, you'll learn how to manage task details, set up specific subtasks like meeting agendas, and keep your project organized and on track.
Clicking on 'Project A' opens the project's detailed view, allowing you to manage tasks, track progress, and update project information.
Clicking this link will open an input field for you to create a new task under the selected project, allowing you to specify details such as task name, assignees, and due dates.
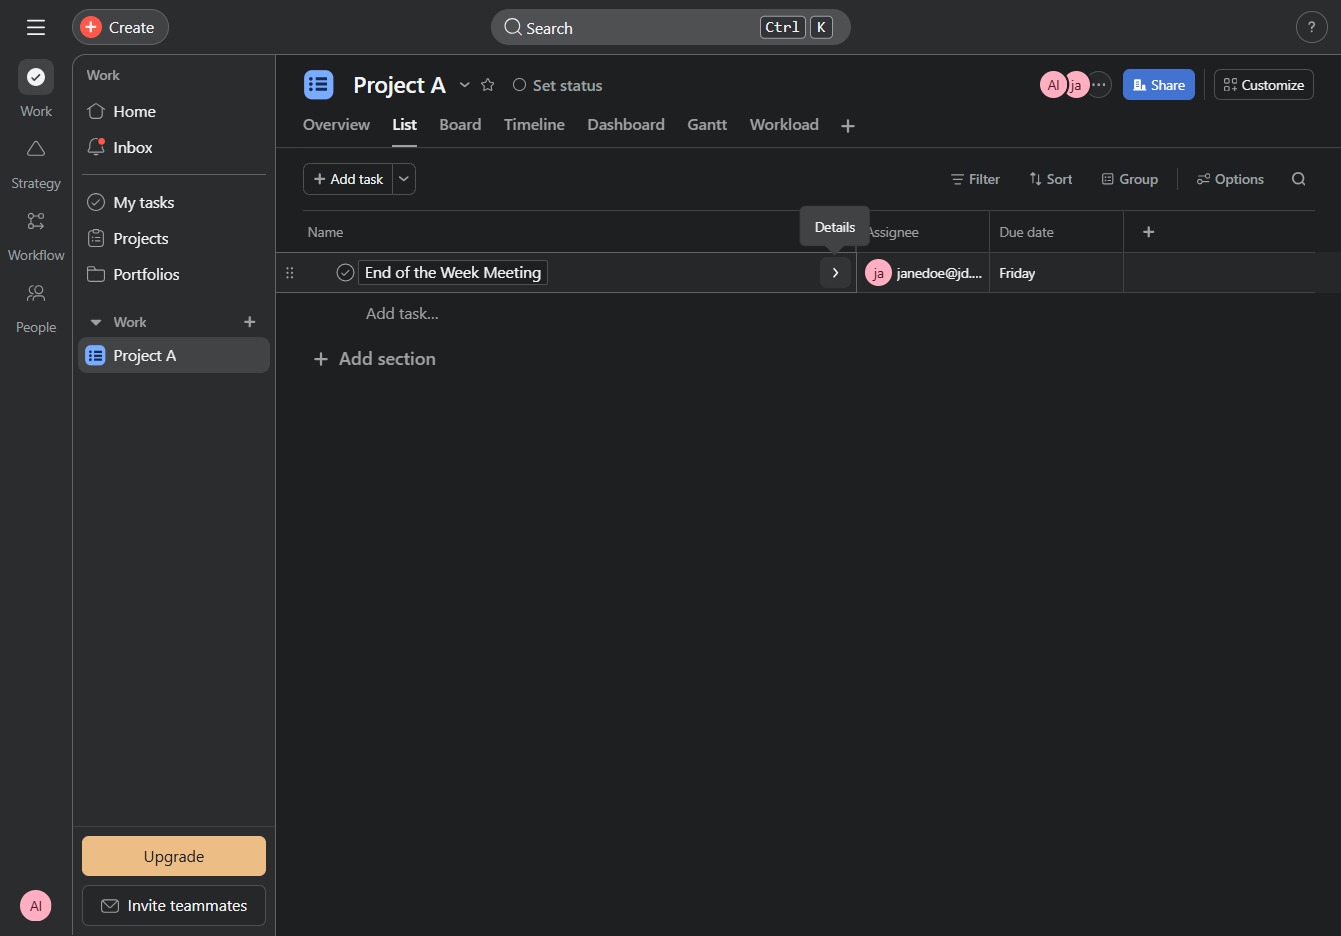
Clicking this link will activate the specified action related to the current task or project, enabling you to proceed with additional options or configurations.
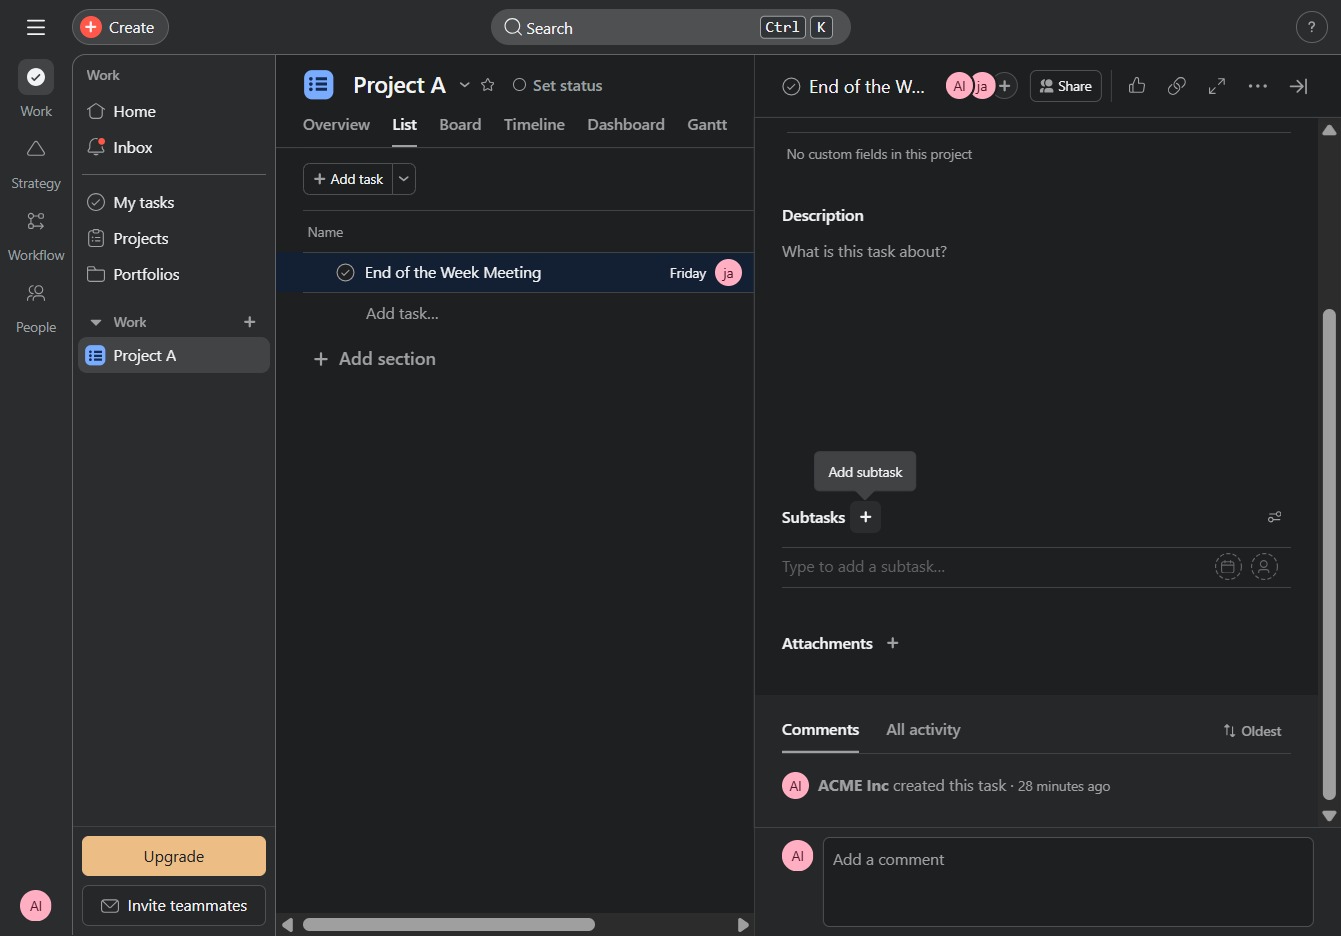
Enter 'Meeting Agenda' in the designated subtask field of your project to outline the agenda for the upcoming meeting. This will help keep all team members informed and organized regarding the meeting's discussion points.
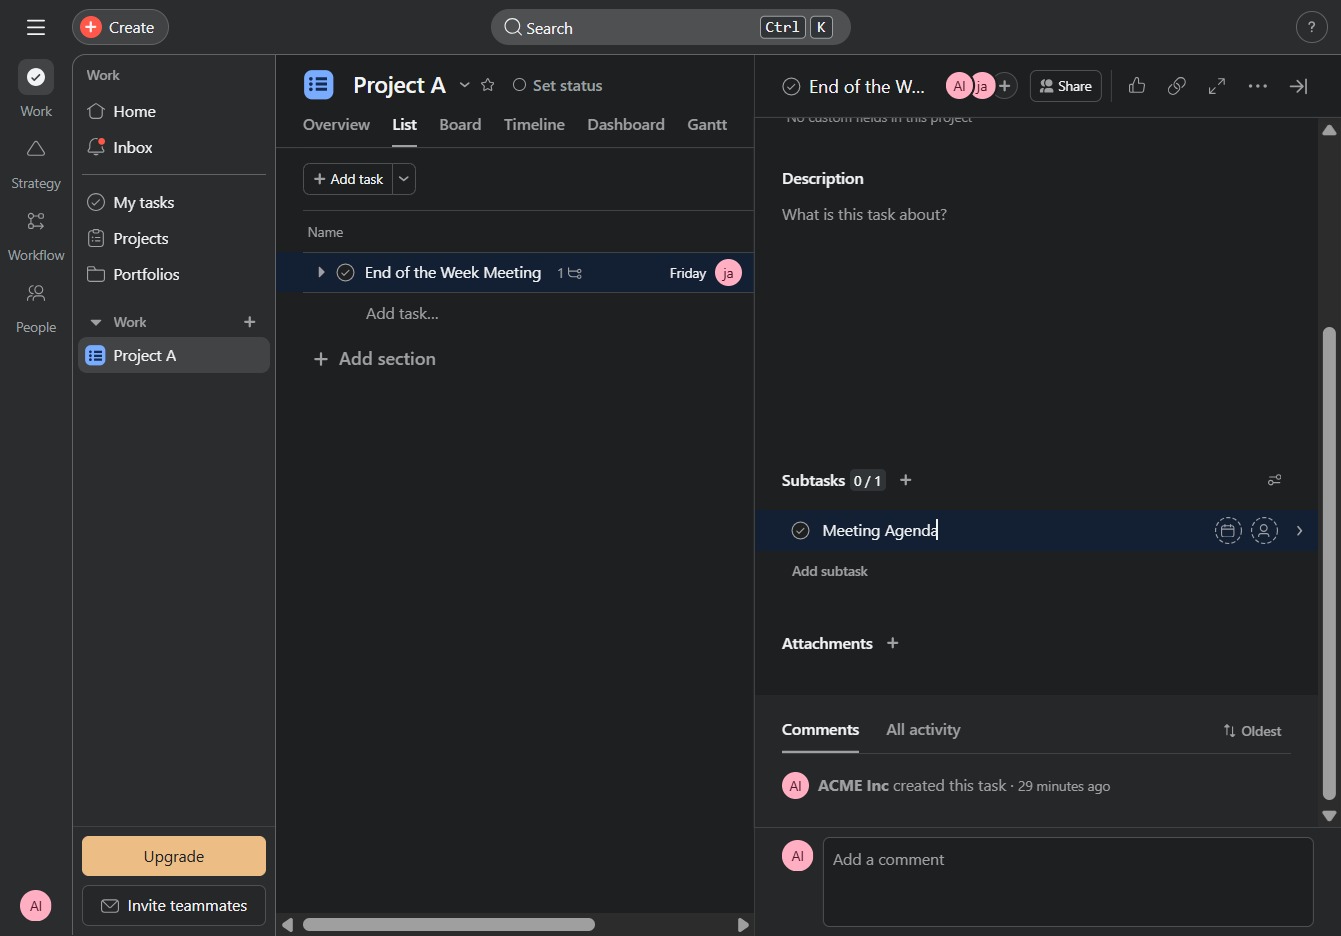
Enter 'Next meeting' in the Subtasks section under the End of the Week Meeting task to define a new subtask. This helps organize the agenda for upcoming meetings effectively.